


Do you love the look of gallery walls, but feel a bit overwhelmed or intimidated by the thought of creating your own? Today I am sharing how to curate a gallery wall from thrifted collections full of personality and charm. The best gallery walls are laid out with intention and thoughtfulness. Please join me as I share the best tips and guidelines on creating a stunning gallery wall of your own.

Key Takeaways:
Curated Vintage Gallery Wall with Thrifted Frames & Plates
> Thrifted Goodies Collaboration
> Gallery Wall Basics
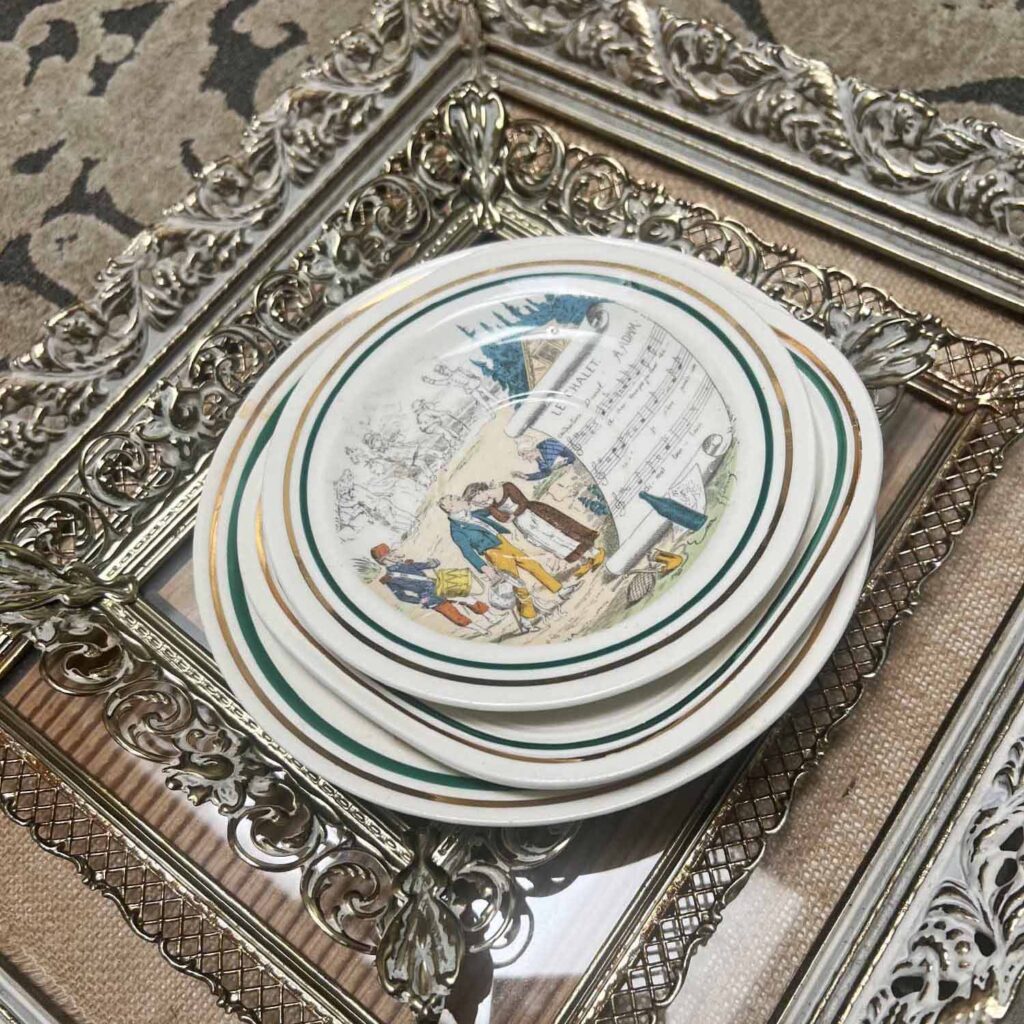
> Curated Thrifted Collections: Filigree Gold Frames & Vintage PV French Opera Plates
> Step by Step Gallery Wall Guide
Welcome~ it’s the next installment of the Thrifted Goodies series. If you enjoy thrift shopping and love the thrill of the hunt, then this post is for you. Thrift stores are a wonderful resource for so many things and provide so much character and charm for home interiors.
*Affiliate links might be included for your convenience. These affiliate links mean a small commission is earned if you make a purchase using these links at no extra cost to you. As an Amazon Associate I earn from qualifying purchases which support this website. For more information: Full Disclosure Policy.
About the Thrifted Goodies Series
The Thrifted Goodies series consists of a monthly collaboration between myself MaryJo @Masterpieces of my Life & Rachel @the Antiqued Journey. We share thrift store information & inspiration, including particular finds, tips, up-cycles, stylings & general advice about thrift shopping mostly for decor. Some months we invite a guest host for triple the fun. Welcome to the thrill of the hunt! Thrifting is exciting, environmental and economical. Thank you for joining us!


For today’s post I am sharing how to curate a gallery wall with thrifted vintage collections. Thrifting is an adventure, which yields unexpected and unique results. All these thrifted finds can look like high end vintage decor, if styled and accessorized the right way.
The key lies in staying true to your personal style and looking at thrifted finds with a discerning eye.
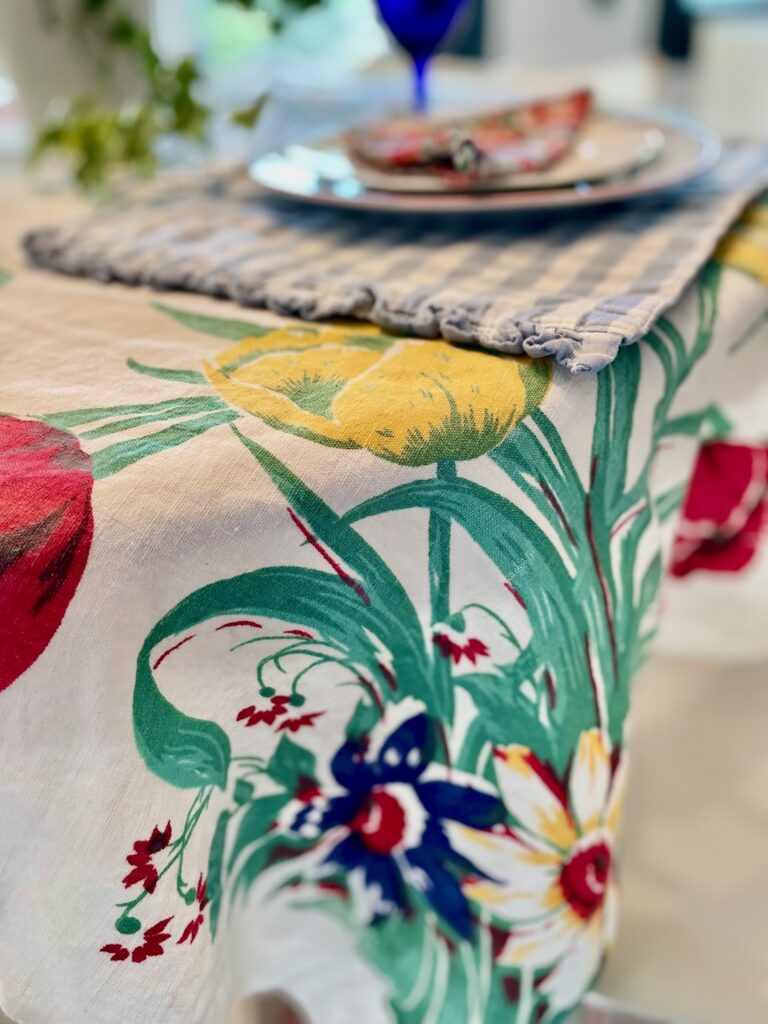
Rachel is talking about thrifted vintage linens. You don’t want to miss her latest post. When you are done here and if you don’t know Rachel yet, head over for a visit. Introduce yourself, while you check out her newest post here.
You can also find Rachel in her other spaces; give her a follow: Instagram || Pinterest || Facebook || LTK Shop
If you are coming over from Rachel’s place, welcome! I am so glad you are here today, and I hope you enjoy yourself. Drop me a comment down below and introduce yourself. I would love to hear from you.

Mastering the Art of Gallery Walls
An interior design gallery wall is a collection of artwork arranged on a wall, imitating the setup you might see in an art gallery. Gallery walls installed at home go beyond artwork and display collections, including baskets, mirrors, photographs, architectural salvage, decorative objects, and more. A successful gallery wall is intentional and thoughtful.
When done correctly, gallery walls are a timeless way to display collections of favorite photos, art, and collectibles.
Martha Stewart
Not all gallery walls are created equal. Curate a collection that makes sense, arrange it properly with the correct scale and space items in a cohesive manner. Creating a gallery wall can definitely feel a little overwhelming when first approached. It’s essential to have the appropriate scale, layout and items to arrange a successful gallery wall.
The key is to create a cohesive and visually appealing display, including character, depth and a bit of storytelling.
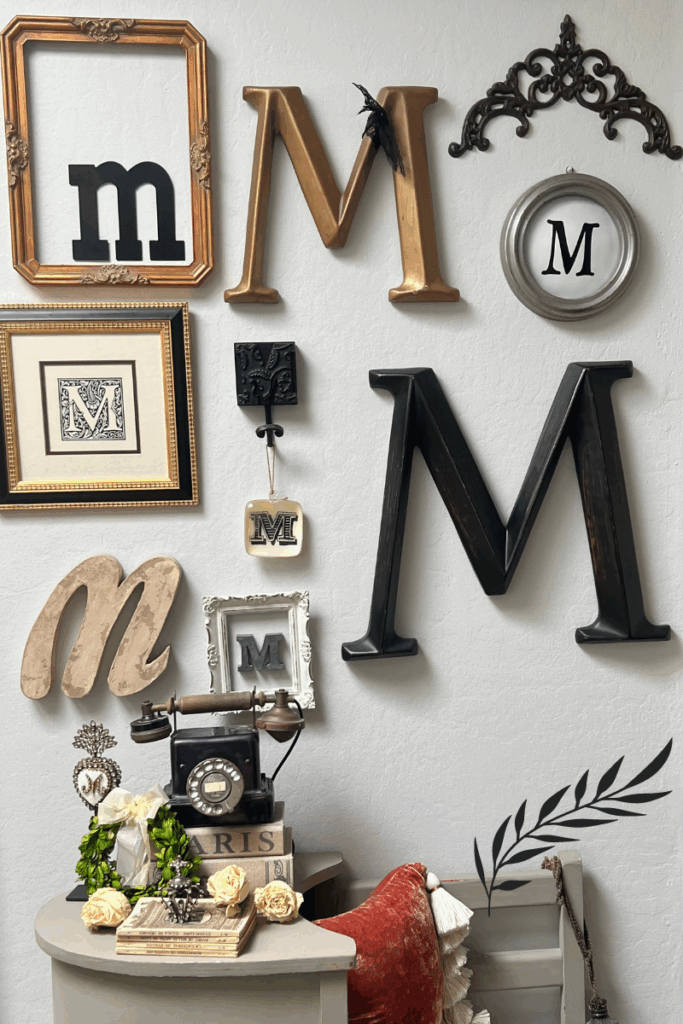
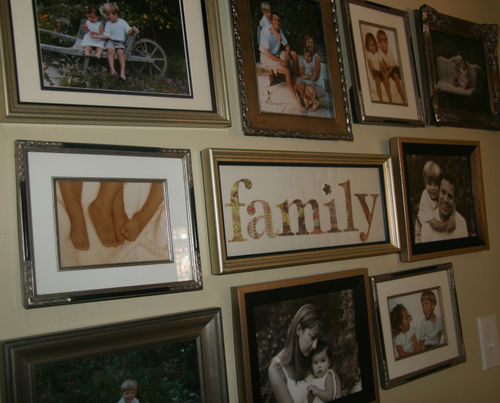
Gallery walls tell a story and can be built around any theme. The key is to unify them by color, style and | or pattern. When done the right way, gallery walls are layered, personal, and endlessly charming. We have a few different gallery walls already established in our home, including the monogram wall in the foyer and a family portrait gallery in the bedrooms’ hallway.



MJ Decorating Pro Tip:
Gallery walls can evolve over time. If space allows you can add more photographs, artwork, and collectibles as your story and journey continues.
Intentional Thrifted Collections to Curate a Stunning Gallery Wall
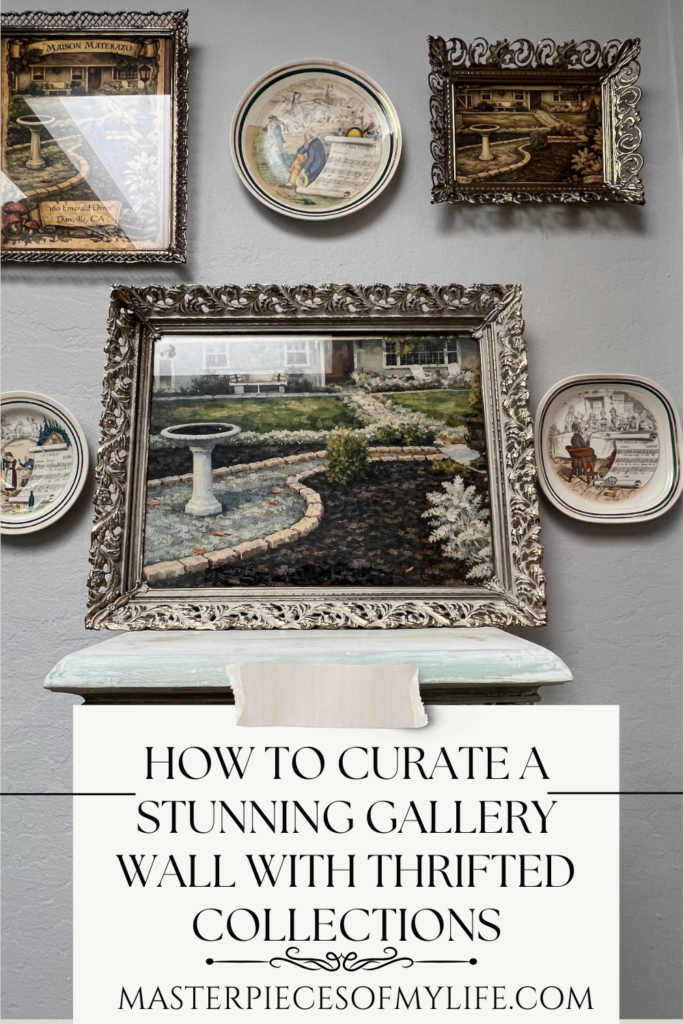
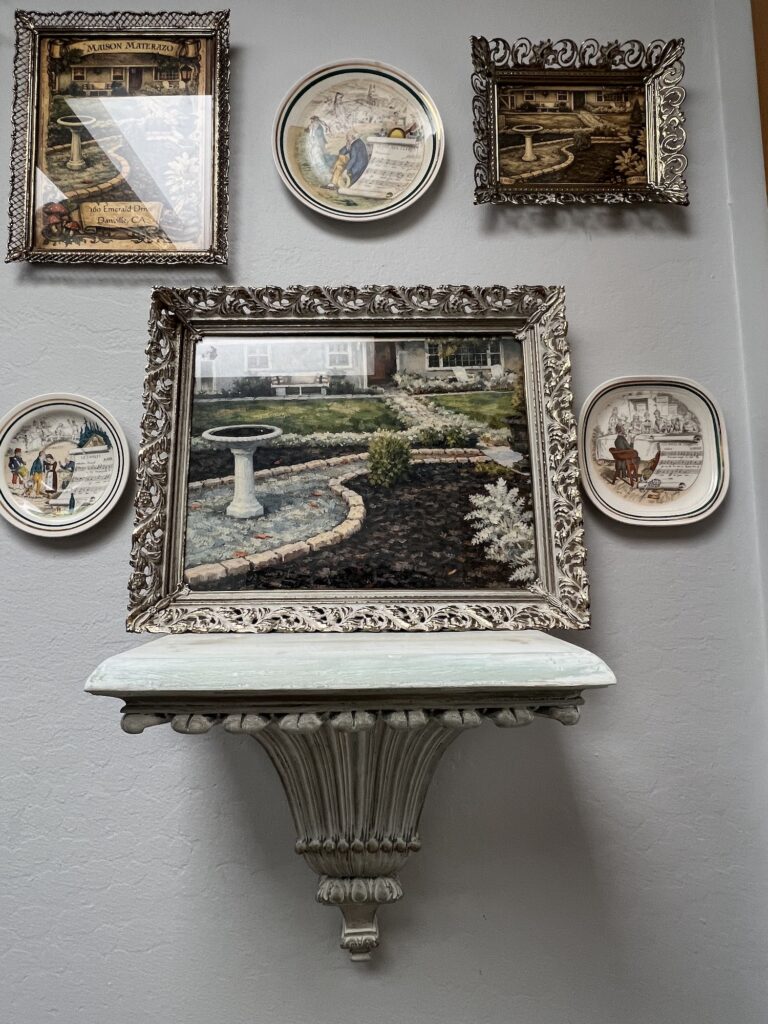
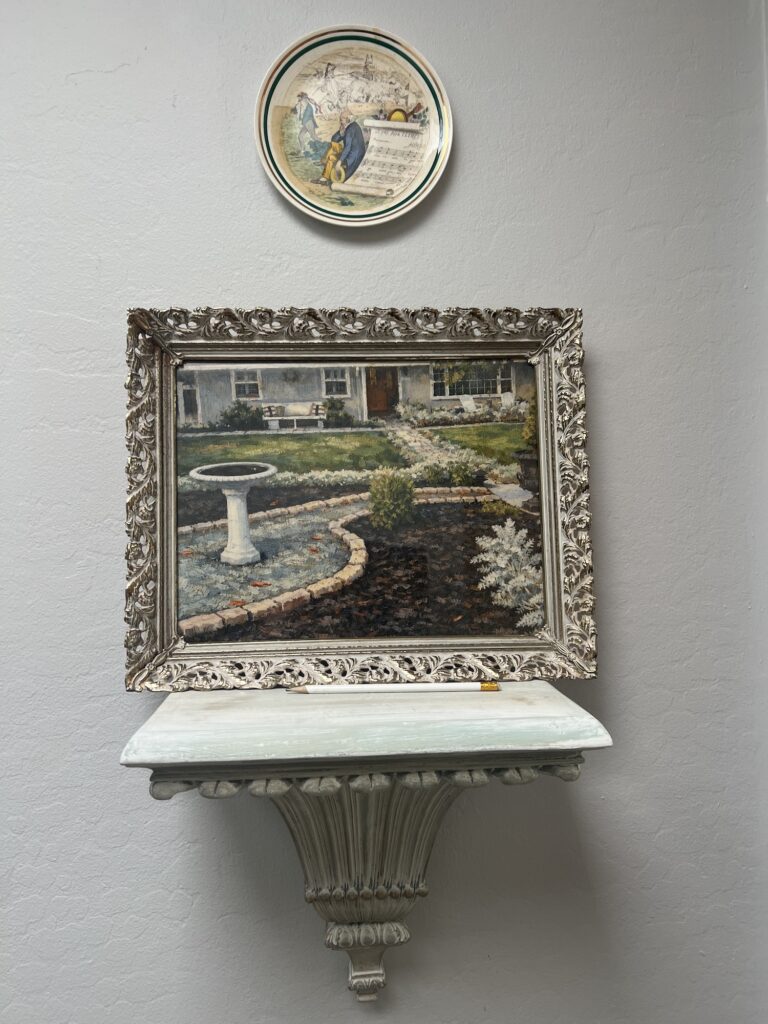
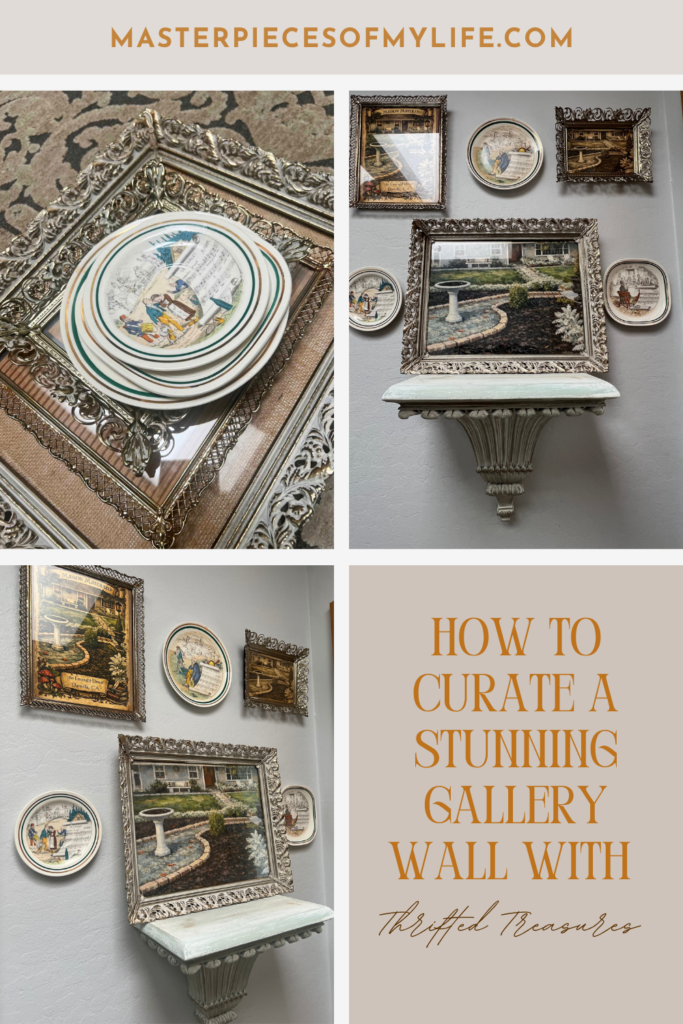
What makes a gallery wall special isn’t the individual pieces, but rather how they mix and mingle on the wall. It’s all about creating a layout that feels intentional, but never too perfect. Including varied sizes, spacing pieces appropriately combining complimentary colors and adding different textures all add to the feel and effect of a well done gallery wall layout. The gallery wall I’m sharing today is the story of our home with vintage touches like filigree frames, Limoges plates with French opera scenes (including the musical scores- yes please!), which is anchored by an architectural sconce shelf.
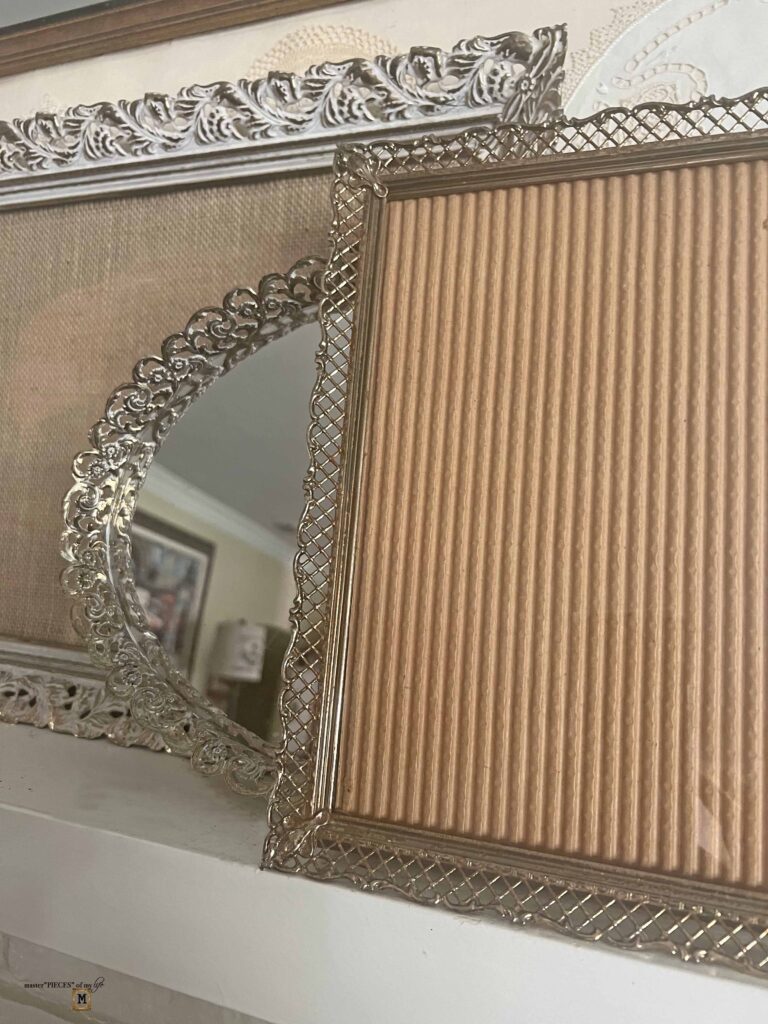
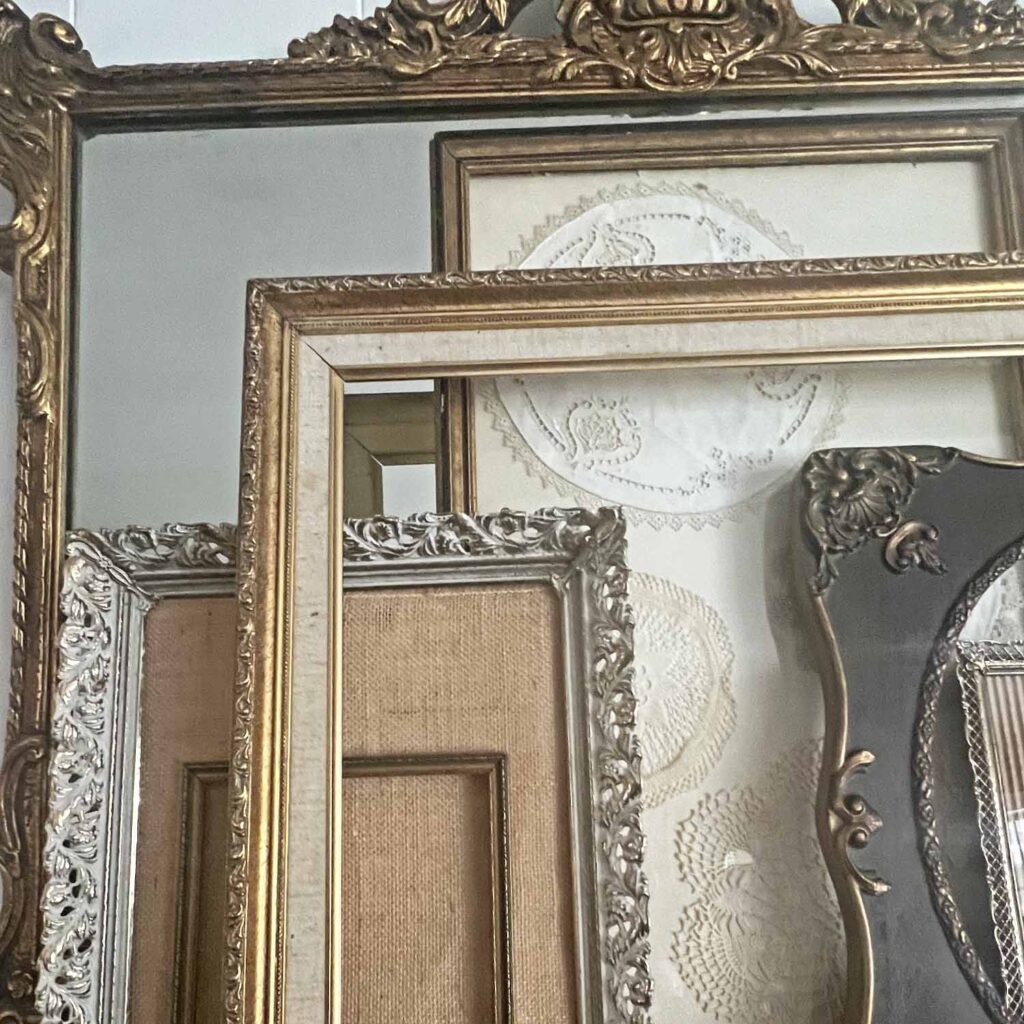
Filigree Gold Frames
Remember when I shared this thrifted collection of filigree metal frames? I’ve used these frames for a few projects around the house, which you can see here {Mantel Styling with Vintage Yellow Decor}, here {Framed Doily Art Work DIY} and here {Ways to Decorate with Vintage Handkerchiefs}. Well, today is the day, they find a more permanent home, showcasing personal artwork of our home.
Parry Vieille French Opera Limoge Plates
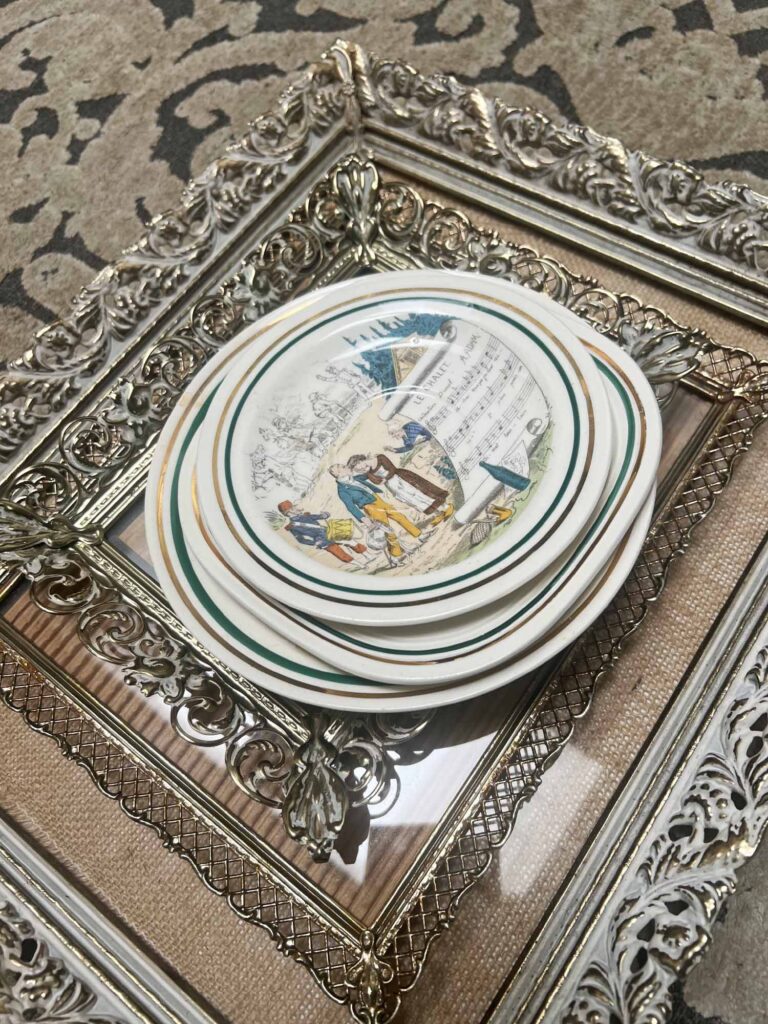
I inadvertently started a small collection of these Limoges plates. I don’t remember when or at which thrift store I picked up my first one, but between the sheet music, French writing, green and gold trim it just called my name all day long. The marking on the back just showed a “PV” and I didn’t give it much thought. Somewhere along the way I found my second plate and at that point I researched PV and found there’s a whole, huge, entire set of these pretties from dinner plates, accent plates and so on.
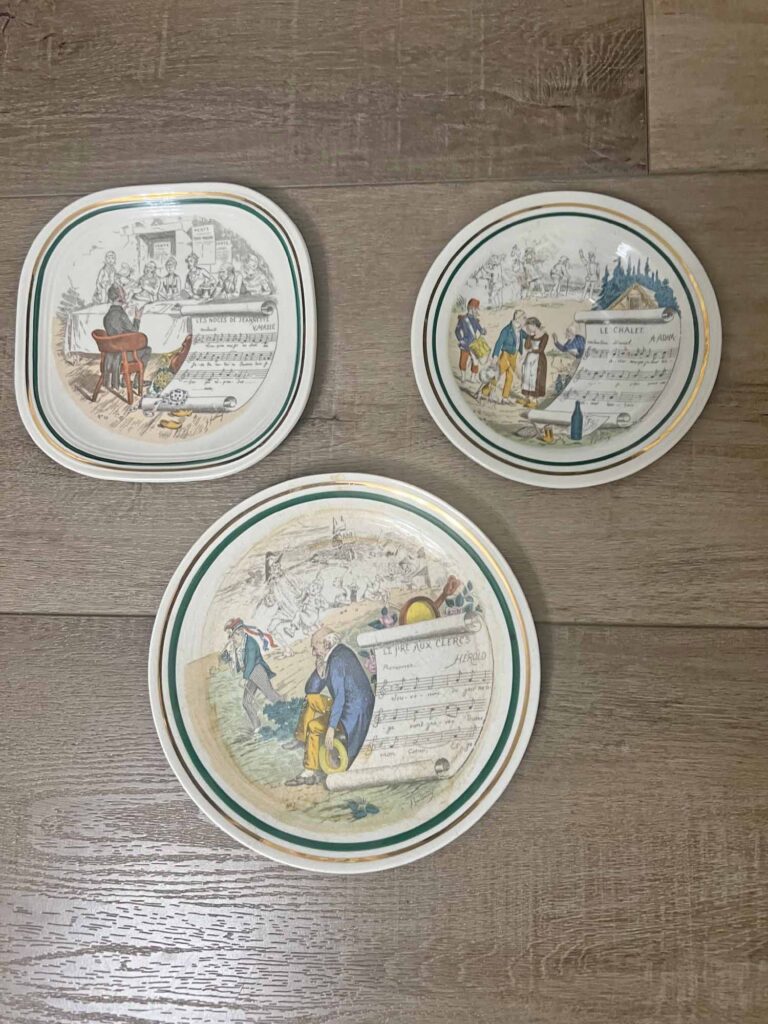
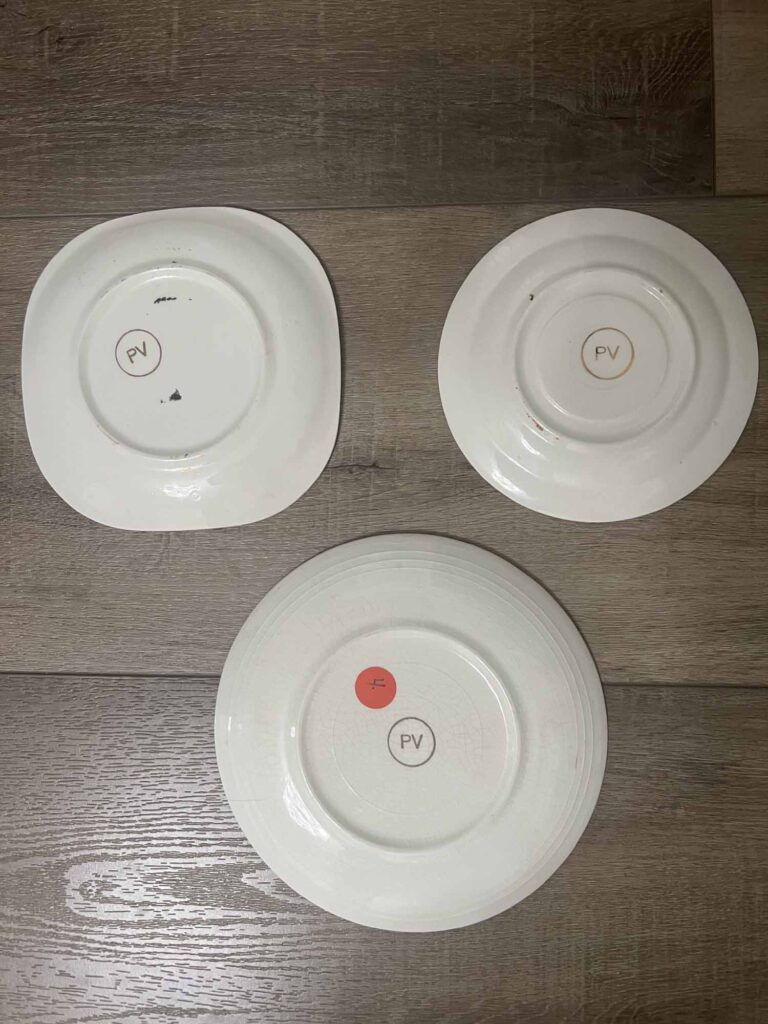
Parry Vieille is the maker and they are called French Opera plates from Limoges, France, depicting different scenes and music scores from French operas circa 1930-1940s. The largest piece cost me $4 while the other two were $1 or $2. After doing searches to find out more, I see I scored very good deals. Three is the magic number for me when collections are born. I love all the different French musical scenes and hope to find more in the wild.
Architectural Decor Accents
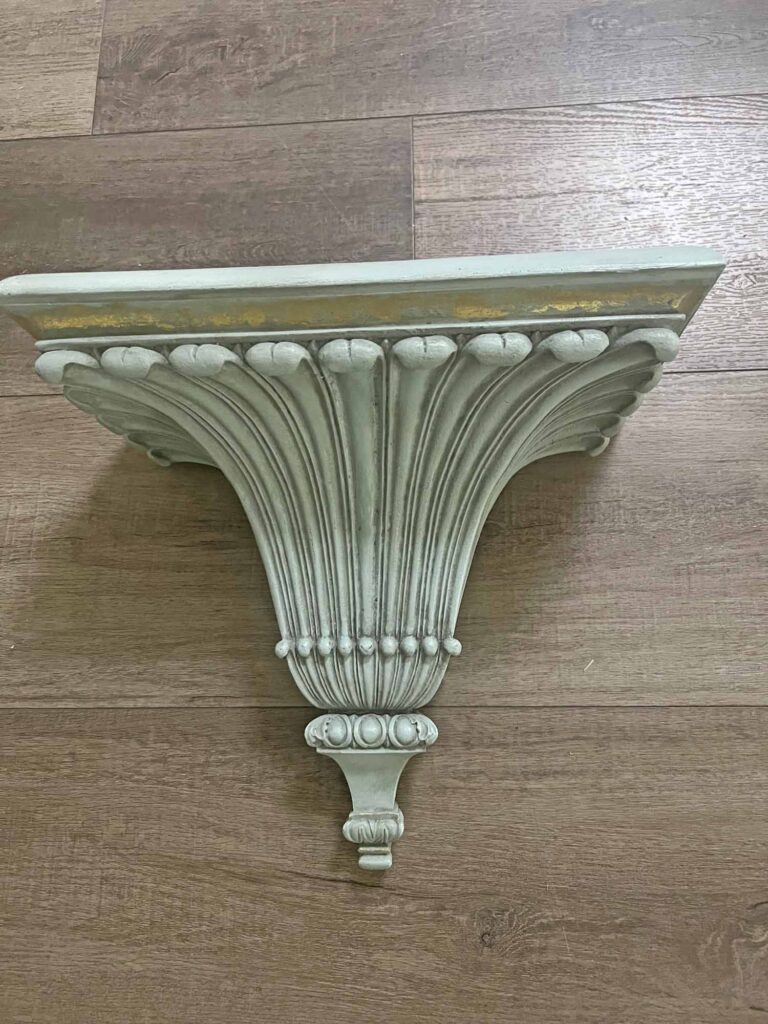
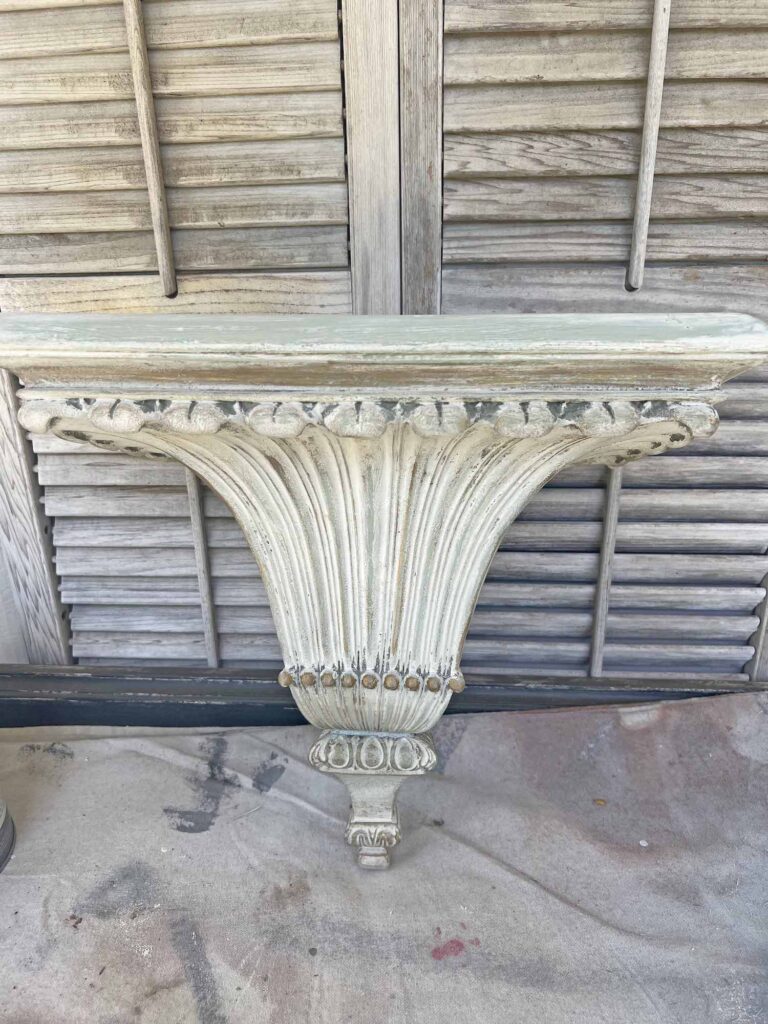
I have a soft spot for architectural salvage and newer pieces with an architectural profile. This particular sconce shelf was in our guest room for many years and ended up kicking around in the garage when we dismantled the guest room. It proved to be the perfect accent for this gallery wall to provide added depth and dimension. The original color was not working for the gallery wall so I used my magic wand and painted it with chalk paint. Dark wax and gold gilding gave it the proper look. You can see the techniques used in the post below. You can view the sconce transformation with all the details here.
AI Generated Artwork
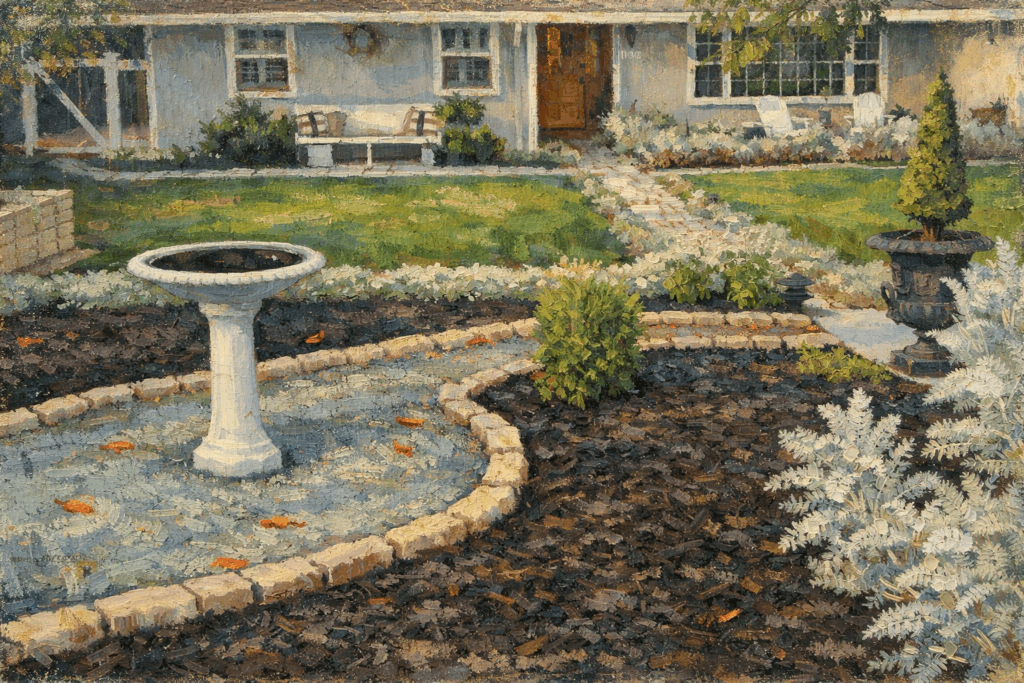
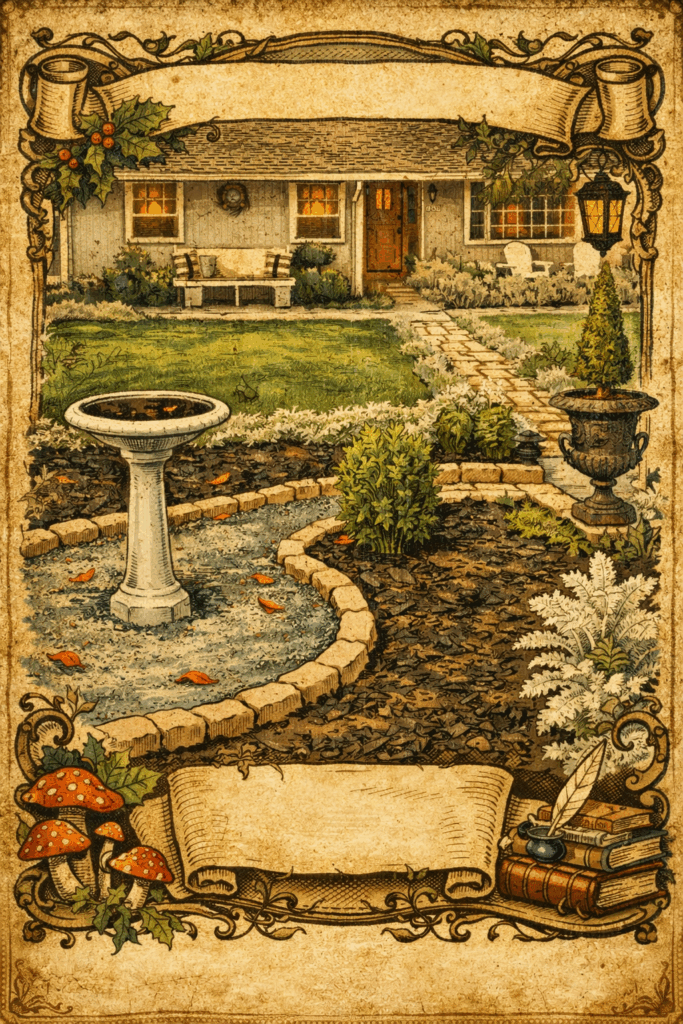
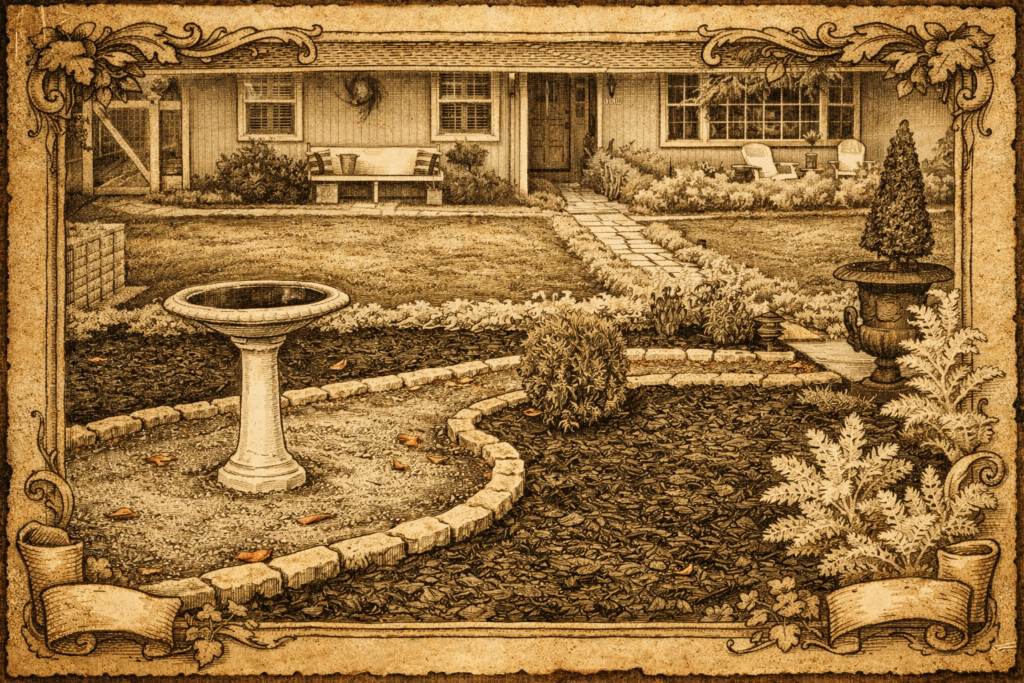
The metal filigree frames are filled with artwork generated from an image of our home. I used AI to create these pictures of our home, which I shared all the details in this newsletter {Masterpieces Magazine #02}. The pictures tell the story of our home and how we created curb appeal with our personal style and own hard work. It greets you as you enter into our home, opposite to the monogram gallery wall, which is also part of our story.



Grab a copy of my free
Vintage Home
Decor Guide
This guide provides 10 easy ideas to add timeless charm to your home with a free PDF full of images and inspiration.
We are always striving to master the art of joie de vivre around here. If you enjoy the good life and want a reflection of this in your home, please consider joining the Masterpiece community. Sign up and you won’t miss any new content, receiving all new posts directly into your in-box.
How to Create a Gallery Wall with Curated Treasures
Define Your Story
Determine the story you want to tell and what your common denominator will be. In my particular instance, the story is of our home, using vintage pieces with a French twist. This stops your collection from feeling random and ties mismatched finds together beautifully.
Source Strategically at Second Hand Sources
Sourcing your pieces for a gallery wall at thrifts creates unique and affordable options. Determine what you would like to showcase and slowly and carefully curate your elements. I found the frames, plates and sconce through years and years of treasure hunting. Take your time and lean into your personal style so it’s a reflection of you.
MJ Thrifting Pro Tip:
Make a list of items you would like to find while thrifting on your phone, and you will always have the list with you whenever you pop into a thrift. Update the list regularly as you find treasures and seek others. Have fun!
Mix Shapes and Scale Intentionally
When displaying an eclectic assortment on a gallery wall, you want to play with different sizes and shapes. This provides added interest and wiggle room for a creative composition. Odd numbers (5, 7, 9 pieces) arrange more naturally than even groupings. I have a total of 7 elements, which includes the 3 plates and 3 frames plus the shelf.
Plan Layout
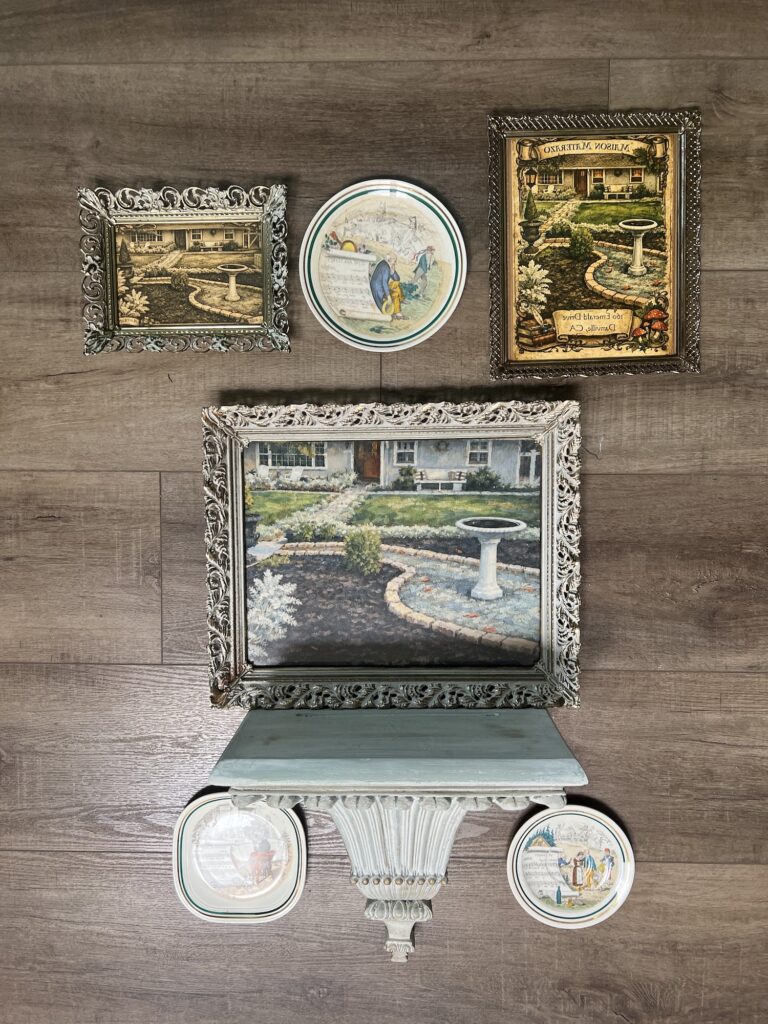
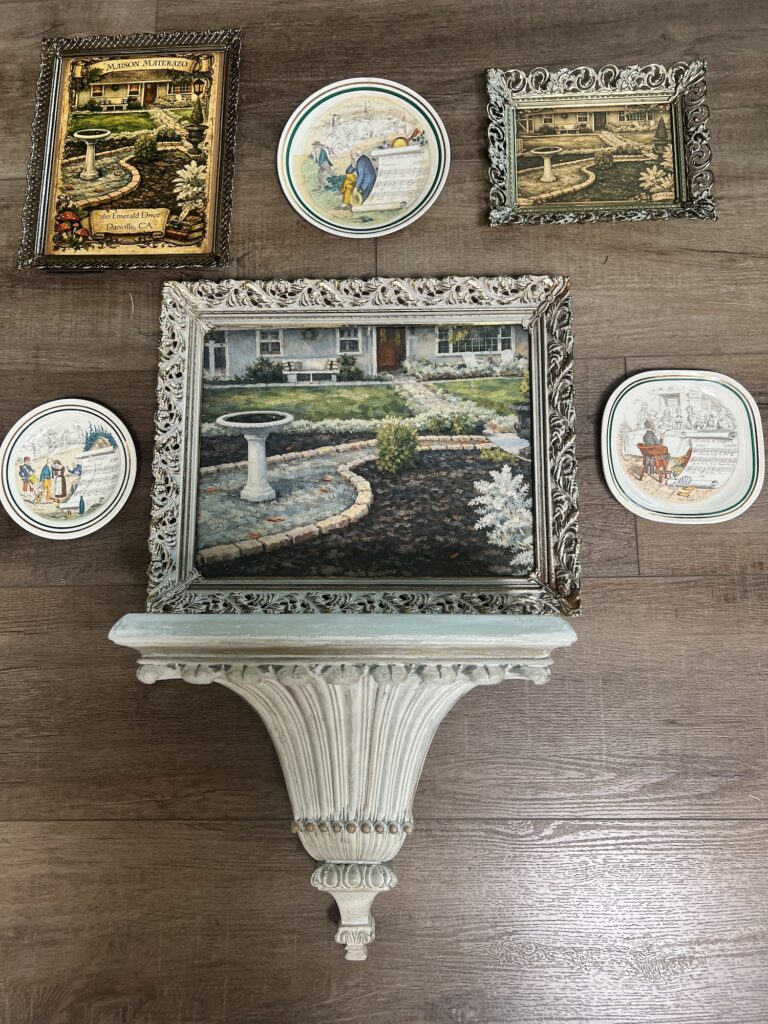
Once your elements are identified, plan out your layout. Lay everything out on the floor or a large table and take a photo from above. Arrange your largest anchor piece first and then build outward. Keep spacing consistently. 2–3 inches between each piece is a good rule of thumb and feels intentional without looking rigid. Move the pieces around until you reach a desirable composition. I started my layout without the sconce and wasn’t happy with the different options until I had the light bulb moment and added the sconce. Take your time, try different layouts and don’t rush the process. You’ll thank me later.
Create Template
Ok, this is where we might part ways. It might be more of a “do as I say, not as I do” situation. Personally, I hung my anchor pieces first and then hung the top row, and finally the side plates, following the layout I laid on the ground and photographed. I am more of a visual, creative process person. If things don’t line up perfectly, I can adjust and move along. I know for some this might be stressful.
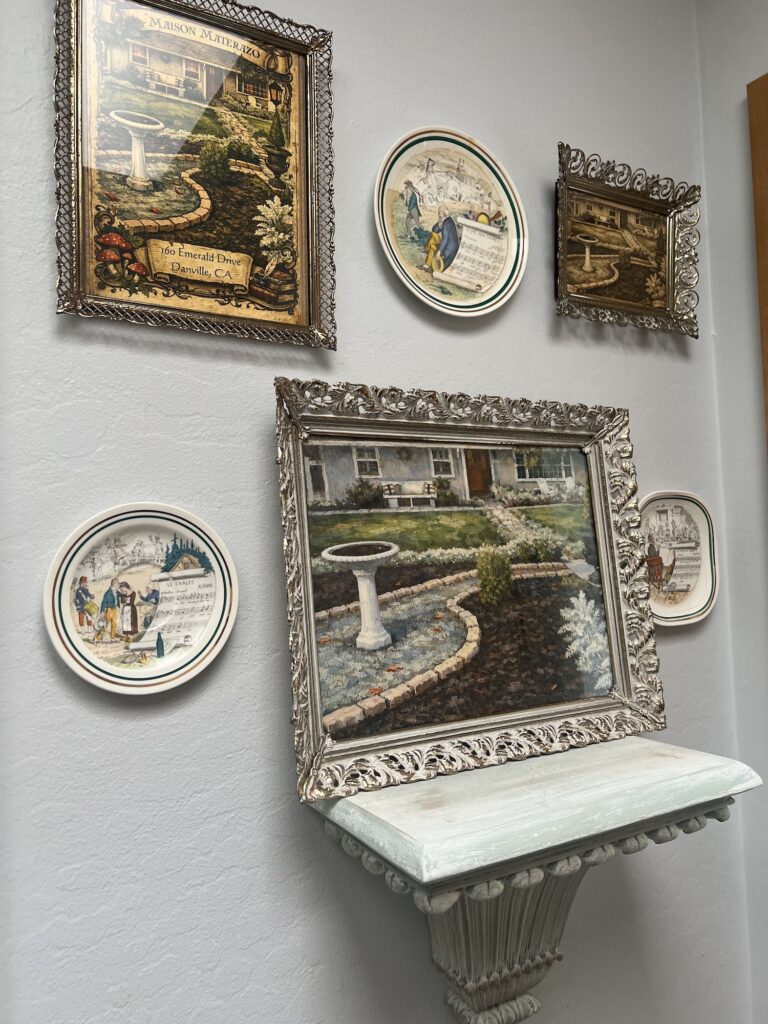
If you need more guidance and you are more of a type A personality, then I suggest you trace each piece onto kraft paper and cut them out. Tape the paper shapes to the wall with painter’s tape to visualize the real arrangement before committing to any nail holes. Adjust freely until the composition feels balanced, dynamic and pleasing to the eye.
Select Appropriate Hanging Hardware
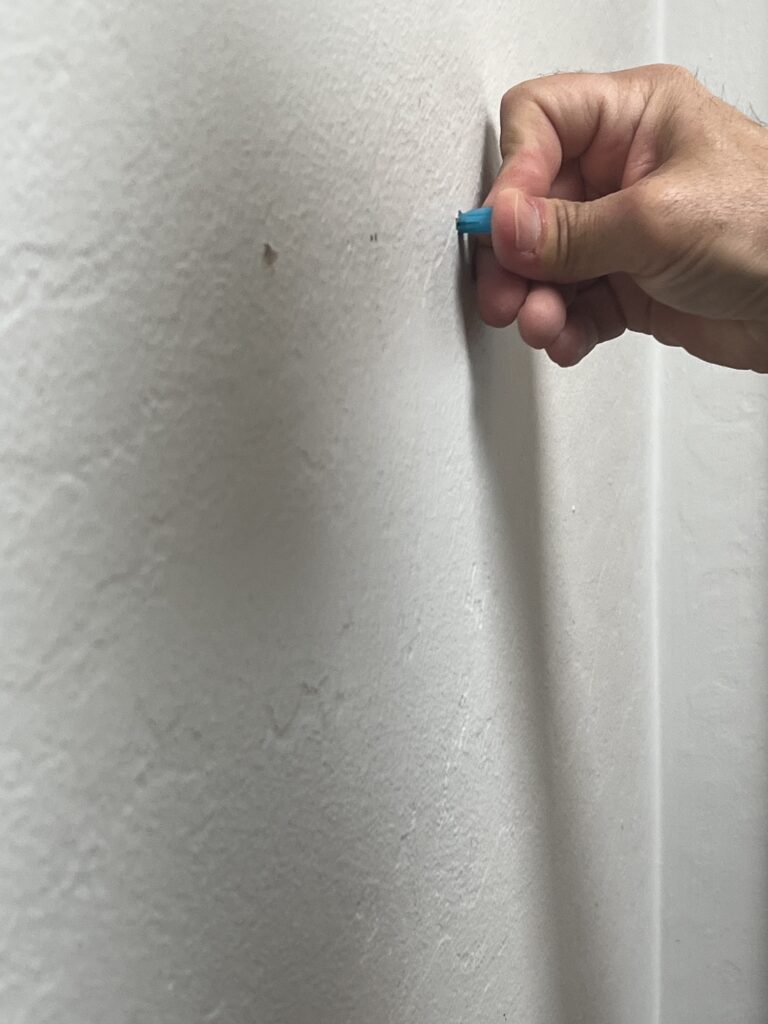
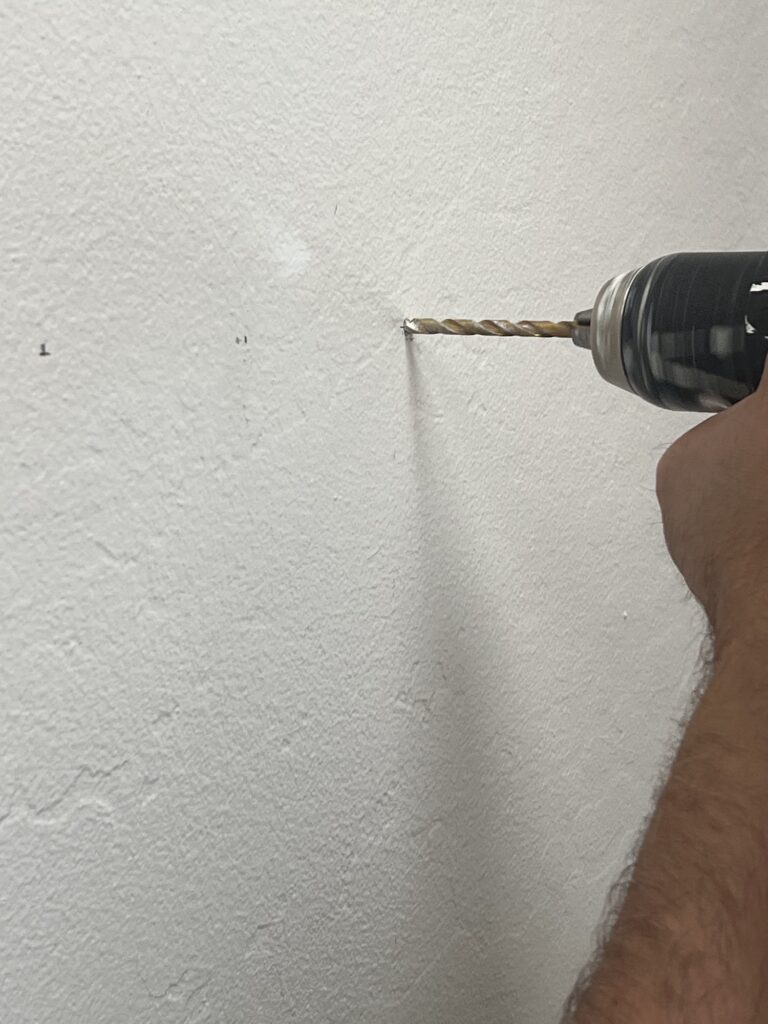
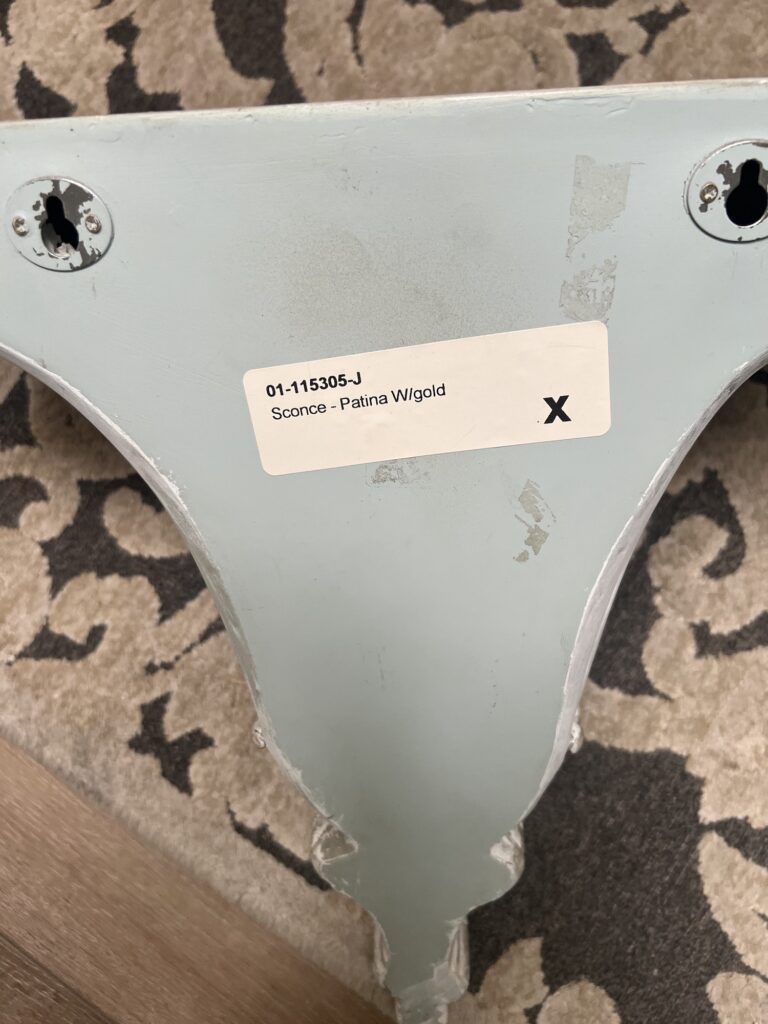
This is key and there’s no right or wrong way, since it will depend on what your are hanging. For example, artwork will require a wire or hanger plus an anchor depending on the size and weight, while baskets just require a simple nail. I happen to have plate hangers, which I used for the plates and the frames were light enough to hang simply with a picture hanger. The sconce was probably the most difficult to hang with two key holes on the backside. Mr. M helped me with anchored screws for this step. If you happen to include a larger, heavier piece I recommend using a stud finder and making sure your wall can accommodate said piece. Since gallery walls tend to contain a mixture of pieces, they don’t customarily include super large and heavy pieces. Picture hanging kits provide a weight allowance, which is very helpful.
Hang from the Center Outward
Ok, for the real deal now, start by hanging the anchor piece first, which should be centered in your display. The center should be at eye level around 57-60 inches from the ground. I know eye level is not the same for all, so this is a good rule of thumb. My MIL owned a gallery and frame shop back in New York when I met Mr. M and she always preached artwork should be centered around 60 inches. That has always stuck with me and clearly she knew what she was talking about. From there build your display outwards using the 2-3 inches spacing guide between the different pieces.
Layer Texture for Depth
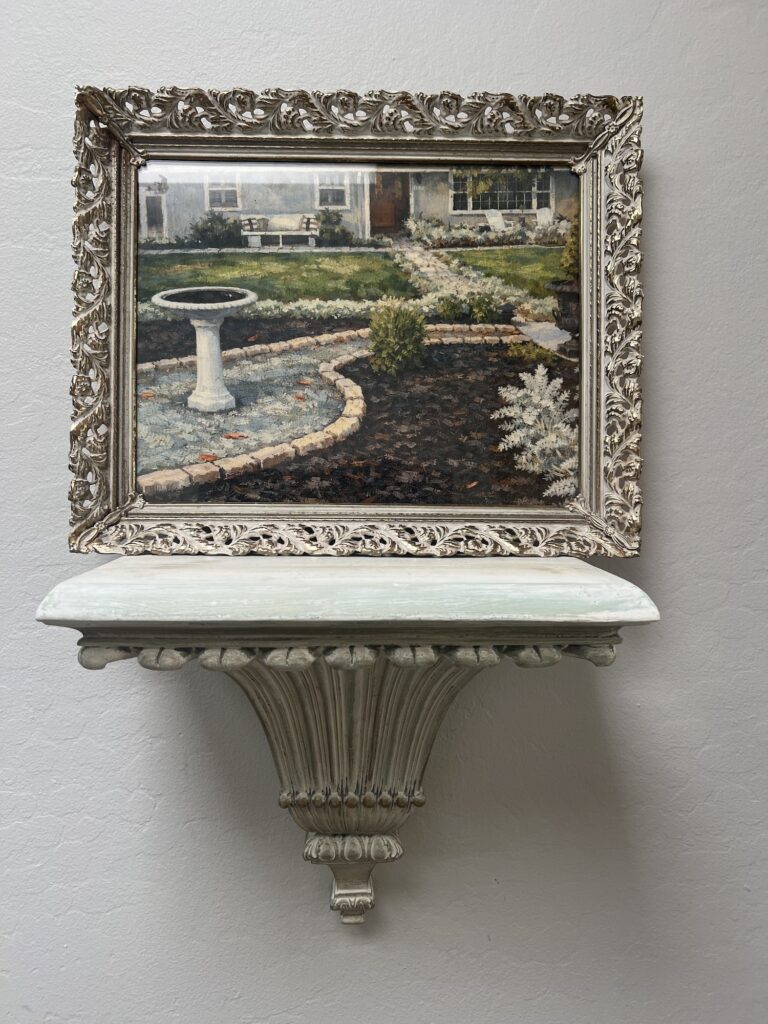
Don’t let all your pieces sit on the same visual plane. A small bracket shelf with a bud vase or a sconce with a piece of artwork like here, introduces a third dimension to the arrangement. Baskets add a ton of texture as do architectural pieces and sculptures. Depth and dimension draws the eye in and engages the viewer. The large picture of our home on the sconce is behind glass, but I’m tempted to remove the glass and use this technique {Easily Transform an Image into a Painting Hack} to add dimension and texture to the picture. The picture is created using an Impressionism artwork look so I think it would work really well. Time will tell and I’ll keep you posted.
Edit, Live with it & Let it Grow
A thrifted gallery wall is never truly finished, which is part of the charm. Live with the initial layout awhile before making any changes. As you find new pieces, swap or extend the display. Gallery walls should tell a story and stories can always have another chapter or sequel.
More Thrift Related Posts
The Thrifted Home Super Power
Thrifting is a fun treasure hunt for adults and a secret weapon for interior designers and vintage store owners. Lean into thrifting to provide fresh and unique pieces for your home, creating a collected and curated timeless feel.
Are you wondering right about now…
What are the benefits of thrifting?

Closing Thoughts ~ Conclusion of the Thrifted Gallery Wall
Gallery walls are a fantastic way to add personality to any room. They add a lived-in, collected-over-time personal vibe that truly makes a space feel like home. Using thrifted finds for a gallery wall stamps it with your signature style, which can’t be replicated.
I thrift shop frequently and add treasures throughout our home regularly. Thrift finds give your home a unique look and are budget friendly. I hope this inspires you to go thrifting, or if you’re already a thrifter, I hope it gives you a new insight.
Don’t forget to hop over and visit my thrifty friend Rachel @ The Antiqued Journey for more thrifting inspiration. Thank you for being here today and may the Thrifting Gods be ever in your favor.
Au revoir!


FAQs – Thrifted Collections Gallery Wall
Q1. How many pieces do I need to start a gallery wall?
A1. A cohesive arrangement can begin with as few as five to seven pieces. An odd number creates more visual interest than an even grouping. You can always expand outward as you find new thrifted pieces.
Q2. How do I keep a thrifted gallery wall from looking cluttered?
A2. Consistent spacing (2–3 inches between each piece), a unified colour palette, and a clear overall shape (rectangular cluster, organic oval, or long horizontal run) create visual order even among very different individual pieces. When in doubt, remove rather than add.
Q3. What’s a reasonable budget for a thrifted gallery wall?
A3. Most thrifted frames and plates cost $1–$5 each. This arrangement cost around $25, which is less than a single piece of mass-produced wall art from a home decor chain.
THE ART OF SUSTAINABLE SHOPPING
Circular Consumption
Reuse ~ Recycle ~ Repair
The notion of second hand shopping leans into the circular consumption paradigm where wares keep getting bought over and over again rather than landing in the landfill.
Shop the Thrifted Gallery Wall Look
- 3 Pcs Large Vintage Picture Frames 10″ 12″ Antique Picture Frame
- 8×10 Picture Frame Vintage Gold Frame
- Vintage Picture Frame 5 x 7 Inch Oval Antique Bronze Gold Photo Frame
- Gothic Style Ornate Sconce Floating Shelf
- Touch of Class Lionna Wall Shelf
- Touch of Class Clareville Antique White Acanthus Leaf Wall Shelf
- French Country Style Decorative Ceramic Plate
- Nouveau Paris Vintage Eiffel Tower – Porcelain Plate 8-inches
- Provence 11-Inch Dinner Plates, Set of 4 Ceramic Plates with Assorted French Folk-Inspired Designs


Don’t forget to Pin It and save for later. You never know when inspiration will strike!
For more inspiration follow me on Pinterest.
Most Recent Posts

Your home should tell the story of who you are, and be a collection of what you love.”
Nate Berkus