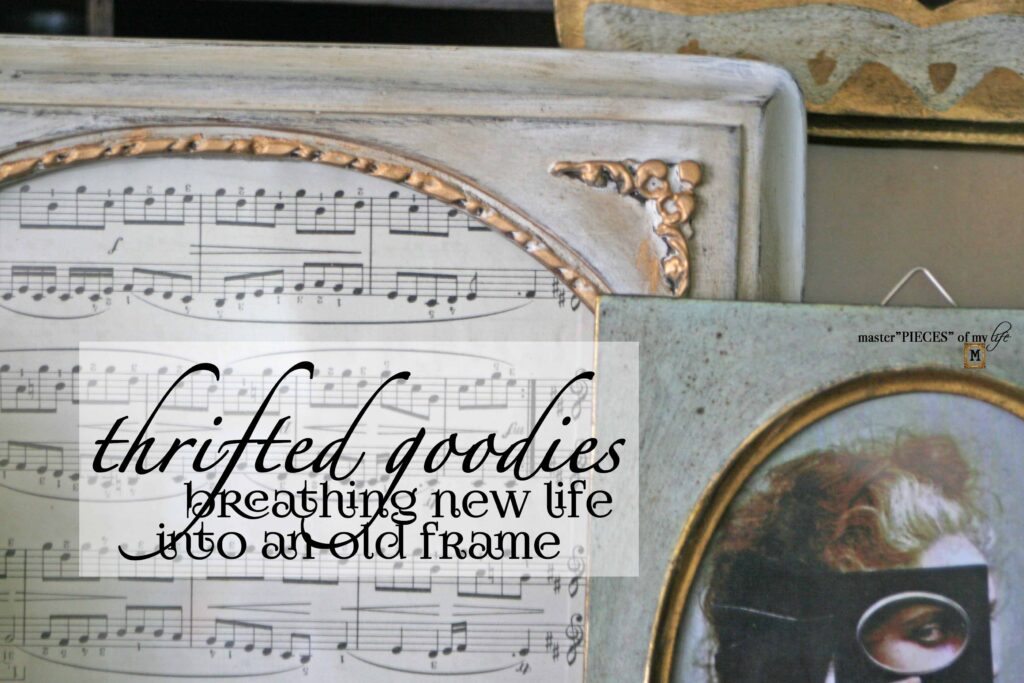
How to Update a Vintage Window Mirror
Architectural pieces are fabulous decor items with tons of charm, texture and distinctiveness. Old window frames fall in this category, which I love to use for decor. I recently updated an old window mirror which we have hanging in the family room, prompting this post. Let me share how to update a vintage window mirror to fit your decor aesthetic.
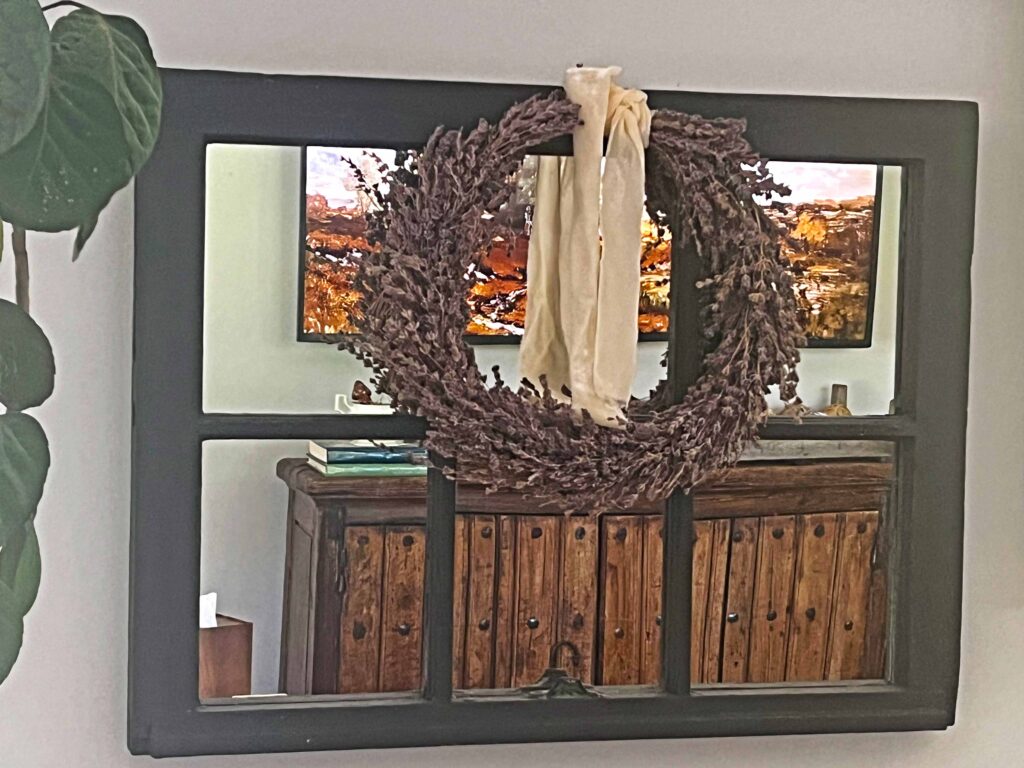
Earlier in the year I shared our family room transformation and our remodel aspirations for the new year. This vintage window pane mirror is one of my favorite pieces, but it needed an update to fit into the new family room aesthetic. It wan’t an extensive change; simply some paint and a new styling is all it took.
Let me share with you why this is such a special piece and how you can easily update an old piece.
All About the Vintage Window Mirror
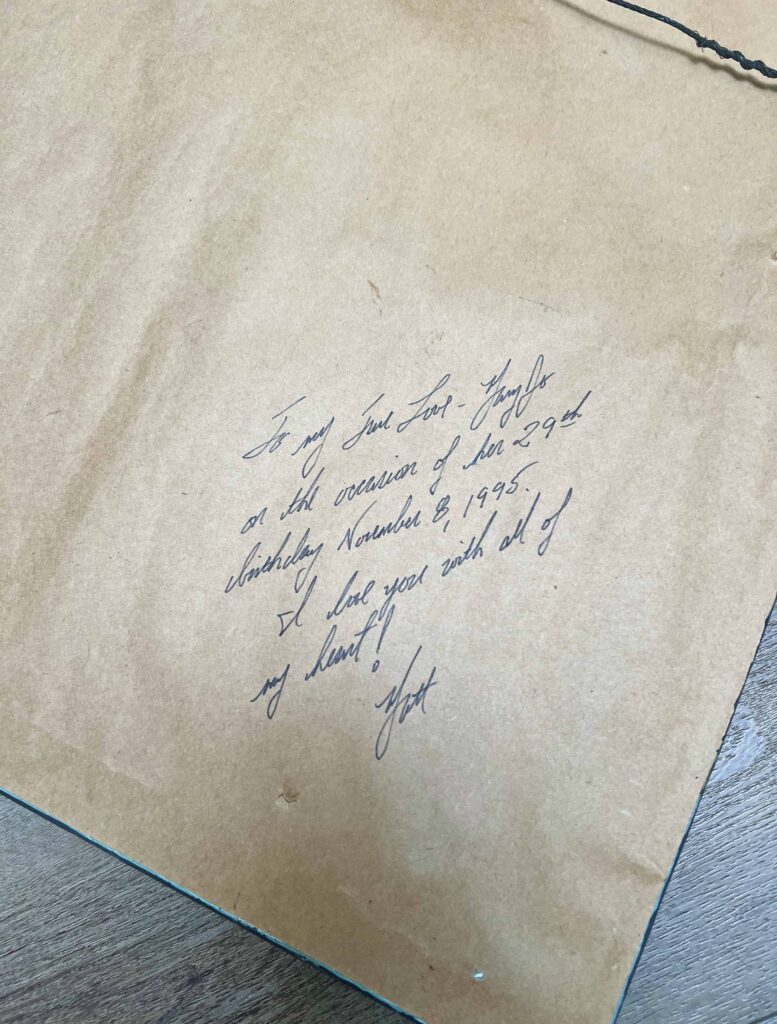
This vintage window is super special to me since it was my birthday present from Mister M when we were first dating, during our courtship days, if you will. He wrote a sentiment on the back, which will travel with the window mirror as long as it’s in our family.
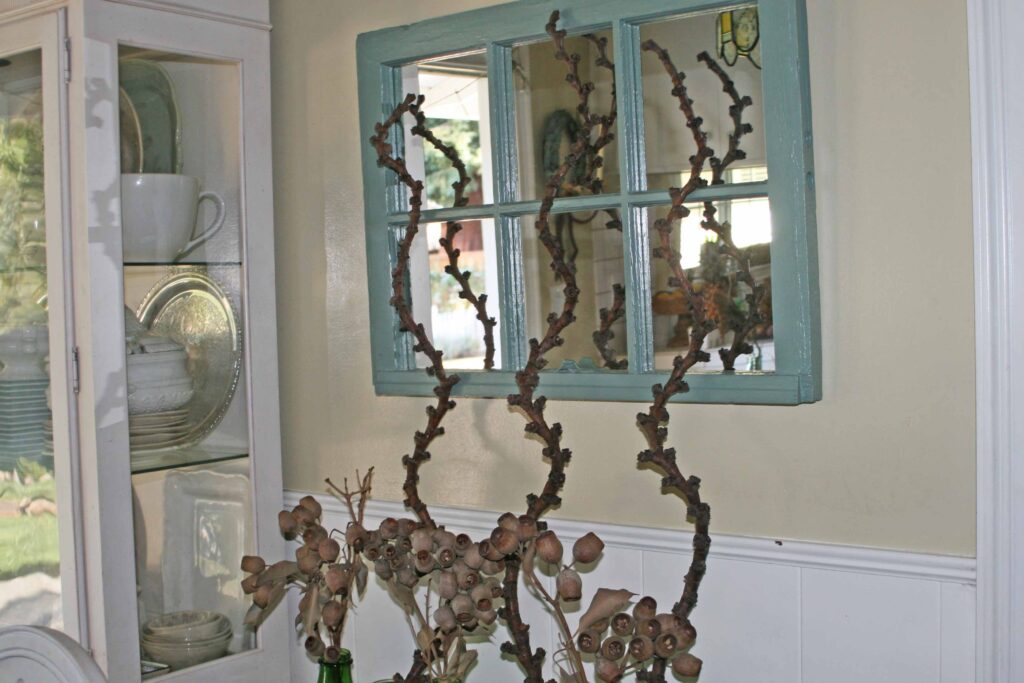
Here’s a picture of the mirror before the recent update. Mr. M painted the window green since he knew it was my favorite color. He had it fitted with a mirror and finished off professionally since his Mom ran an art gallery back in New York with a full framing studio. It wore this pretty party dress in the 4 different homes we shared together for 25 years.
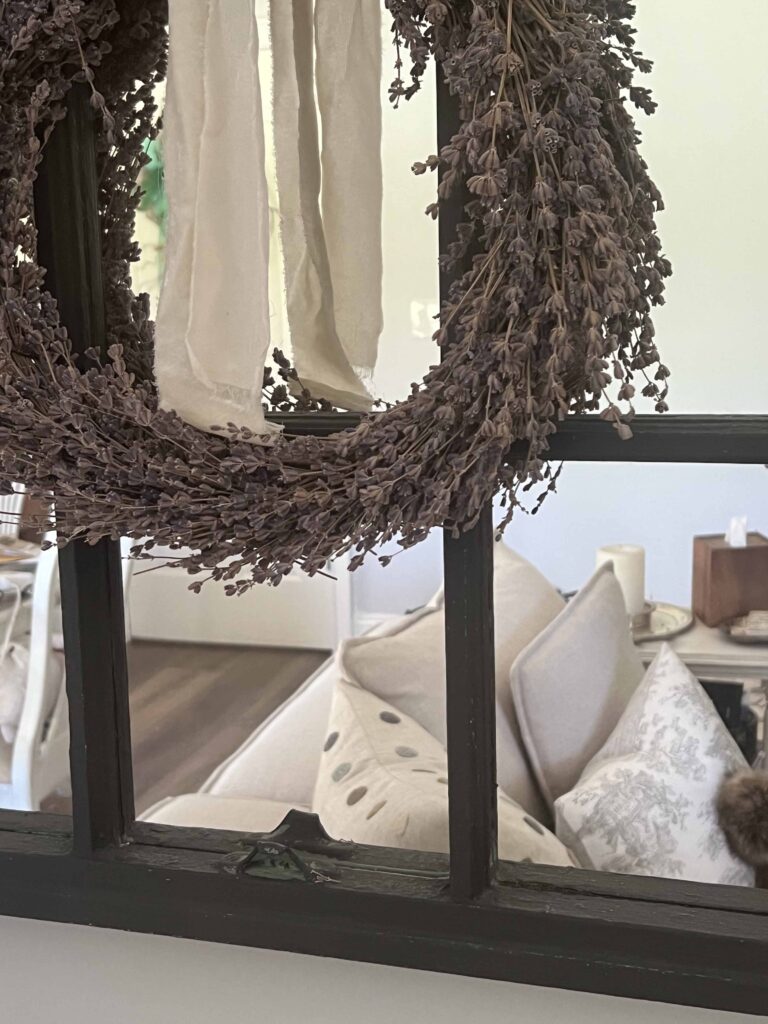
I treasure this piece dearly and it was a hard decision to update it. It has a cleaner aesthetic with the crisp black paint finish against the gray walls. Although I loved the green, I think it would have muddied the look. So here we are.
By the way, the mirror above is hanging on the wall, which divided the family room and kitchen and we had removed. All the details are in this post here {family room updates…}.
Steps to Update a Vintage Window Mirror
Prep & Paint
I painted the mirror with Annie Sloan chalk paint in Graphite. I love this color, since it gives you the look of black but with a softer hue. I did not have to prime the mirror since it’s one of the benefits of AS chalk paint, and one of the many reasons it’s my preferred furniture and small project paint. (I am not affiliated with Annie Sloan, nor does she even know I exist; I simply love her product.)
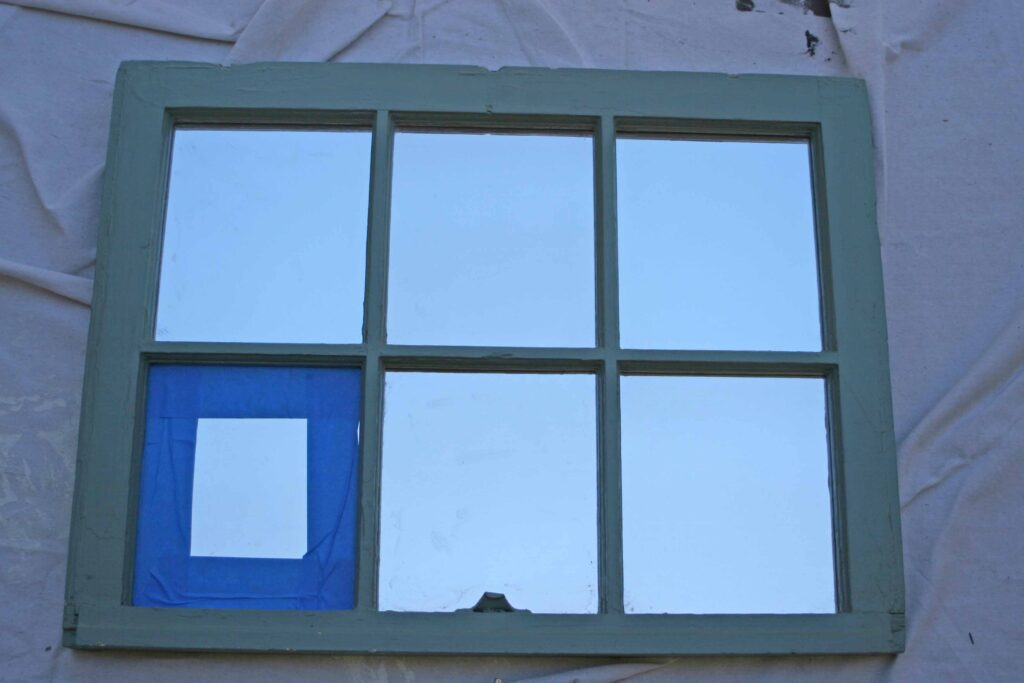
Before I started painting, I wiped down the mirror and used painter’s tape to mask all the mirror panes. This way you can paint freely and simply remove the tape when done painting, leaving clean mirror panes. If you’re a free hander, by all means go for it. I’m not precise enough and invariably I get painted on the mirror panes, so I much prefer to mask rather than scrape off paint when done.
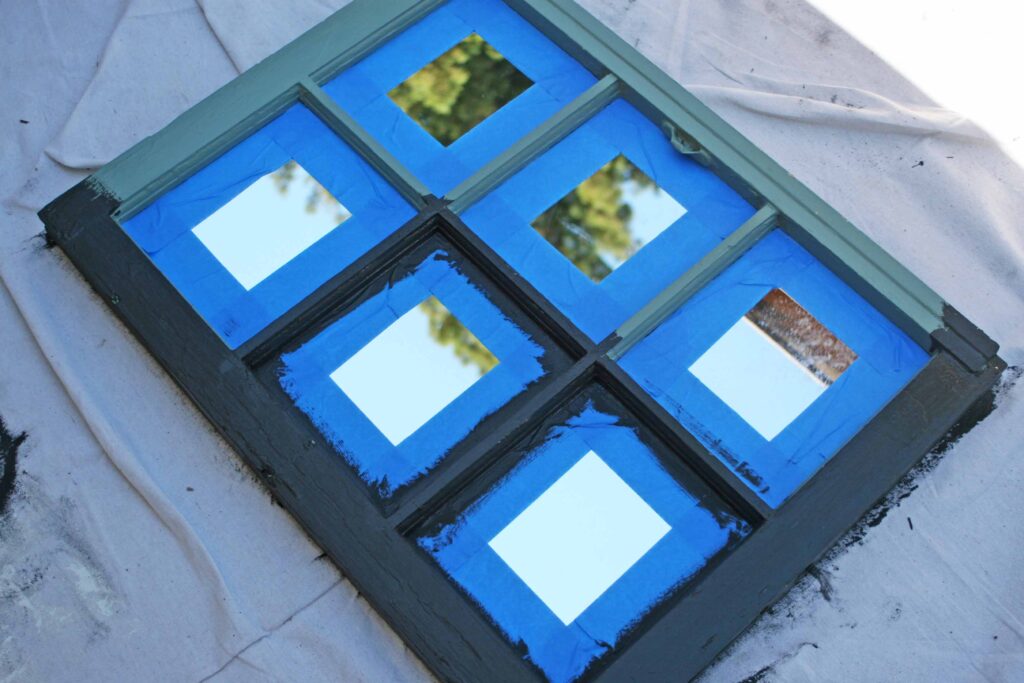
Once I was done painting, I let the mirror sit, allowing the paint to dry completely. My preference is to leave a piece to sit over night if possible. Once the paint has cured thoroughly, I remove the painter’s tape.
Sand, Wax & Buff
To finish off any piece I paint with chalk paint, I like to sand it and wax it in order to seal it. I lightly sand chalk painted pieces with a low grit sand paper just to smooth the paint a bit. I used 400 grit sand paper for this project. The lower the number on sand paper, the coarser the grit, so 400 is on the lighter side.
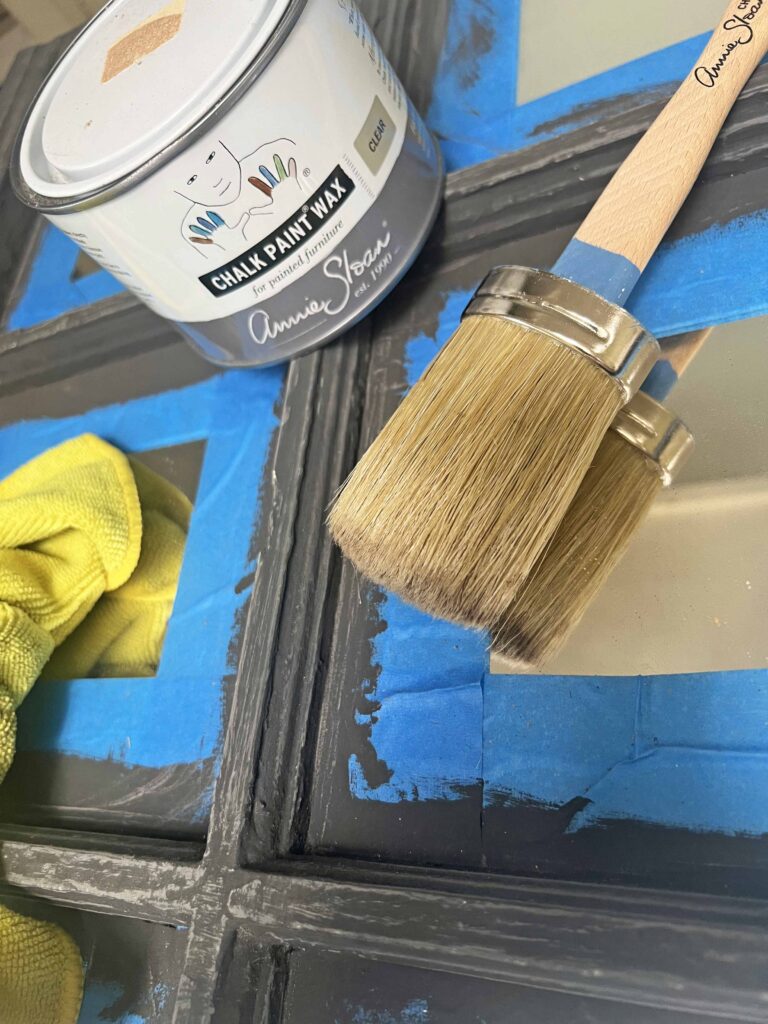
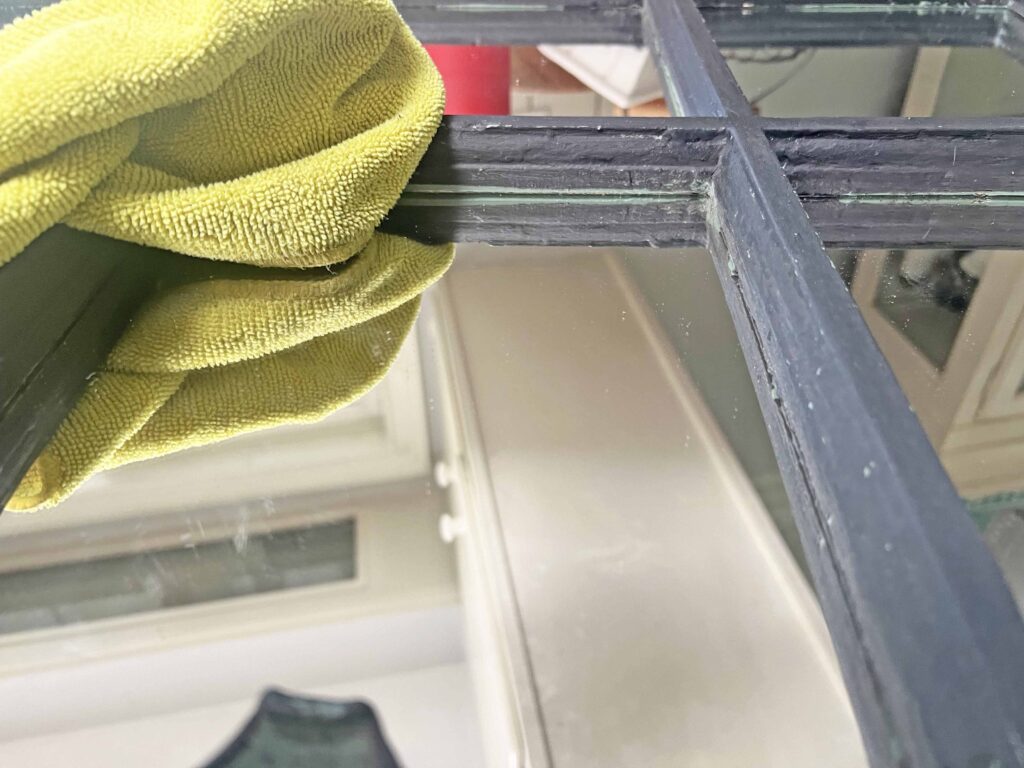
You can see the white areas on the picture above, showing the sanding process. After sanding, I apply the wax and buff to create a finished sheen. Below you can see the white is gone once the piece is waxed and buffed with a rag. I used AS clear wax and applied it with a wax brush.
Location & Styling
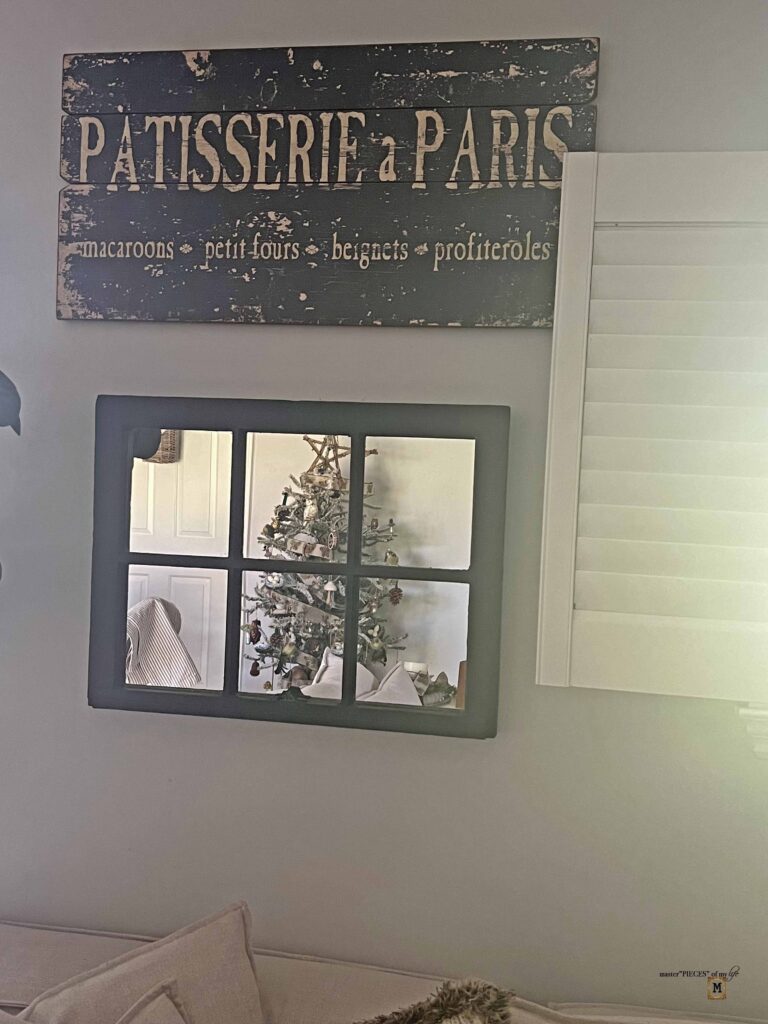
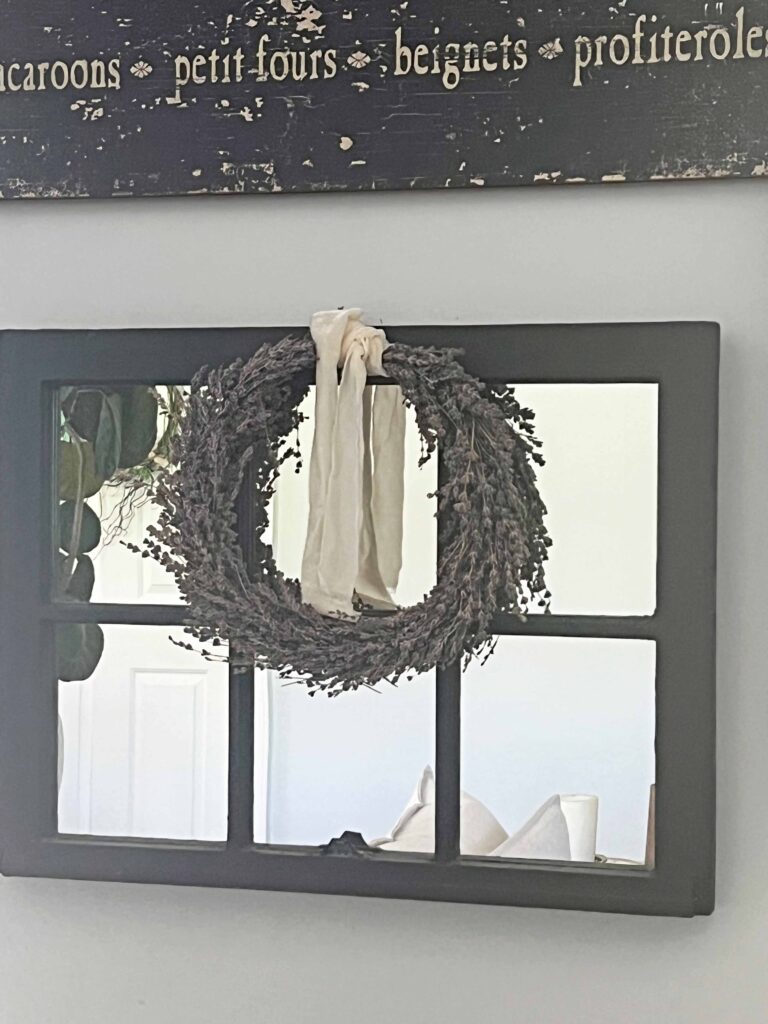
The spot on the wall under the distressed Patisserie sign was the perfect footprint for the mirror. I love how they stack between the sliding glass doors and the real house window. Hence why the photo has so much light filtering through.
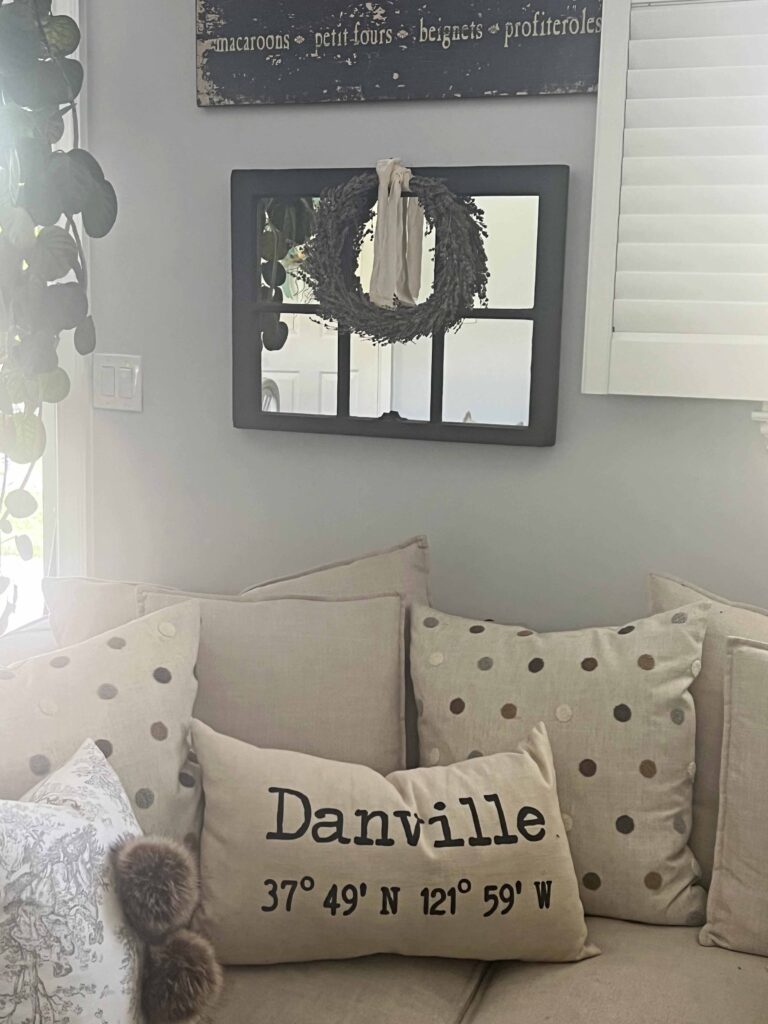
I love the window mirror itself, but it’s the perfect backdrop to style seasonally. I have hung many wreaths from it through the years, but the black color treatment makes it a more neutral backdrop for different looks. The simple lavender wreath my girlfriend made a few years ago from plants in her yard has dried beautifully. It gives the perfect provincial vibes I love so much.
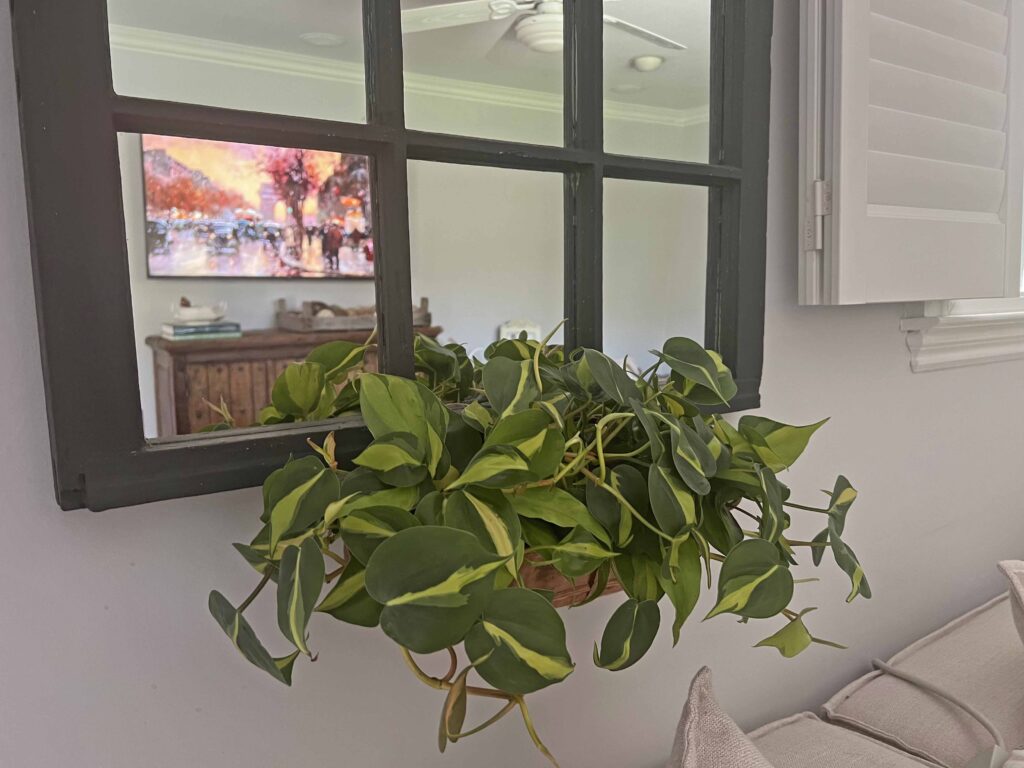
I love window boxes spilling over with all sorts of goodness on the outside of homes, so why not on the inside too, right? I used this copper trough I found thrifting last year, making the perfect window box for the vintage mirror.
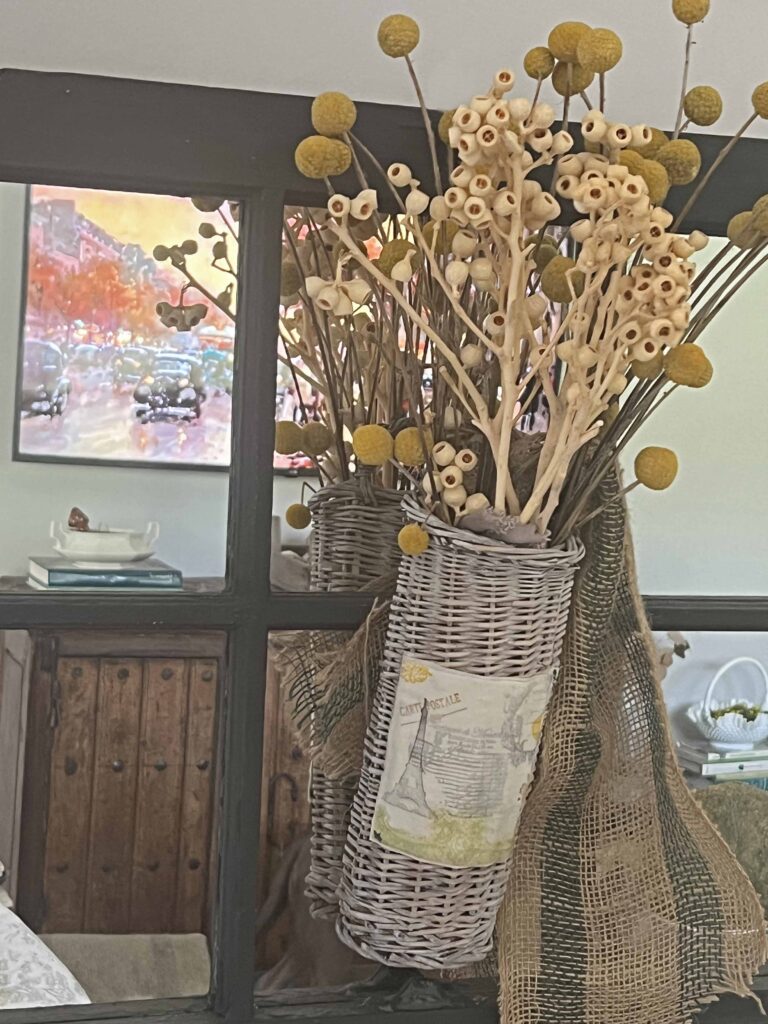
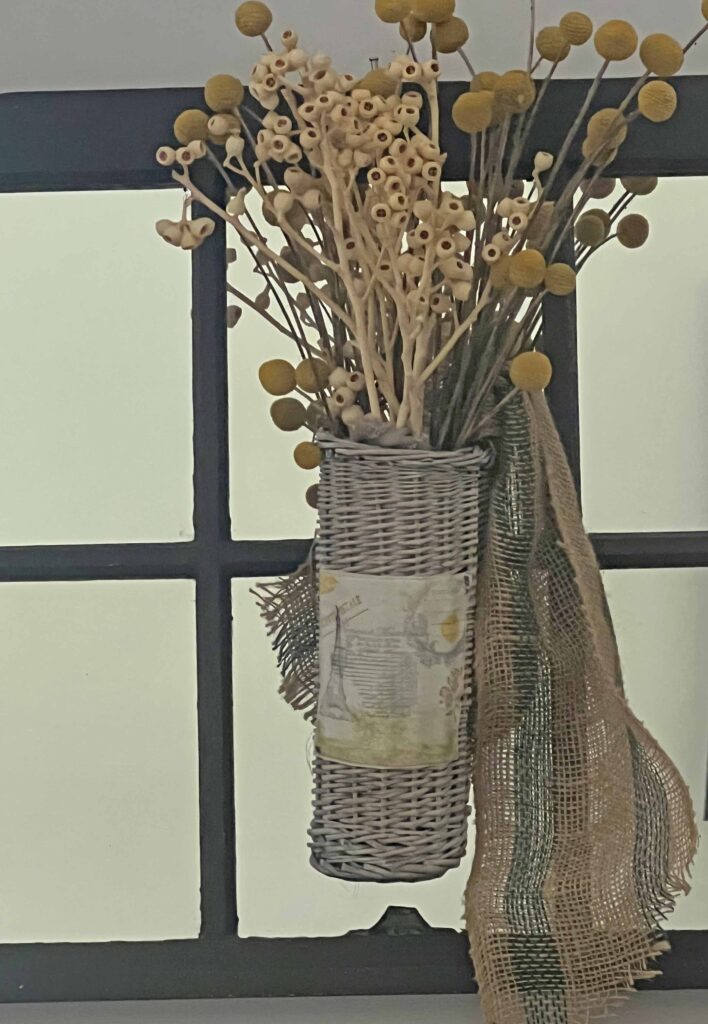
I’ve been talking about baskets a bit on the blog lately so I have baskets on the brain. Why not hang a pretty basket from the window? You can read all about this hanging basket here {springing into summer with a frame wreath}.
Closing Thought on Updating a Vintage & Sentimental Window Mirror
I loved my vintage window mirror the second Mr. M gave it to me, and I love it now. And although I covered the green paint for the most part, there are little sections where it peeks through. And I love that. The little bit of green on the lock you can see below is everything!
I’m thinking some day I might give it a good sanding to have more of the green show through, but that’s for another day very far down the road. It would tell more of its story then and those are details I love in home decor. Our homes, while well appointed, should tell our stories and personalize our spaces.
This is a baby step for the family room updates, but hopefully we will get to tackling some of the bigger projects and like always we will bring you along for the ride.


More Up-cycle and Refurbishment Projects
Painting is the passage from the chaos of the emotions to the order of the possible.
Balthus
I love it!! What an amazing thing to have carried with you all these years. The black really makes all of your decor pop!