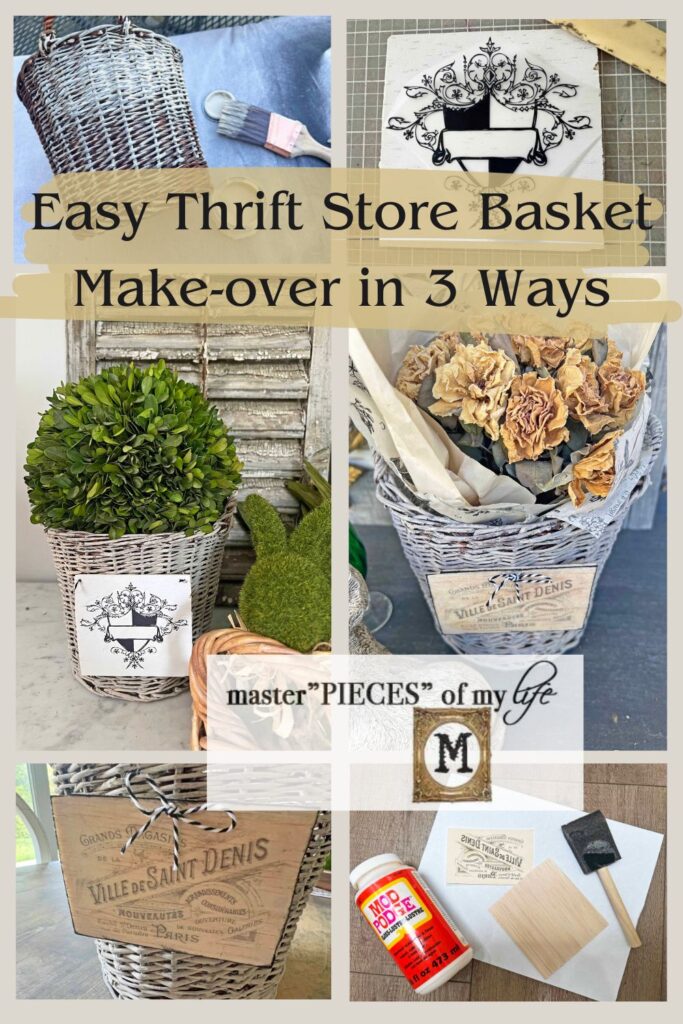
Easy Thrift Store Basket Make-over in 3 Ways
Thrift stores are always chock full of all sort of baskets, which can be easily up-cycled into chic decor. Here are three simple ways for an easy thrift store basket make over. You can use one of these techniques or all three, but any one of them will make a dated basket into a fabulous trend forward decor piece.
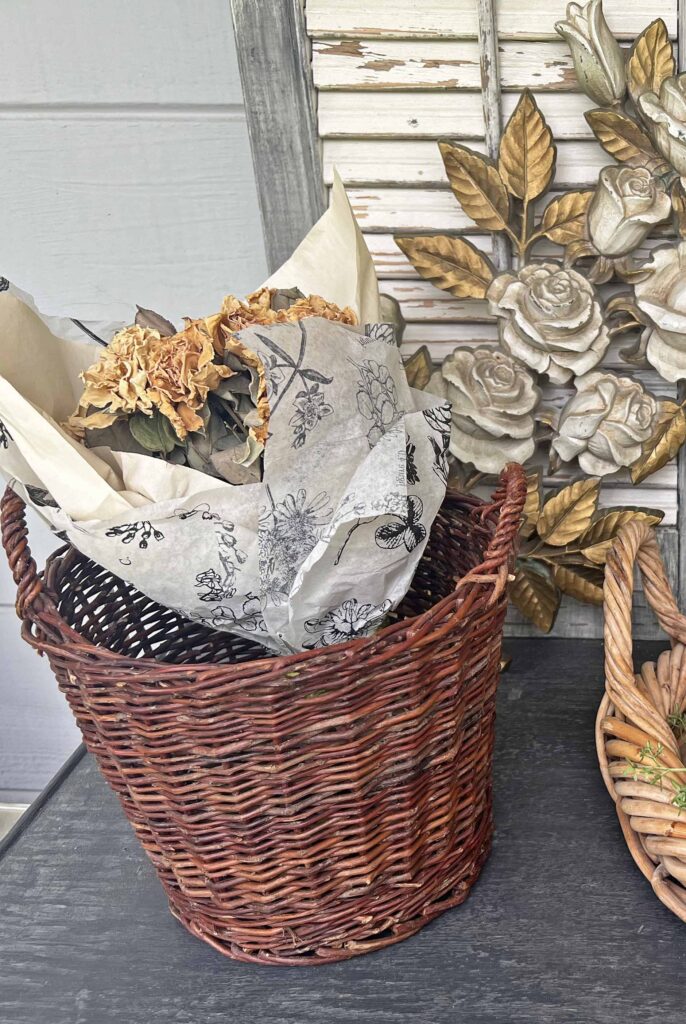
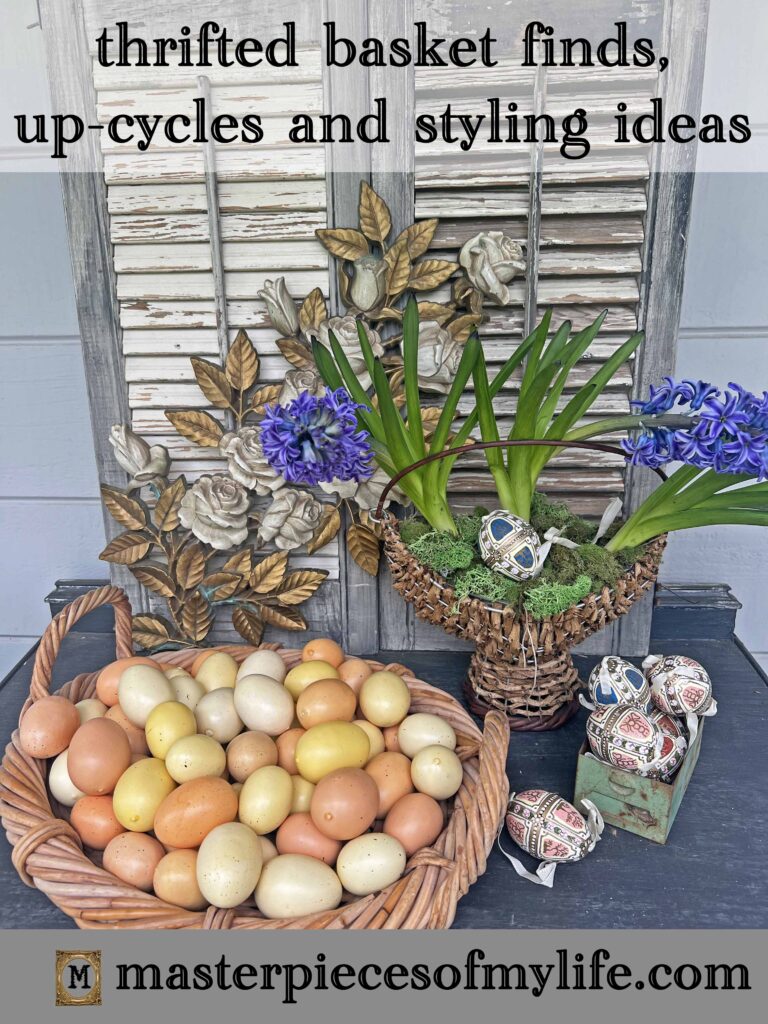
In my last Thrifted Goodies installment I shared about thrift store baskets here {thrifted basket finds, up-cycles and styling ideas}, and this cute little basket was one of the up-cycle shares. I used three different techniques to give this great little basket a new lease on life.
When I find baskets at thrift stores I always look at them for what they can become with some TLC versus what they actually look like on the shelf in the store. Let me share three different ways you can easily jazz up a thrifted basket to fit your decor style.
*Affiliate links included for your convenience.
All About the Thrifted Basket
I found this little basket not too long ago at one of my local thrift stores right downtown, which I frequently visit. The Thrift Station is sponsored by a local philanthropy, and I support them as much as I can.
The Thrift Station is conveniently located, super close to my house. I tend to have consistent luck in finding items at this store, but what tends to be inconsistent sometimes is the pricing. This basket was priced at $1 though, and I did not think twice about it.
I loved the profile and grabbed it right away. I knew I would be altering it but I love the shape, which makes it perfect to use as a vase or planter. The original color was not my jam though.
Three Easy Thrifted Basket Make-over Techniques
Paint
I knew the first thing I would change was the color since I did not like the reddish tones. As I always say, paint is a magic wand, and an easy fix to change the color of many thrifted pieces {how to up-cycle thrifted items with paint}.
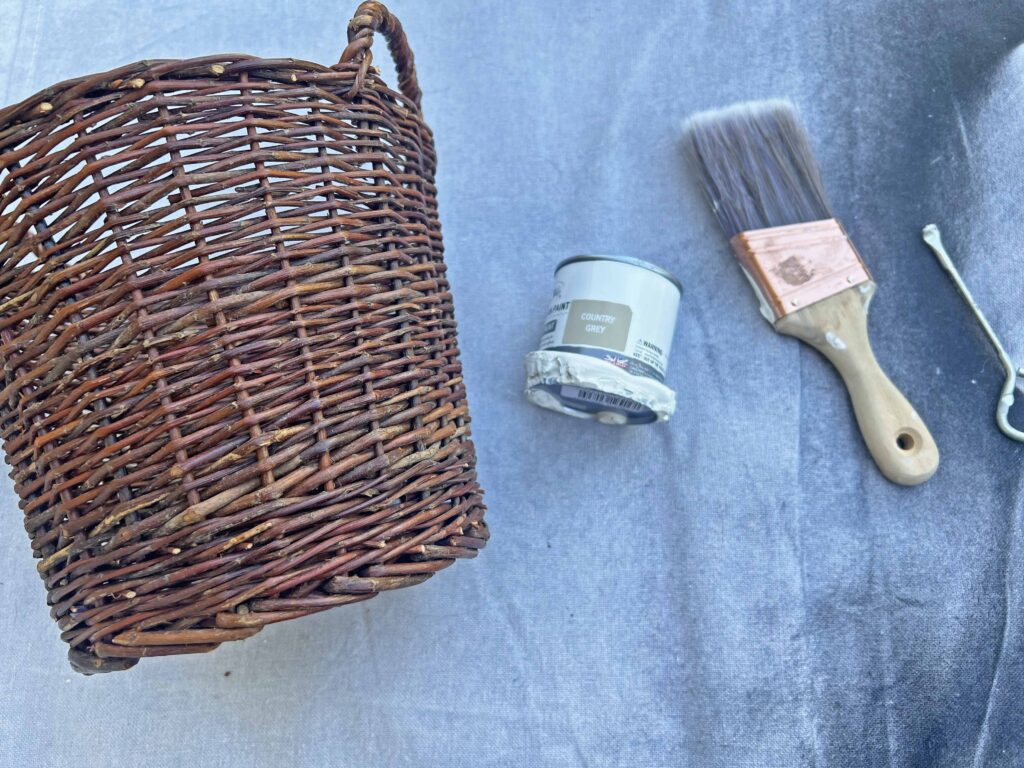
For this piece I just used one coat of paint with no contrasting paint or wax. I used Annie Sloan chalk paint in Country Grey. That’s it. AS chalk paint is my preference for most crafts and furniture projects around here. It doesn’t require much prep work and adheres to so many different mediums.
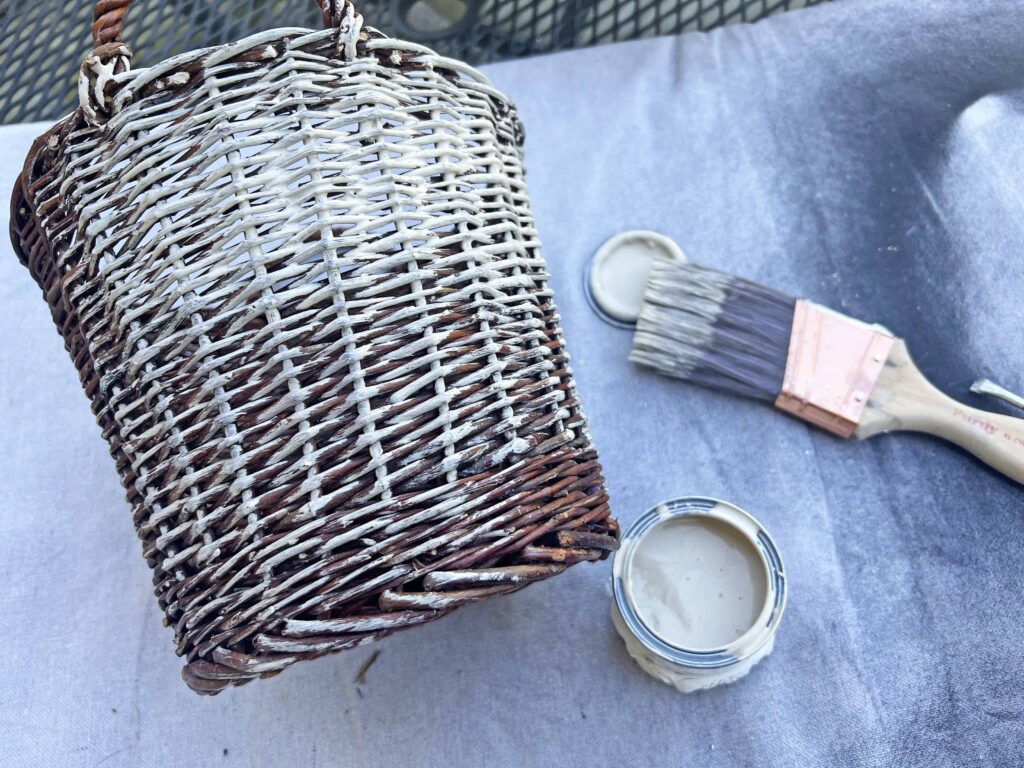
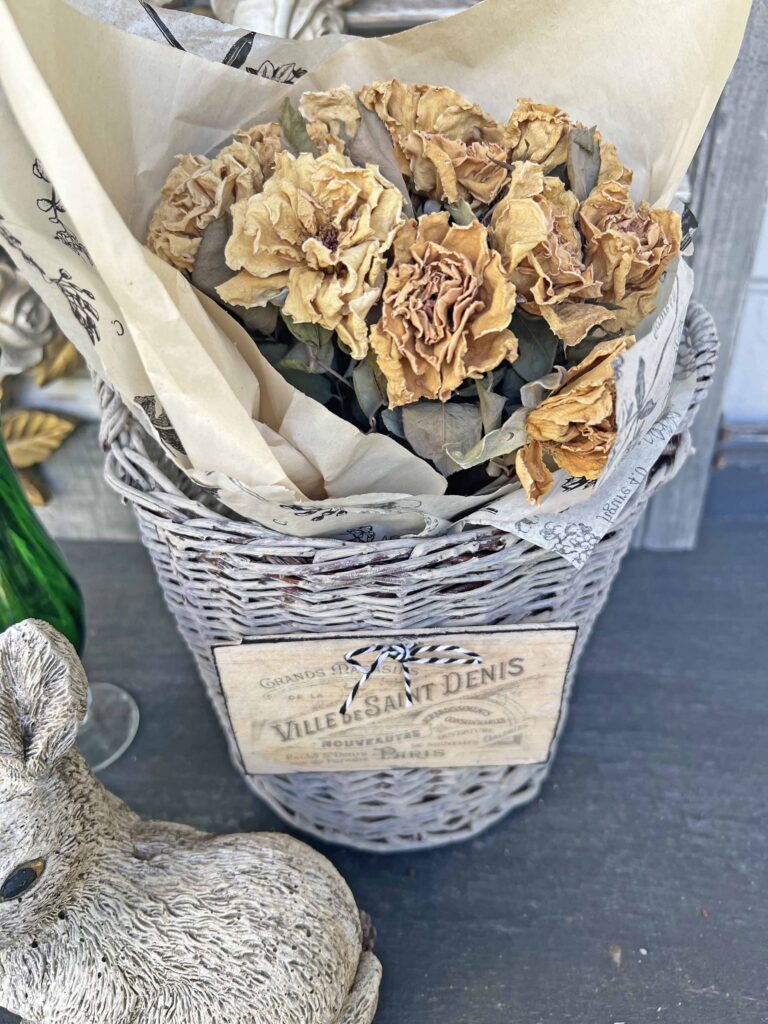
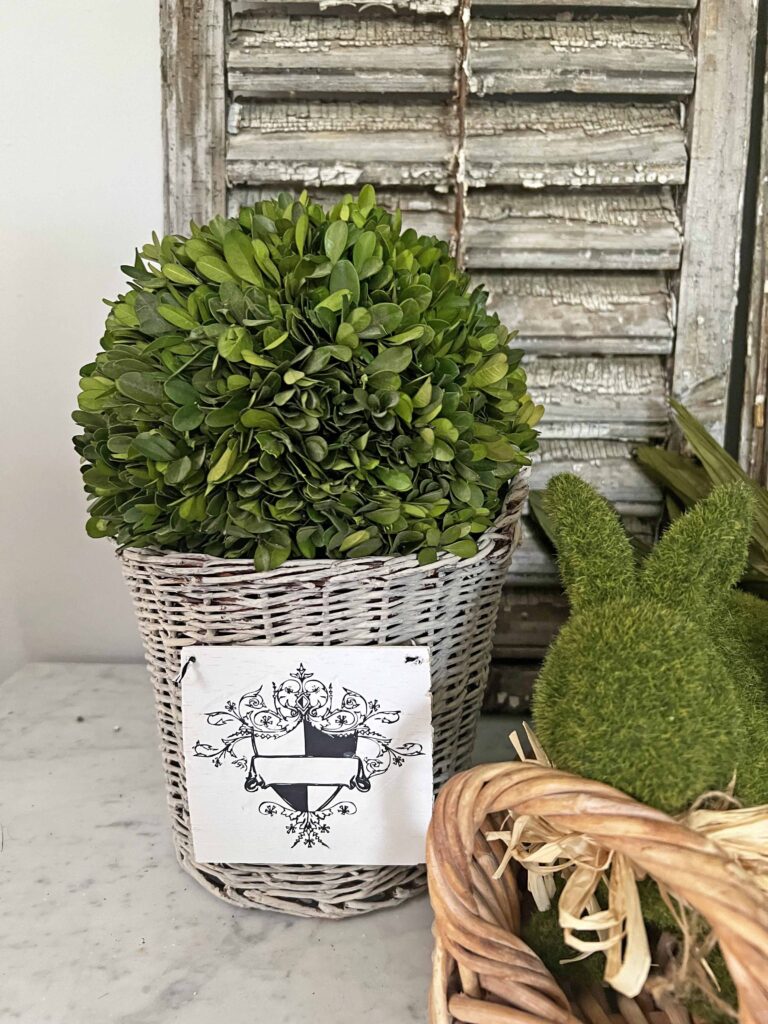
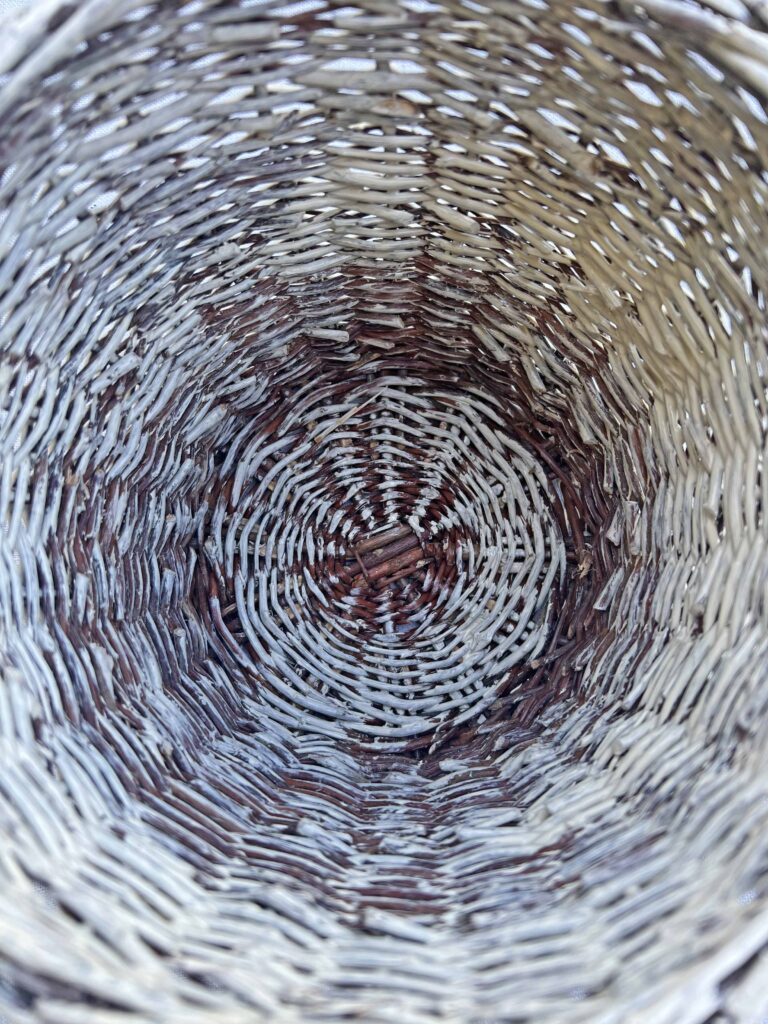
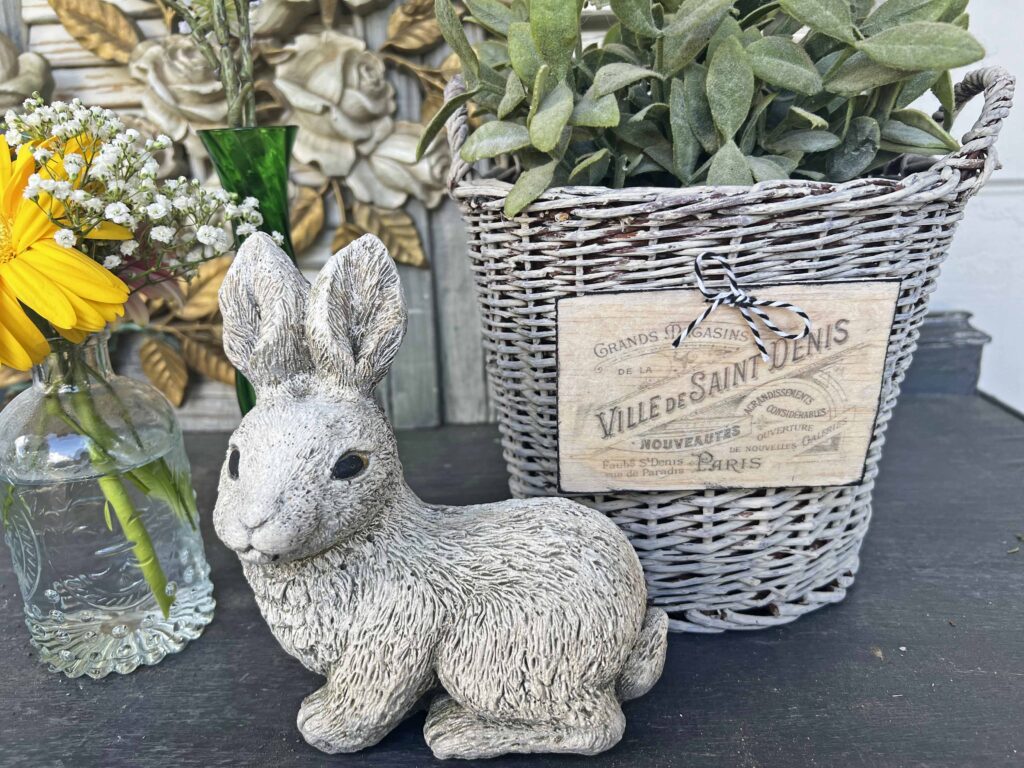
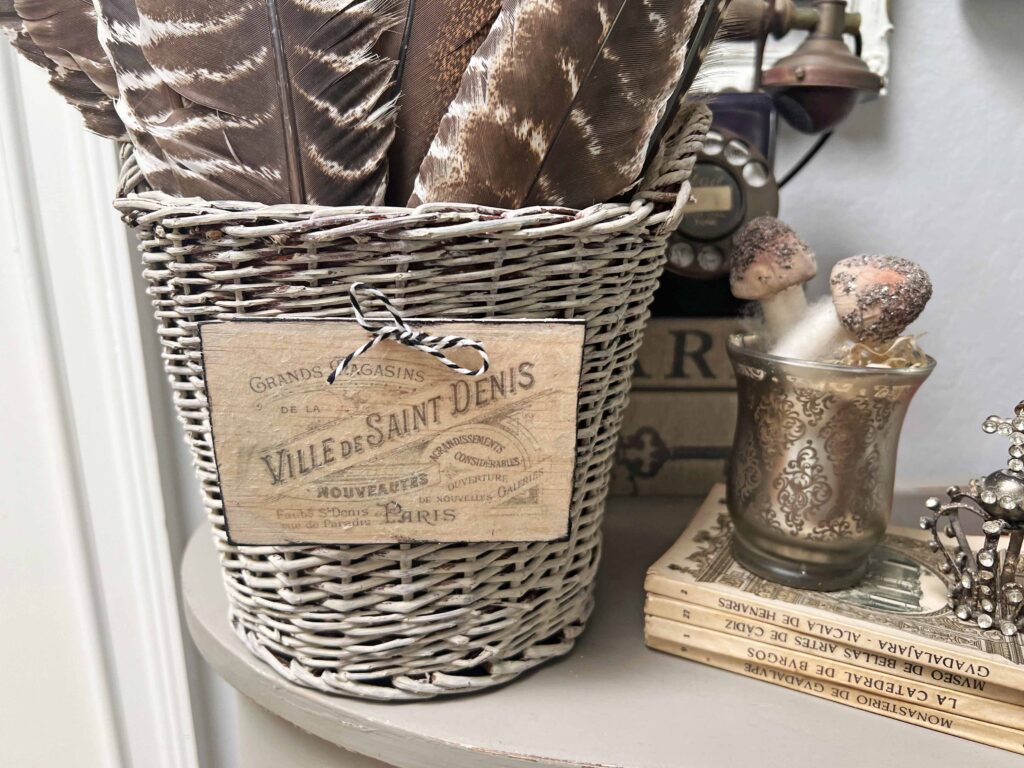
The dark wicker of the basket was the perfect contrast against the grey paint, providing depth. It was not necessary to use another paint color or dark wax to create movement. The natural basket color did that naturally. I painted the inside of the basket too since I want to be able to display it empty if necessary.
Lightening the piece with the grey paint immediately gave it more of a French vintage vibe. The handles were one of the details I really like about the profile of the basket. And although the basket has been changed drastically with the paint treatment, some additional details will elevate the piece even further.
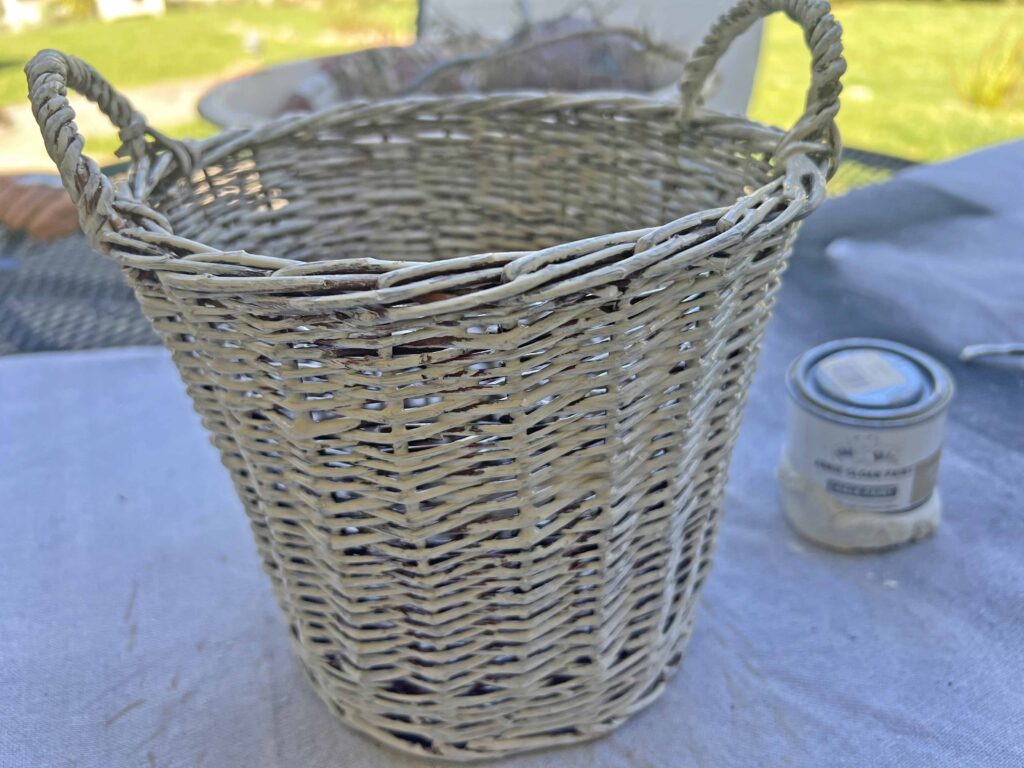
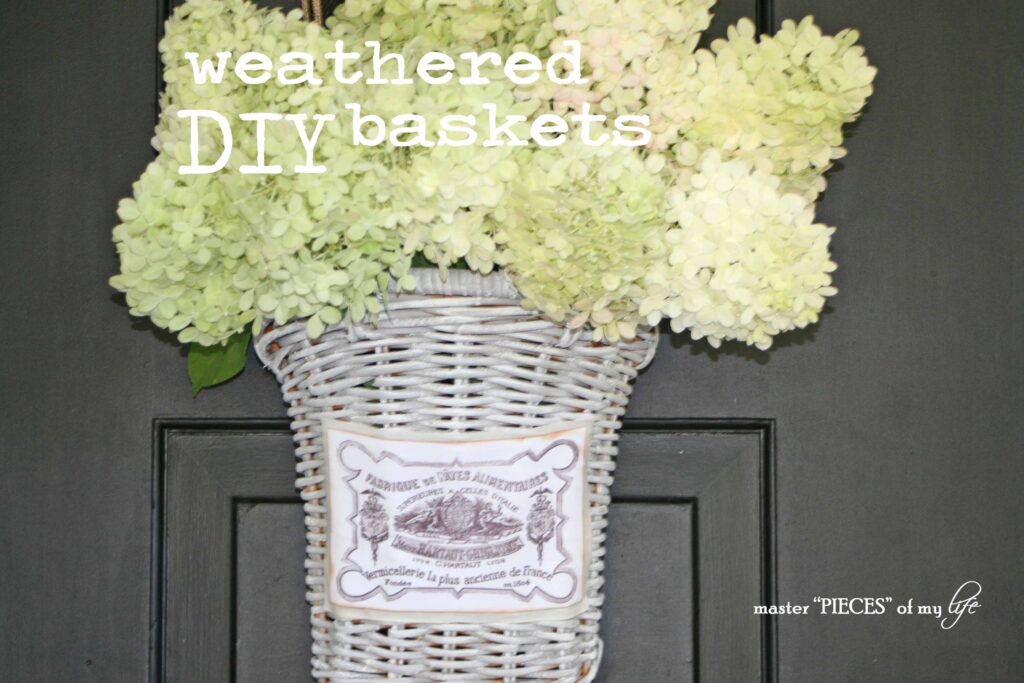
The new basket looks great with flowers, plants, seasonal decor and more. You will be seeing it around here dressed up in many ways throughout the seasons. It will look adorable with a petite Christmas tree tucked inside, don’t you think?
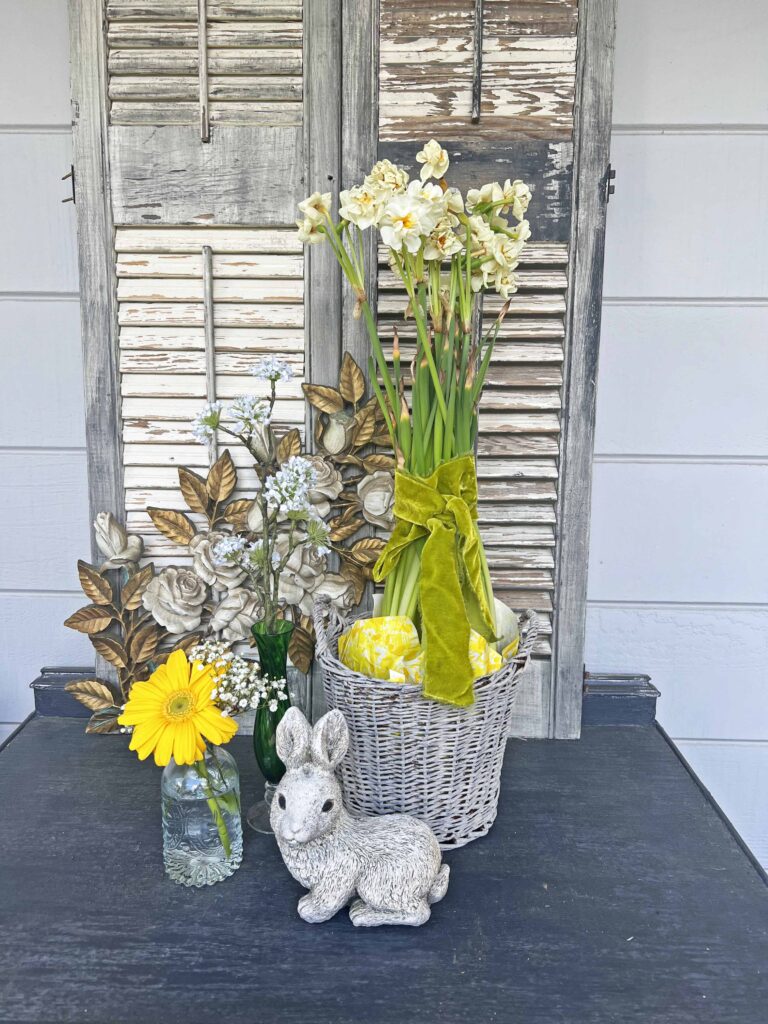
Image Transfer
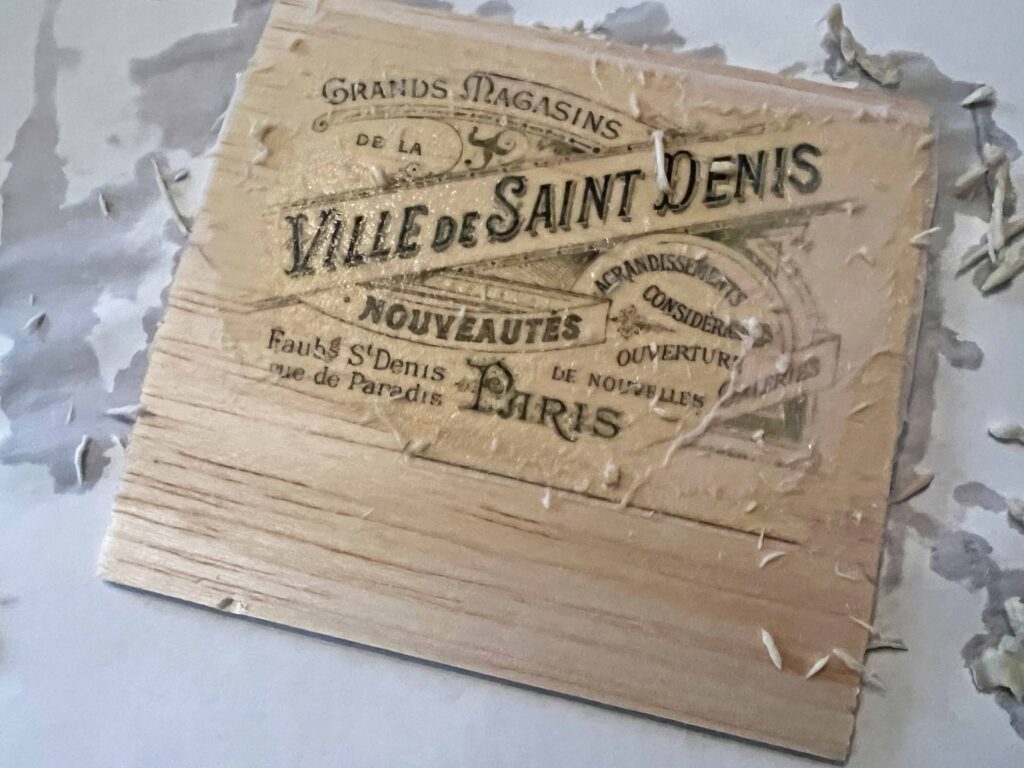
I created an image plaque to adhere to one side of the basket. Using a French label graphic image from the Graphics Fairy, I used the decoupage transfer method to apply the image to a piece of hobby wood I had in my craft stash.
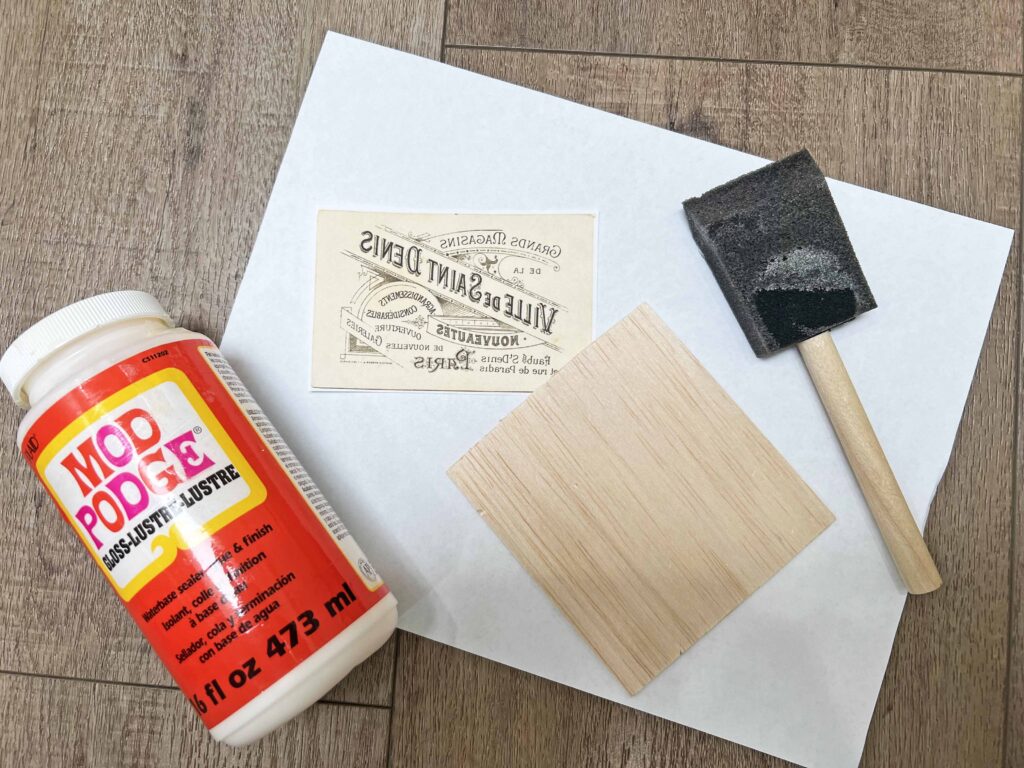
Websites like the Graphics Fairy have fabulous free images you can use for projects like this. As long as the project is for personal use in your home, you are welcome to use them. Once you select the image you want to use, resize it to fit your project. Reverse the image before you print it so it will transfer properly.
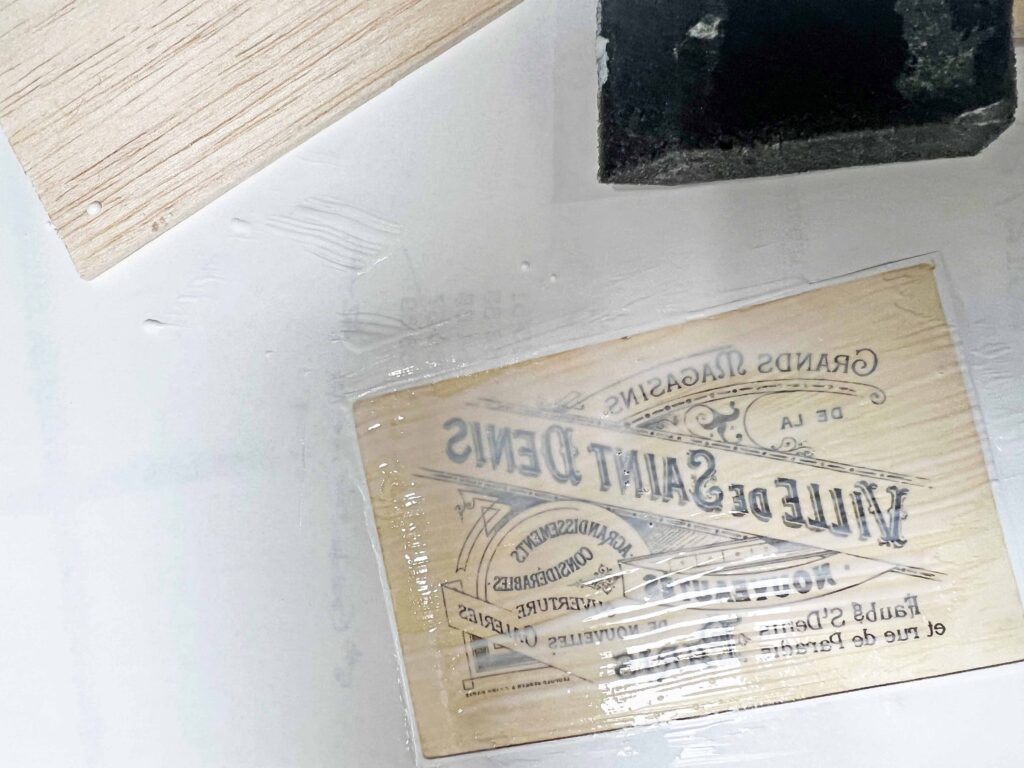
Apply a liberal layer of decoupage medium all over the image, then place it on the wood and set it aside to dry. I let mine sit overnight, which is not necessary, but make sure to let it dry thoroughly. Once it’s dry and set, apply a light layer of water and start rubbing the paper to remove it.

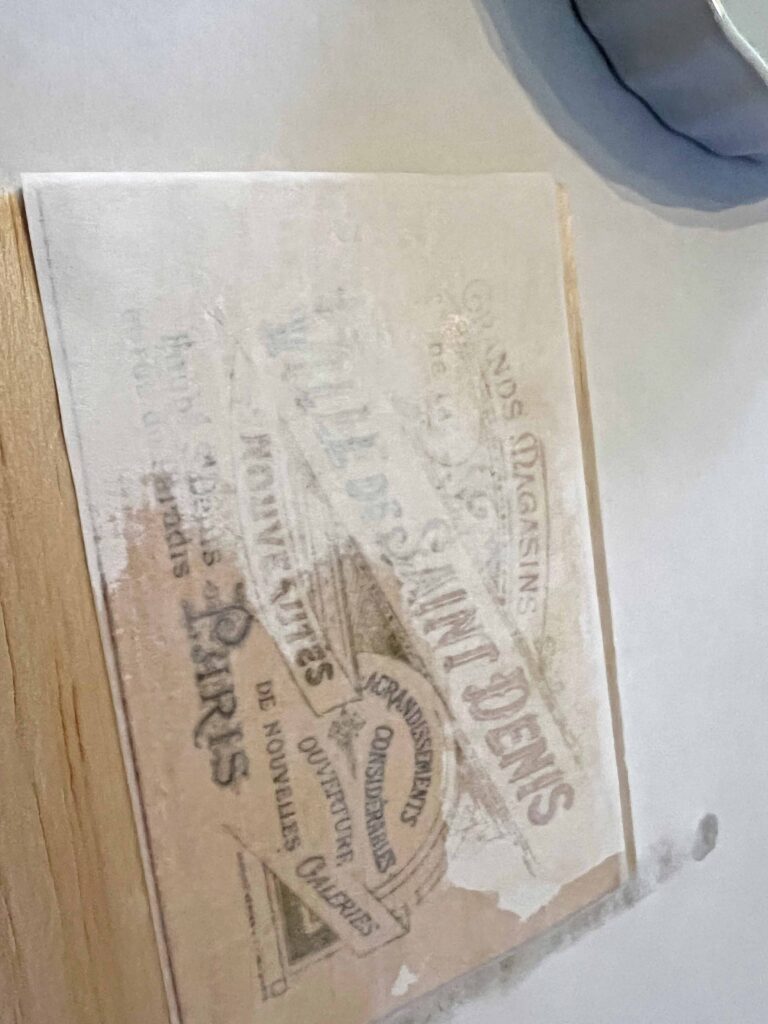
You can see once you apply the water the image starts to show through. Rub very gently to remove the paper; as the paper disintegrates the image establishes itself on the finished piece.
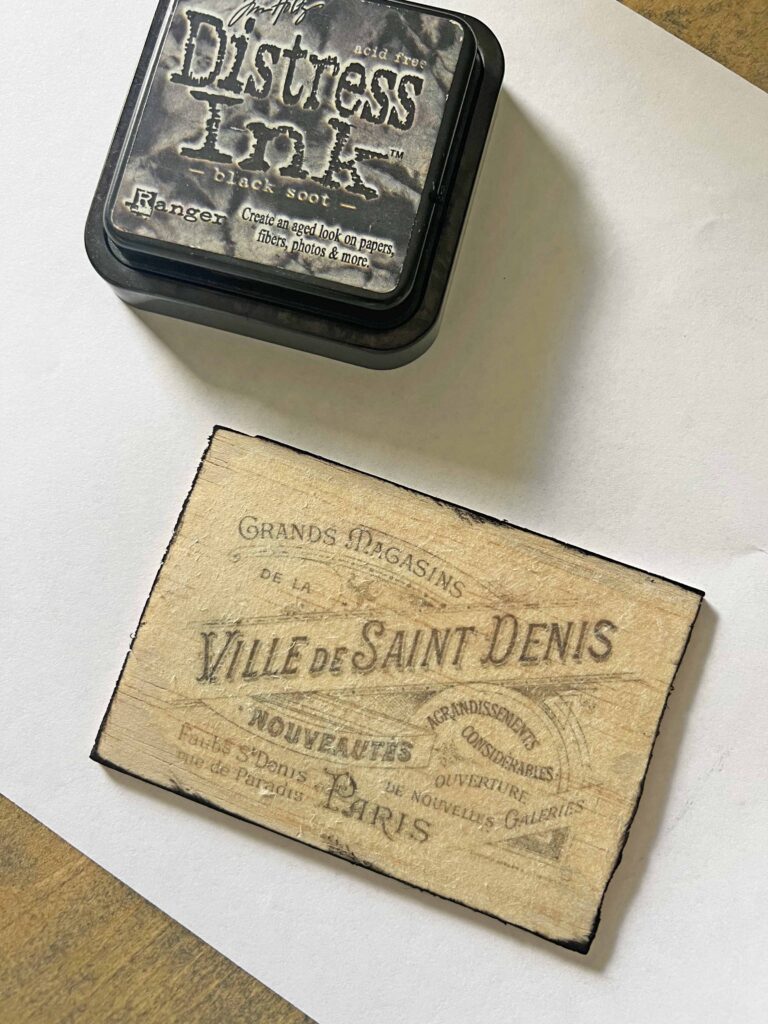
I also inked the edges of the plaque using a black ink pad to give it more of a distressed look. It makes the plaque look aged and that it has been on the basket for awhile.
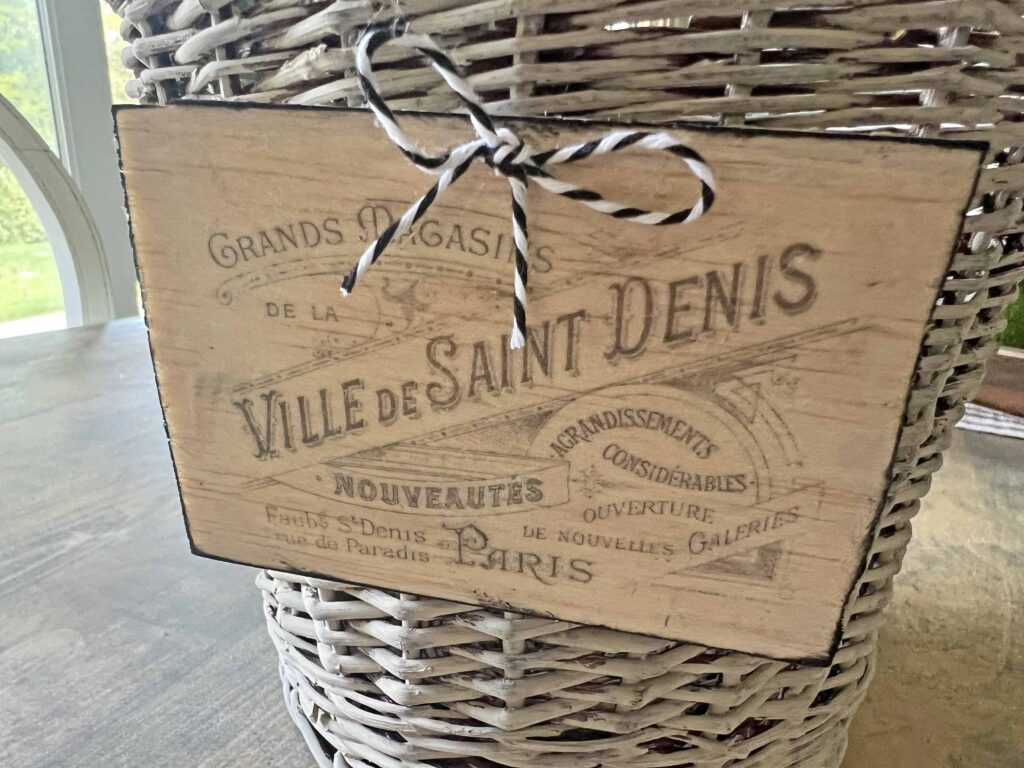
With a craft piercing tool I made a couple of holes centered on the top of the plaque to thread black & white twine to attach it to the basket. The basket weave was easy to thread through, while the craft piercing tool helps thread the twine through the wood plaque.
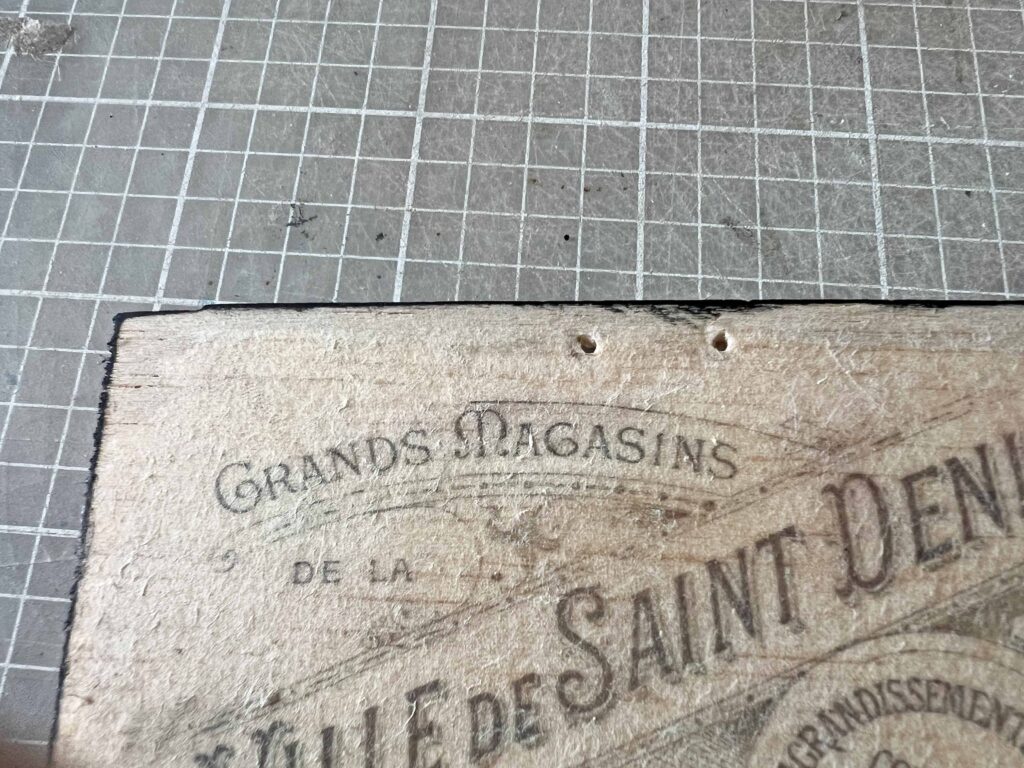
The twine is threaded from the inside of the basket to the outside, allowing for a bow to be tied at the top, front of the plaque. It’s a simple touch, but adds a great finishing detail.
Rub-On Image
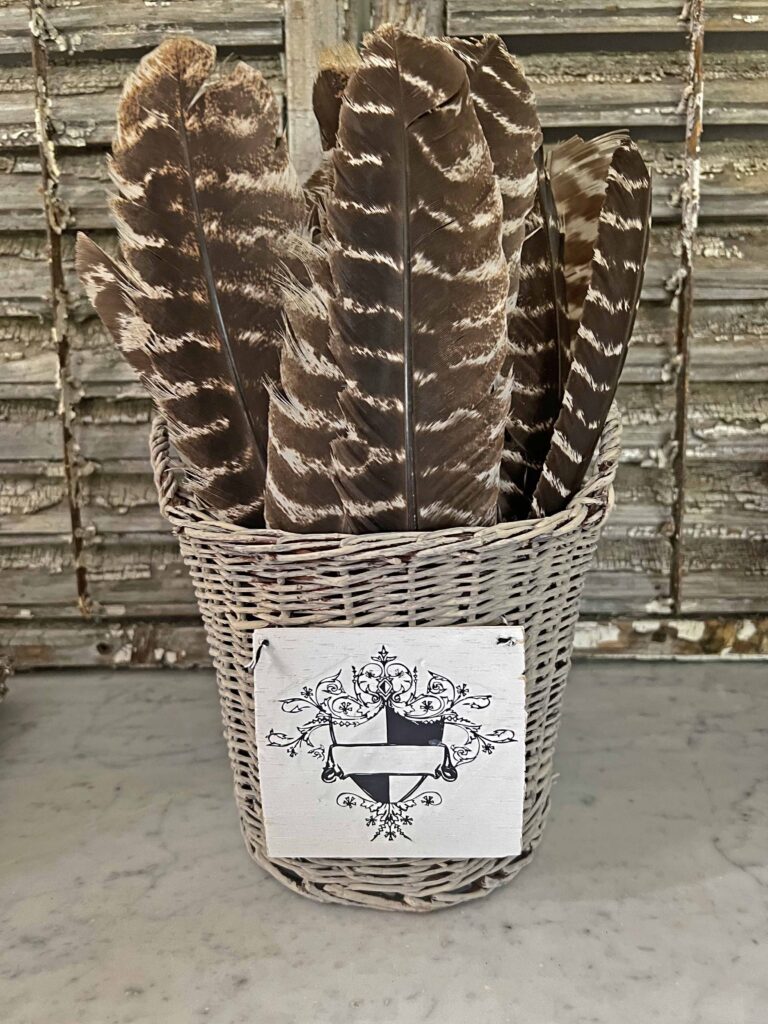
On the other side of the basket I created another plaque, but I used a rub-on image instead. I selected the image based on the scale of the wood piece I wanted to use.
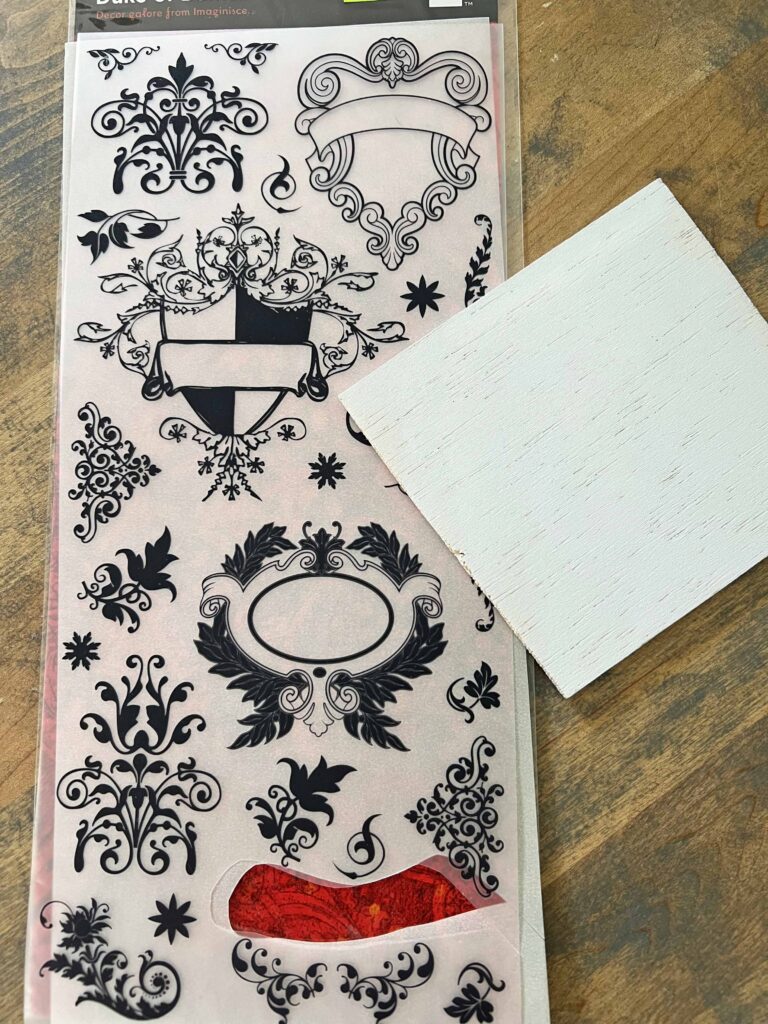
This time I painted the wood white, allowing the detail on the rub on image to pop. Cut around the image and put it on the wood with the desired placement. Use a burnishing tool to apply the image to the finished piece.

Once again with a craft piercing tool I made holes on the wooden piece to attach it to the basket. This time I made the holes in the two top outside corners.
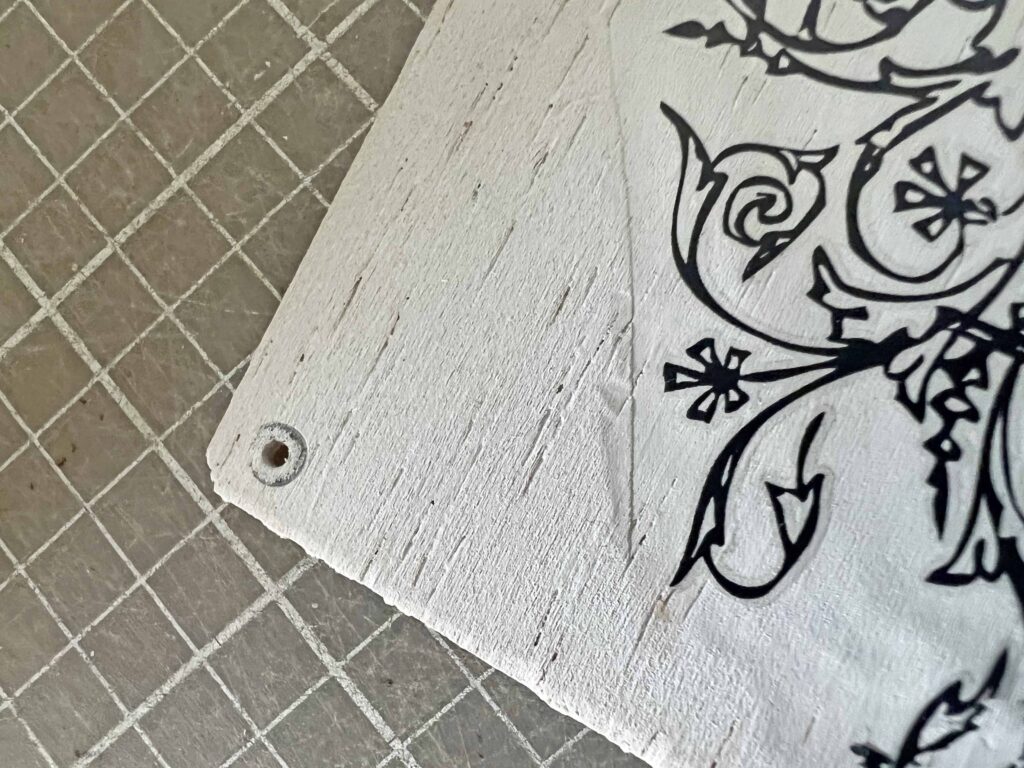
For this plaque the thread runs from the outside to the inside of the basket. On the outside a couple of knots hold the plaque in place and the thread is tied on the inside of the basket to secure it all in place.
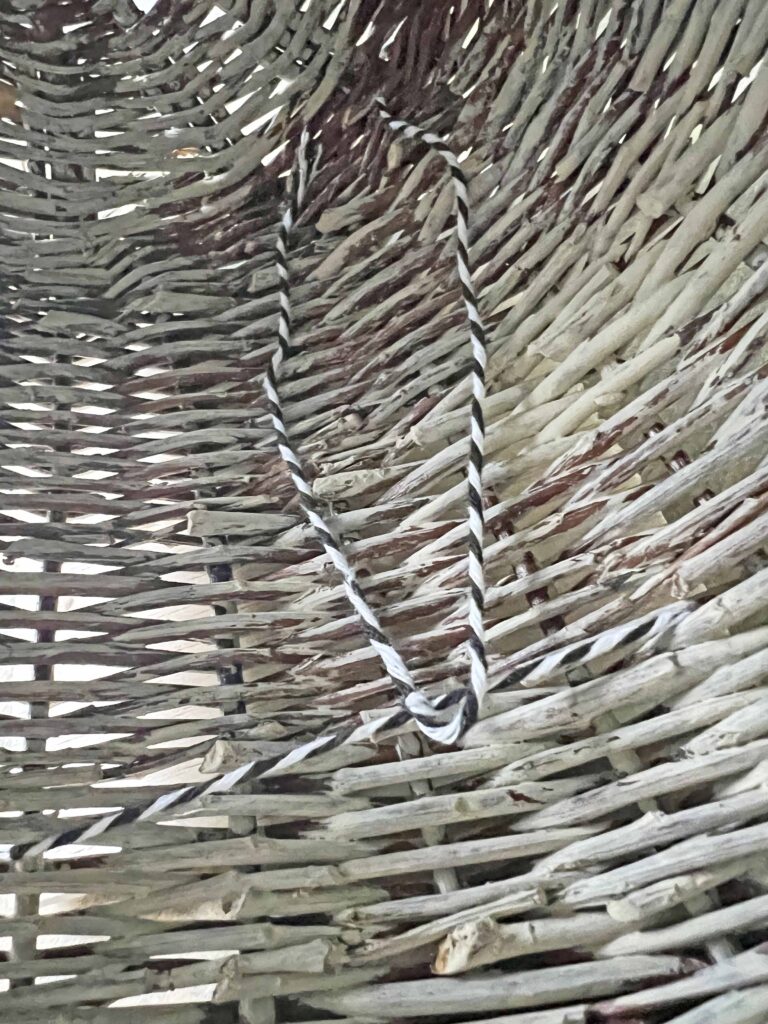
The spacing on the basket wicker allowed the thread to weave through easily, which facilitated this step. I am always attracted to pieces with plaques so this finishing touch is perfect for my personal style. You can use any motif that speaks to you.

Final thoughts on the Easy Thrifted Basket Make-overs
I chose to apply a plaque on both sides of the basket since I want to use it on table stylings so this way it looks pretty on both sides. Usually I would only decorate one side, but this way I also gave me the opportunity to showcase two techniques.
I used the hobby wood for these projects since I happen to have some in my crafting supplies, which was left over from my kid’s projects back in elementary and middle school. I really liked working with it and recommend it. It’s easy to cut with a crafting knife and it’s not cumbersome and heavy on your project. I found this great pack.
I chose very monochromatic designs since it’s my personal preference, but you can use colorful labels or stronger paint colors, etc. Make the design to match your decor style and incorporate into your home aesthetic. Hope you found this useful or inspirational. If you decide to alter your own basket please share, I would love to see you basket masterpiece.
*The affiliate links mean I receive a small commission if you make a purchase using these links.?As an Amazon Associate I earn from qualifying purchases, which helps me run this blog.
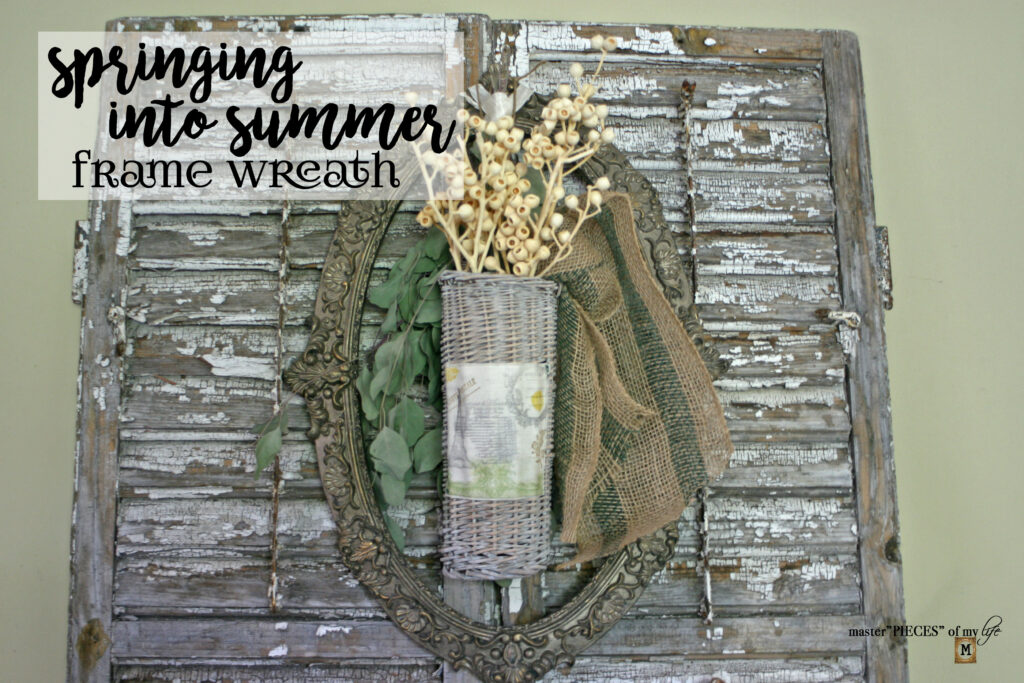
Other Basket Make-overs

The world always seems brighter when you’ve just made something that wasn’t there before.
Neil Gaiman
These are such beautiful up-cycled treasures. Taking something somewhat boring and bringing new life to it is an amazing art. Thank you for sharing!
Thank you Kristen. I’m so glad you like the up cycles. XO- MJ
Hi MaryJo! I love how you upcycled this basket with paint and embellished it different ways! Now it has the most beautiful French vintage vibe! I have never tried the transfer method and it looks amazing! I want to try it sometime! Thanks!
Thanks so much Donna! I’m so glad you like it. The transfer method is amazing. I’ve done it a few different ways. This is the first time with modge podge tho. XO- MJ
I have a similar basket I had considered painting, now I am less hesitant to give it a try thanks to you MaryJo. I love using Graphics Fairy too! So many possibilities using vintage graphics in home decor which I love. I am loving the plaques you made too, such a nice added touch! I am totally giving this a try here. Thank you for sharing!
Painting baskets is so easy. The basketweave makes it pretty forgiving. One coat if you want depth of basket showing thru or 2 coats for a more even look. Have fun and show me when you’re done. XO- MJ
Stopping by again with congratulations! This post is the Host’s Choice from the Will Blog for Comments #33 linkup and will be featured in the spotlight all next week, starting today! You are welcome to save the “This Blog Post was a Featured Favorite” image there to share with your readers here to celebrate, if you like. Thanks for sharing this post! We hope to see you next week at #34 sharing more lovely posts. Have a wonderful weekend.
Thank you so much Jennifer. I appreciate the love!!! “See” you next week. XO- MJ
So many lovely choices, and great photos, MaryJo! Pinned!
Oh, and love the new blog design, too!
Thanks so much Julie. I appreciate your kind words. XO- MJ
I love your make-overs MaryJo and I’m so happy that you shared this one at Create, Bake, Grow and Gather this week. I’m delighted to be featuring your thrift store basket makeovers at the party tonight and pinning too.
Hugs ~ Kerryanne
Thanks Kerryanne. I appreciate the love. XO- MJ