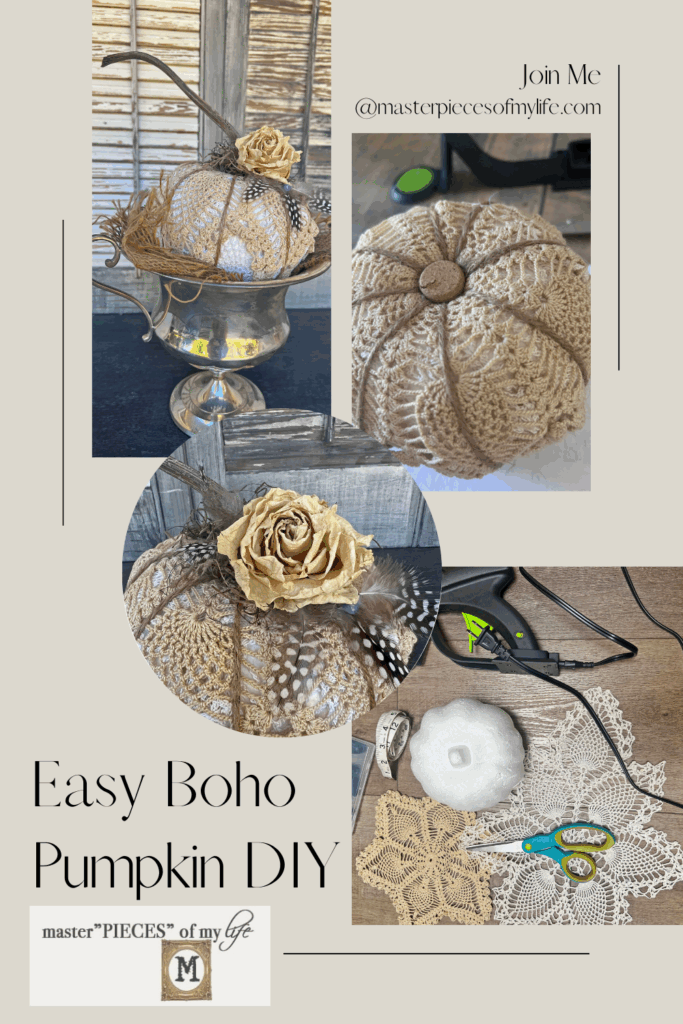
Easy Boho Pumpkin DIY
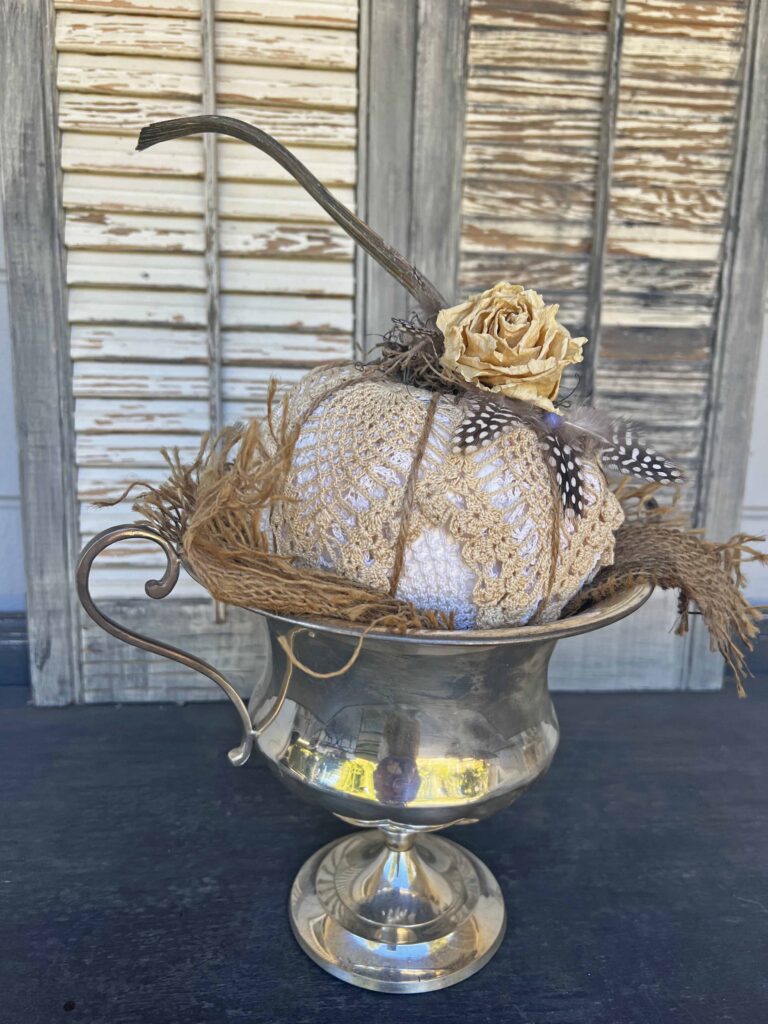
Creating unique pumpkin designs for your Fall decor can be very simple and affordable. In this easy boho pumpkin DIY all you need is a dollar tree foam pumpkin and thrifted lace doilies. Who doesn’t love an easy, inexpensive and fabulous seasonal piece of decor?
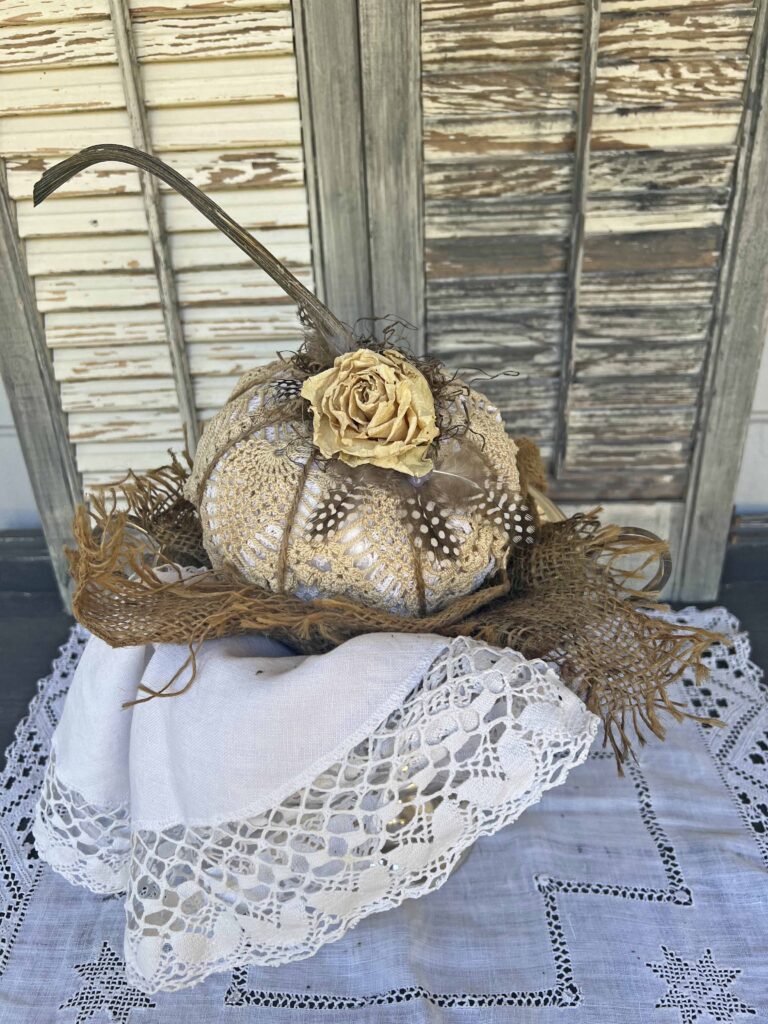
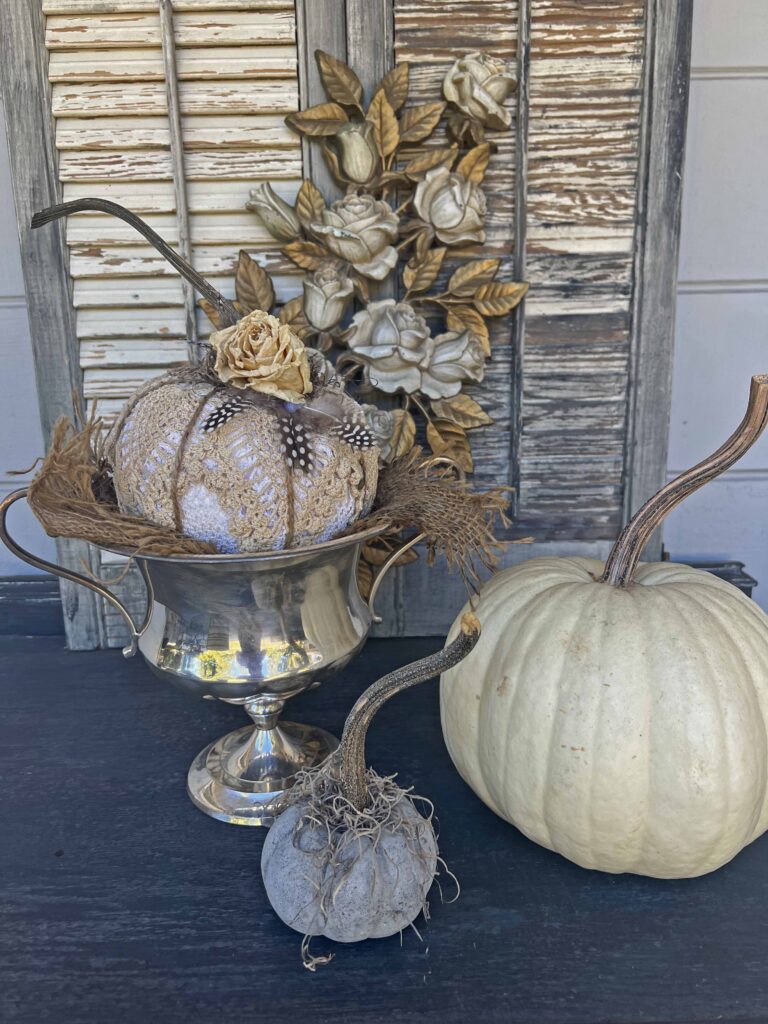
By using these thrifted vintage doilies on a pumpkin it gives my fall decor an unexpected touch of boho vibes. Since my decor leans towards the vintage, rustic and organic feels, this touch of boho gives our Fall decor a fun surprise.
*Affiliate links might be included for your convenience. These affiliate links mean a small commission is earned if you make a purchase using these links at no extra cost to you. As an Amazon Associate I earn from qualifying purchases which support this website. For more information: Full Disclosure Policy.
Inspiration Behind the Boho Pumpkin Design
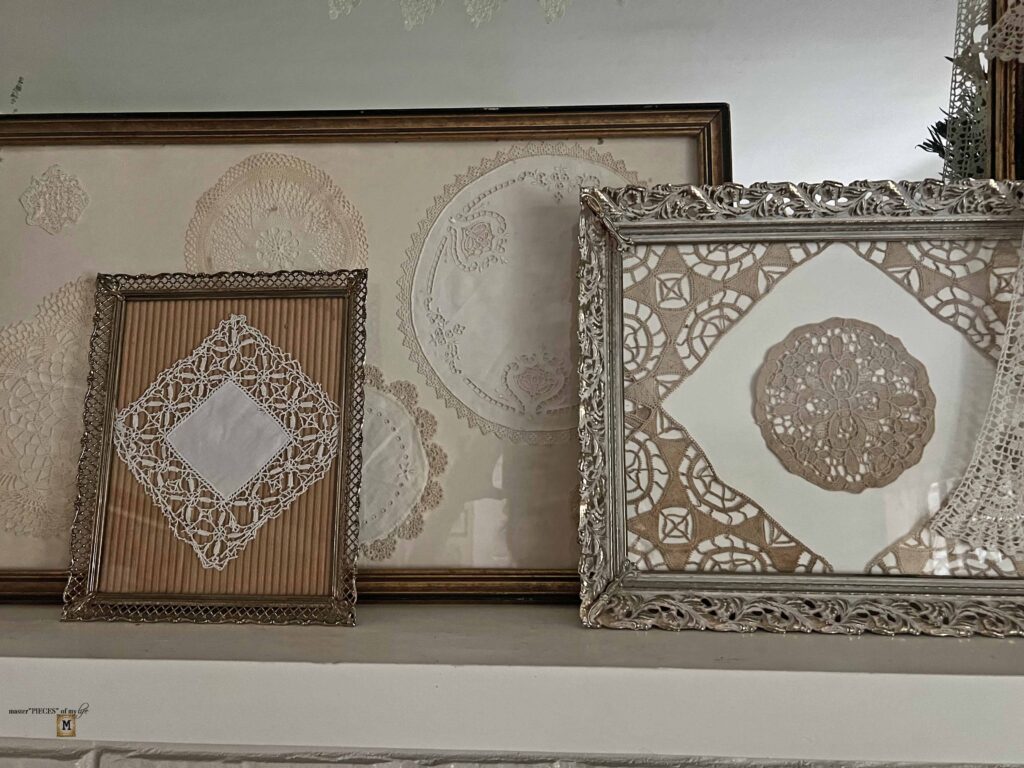
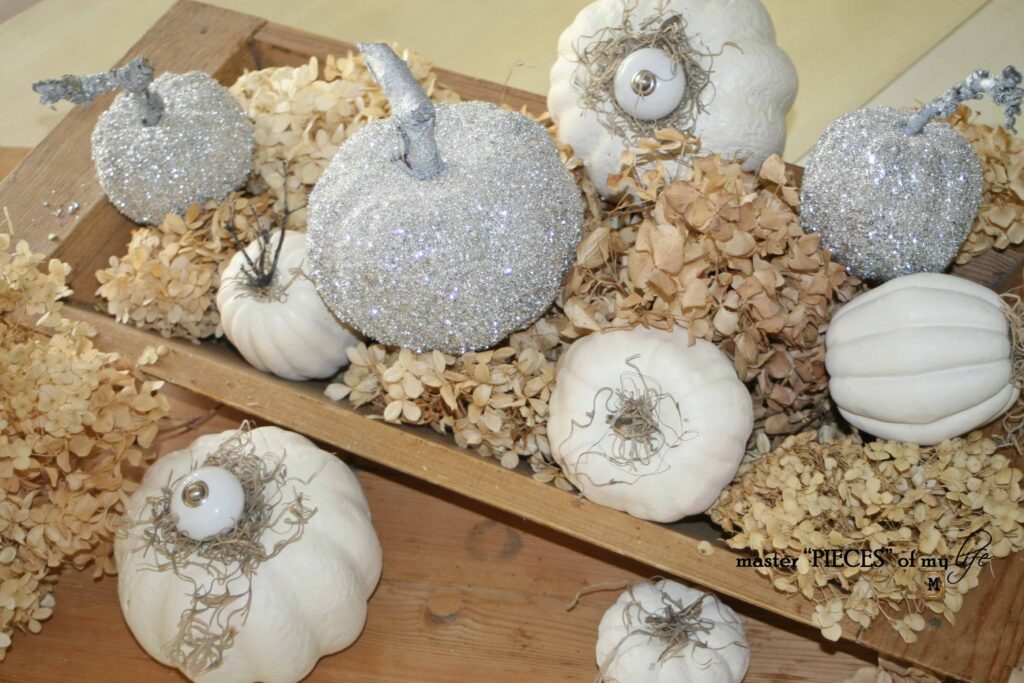
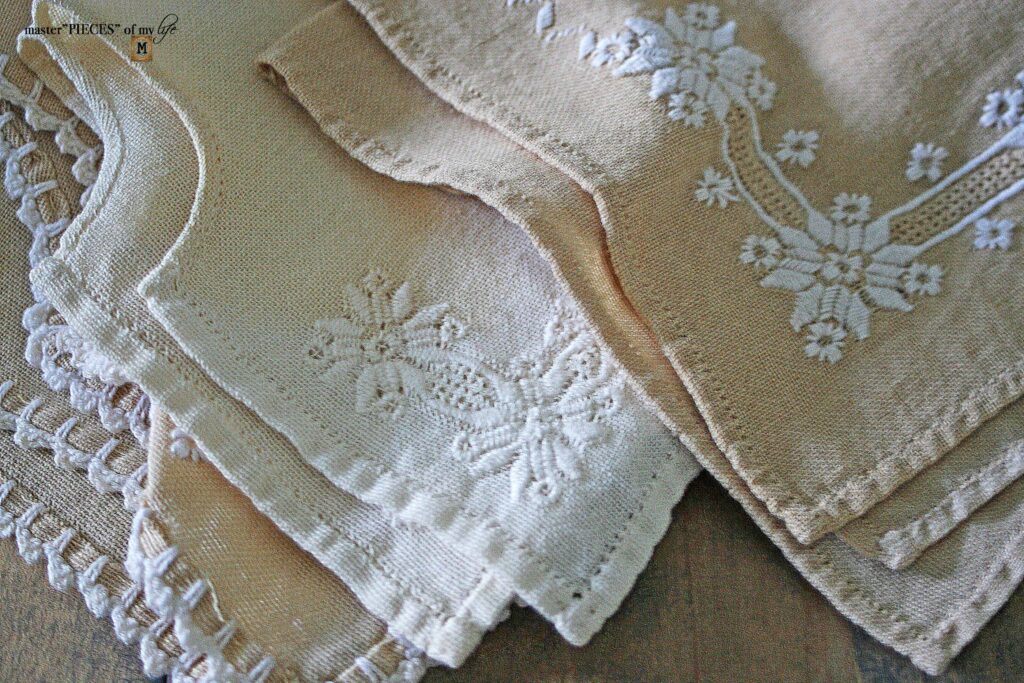
I’ve accumulated an assortment of vintage doilies from thrift stores and estate sales. I try to use them in new and unexpected ways like in the framed doily artwork and in the vintage linen runner.
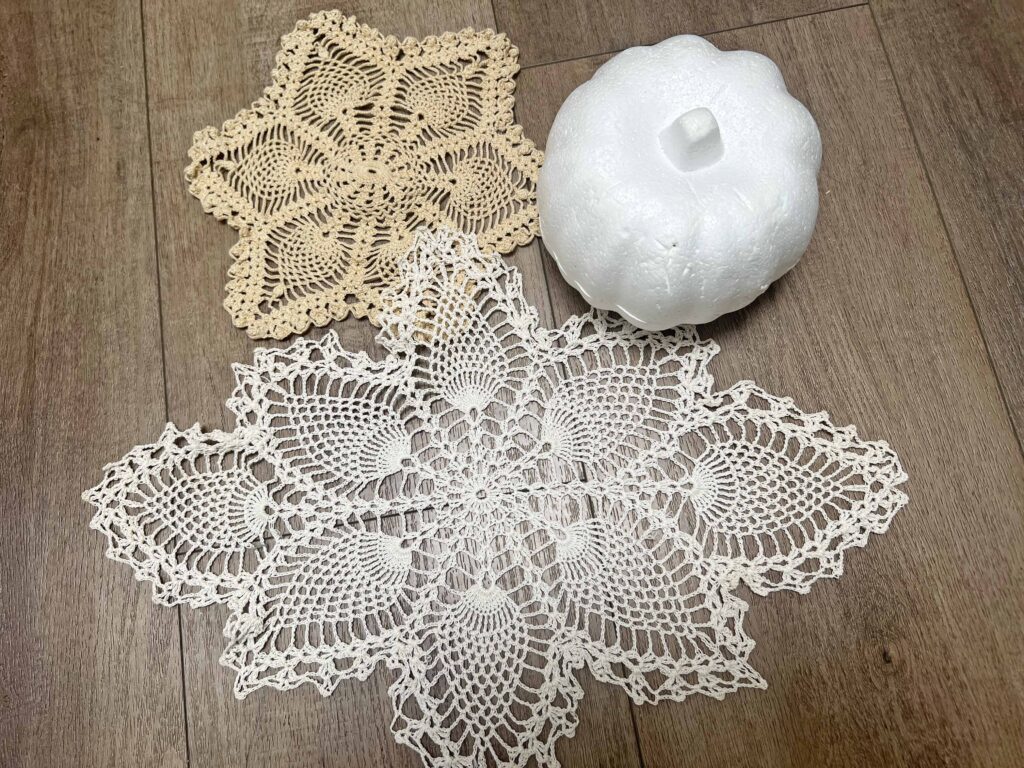
When I saw these pieces recently at a thrift, I really liked them but thought to myself, I really don’t need any more. But then… then… I had a light bulb moment. I thought the shape would drape perfectly on a Dollar Tree foam pumpkin, which I had kicking around in my craft stash. These doilies for whatever reason gave me macrame vibes, and here we are.
The doilies usually only cost $1-2 plus the dollar tree pumpkin and some organic touches make this fun boho pumpkin super affordable. AND it’s super unique. Let’s get crafting.
How to Make the Easy Boho Pumpkin DIY
There are many steps to this tutorial, but none of them necessarily difficult. Also some of the things I thought I would use or need for the project changed as I got into it. That’s part of the process, and I am loving the end result.
Supplies
- Dollar Tree Foam Pumpkin
- Doilies
- Jute Twine
- Wine Cork
- Organic stem
- Feathers, moss, dried flowers etc.
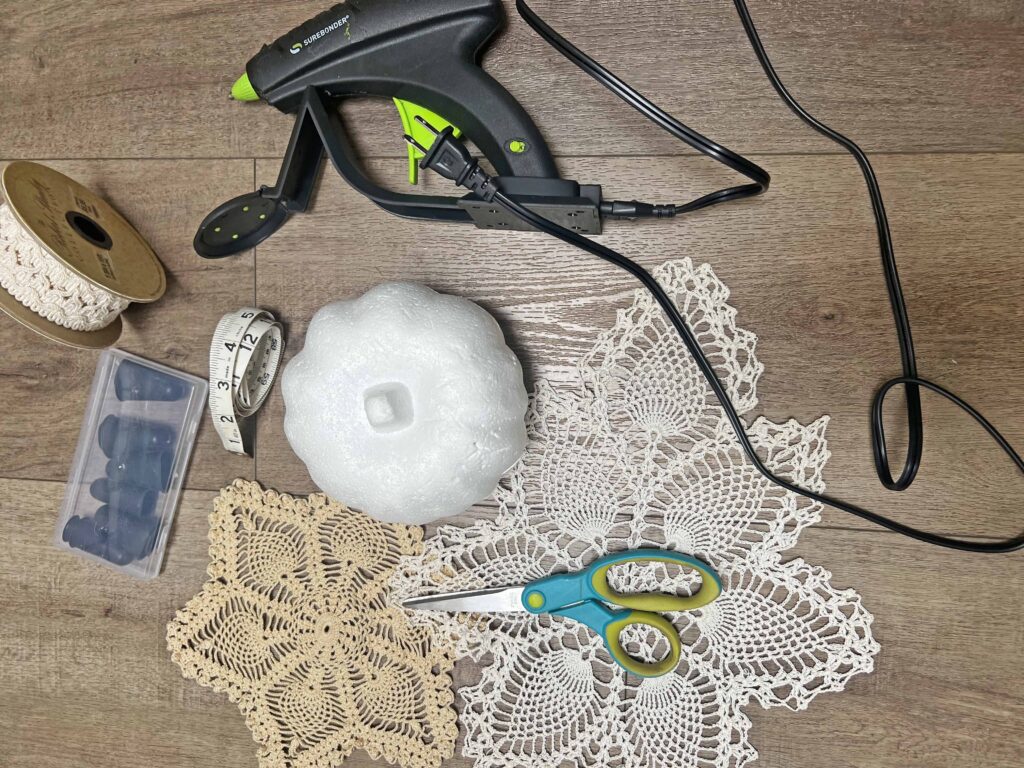
Tools
- Hot Glue Gun
- Glue Gun Glue Sticks
- Scissors
- Craft Knife
- Tape Measure
- Silicone Finger Protectors
Crafting Pro Tip: As I recommend with all my projects, read all the instructions through once and then re-read everything again. This way, you are familiar with everything you need, including supplies and tools, plus you know what to expect.
Instructions
- Read all the instructions and assemble all necessary supplies & tools
- Plug in hot glue gun to warm up
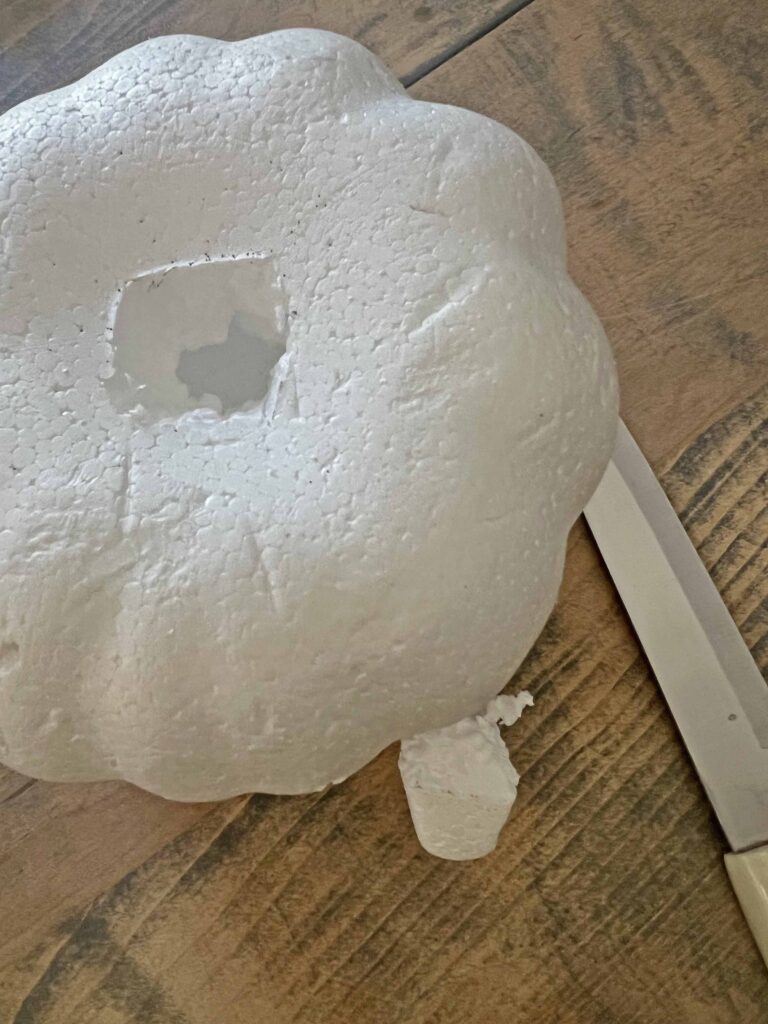
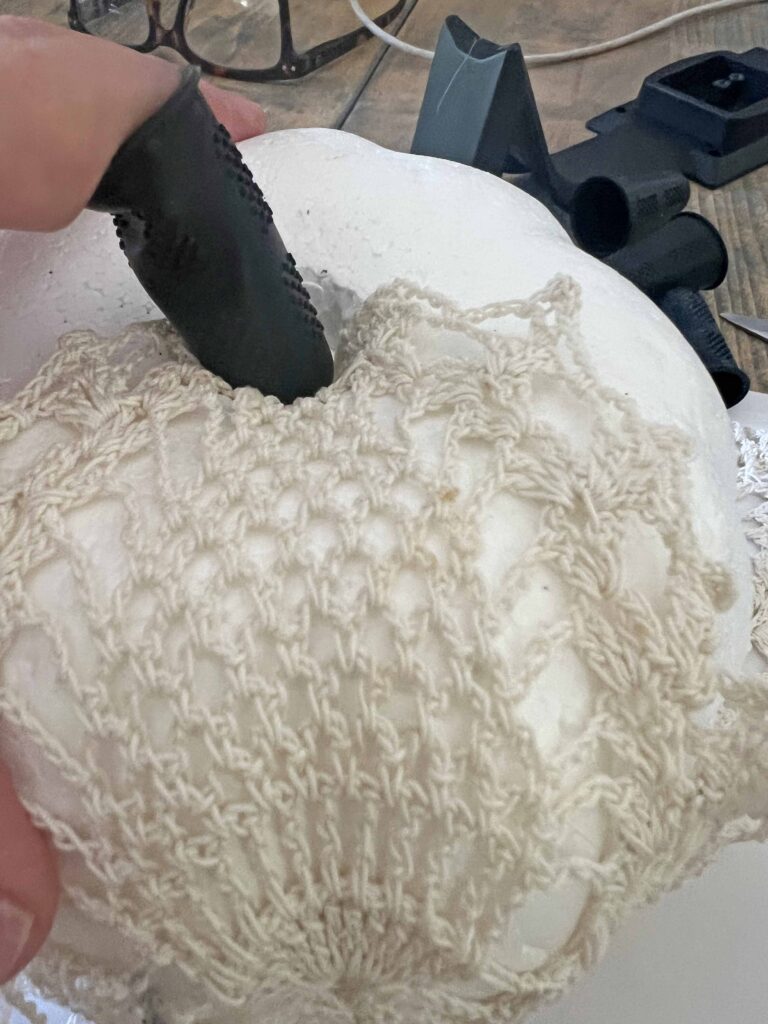
- Remove stem from foam pumpkin using craft knife
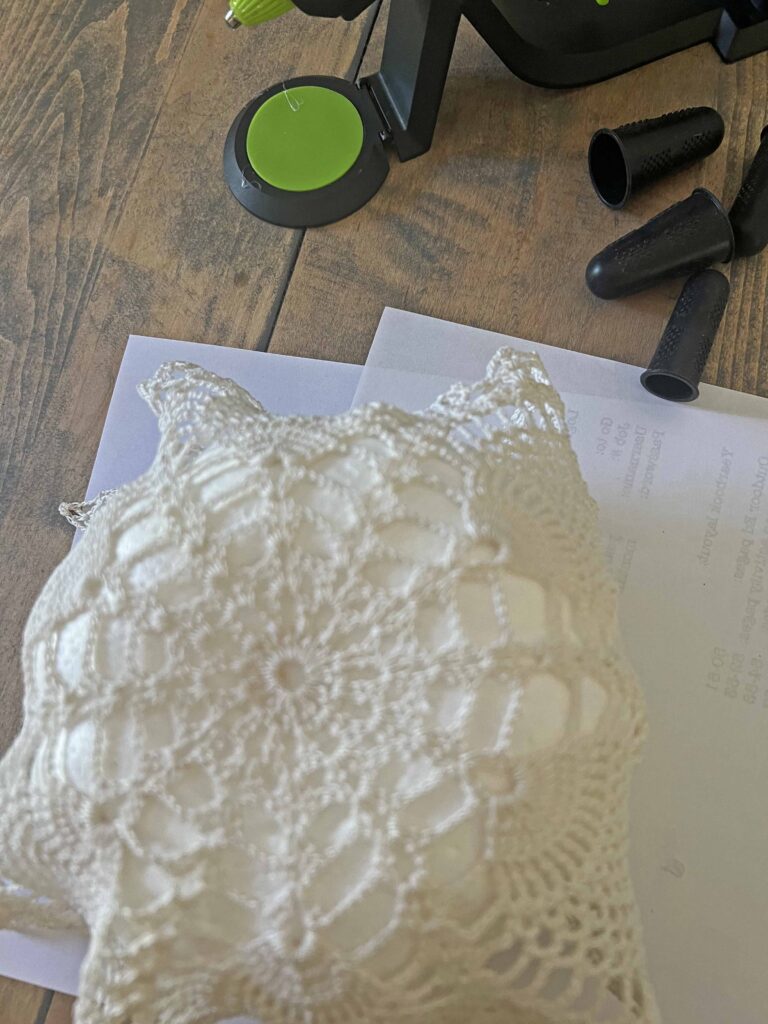
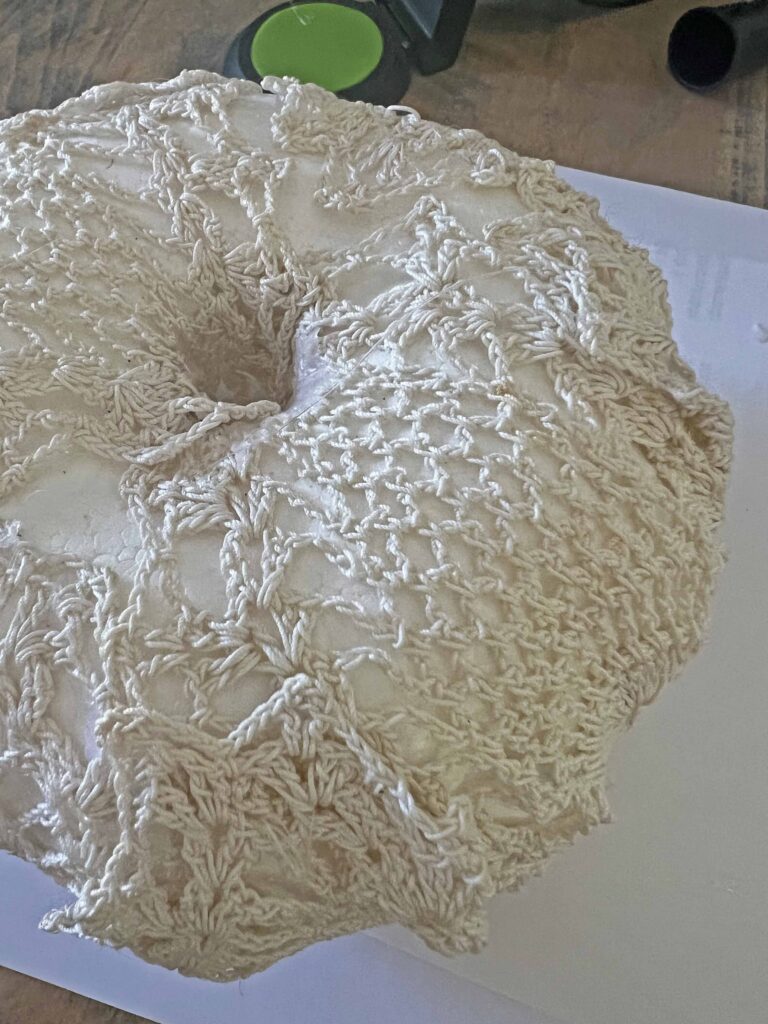
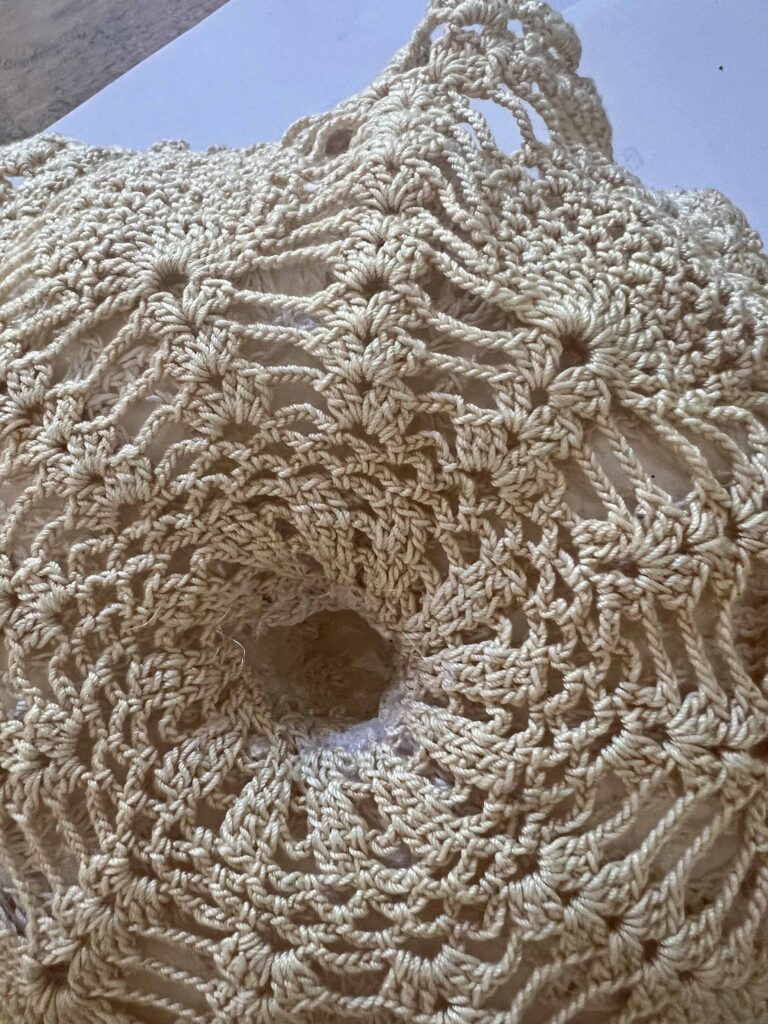
- Turn pumpkin upside down and place larger doily on the bottom to cover the pumpkin starting from the underside going up
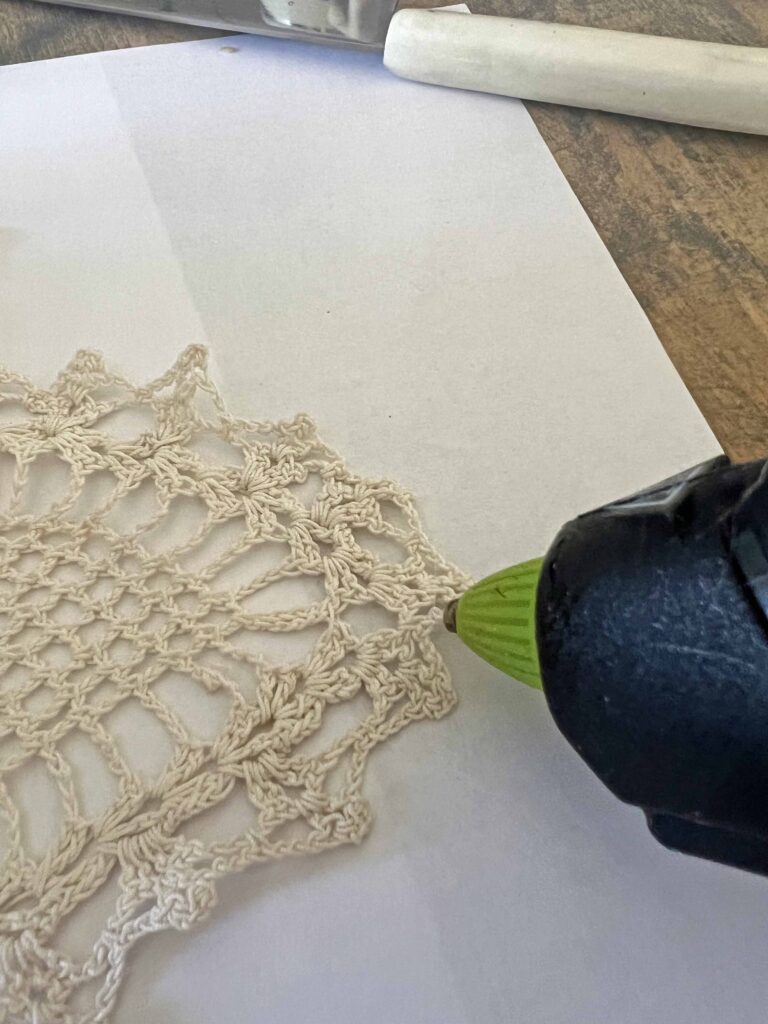
- Once you have the desired placement of large doily use hot glue gun to adhere the doily in place by starting in the center
- Add hot glue to the farthest outside points of the doily and wrap around pumpkin
- Some of my pieces actually reached all the way around pumpkin; simply tuck the ends into the stem hole on the top, gluing them down
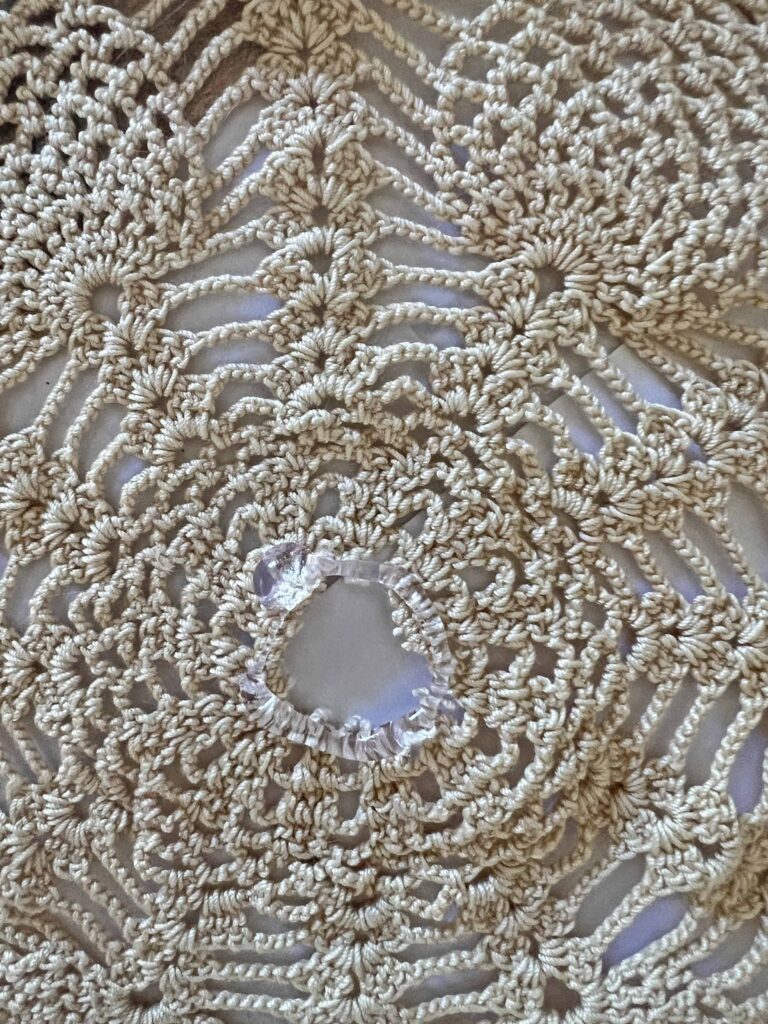
- Some folds might occur and that’s ok since they add texture; just make sure they are all glued down
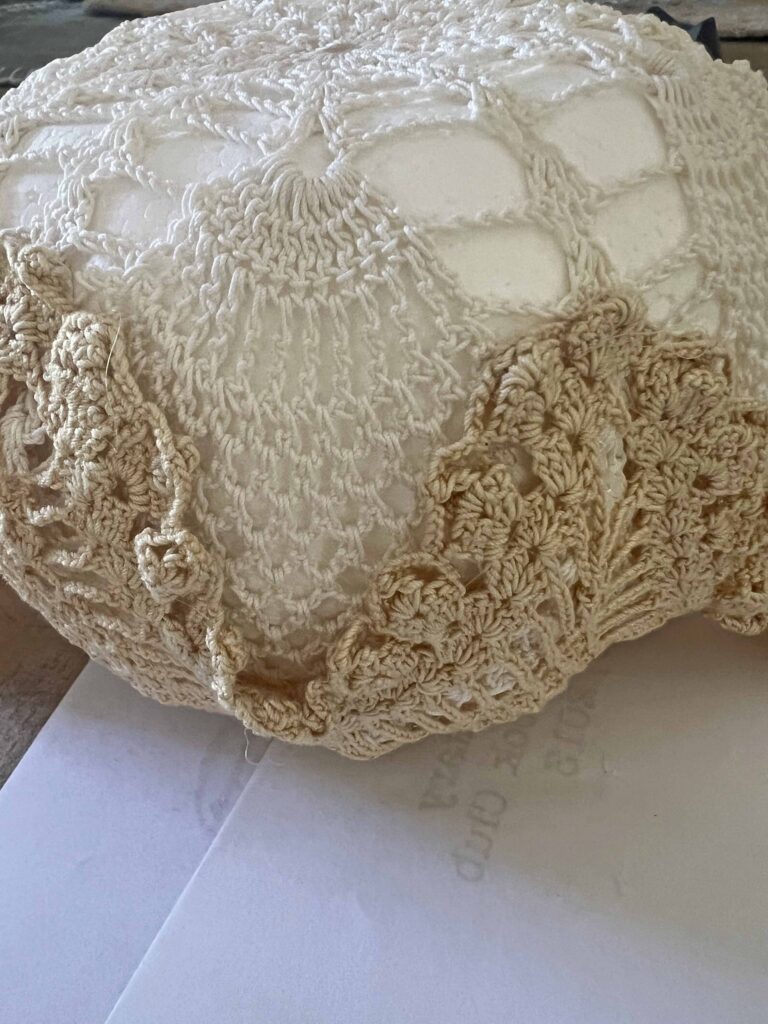
- When the glue has cured and doily is in place flip pumpkin over, right side up
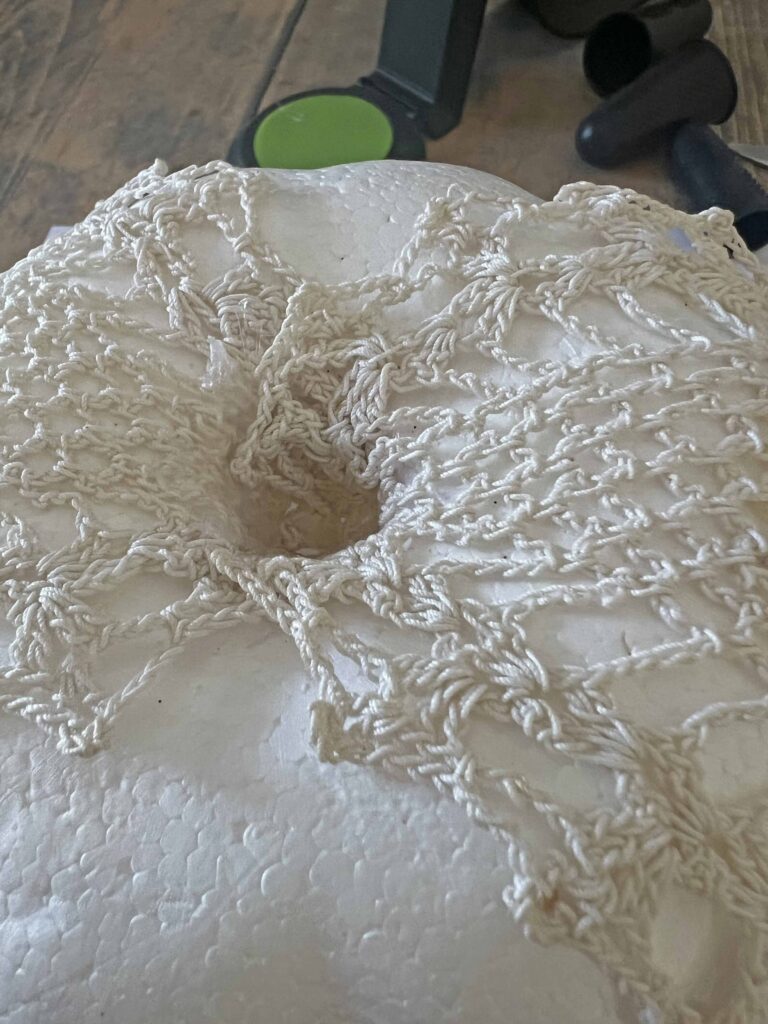
- Cut center of small doily to allow opening where stem goes
- Place glue around hole of center of small doily and adhere to top of pumpkin, centering it around stem hole
- Use glue on all the outside points of small doily to adhere around top of pumpkin
- Set aside and allow glue to set, adhering doily securely
- Measure distance from stem hole all the way around bottom of pumpkin back to the stem hole
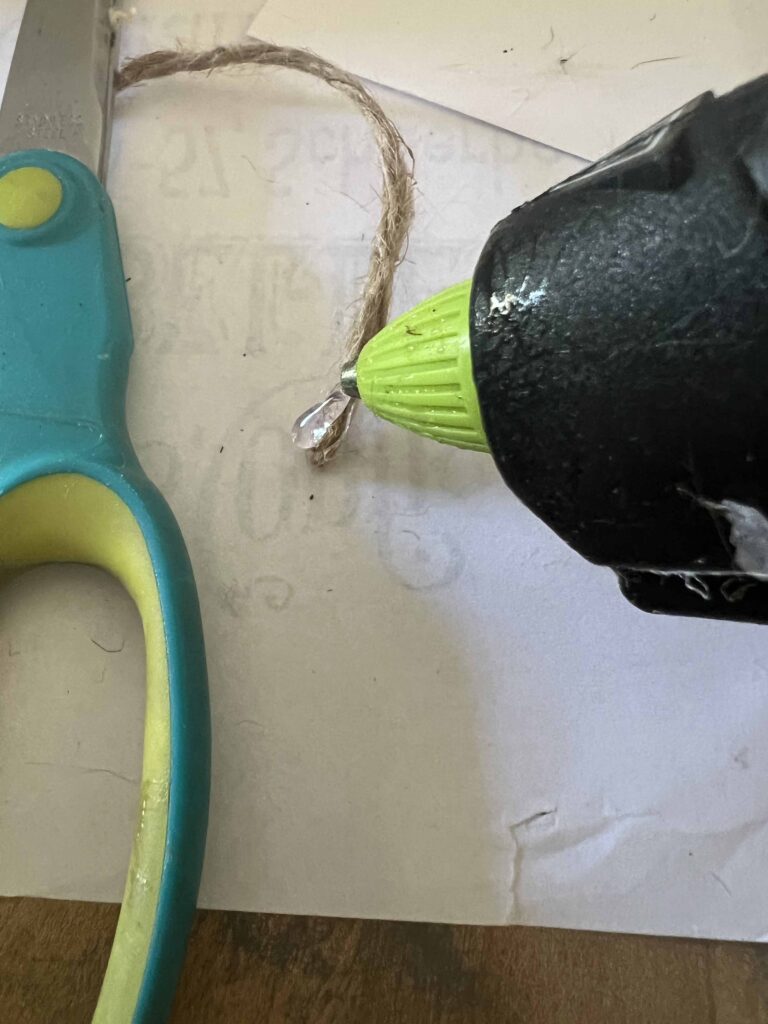
- Cut 4 pieces of jute to the measurement from above
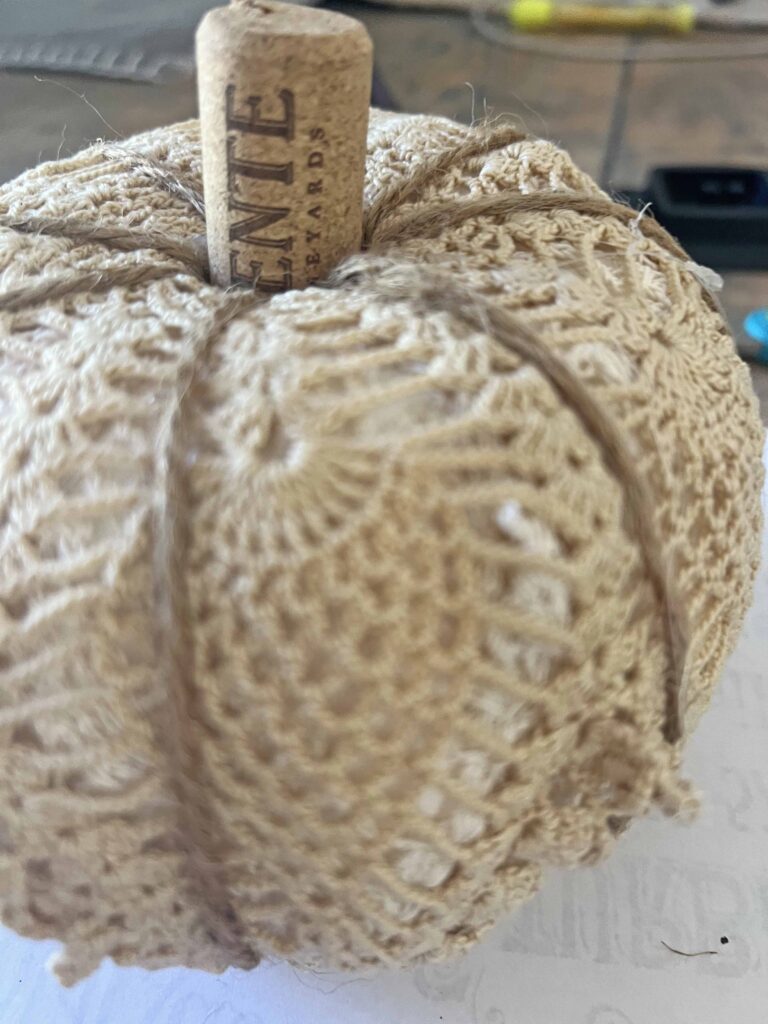
- Using hot glue gun attach jute starting in stem hole going under pumpkin and attaching on opposite side of stem hole
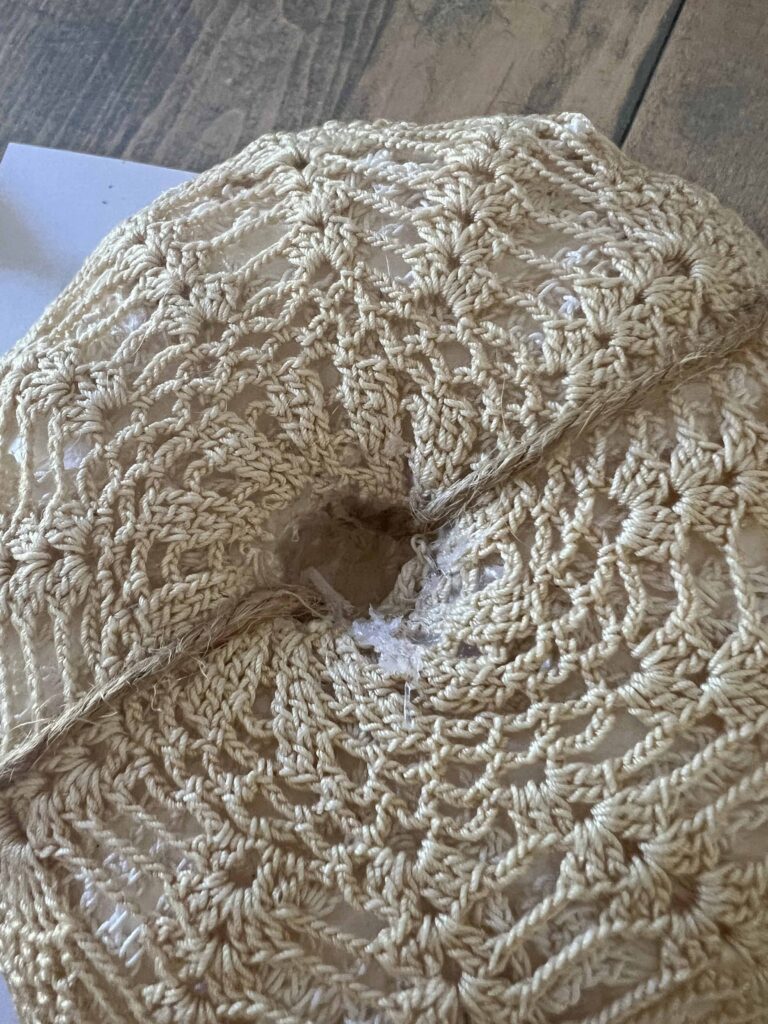
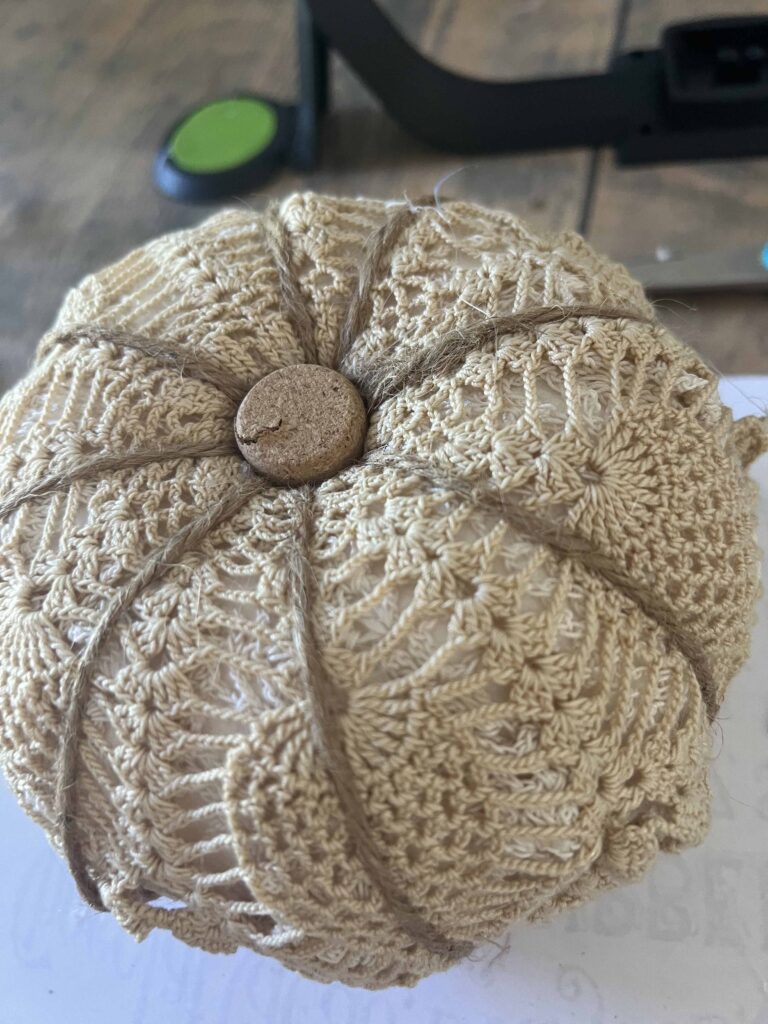
- Repeat above step using all jute pieces to create ribbing around pumpkin equally spaced
- Insert wine cork in stem hole to seal everything; use a mallet if necessary to make it flush to the pumpkin
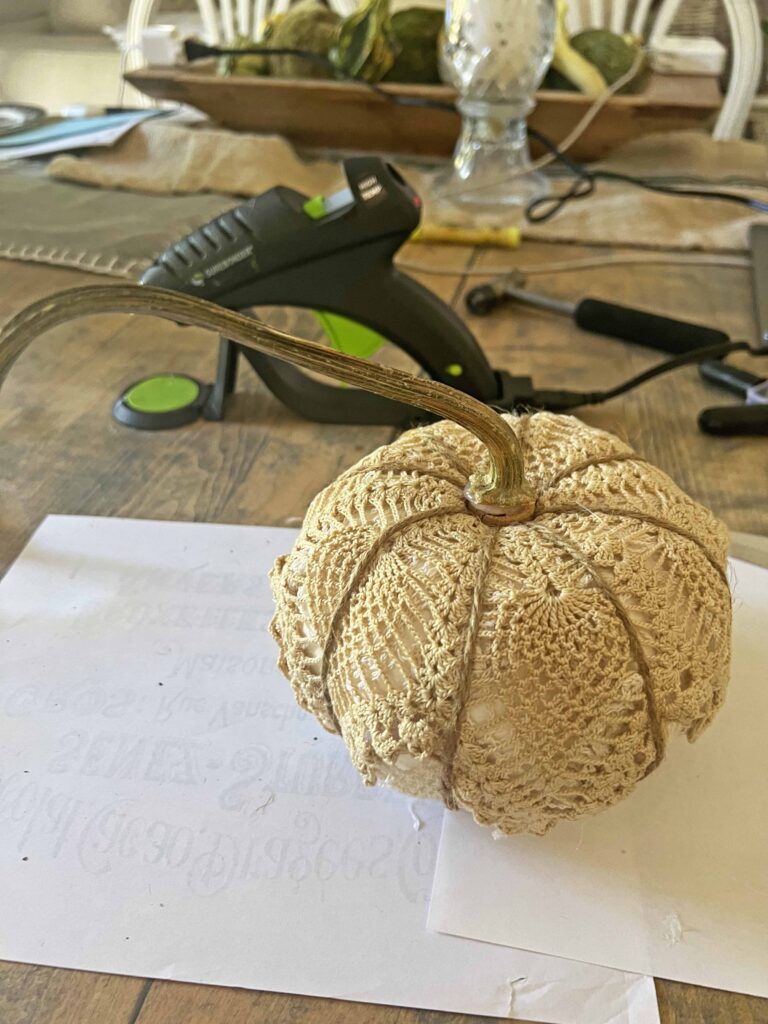
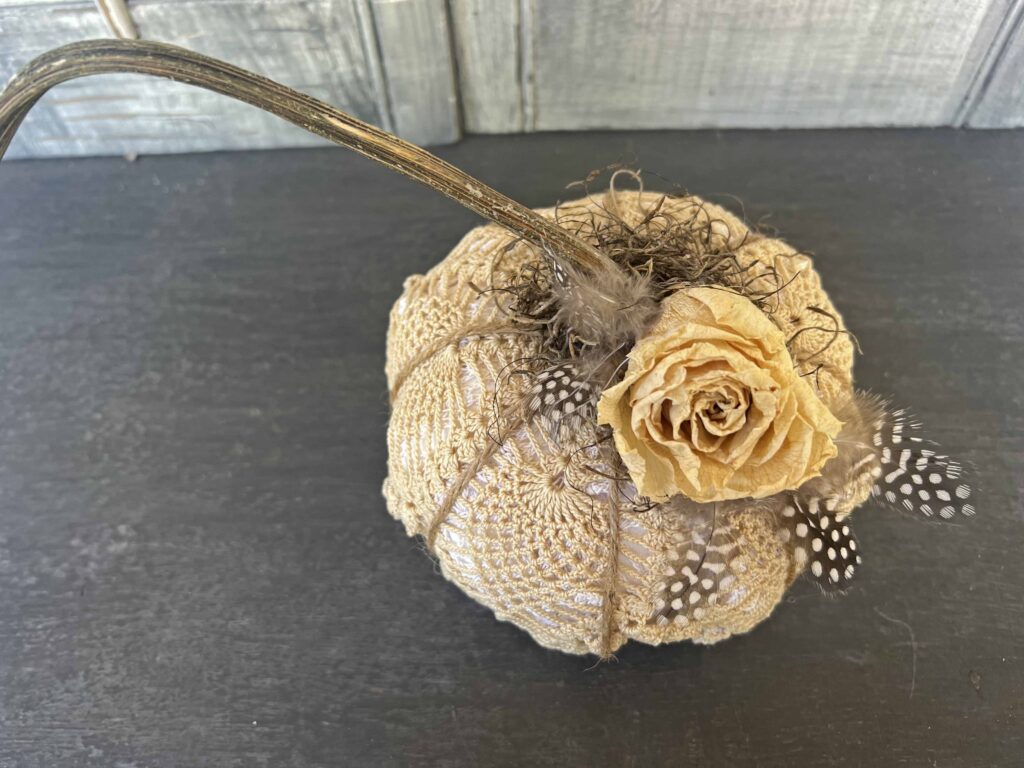
- Apply liberal amount of hot glue on top of cork and attach stem
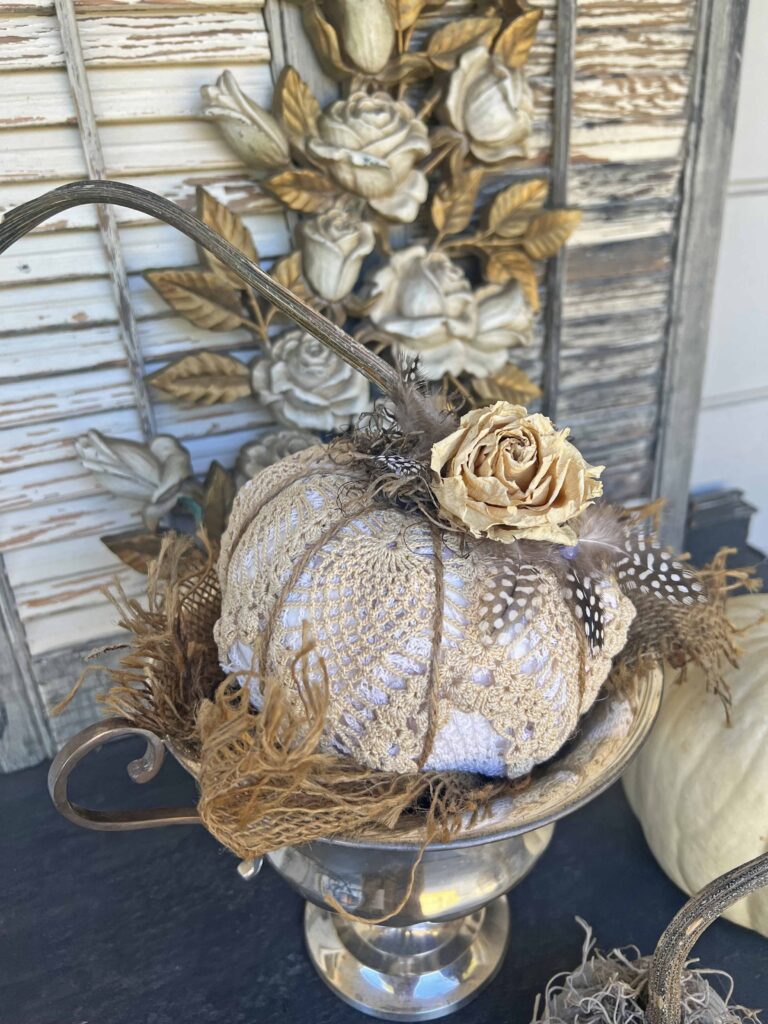
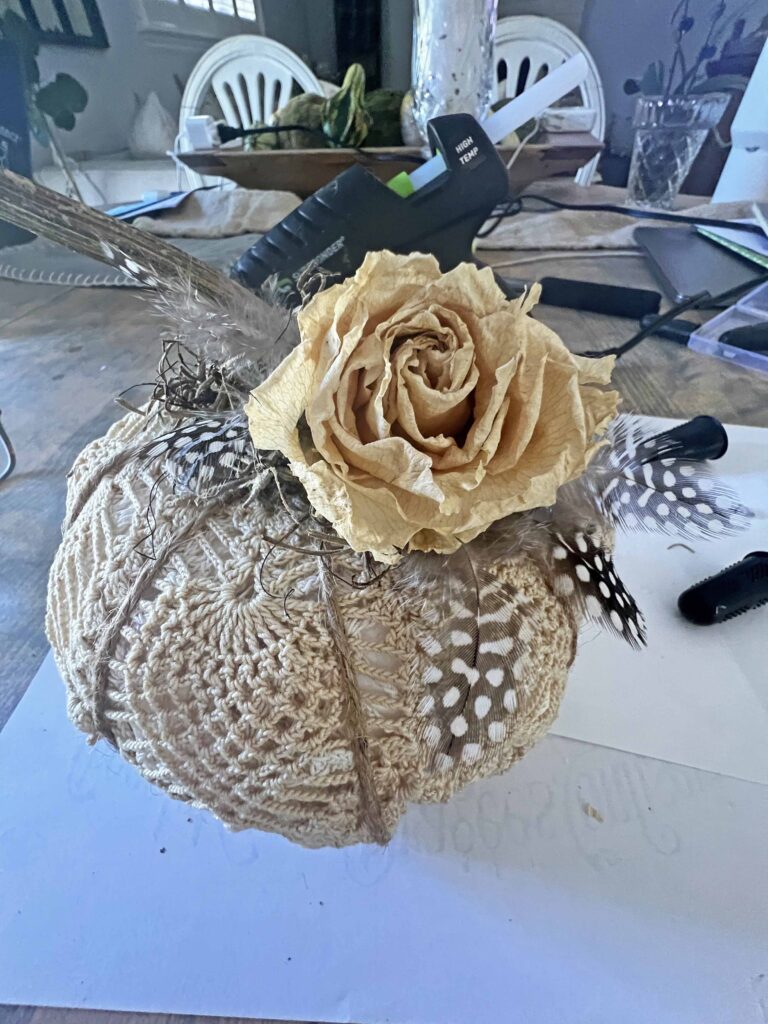
- Hot glue Spanish moss round stem base
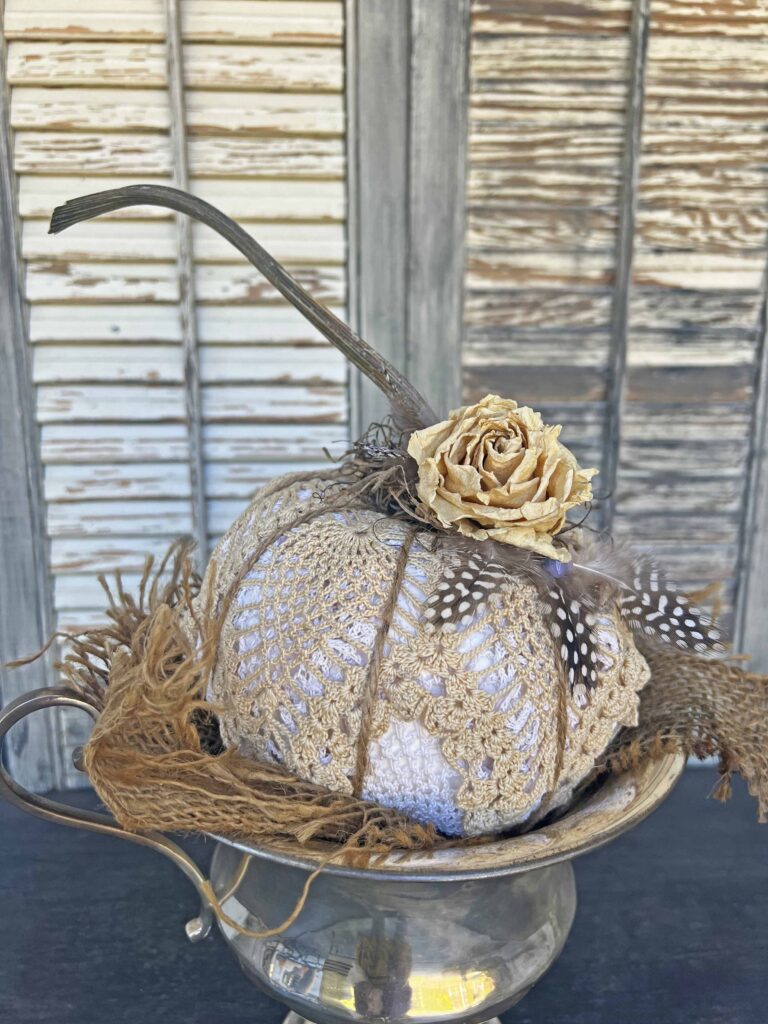
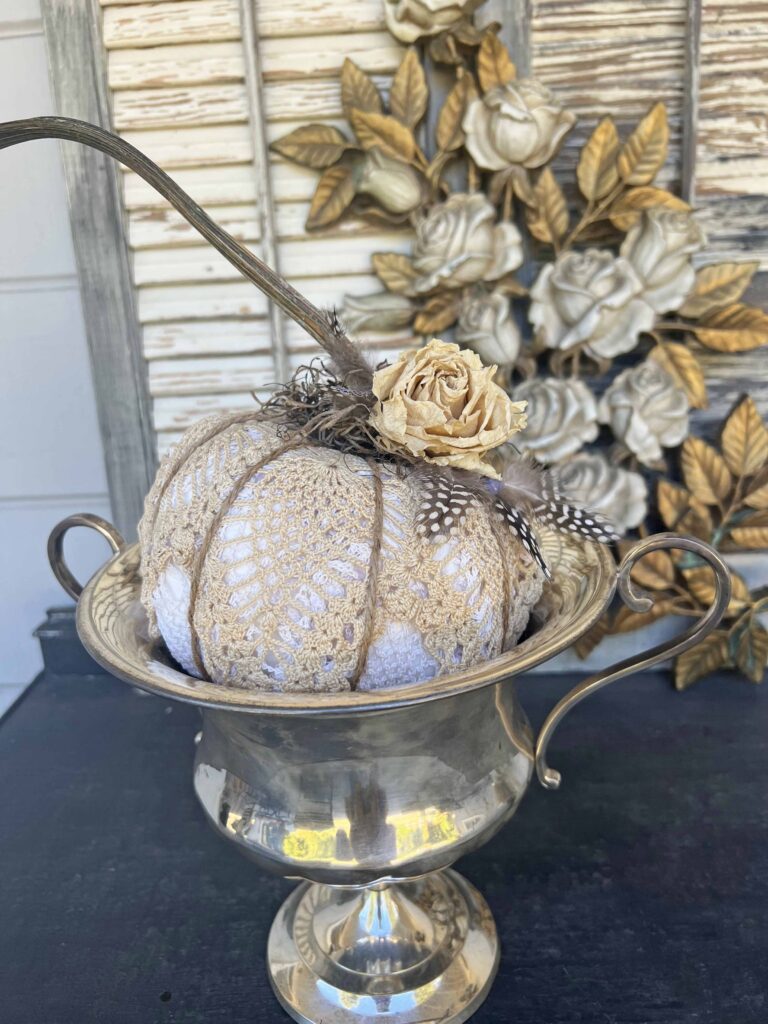
- Glue desired accents around stem on Spanish moss, including dried rose & feathers
- Voila! Enjoy your easy boho pumpkin for unique Fall decor
Tips & Thoughts About the Easy Boho Pumpkin DIY
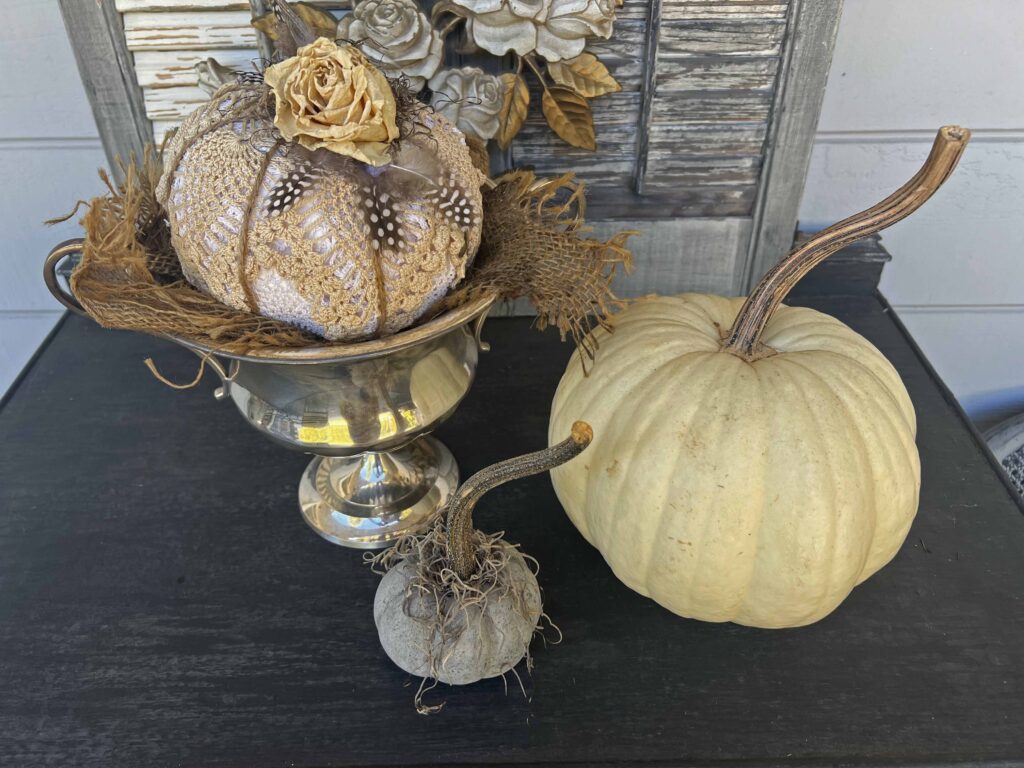
Dollar Tree has bright orange and white foam pumpkins. The white ones sell out quickly so if you can’t get your hands on one, don’t worry. You can simply start by spray painting the orange pumpkin a neutral base color and you’re good to go.
I’ve DIYed many Dollar Tree foam pumpkins through the years, and I always use the orange version. This is the first time. using the white version, which is preferable, but not necessary. Paint is an incredible magic wand.
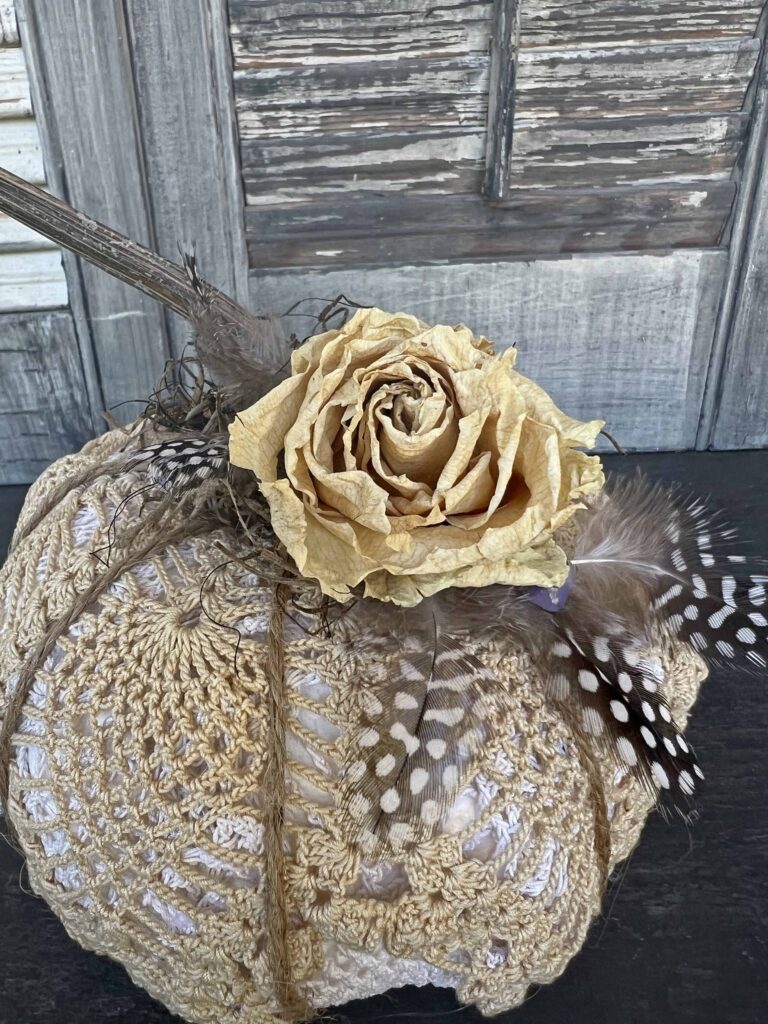
The doilies give me macrame vibes, which is how the idea of a boho pumpkin was inspired. By adding complimentary organic pieces around the stem, it harmonizes the whole boho look. I save dried flowers and leaves all the time for craft projects like this, plus they are great decor accents. Saving pumpkin stems from previous pumpkins is a great hack, which I learned a few years ago.
Fall Crafting Pro Tip: Save your stems from your real pumpkins at the end of the season to use the following season for crafting projects like this.
I had originally considered using a ribbon around the stem, but as everything came together, I didn’t find it necessary. Although I love a good ribbon finishing touch, I find there’s so much texture on the pumpkin already.
The wine cork creates a stable base for the steam to adhere to and plugs everything securely to the top of the pumpkin. The organic accents not only finish off the pumpkin and make it pretty, but they also mask the mechanics. Choose accent pieces that speak to you. I used Spanish moss plus feathers and a dried rose.
The color palette I used is very neutral, but fun colors could be used following the same steps. I don’t know why, but this boho pumpkin gives me Stevie Nicks vibes. lol. Anyone else? There are a couple more pumpkin projects scheduled, which I’m looking forward to sharing soon.
Closing Thoughts
I’m loving how this new boho pumpkin looks, which also has cottage, shabby chic vibes. If this isn’t your jam, you could simply take the idea and use materials and fabrics that coordinate with your design aesthetic.
Take the idea of this project and run with it and make it yours. If you want to copy it step by step, detail by detail and make it exactly the same, that’s fantastic too. Just make sure it matches your style and decor.
I look at a multitude of projects to be inspired, but invariably I will tweak them, and adjust them, or maybe change them all together, to make them mine. That’s the beauty of inspiration. I hope this easy boho pumpkin DIY project has inspired you in some way.

Shop the Boho Pumpkin DIY Look
- Whte Foam Pumpkins
- Orange Foam Pumpkins
- Assorted Doilies
- Spanish Moss
- Guinea Feathers
- Glue Gun
- Glue Gun Glue Sticks
- Silicone Finger Protectors

More Related Posts
Most Recent Posts
I like to be a free spirit. Some don’t like that,but that’s the way I am.”
Princess Diana
sharing @ between naps on the porch
Beautiful MaryJo. Love the doilies and the organic embellishments. You have such a pretty display with the silver champagne bucket!
Thanks so much Debra. I’m so glad you liked it, it means the world to me. Thanks for the visit. XO- MJ
MaryJo,
I love those pumpkins but what caught my eye was the rose plaque in the background of your vignette….My Mother had the same one in our Living Room when I was a kid….Seeing it brought back a lot of memories….Thanks so much for stopping by and thank you for your sweet words…
Hugs,
Deb
Debbie-Dabble Blog
Thanks Deb. Yes I picked that up years ago at a flea market and almost got rid of it a couple of years ago. I’m so glad I kept it. It’s a great back drop and I hope se it all the time. Thanks for the visit friend. XO- MJ