


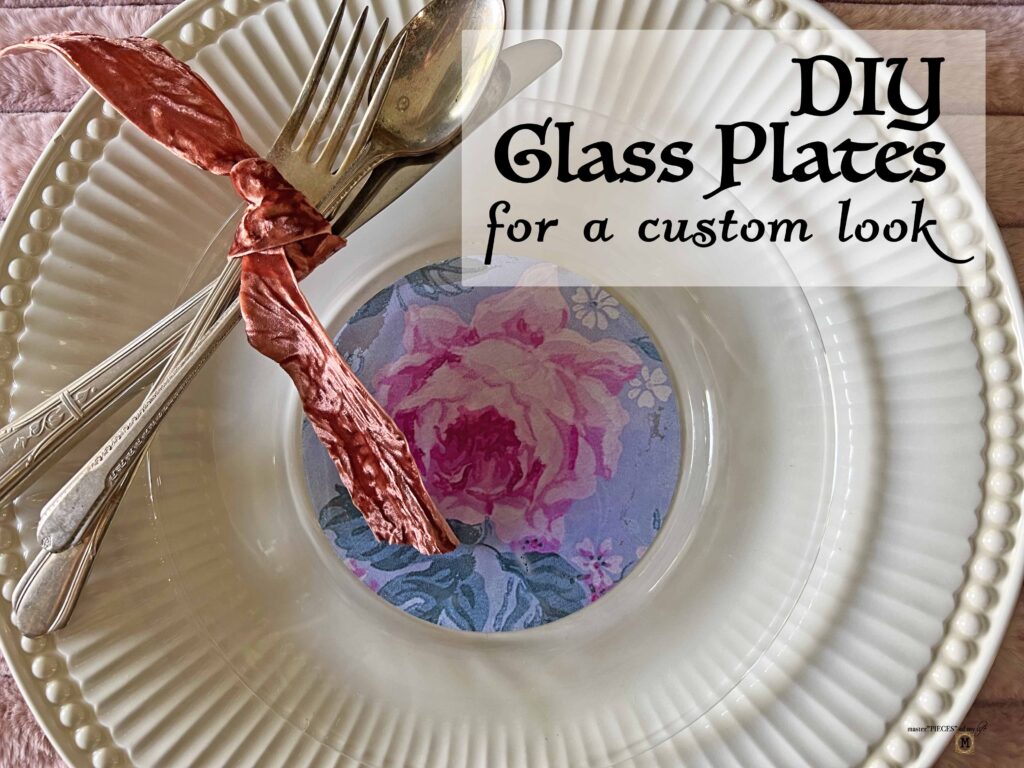
Hi there!?Today I am finally sharing how to create your own DIY custom glass plates.?This is a super simple project, which is easy on the pocket book, not complicated to execute and full of limitless possibilities.
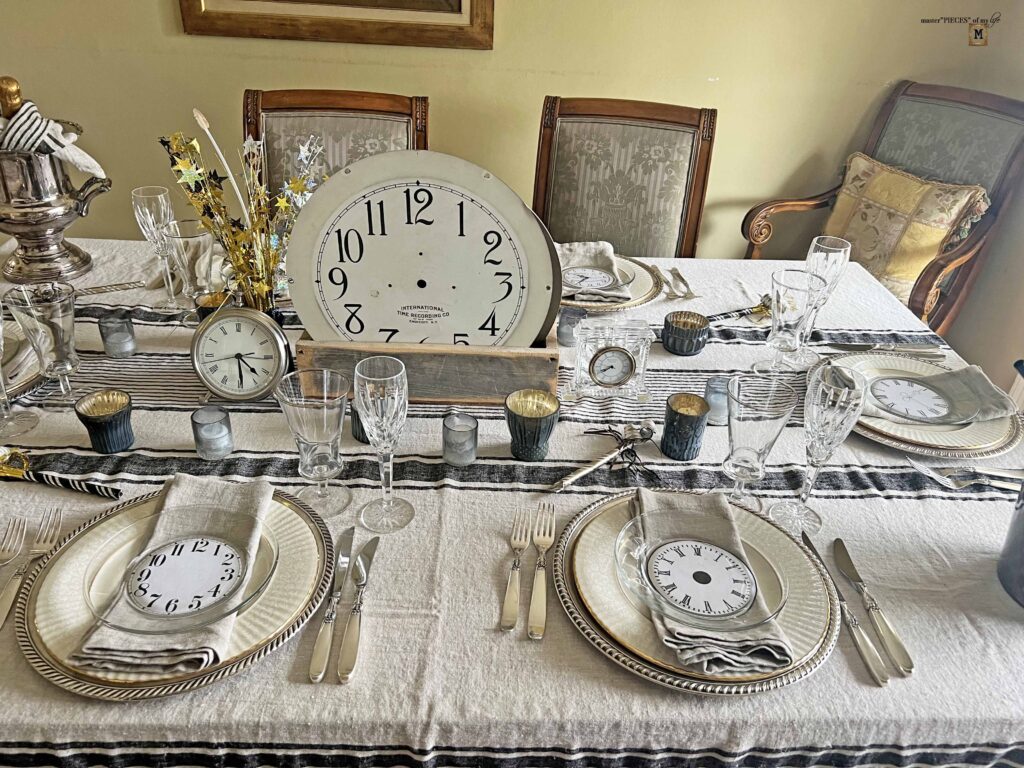
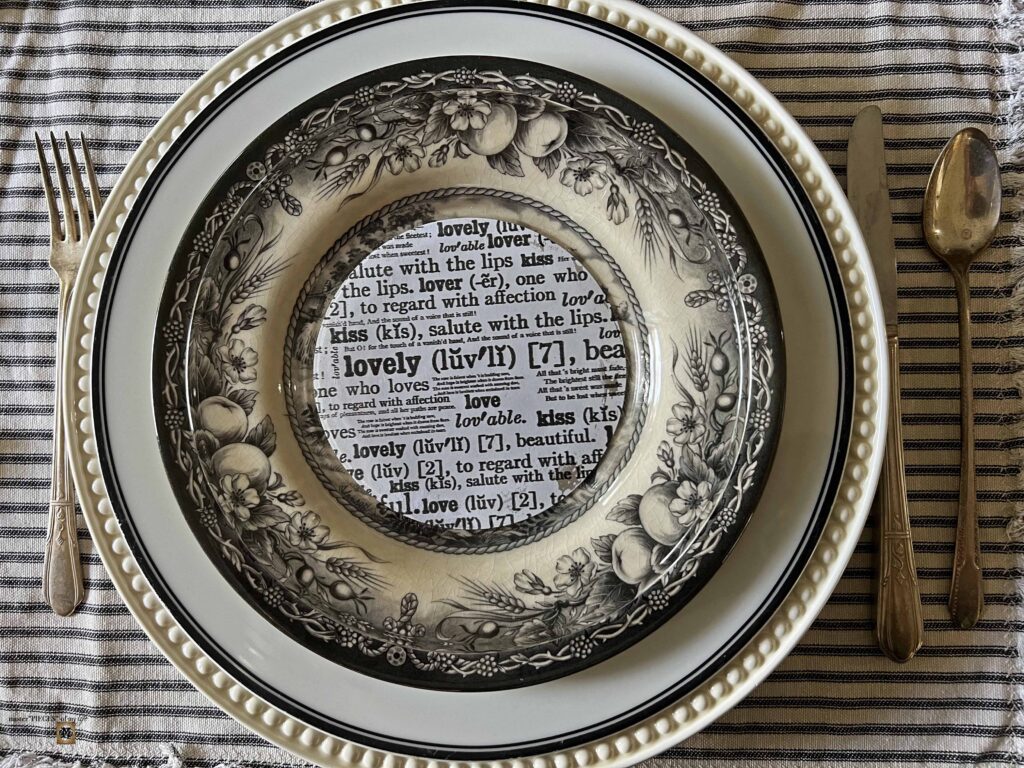
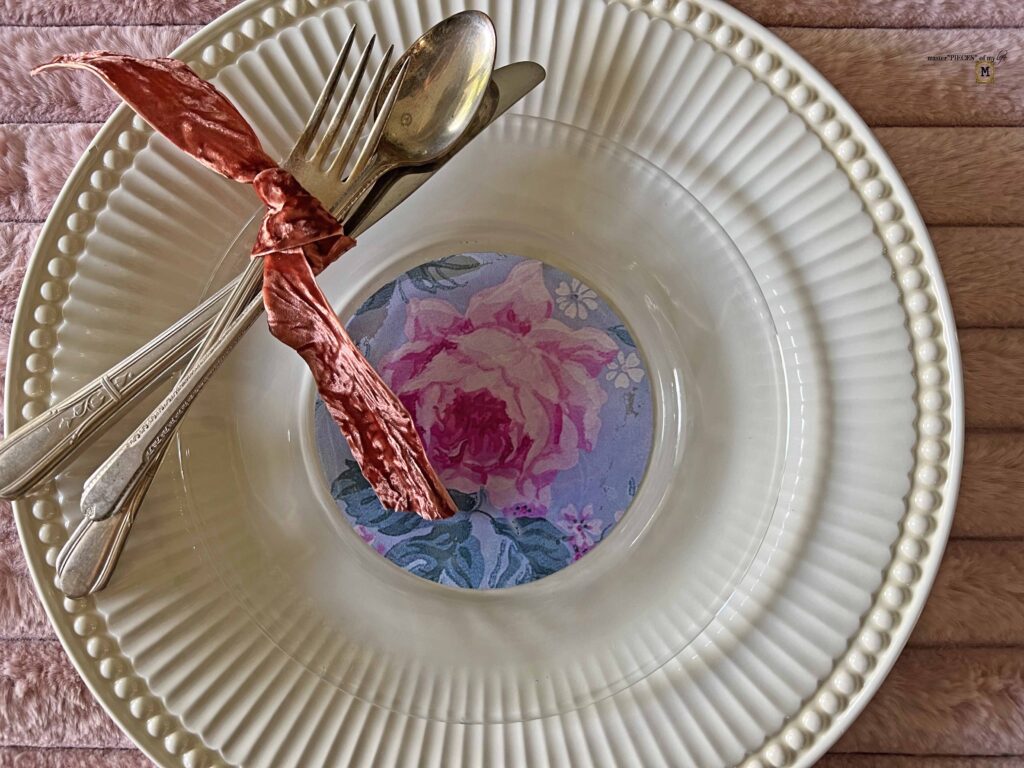
I first introduced them on our New Year’s Eve table with the DIY clock face plates.?Today I will share how to make them plus a Valentine’s Day idea using the same technique.?Once you learn how to make your own, you will be able to adapt them for any tablescape, any occasion, any holiday, any celebration, any anything!?The only limit is your imagination, seriously.
I will definitely be using this technique again and you will see it pop up in more table stylings around here.?Be warned, it’s addictive.
*Affiliate links included for your convenience.
The inspiration behind the custom DIY glass plates
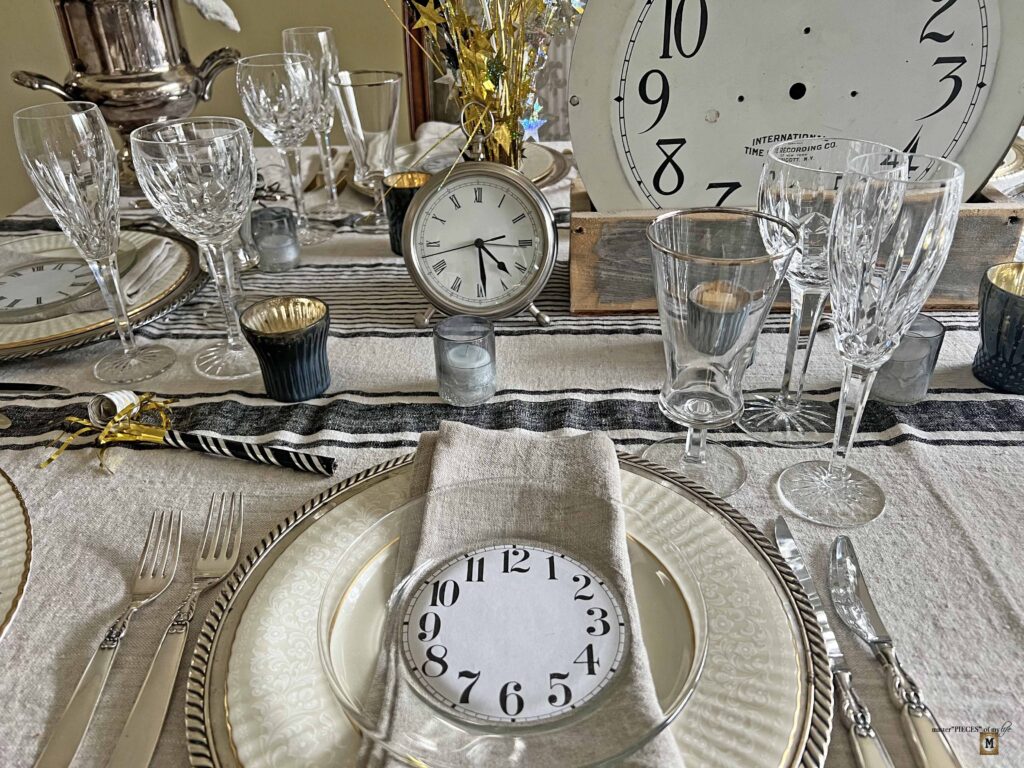
This project was inspired by the New Year’s Eve styling I used at home.?I really wanted to use the clock motif but I did not want to purchase more plates.?Although I love clock plates, I just don’t see myself using them frequently enough to spend the money and use more storage space.
SO rewind the clock (no pun intended) to way back when I met Mr. M.?At the time my husband’s bosses wife use to sell glass plates, which she adhered fabric on the back to create decorative pieces.?Yes, this is going back a few decades, but clearly the idea stuck with me.?You know, she was a young mom of littles, and she was doing the entrepreneurial thing, so I supported her small business and bought one.?

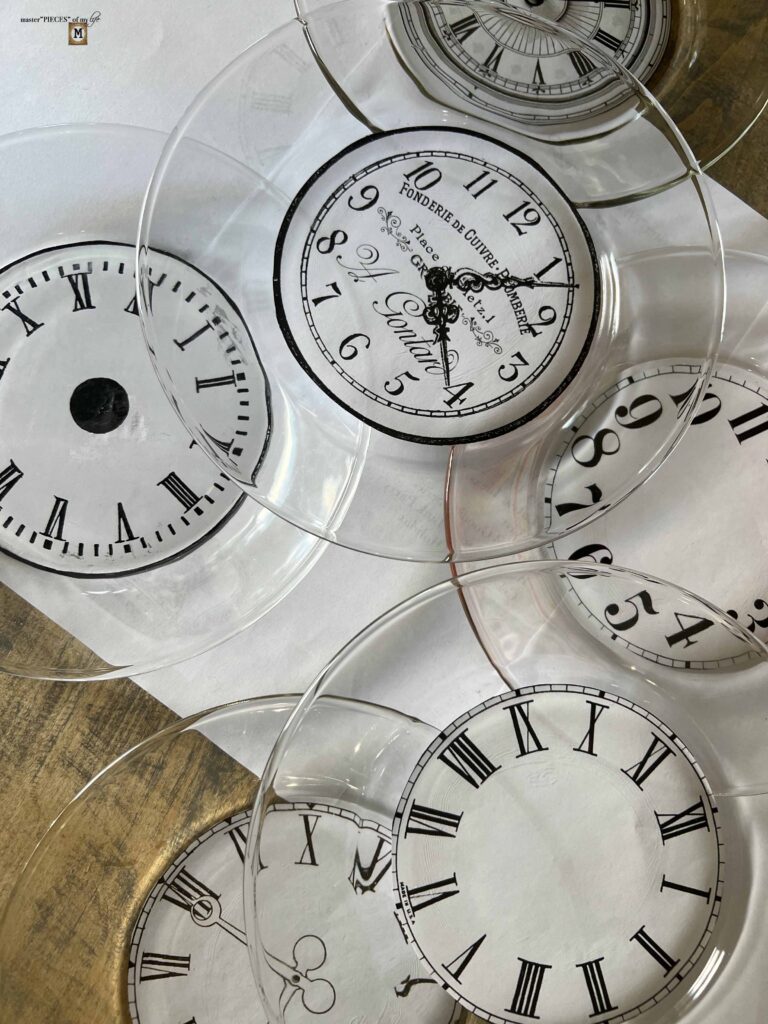
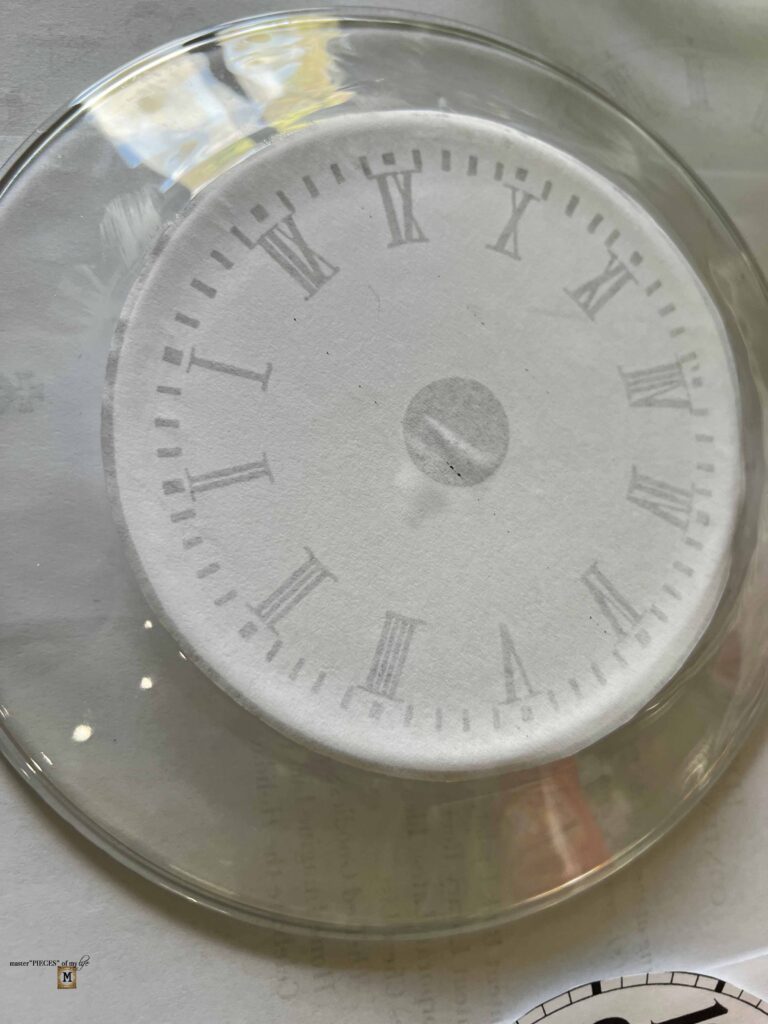
Following her inspiration I simply used clock images I printed out on plain paper and decoupaged on the back of the plates.?I only wanted to use them for the one night so it worked perfectly.
How to make custom DIY glass plates
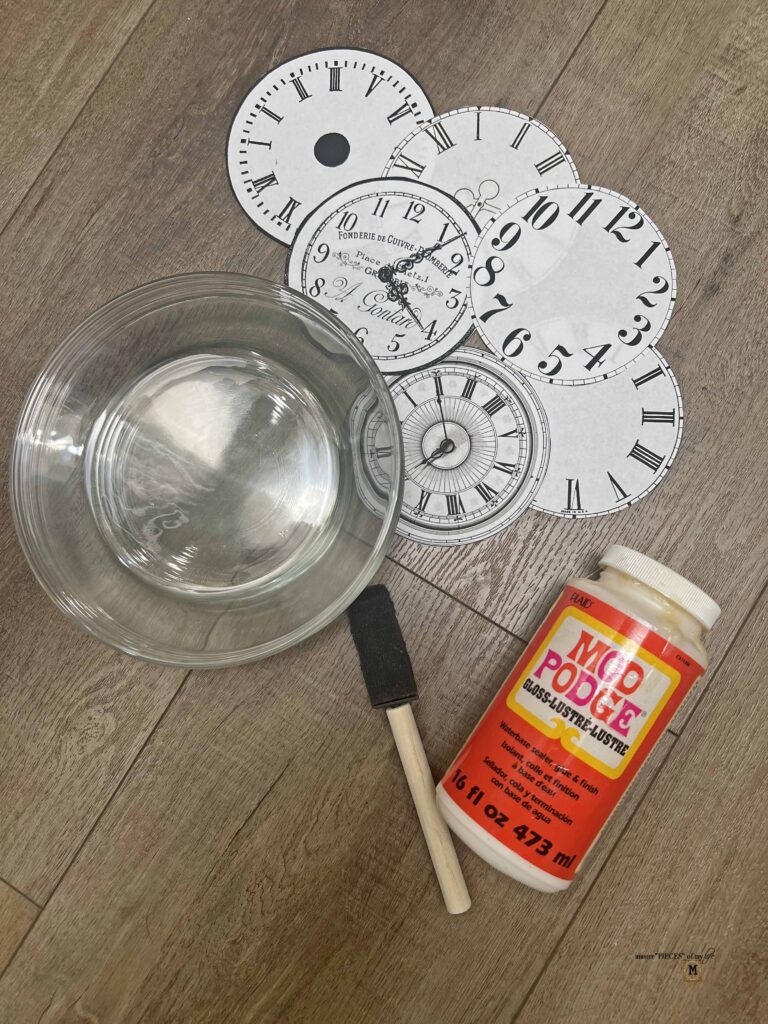
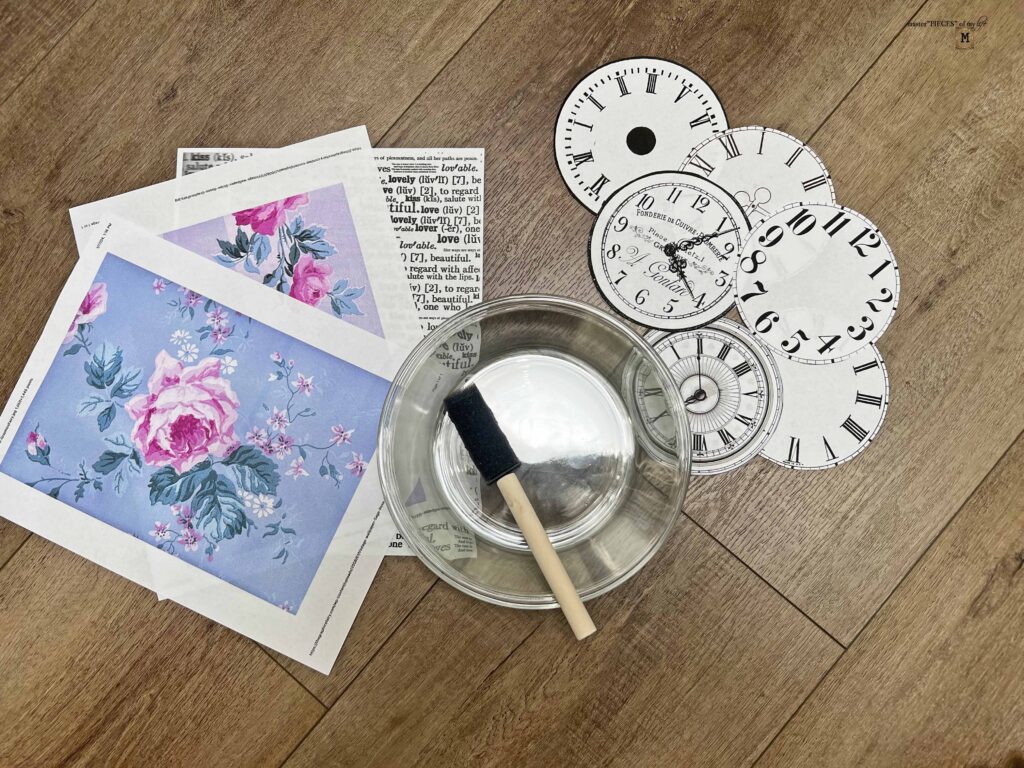
Supplies
- Glass Plates
- Copy Paper
- Decoupage Medium
- Scissors
- Foam Brush
- Ruler
- Circle cutting system (if necessary)
Directions
- Find free images on-line you want to use for your design.*
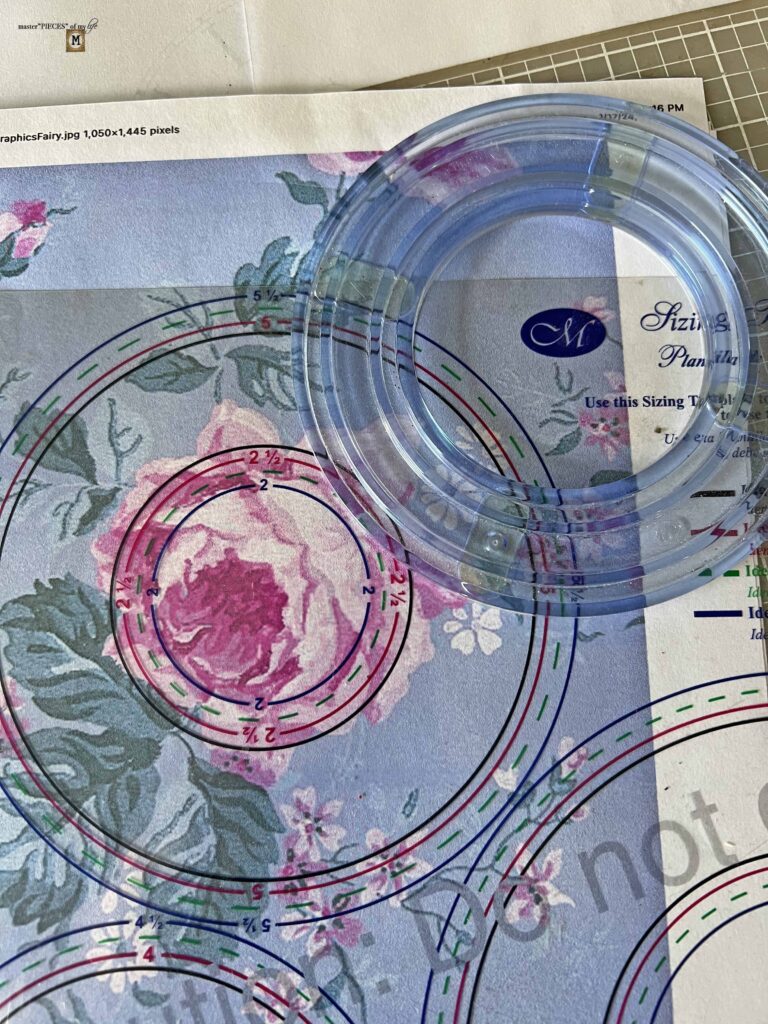
- Measure the well of the plate on the back side.
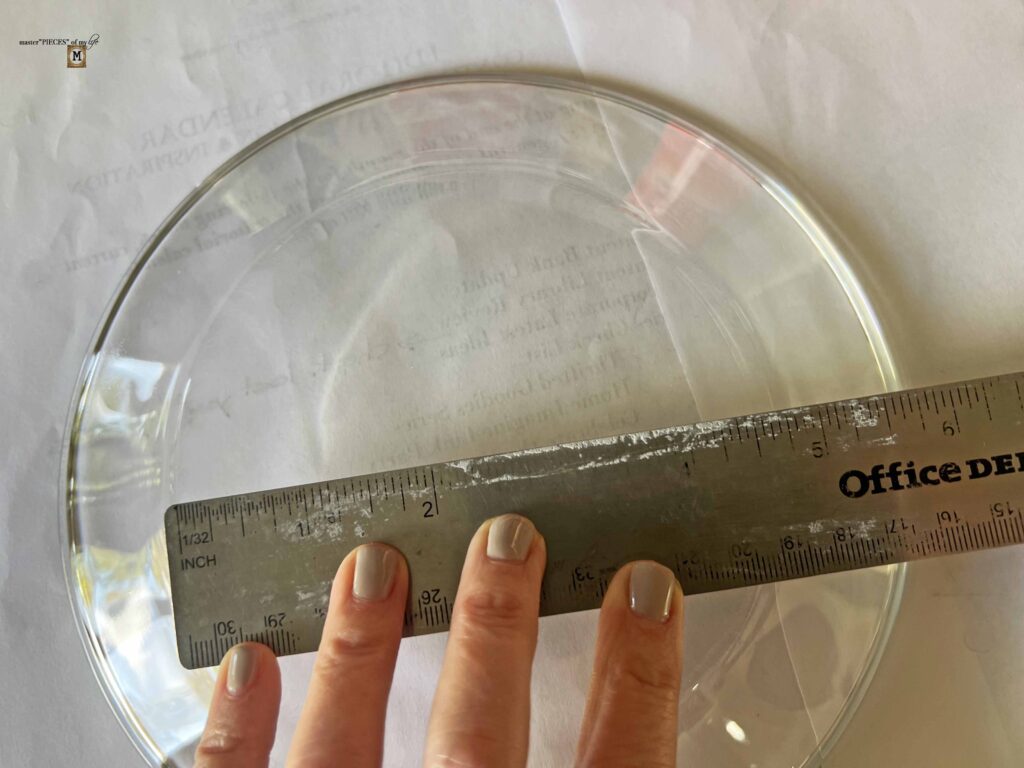
- Size your image to the size of the well on your plate.?
- Print image and cut out circle.

- Make sure the surface of your glass plates are clean and dry.
- Invert plate on work surface and apply decoupage medium only on well part of the plate.
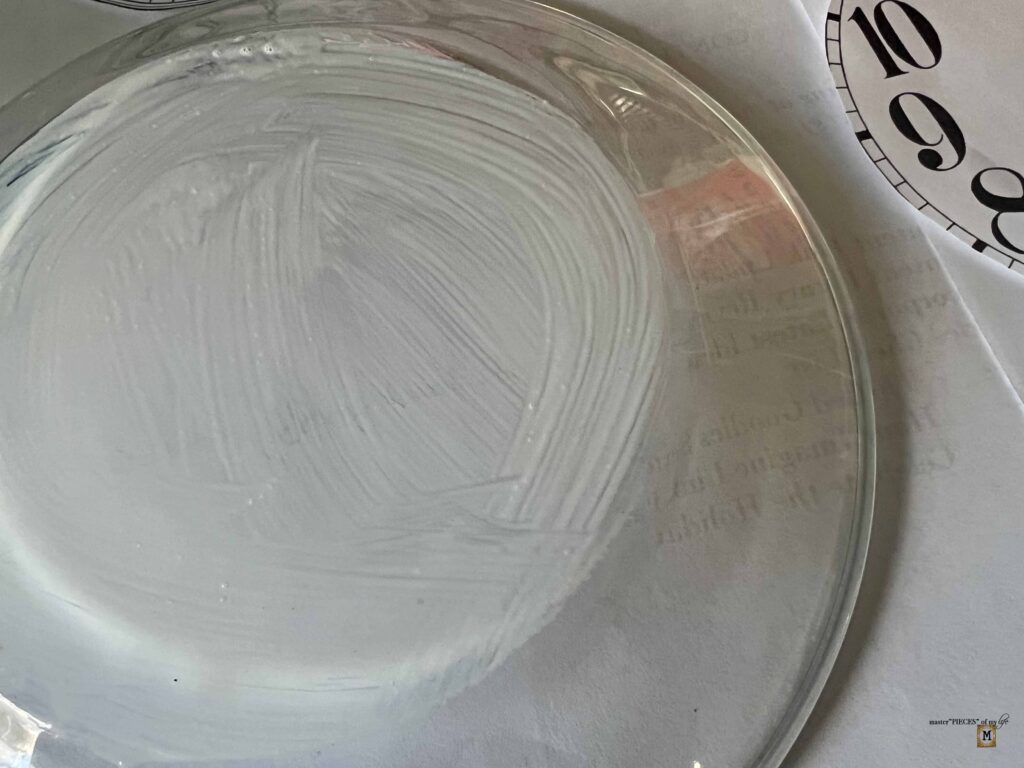
- Place paper image inverted on decoupage medium so front faces out.
- Apply another layer of decoupage medium lightly on top of paper image, avoiding getting any on the glass plate.
- Allow to dry fully before using your newly customized glass plate.
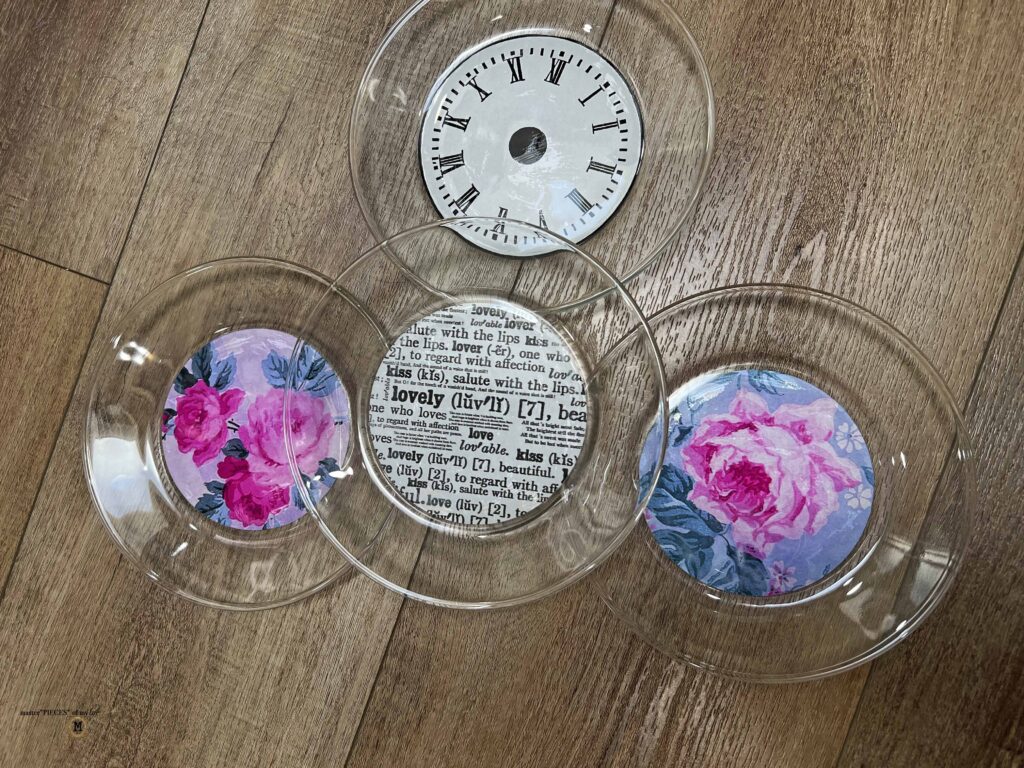
*The clock and floral wall paper images I used are from the Graphics Fairy.?A quick search on her site will find you all the images you need.?If you need further help send me a message, and I will be happy to help you.
Tips on the glass plate DIY
Please know these are only intended for a one time use, if you will be eating off the plates, since washing will remove the image.?I actually soaked my plates in warm sudsy water over night.?
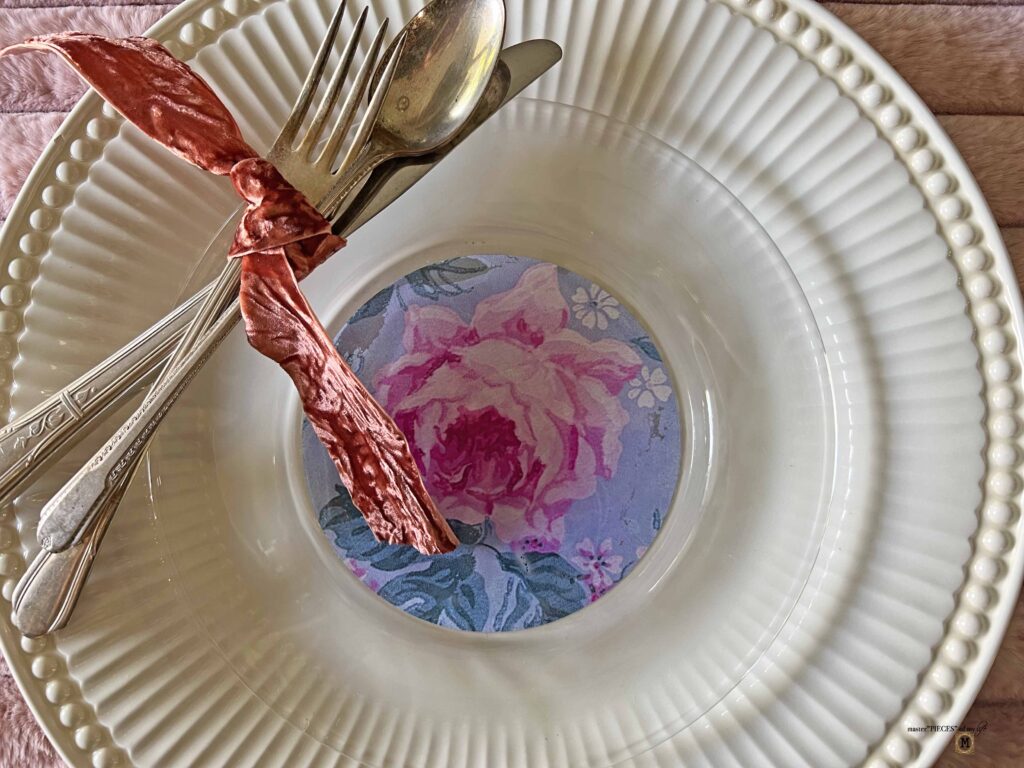
A circular image is much easier to execute since it provides a guide to cut.?For the Valentine’s Day plates I used a circular cutting system from my scrapbook days.?You could also use a protractor or a cup if it’s the right size to draw a circle to guide you.
I recommend letting the decoupage medium to cure and dry fully before inverting and setting plate on anything.?This way you don’t risk it still being tacky and sticking to something or even worse, ripping the paper.?

If you get excess decoupage medium outside the area you want to use it on, it’s an easy fix.? Decoupage glue is pretty forgiving and a paper towel with a tiny bit of warm water will wipe away any excess.?Make sure to do this before the decoupage medium sets and just be careful not to get the paper wet.
Ideas on how to customize glass plates
Possibilities are endless
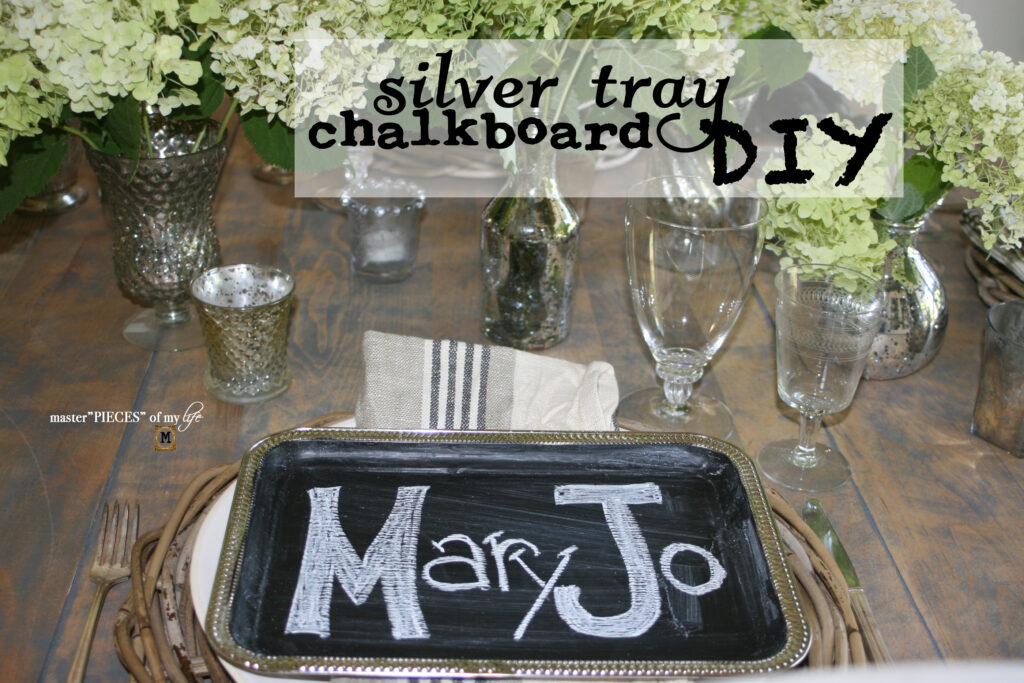
Not only can you customize your glass plates for each and every season, but you can also use it as place cards with each guests name written on the individual plates.?
You could also write what the celebration is for, like “Happy 29th Birthday MaryJo” (? see what I did there ?) or “Happy Retirement Matt”, etc.?Also a photograph of the person being honored is a great idea or a wedding photo for an anniversary celebration.?See what I mean??Just let your imagination run wild.
Other mediums
If using the computer is not your thing, you can use any pretty paper.?There are beautiful scrapbook papers, wrapping papers, and more.?For the paper with the words, I photo copied a scrapbook page I had in my stash.?
Beyond paper, you can also use fabric like my friend did so many years ago, which inspired this project.?It’s a great way to use fabric scraps if sewing is your thing.?Denim would be super cute for a summertime table. ?
If you don’t want to miss out on any of the upcoming projects you can subscribe to receive all my new posts to your in-box.
Other tabletop DIY inspiration


“You can’t use up creativity.?The more you use the more you have.”
Maya Angelou