

Do you want a seasonal decor craft that doesn’t break the bank, but yet looks fantastic? Well, this botanical pressed flower garland DIY checks all the boxes. It’s affordable, it’s adorable and it can be easily adapted to your own personal style. The fresh botanicals mirror all the summer lushness outdoors. Join me as I walk you through the step by step on how you can create this botanical banner with all the organic goodness of the season.
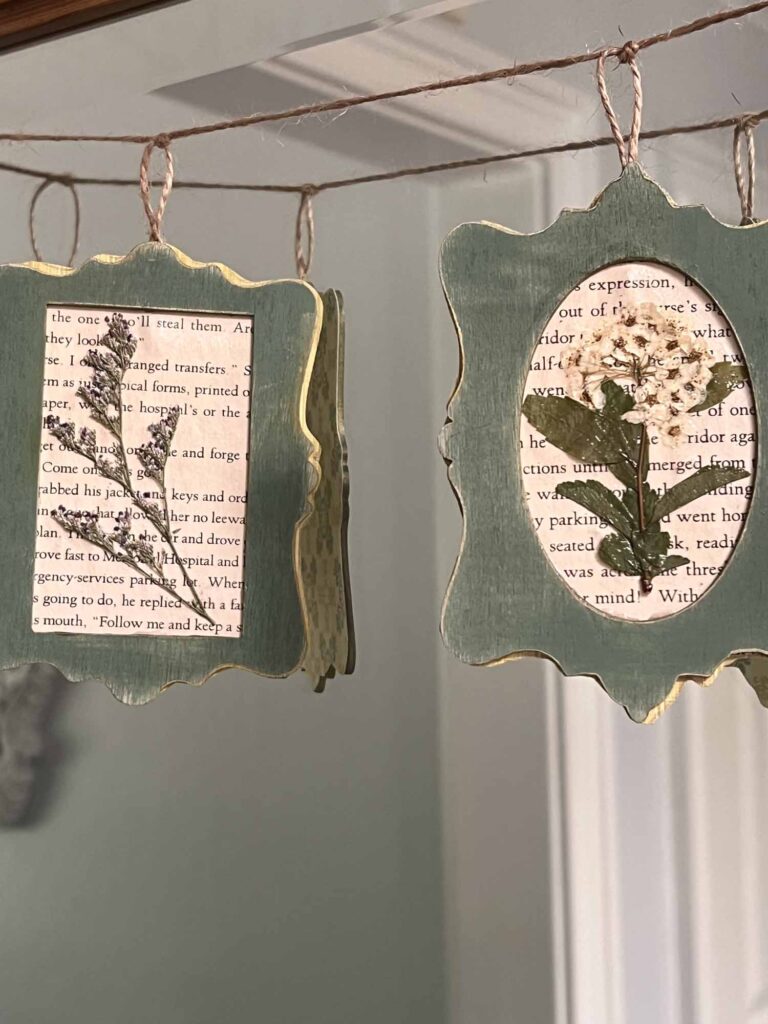
Garlands, swags & banners are great accent decor pieces, which can come out and play for a bit and then can be easily tucked away until the next time. They are a great versatile piece, which can accent vignettes, drape over the mantel, frame a doorway or sweep across a cabinet.
Key Takeaways
> Be inspired by summer blooms to create a botanical pressed flower garland
> Learn how to make your own with step-by-step instructions for a botanical inspired banner
> Tips & recommendations to keep in mind while crafting
*Affiliate links might be included for your convenience. These affiliate links mean a small commission is earned if you make a purchase using these links at no extra cost to you. As an Amazon Associate I earn from qualifying purchases which support this website. For more information: Full Disclosure Policy.
Inspiration for the Botanical Pressed Flower Garland
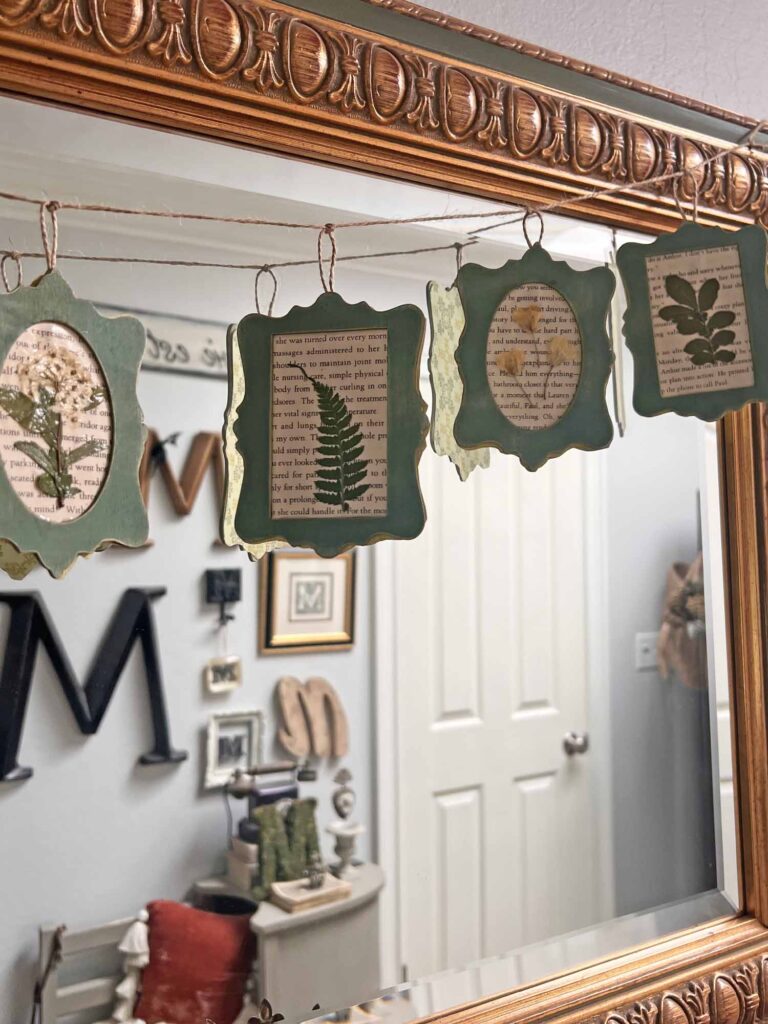
Botanicals on a bookprint page background in a distressed gilded frame… need I say more? It’s totally MaryJo coded. I combined many of my decor loves- organics, the color green, gilding, frames and created a botanical garland. I had these pressed florals left over from this project and fit perfectly into the frames. Although I’m creating this as a summer craft, it can be used in the Spring and early Fall as well. Plus the project can easily be adapted for any season or holiday with personal style. Make it yours!
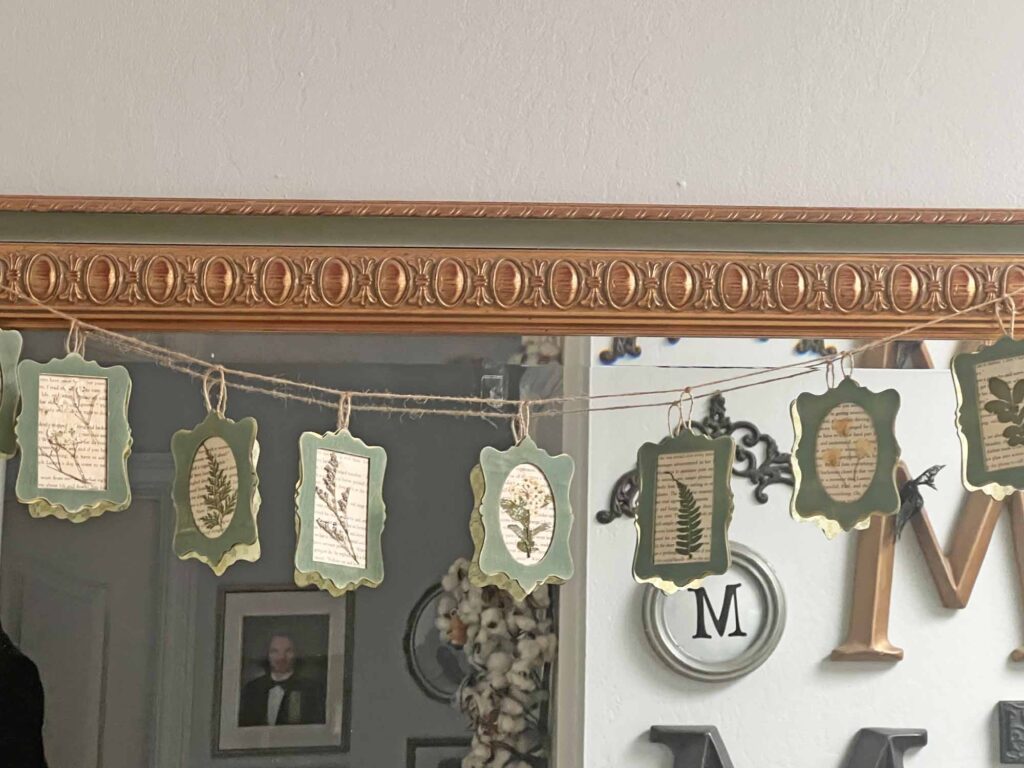
Use colors and patterns that speak to you following the technique I’m sharing today and you’ll have a lovely piece for your home. Banners and garlands can be draped across room openings, mirrors, cabinets, which immediately create a festive and jovial tone in your home.
How to Create a Summer Botanical Pressed Flower Garland
I used elements that appeal to me to create this garland, including the aged book pages and botanical elements plus frames with a touch of gilding. Feel free to adapt it for your style. Other recommendations can be found in the tips section below.

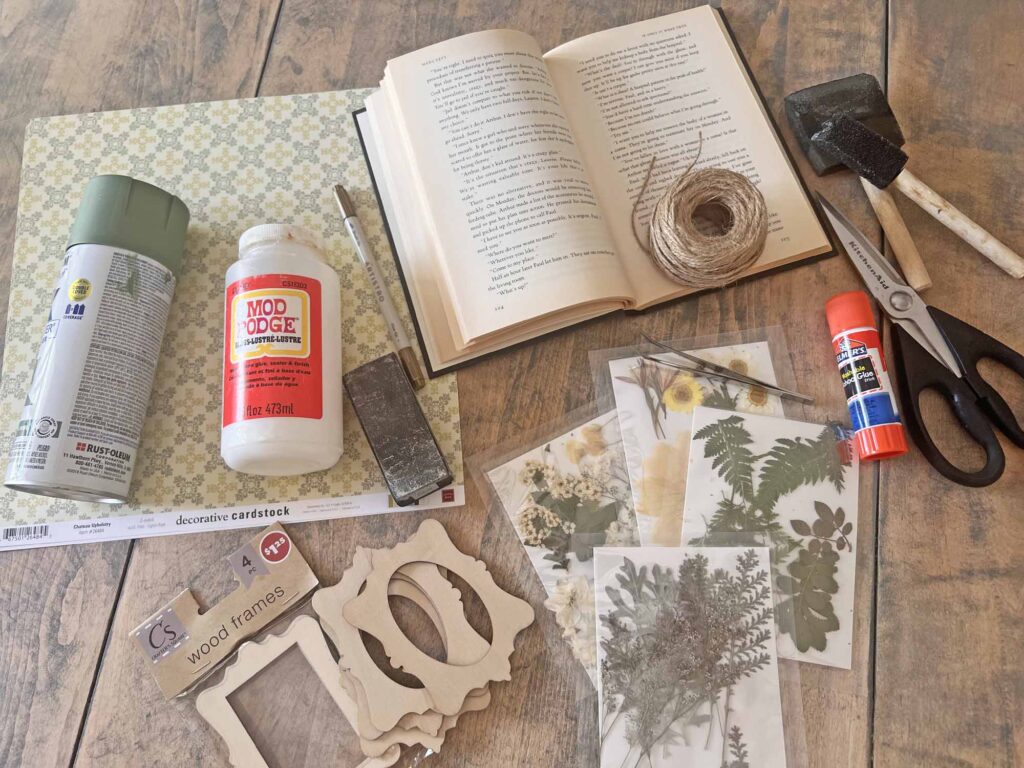
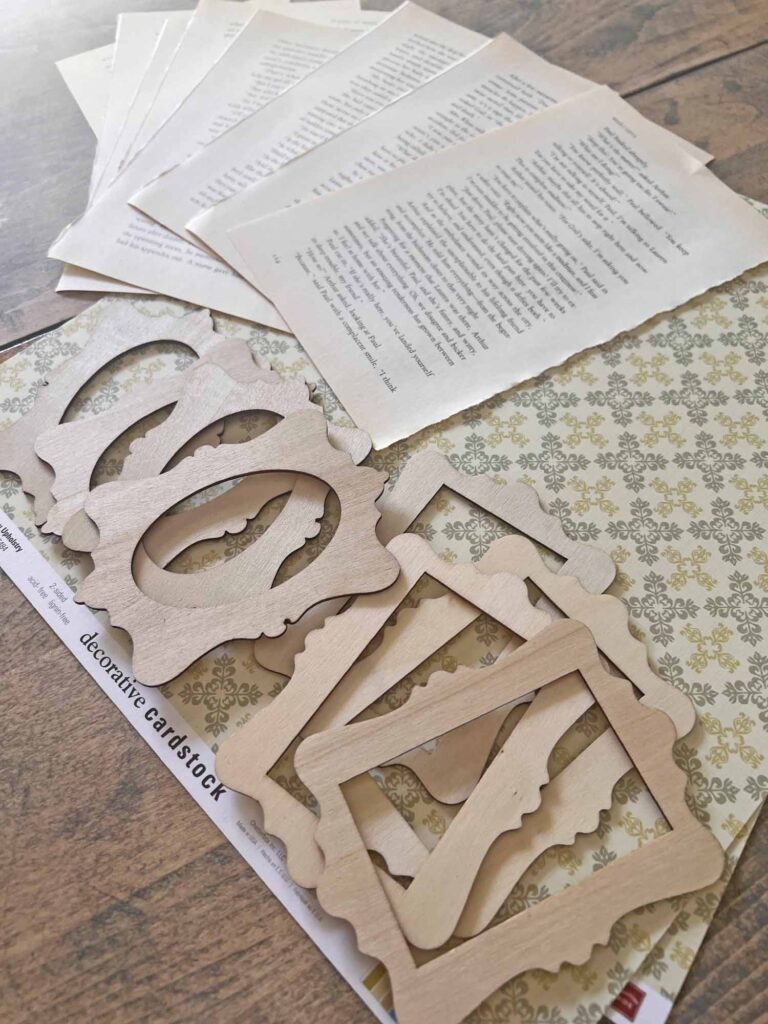
pressed flowers | wood frames | decorative card stock

MJ Insider Craft Tip
Read all the instructions through once & then re-read everything again, familiarizing yourself with everything you need & know what to expect. Avoiding surprises during a project prevents unnecessary stress.
STEP-BY-STEP INSTRUCTIONS
Prep Project
- Read instructions thoroughly and assemble all supplies & tools
- Remove all packaging, tags, stickers, etc. from supplies
- Rip out as many pages as needed from book (this will depend on how many frames you are using)
- Select decorative card stock (I used a 12×12 scrapbook sheet)
Stain Book Pages
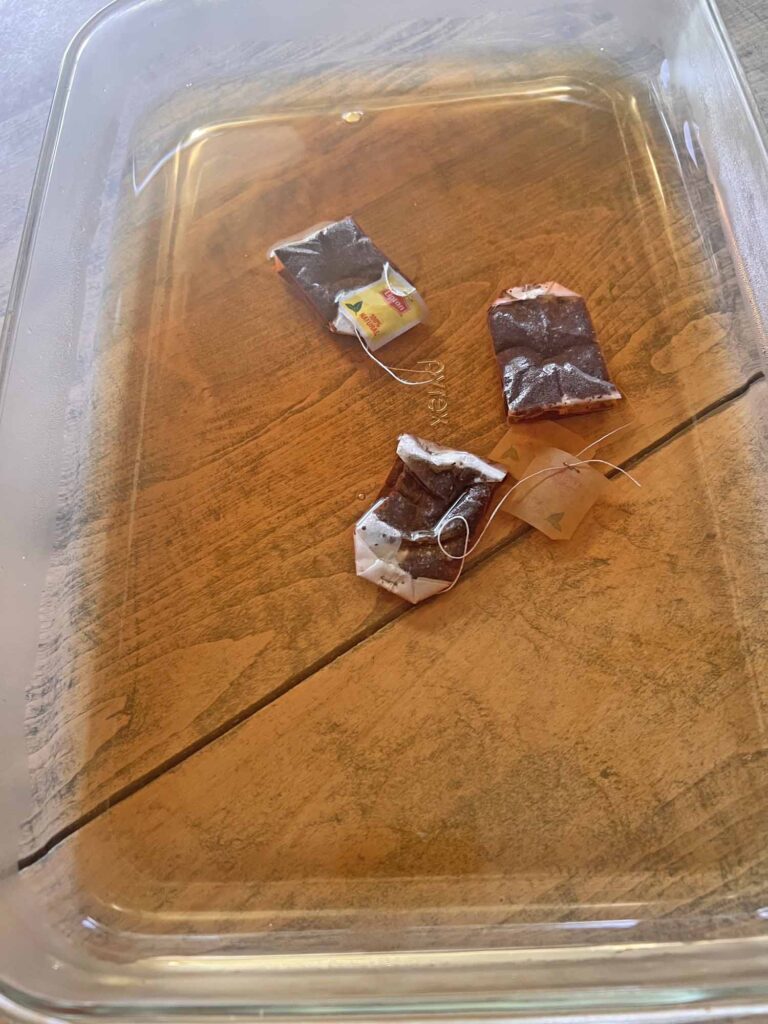
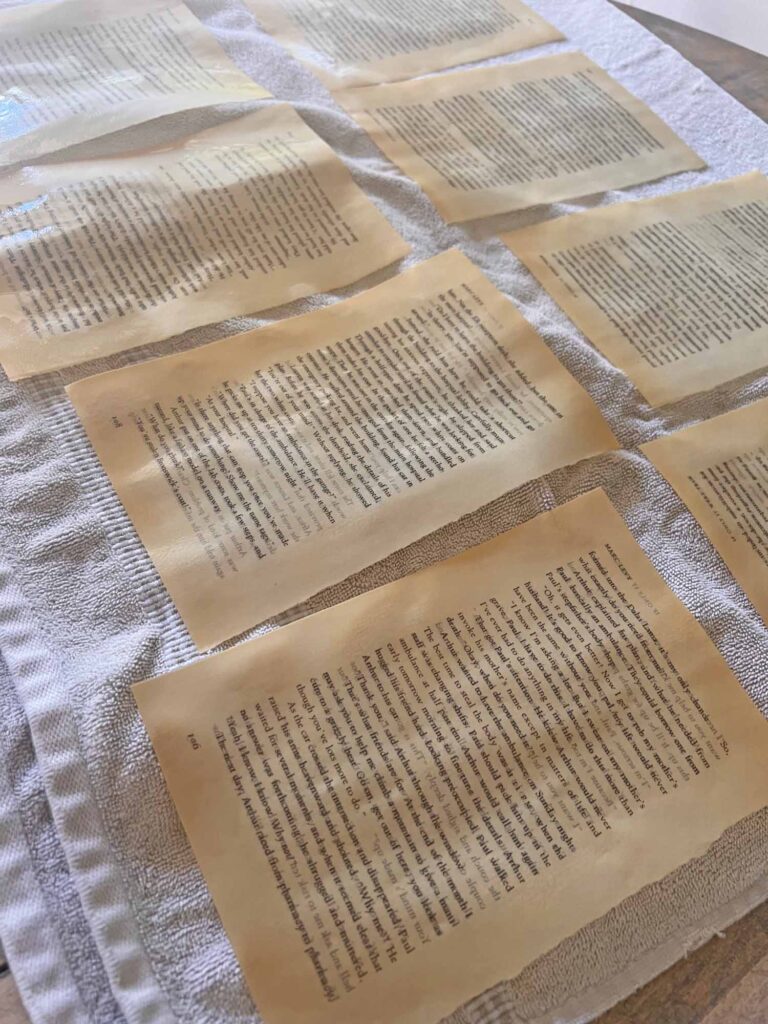
- Steep tea bags in a large pyrex dish
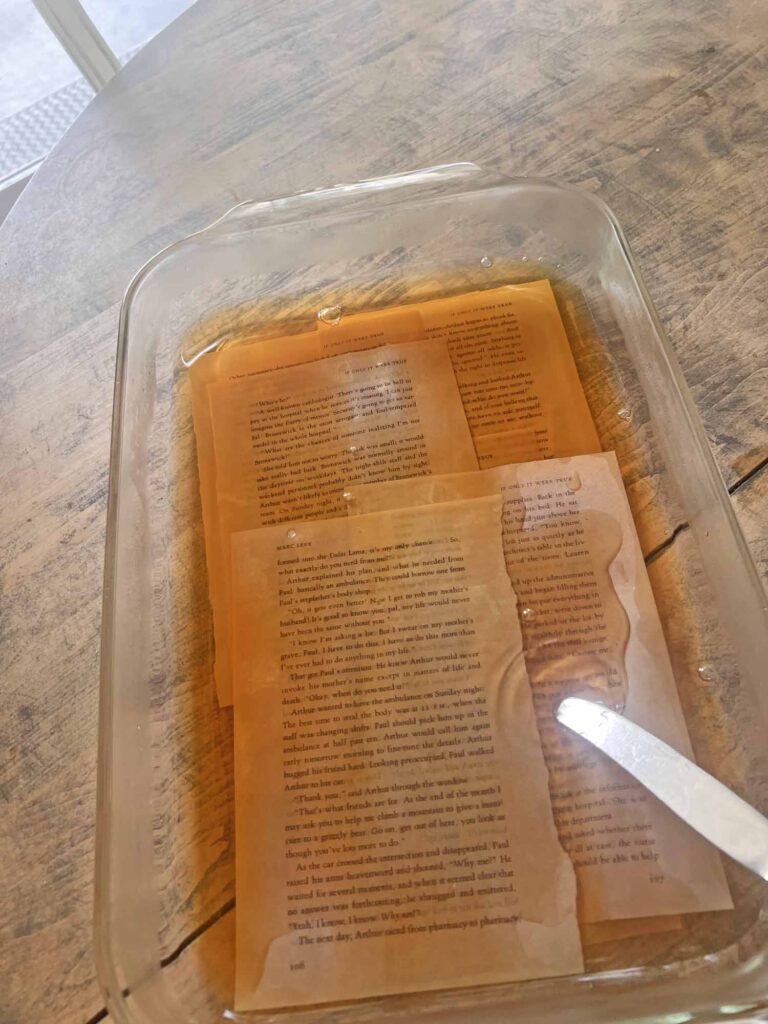
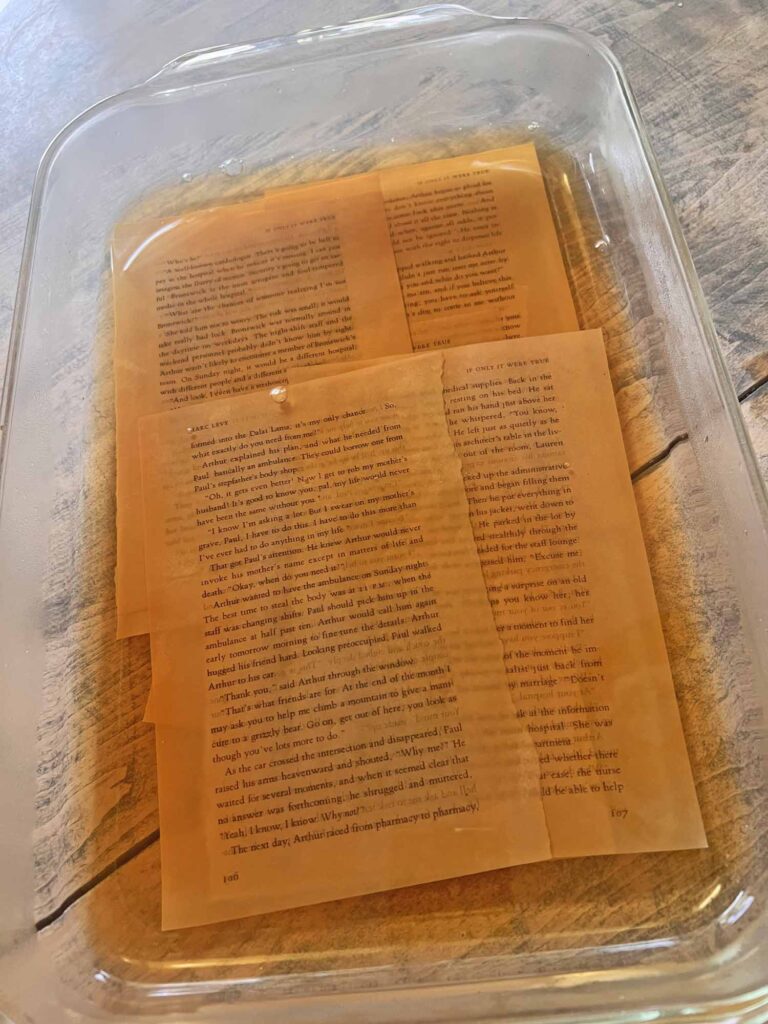
- Lay book pages in steeped tea water, making sure they are fully submerged
- Once pages have an antiqued look, remove from water (I steeped pages for about 15-20 minutes)
- Place antiqued book pages on towel, allowing to fully dry
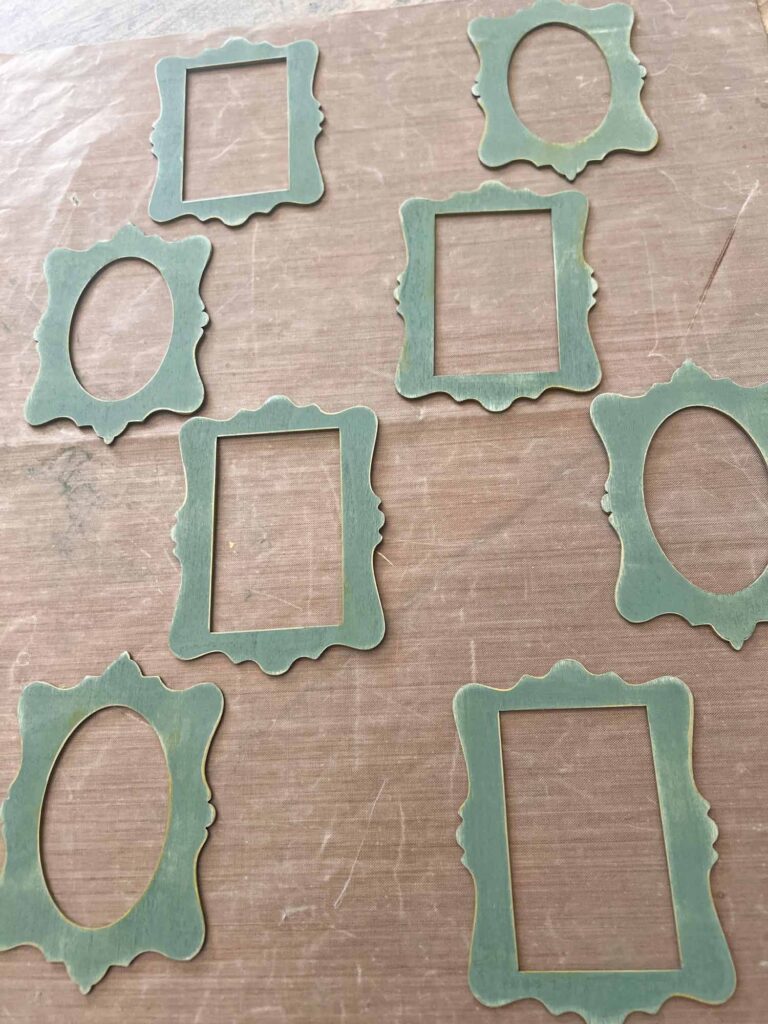
Paint & Distress Frames
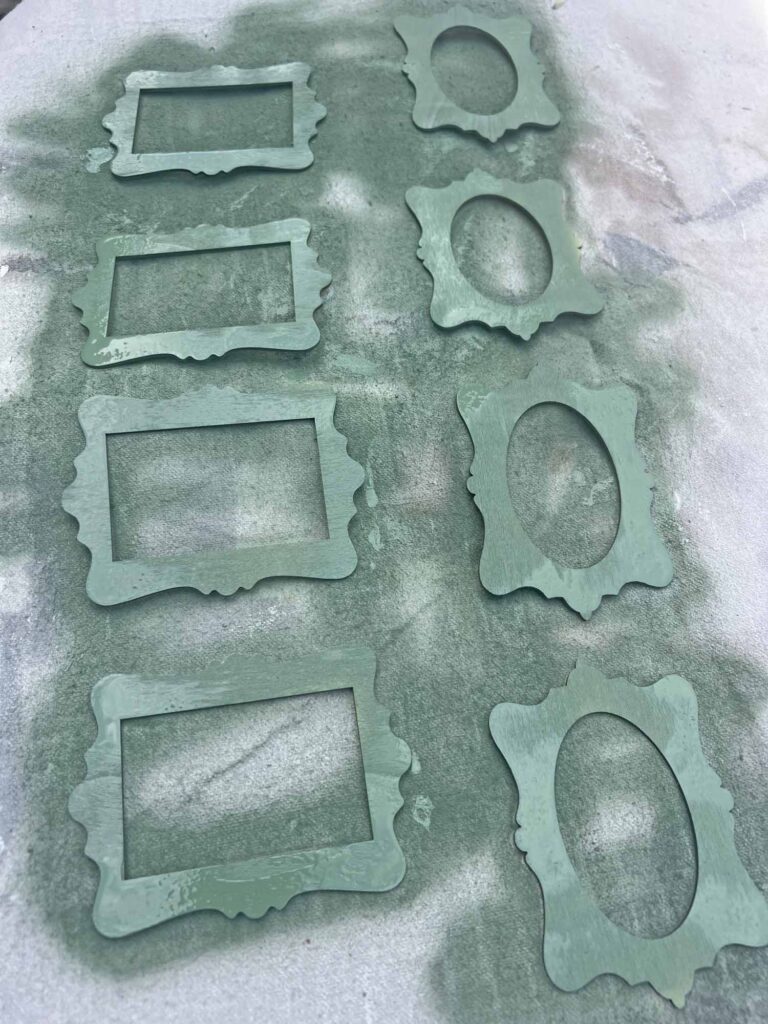
- While the book pages are steeping and drying, lay out all the frames on a painter’s tarp
- Spray the frames liberally (about 6-inches is a good clearance)
- Allow frames to fully dry
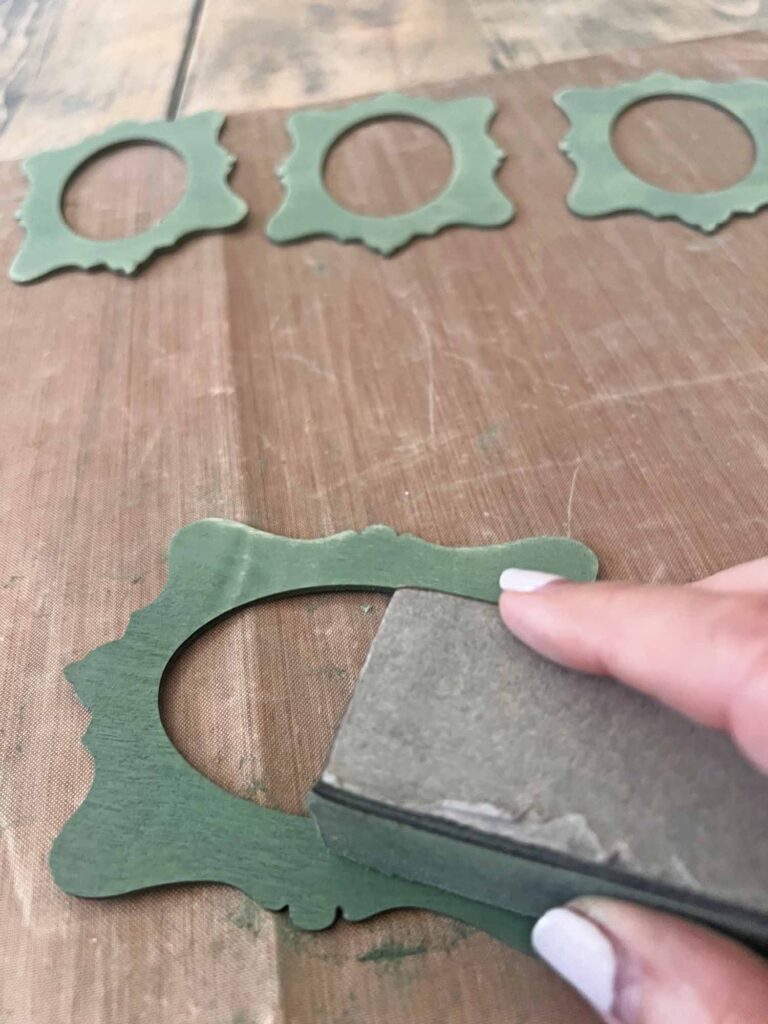
- When paint has dried, use sanding block to distress frames
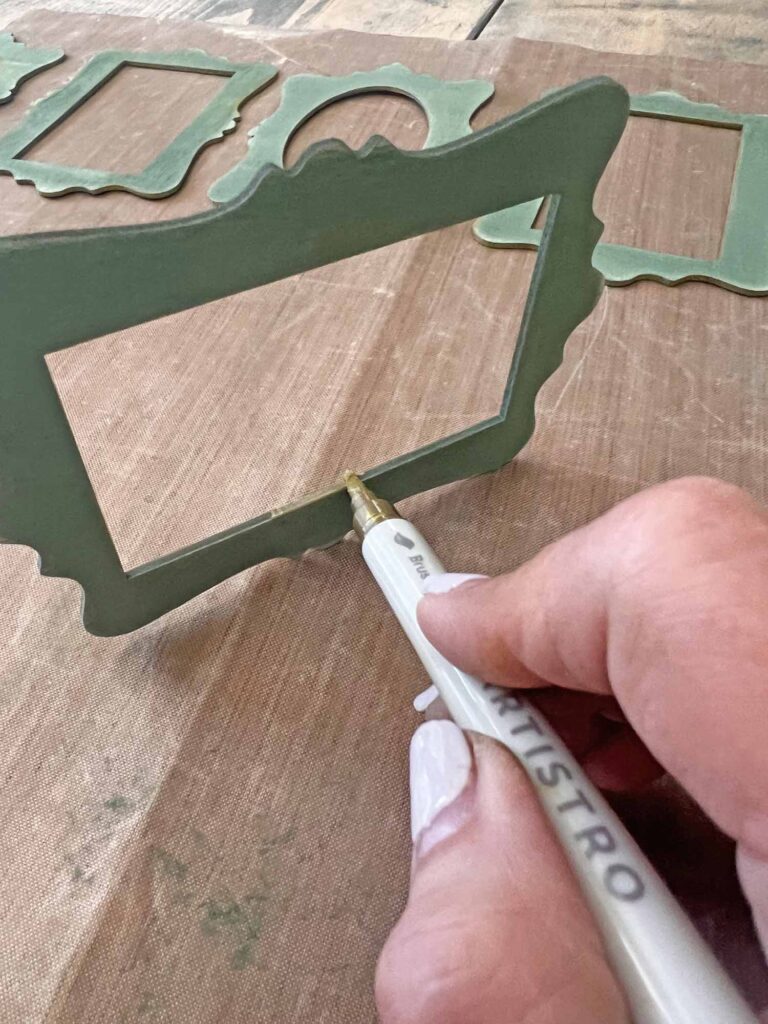
- Use gold pen to accent the edges of the frames
Cut-out Backings
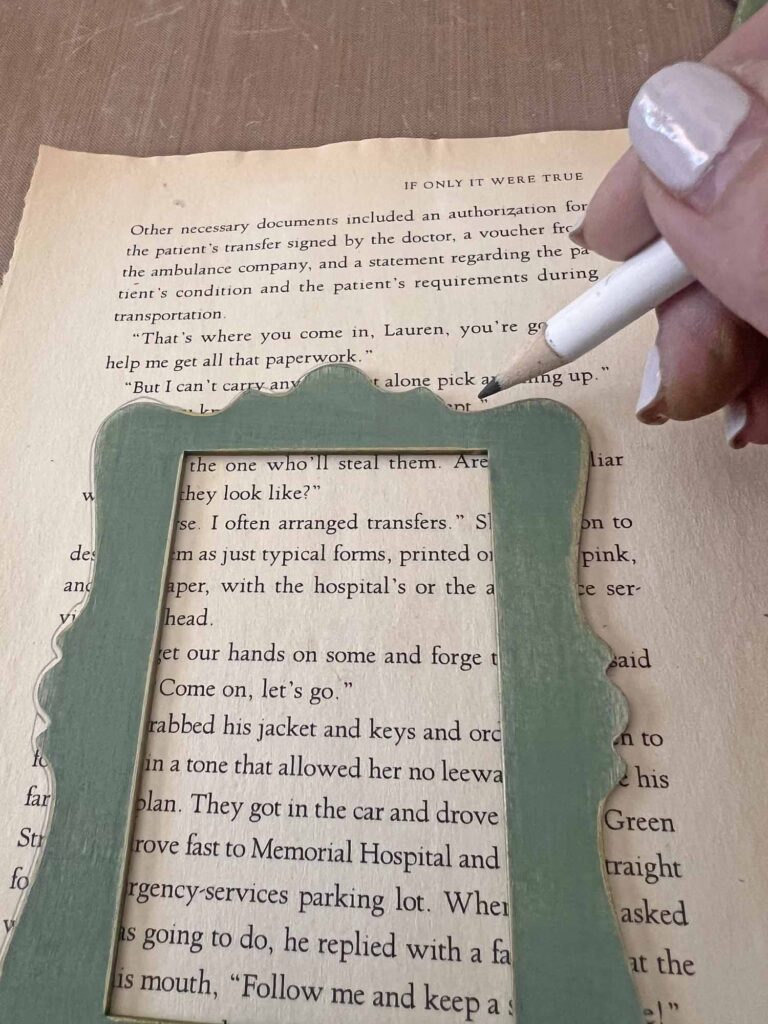
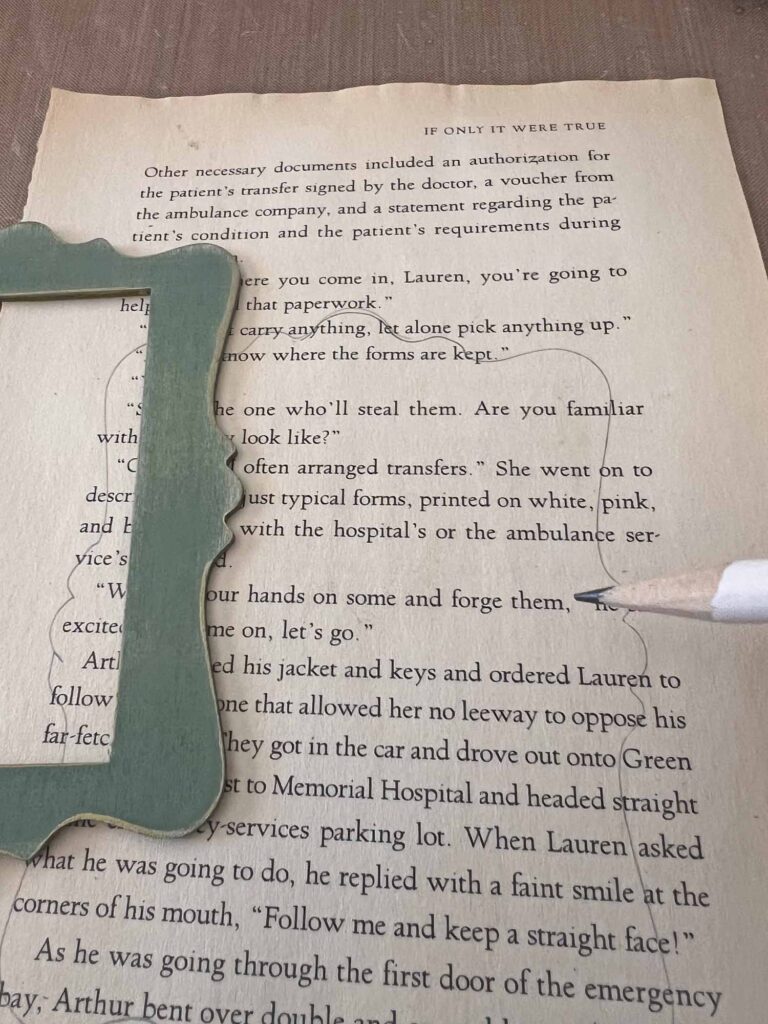
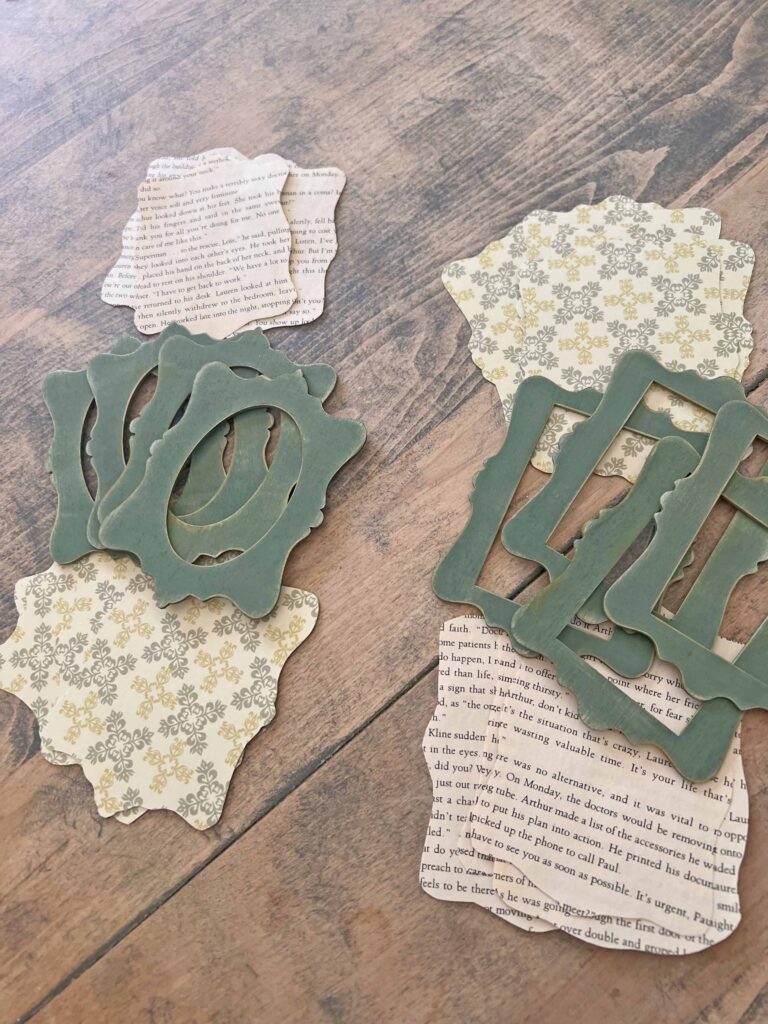
- Once pages are fully dry, place frame on antiqued book page and trace outline
- Cut book page following outline
- Repeat the previous two steps for each frame
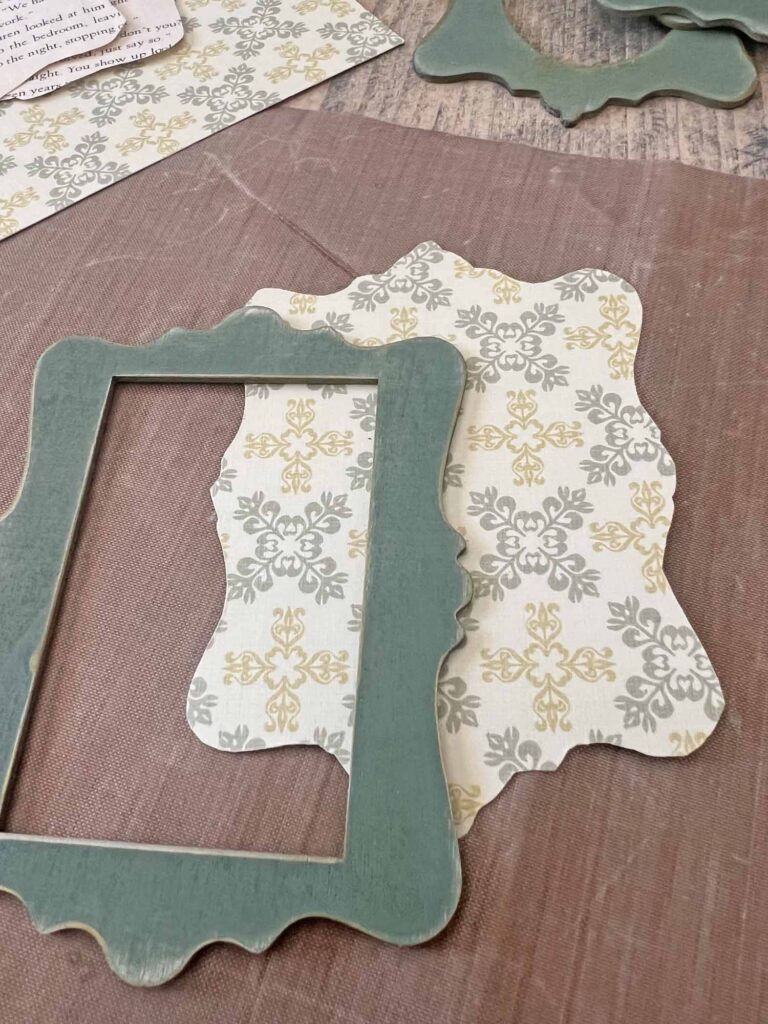
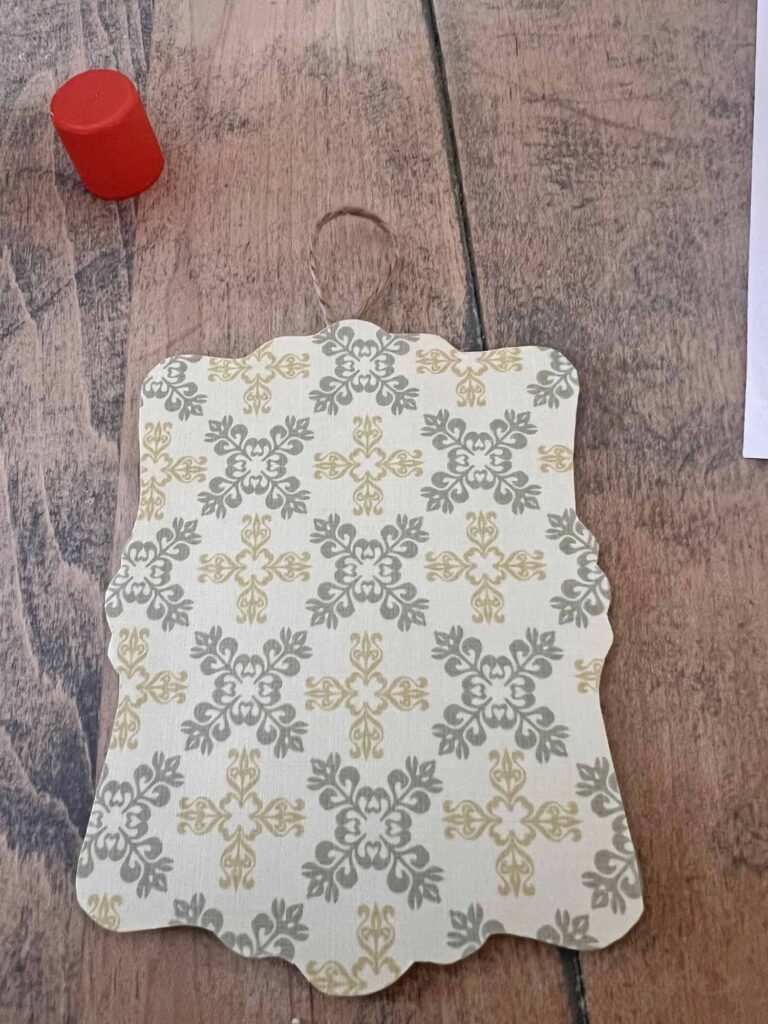
- Place frame on card stock and trace outline
- Cut card stock following outline
- Repeat the previous two steps for each frame
Create Botanical Artwork
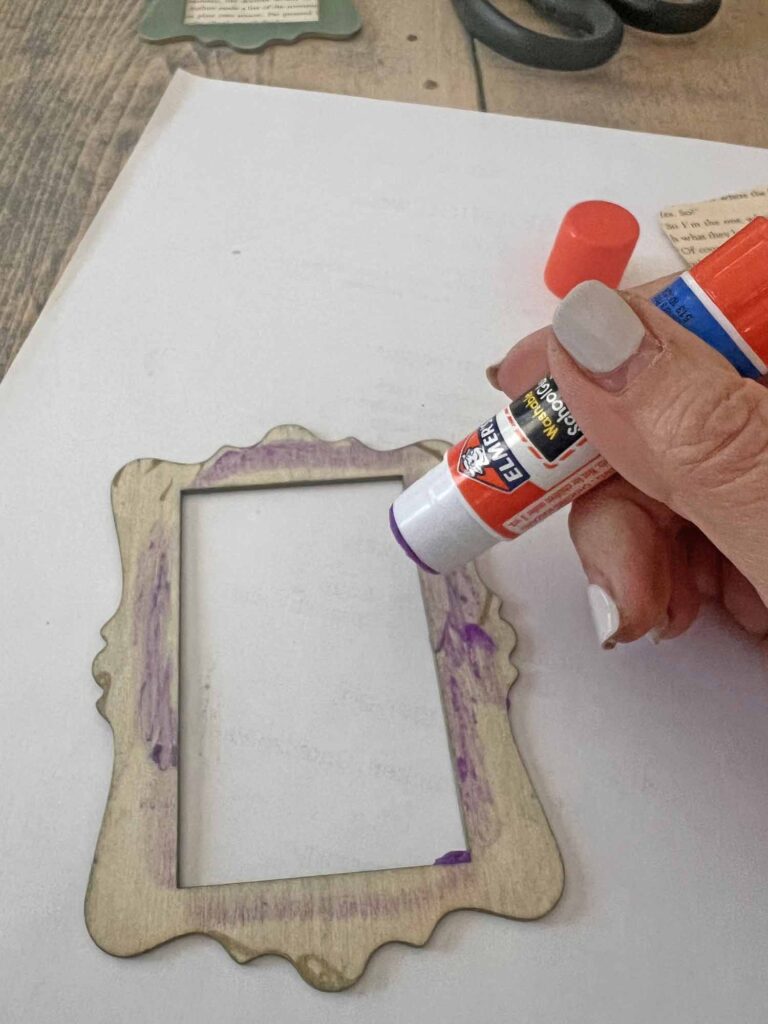
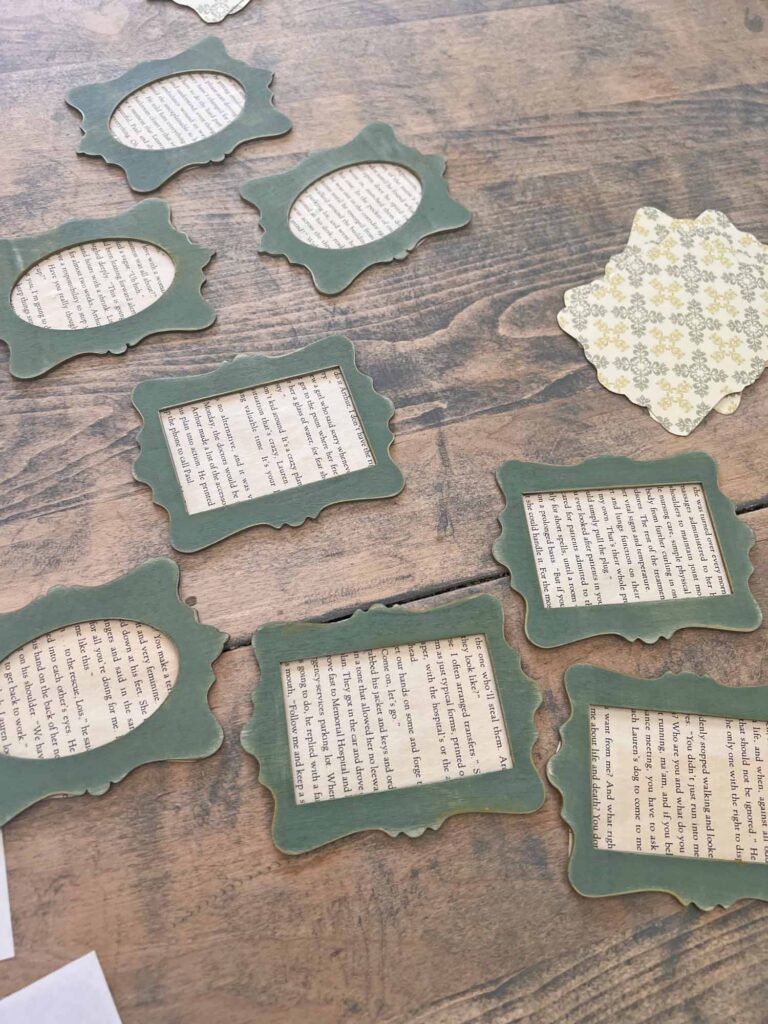
- Using glue stick adhere antiqued book pages to the back of frames facing out
- Select desired pressed flowers
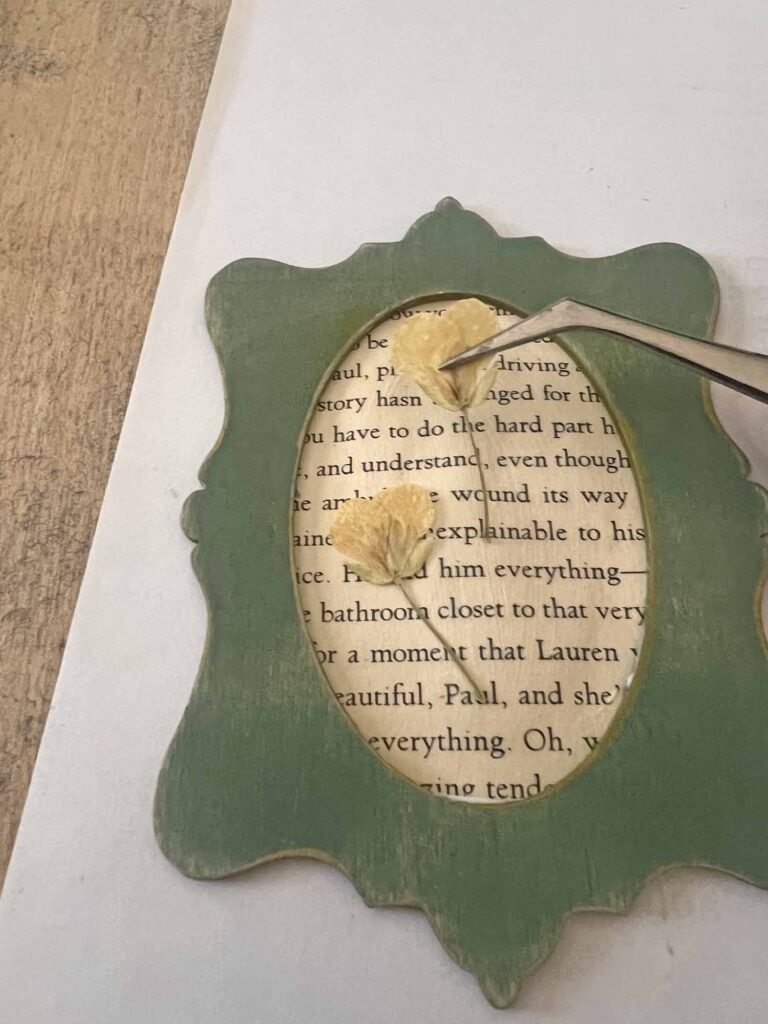
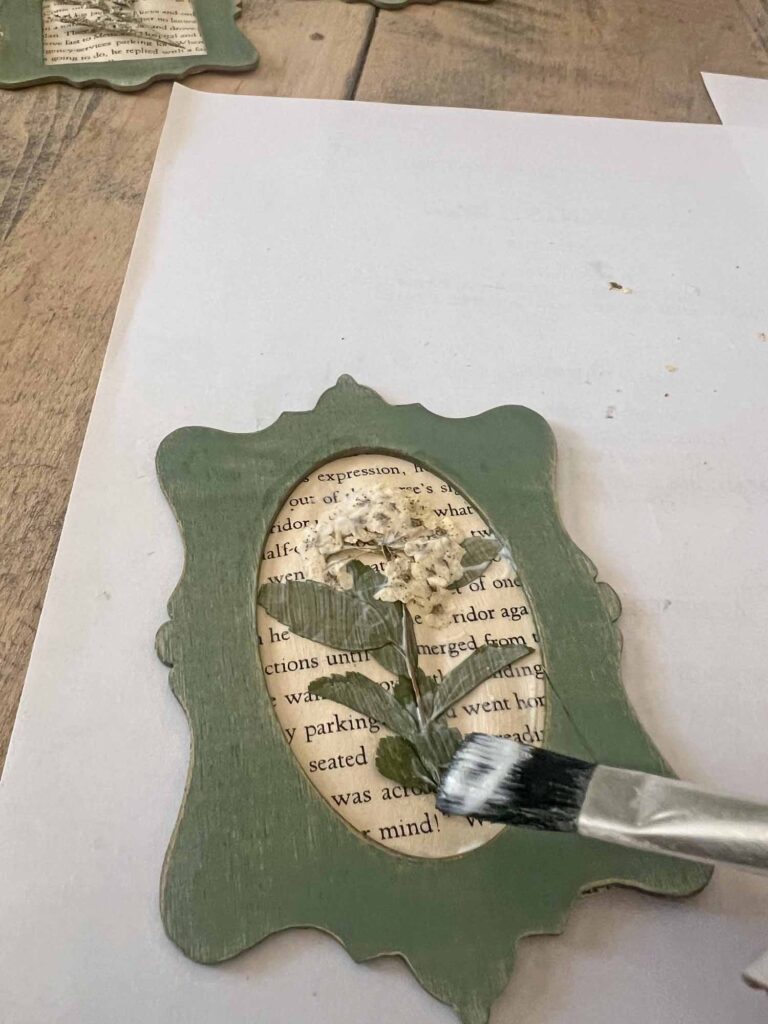
- Apply a gentle layer of decoupage medium on framed book page
- Using tweezer gently apply pressed botanical to book page
- Repeat above steps for each frame
- Once all pressed flowers are adhered and cured, apply a sealing layer of decoupage medium over entire book page and pressed botanical
Apply Hanging Loops
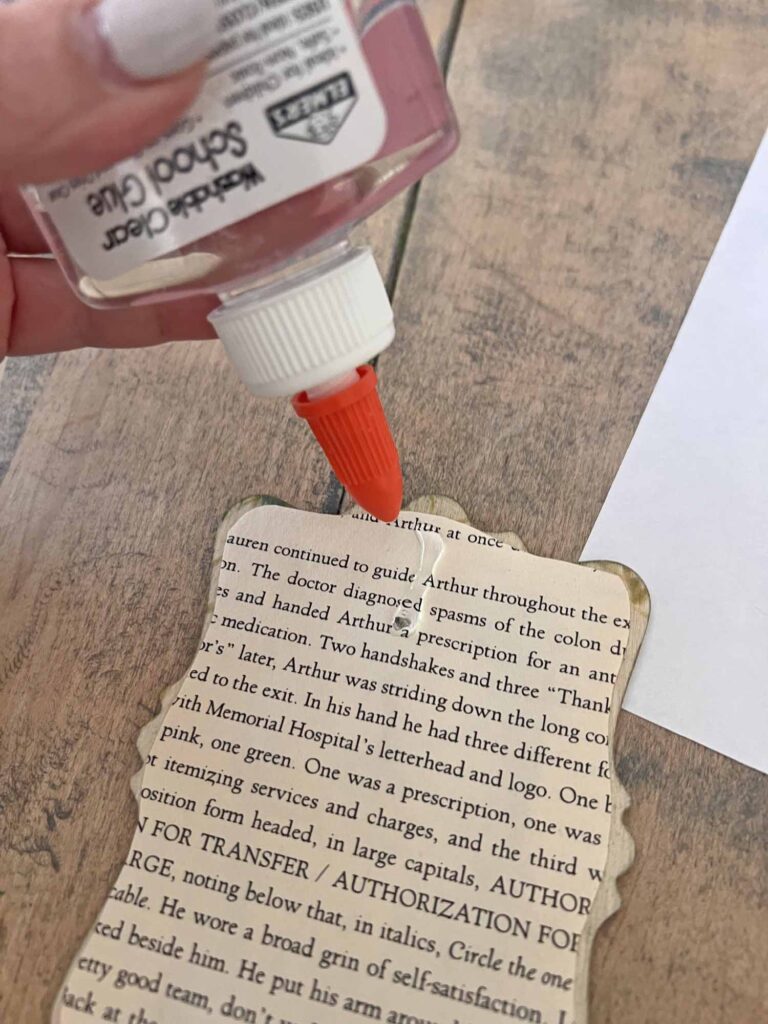
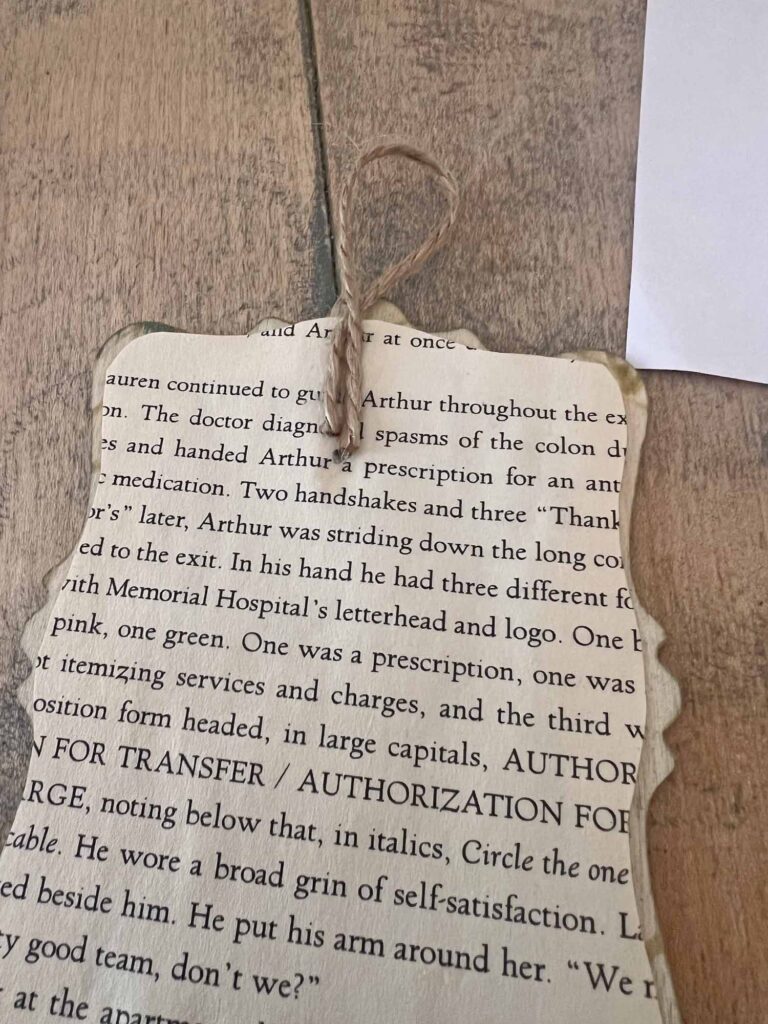
- Cut a piece of twine about 4-inches long
- Fold twine in half and using school glue adhere to the back of frame towards the top to create a hanging loop
- Repeat the above steps for each frame
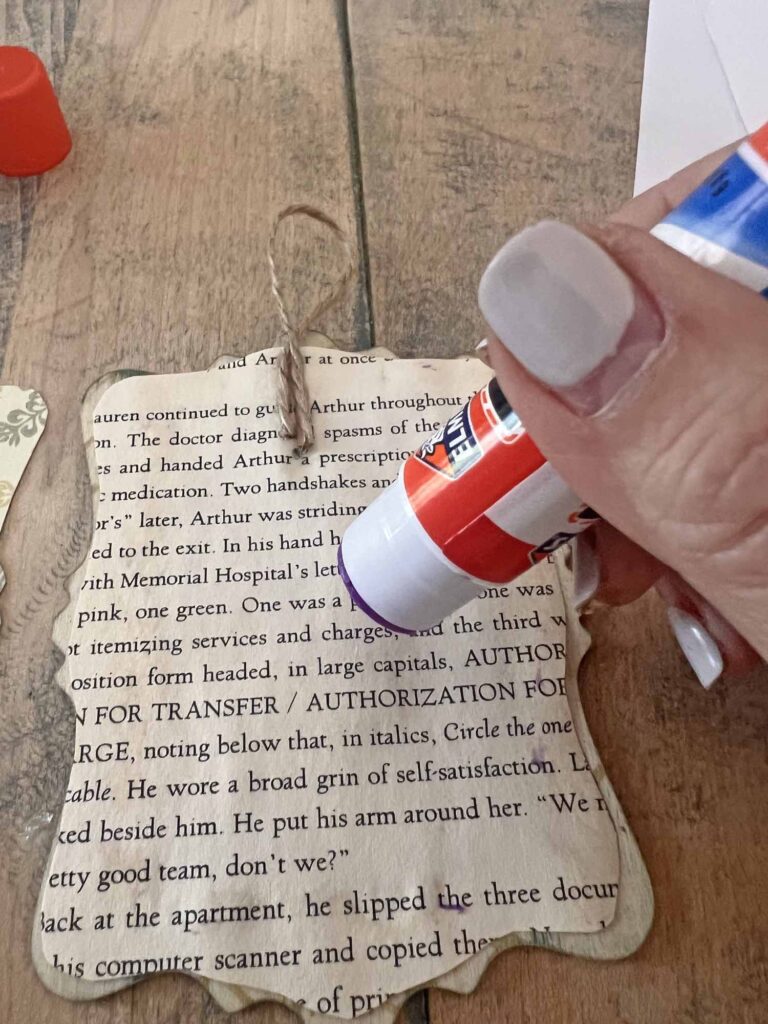
- Using glue stick, adhere card stock to the back of frames facing outward (towards the back) to cover up the mechanics
Assemble Garland
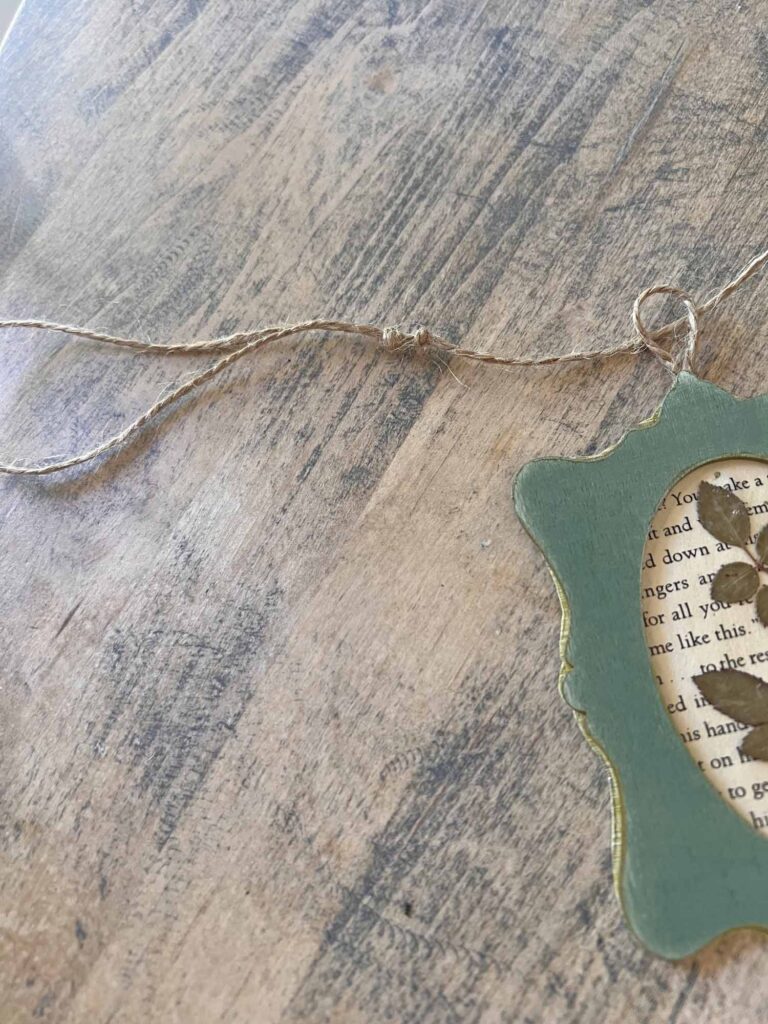
- Cut a long piece of twine about 60 inches long
- Starting at one end of twine fold over about 6 inches, creating a long loop, and tie off
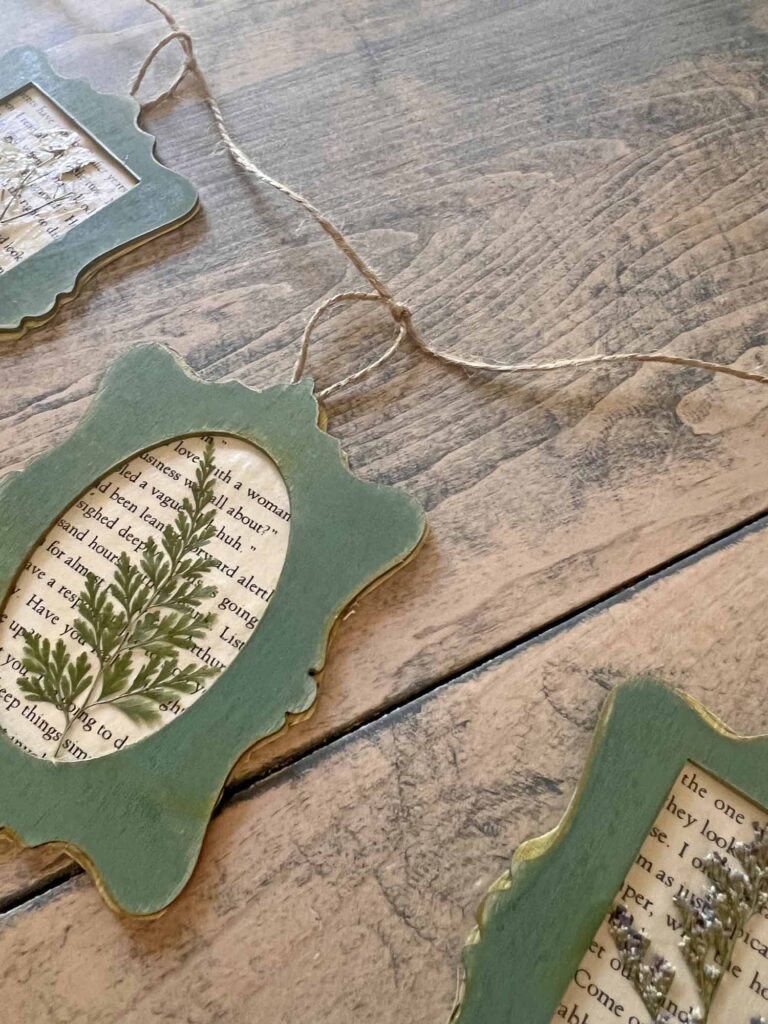
- Measure about 2-3 inches from loop knot and thread twine to first frame and create a knot with twine
- Measure another 2-3 inches from first frame and hang second frame
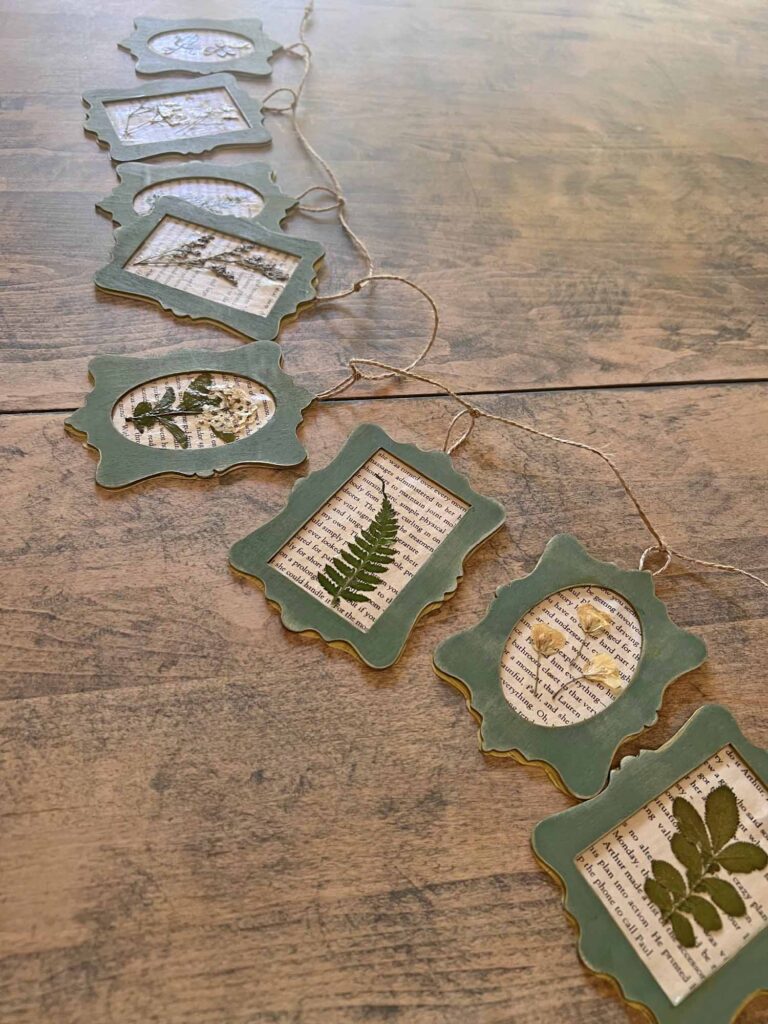
- Continue same sequence hanging all the frames 2-3 inches apart
- At the end, tie another 6-inch hanging loop at the end
- My garland has 8 frames and is about 60-inches long
- Voila! Hang your garland and enjoy
Tips & Recommendations to Keep In Mind
Smart Sourcing
I sourced some of my main components from the Dollar Tree, including the book and the wooden frames. I’ve had these frames for awhile now, which I simply grabbed on instinct since I liked their shape and knew I could create a project with them eventually; and here we are. I have seen them pretty regularly at DT but if you can’t find them I included other options in the shopping section below for your convenience. I always have a book in my craft stash to use for altered projects like this, which you can easily find at dollar stores, garage sales or thrifts.
Smart Craft Supply Sources
> Dollar stores
> Thrift shops
> Garage sales
> Estate liquidations
> After holiday close-out sales
These are the pressed flowers I used, but you could always press your own (on my list to do some day). The pressed flowers I used come in various color selections, allowing for personalization.
Customization Options
You can make this project with so many different looks. If book pages aren’t your thing, use decorative papers instead. Just make sure to use a neutral design so it doesn’t compete with the pressed botanicals. I considered using sheet music as the background since it’s also a craft project staple for me, but I ended up opting for the book pages instead since I believe they are less distracting.
The frames can be painted any desired color. Green is a go to color for me, but use your favorite color instead. Neutral options like white, cream or tan are also a great way to go. The frames can also be left unpainted with the natural wood for a truly rustic, nature vibe. You do you.
Distressing is Optional
I chose to antique the pages to give them an aged look. Plus I sanded the paint to distress the frame and added the gold gilding edges for an old world feel. All of these techniques are purely preferences and optional. I like the crusty, grunge look but if you prefer a more modern sleek look, you can skip these steps.
You can also age the pages with ink pads instead of a tea stain for a quicker and easier technique. Or you can use the ink pads to age around the frames instead of the gold accent. The options are really limitless, opening the opportunity to lean into your own creativity.
A Gentle Hand Goes a Long Way
The pressed botanicals are extremely delicate and need to be handled gently. A crafting tweezer is a must! Take your time and be very deliberate when choosing and placing your pressed specimen. The pieces can easily fall apart, but the good news is they can be glued back together without it being noticeable. The top coat of decoupage medium is critical to seal the project, but needs to be applied with a gentle hand. A soft brush works best to apply the decoupage medium.
Double Sided for the Win
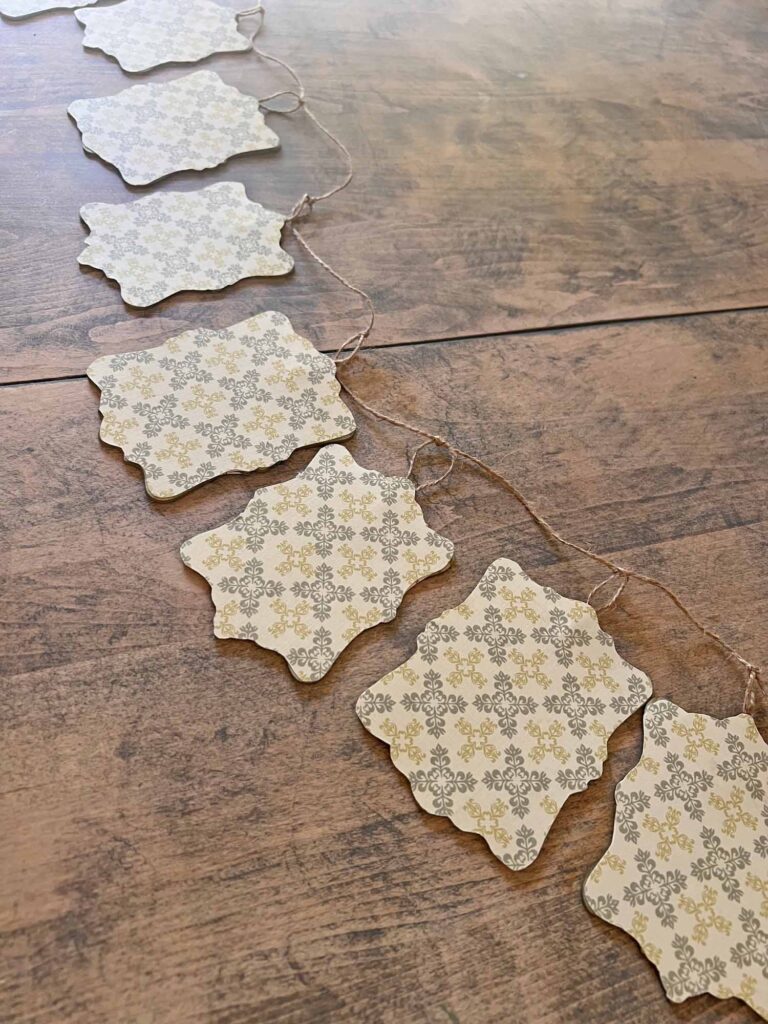
I opted to create a decorative backside for two main reasons. The finished backside provides a cleaner and more professional look, but beyond that it serves double duty. You can use the garland showing the decorative paper for a very different look, basically creating two garlands for the price of one.
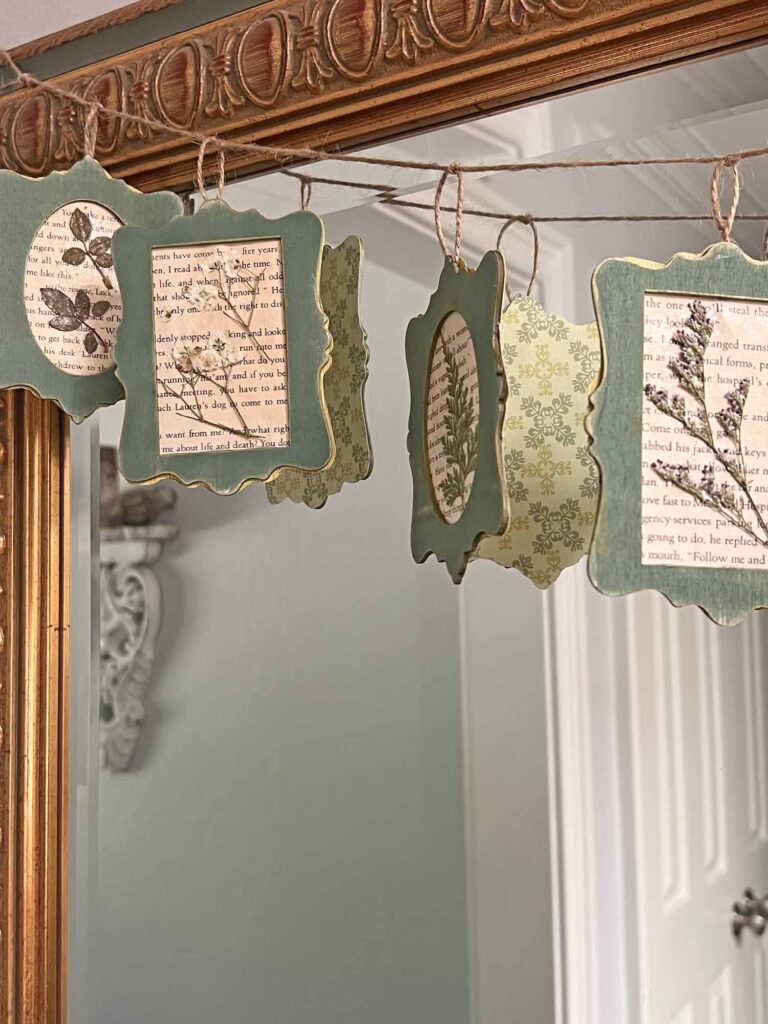
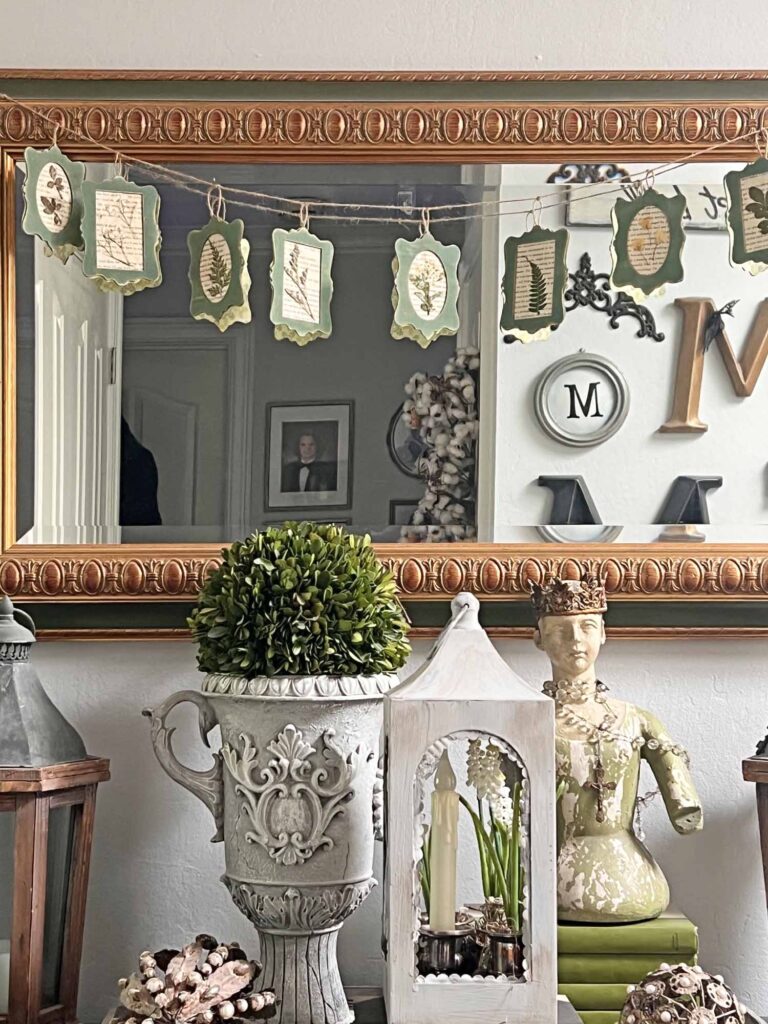
If you hang the garland anywhere where the backside is visible it creates a pretty look on the back. For example, if the banner is draped in an opening like a doorway or room header it will still look pretty from the other side. Also, if the garland is hung on a reflective surface like a mirror or glass, the reflection will add a special touch. I tend to hang many garlands on mirrors, which prompted this detail.
Grab a copy of my free
Vintage Home
Decor Guide
This guide provides 10 easy ideas to add timeless charm to your home with a free PDF full of images and inspiration.
We are always striving to master the art of joie de vivre around here. If you enjoy the good life and want a reflection of this in your home, please consider joining the Masterpiece community. Sign up you won’t miss any new content, receiving all new posts directly into your in-box.
More Related Posts
More garland, banner and swag inspiration for everyday plus Holidays…
Closing Thoughts ~ Botanical Summer Garland DIY
I hope you enjoyed this botanical garland DIY. It’s a pretty way to bring the outside in with a festive and jovial tone. Who doesn’t want pretty blooms hanging around? I’ll be sharing how I style the botanical banner for the season next week.
Thanks for dropping by today and hope to see you again soon.
Au Revoir!


FAQs – Botanical Pressed Flower Garland DIY
Q1. How do I hang a garland without damaging walls and furniture?
A1. Removable adhesive hooks (like Command hooks) are damage-free and can be adhered to most surfaces. Clear fishing line can also be used, depending on the application.
Q2. How do I press my own flowers?
A2. For the best results, use heavy, untextured books. Place the flowers between two pieces of parchment paper or coffee filters before closing the book. Stack additional heavy books or weights on top and leave them undisturbed for 3 to 4 weeks
Q3. Does it require any design or artistic talent to create a botanical garland?
A3. Absolutely not! Follow the step-by-step instructions and it will guide you through how to create your own botanical garland masterpiece.
Shop the Pressed Botanical Summer Garland DIY Look
- Dried Pressed Flowers
- Unfinished Wood Photo Frames Hollow Oval Rectangle Cutouts
- Vintage Green 6×6 Double-Sided Patterned Cardstock Pad
- Rust-Oleum Satin Moss Green Spray Paint
- Gold Dual-Tip Acrylic Paint Pens
- Sand-It Multi-Surface Sanding Block
- Mod Podge Decoupage Starter Kit, Gloss and Matte Medium
- Natural Jute Twine
Don’t forget to Pin It and save for later. You never know when inspiration will strike!
For more inspiration follow me on Pinterest.
Most Recent Posts
If you look the right way, you can see that the whole world is a garden.”
Frances Hodgson Burnett, The Secret Garden

This made a very pretty garland!
Thanks so much Pat. I’m super happy with how it turned out and glad you like it too. XO- MJ
Beautiful! I love the colors and textures you used to create this garland.
Thanks so much Leslie. I’m so glad you like it. XO- MJ
Always LOVE your projects MaryJo, but this is INSPIRED! The unique frames turn a garland into a substantial addition to your Summer decor! I can see this frame garland with so many other themed applications! Thank you for sharing! Creatively, Beth
Thanks so much Beth. I love how it turned out. I’m working on a decor vignette for my new garland…stay tuned. XO- MJ
This is such a sweet idea! I love bunting and garlands.
Thanks so much! I’m glad you like it. XO- MJ
Beautiful DIY inspiration! The botanical pressed flowers garland is a creative way to preserve nature’s beauty while adding a charming handmade touch to home décor.
AWS Devops course in Hyderabad
AWS Devops training in KPHB
Best AWS Devops institute Hyderabad
AWS Devops course KPHB
AWS Devops training with placement Hyderabad
AWS Devops classes near KPHB