

Hi there! I am so happy you’re here. I have the simplest and easiest bunny garland DIY to share with you today. This sweet bunny garland has all the Easter feels in a very simple and understated way.

I actually feel bad calling this a DIY or craft project, since it’s so darn easy. All you need are a couple of items and less than 30 minutes of your time. Regardless of how easy it is, I love how it turned out.
It’s a very simple and neutral Easter piece, since that’s my jam. If it’s yours too, then you might enjoy this post {a guide to neutral & rustic Easter decor}. Come on in and let me show you how to make the easiest bunny garland ever!

*Affiliate links included for your convenience.
How to Create the Easiest Bunny Garland DIY
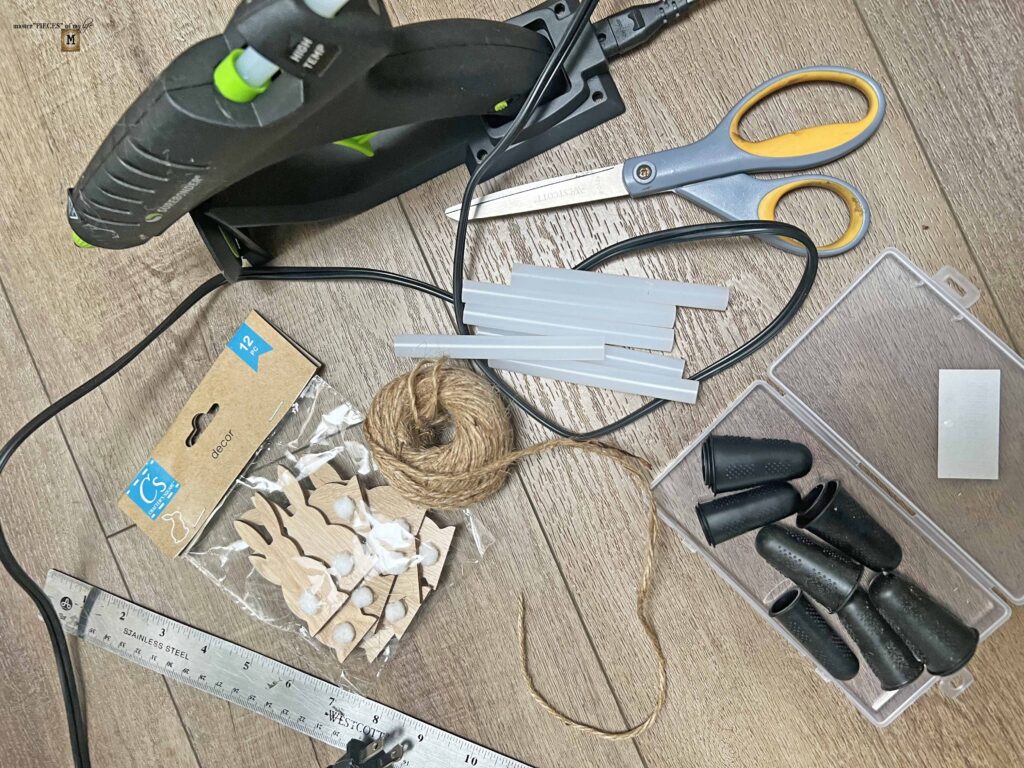
Supplies
- Wooden Bunny Forms {Dollar Tree}
- Twine
- Scissors
- Ruler
- Hot Glue Gun
- Glue Gun Glue Sticks
- Silicone Fingers
*Affiliate links might be included for your convenience. These affiliate links mean a small commission is earned if you make a purchase using these links at no extra cost to you. As an Amazon Associate qualifying purchases support this website. For more information: Full Disclosure Policy.
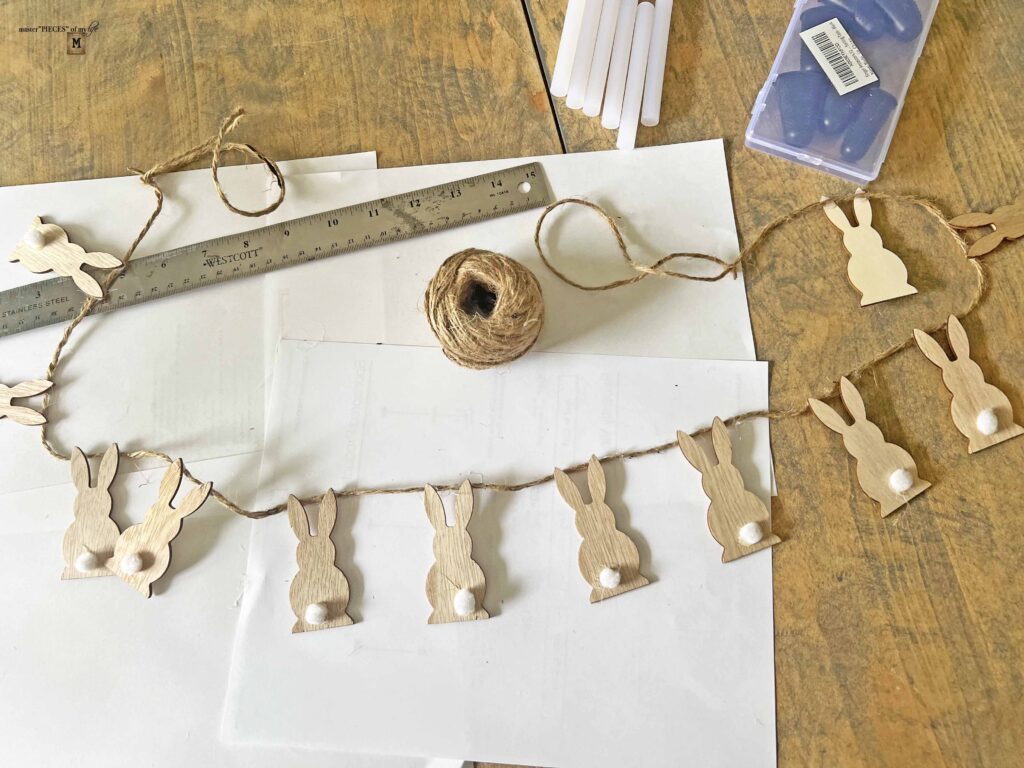
Directions
- Assemble all supplies
- Grab the end of the twine, fold onto itself about 6-inches and make a knot

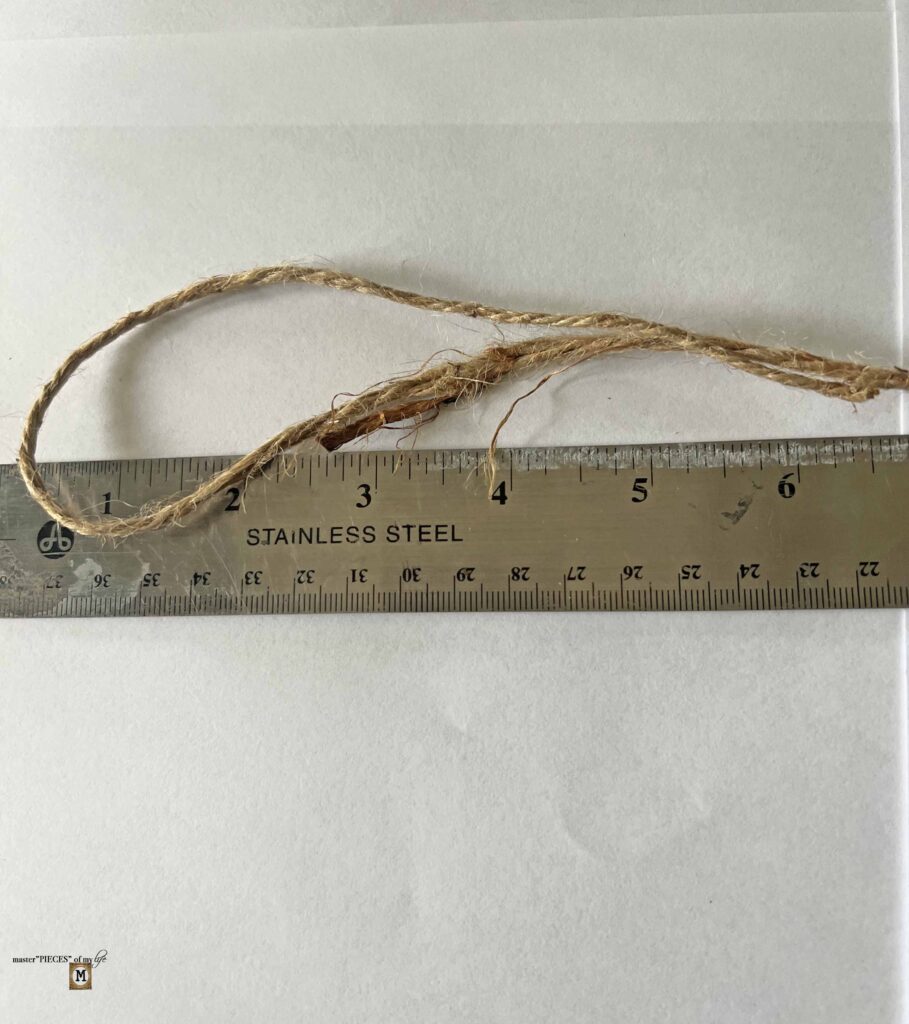
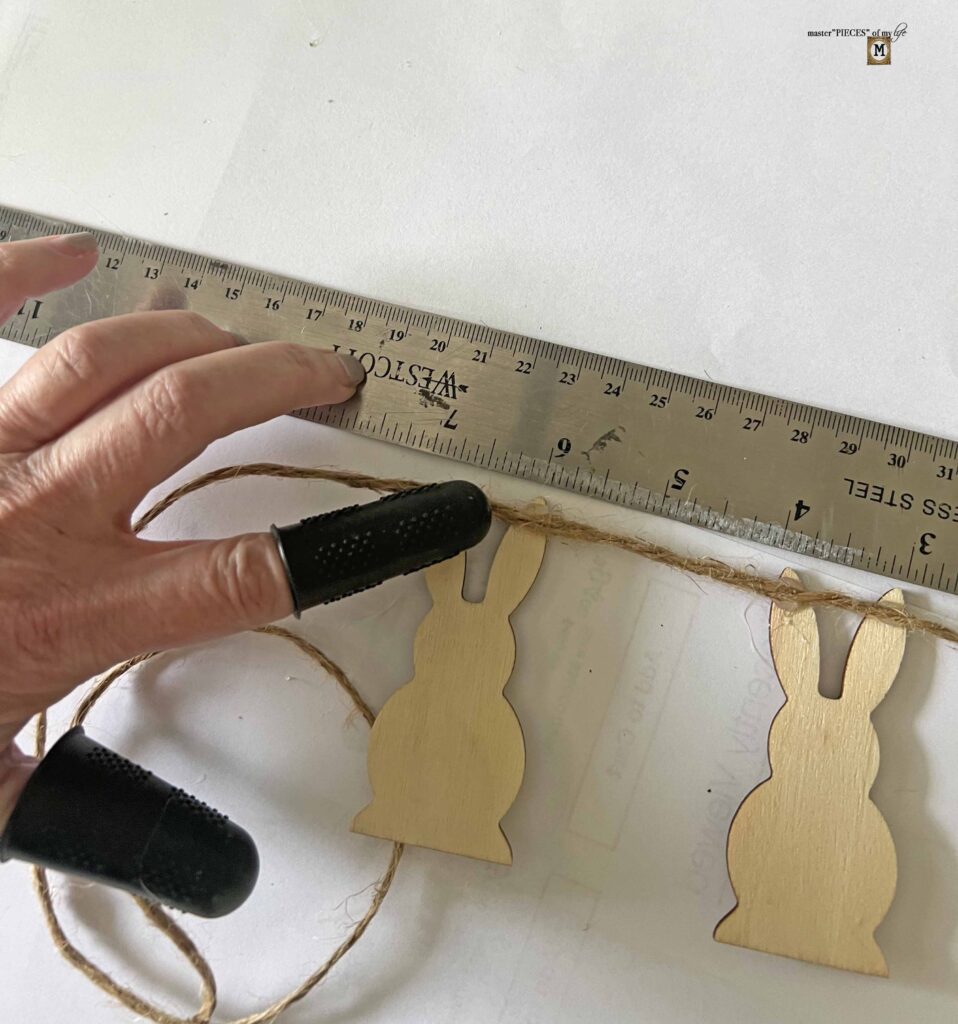
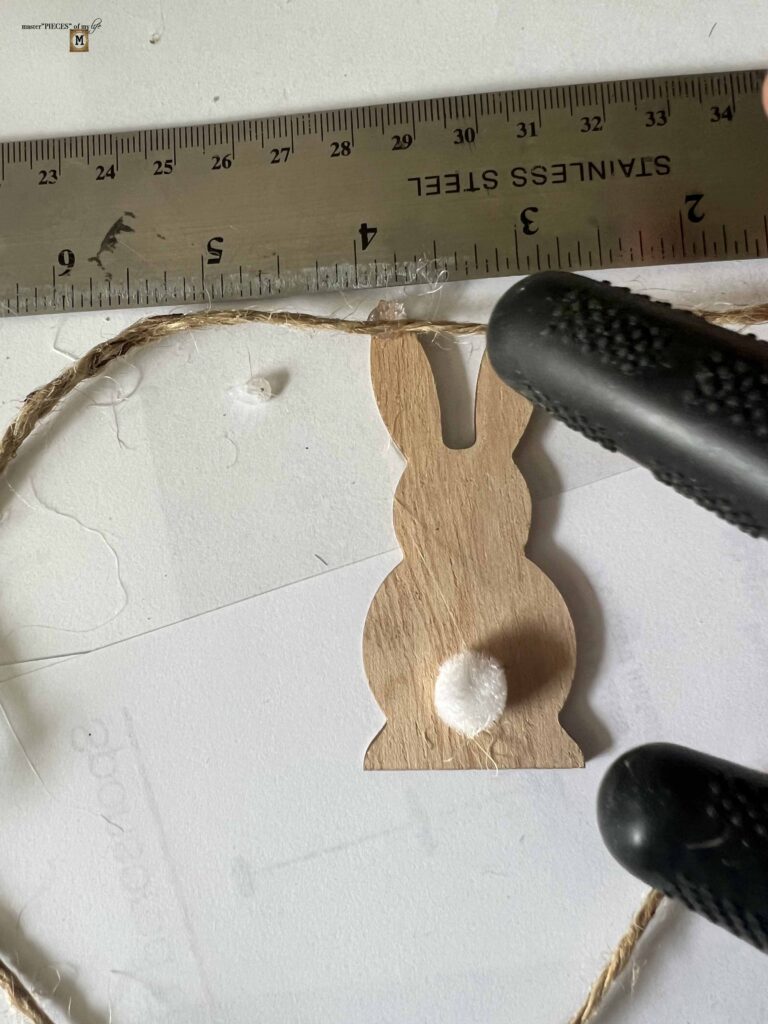
- Then measure 2-inches in from the knot and adhere first bunny

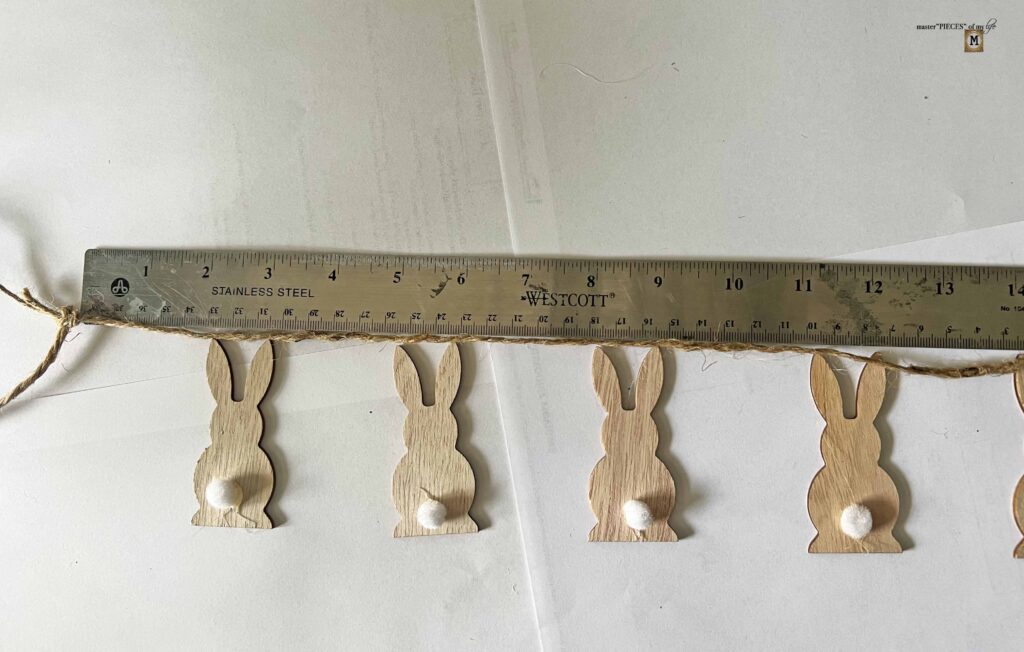
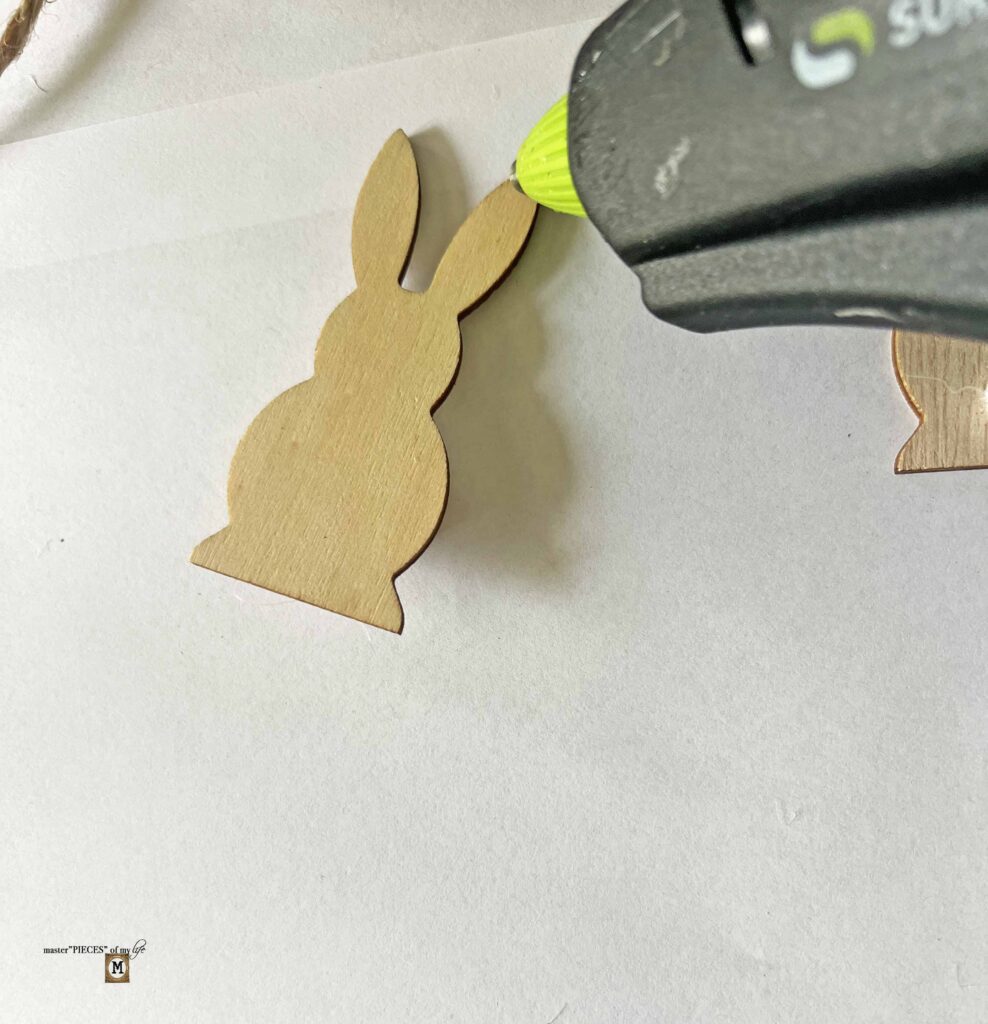
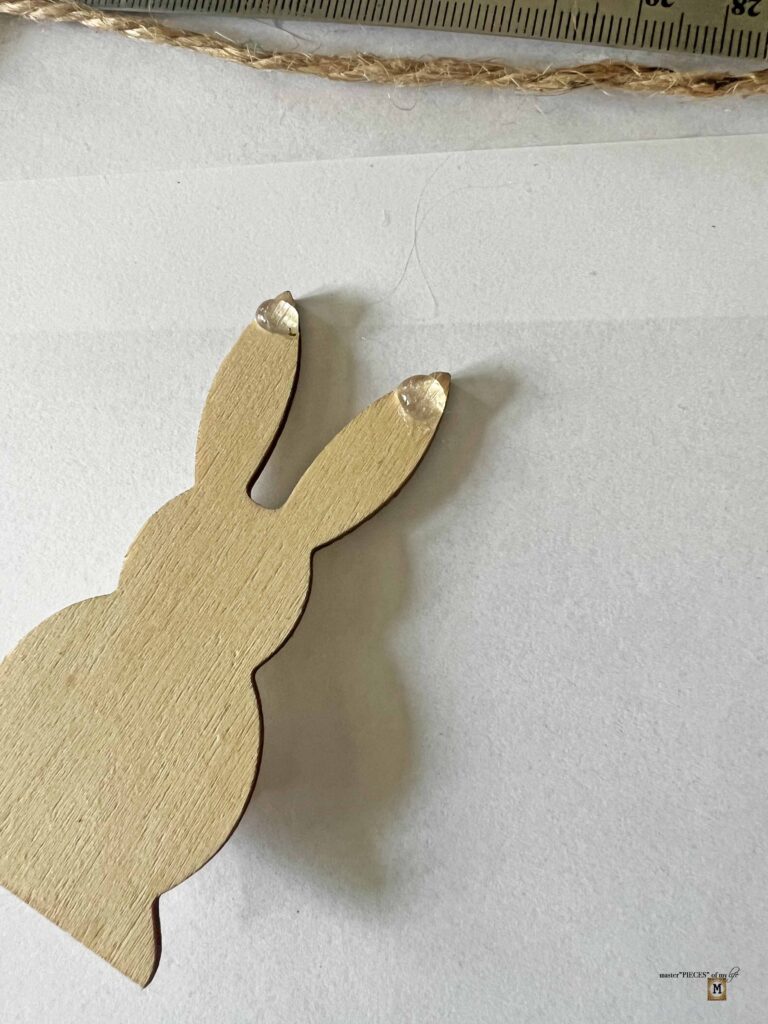
- Attach bunnies by applying hot glue dot on top of both ears and press into twine
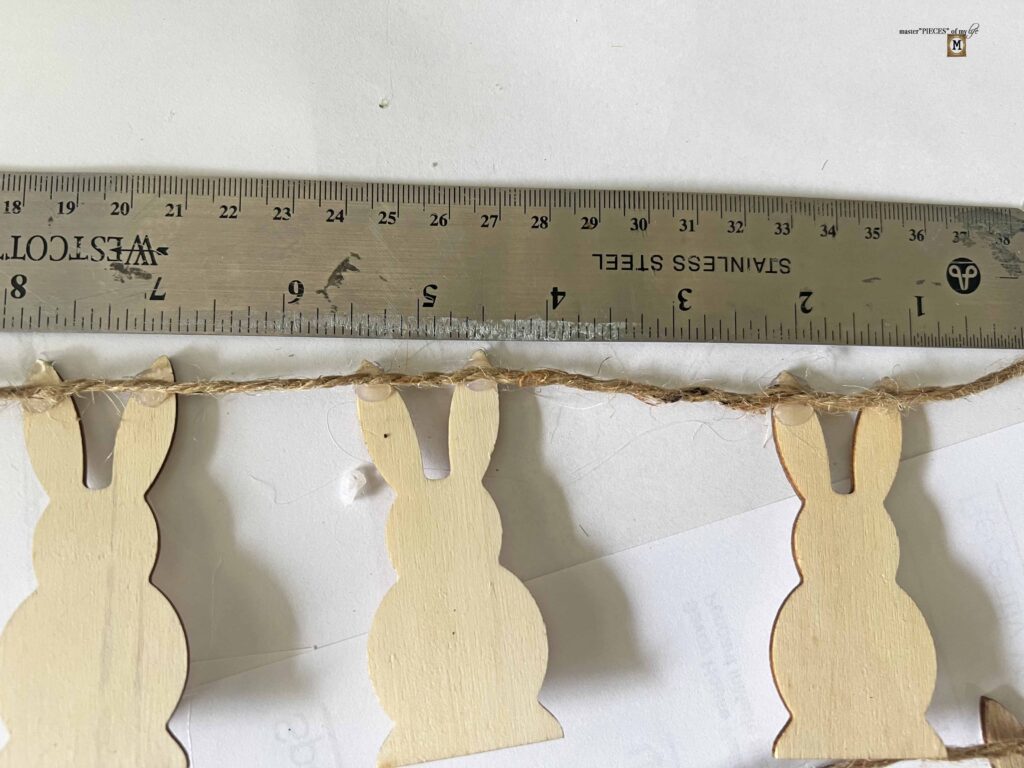
- Attach another bunny 2-inches from the first bunny and continue adhering bunnies 2-inches apart across the twine
- When you get to the last bunny, once again fold 6 inches of twine onto itself and make a knot
- Cut end of twine and you have a completed garland with loops at both ends to hang
- Let all the glue set; for any loose bunnies simply apply a dab of hot glue on top of twine where ear attaches to reinforce
- Hang your pretty bunny garland and enjoy
Where to Hang the Bunny Garland
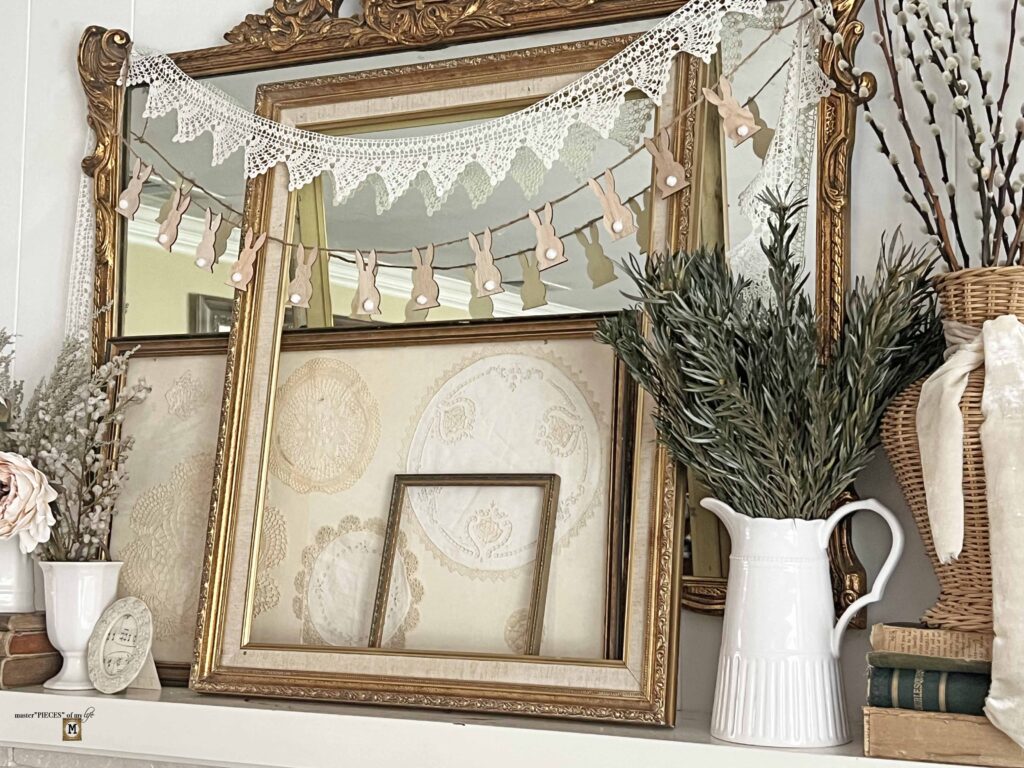
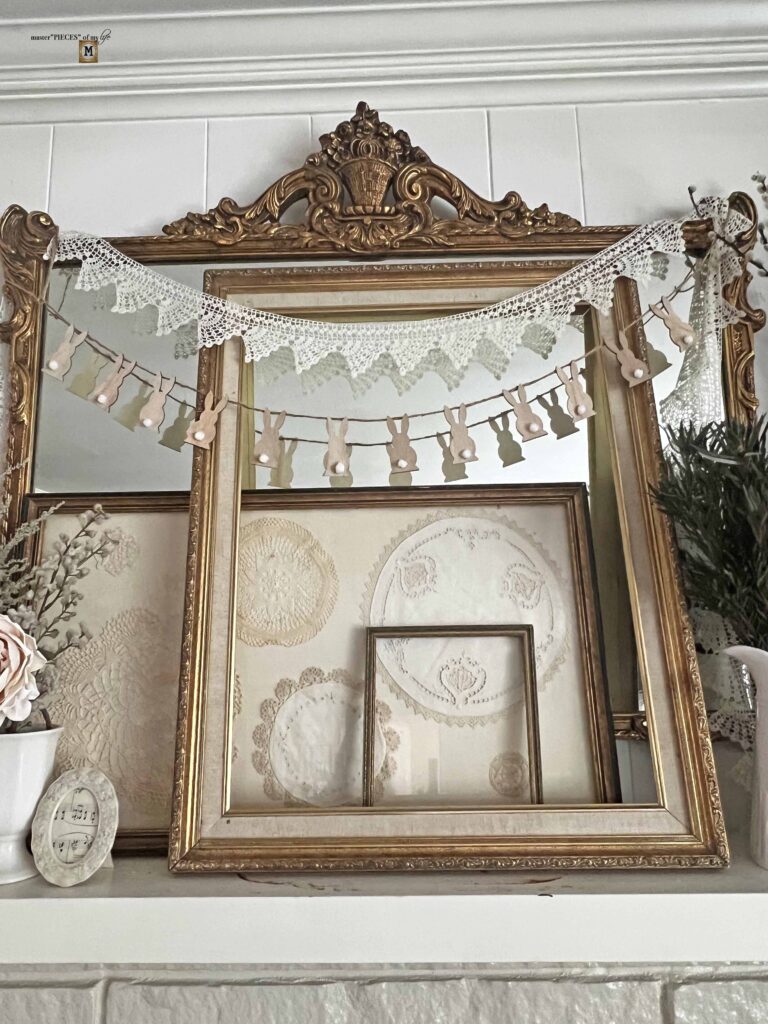
Mantel
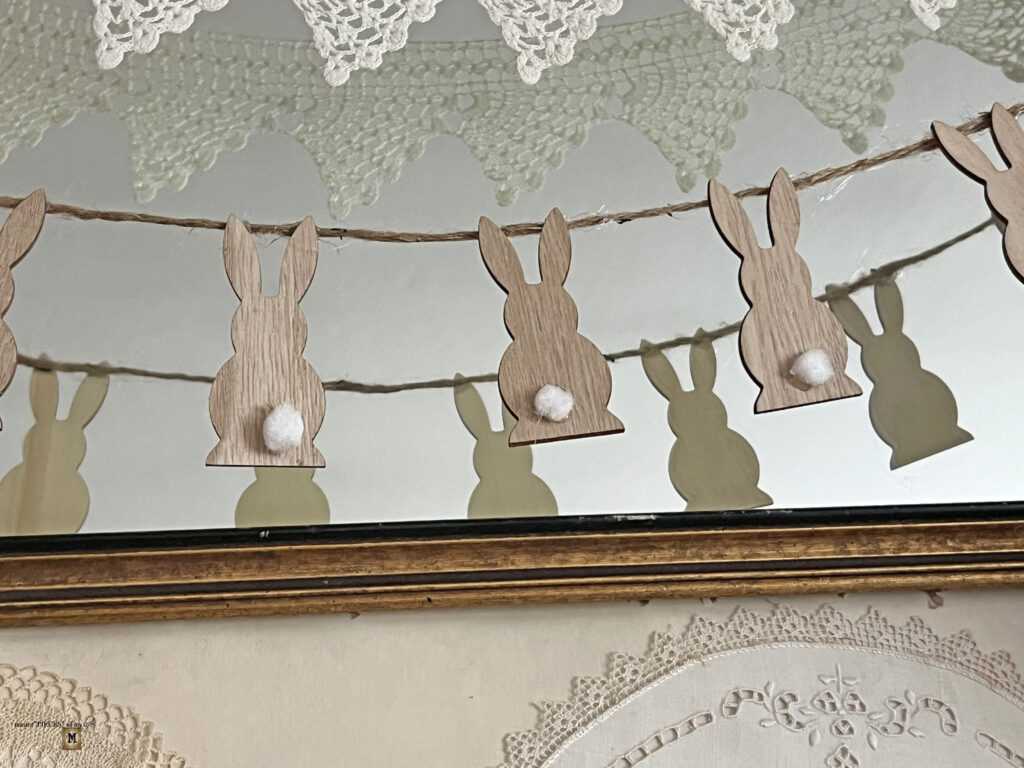
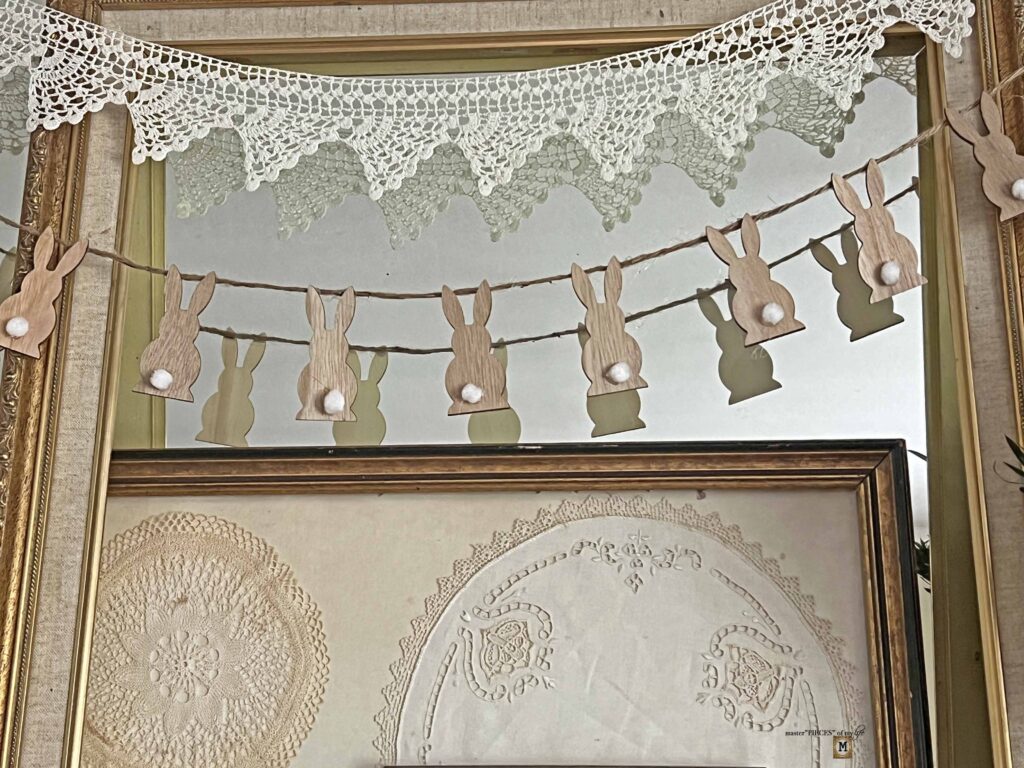
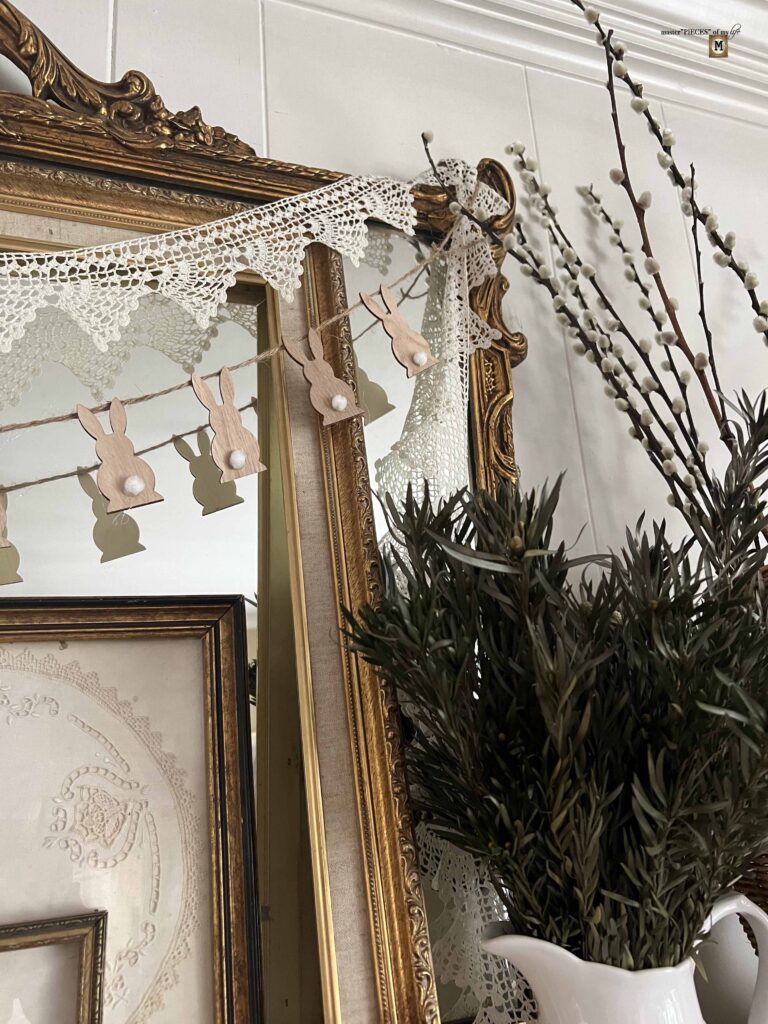
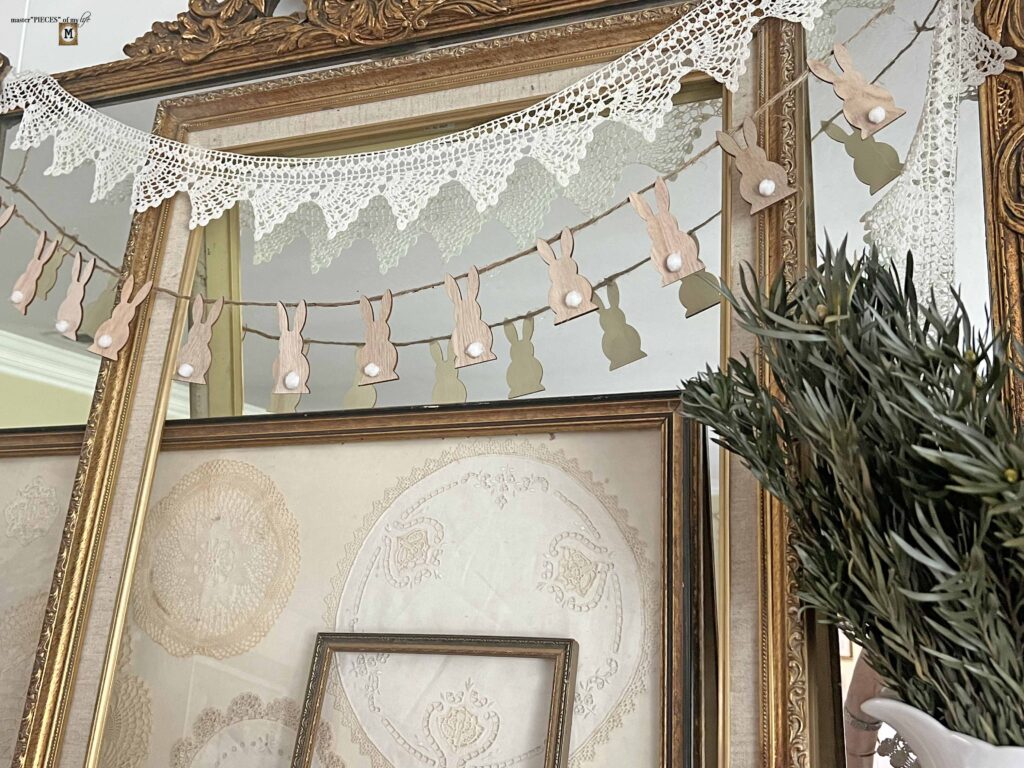
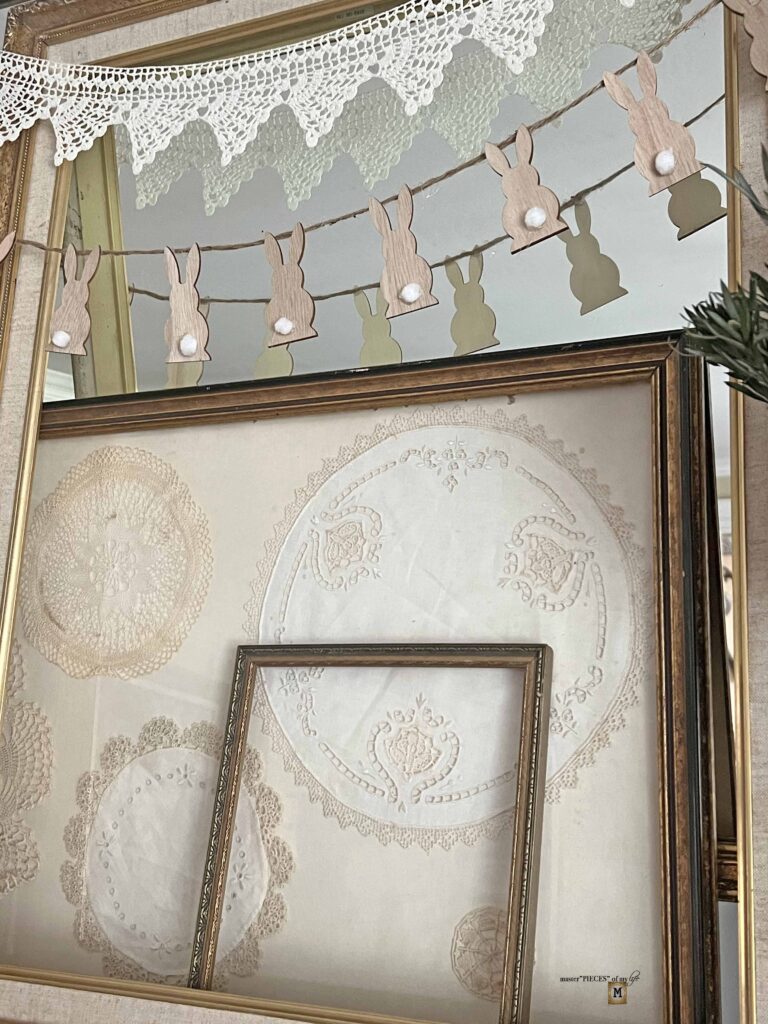
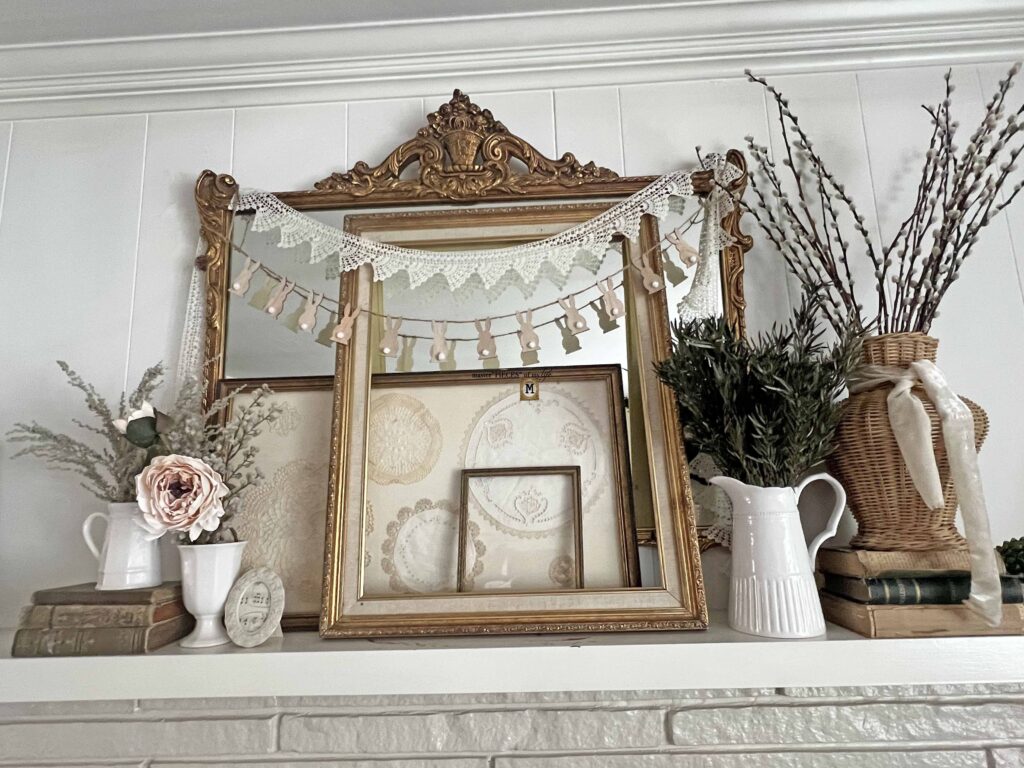
I styled the bunny garland over our living room mantel. I added some simple spring touches to make it pretty. It’s simple and sweet, but still gives off all the Easter vibes.
Large Cabinet; Open Shelving; Door Opening
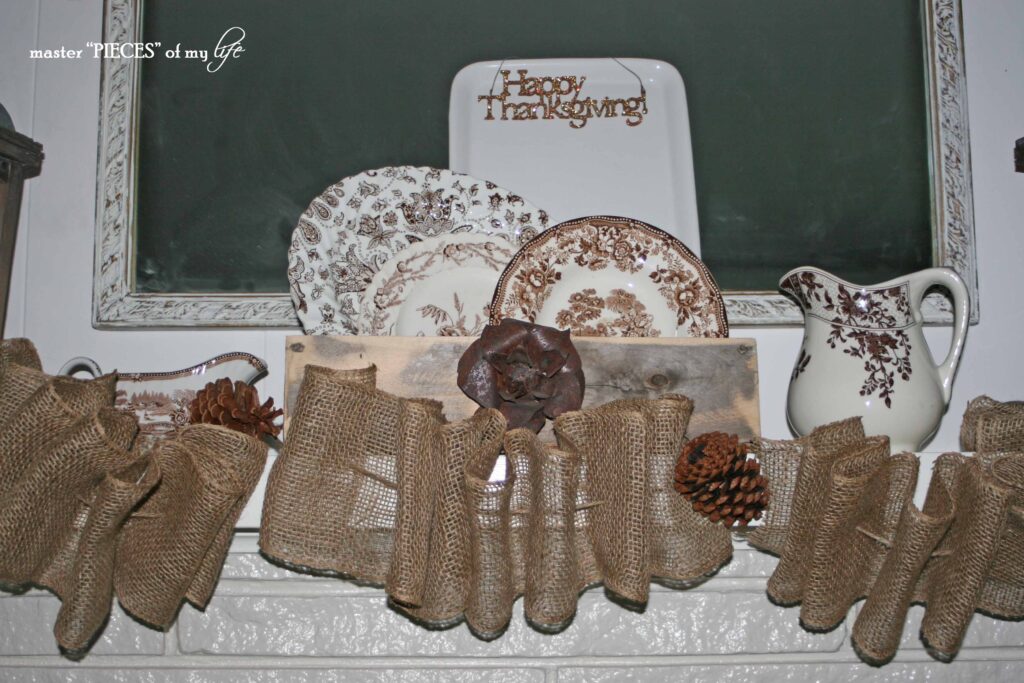
Although I hung the garland over the fireplace mantel on the gilded mirror, you can hang it on so many places. You could hang it on the actual mantel shelf, for a different mantel look, as I did with this burlap garland for fall.

You can also hang it on a large piece of furniture like a breakfront or off of a large open shelf. I love seeing garlands and banners hanging on openings into rooms as well. You could even wrap it on a wreath. The possibilities are really endless.

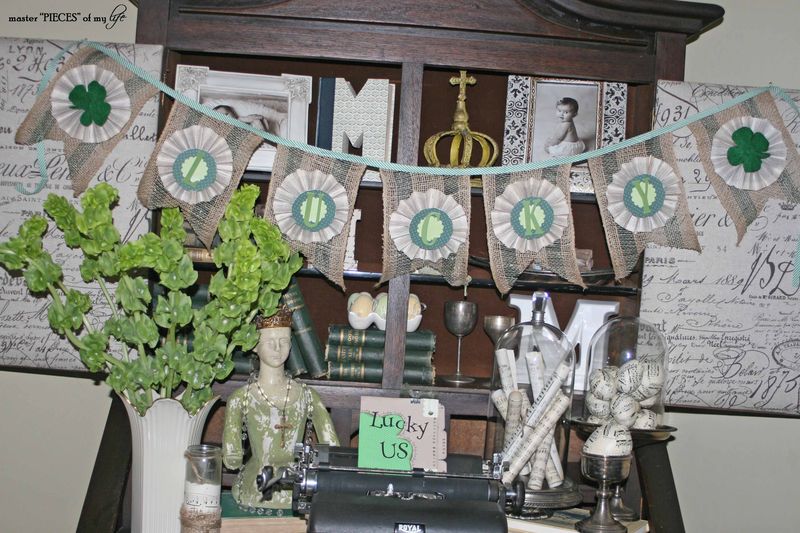
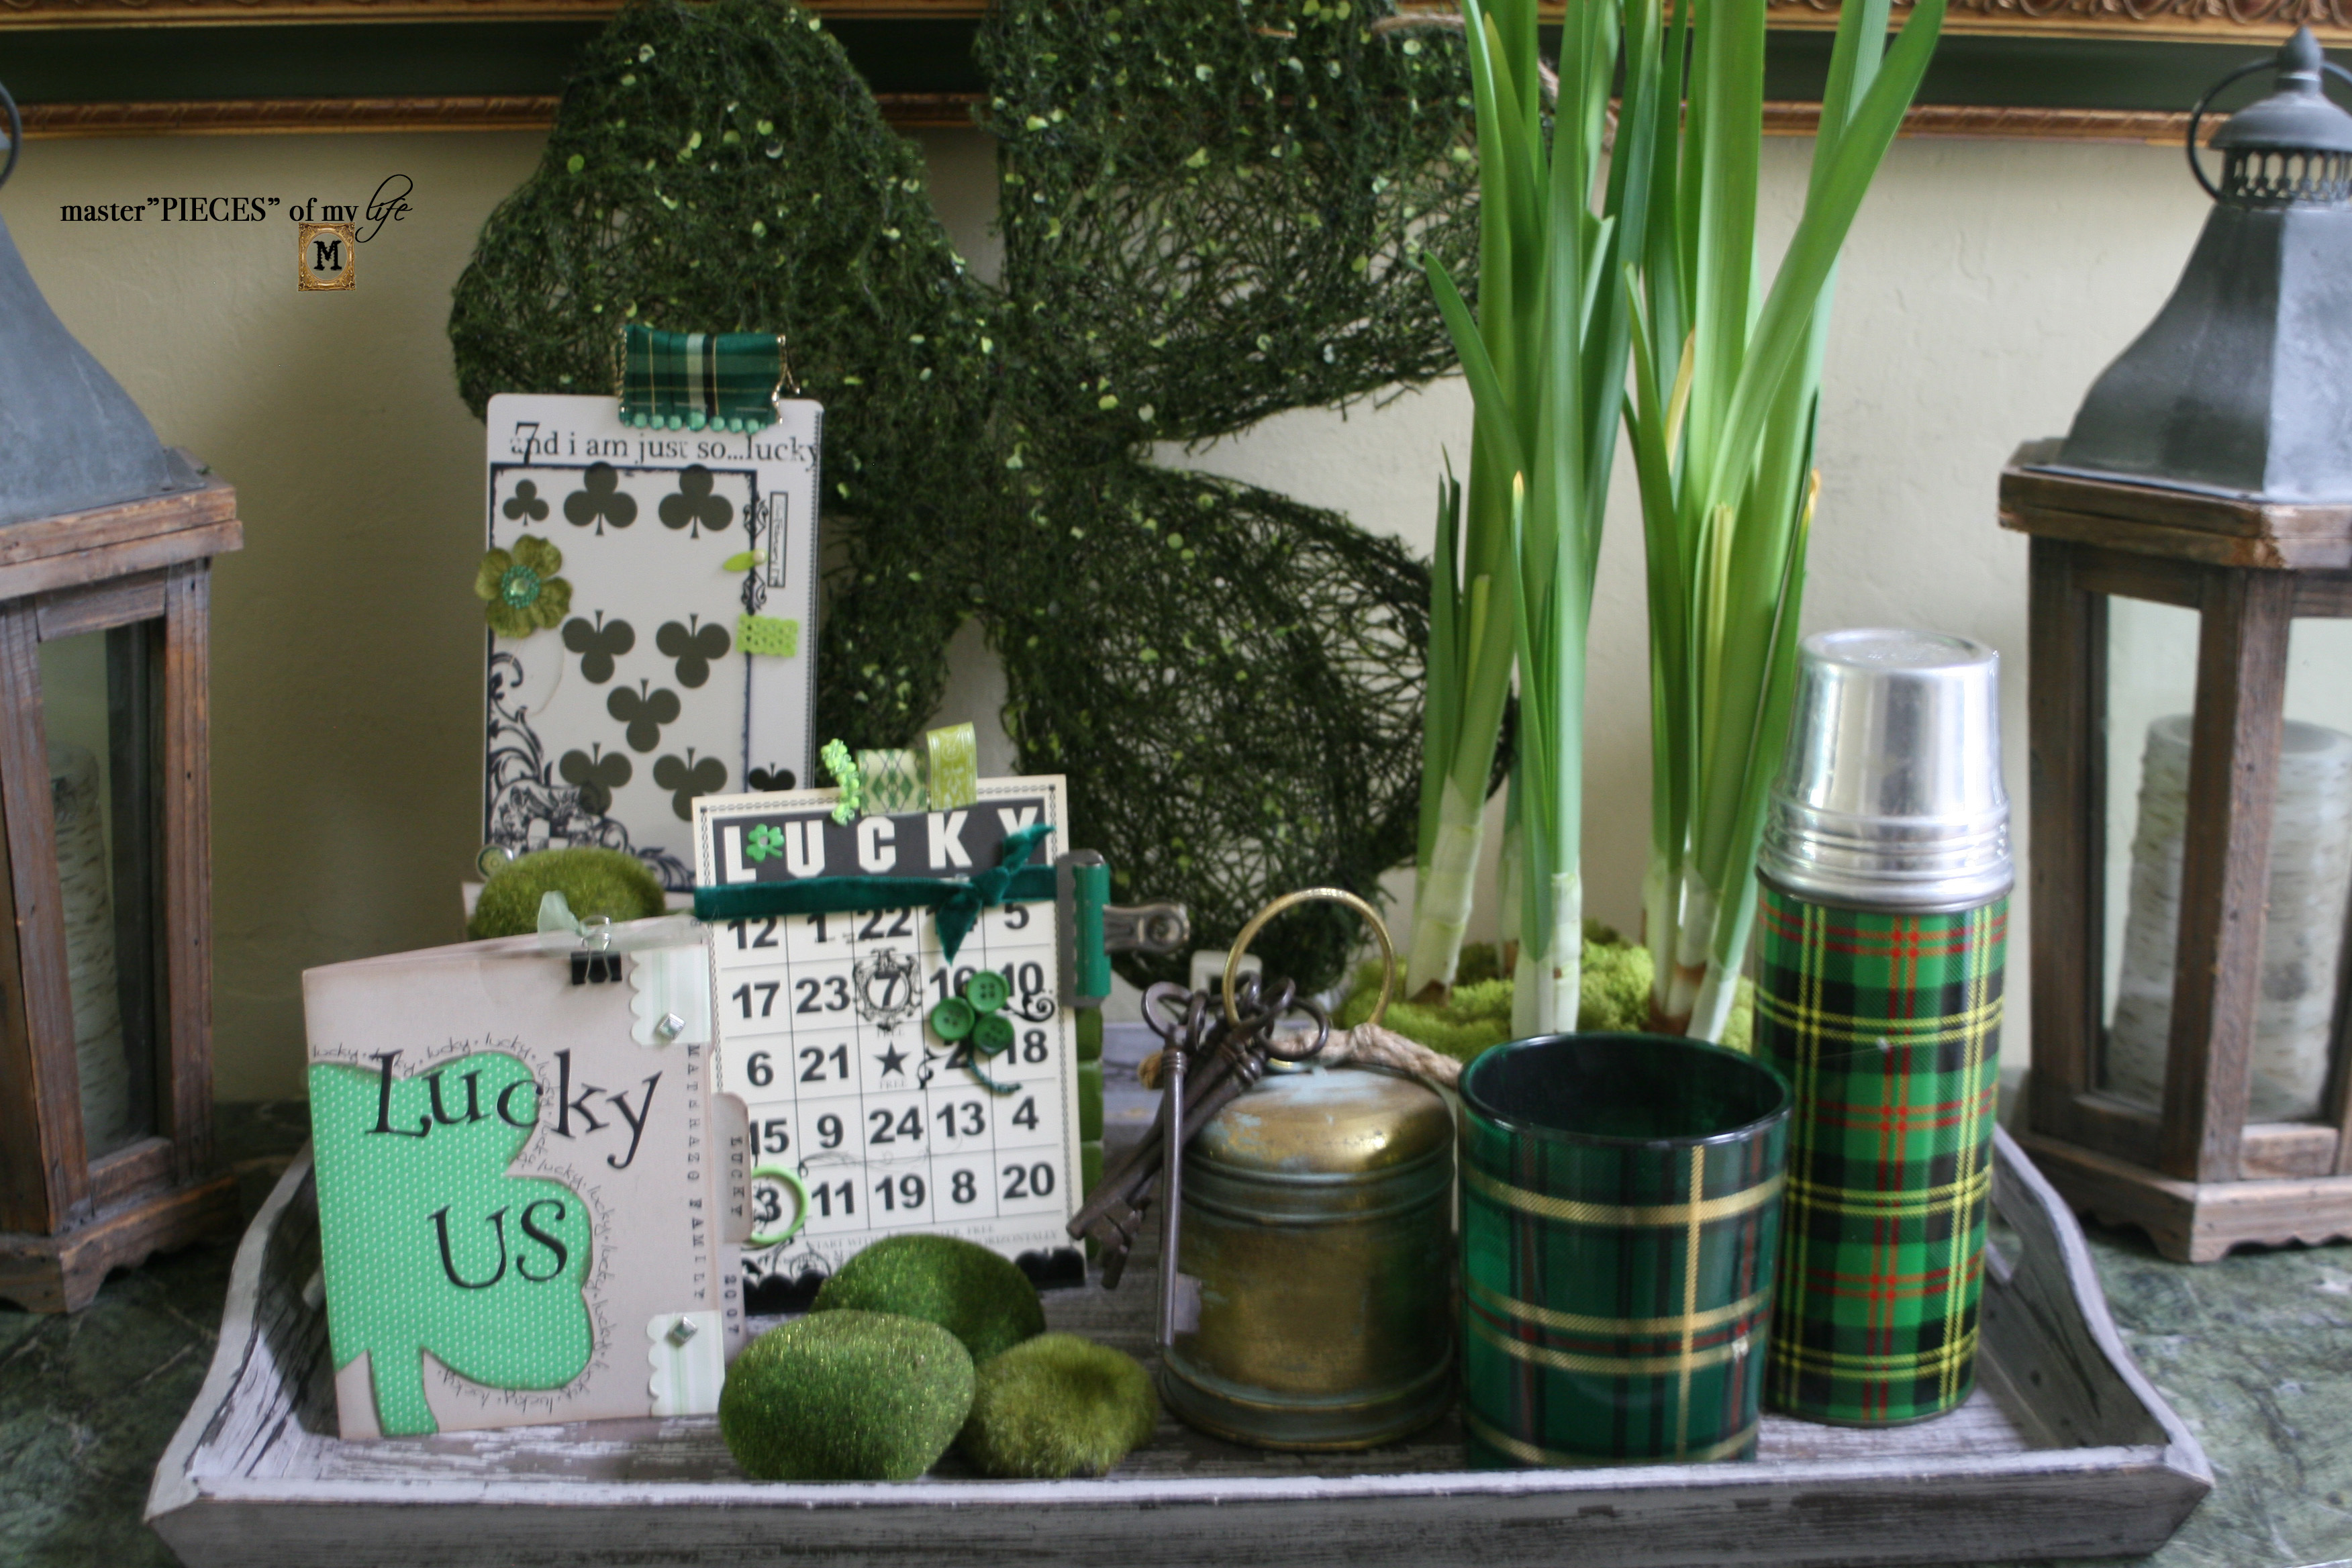
Here you can see how I hung a “Lucky” banner for St. Patrick’s day on the antique secretary desk. It would look so cute with the bunny garland and an Easter themed vignette. My wheels are turning…

Thoughts About the Easiest Bunny Garland DIY
Hanging Loops
I made the hanging loops at each end about 6-inches long since this size is helpful for hanging the garland on the gilded mirror over our mantel. But if they are too big for your hanging location, feel free to only make them 3 or 4-inches long. Or you can also make them larger if it helps for your hanging location.
Length of Garland
My finished piece is about 48-inches long, including the hanging loops on each end. The actual decorative garland section contains 12 bunnies and is approximately 36-inches (3 feet) long. I designed it this way since it fits well in the space I wanted to use it in. Feel free to adjust the measurements so it fits in your space, making the bunny spacing only 1-inch apart to make a smaller garland or 3-inches for a longer piece. I personally would not recommend exceeding 6-feet in total length.
Handling Hot Glue
I have said this before, and I will say it again, working with silicone finger tips is a game changer when you work on projects using hot glue. Not only do they protect your fingers, but they make securing the item to the hot glue so much easier and sturdier.

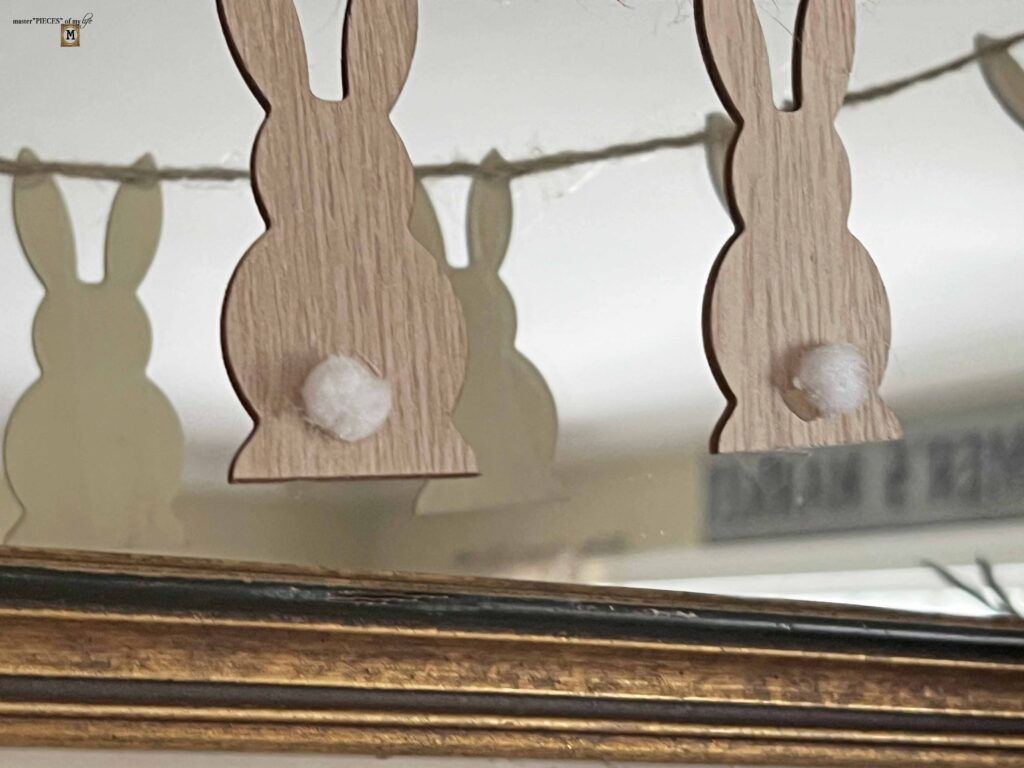
Wooden Bunnies with the Cutest Tails Ever!
The simplicity of the bunny garland is almost overshadowed by the cuteness of the wooden bunnies. Those tails are everything!!! I found the bunnies at the Dollar Tree last year, so this project was incredibly inexpensive for me to make, but I did find similar ones on Amazon here. I could not find them on-line at Dollar Tree, but it doesn’t mean your local store might not have them. Dollar Tree also carries twine btw so it would be a one stop shopping. Just saying.
If Neutral is not your Jam
If you prefer the bright colors of spring and the pretty pastels of Easter, then by all means you can adapt the project. Simply by painting the little bunnies or adding a colorful ribbon instead of twine, you change the look and feel immediately. If you don’t want to paint, since it makes the project more involved, you could add a colorful ribbon round the neck of each bunny. Make it yours!
Bloopers
As they say… do as I say not as I do. I made a few mistakes along the way, but the good news is that I can tell you what NOT to do. When you are attaching the bunnies to the twine do it so the back of the bunny is facing up so that the glue doesn’t also attach to whatever surface you are working on. Duh! My first bunny attached to my work surface paper. ?

Also make sure when you grab your bunny you apply the glue to the back of the ears and not the front. I was so busy focusing on taking good pictures of the process, I inadvertently glued a bunny backwards. Luckily I caught it right away and removed the glue dots, which had hardened, with my craft knife. Then I reattached it on the correct side. All’s well that ends well.
Phew! Way to make an easy project a little more challenging, but just keeping it real for you guys. We always show our projects all pretty and done, it’s good to share some of the war stories sometimes.
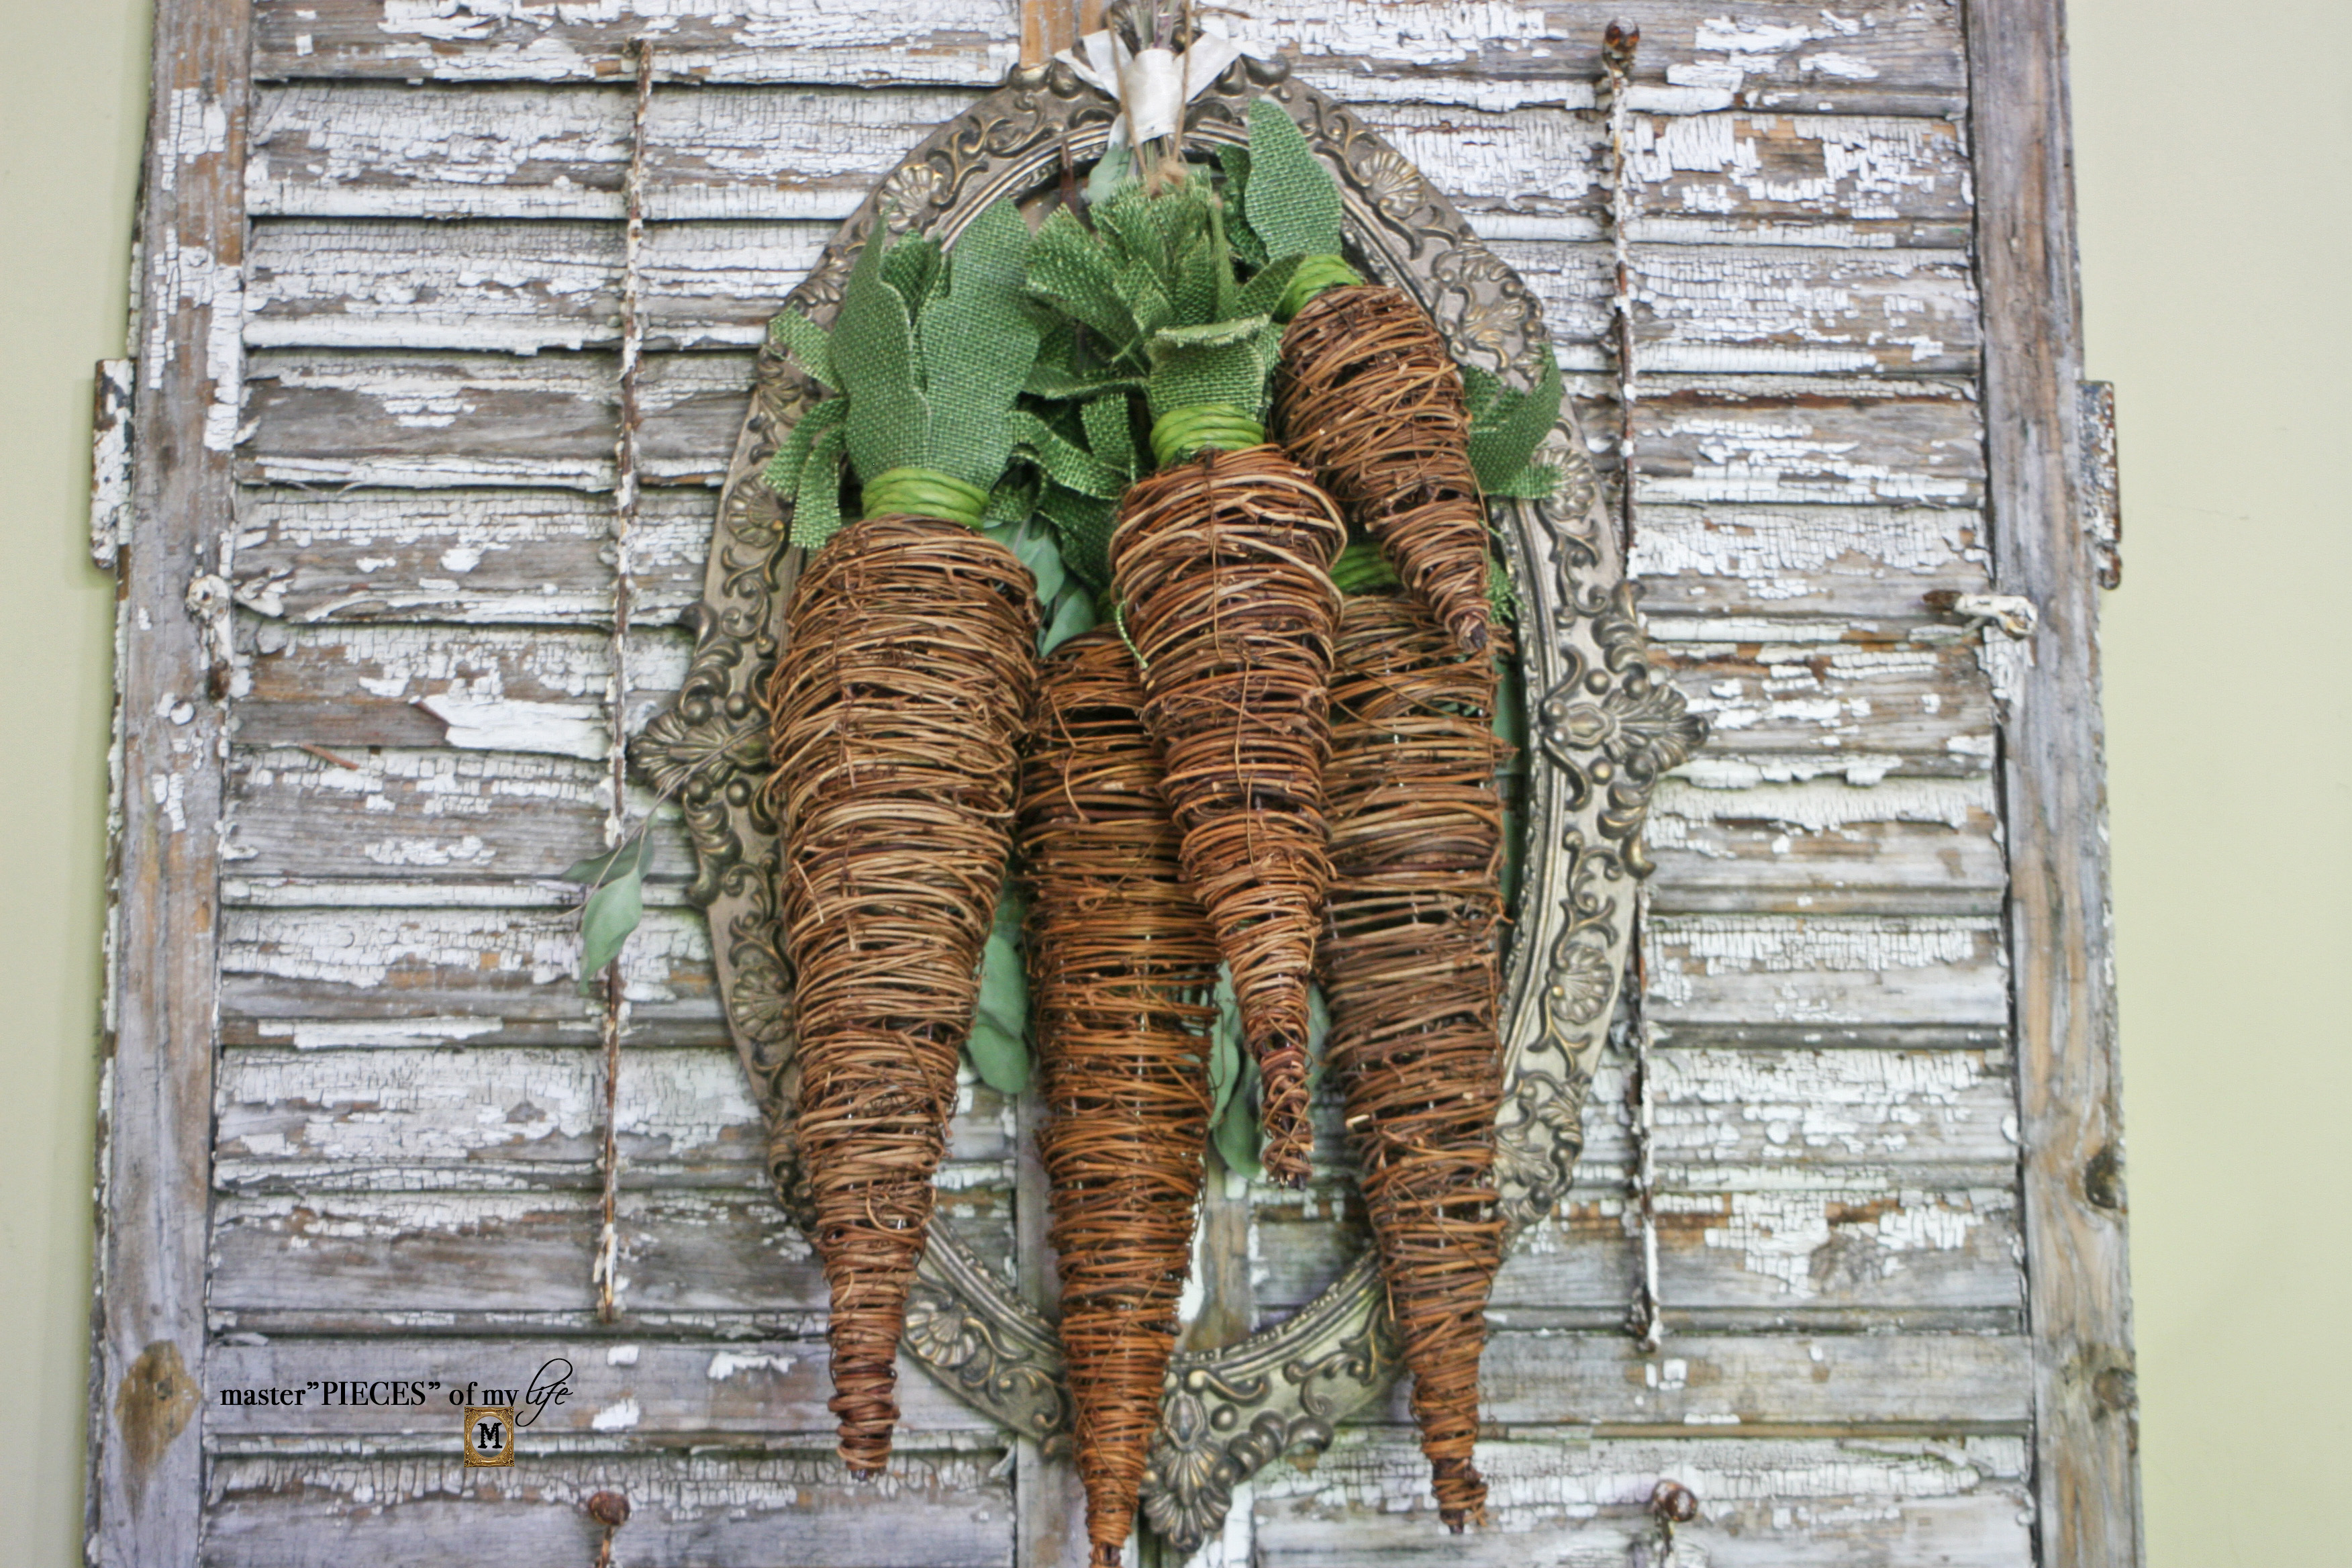
I hope you like the project as much as I do. I am getting the Easter bin our of the attic this weekend and more bunnies, and eggs, and carrots and more coming your way soon.
Thanks for being here and see you next time. Au Revoir!


More Related Posts


Most Recent Posts


“Once upon a time there were four little rabbits, and their names were Flopsy, Mopsy, Cotton-tail and Peter.”
Beatrix Potter