Framed Doily Art Work DIY
You can create your own framed doilies art pieces with just a few simple supplies. By using thrifted frames and vintage linen doilies you can create these framed doily pieces of art. It is a super fast, super easy and super inexpensive project which has all the nostalgic vibes I love.
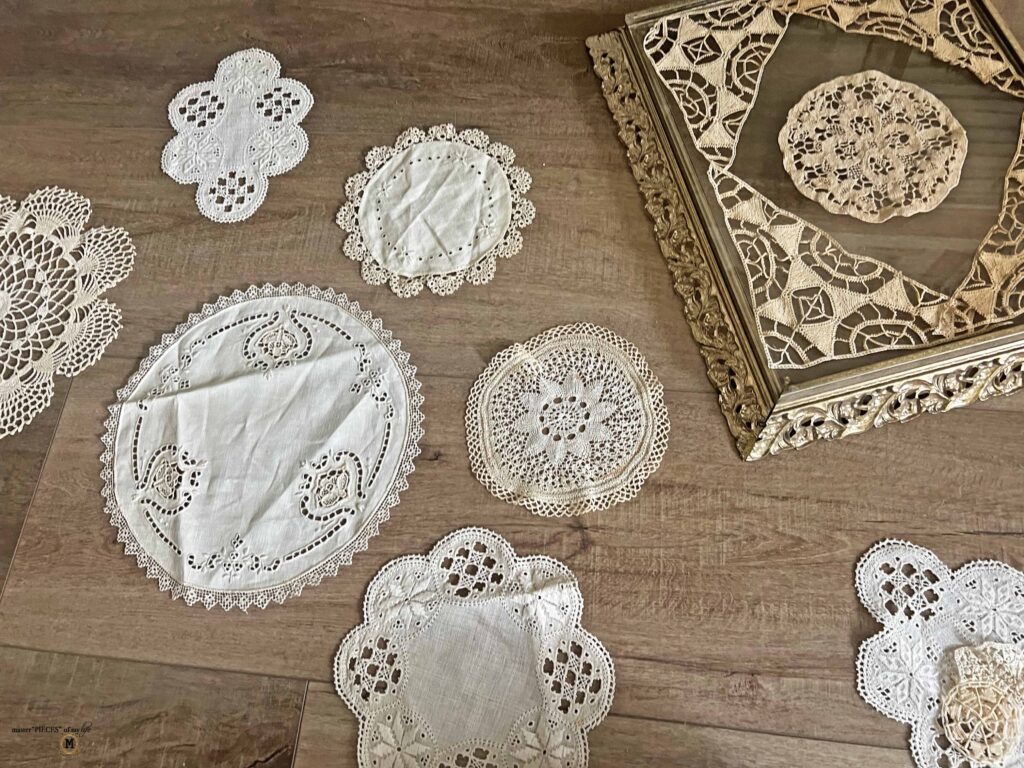
I have been wanting to do this for awhile, so I am excited to share this with you today. Through the years I have amassed a collection of vintage doilies. It was not by design. I have inherited a few pieces from my parents and my grandmother, and I have also picked some up at thrift stores, estate sales and flea markets.
This project was a great way to put some of these pretties to work rather then have them hiding in the linen closet. You can see another fun project I created with vintage linen doilies here {thrifted goodies – using vintage linen pieces to make a table runner}.
*Affiliate links might be included for your convenience. These affiliate links mean a small commission is earned if you make a purchase using these links at no extra cost to you. As an Amazon Associate qualifying purchases support this website. For more information: Full Disclosure Policy.
The Inspiration for the Framed Doily Art Work
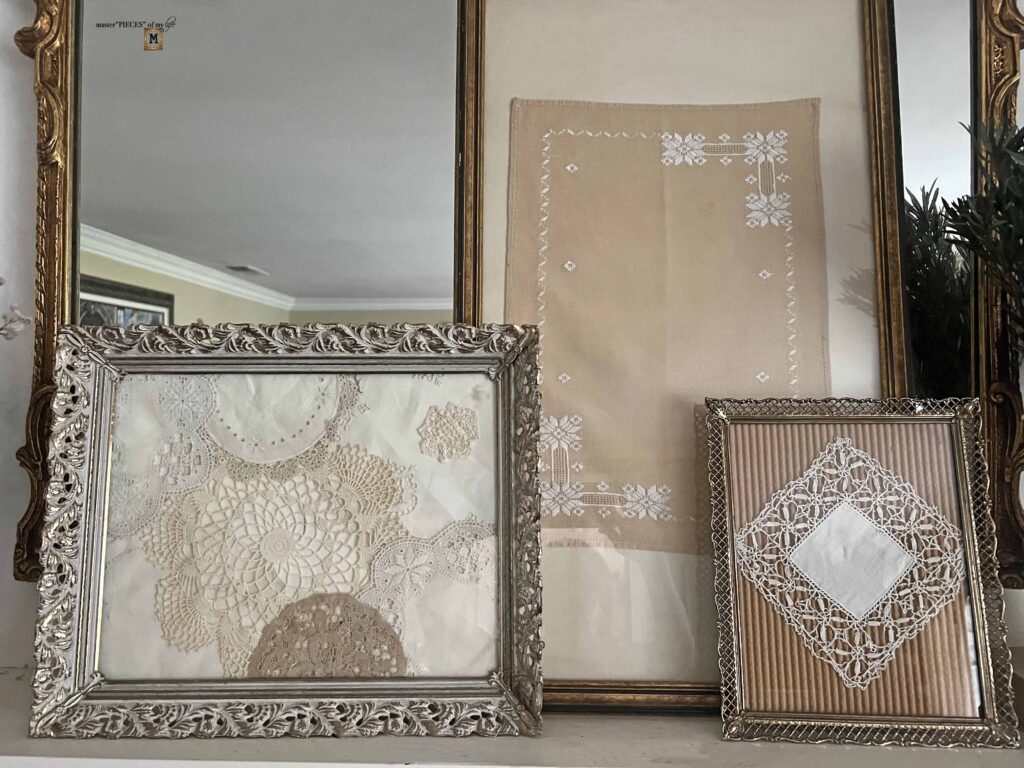
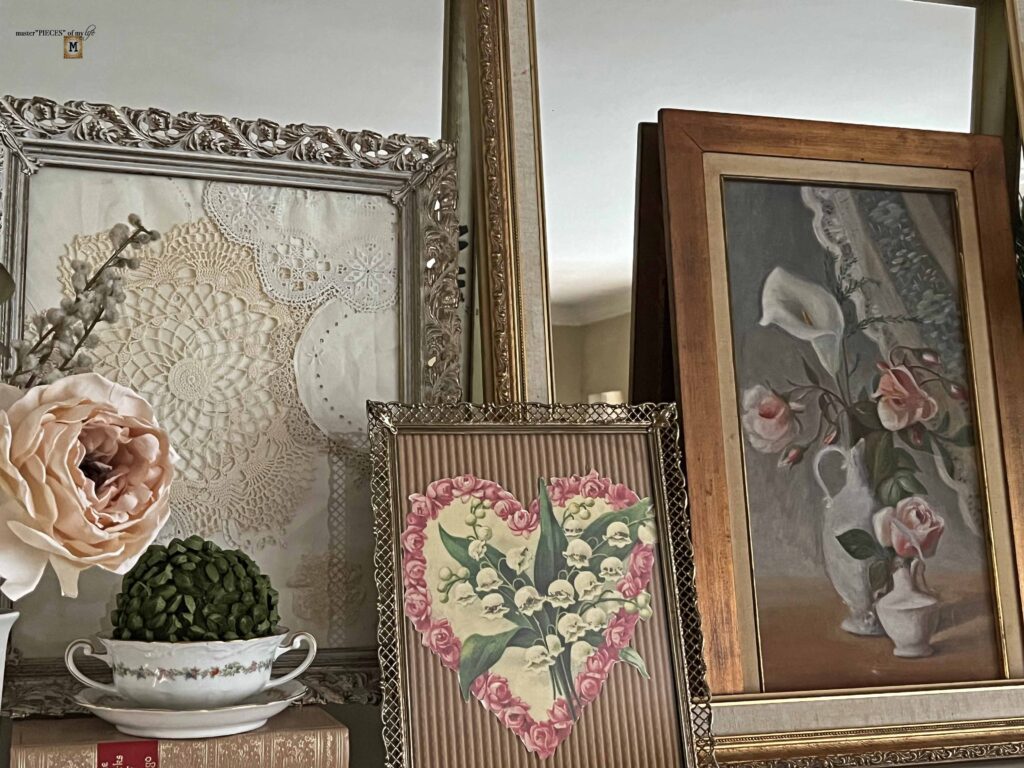
A couple of weeks ago I shared our vintage Valentine’s Day mantel styling. I created one of these doily frames for this project. I have created a series to share here and show how versatile and easy it is to make your own doily art work.
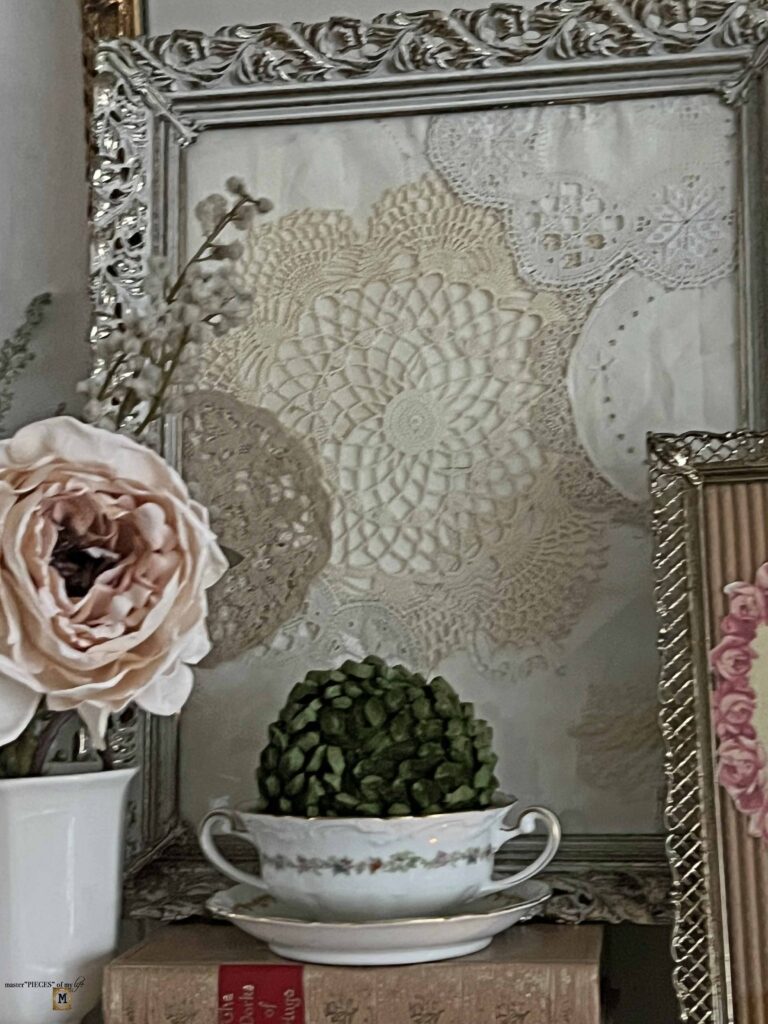
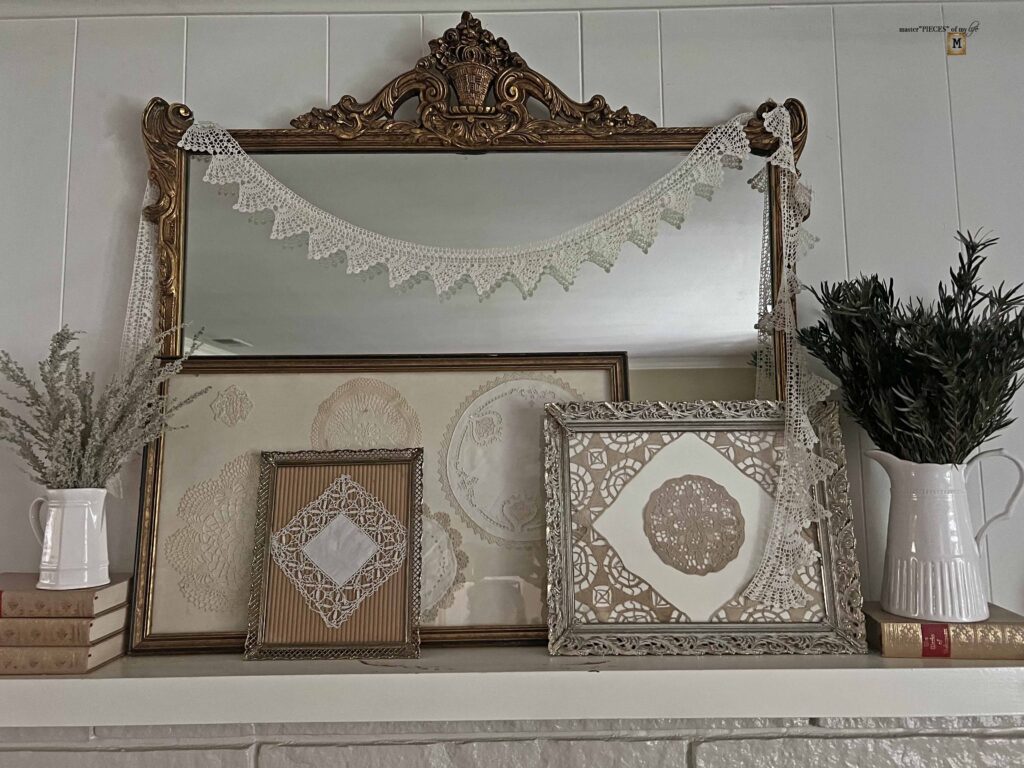
These pretty DIY frames are a great way to showcase these doilies and enjoy their delicate beauty. I know these do not get used as often or in as many ways as in days gone by. I do try to use mine as often as I can in decor vignettes and seasonal stylings around our home. By framing the doilies you can use them as backdrops for these purposes or hang them permanently on a wall.
How to Make Your Own Framed Doily Art Work Masterpiece
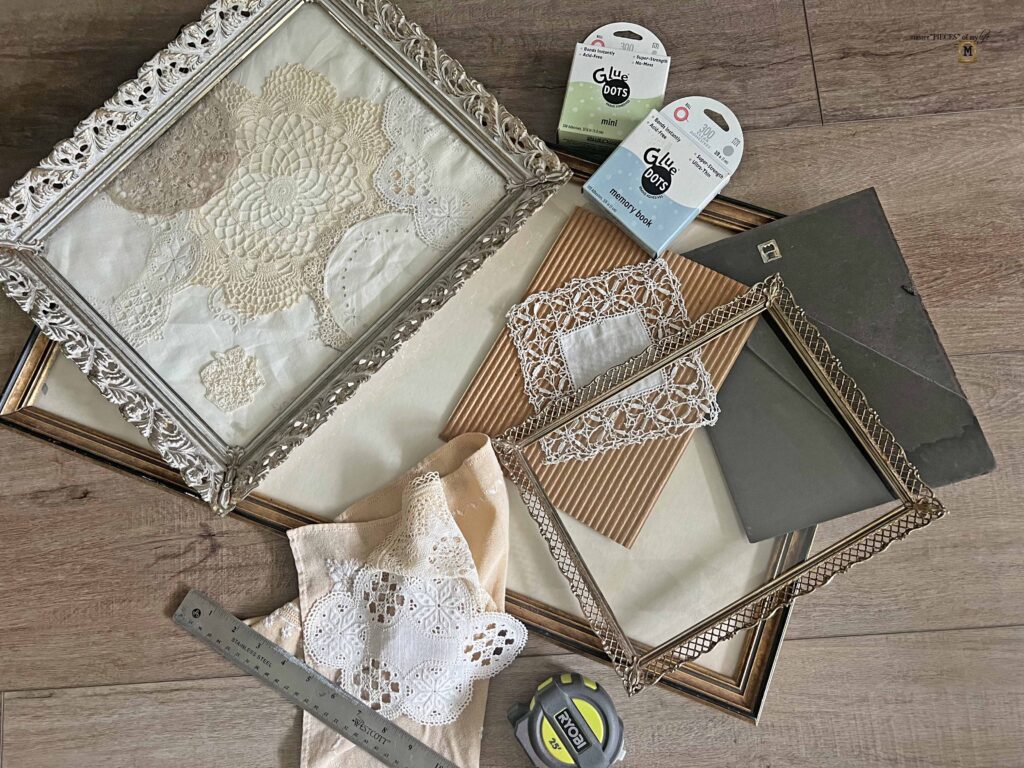
Supplies
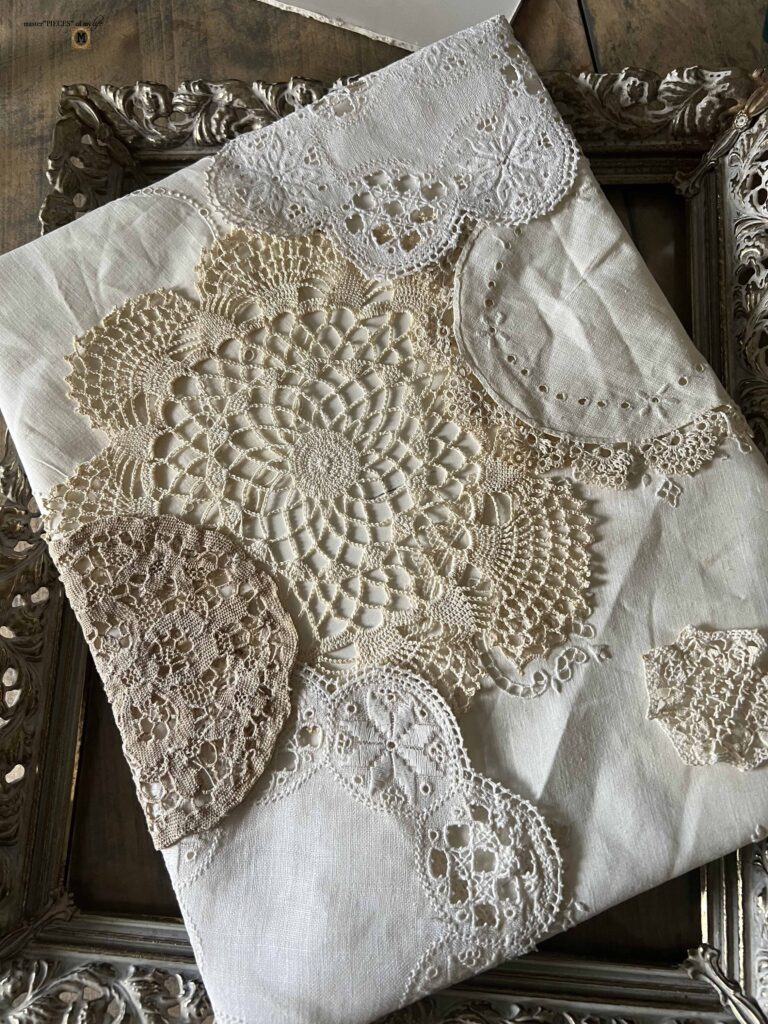
- An assortment of doilies
- Frame (s)
- Glue Dots
- Frame padding | backing (should come in frame)
- Ruler or tape measure
As I stated above I find my doilies and frames at thrift stores but here are a few sources if you are not a thrift store shopper or can’t find these items at your local thrifts. Doilies here, here and here. Frames here, here and here.
Instructions
1. Assemble all your supplies
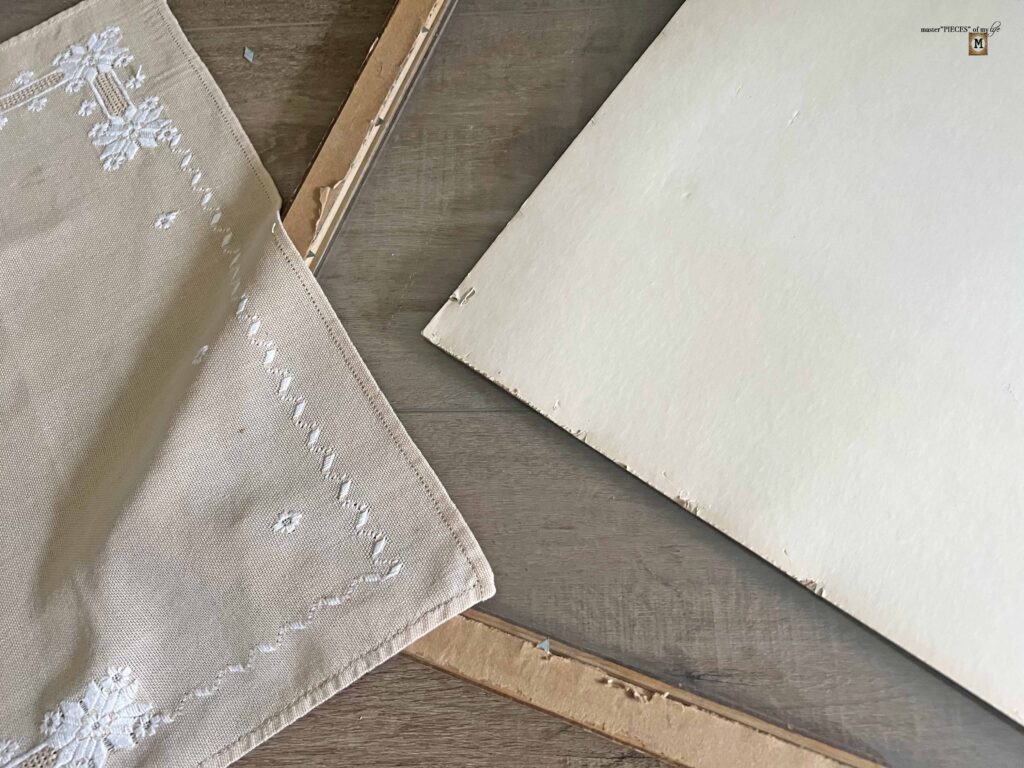
2. Open frame(s) and remove backing
3. Lay doilies on backing to arrive at your desired placement
4. Use glue dots to adhere doily edges to backing
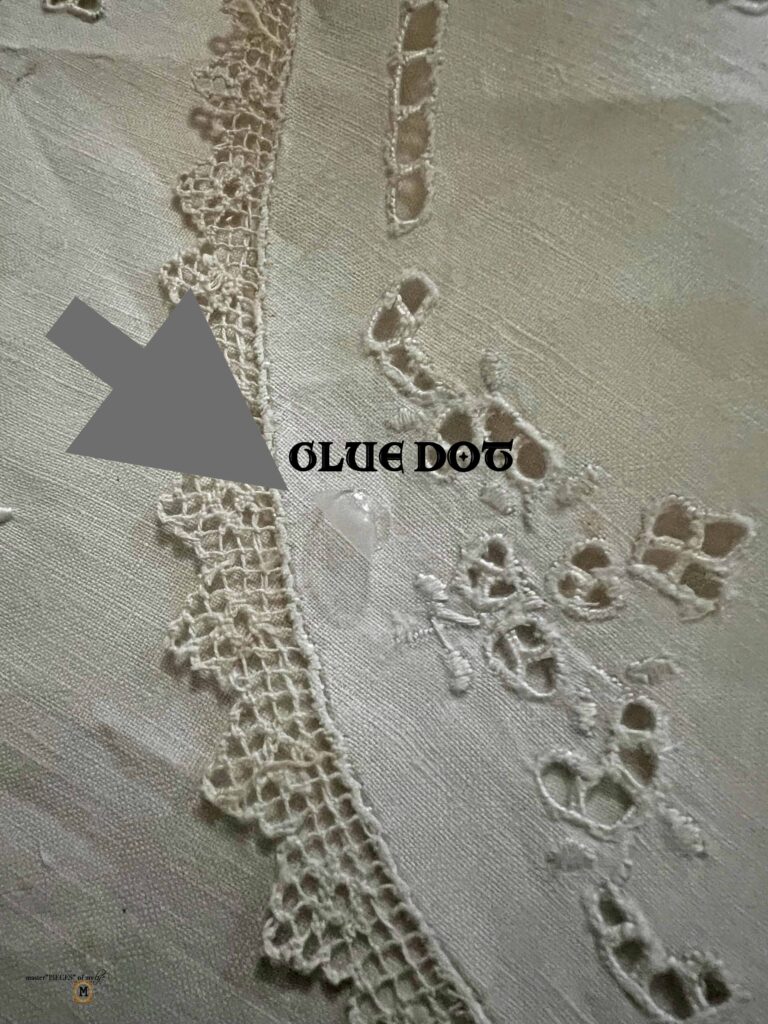
5. If you wrap doily around the back make sure to apply glue dots on the back to help secure in place

6. Assemble frame with backing and glass, making sure everything is secured properly

7. Hang or place in your home and enjoy!
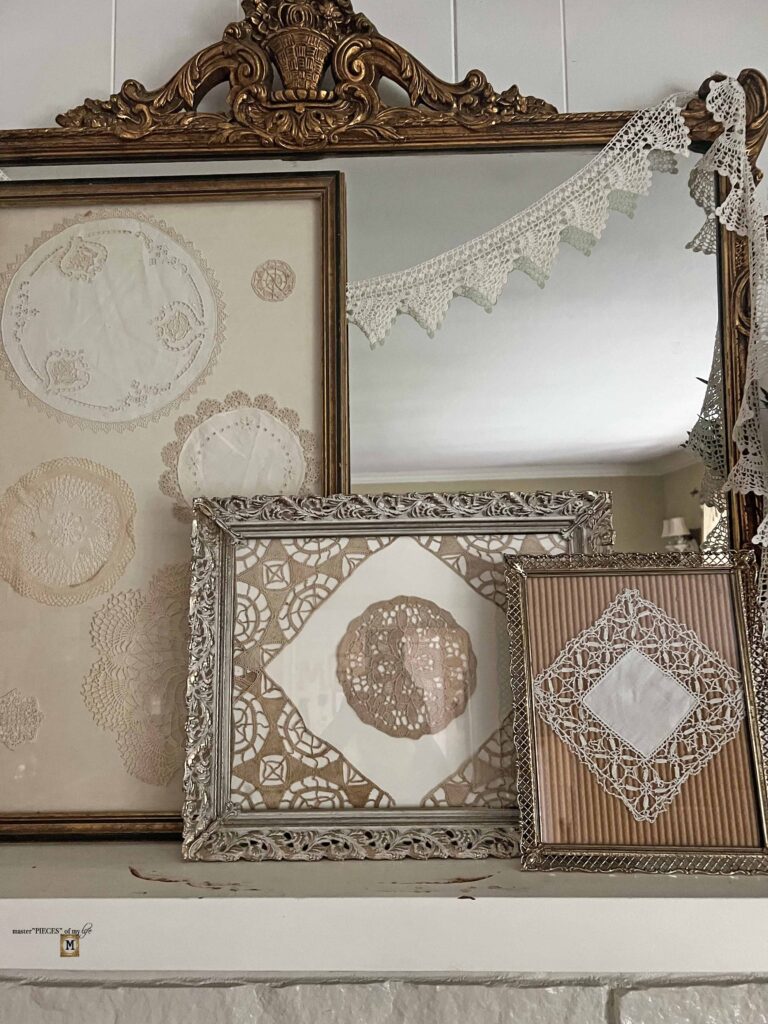
Different Styles to Create Framed Doily Masterpieces
Depending on the look you are going for, you can use a specific background and configuration for your doilies. I used a few different style options here to give you ideas and show how versatile this DIY can be, depending on your decor style and preferences.

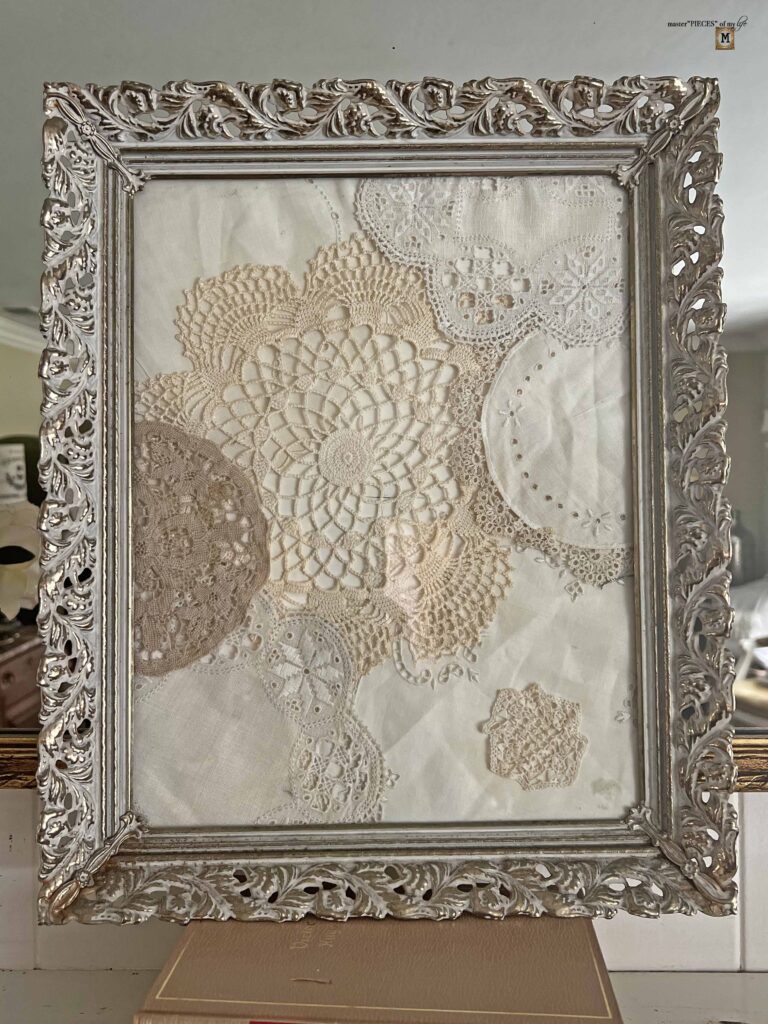
No Background
The doilies overlap, covering the entire area without any background showing. This is the technique I used for the vintage Valentine’s Day mantel styling a few weeks ago.
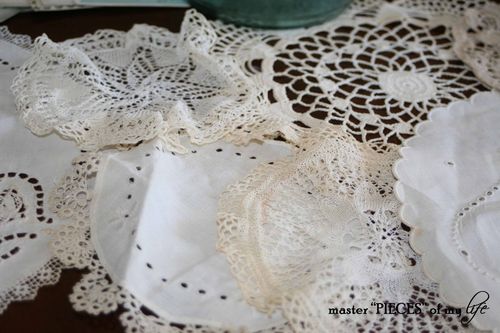
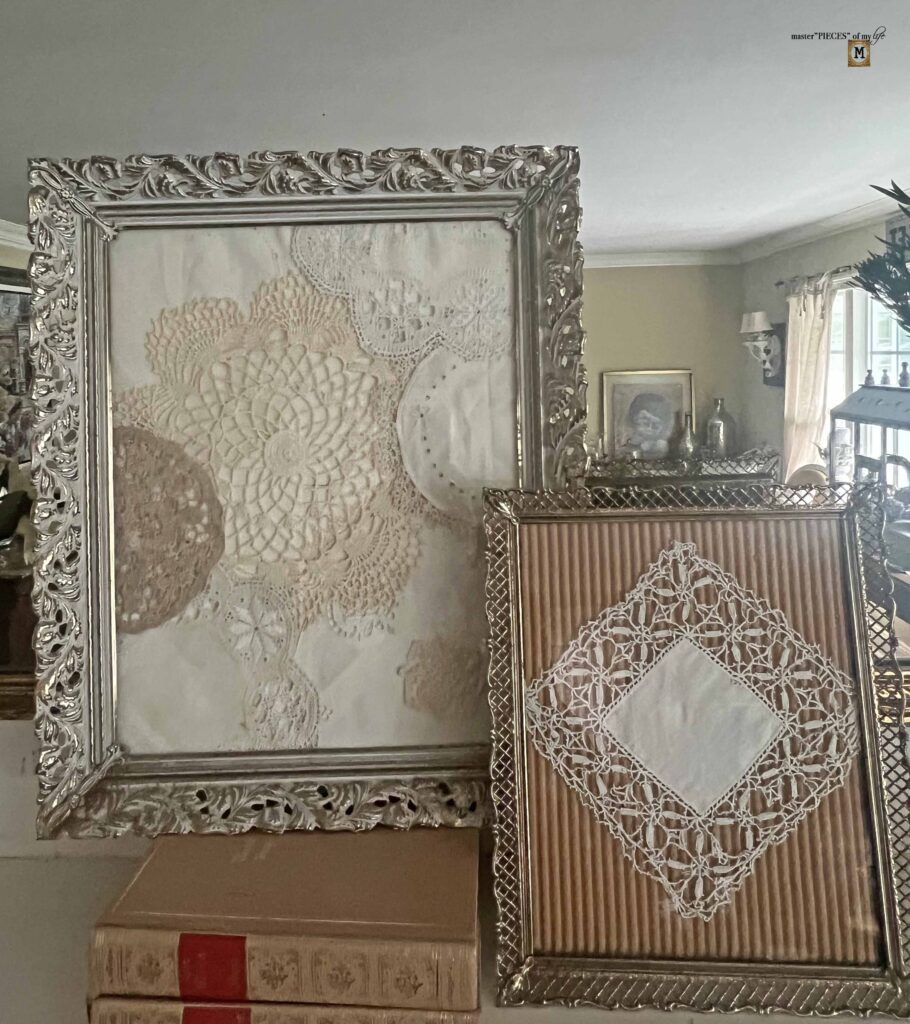
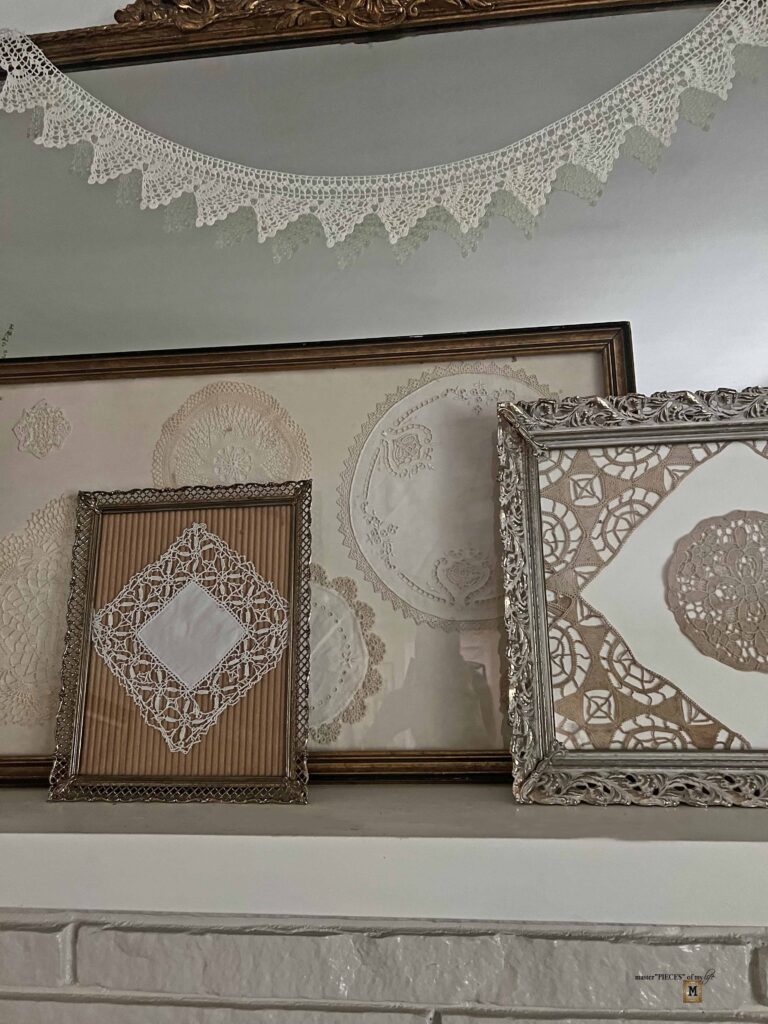
Background with an Assortment of Pieces
An exposed background where doilies are spread out and | or overlap. I would usually recommend using an odd number of pieces, but I actually used six below. I think because two of the pieces are so small it worked and balanced the composition.
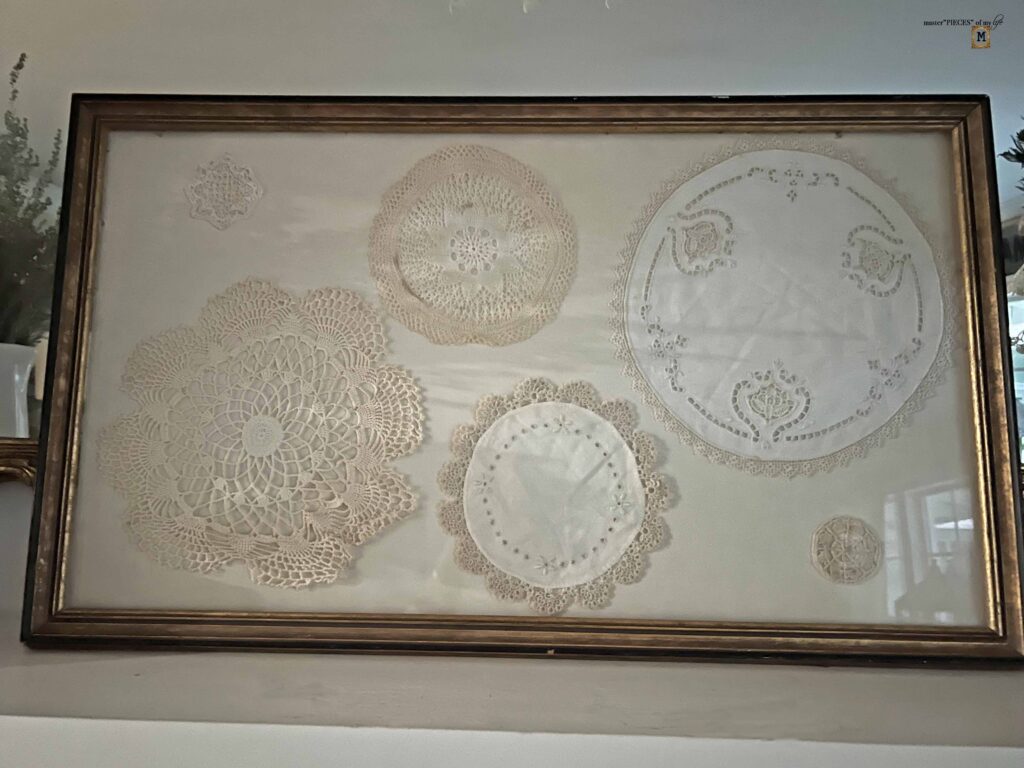
This piece might be my favorite, and it actually came to me towards the end of the project. The corners are crocheted pieces from my grandmother. I have an assortment of pieces, including the two small pieces above.
I have a bunch of different crocheted pieces in different shapes, and I always want to use them, but I don’t want to ruin them. A pillow cover project could be a great way to use all these fabulous handmade pieces. Stay tuned.
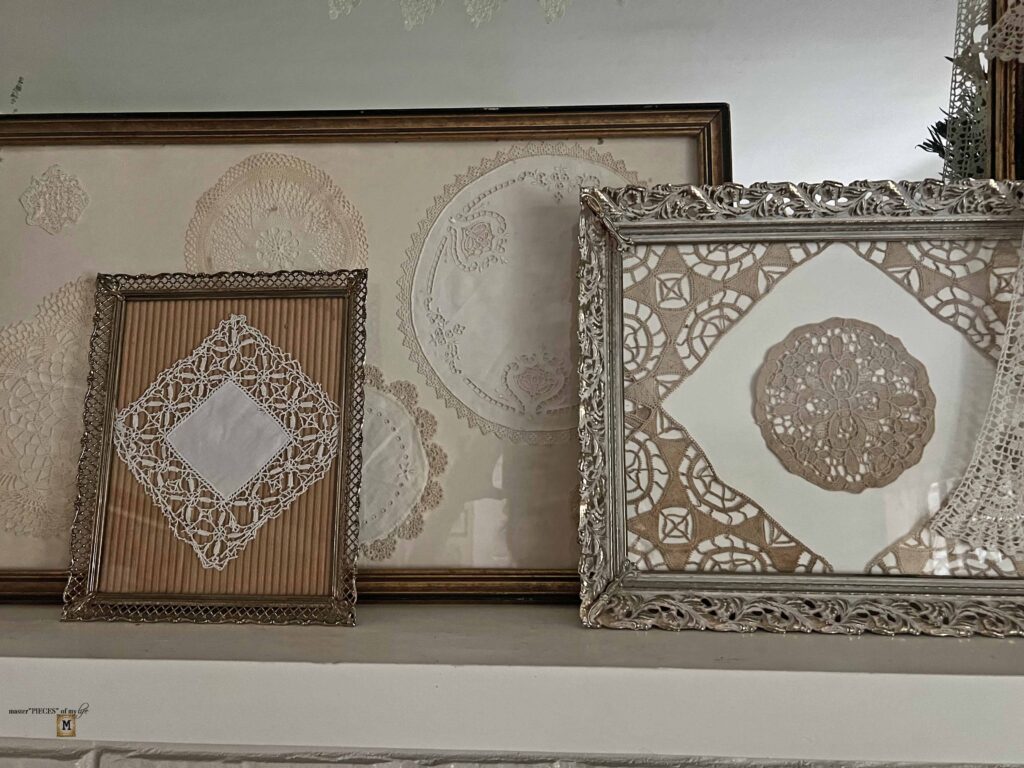
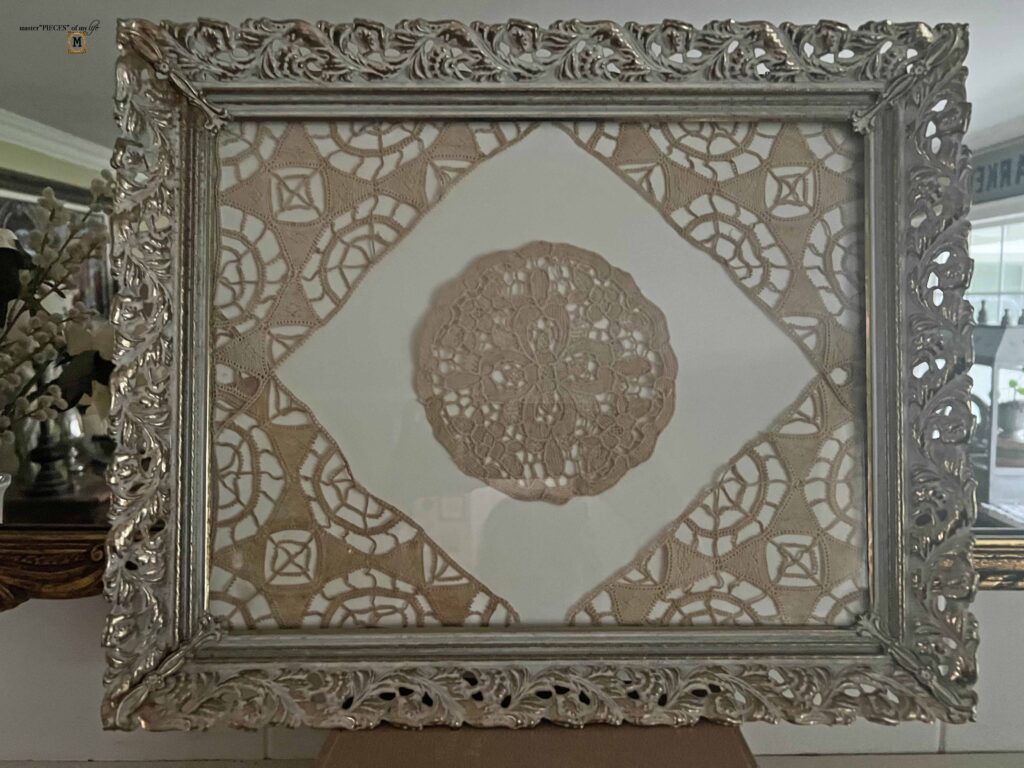
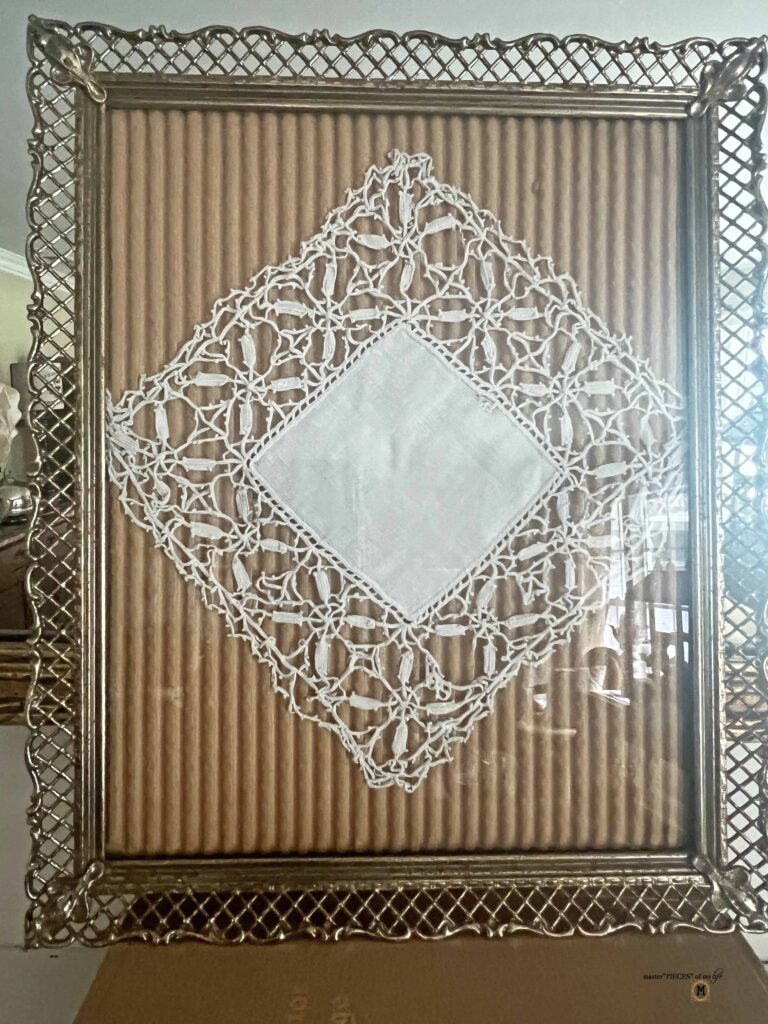
Background with a Single Piece
This is a simple treatment, but depending on the piece you use, it can make a big statement. The corrugated cardboard was a great rustic backdrop for the dainty square doily.
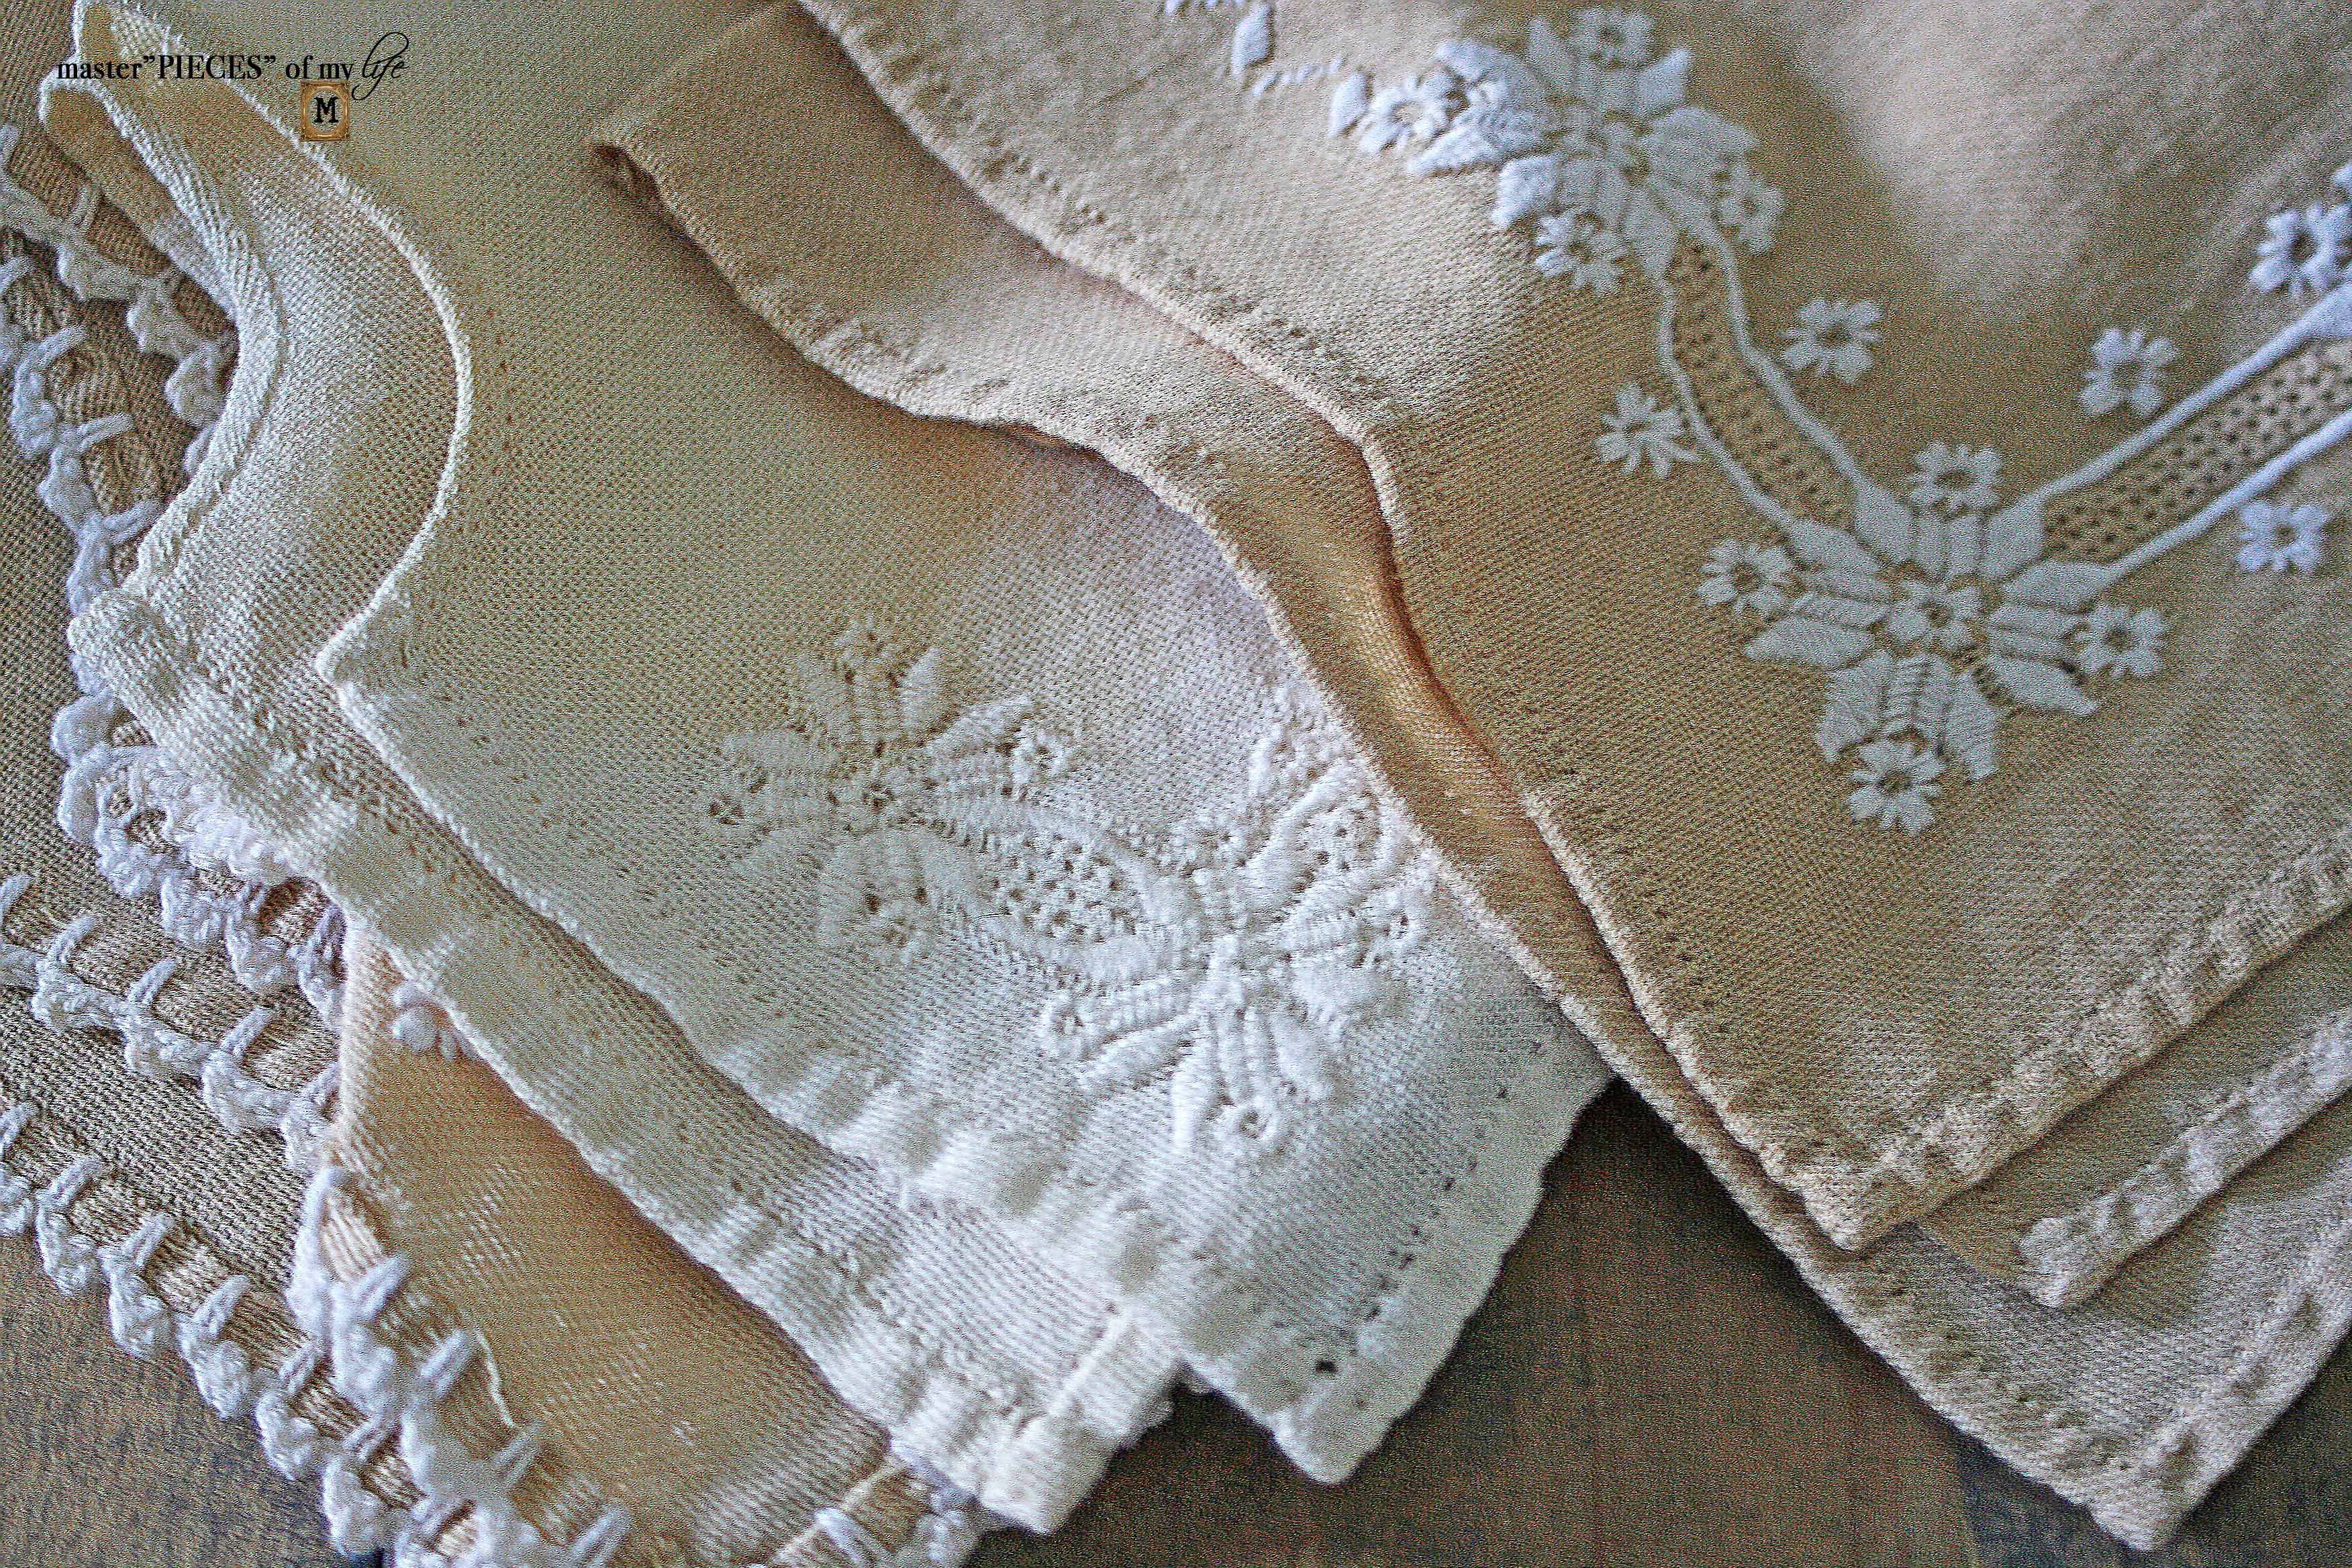
This oversized piece is fun. I love the flesh toned color and the opposing corner accent embroidery. It’s very simple with a ton of texture.

Tips & Tricks for Creating a Framed Doily Art Work Masterpiece
If your frame does not have an interior backing for a backdrop create one by measuring opening and cutting out a piece of chip board or cardboard. Make sure when you measure opening it’s the measurements from the back opening, which tends to be larger than the front (visible) opening.
I used the backings, which came with the frames. If you want a particular background, you could use paint or fabric or patterned paper. The cardboard liner in the largest frame has a great patina and weathered look. I also love the corrugated background, which I can guarantee you will see again.
All my doilies are in neutral color families, but you could also use colorful doilies or doilies with vibrant embroidery details. You can adapt it so it matches your style and coordinates with your decor.
The frames you choose can also adapt to your decor style. I love gilded frames, but I think rustic wooden frames would also look great with the delicate doilies. Farmhouse or country decor would look great with distressed or whitewashed frames.
Make this project your own and create it with details which fit into your existing decor style. Don’t be afraid to play around and mix and match pieces you might not initially think belong together.
I have a couple of other doily project ideas, which I hope to get to soon. Have you ever used vintage doilies to create something new? I would love to hear other ideas. Thanks for being here and see you next time. Au Revoir!

More Related Posts
Most Recent Posts

“Art is not what you see, but what you make others see.”
Edgar Degas
MaryJo,
Love all these wonderful ideas and I also love the frames you used…Made me wish I still had those frames which are identical to ones my Mother had family pictures in!! Funny thing is that I spent yesterday ironing for 3 hours!! Doilies and 2 lace vintage tablecloths that I “found” in my Mother’s cedar hope chest that I had been saving for Heaven knows what!! I posted about them on FB and will be doing a blog post on them on Saturday….Thanks for sharing and would love to see more ideas that you may have and what to do with vintage doilies and runners other them using them the usual way
Hugs,
Deb
Debbie-Dabble Blog.
Thanks Deb. Yes, I’ve seen you’ve been busy cleaning & ironing. You have some beautiful pieces. XO- MJ
Such a great idea, MJ!! Who knows how many doilies I have in my linen drawer…this is such a fun and easy way to have them be seen and enjoyed!
Thanks Rachel. XO- MJ
Hi MaryJo! This is such a great idea! Doilies are a work of art by themselves but framing them is a genius idea! I love each way you presented them! I’m pinning now so I can remember to do this someday!
Thanks so much Donna! You are so sweet. XO- MJ
This is a wonderful display. I can’t believe how beautiful these all turned out. Visiting from Funtastic Friday. (If you’re interested, I’d love to see you share this post at my linkup also: https://lifetalesbooks.blogspot.com/p/calling-fellow-bloggers.html)
Thanks so much!! I’m glad you like them. I will most certainly come visit your place. Thanks for letting me know. XO- MJ
Hi MaryJo, Do you know if it would be possible to remove the glue dots if you ever wanted to disassemble the piece? Thanks
Yes Marianne! I actually already disassembled one and it was fine. I used crafting scissors to help me and just be gentle. HTH. XO- MJ
Mary Jo,
I have just discovered your site. I have been wondering what to do with my mother’s and grandmother’s doilies. This is such an exciting way of preserving them. Some of my grandmother’s work was done in the Croatian work called Pag using a bolster and threads. Some of them use a crochet needle. I am so happy to have found a way to preserve them on display. Looking forward to following your instructions!
Thank you, Cheryl Gudac Basso
Wow Cheryl! Your family pieces sound amazing. I would love to see how you display them. I’m so glad you found me and welcome! XO- MJ