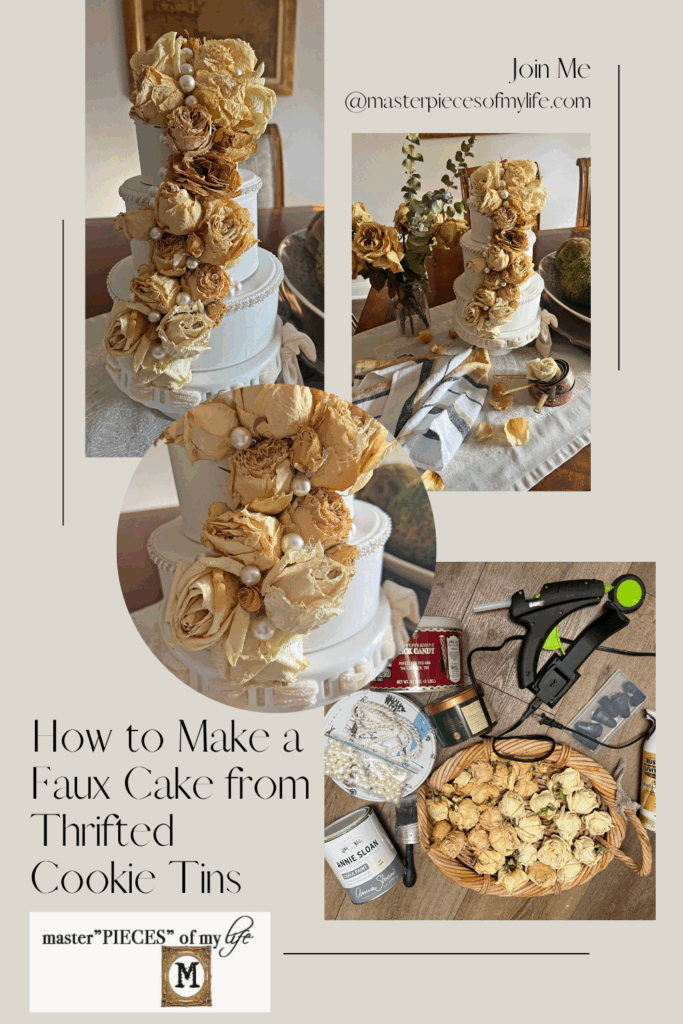
How to Make a Faux Cake from Thrifted Cookie Tins
Hello there! Welcome, and I’m so glad you stopped by today. It’s the next installment of the THRIFTED GOODIES series. If you enjoy thrift shopping and love the thrill of the hunt, then this post is for you. Today I am sharing an easy DIY with tons of charming appeal. Did you know just from a few thrifted cookie tins you can create a super fun faux cake? All you need are a few simple supplies and some creativity.

Thrifting is an adventure, which yields unexpected and unique results. Sometimes thrifted goodies need to be looked at with a disearning eye, looking past the piece itself and its intended use. Thrifts have a plethora of craft and DIY potential with some creative TLC. Come on in and join me as we “bake” a cake from repurposed cookie tins.

*Affiliate links might be included for your convenience. These affiliate links mean a small commission is earned if you make a purchase using these links at no extra cost to you. As an Amazon Associate qualifying purchases support this website. For more information: Full Disclosure Policy.
All About the Thrifted Goodies Series
The Thrifted Goodies series consists of monthly posts where my friend, Rachel, from the Antiqued Journey, and I share thrift store intel. Topics might include particular finds, tips, stylings, techniques, up-cycles, and general advice about thrift shopping mostly for home decor in general. Some months we invite a guest host. Thank you for joining us.

Today I am sharing how to use thrifted cookie tins to create the most amazing faux cake. With a simple paint treatment and some embellishments, presto! You have a charming faux cake for a fun and unexpected decor piece and a new element for all your styling needs.

Rachel is sharing brilliant thrifted finds in her area. She always finds the most amazing pieces! You don’t want to miss her latest post. If you don’t know Rachel yet, when you are done here, head over to visit Rachel and introduce yourself, while you check out her brilliant thrifted finds in the Minneapolis area post.
You can also find Rachel in her other spaces; give her a follow:
Sometimes we have triple the fun with a guest host for the series. Today is one of those bonus days and we have Carol from Blue Sky At Home joining us with more thrifting insight. Carol has a fabulous style and wonderful creative ideas. Today Carol is sharing how to update a vintage step stool.
You can also find Carol in her other spaces; give her a follow:

If you are coming over from Rachel or Carol’s place, welcome! I am so glad you are here today, and I hope you enjoy yourself. Drop me a comment down below and introduce yourself. I would love to hear from you.

How to Make an Easy Faux Cake from Thrifted Cookie Tins
Cookie tins can always be found at thrift stores. The key for this project is finding three cookie tins, which are gradual in size so they can be stacked mimicking cake tiers. From there paint and embellish, bringing the faux cake to life. Let’s get crafty!

Supplies
- 3 Assorted Cookie Tins in increasing sizes
- White Spray Paint
- White Chalk Paint
- Dried Roses
- Pearl Ribbon
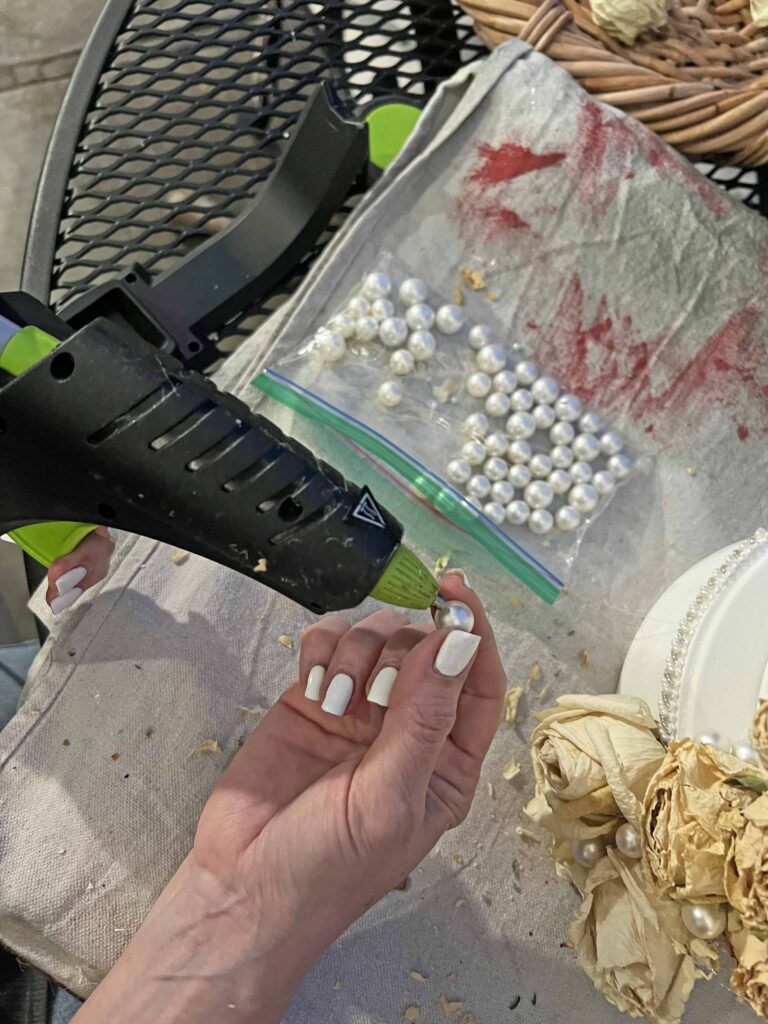
- Crafting Pearls
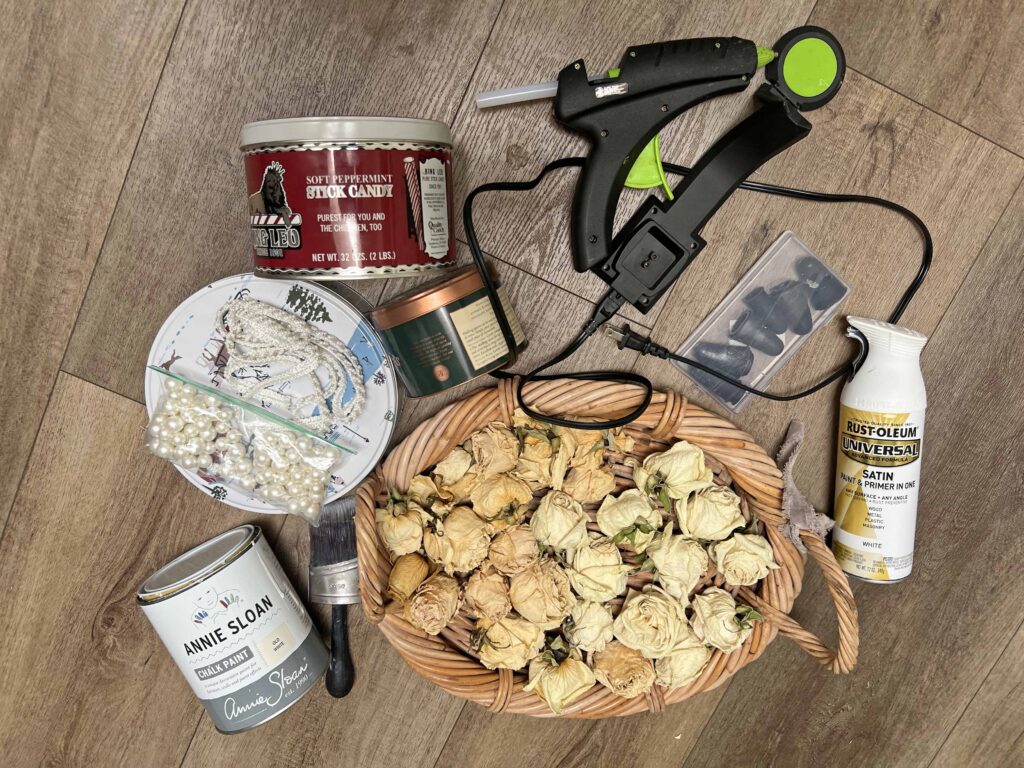
Tools
- Paint Brush
- Hot Glue Gun & Glue Gun Glue Sticks
- Silicone Funger Protectors
- Crafting Tweezers
Crafting Pro Tip: Read all the instructions through once and then re-read everything again. This way, you are familiar with everything you need and know what to expect.
Instructions
- Read instructions thoroughly and assemble all supplies & tools
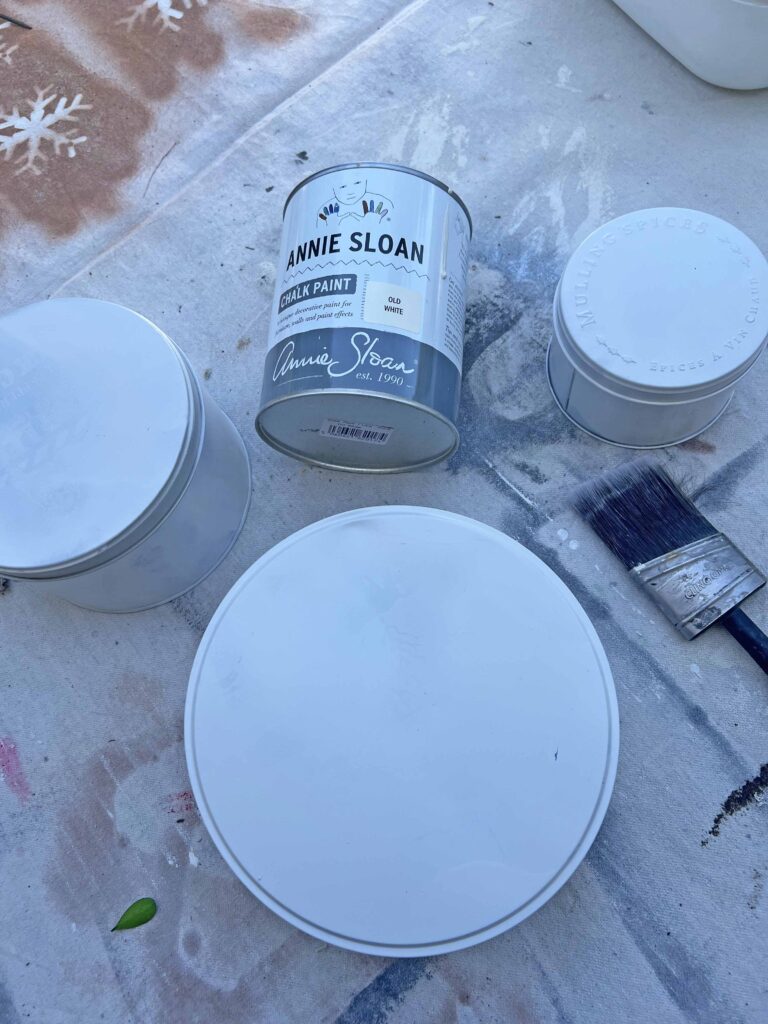
- Clean cookie tins, making sure all surfaces are fresh for faux treatment
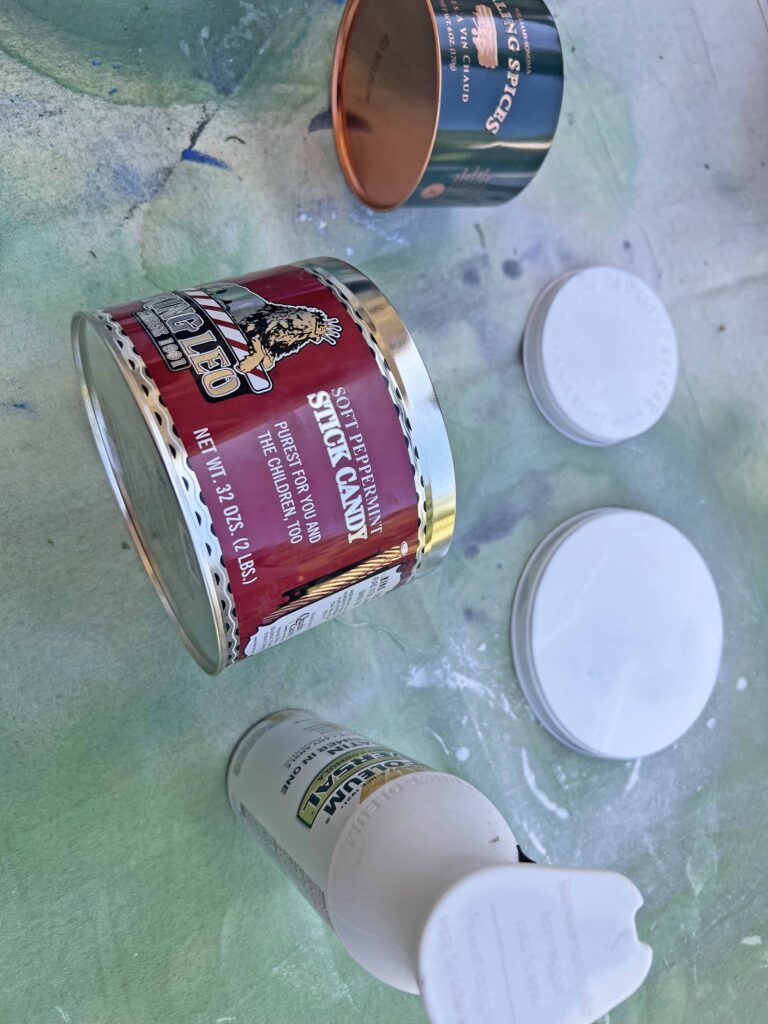
- Remove lids from tins
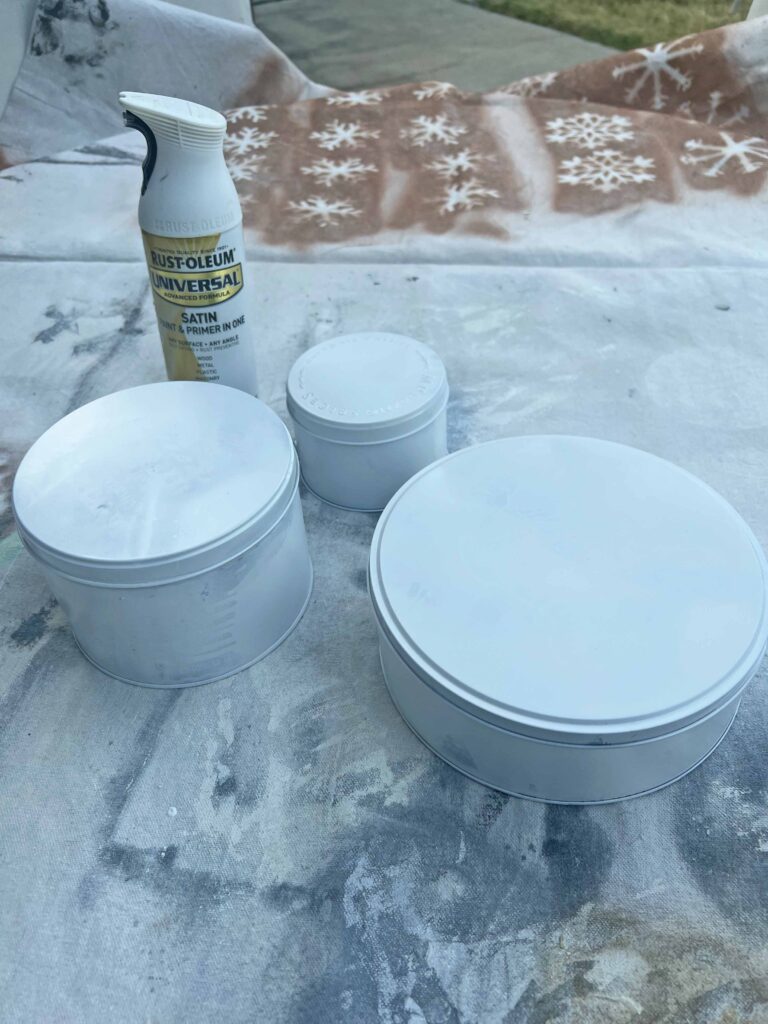
- Apply a layer of white spray paint on lids and sides of cookie tins
- Allow first layer of paint to dry on all surfaces

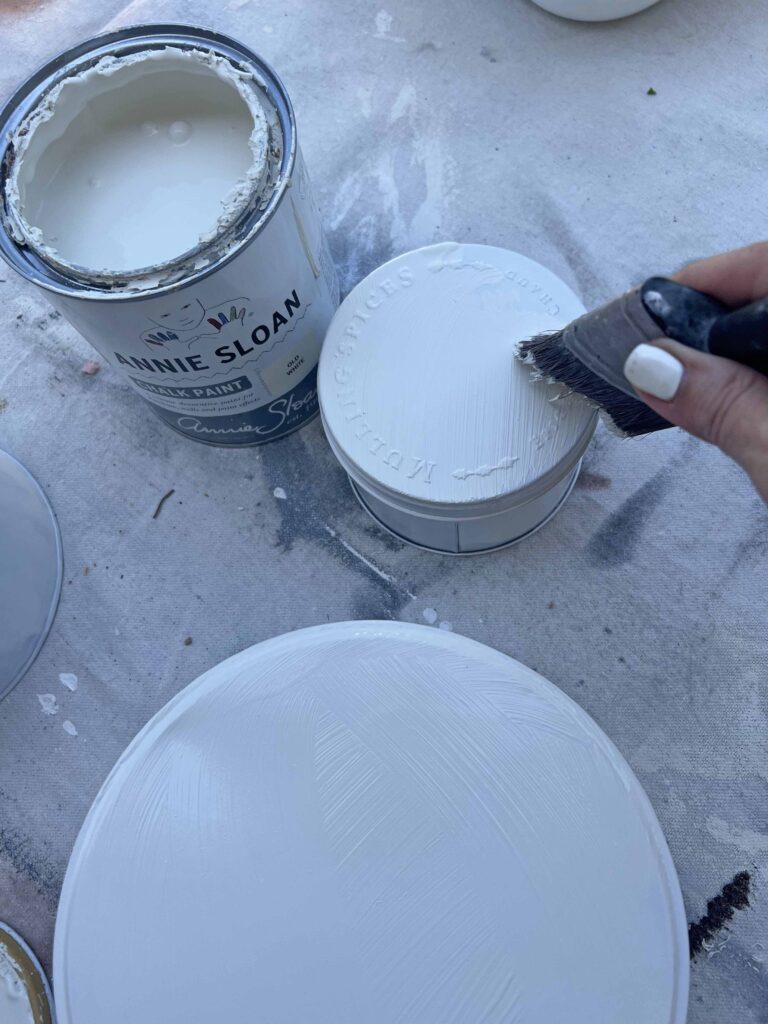
- Place lids on respective tins so each set is assembled
- Using paint brush, apply white chalk paint to each cookie tin for a second layer
- Allow paint to dry thoroughly
- Once paint is dry, stack tins so the lid seam is lined in unison for all three tins
- Using hot glue gun, adhere tins stacked from largest to smallest resembling a tiered cake
- Set aside to allow glue to set


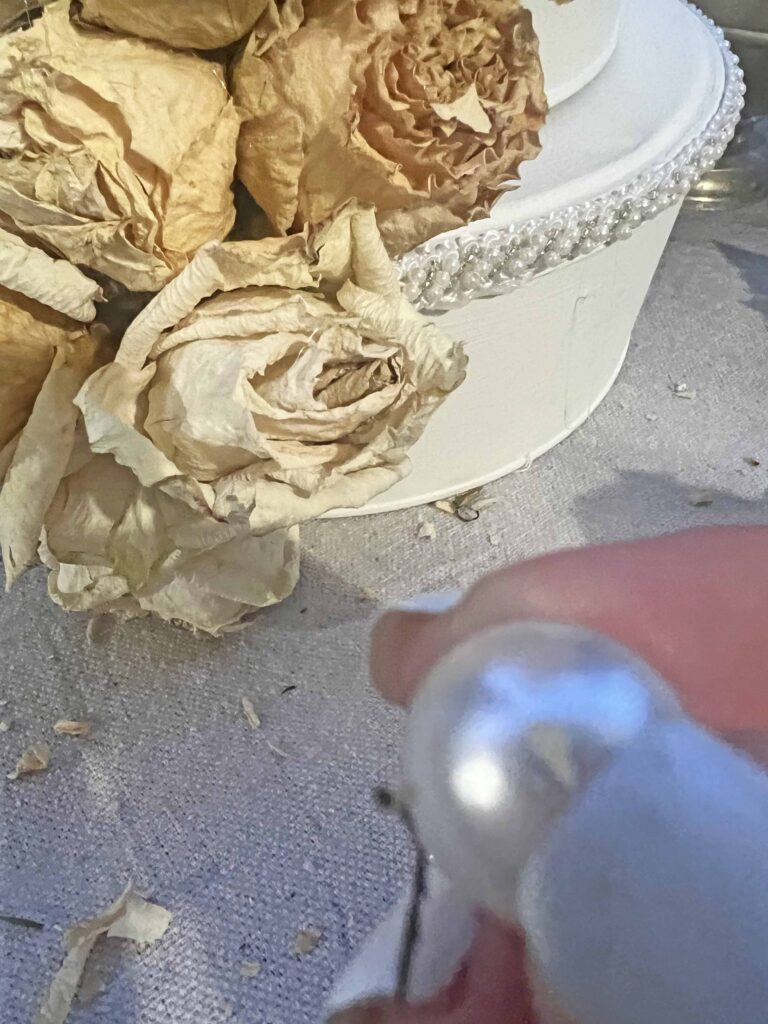
- Cut pearl ribbon to size around the lip of each lid
- Using hot glue gun adhere pearl ribbon to each lid edge, aligning ribbon seam with lid seam
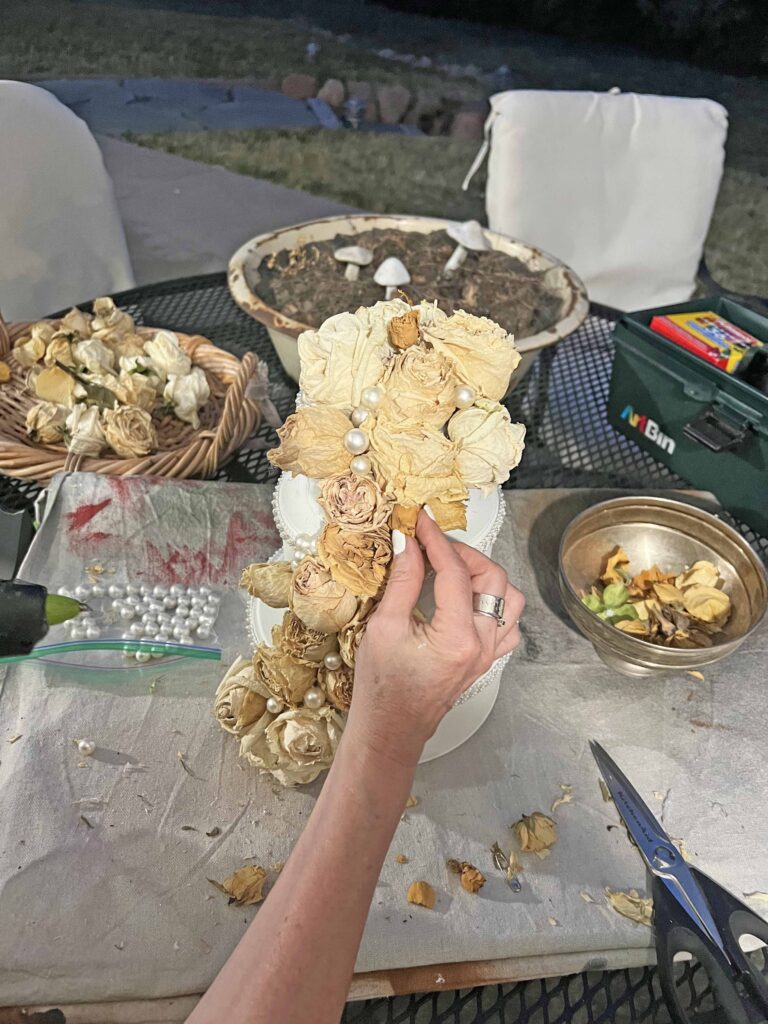
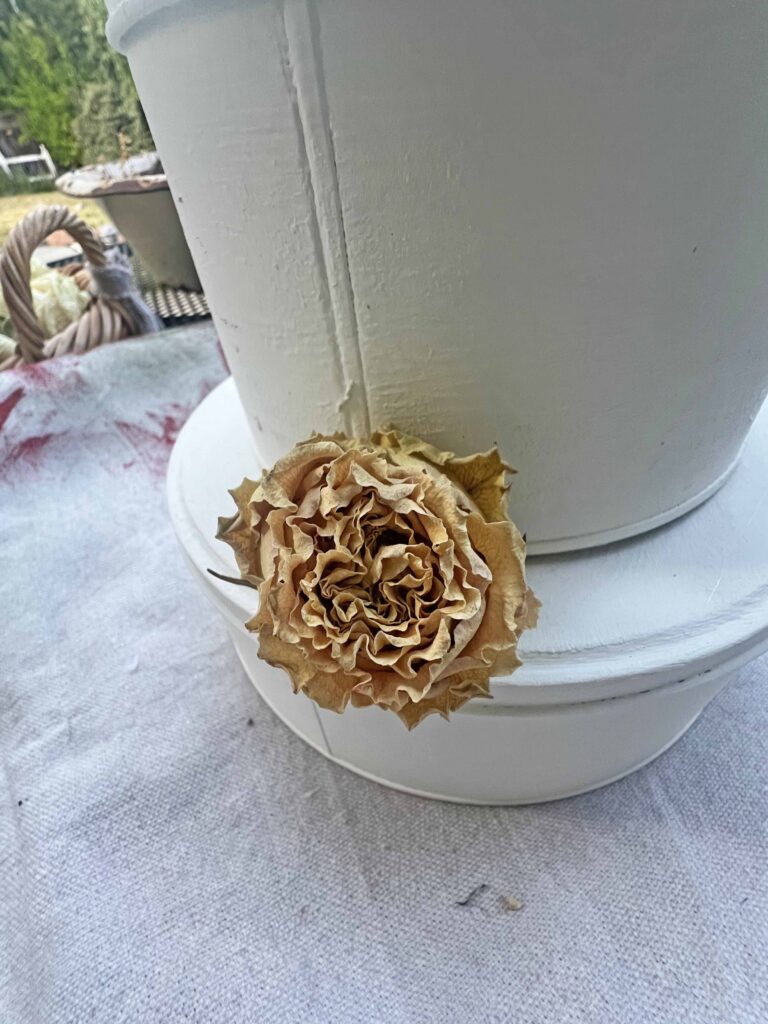
- Layer dried roses cascading down side of tiers of faux tin cake, covering the seams
- Use hot glue gun to adhere dried roses to tins and each other
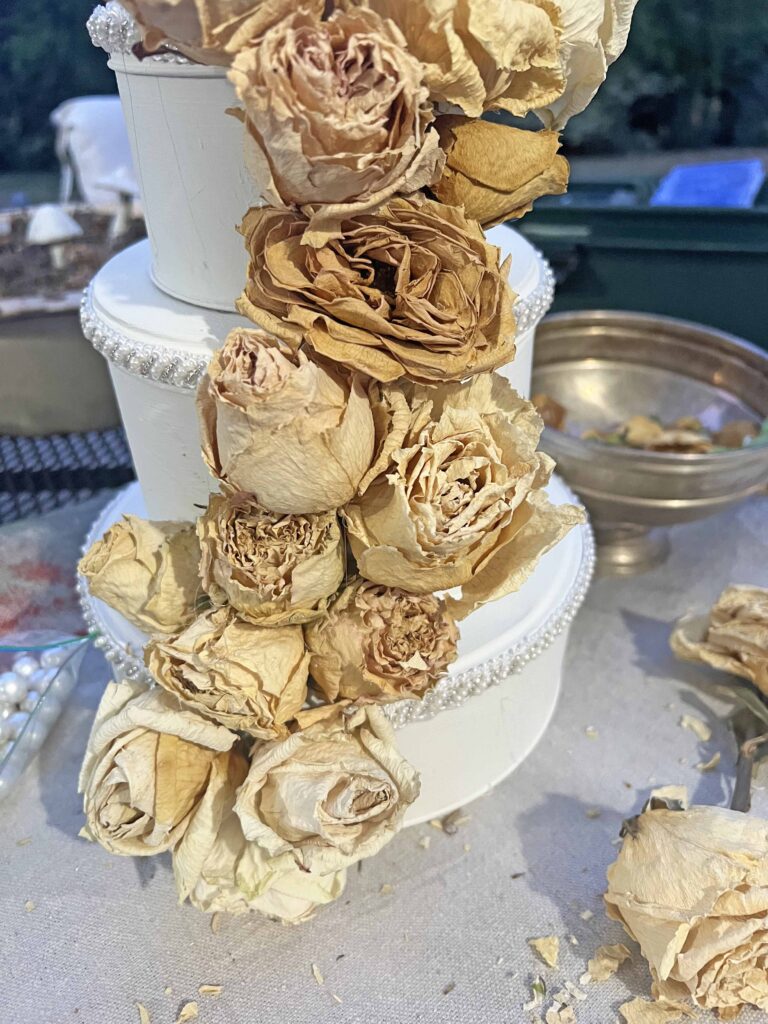
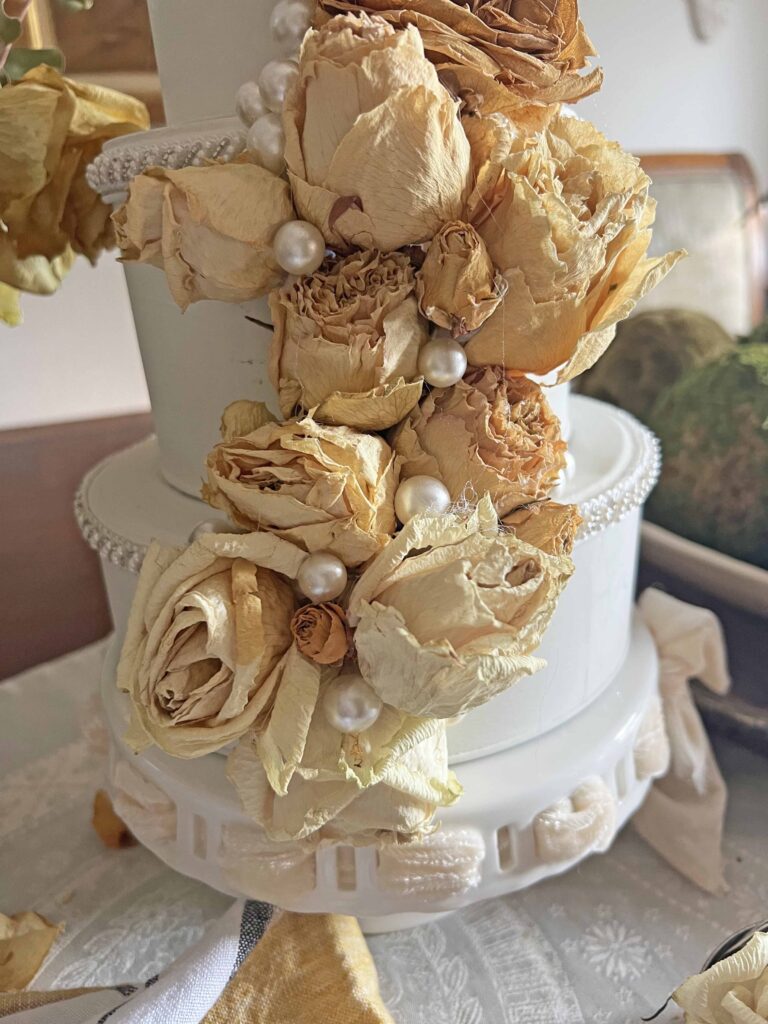
- Using hot glue gun, attach pearl accents around roses to fill in gaps and add dimension
- Once glue is set and all embellishments are secure, clean any stray glue strings with crafting tweezers
- Voila! Style your faux cake in unique ways around your home

If you enjoy thrifting and up-cycling pieces you can subscribe to receive all new posts directly to your in-box. I look forward to welcoming you into the Masterpiece community.
Tips & Recommendations to Keep In Mind
Paint Pointers
Paint is layered to give the cake texture and emulate cake frosting. The spray paint is a 2 in 1 product, which includes primer and paint. The primer is a good bonus for full coverage over the graphics on the tins. The chalk paint adds another layer of coverage plus full consistency. Application with a brush adds additional texture. I had both of these paints on hand in the garage, which I always appreciate using up existing supplies.
Embellishment Options
Dried roses and pearls give this cake a bridal feel, which is an aesthetic that always speaks to me. Feel free to use embellishments which are your style and you have on hand. I already had the dried roses and pearl accents on hand so I didn’t have to purchase anything for this particular project. Artificial flowers are a great alternative to decorate a faux cake.
Styling Ideas
Why a faux cake? It’s a super unique piece to decorate a kitchen space, whether in a hutch or on a counter or as a focal piece on an island. It’s also a great decor piece for a party and special gathering, adding character to the desserts display or as a special token in a festive vignette. It goes without saying, this would be a fabulous piece for an actual wedding as a decorative accent. This will be a versatile styling piece around here, and it will pop up in many tables capes. Have fun with a new toy and play around.
Thrifting Pro Tip: Look at the potential of an item beyond its current state or condition. Items can be altered, up-cycled and recreated with TLC, elevating them to a trend forward piece.
Closing Thoughts
I share thrifted treasures throughout my home regularly and this was a fun project to put together. Thrift finds give your home a unique look and are budget friendly. This project was quick, easy and affordable.
For many of the items I pick up at thrifts I have plans for stylings, up-cycles and DIY projects, but for others I simply pick them up just because they speak to me. These pieces eventually find a home or fill a purpose. I hoped you enjoyed this installment of the thrifted goodies series. There’s plenty of thrift focus content scheduled for the upcoming months.
Thrifting Pro Tip: Make a list of items you would like to find while thrifting on your phone, and you will always have the list with you whenever you pop into a thrift. Update the list regularly as you find treasures and seek others. Have fun!
Don’t forget to hop over and visit my thrifty friends Rachel @ The Antiqued Journey and Carol @ Blue Sky at Home for more thrifting inspiration. Thank you for being here today. Au revoir!

Shopping the Faux Cake from Thrifted Cookie Tins Look
- Tins with lids set of 3 stacked sizes
- 3 Round Holiday Decorative Nesting Tins (these are great to just decorate – no need for paint)
- Rust-Oleum Universal All in One Spray Paint, Satin White
- Annie Sloan Chalk Paint® Old White
- Double Thick Chip Paint Brush
- Surebonder Cordless/Corded High Temperature Mini Hot Glue Gun With Detail Tip
- Mini Glue Sticks-All Temperature
- Silicone Finger Protectors
- White Roses Artificial Flowers 12pcs Vintage Dried White Flowers
- Pearl Beaded Trim Ribbon
- Pearls for Crafts

Don’t forget to Pin It and save for later. You never know when inspiration will strike!
More Related Posts


Most Recent Posts


Let them eat cake.”
Marie Antoinette
What a great project and beautifully executed. You could do so many different variations on this theme. Thanks for the idea and the directions.
Lynne, Thrifting Wonderland
Thanks so much Lynne. Yes, the possibilities are endless. XO- MJ
MJ, this is seriously GENIUS!! I’ve never seen anything like this before…SO creative and beautifully done, friend! A showstopper, for sure!!
Aww! Thanks so much Rachel. It was a fun one. Always love these posts! XO- MJ
Maryjo, this recycled project is so fun and pretty. It would make a great centerpiece for a bridal shower. I have a couple of tims that I need to make into something special. Thanks for the inspiration and having me join this month’s Thrifted Goodies.
Thanks so much for joining us Carol. I’m glad you enjoyed the cake and let me know if you decide to make one. I always wish we could all get together and craft. XO- MJ
So beautiful!! I love the use of dried roses, perfect touch!??
Thank you!!! ???
Hi MaryJo! This turned out so fabulous! The dried roses and pearls are absolutely gorgeous! This is a wonderful trash to treasure DIY!! Most people would just toss those type of tins and roses too! Love your creativity!!
Thanks so much Donna! I’m so glad how it turned out. It’s a fun piece. XO- MJ
Oh, my goodness, MaryJo! This is gorgeous!! What an absolutely darling idea! Pinning. 🙂 Thanks for sharing this post at our month-long Will Blog for Comments #65 linkup. We’ll be back to our regular schedule now, so #66 opens Monday morning. Hope to see you there.
Thanks Jennifer. See ya at the party. XO- MJ