


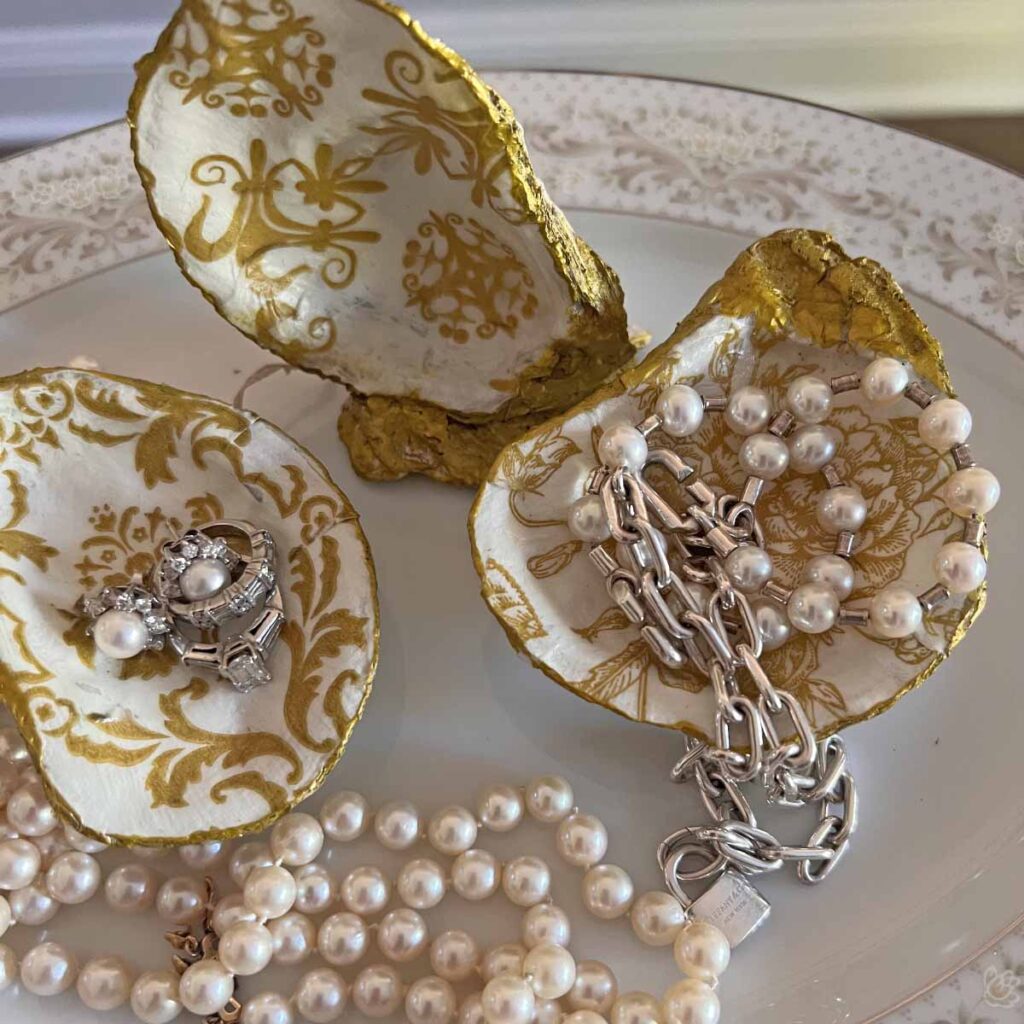
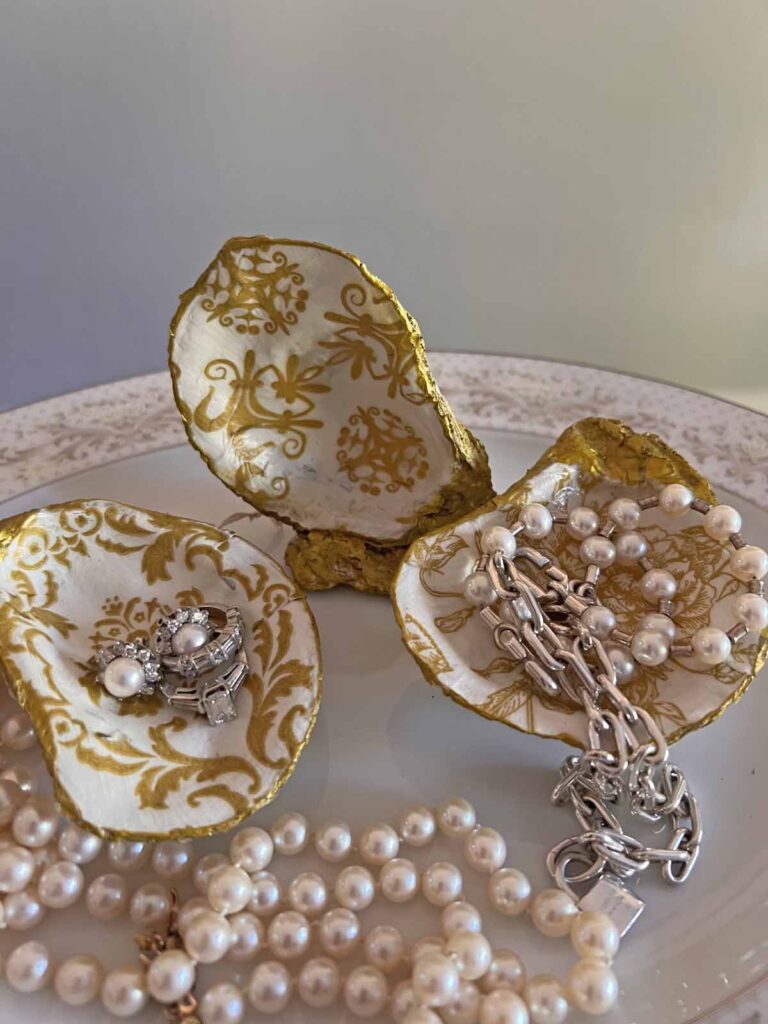
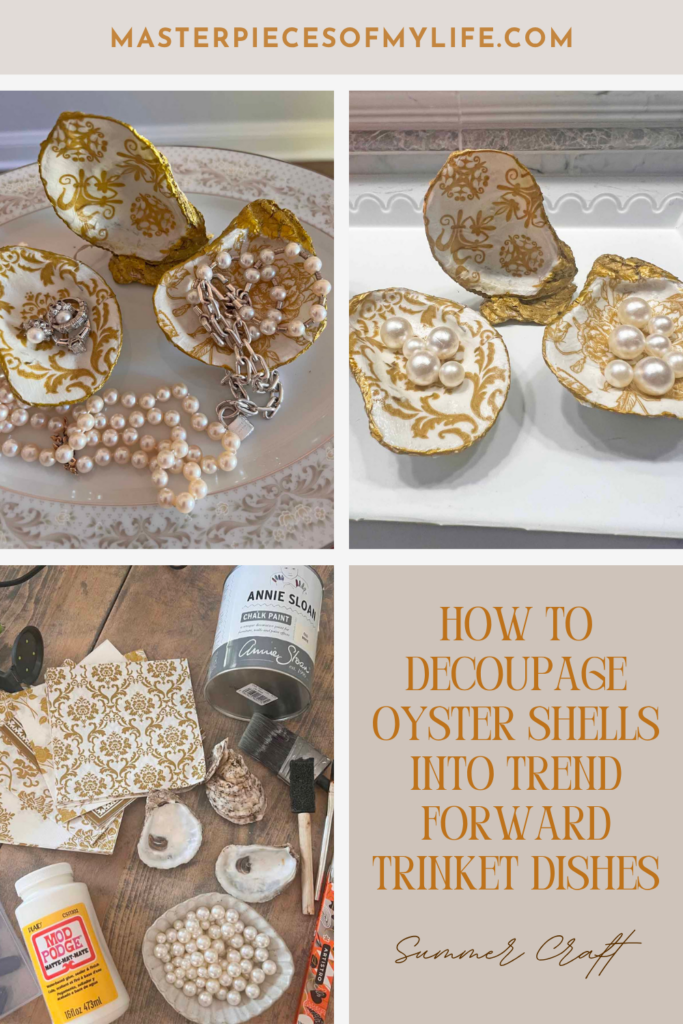
Are you languishing in the late summer days? I have the perfect project for you today. Some pretty oyster shells are transformed with decorative napkins into beautiful decor. Please come in and join me as we decoupage oyster shells into trend forward trinket dishes.

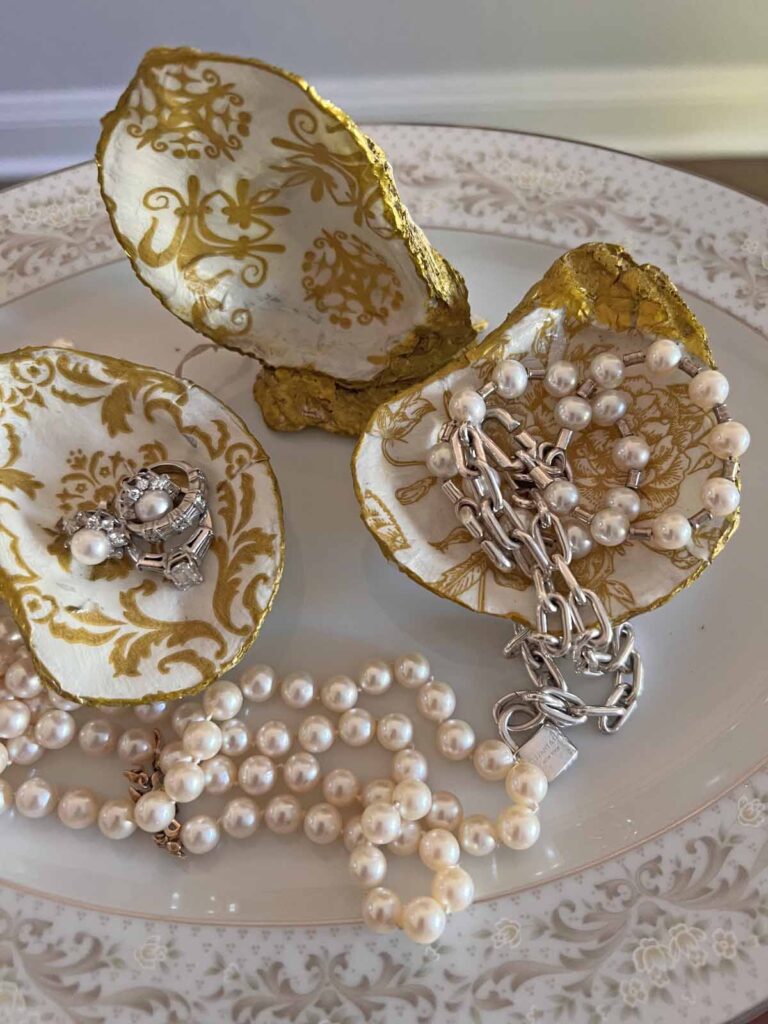
This project is not necessarily a novel idea, but I’m sharing with you my techniques and take on this favored craft. You can use oyster, clam or scallop shells depending on the intended use and look you are going for. The oyster shell scale and profile lends itself to a unique and charming petite trinket dish.

Key Takeaways
How to Decoupage Oyster Shells DIY
> Paper napkin decoupaged oyster shells create the most unique and charming displays, which can be customized and adapted to any home interior
> Learn how to decoupage your own shells with a step by step guide
> Discover tips and recommendations for the easy decoupage shell DIY and how to best use them in your home
Inspiration Behind the Decoupaged Oyster Shell Trinket Dishes
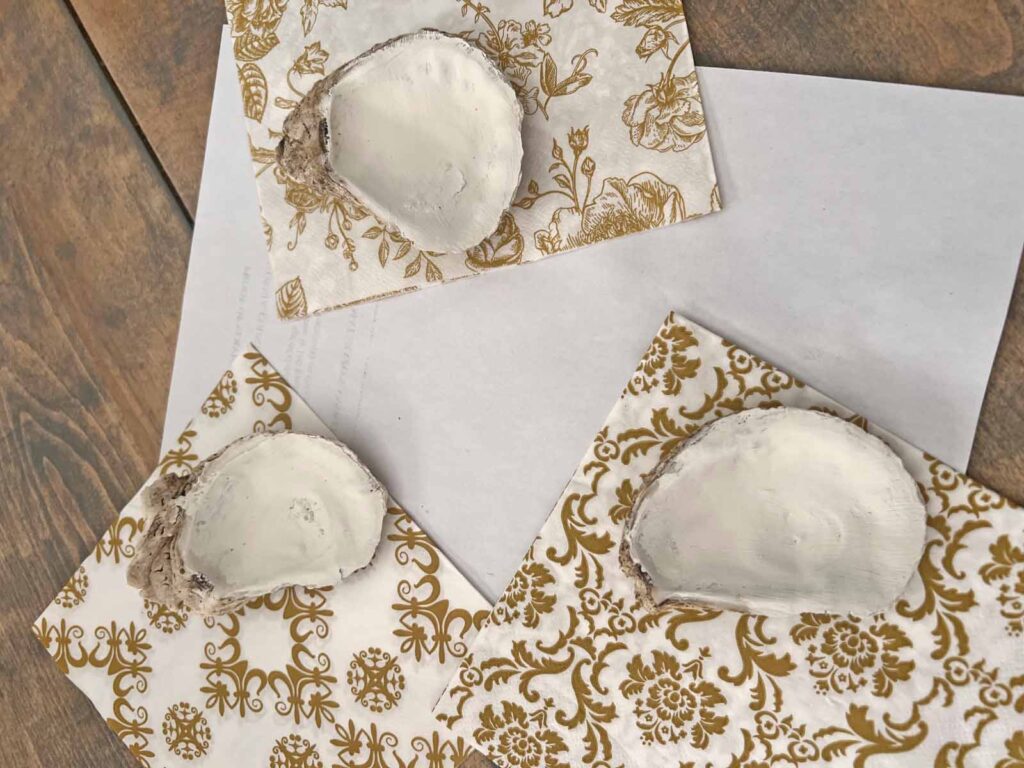
There are about 50 days of summer left before the Autumnal equinox, which gives us plenty of time to enjoy more summer inspiration. I know we are bombarded with Halloween, Fall and even Christmas this time of year, but I’m holding on to summer for now. I’ve wanted to decoupage shells for awhile now, and when I saw this pack of gold embellishment paper napkins, I knew exactly what I wanted to do with them. And here we are.

I want to use my decoupaged oyster shells as trinket dishes, but you can also use the same technique to create ornaments for a coastal tree, or place card holder for a summer table, or decor accents for a front door wreath. Run with the project, make it yours and use it as you wish. I am simply sharing with you the mechanics here.
How to Decoupage Oyster Shells Easily and Beautifully
Pretty paper napkins decoupaged onto oyster shells creates a stunning effect. Depending on the pattern of the paper napkin you select creates a certain look and feel., which can be adapted to any style.

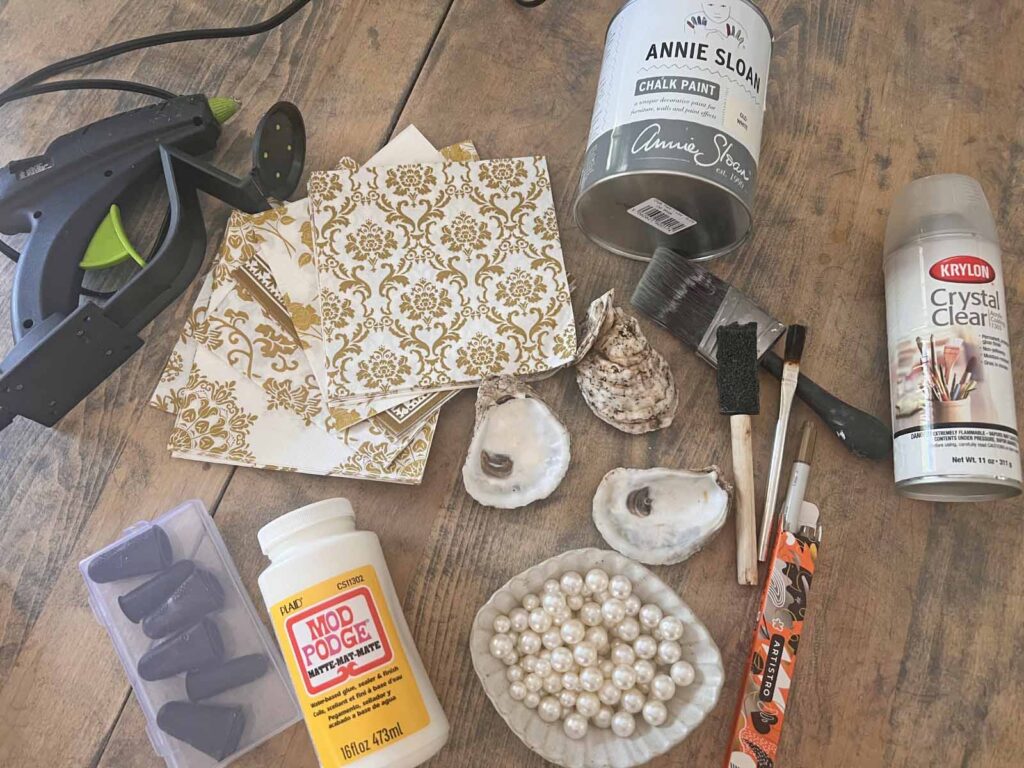


MJ Insider Crafting Tip
Read all the instructions through once & then re-read everything again, familiarizing yourself with everything you need. By knowing what to expect avoids any surprises during a project, preventing unnecessary stress.
STEP-BY-STEP INSTRUCTIONS
Prep Project
- Read instructions thoroughly
- Assemble all supplies & tools
- Clean oyster shells

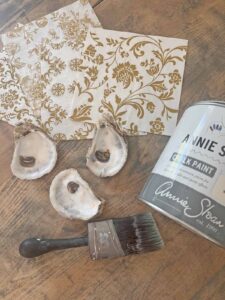
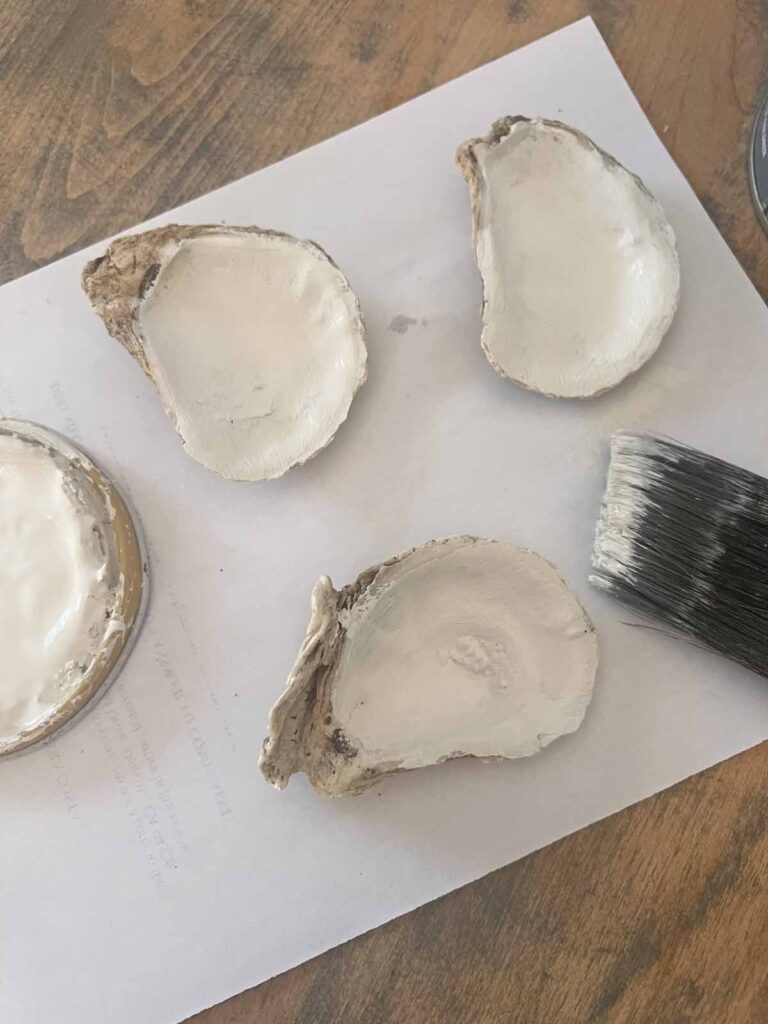
Paint Oyster Shells
- Once shells are clean, apply a thin layer of white paint on inside of shell and set aside
- If inside of shell still shows discoloration after first coat of paint dried, apply another coat and set aside to dry fully (I used two coats)
- Optional: You can also paint the bottom | back side of the shell, depending on the look you are going for (I wanted a rustic pull so kept them natural)
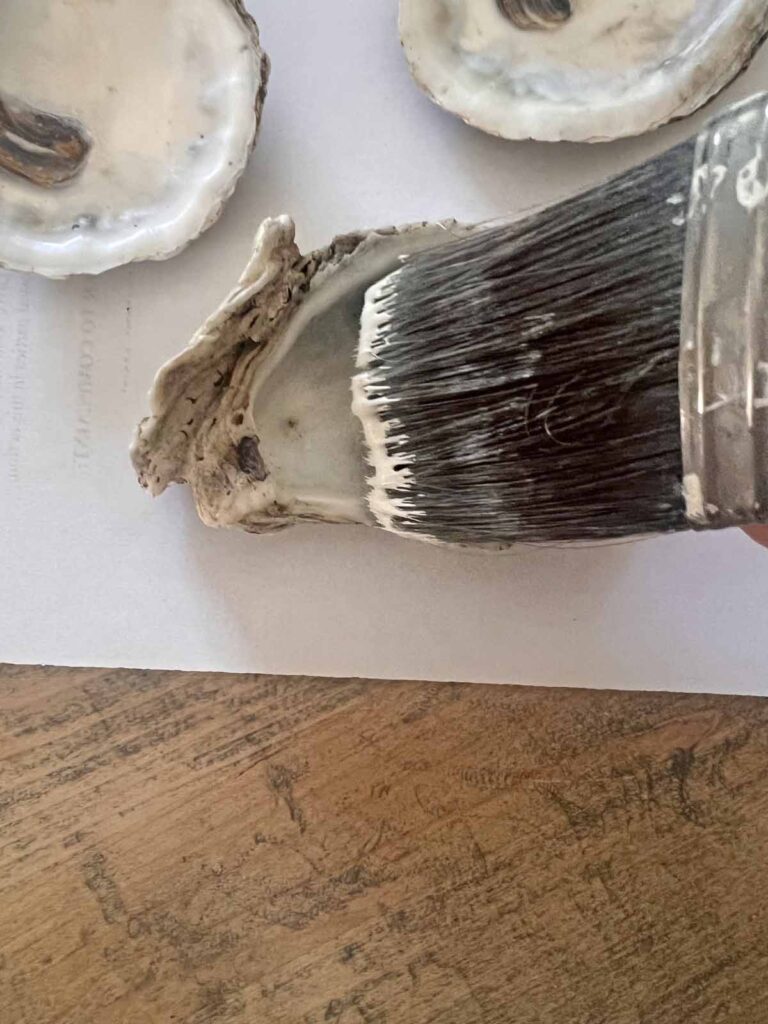
Adhere | Decoupage Paper Napkins
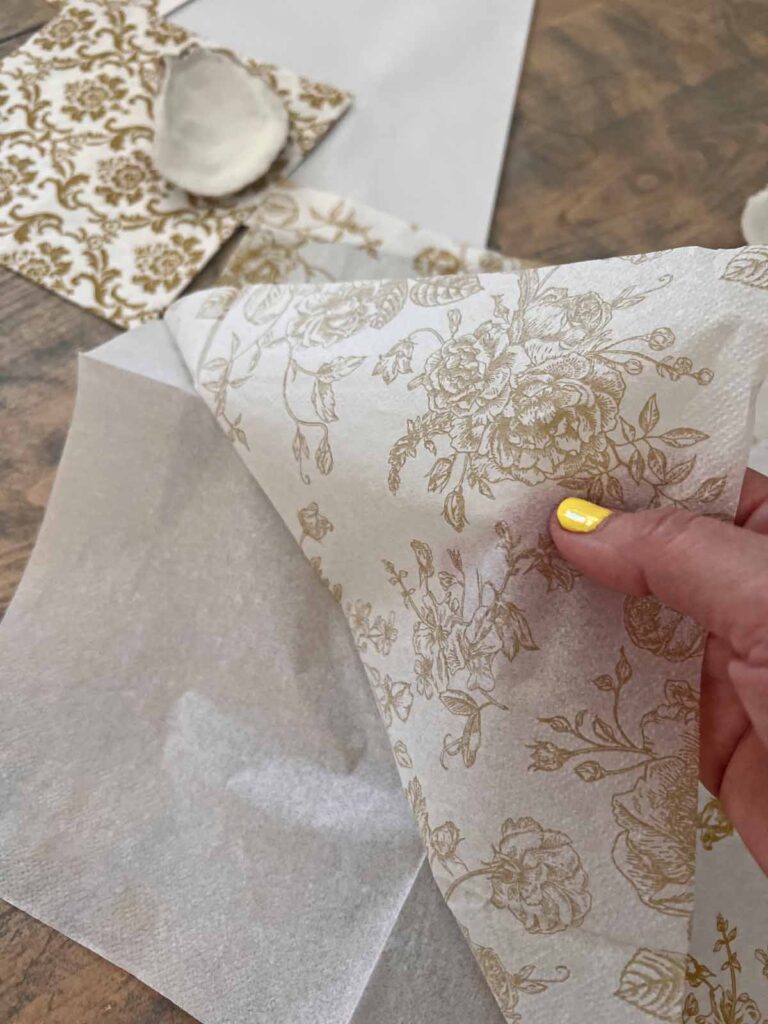
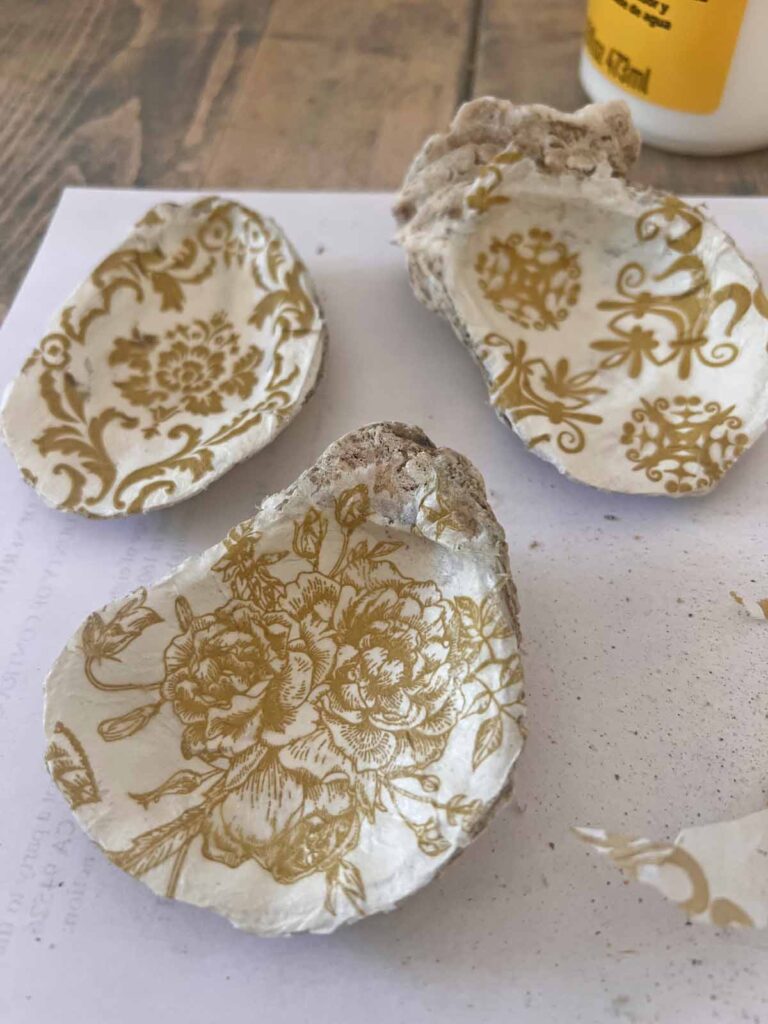
- Select paper napkin design and peel away blank layers (paper napkins come 2 or 3-ply and you only want the top layer with design)
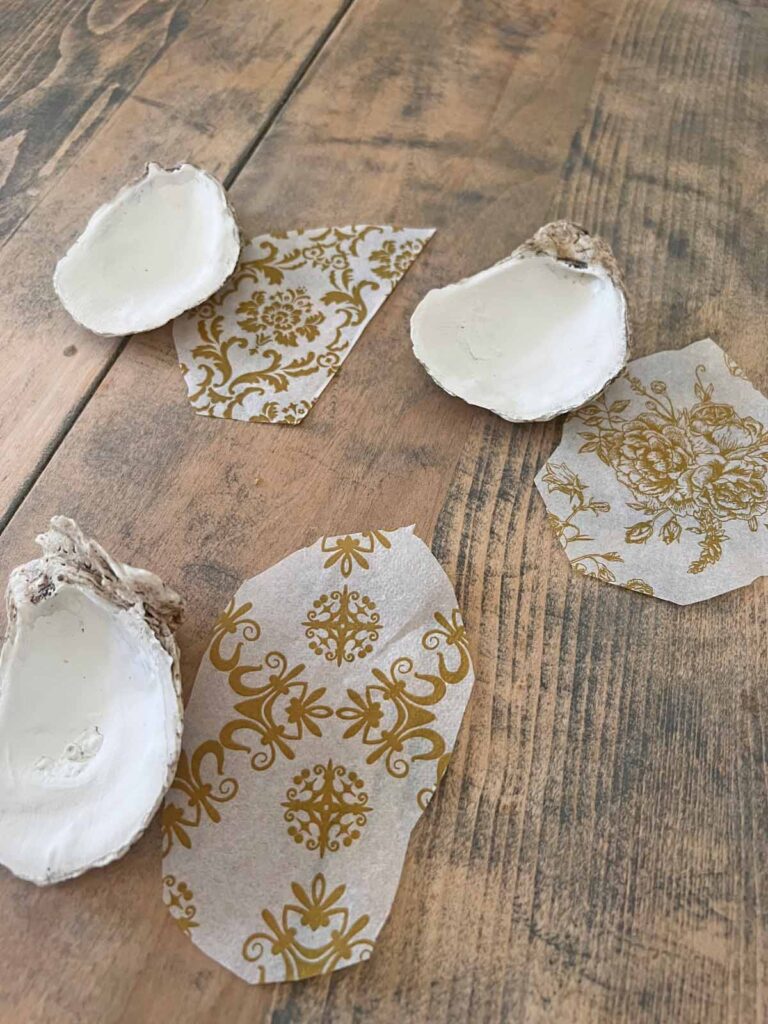
- With single ply paper napkin cut a rough shape slightly larger than inside of oyster shell
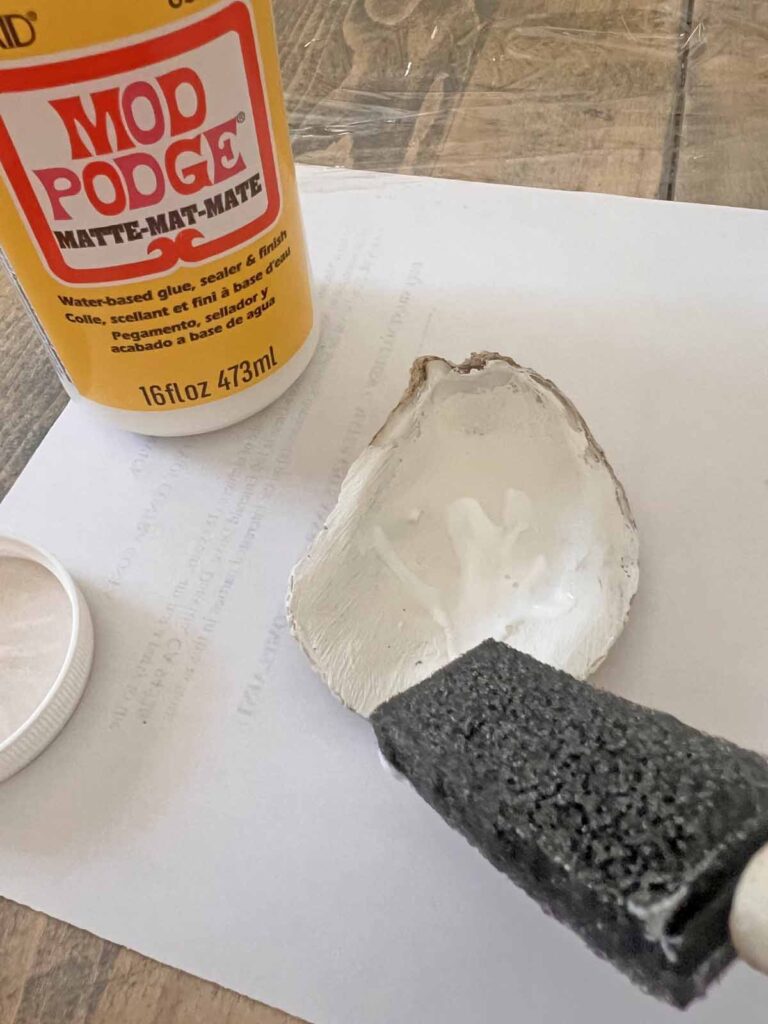
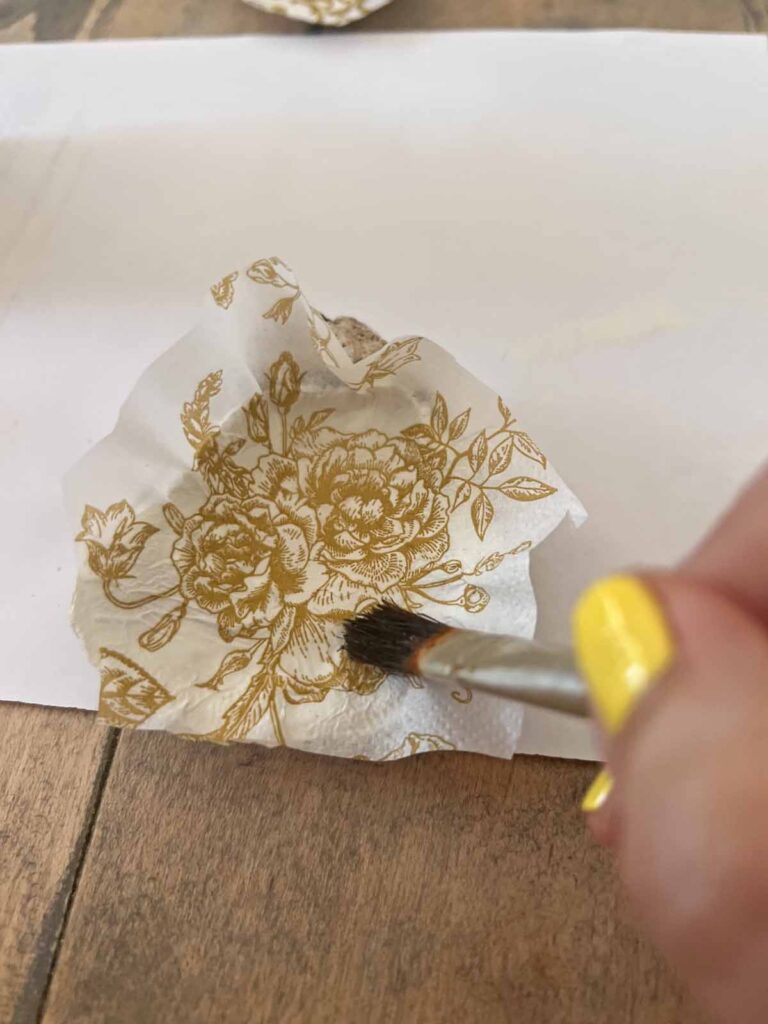
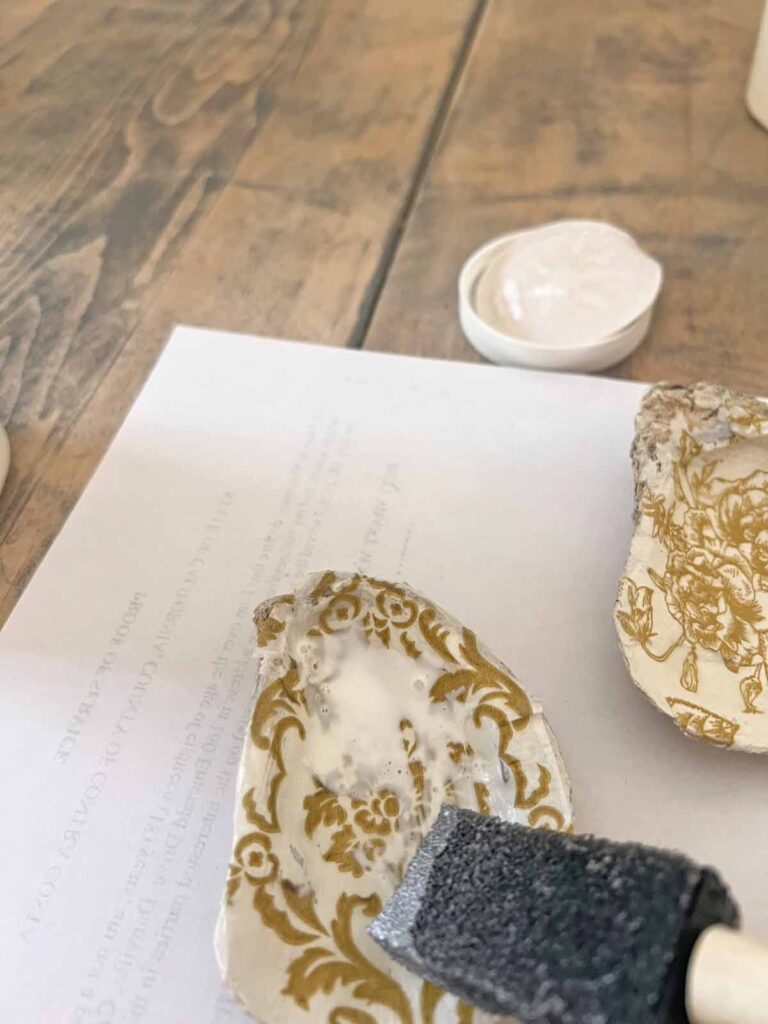
- Apply a thin layer of decoupage medium on the inside of shell
- Gently set piece of cut paper napkin inside shell and press gently with an artist brush to create adhesion
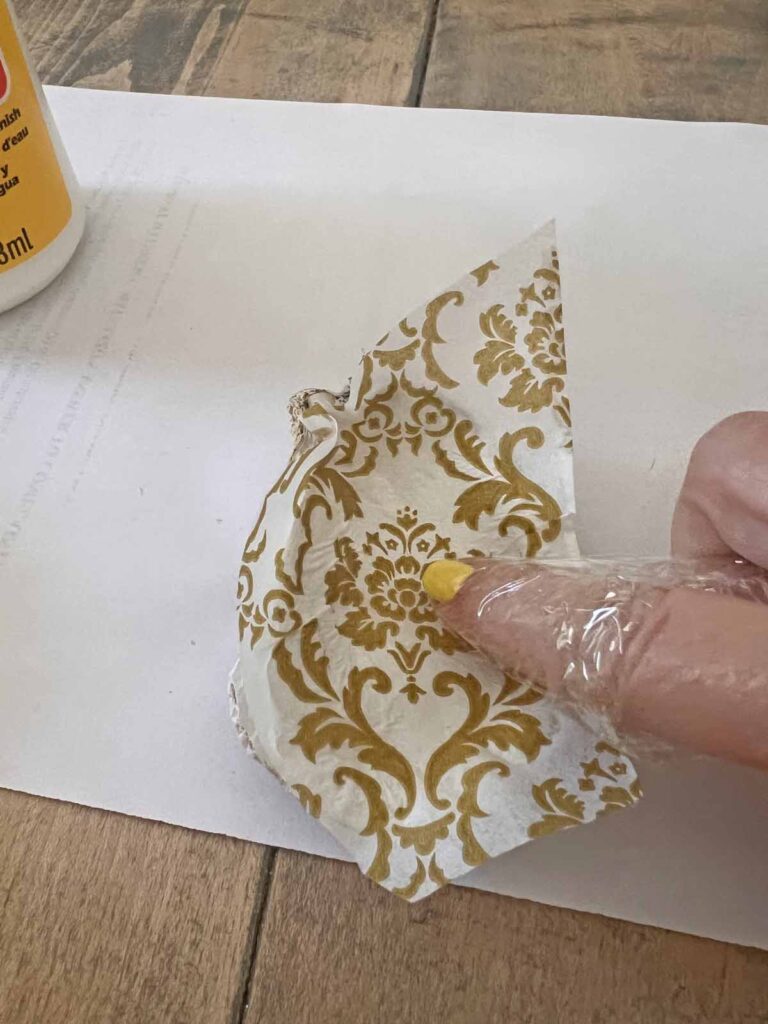
- Using cling wrap around finger gently press any bubbles or wrinkles from napkin
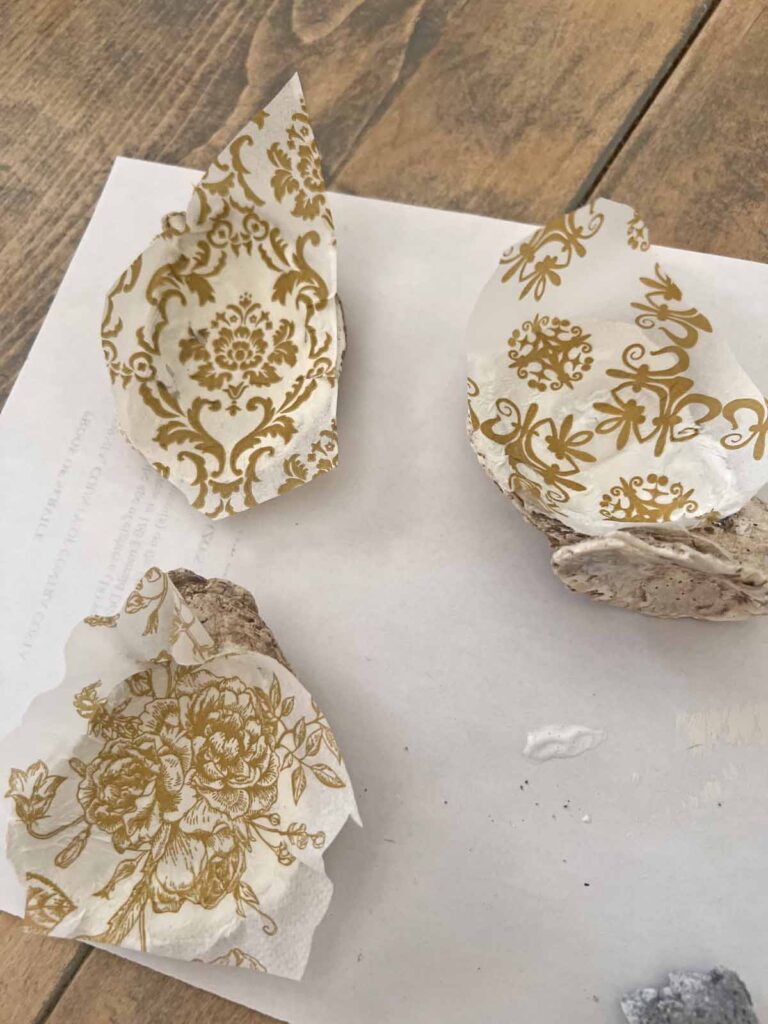
- Set aside and allow to dry
Seal Project
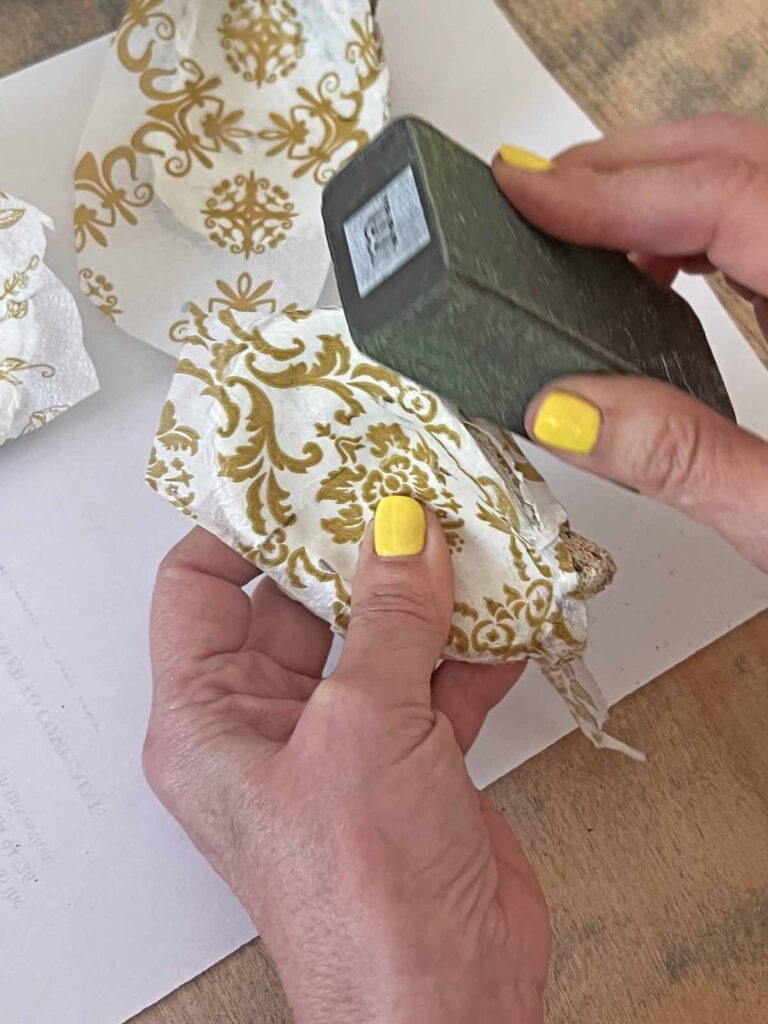
- Using sanding block cut away any excess napkin around oyster shell
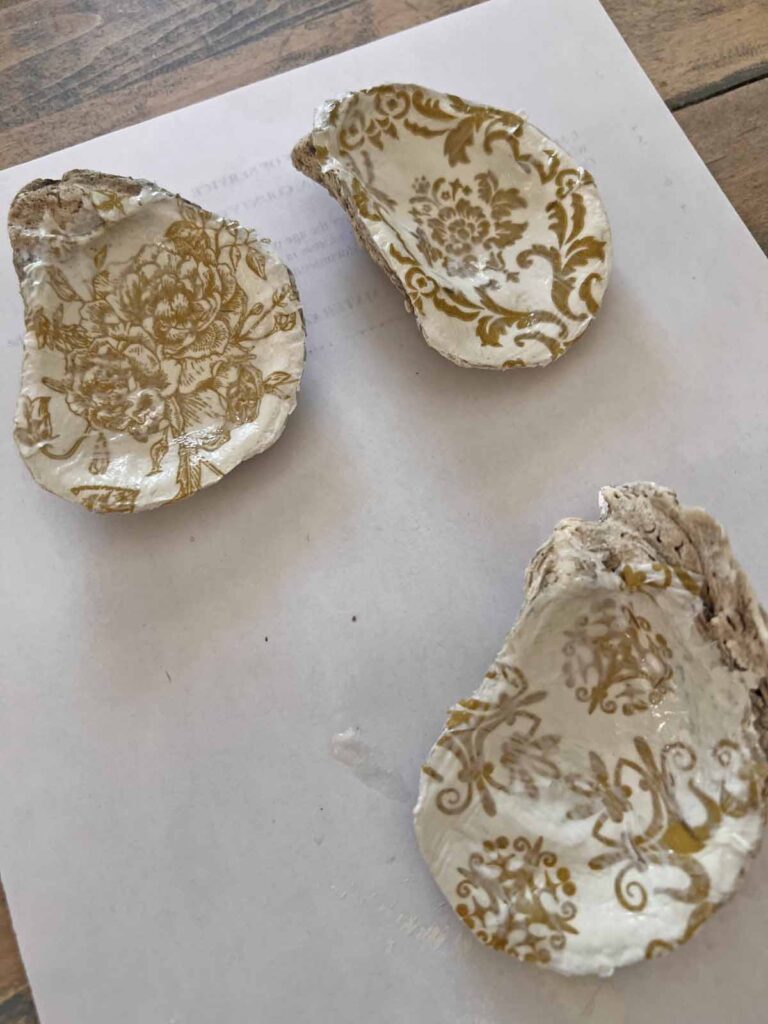
- Apply a top layer of decoupage medium over napkin and set aside to dry
- Once top layer of decoupage medium has set and dried, apply a second coat
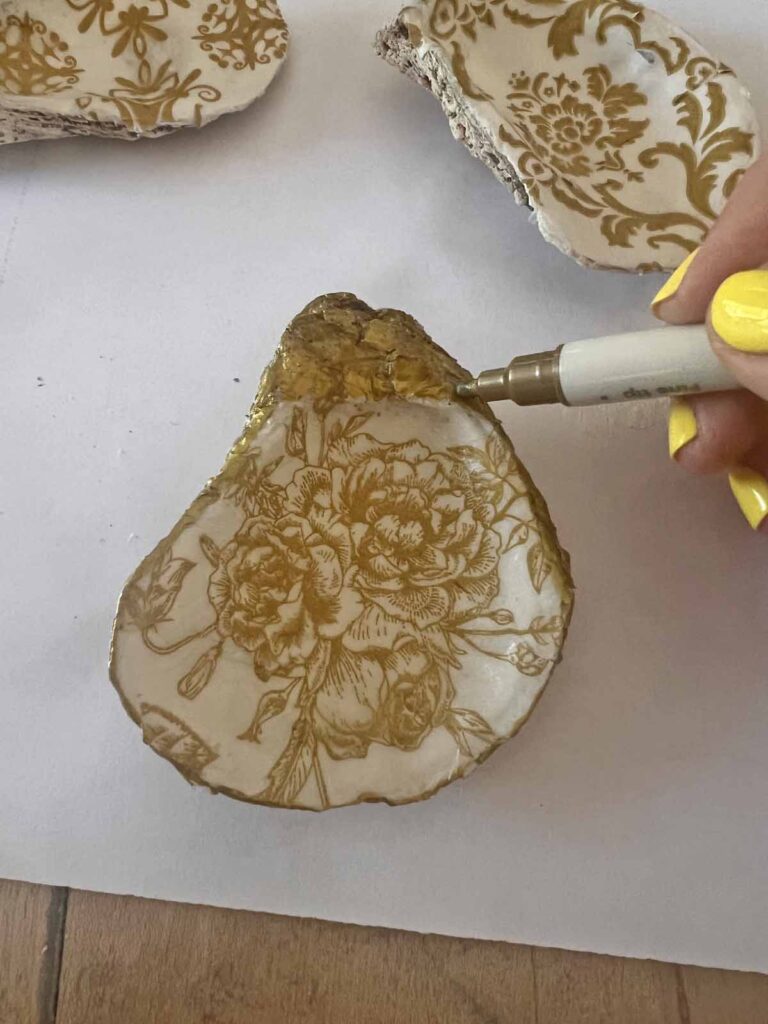
- Using gold pen apply gilding around edge of shell
- Once everything is set and cured, spray napkin shell with clear acrylic spray in a well ventilated space- outside is best
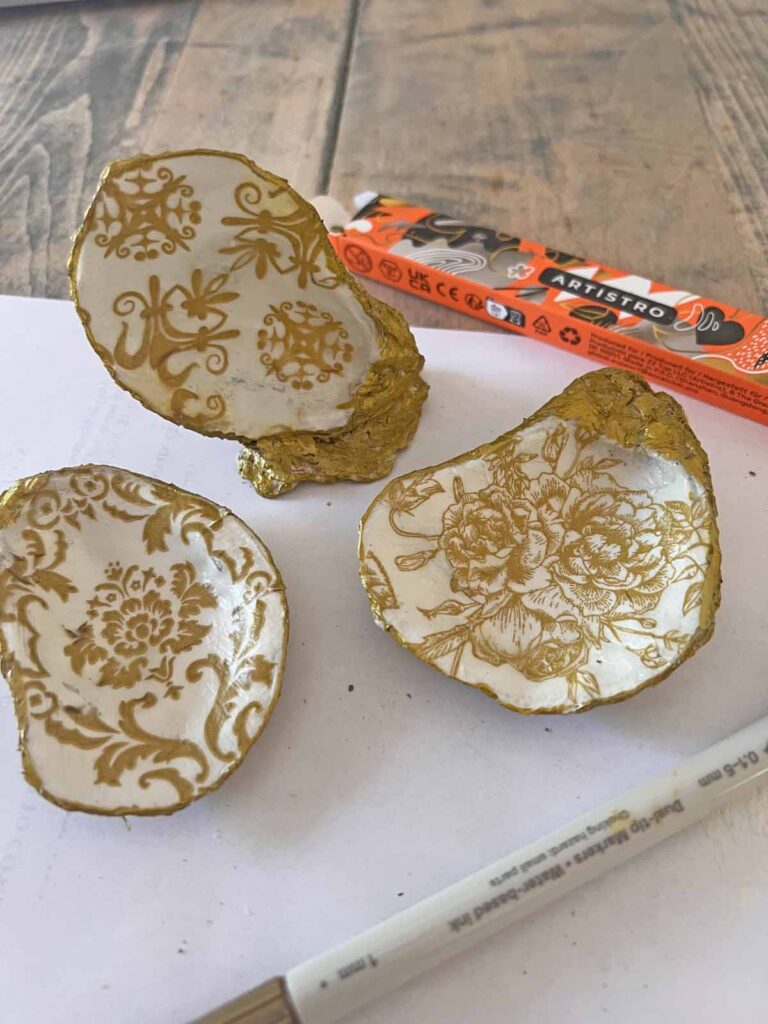
Apply Pearl Feet
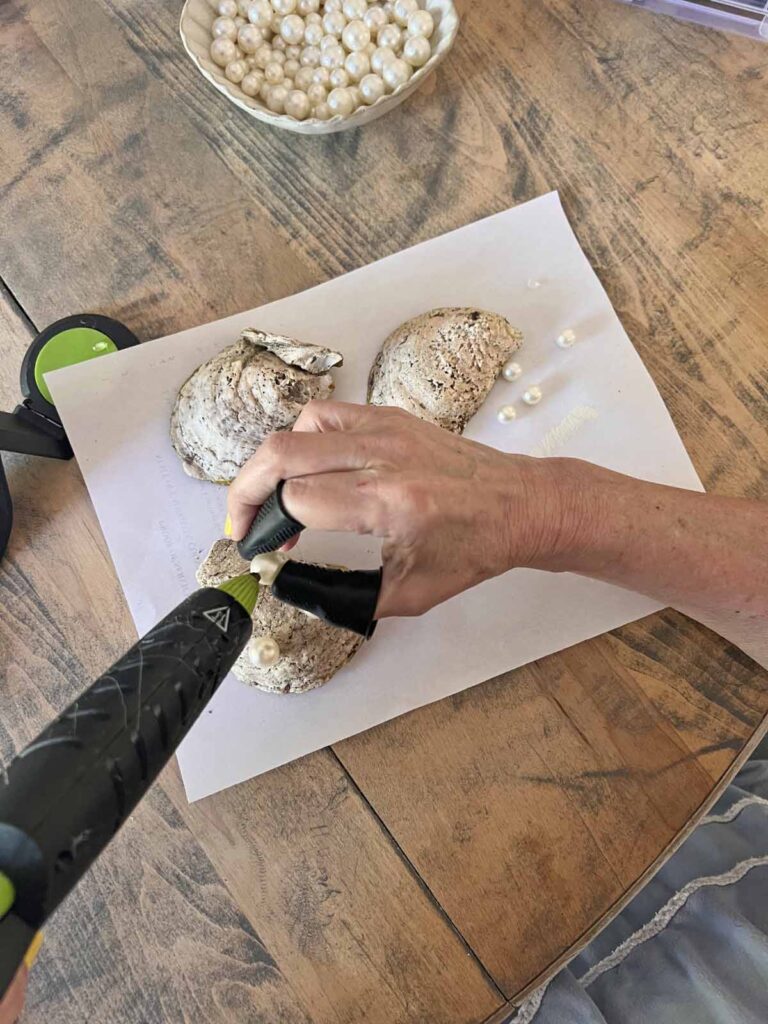
- Plug-in and turn on hot glue gun to heat up
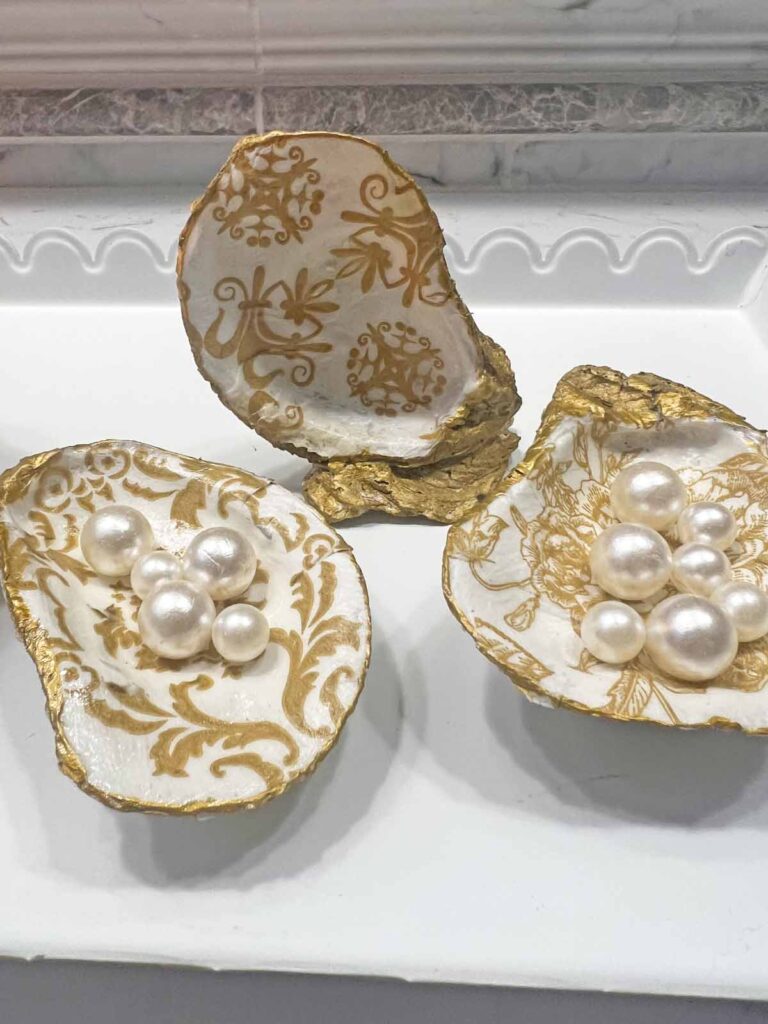
- Select pearls to use as feet depending on size of shell and desired placement (I used different configurations for each shell- 4 feet, 3 feet and none at all)
- Invert shell on work surface with backside facing up
- Apply hot glue on faux pearl and apply to desired position on back of shell
- Repeat above step for all the desired pearl feet
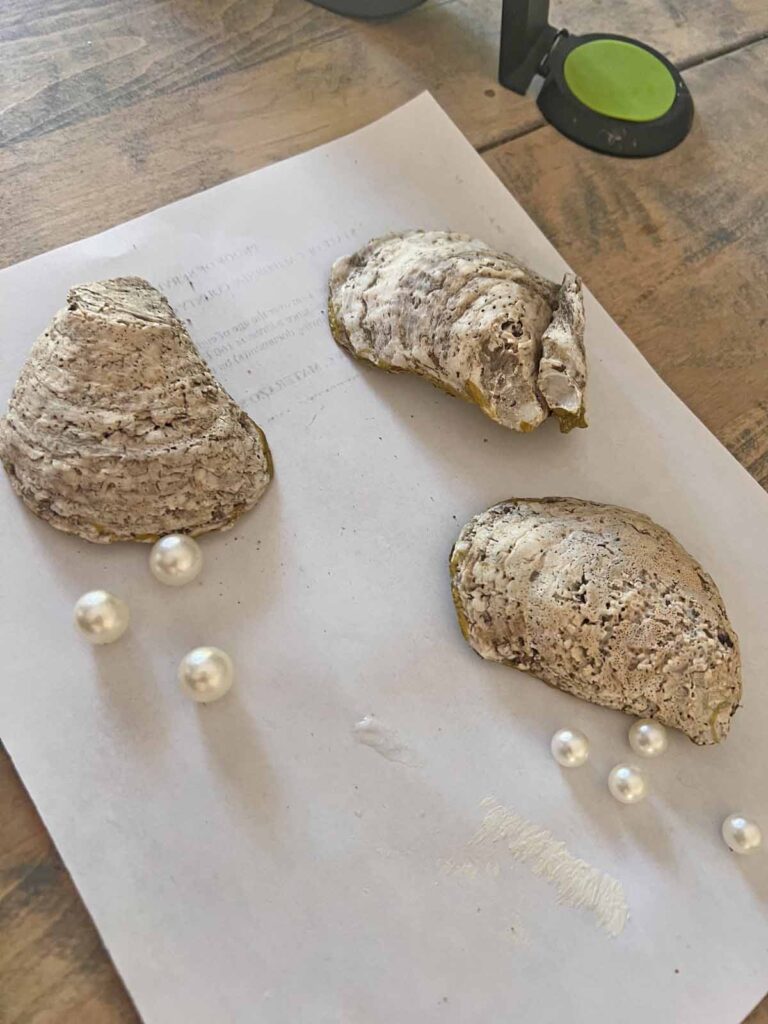
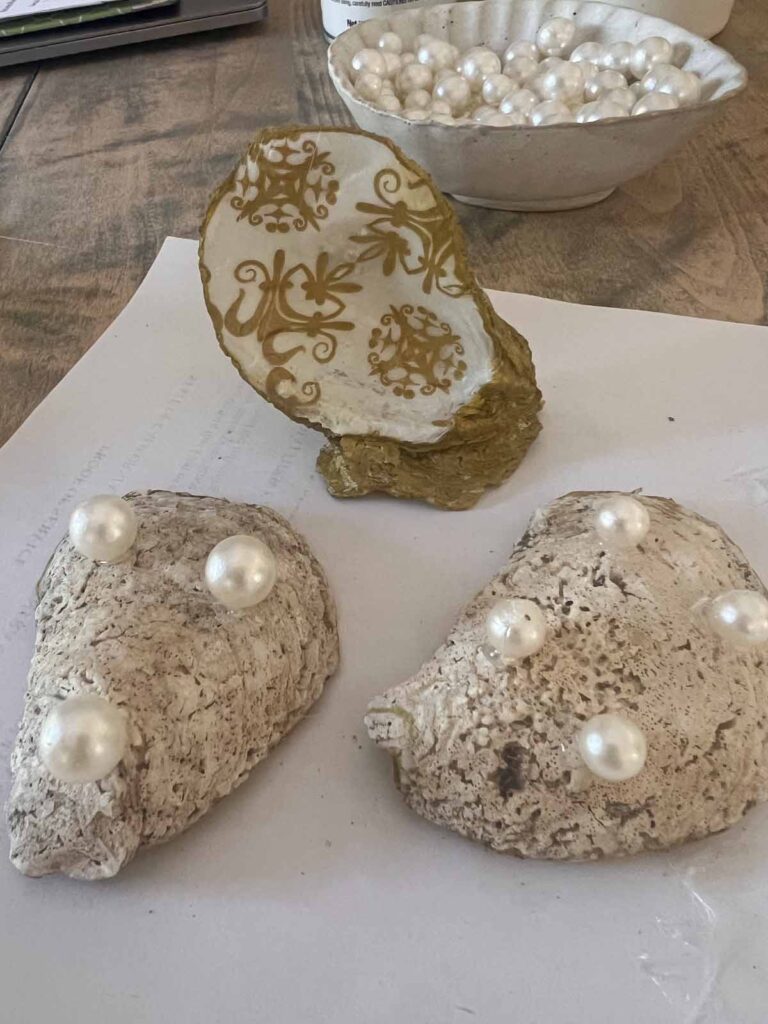
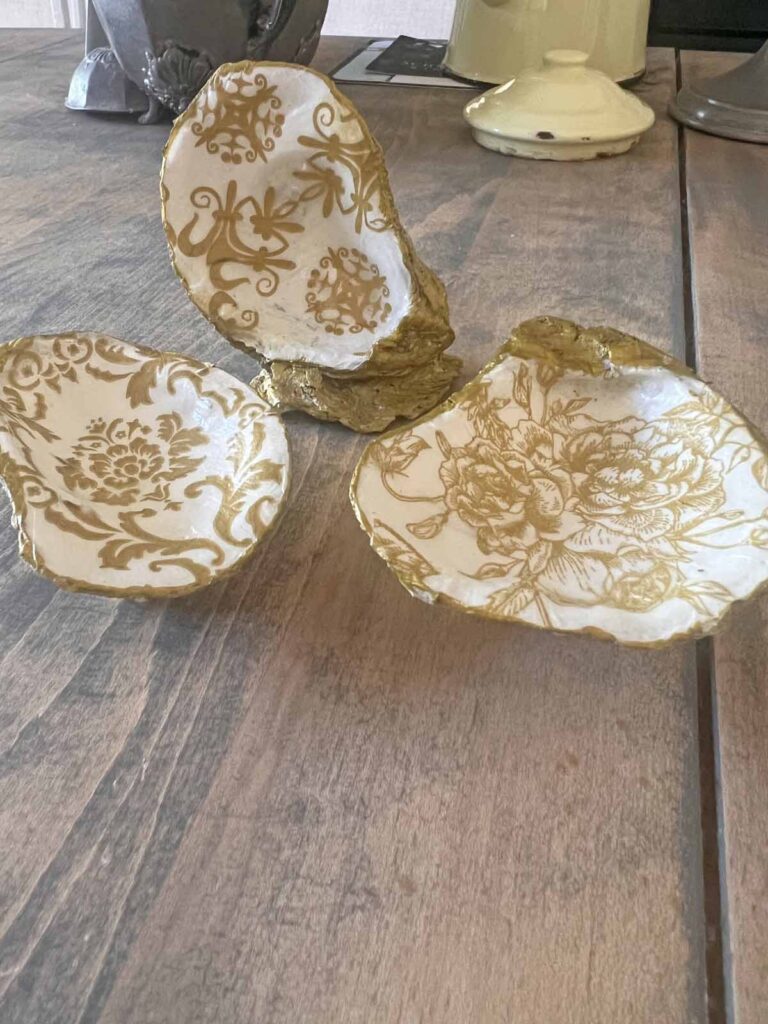
Voila!
- Style your new fashionable oyster trinket dishes
- Enjoy your practical and pretty decor pieces
Warning
Please proceed with caution when handling a hot glue gun. Silicone finger protectors are highly recommended. Maintain personal discretion and responsibility at your own risk.
Tips & Recommendations to Keep In Mind
Sourcing Oyster Shells
If your enjoy oysters as a delecacy, next time you order them at a restaurant ask for a doggie bag with the spent shells to take home. The shells I’m using today are from an outing to Carmel in Northern California last summer. This way the shells aren’t an extra expense and they have a memory attached to them. If you aren’t an oyster lover, I have included sources in the shopping section below for your convenience.
Clean Shells are Imperative
This might seem obvious, but you want to thoroughly clean the shells to create a clean surface and avoid any unpleasant odors. I simply ran my shells through the dishwasher. There was no lingering smell or adverse effect. If you don’t want to run the shells through your dishwasher, you can also hand wash them in hot suddsy water with a splash of bleach or vinegar.
Only Use Top Layer
Paper napkins come in either 2 or 3-ply. You want to only use the top layer with the decorative design. Peel away the other blank layers and discard. With the top layer only, cut a section of decorative paper that fits the work surface you are decoupaging.
Designs are Unlimited
Paper napkins come in a myriad of design options from neutral patterns to florals and coastal motifs. Use a design which appeals to you and coordinates with your decor style. If I had a coastal home, I would definitely use a sea form design. Also a coastal home could use the shell as a stage for holiday decor. Think holly patterns for Christmas or moody hues for fall decor. The possibilities are truly endless.
Cling Wrap is Key
The cling wrap helps in creating a protective layer between your fingers and the paper napkin, preventing any unsolicited rips. The cling wrap creates a barrier, which doesn’t stick to your fingers. Should you get into a sticky situation and inadvertently create a rip there’s an easy solution. Simply cut a small piece of decorative napkin to adhere in open spot. Try to match the pattern as best as possible. Decoupaging is usually pretty forgiving with patterns.
Pearls are Fitting
Pearls used as feet for the oyster trinket dishes is fitting since oysters are the creators and home for the fabulous pearl. I love pearls and use them frequently so this was a no brainer decision for me. Other options for feet include wooden beads or cabinet knobs or invert another shell and attach to the bottom of the decoupaged piece as a stand. Plus you can skip the feet feature all together and simply let the shells sit on their backs.
Sealing is Important
Trinket dishes have items placed in them frequently with fingers scraping and objects touching the decoupaged inside of the shell. Creating a seal protects the pretty paper from any damage which might be caused by daily use. The protective seal will also allow the trinket dish to be wiped clean with a rag when necessary.
MJ Crafting Pro Tip:
Creativity improves our mental health by elevating our mood, lowering anxiety and reducing stress. By regulating our emotions through creative endeavors provides a sense of control and empowerment. Not only does it make us feel better, but it also makes our homes look amazing.
How to use Decoupaged Oyster Shell Trinket Dishes
The oyster trinket dishes are pretty all on their own, but can be used in so many ways in your home. Pretty and practical is always a good thing.

Grab a copy of my free
Vintage Home
Decor Guide
This guide provides 10 easy ideas to add timeless charm to your home with a free PDF full of images and inspiration.
We are always striving to master the art of joie de vivre around here. If you enjoy the good life and want a reflection of this in your home, please consider joining the Masterpiece community. Sign up you won’t miss any new content, receiving all new posts directly into your in-box.
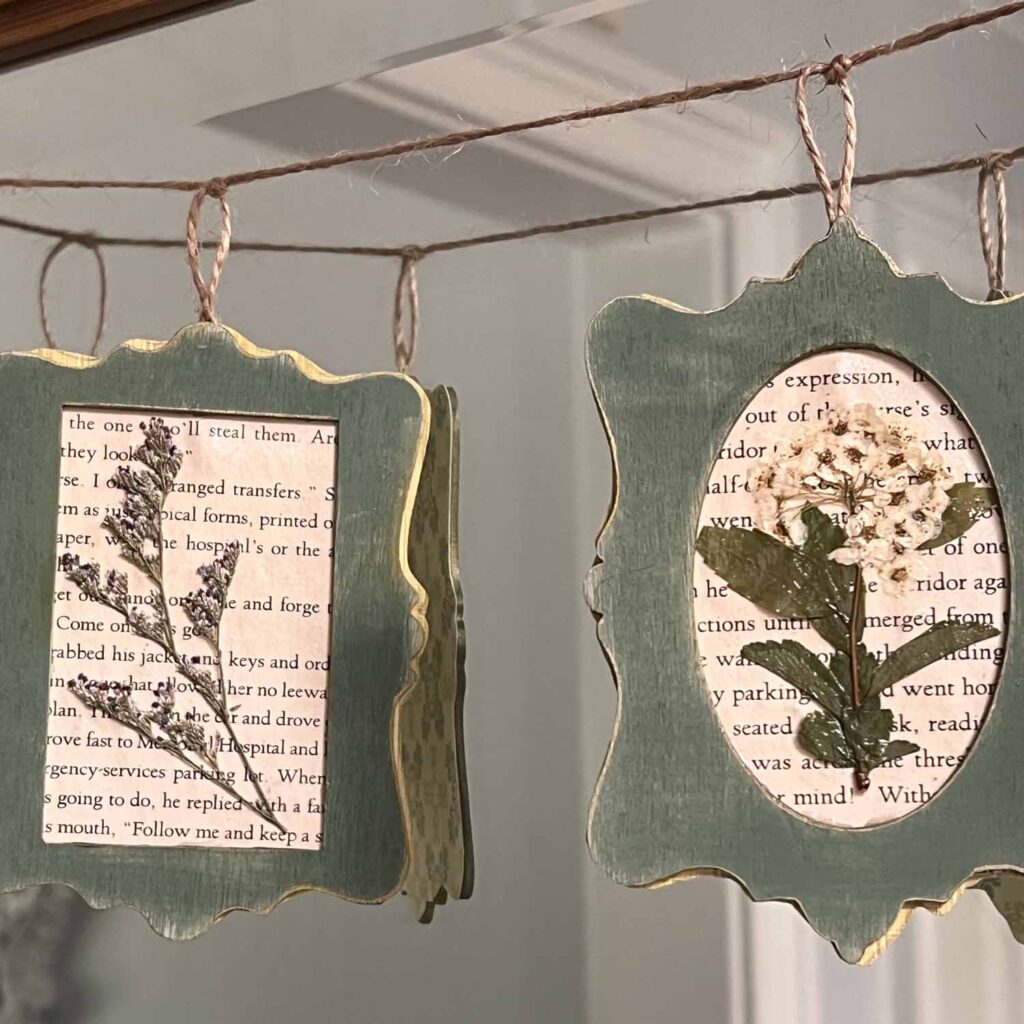
More Decoupage or Shell Related Posts
Closing Thoughts ~ Oyster Shell Decoupaged Trinket Dishes
What do you think of the decoupaged shell dishes? Pretty- right? These are easy to create with a few supplies and simple steps. I hope you give this a try. Let me know if you do, I would love to see your take on the project. And remember, next time you order oysters at a restaurant, bring the shells home and transform them into pretty decor.
Do you have seasonal confusion this time of year? I have one foot holding onto sunny summer days and the other starting to skip into fall. It’s a balancing act, and I will share seasonal content for both in the upcoming weeks. Thanks for stopping by and spending part of your day with me. Hope to see you again soon.
Au Revoir!



FAQs ~ Decoupaged Oyster Shell Trinket Dishes
Q1. Do you need to paint the shell first?
A1. Yes, applying two coats of white chalk paint or acrylic paint on the inside creates an opaque background neutralizing dark natural shell markings. The painted background will provide the clearest display of the paper design.
Q2. What kind of paper works best besides paper napkins?
A2. Decorative paper cocktail napkins provide a vast variety of designs, but decorative tissue paper, or thin rice paper also yield great results.
Q3. How do I make my DIY oyster shell trinket dishes look professional?
A3. Use a top coat ofMod Podge, clear acrylic spray, or UV resin to protect the surface. Plus add an accent to the outer rim with a gold or silver metallic paint marker. This provides a protective seal and a beautiful presentation.
Shop the Look Decoupaged Oyster Shell Trinket Dish
- Oyster Shells for Crafts Bulk Flat & Concave
- 20 Pack 10 Styles Decoupage Napkins 13 Inch Gold and White Floral Decorative
- Mod Podge Waterbase Sealer, Glue and Finish (16-Ounce)
- Gold Dual-Tip Acrylic Paint Pens – Set of 2
- Faux Pearl Beads for Decor
- Annie Sloane Chalk Paint – Old White
- Superbonder Cordless Hot Glue Gun
- Black Silicone Hot Glue Gun Finger Caps
- Triple Thick Clear Glaze Aerosol Spray
*Affiliate links might be included for your convenience. These affiliate links mean a small commission is earned if you make a purchase using these links at no extra cost to you. As an Amazon Associate I earn from qualifying purchases which support this website. For more information: Full Disclosure Policy.
Don’t forget to Pin It and save for later. You never know when inspiration will strike!
For more inspiration follow me on Pinterest.
Most Recent Posts

Why, then the world’s mine oyster, which I with sword will open.”
William shakespeare – The Merry Wives of Windsor