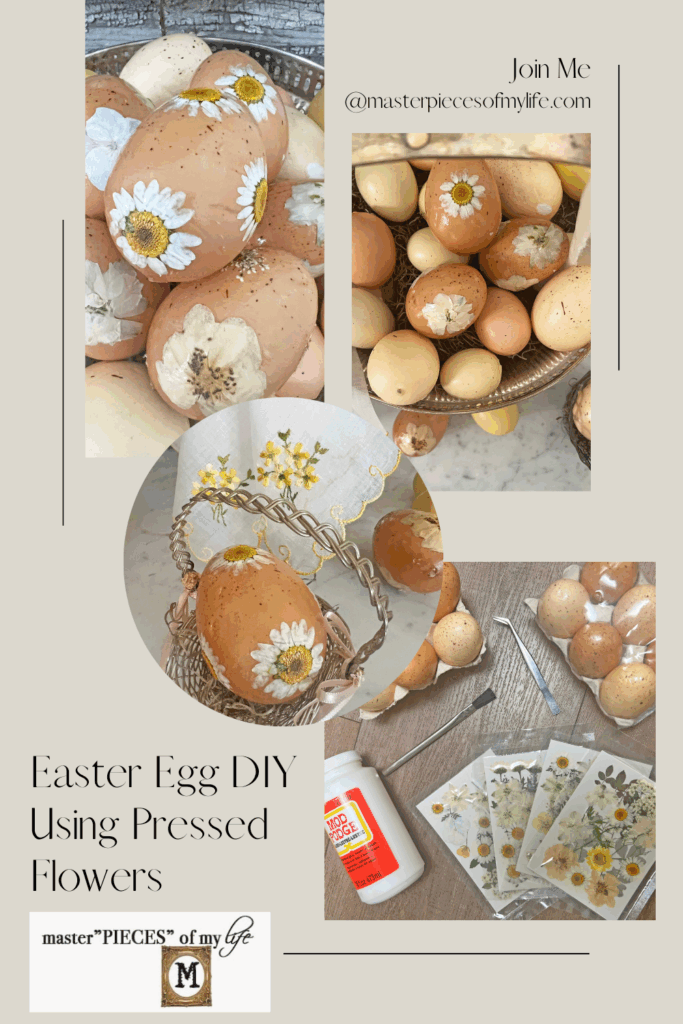
Easter Egg DIY with Pressed Flowers
Do you like to create your own personal seasonal decor? Oh good, then you will love this Easter egg DIY with pressed flowers. It has all the freshness and nature feels from the Spring season, in an Easter inspired craft. With just a few supplies and simple steps you can create these too for your own home.
By creating your own decor you can give it your own signature style. I’m all about easy and affordable seasonal decor. Creating your own decorations tends to be economical, unique and gratifying
I use neutral colored eggs with white and yellow flowers, but you can adapt the project to your preferences. Colorful eggs can be used as the base or vibrant flowers can be applied. Coordinate the look to your decor aesthetic and make them yours. Please join me as we get crafty.
*Affiliate links might be included for your convenience. These affiliate links mean a small commission is earned if you make a purchase using these links at no extra cost to you. As an Amazon Associate I earn from qualifying purchases which support this website. For more information: Full Disclosure Policy.
Inspiration for the Pressed Flowers Easter Eggs DIY
I’ve been wanting to press my own flowers for a gazillion years now. I would love to use flowers from our yard to decorate Easter eggs to reflect the outside, inside our home for the season.
Well, that is not happening today. While looking for who knows what on Amazon I stumbled upon these organic pressed flowers and light bulb moment occurred. And here we are. One of these days I will press my own flowers, and when I do, I will definitely share with you here. In the meantime these Easter eggs give all the organic feels I was going for.
How To DIY Easter Eggs with Pressed Flowers
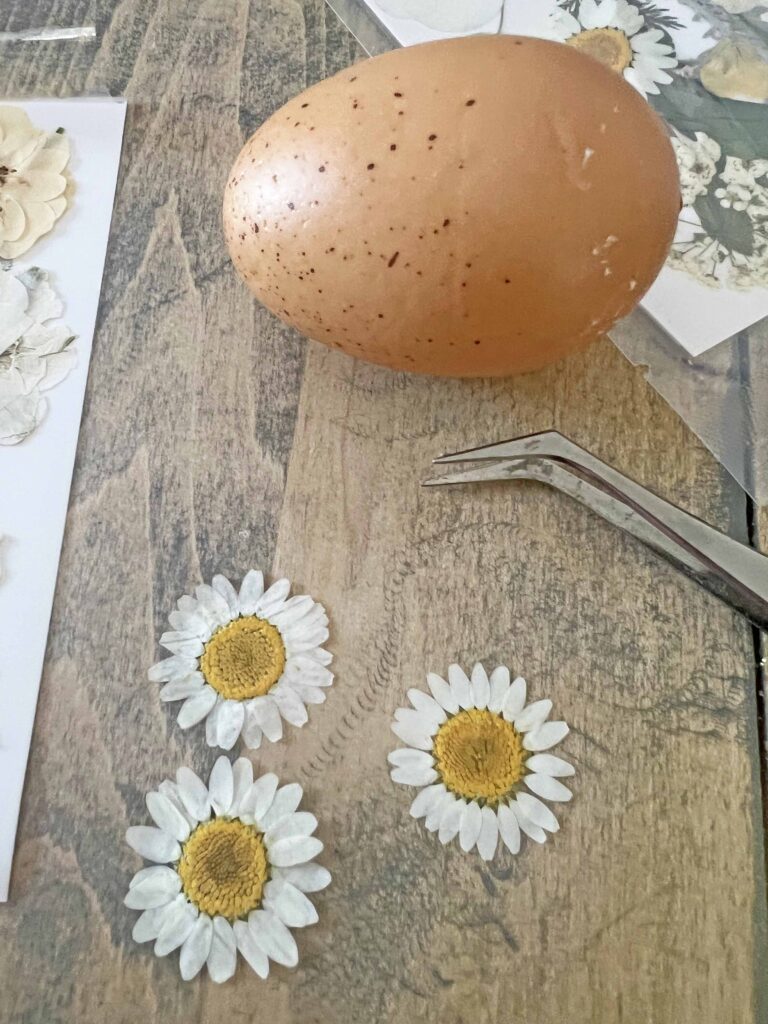
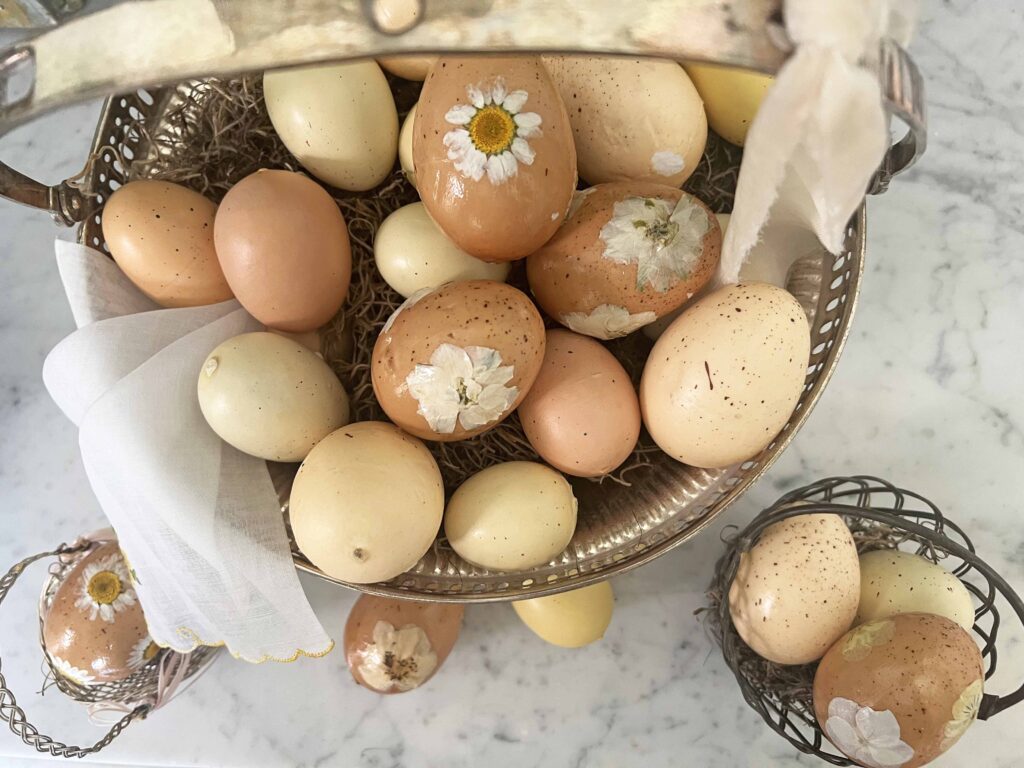
I found these eggs at Dollar Tree last year. Although I did not have a project in mind I did find the neutral color would be perfect for projects down the road. I want to say they are some type of foam? I’m not 100% sure though. They are super light weight, but yet sturdy. I only used the darker eggs since I thought the flowers popped better, and I’m saving the lighter eggs for another project some other time.
Supplies
- Basic Easter Eggs
- Pressed Flowers
- Decoupage Medium
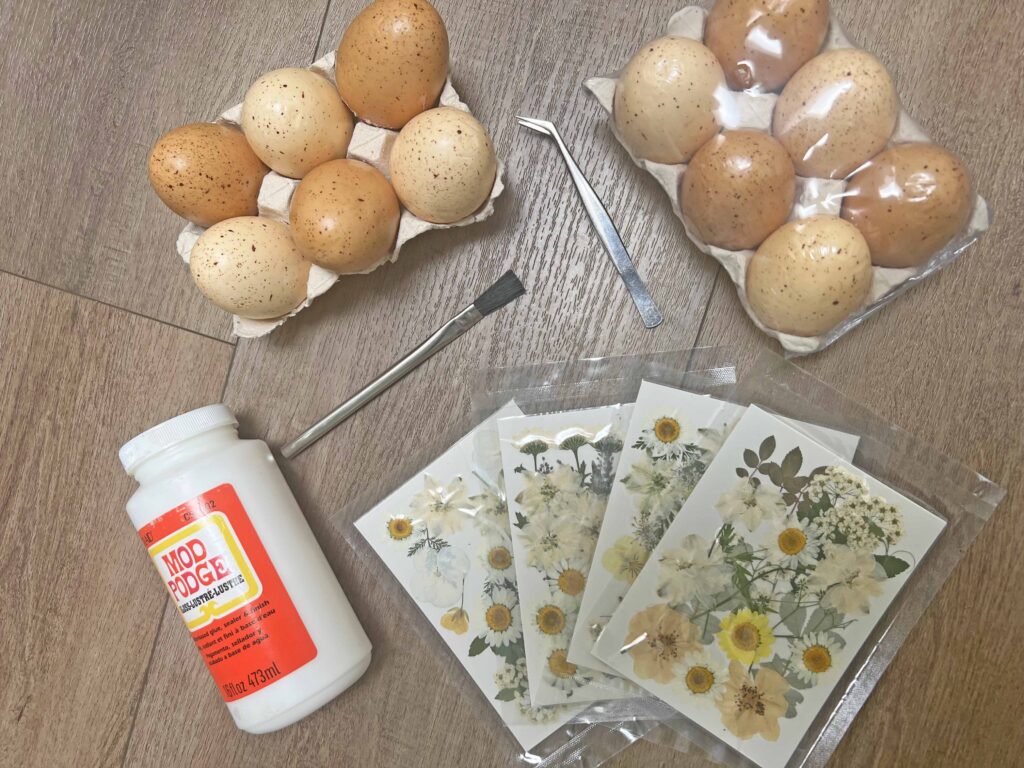
Tools
- Crafting Tweezers
- Craft Brushes
- Wax Paper
Crafting Pro Tip: Read all the instructions through once and then re-read everything again. This way, you are familiar with everything you need and know what to expect.
Instructions
- Assemble all supplies and tools
- Open pressed flower packages and select pieces, using crafting tweezer to carefully lift pressed organics
- Select all the pieces to create design for egg (I used 3 to 5 flowers on each egg depending on size and placement)

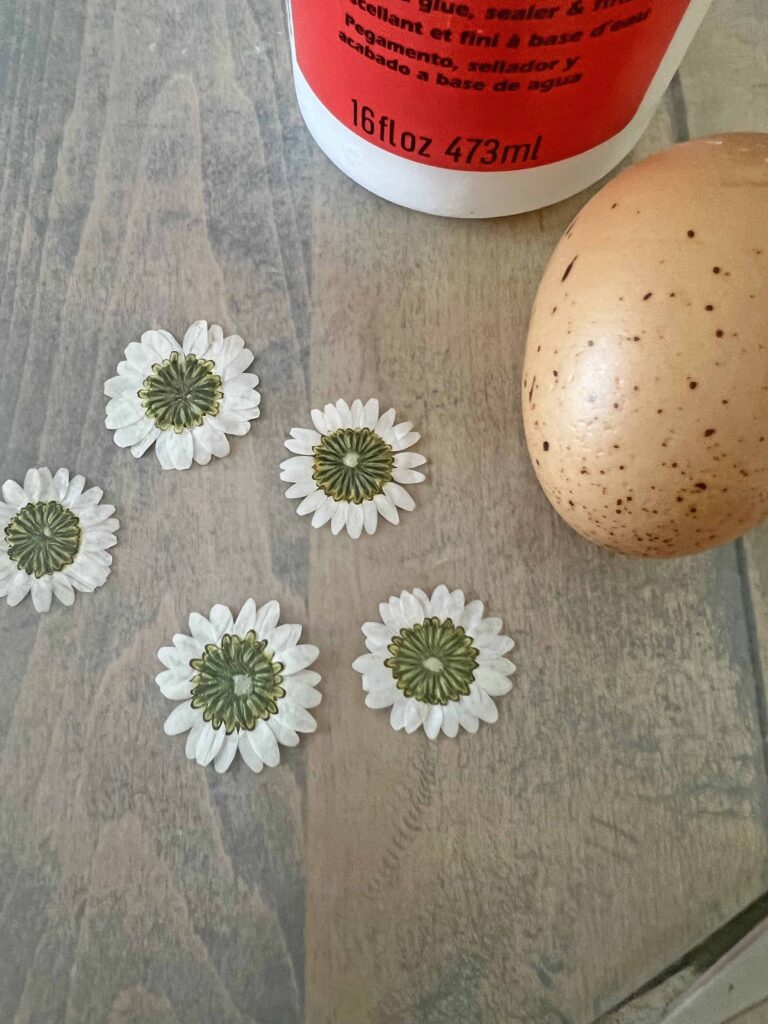
- Place pressed florals upside down on work surface so back is facing up
- Using craft brush apply decoupage medium all over flower, using a gentle hand (a small thin brush works best for this)

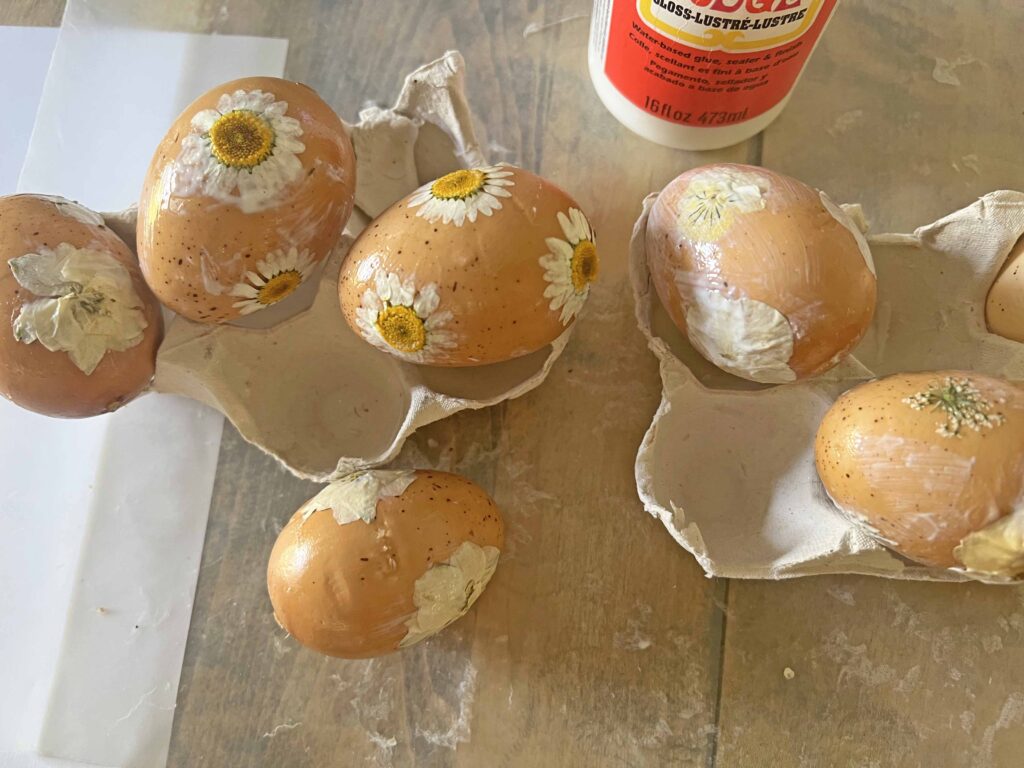
- Apply flower on to egg gently using more decoupage medium to lay all pieces flat onto egg
- Keep applying all the florals onto egg using same technique as above until desired composition is achieved
- Put egg aside to set-up and dry


- Once all eggs are complete, set aside to allow decoupage medium to dry and cure, about 30 minutes
- Apply a coat of decoupage medium all over egg, including flowers and open surfaces
- Set aside and allow to fully cure (I let mine sit over night)
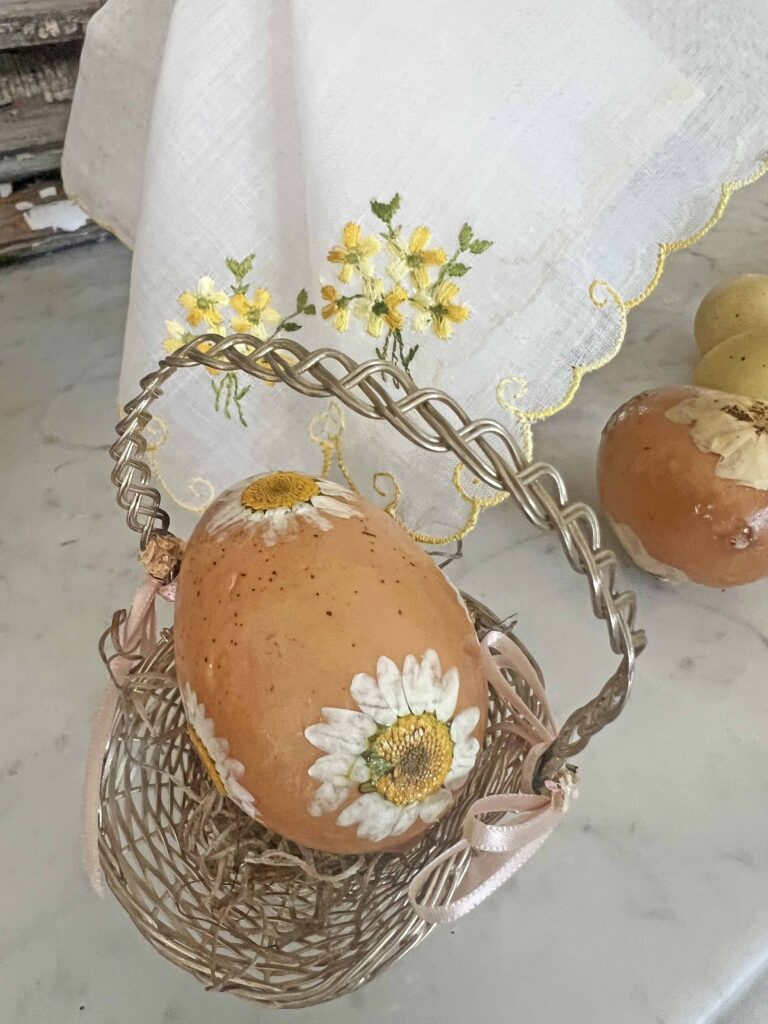
- Voila! Enjoy your new fabulous pressed flower Easter eggs
Tips & Tricks
Tweezers are a Must
Handling the pressed flowers is a delicate matter. I highly recommend using tweezers to facilitate the process. Invariable you will get decoupage medium on your fingers as you press the organics onto the egg and the stickiness can easily rip a flower. The tweezers help handle the flowers gently and carefully.
Gentle Touch Needed
To add to the above, you really need a gentle, gentle touch for the pressed organics. They are absolutely fabulous but extremely fragile. Invariable I lost a few petals, but I was able to salvage some by simply adhering them on the egg next to the flower where they belong.

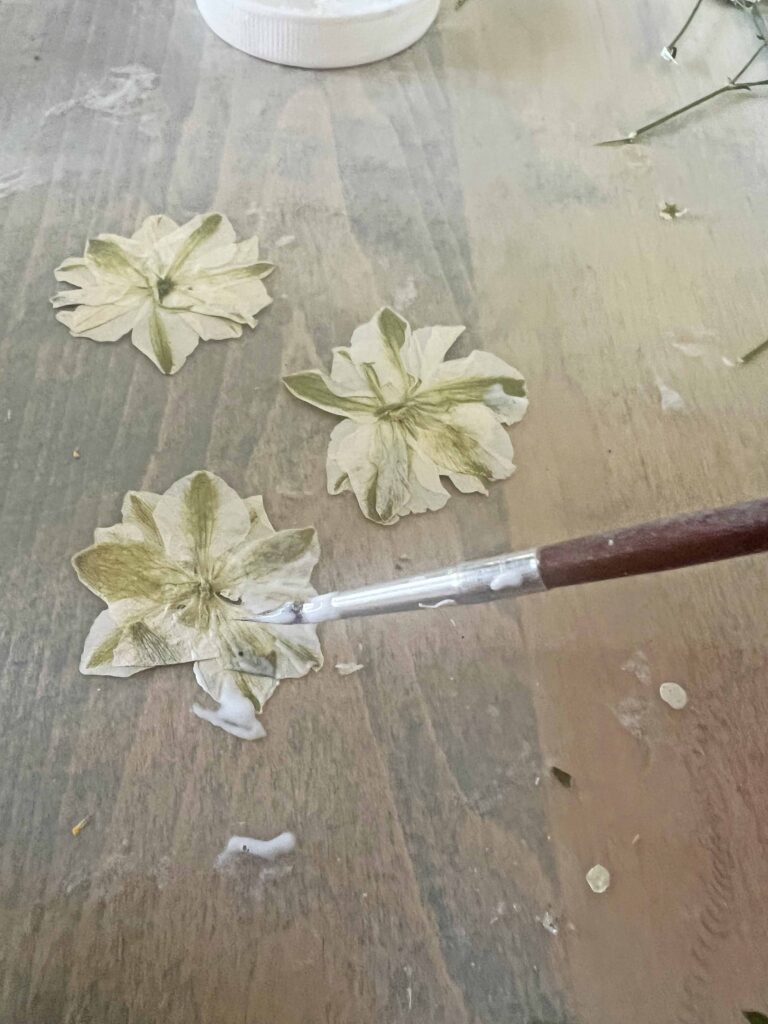
Brush Size Matters
I started the project with a basic craft brush from the Dollar Tree. These are great economical brushes which I use all the time, but they proved to be a bit harsh for the pressed flowers. I shifted gears and used a very thin craft brush, which worked much better for this project. When I applied the overall decoupage medium later at the end of the project, I chose to use a broader brush but with soft bristles.
Decoupage Medium Finish
The decoupage medium I’m currently using has a glossy finish. I don’t know how that happened since I prefer a matte or satin finish for my projects. I was worried the finished product would have too much of a sheen, but the shine mellowed when it dried fully. Just keep this in mind when you select your decoupage medium, making sure to select the type of finish you prefer.
Handling Pressed Flowers
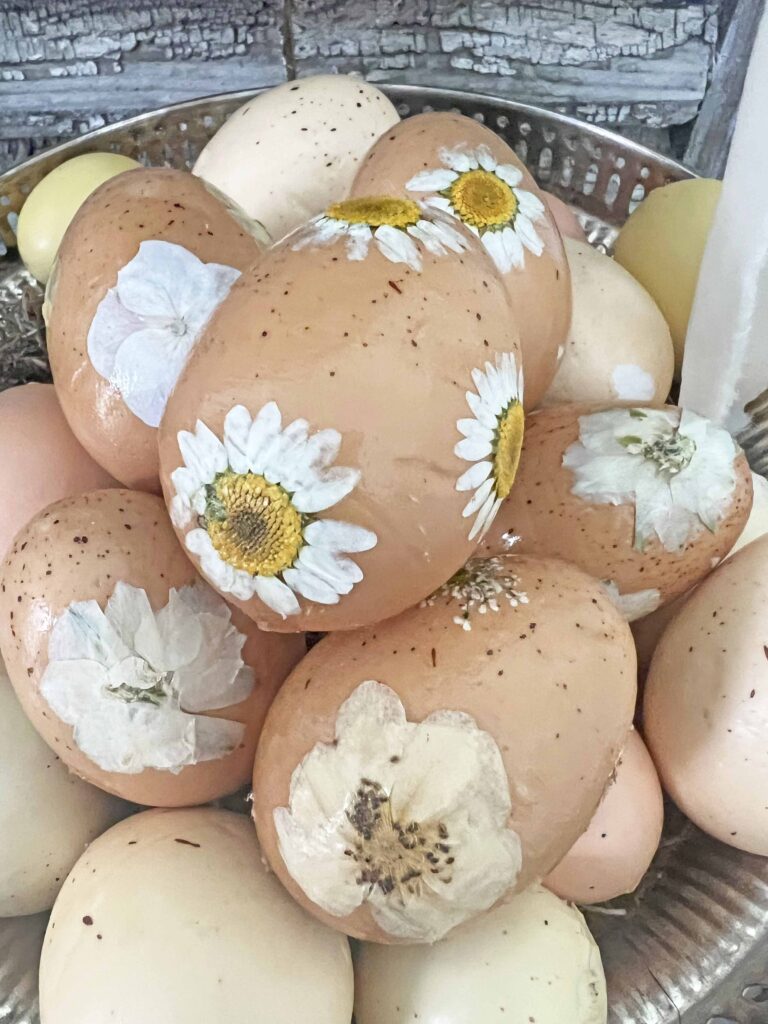
These are the flowers I used, which I also share in the shopping section below for your convenience. I love daisies and the white and yellow color palette but there are other options, which accommodate many styles. Like I mentioned above the flowers are extremely delicate and require a super gentle touch. I lost a couple of men in battle. I found opening all the packs and arranging them by style really helped.
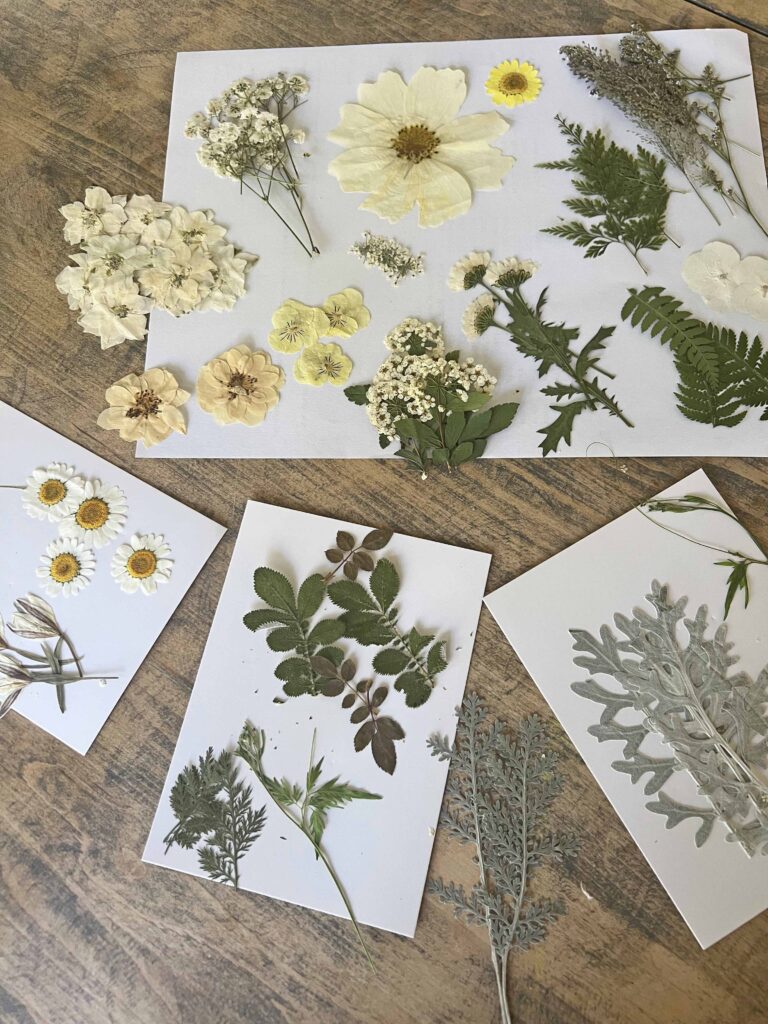
The four packs have random assortments with different varieties yet same varieties can be found in different packs. I hope that makes sense. All that being said, I love these pressed organics! If you like the botanical look I highly recommend them. I have another project scheduled to use more of the pieces later in the season. If you want to keep up to date and not miss any new content you can sign up below for your convenience to receive new posts directly into your in-box.
Closing Thoughts
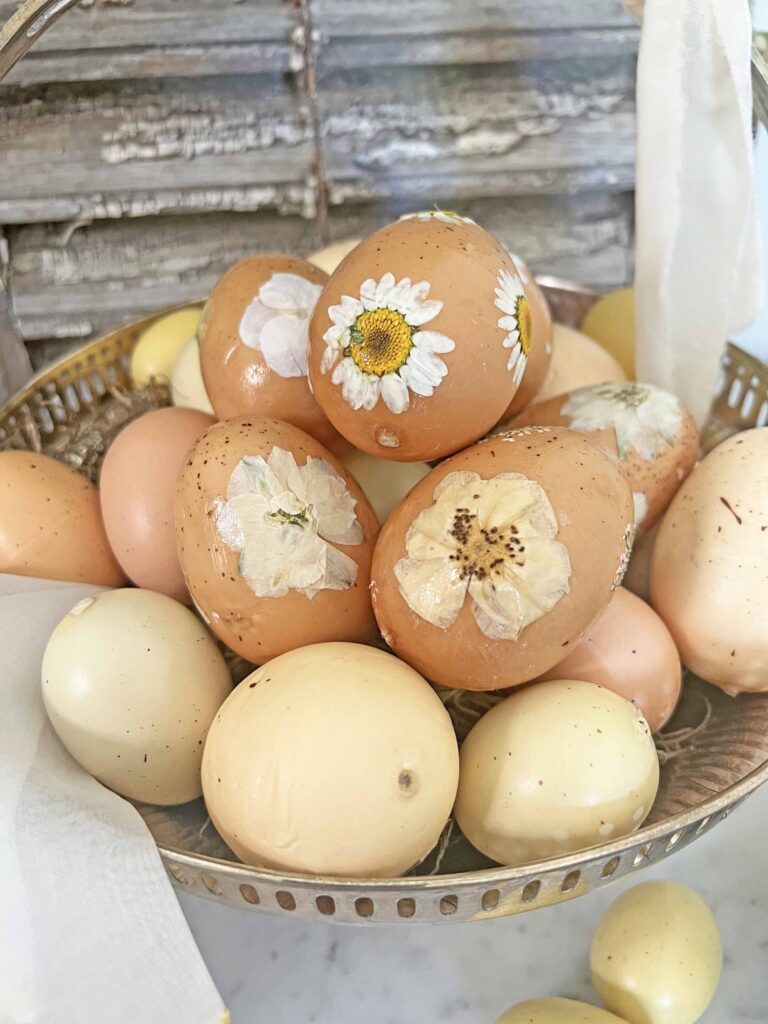
I hope you enjoyed this Easter egg DIY with pressed flowers. I love the natural feels and the detail on the pressed flowers is amazing. I will be using these for our Easter table this year so I’m super excited about that.
Are you hosting Easter? The Easter eggs are the perfect accent for your home or a great hostess gift if you are going somewhere to celebrate. Enjoy the holiday and thank you for stopping by.

Shopping the Look
- Dried Pressed Flowers
- Neutral Speckled Vintage Eggs
- Foam Easter Eggs
- Set of Craft Brushes
- Mod Podge Starter Kit
- Glossy Mod Podge
- Matte Mod Podge
- Craft Tweezers

More Related Posts
Most Recent Posts
Easter spells out beauty, the rare beauty of new life.”
SD Gordon
These are BEAUTIFUL, MJ!! Love the look of the pressed flowers for Spring…so pretty for any space!!
Thanks Rachel. The flowers are super pretty and love the fresh look. Have a great day. XO- MJ
Sooo pretty!! I love how the neutral colors keep a natural look! ??
Thank you so much! ?U
Nice idea for pretty Easter eggs. Looks like a fun project. Thanks for sharing.
Lynne, Thrifting Wonderland
Thanks Lynne! I appreciate it. XO- MJ
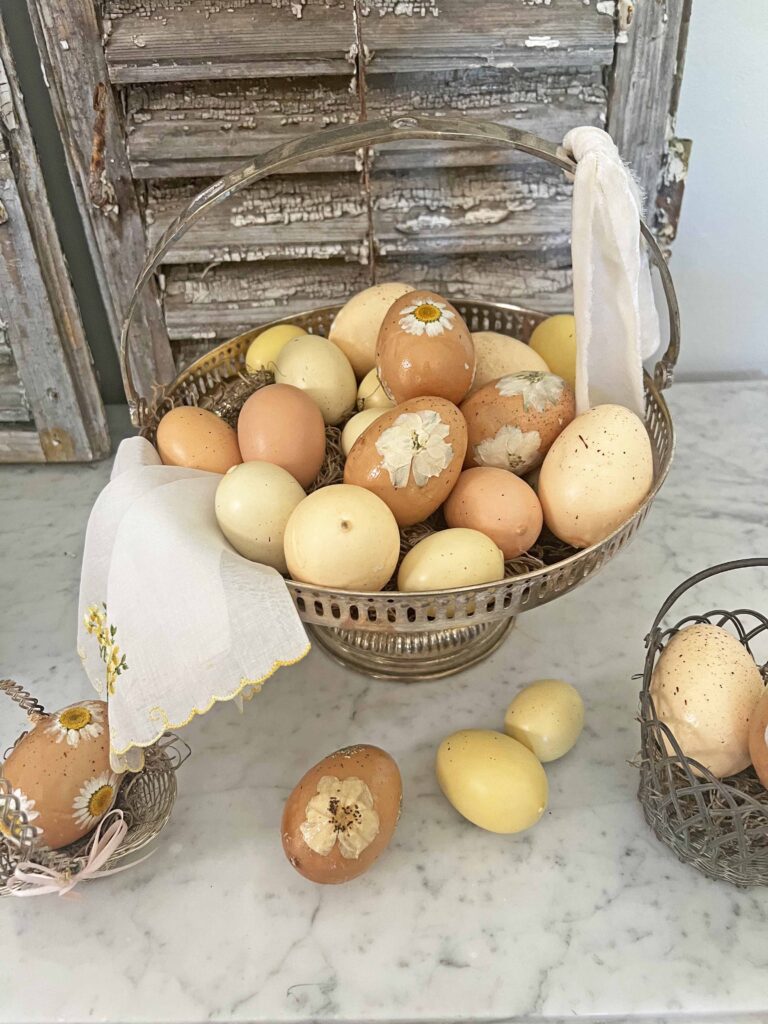
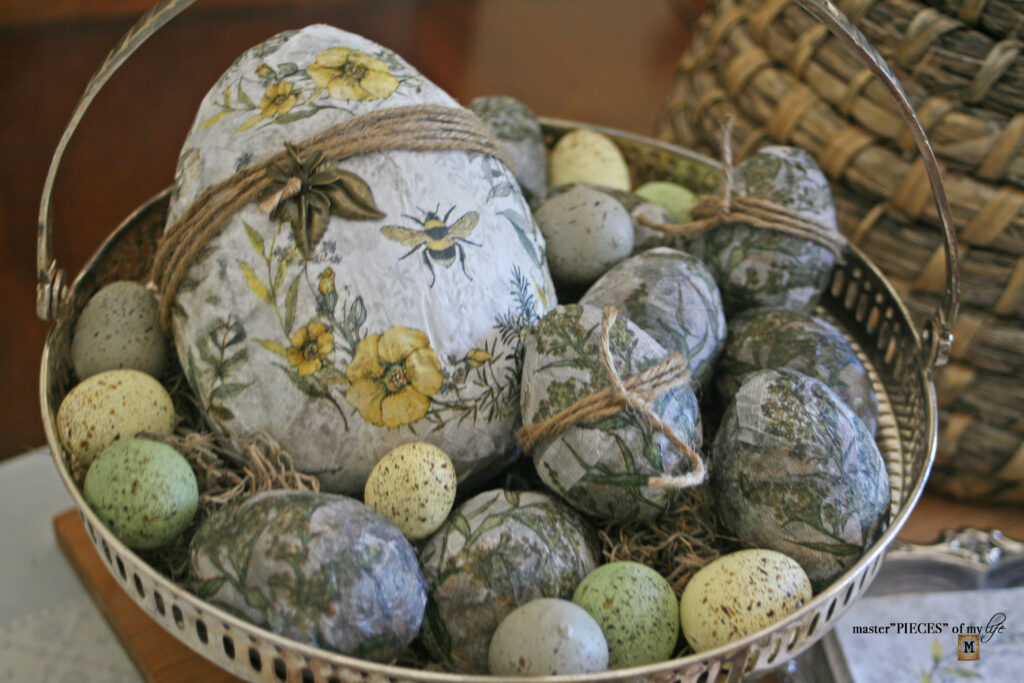
I am loving the way you styled the eggs in the brass basket MaryJo! Loving the eggs too, they are so spring-y. You always come up with such cute ideas!
Thanks so much Cara! Can’t believe Easter is almost here. Thanks for stopping by. XO- MJ
These are crazy gorgeous. Thanks for sharing at Funtastic Friday.
Thanks so much Michele. I’m glad you liked them. XO- MJ
So pretty! Need to try this i picked up white plastic eggs from walmart but don’t know how to decorate them. This is giving me ideas.
Thanks Jen! I’m so glad it’s helping you decorate your eggs. Happy Easter! XO- MJ
These are so elegant and lovely. I really love the natural look of them. Featuring when my link party opens!
Thanks so much Carol! I appreciate the support and I’m so glad you liked them. Happy Easter! XO- MJ
I love these so much, MaryJo! These are absolutely gorgeous. Pinning to share and save. 🙂 Thank you for sharing this post with all of us at the Will Blog for Comments #60 linkup! Looking forward to seeing what you’ll share at #61, too–it opens next week. Hope your week is a great one. 🙂
Thanks Jennifer. I’m glad you liked them and hope you had a nice Easter. XO- MJ
I did–it was wonderful! Hope yours was, too. 🙂 I’m popping in again to let you know that this post is one of the Host’s Choice from the Will Blog for Comments #60 linkup! It will be in the spotlight for the next two weeks, throughout linkup #61. Thanks for sharing your posts with us!