


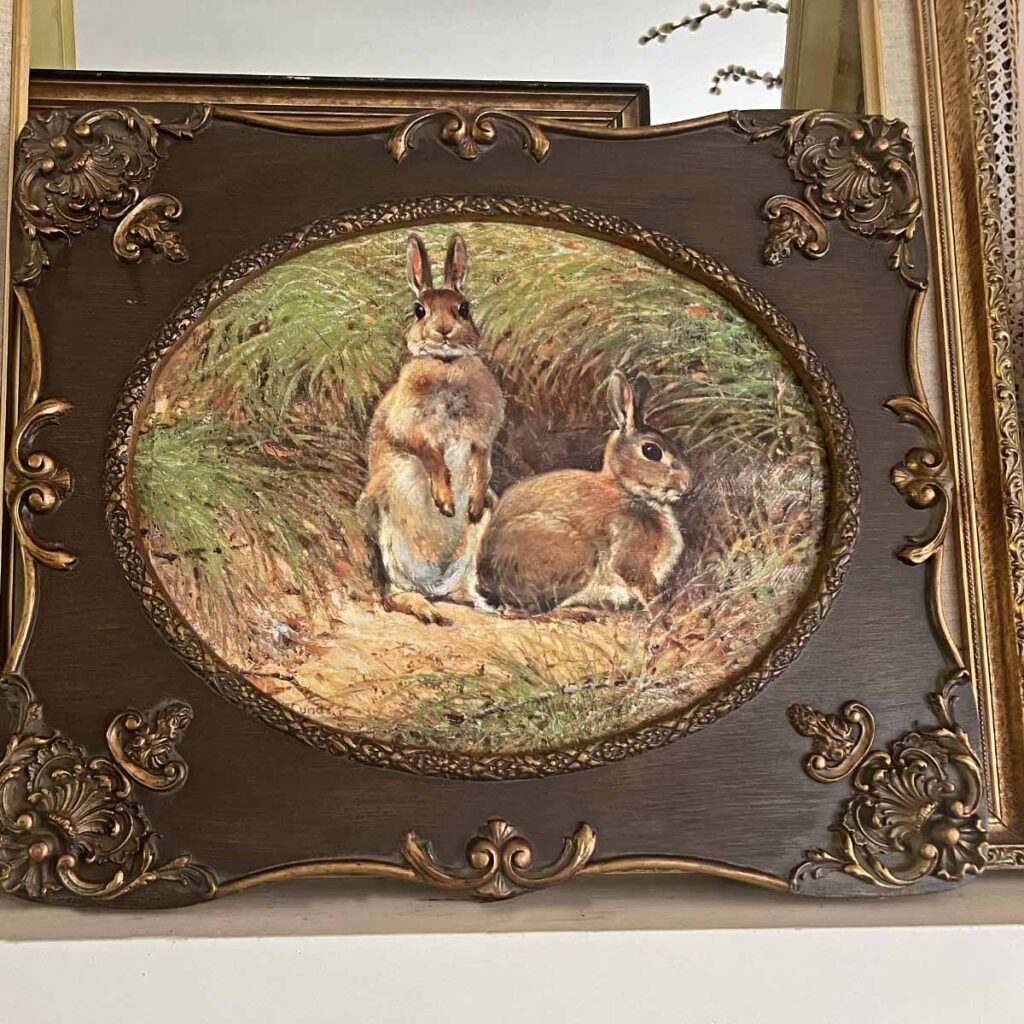
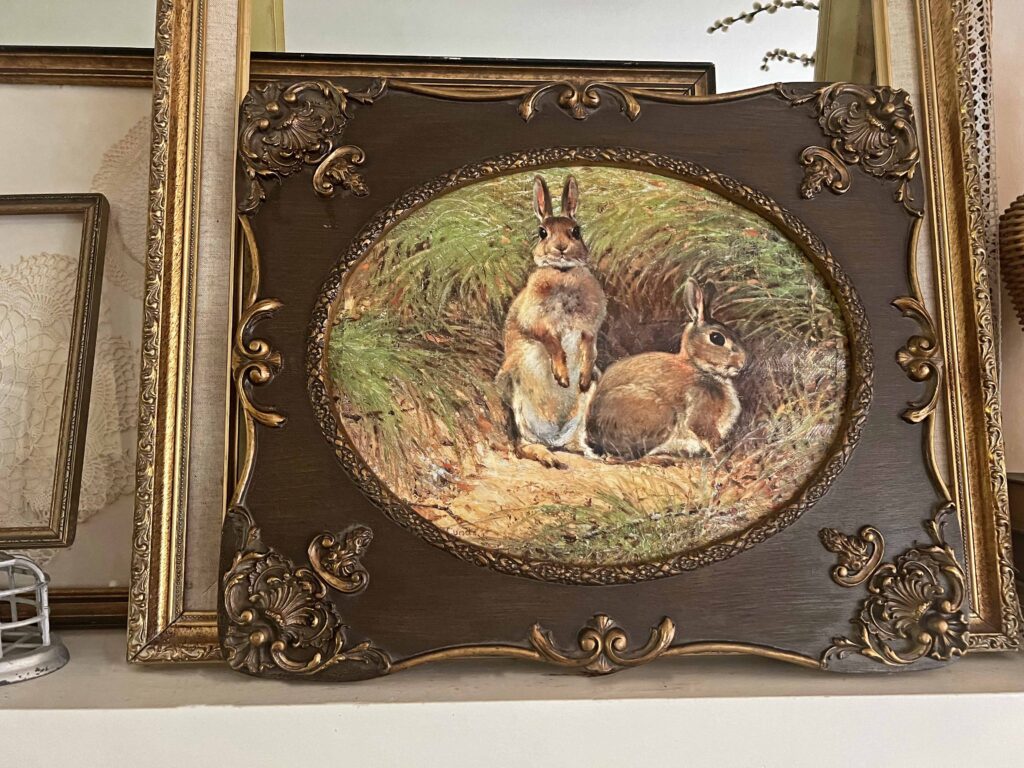
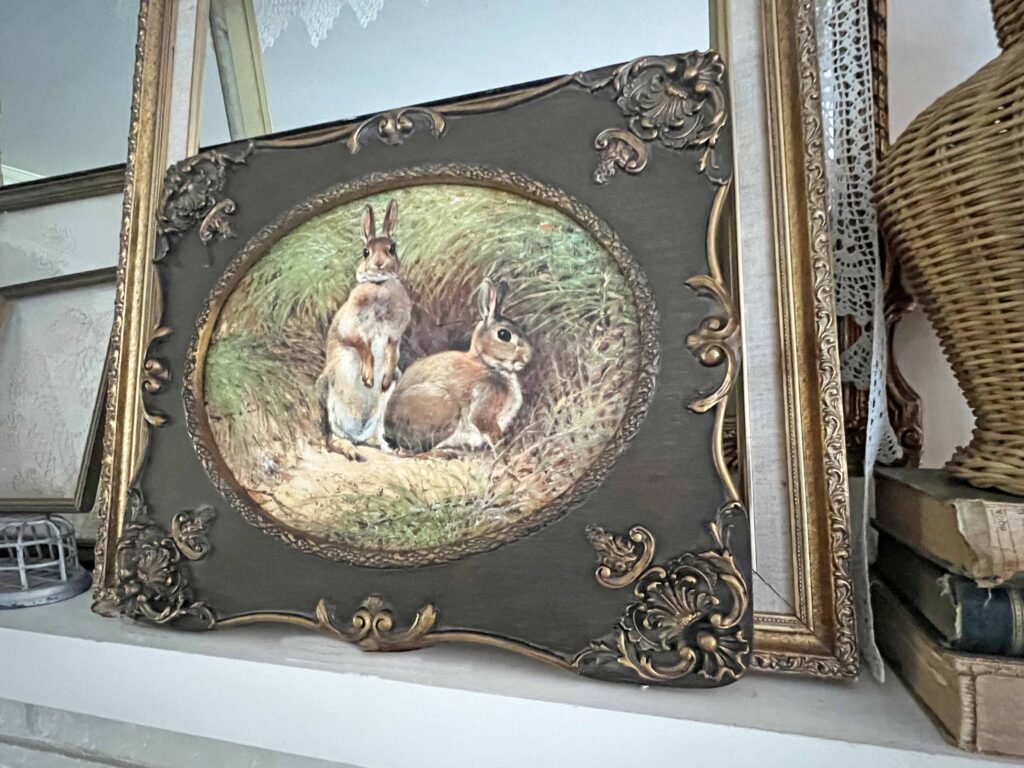
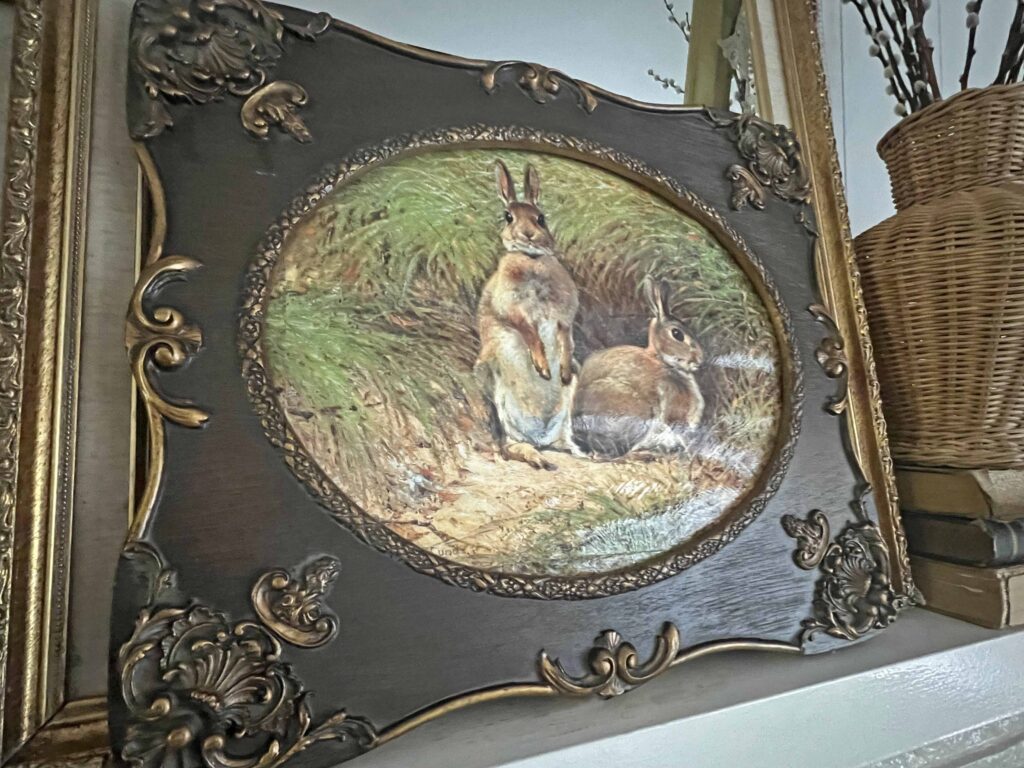
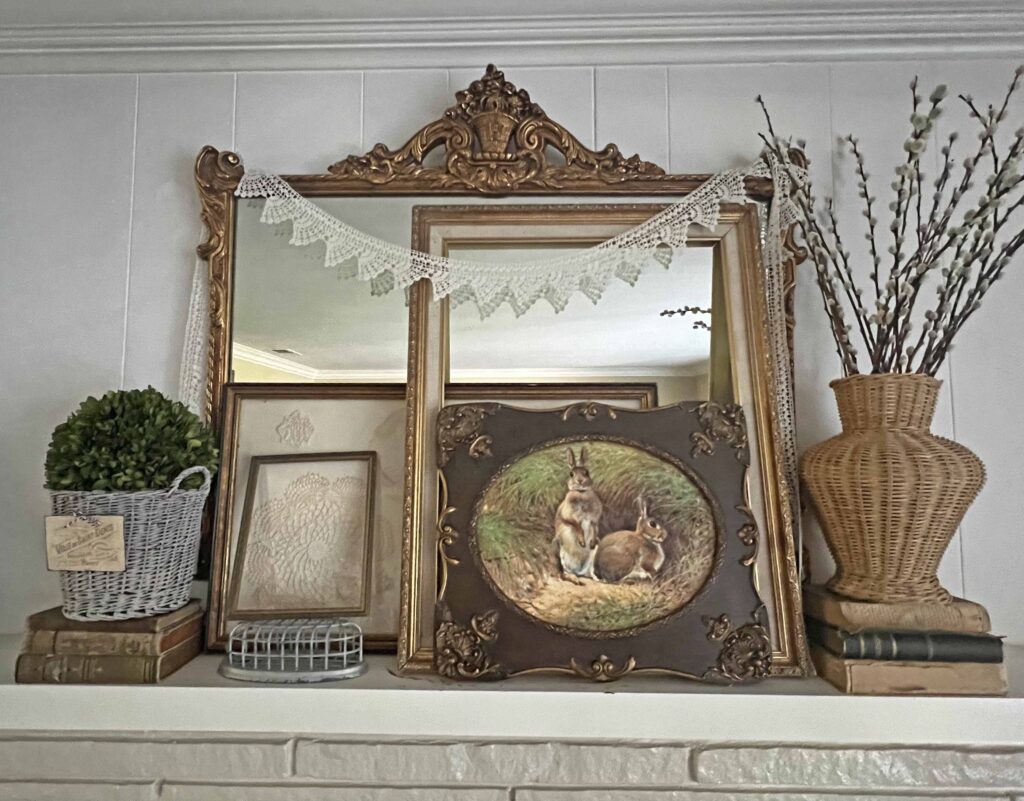
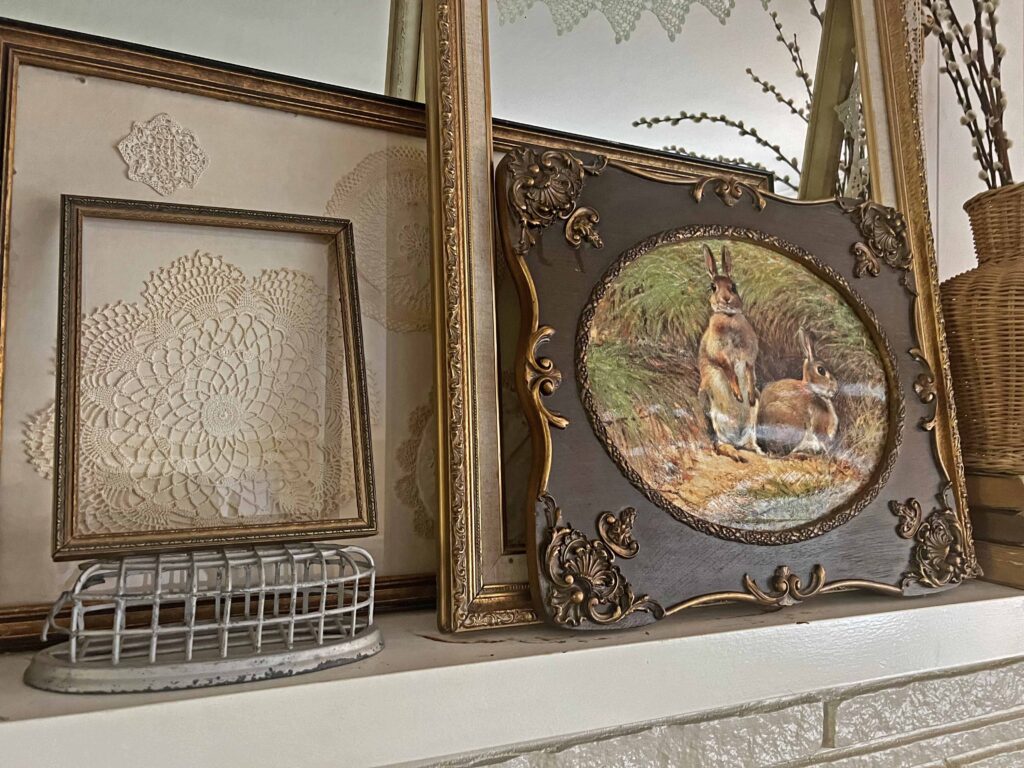
A printed image can easily be transformed into a painting masterpiece with a few easy steps. Have you seen this hack that has been going around the Internet for awhile? I’ve been wanting to give it a go, and when I found this bunny image and thrifted frame around Easter, it was the perfect opportunity. Let me show you how to easily transform a plain old image into a painting work of art.

Art adds so many layers to a space, including coziness, texture, interest, which tell a story, your story. BUT real art can get pricey. This is a fun and simple hack to add some “real”-looking art pieces throughout your home. I read a few different tutorials, and there are subtle technique differences one can use. I will share how I transformed a simple image with a few straight forward steps into a work of art. Let me show you how easy it is.
*Affiliate links included for your convenience.
Reasons why you Should Create Art from a Print
It’s Economically Sound
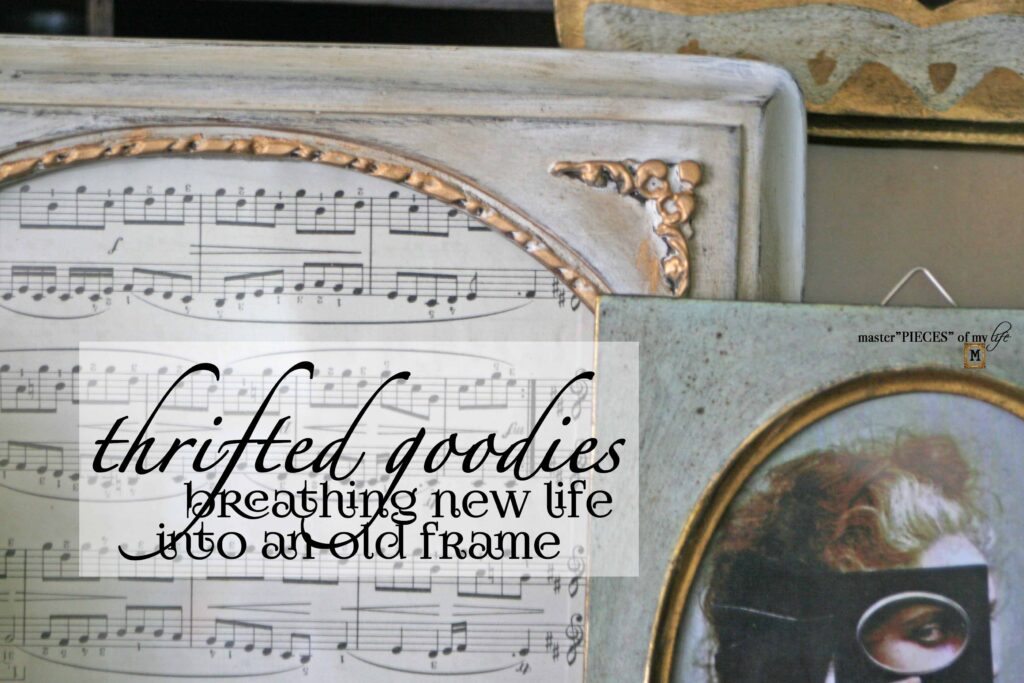
As I mentioned above, real art can be pricey. This is a way to insert more artwork into your home that feels a bit more elevated than a simple printed image. By adding a pretty frame you can make it more of a statement piece. I found this frame in one of my latest thrifting excursions, and I love all the fabulous details. Next week is the monthly installment of Thrifted Goodies so make sure to stop by or sign up to get the post directly into your in-box.


It’s a Way to Inject Seasonal Art into Your Home
This hack is a great way to add seasonal artwork to your spaces without a huge investment. Switching the art pieces frequently for the seasons and | or holidays is not a huge expense this way. I actually have an idea for an upcoming occasion, which I cannot wait to share with you here when it’s time.

It’s a Way to Curate a Custom Art Look
Using this hack also allows the creation for a collection or gallery wall in a reasonable manner. It’s much easier to find images with the exact motif or scene you are looking for, rather than actual painted art pieces. When you easily transform an image into a painting it gives you more freedom to curate the desired theme or look you desire.
How to Easily Transform an Image into a Painting
Supplies
- Printed Image
- Cardboard or Foam Board
- Decoupage Medium
- Paint Brush(es)
- Frame
- Paper slicer
- Scissors
- Ruler
*I included affiliate links to some of the items I used or that are very similar.?These affiliate links mean I receive a small commission if you make a purchase using these links at no extra expense to you.?As an Amazon Associate I earn from qualifying purchases, which helps me run this blog.
Directions
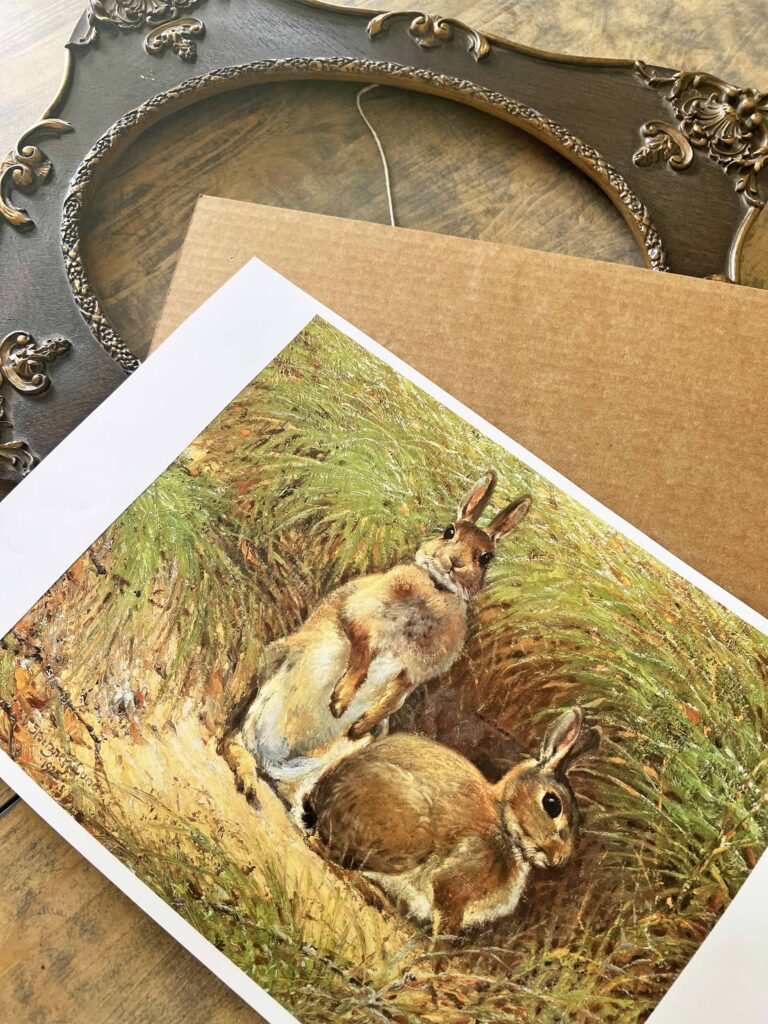
- Select a printed image
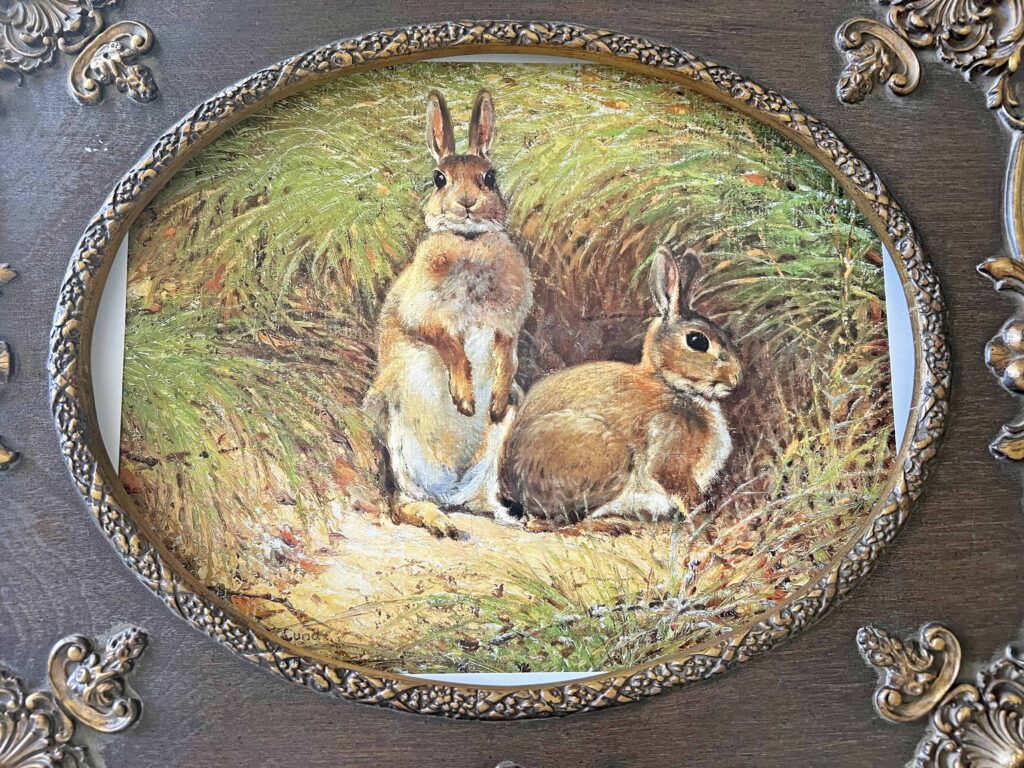
- Size the image to the frame opening and print it
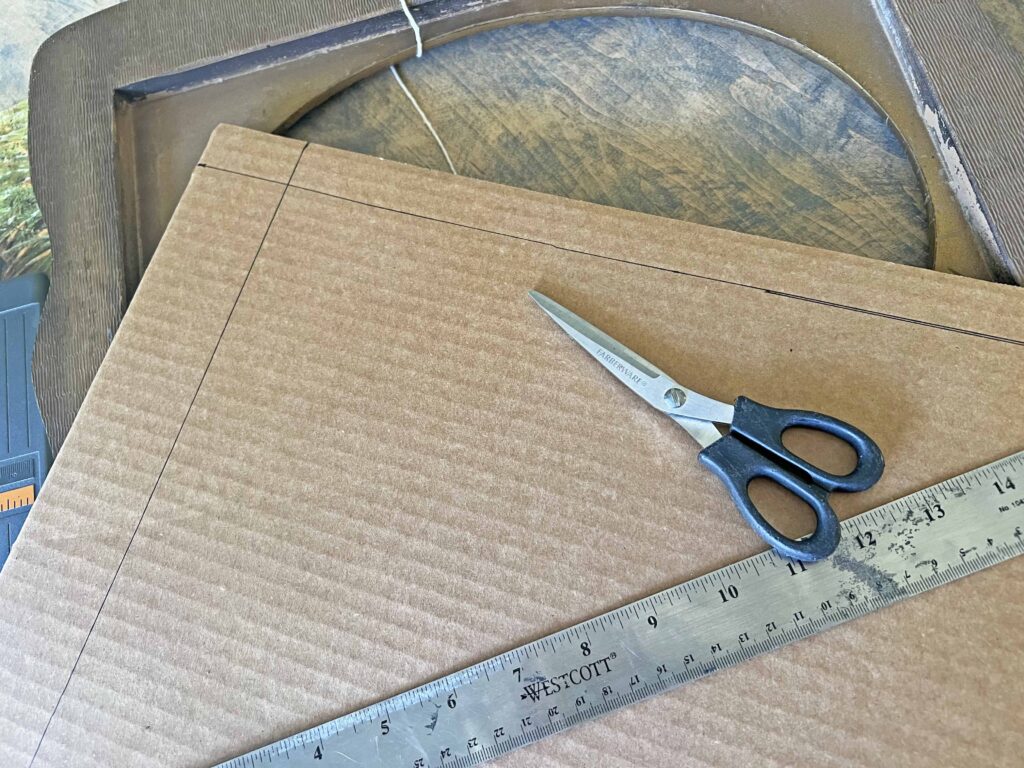
- Cut your cardboard to fit the insert size of the frame
- Center and adhere your image to the cardboard piece
- Using a paint brush to apply decoupage medium following the strokes and lines in the image
- Allow decoupage medium to dry thoroughly
- Apply another layer of decoupage medium using the same brush stroke effects and some different ones
- Allow decoupage medium to dry thoroughly
- Insert image attached to cardboard into frame
- Add a backing to frame to hold everything in place if necessary
- Place your new artwork somewhere you can enjoy it
Tips & Techniques to Easily Transform an Image into a Painting
I found my image on-line, which was free. There are many resources out there, which are free as long as you do not resell or profit from the freebie. Of course you can use an image you might already own, or maybe something you might find at a thrift store. Once I downloaded the image, I had the image printed at my local Fedex office, previously Kinkos, since I needed a larger size than my printer at home accommodates. FedEx provided an 11×17 color copy for less than $1.50.
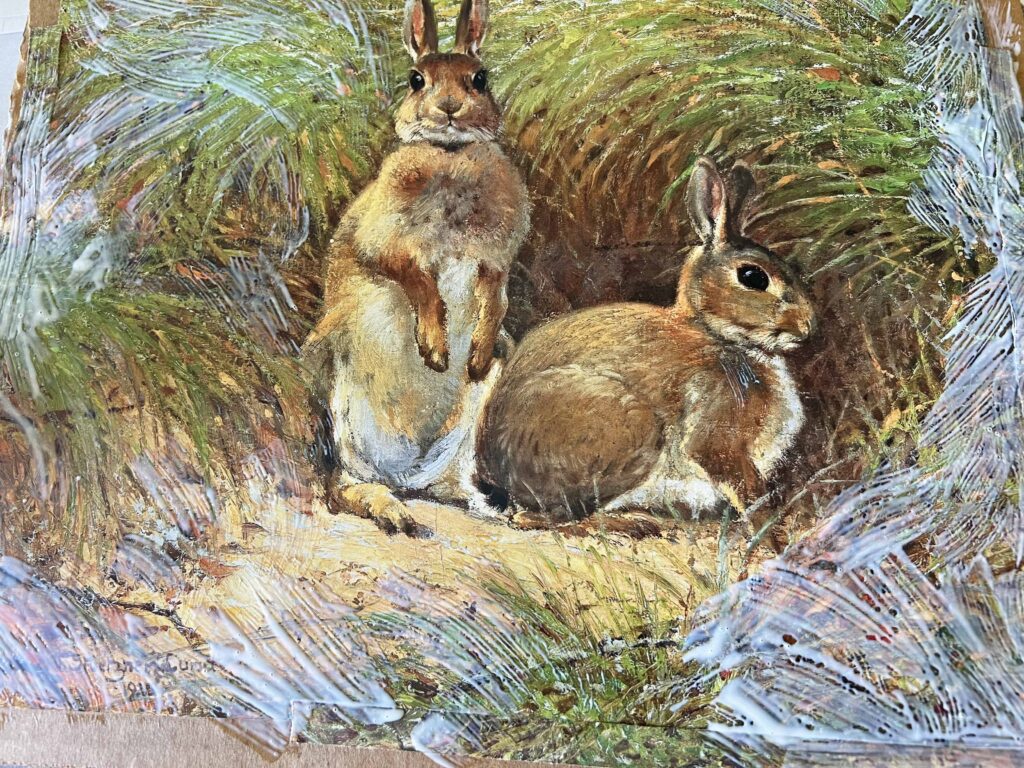
Since the frame I wanted to use was on the larger side I actually had a few gaps on the outside edges, which you can see below. I simple cut strips from another copy of the printed image and added them to extend the image in these areas. I lined up the pieces with similar strokes on the edges of the print and allowed the decoupage medium to adhere and disguise where the pieces met. This is an unnecessary step if you use a smaller frame. I just loved this frame and wanted to use it, so a girl’s gotta do, what a girl’s gotta do.
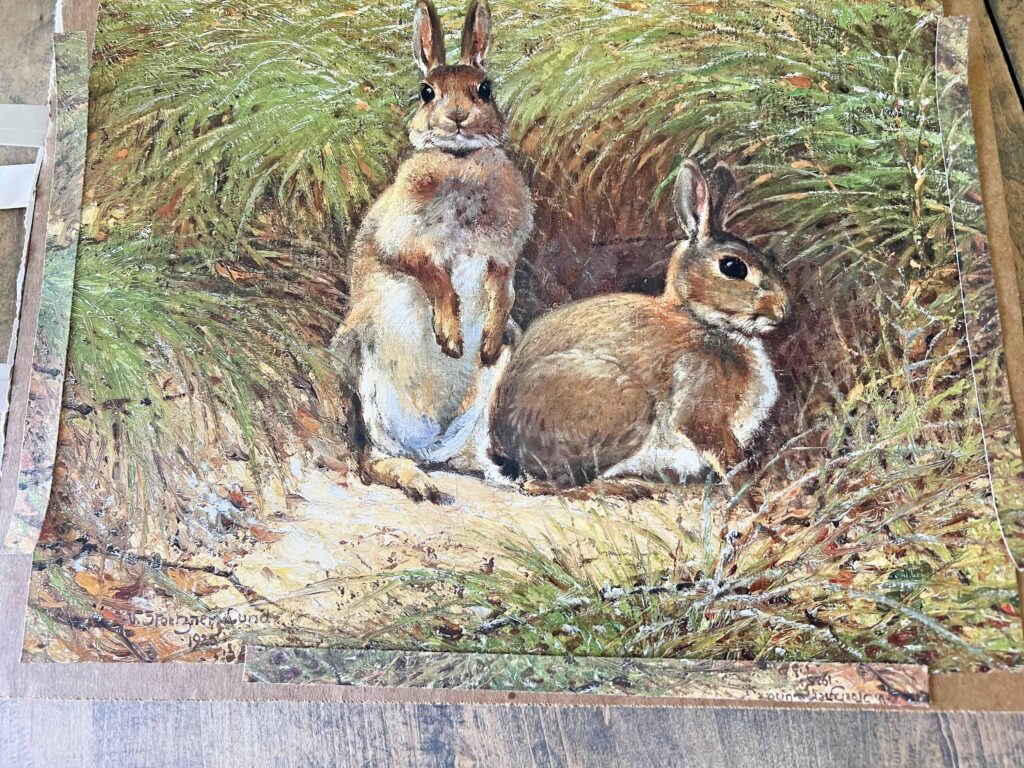
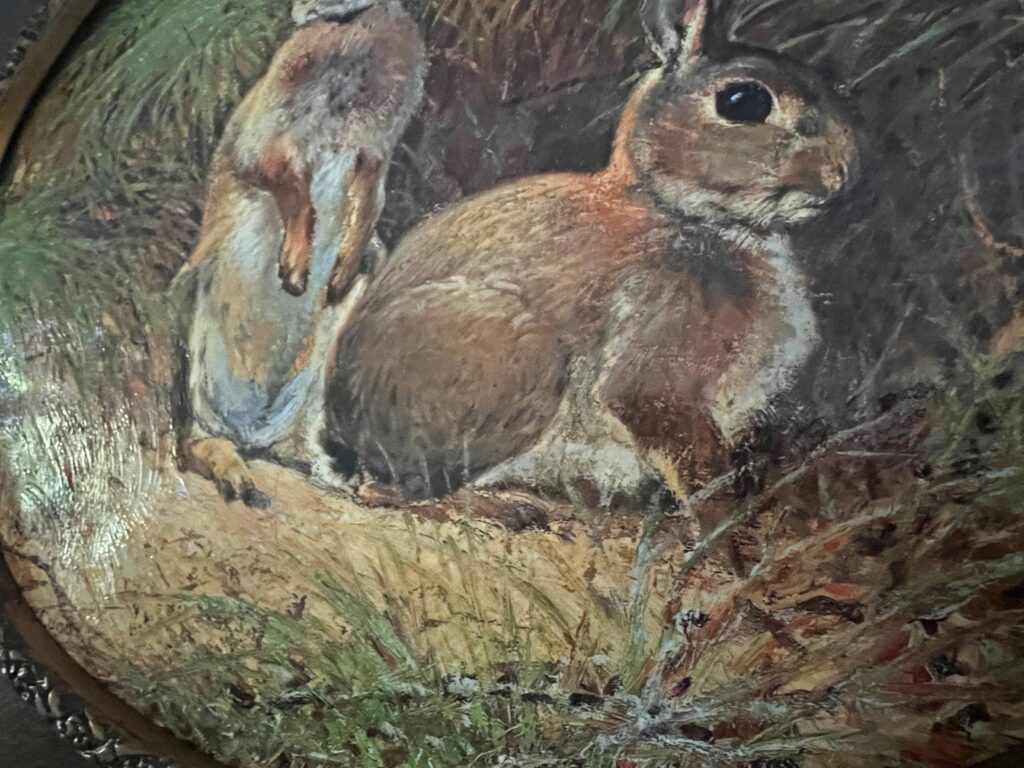
I used two different sized paint brushes to apply the decoupage medium. A larger sized brush formed all the grass brush strokes while a smaller paint brush filled in the bunnies. I am hoping this provided more of an oil painting effect. I also recommend to make sure you cover every bit of the image with strokes to make it more realistic. The differences were noticeable after the first layer of mod podge, so I made sure on the 2nd pass through to cover the entire image.
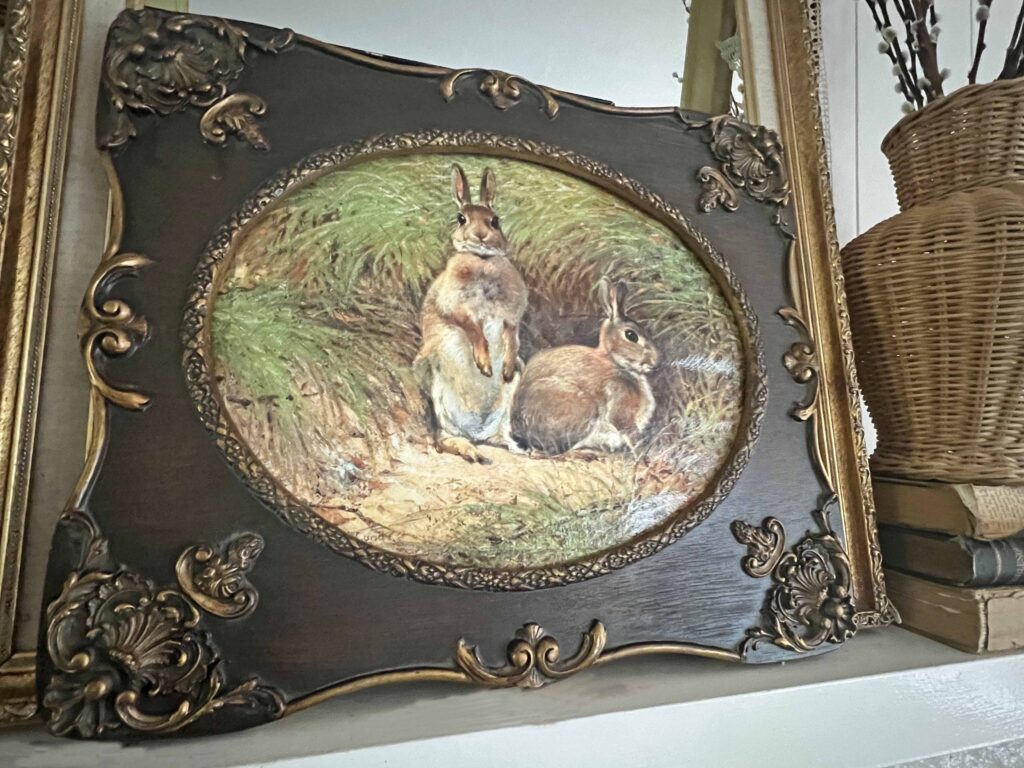
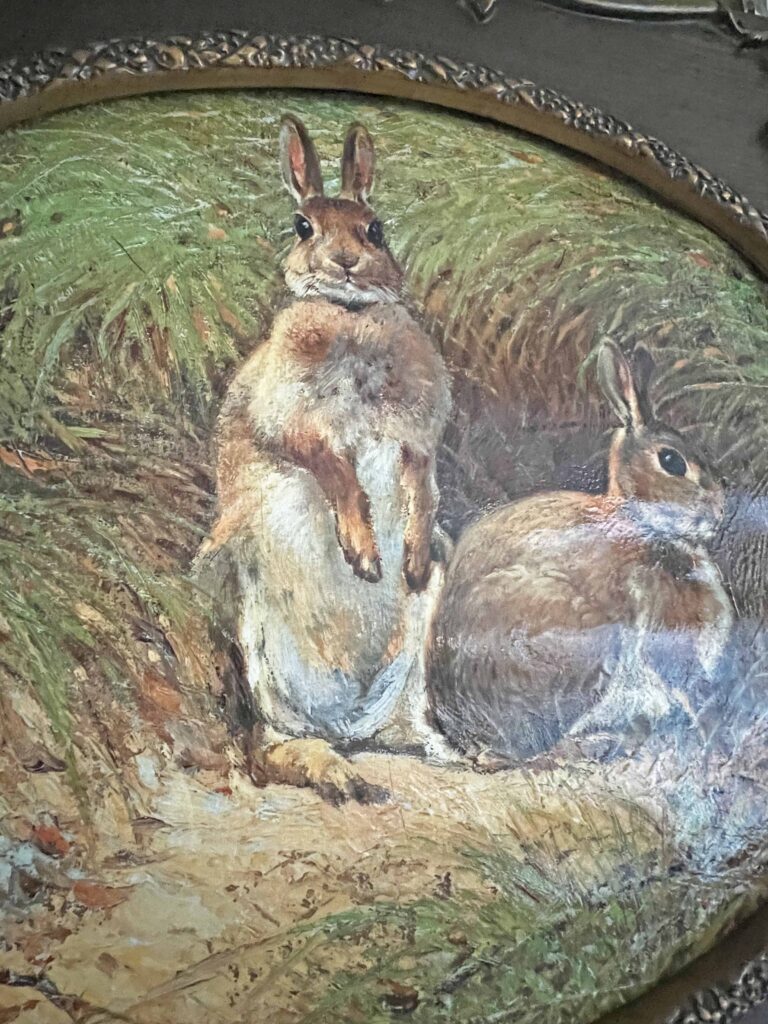
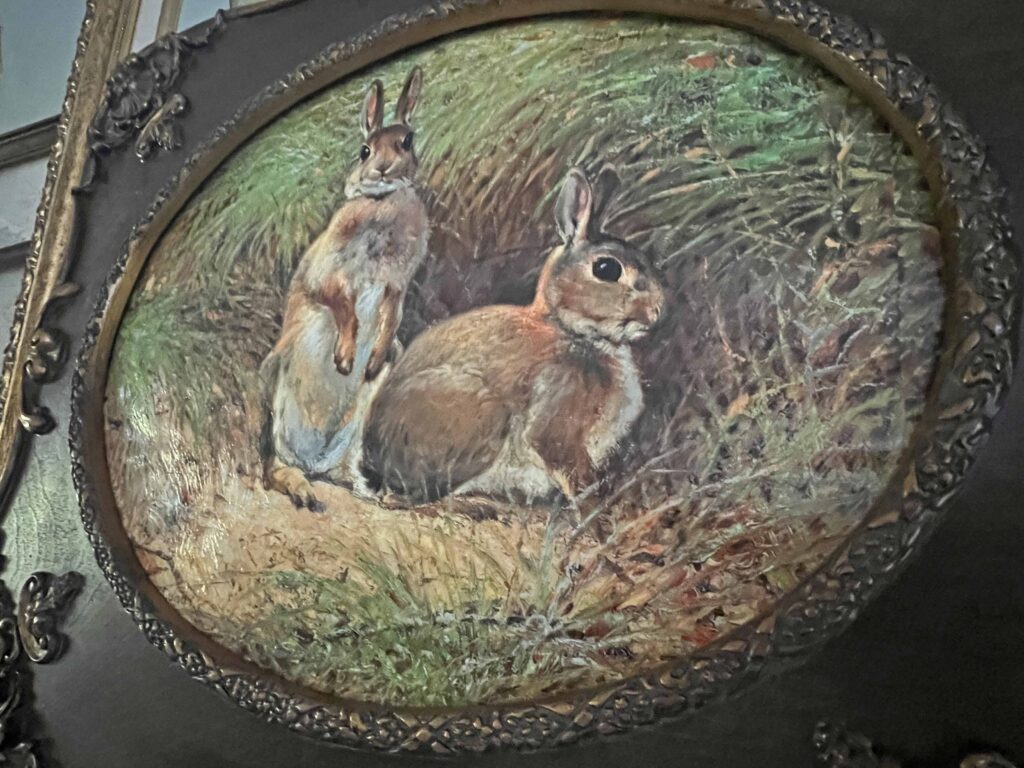
I recommend finding an image that already contains brush strokes and lines to follow, which accentuated for the effect have the best impact. I am pleased how the project turned out. Although I don’t think it necessarily replaces the true emotions a real oil panting evokes, it does elevate a plain image print. I have other ideas on how to make this technique better for the next project. Give this a try though. It’s fun, easy and inexpensive. Create your own masterpiece!


Other Ways to Create Art for Your Home


The aim of art is not to represent the outward appearance of things, but their inward significance.”
Aristotle

