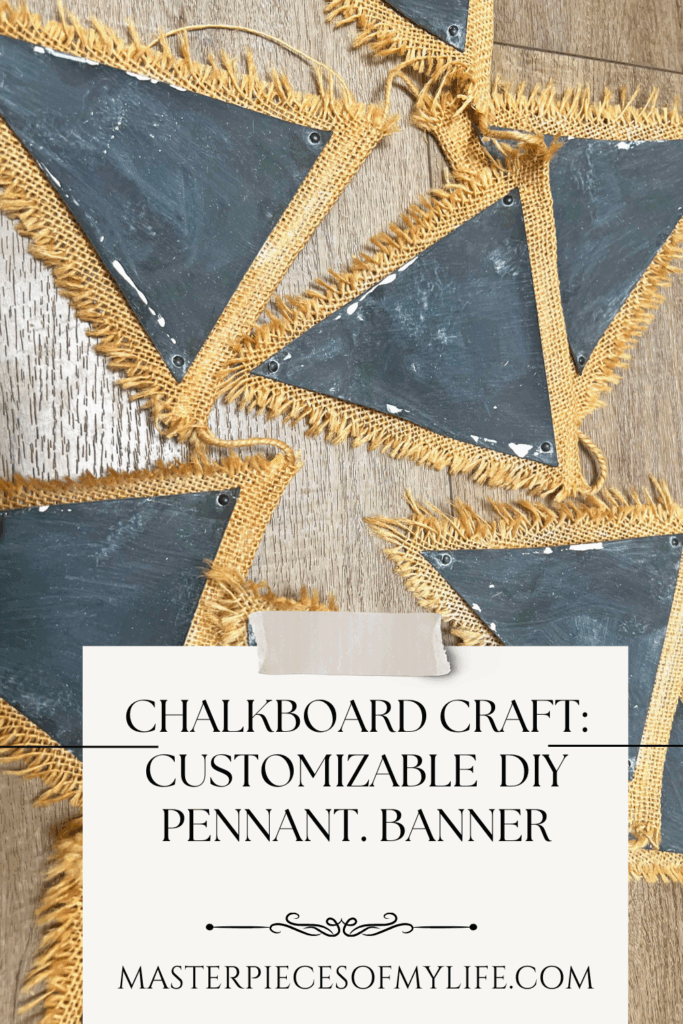
Chalkboard Craft: Easy Customizable DIY Pennant Banner
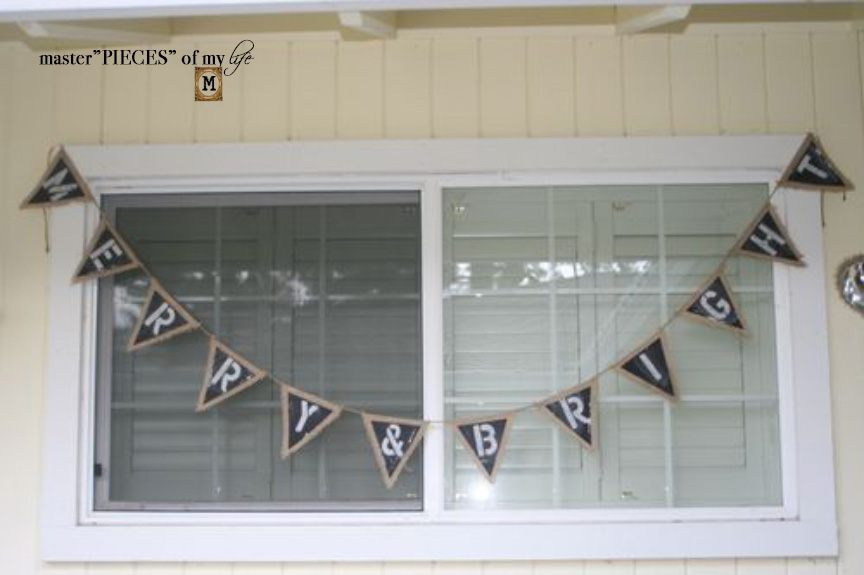
Did you know you can create your own chalkboard pennant banner, which you can use over and over again for any occasion, celebration or holiday? This versatile decor party piece comes together in no time and can be used over and over again. Let me show you how easy it is to make a customizable DIY pennant banner.
This charming banner will help to create special and memorable moments for you and your loved ones. I promise, you will use it time and time again. Join me to see how easy it is to make one for yourself. It’s not only easy, but super affordable as well!
*Affiliate links might be included for your convenience. These affiliate links mean a small commission is earned if you make a purchase using these links at no extra cost to you. As an Amazon Associate qualifying purchases support this website. For more information: Full Disclosure Policy.
Inspiration for the DIY Chalkboard Pennant Banner
Enjoying life and celebrating all the special moments in life is incredibly important. This simple craft allows any sentiment or emotion to be expressed, while using it over and over again for different occasions.
We’re all about joie de vivre over here and enjoying life to the smallest detail is on repeat. This simple banner allows sentiments to be shared and enjoyed many times over. Some of the messages are typical holiday expressions, but other times we surprise a loved one with a special note.
Step By Step Instructions: How to Create a DIY Chalkboard Pennant Banner
Supplies
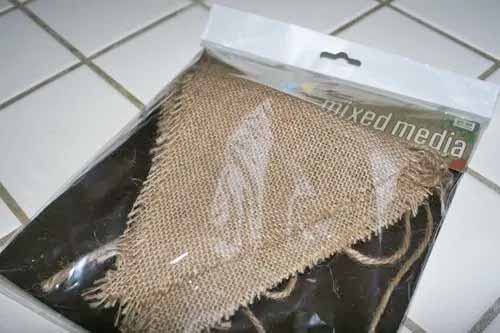
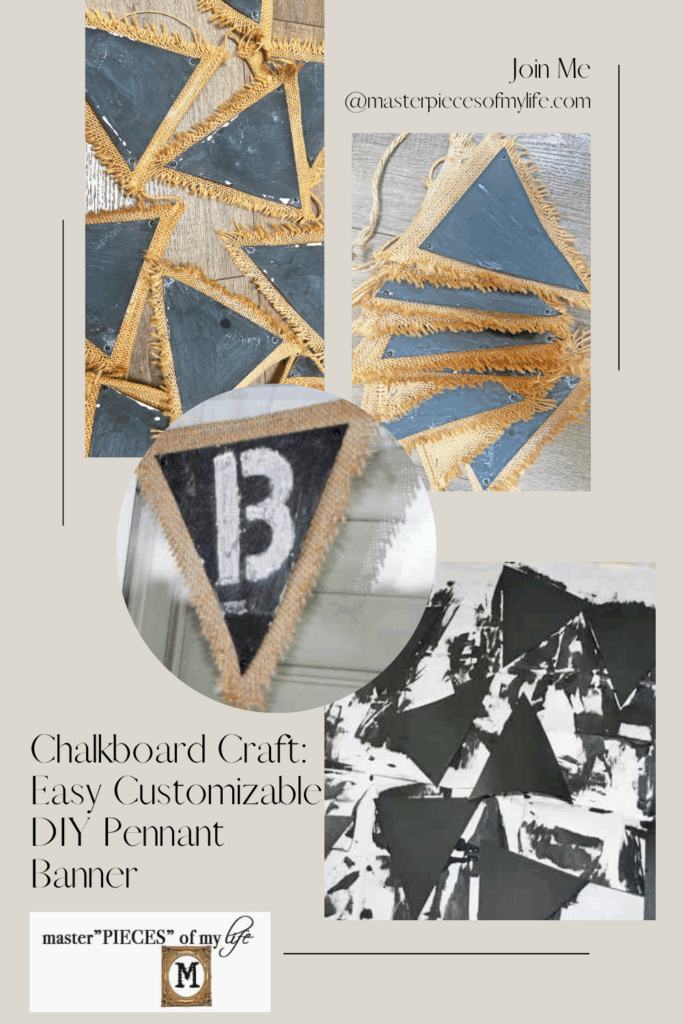
- Burlap pennant banner
- Chipboard
- Chalkboard paint
- Chalk
- Brads
Tools
- Scissors
- Paint brush
- Craft piercing tool
Crafting Pro Tip: Read all the instructions through once and then re-read everything again. This way, you are familiar with everything you need and know what to expect.
Instructions
- Read instructions thoroughly and assemble all supplies & tools
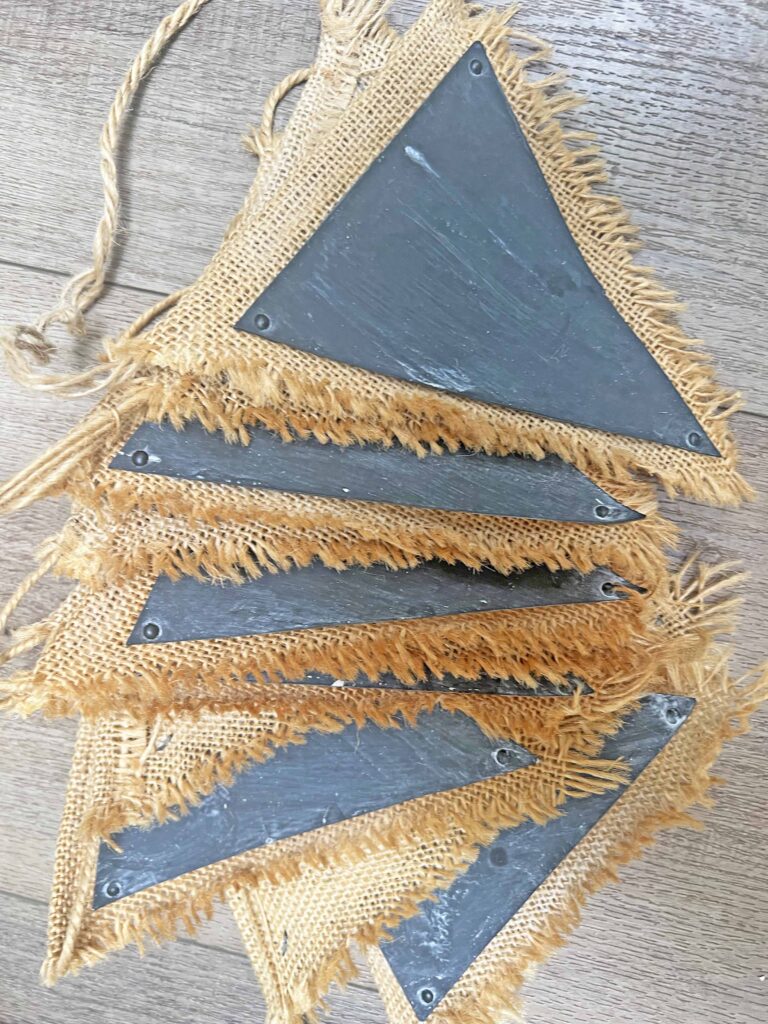
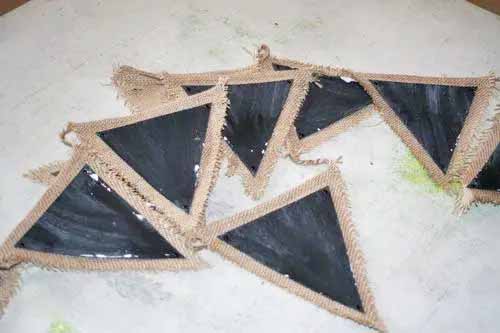
- Measure and cut triangle shapes from chipboard to fit inside burlap pennant triangles, leaving about 1/4-in clearance to the edges
- Apply a coat of chalkboard paint on chipboard triangles and set aside to dry
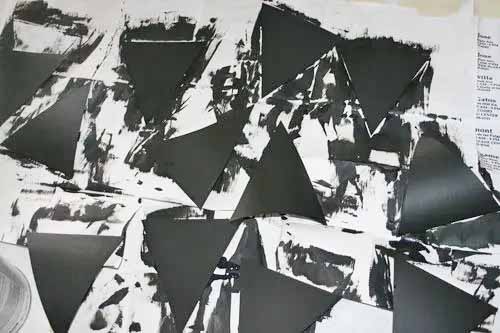
- After paint dries, apply a second coat of paint and set aside to dry
- Repeat above step to apply a third coat of paint
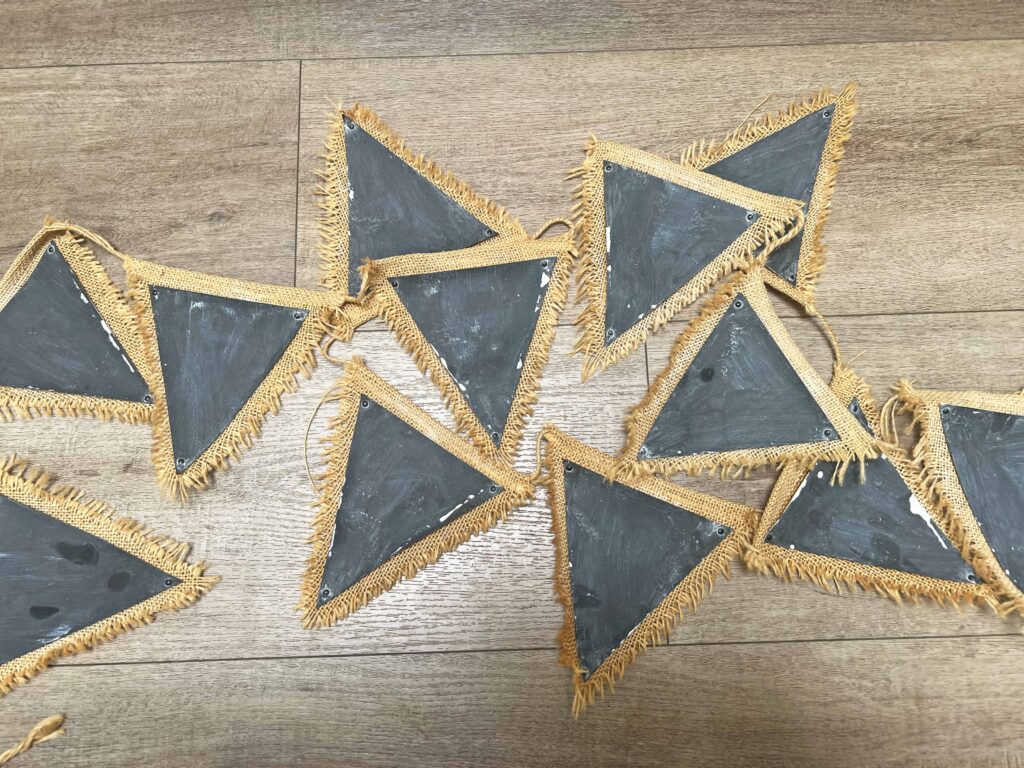
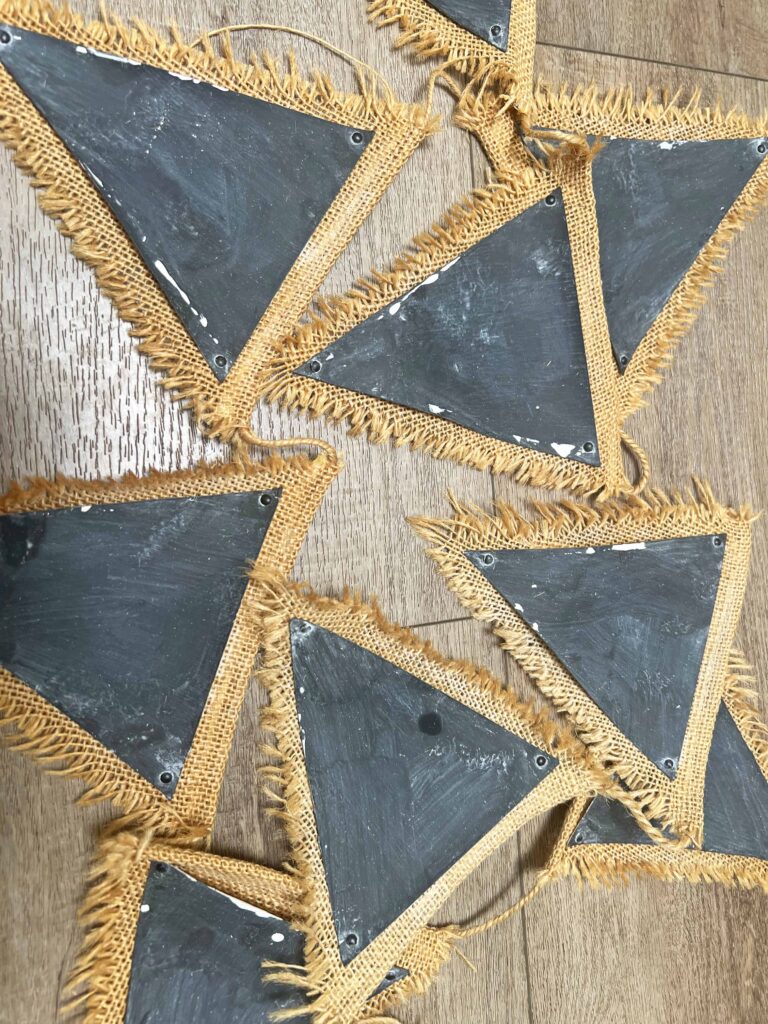
- Once all three coats of paint are fully dry, use the side of a piece of chalk and rub it across entire triangle to condition the chalkboard triangles
- Using a damp paper towel, wipe down the chalkboard triangles to clean them
- Place chalkboard triangles centered inside burlap triangles and attach using black brads at all three corners (if you have difficulty getting the back of the brad through chipboard and burlap use piercing tool to create a hole

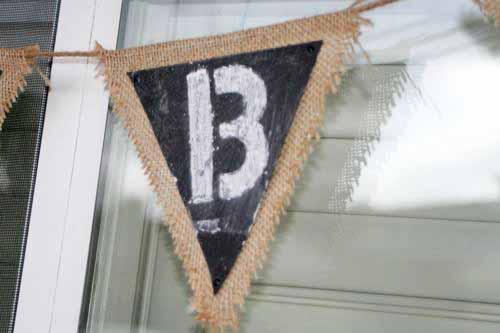
- Voila! Write desired message on chalkboard using chalk and enjoy!
Tips & Recommendations to Keep In Mind
Foundation Banner
The burlap banner creates a sound and solid foundation for the DIY chalkboard sign. It folds up nicely for easy and compact storage between memorable moments. I found the Burlap Pennant Banner at Hobby Lobby years ago, but I included an ideal option here for a few dollars.
Chalkboard Paint
Chalkboard paint is a super versatile paint to use for many projects. I have only used the liquid chalkboard paint, which can be applied with a paint brush or a foam brush; both are equally as effective. I also recommend using at least three coats of paint. The chalkboard surfaces get plenty of wear and tear with the multiple chalk scriptures and erasures.
Pretty Lettering
Stencils are a great option to apply a thoughtful message on the banner. Stencils come in different sizes and I have included an option here plus more in the shopping section below. I recommend using regular chalk rather than chalk pen or markers. Although the pen and markers create a cleaner impression, they are hard to remove and leave a residue on the piece.
If you enjoy DIYs like this and up-cycles and glow-ups of the sort, please feel free to sign up below. We would love to welcome you to the Masterpiece community and all new content will be delivered directly into your in-box.
Closing Thoughts
I hope this inspires you to create memorable memories with pretty messages. It’s a simple piece to keep in your party and decor arsenal. Enjoy all the simple and special moments in life!
Thanks for stopping by today and I’m looking forward to seeing you next time. Au revoir!

Shopping the DIY Chalkboard Pennant Banner
- Blank Burlap Banner Pre-Strung,
- Novelty Place 13 Feet Burlap Pennant Banner
- Black Chalkboard Paint
- Black Metal Brad Fasteners
- Letter Stencils, Pack of 5
- 42 Pcs 3 Inch Alphabet Letter Stencils
- 2 Inch Letter Stencils

Don’t forget to Pin It and save for later. You never know when inspiration will strike!
More Related Posts
Most Recent Posts

Sometimes you will never know the value of a moment until it becomes memory.”
DR. Suess
sharing @ between naps on the porch