

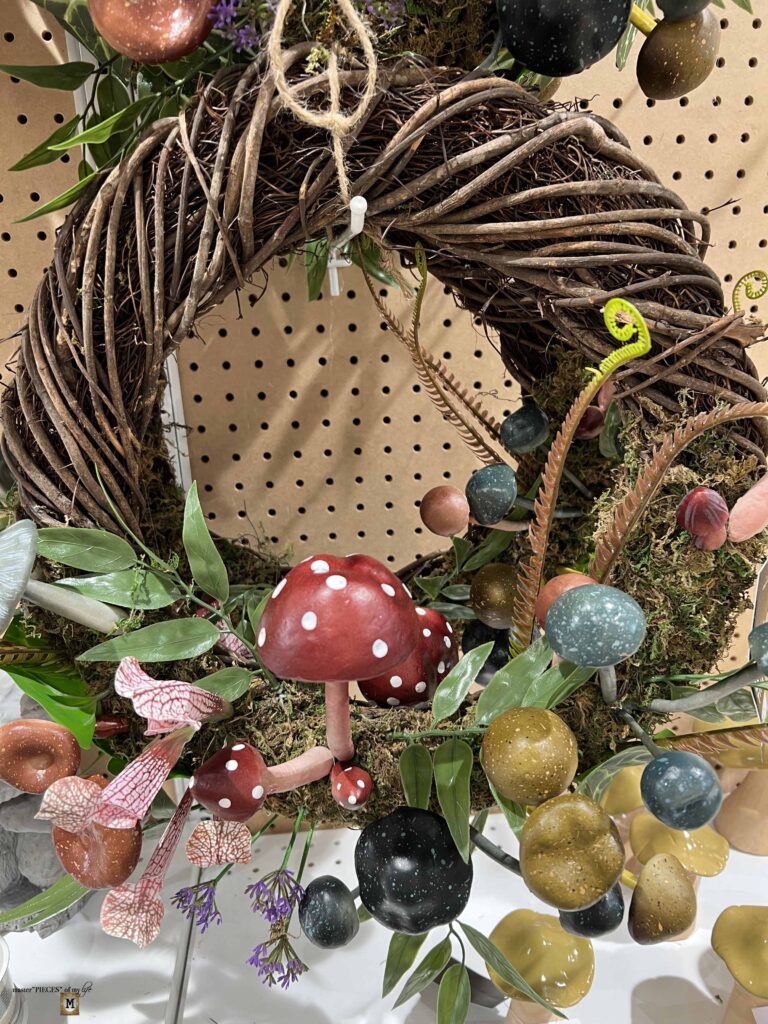
Hello friends! Are you a mushroom fan like myself? Well, good! Then you’ll love today’s post. I created a mushroom themed wreath with all the organic feels I love so much, and the mystic magic mushrooms bring to the party. I am super excited to show you how to create your own mushroom DIY wreath.

It’s no secret I love mushrooms. I shared my obsession in this post {my fascination with mushrooms | fungi | toadstools}. For more mushroom fancy you’ll find additional posts at the end with links to fill your mushroom loving heart.

I had wanted to create this wreath last year, but alas time got away from me and the project was relegated to the back burner. Fast forward to now, and I recently organized my crafting supplies. This wonderful project resurfaced and here we are. I am super jazzed how it turned out. Let me show you how to make one yourself.
*Affiliate links might be included for your convenience. These affiliate links mean a small commission is earned if you make a purchase using these links at no extra cost to you. As an Amazon Associate qualifying purchases support this website. For more information: Full Disclosure Policy.
The Inspiration Behind the Mushroom Wreath DIY
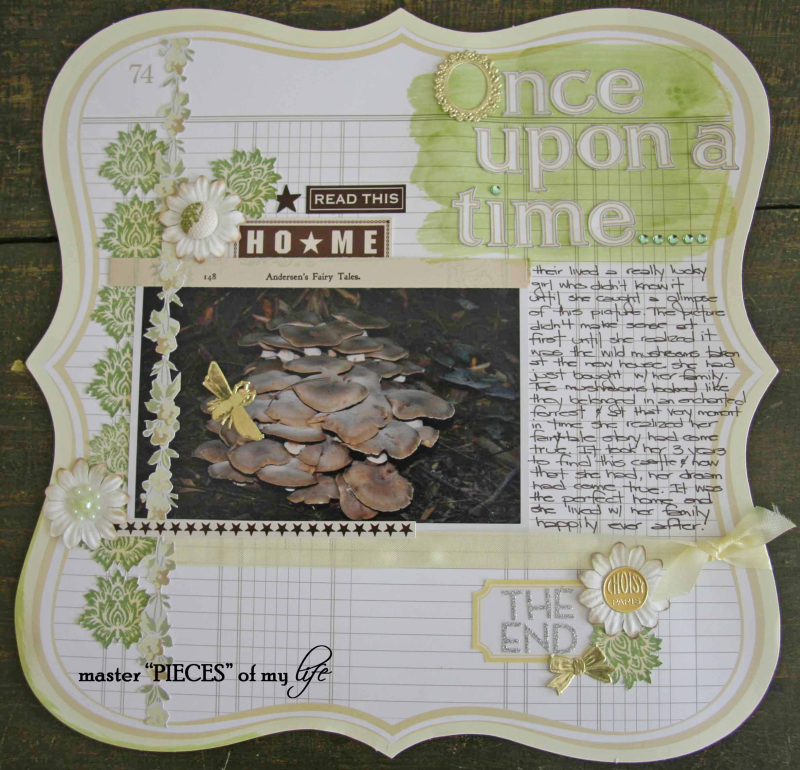
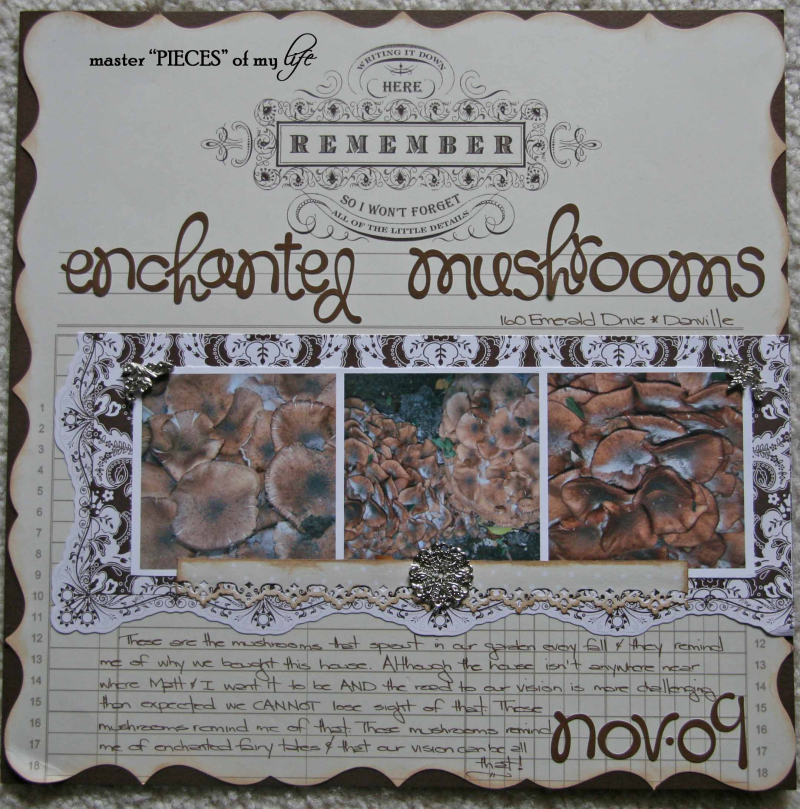
So not to state the obvious I am a bit mushroom obsessed. Actually I am a bit less than I use to be before mushrooms became a thing and are found all over the marketplace. I have loved the botanical earthy mushrooms for a few decades now. To give you perspective, here are a few projects from my scrapbooking days when I taught classes and fully engaged in the hobby almost 20 years ago.
Then I saw this mushroom wreath at Joanns last year, and it got my wheels turning. It wasn’t my style, but it certainly gave me the inspiration and the idea to create my own mushroom wreath.
On a side note, Terrain is one of my favorite stores, which I find carries some of the best mushroom inspired pieces. I keep spying some of the mushroom plates, but I really have to curtail my dish hoarding collecting.
How to Create a Mushroom Wreath DIY
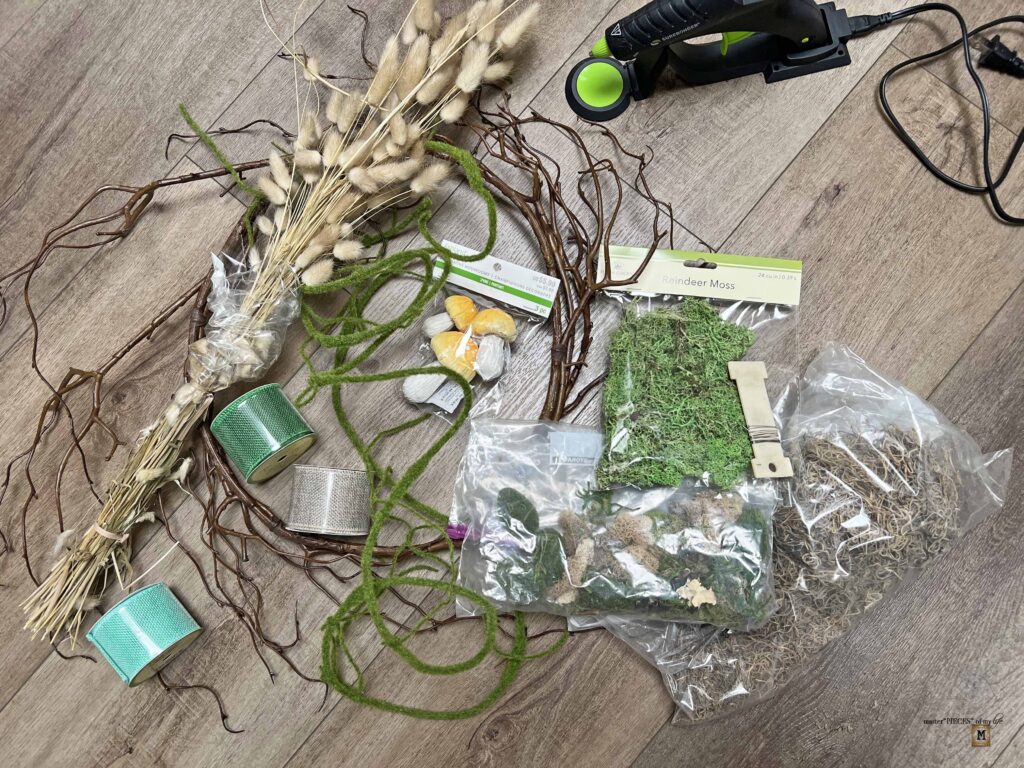
Supplies
- 14-inch Wispy branch wreath form
- Faux moss vine
- Floral wire
- Assorted mosses, including but not exclusive to Spanish moss, Reindeer moss and Lichen moss
- Dried bunny tail branches
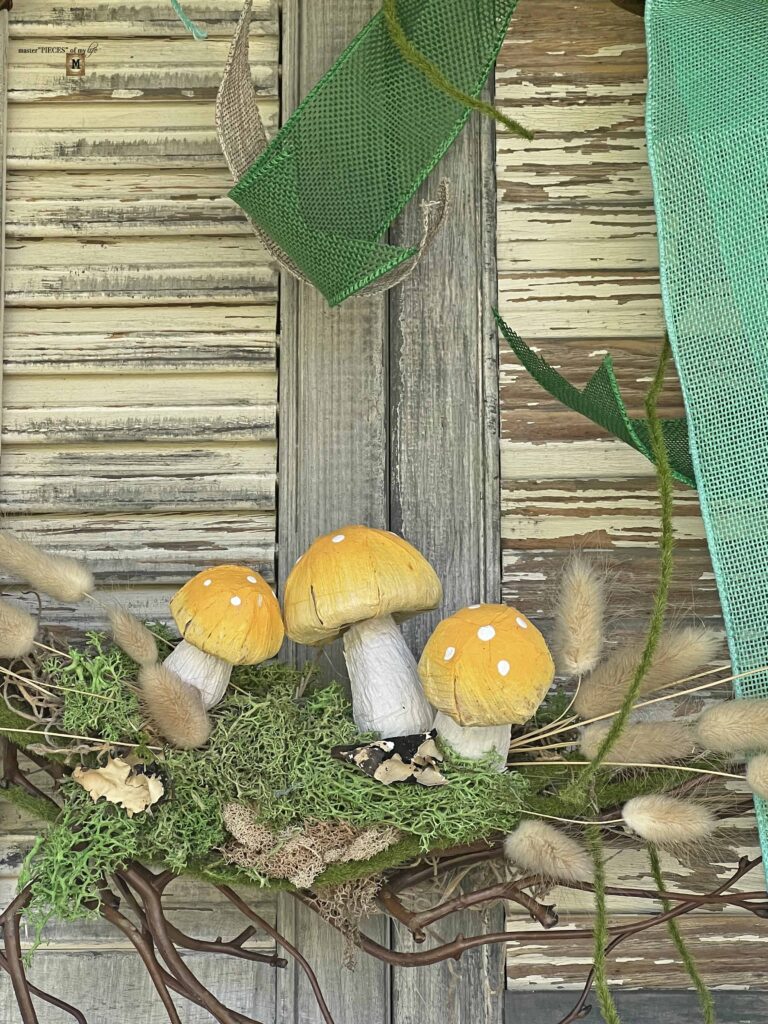
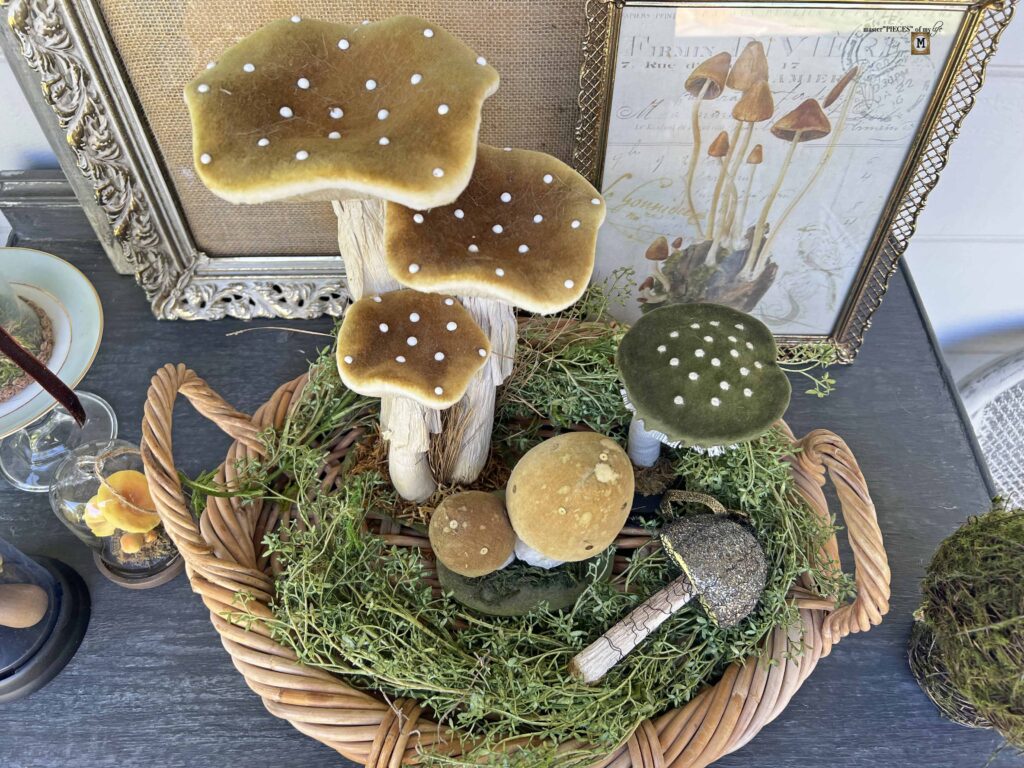
- Crafting mushrooms
- Assorted burlap ribbons
- Glue Gun
- Glue sticks
- Silicon fingers (optional but highly recommended)
Instructions
- Assemble all your supplies
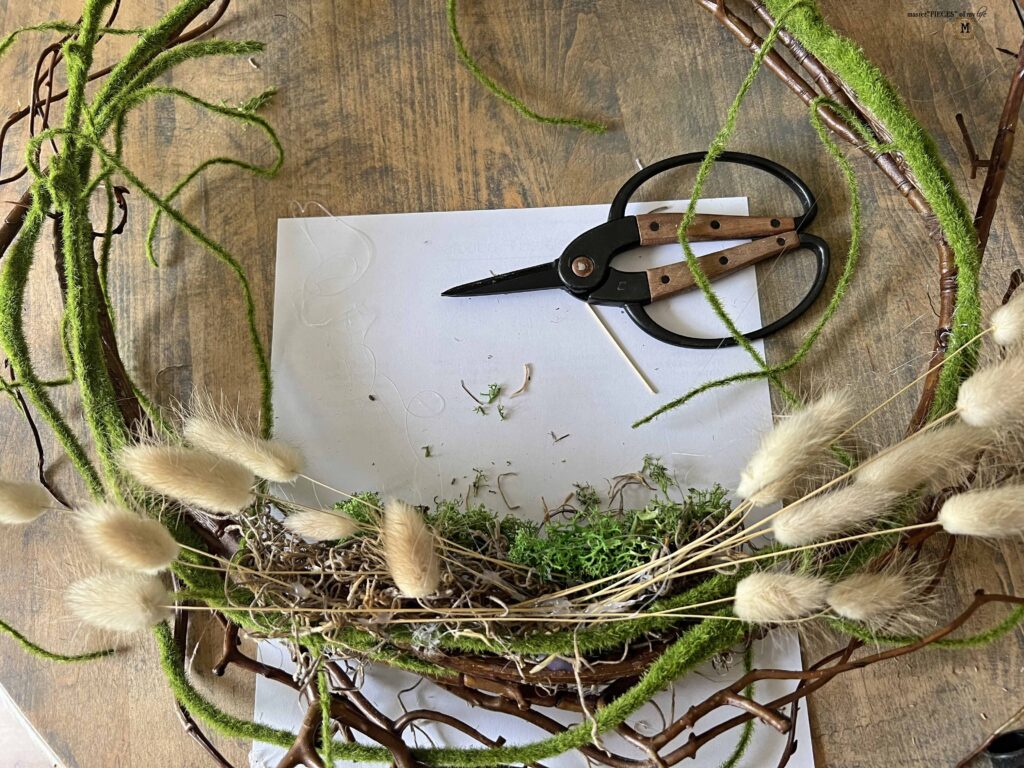
- Plug in hot glue gun to warm up
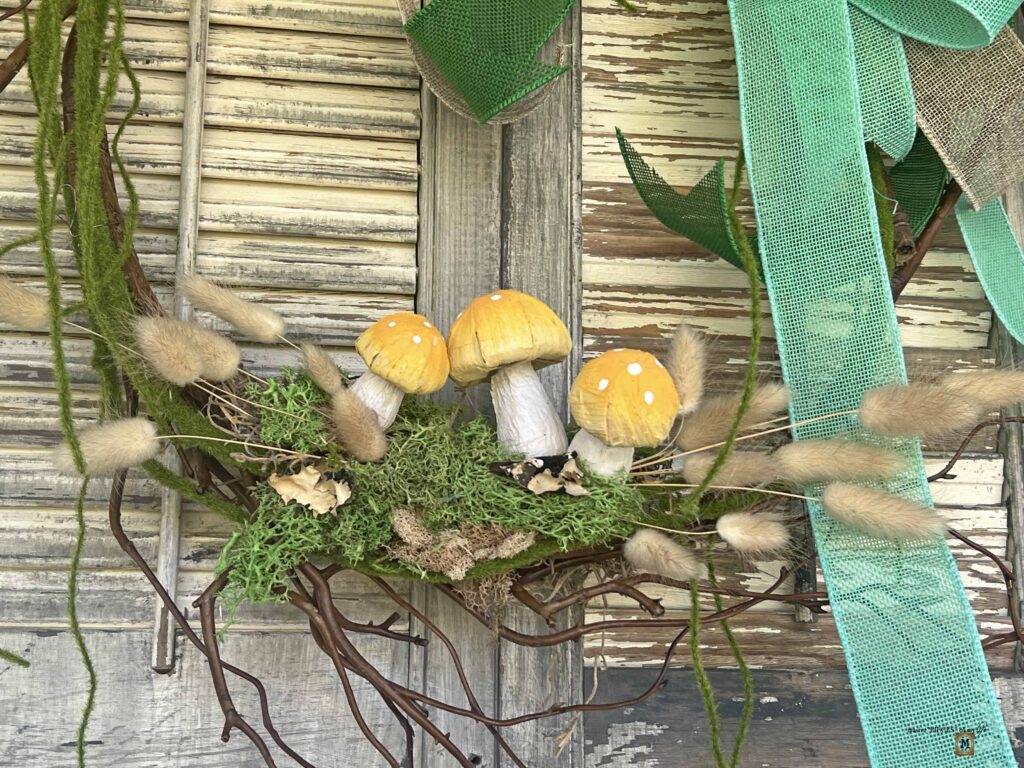
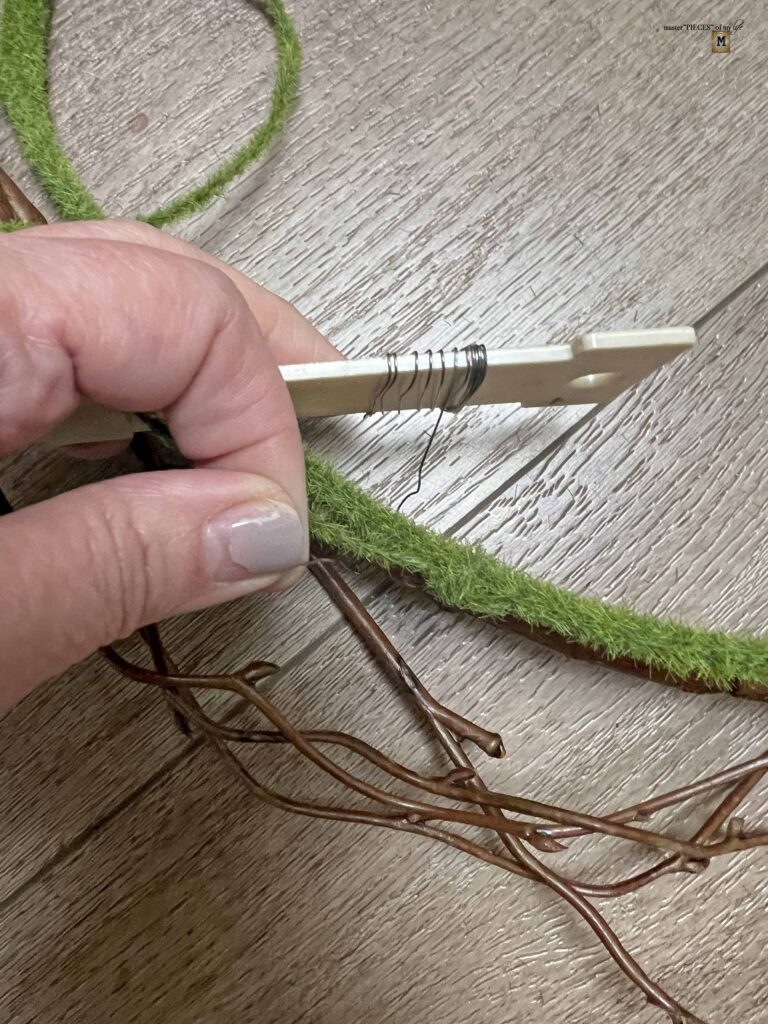
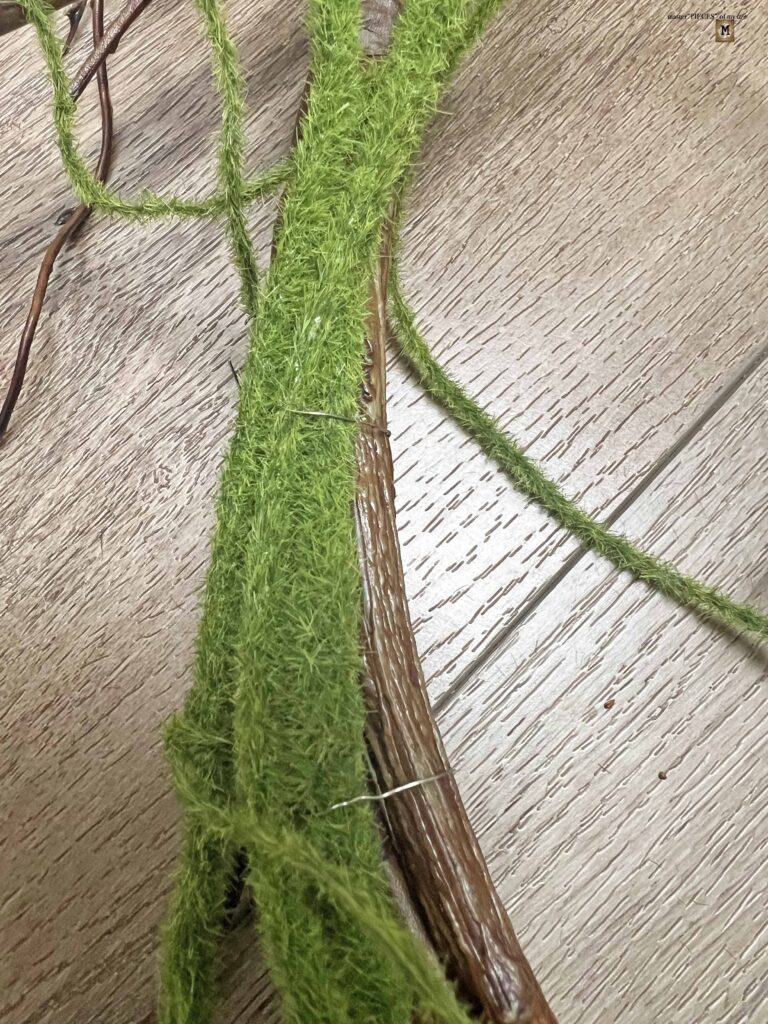
- Layer your faux moss vine on the wispy branch wreath form
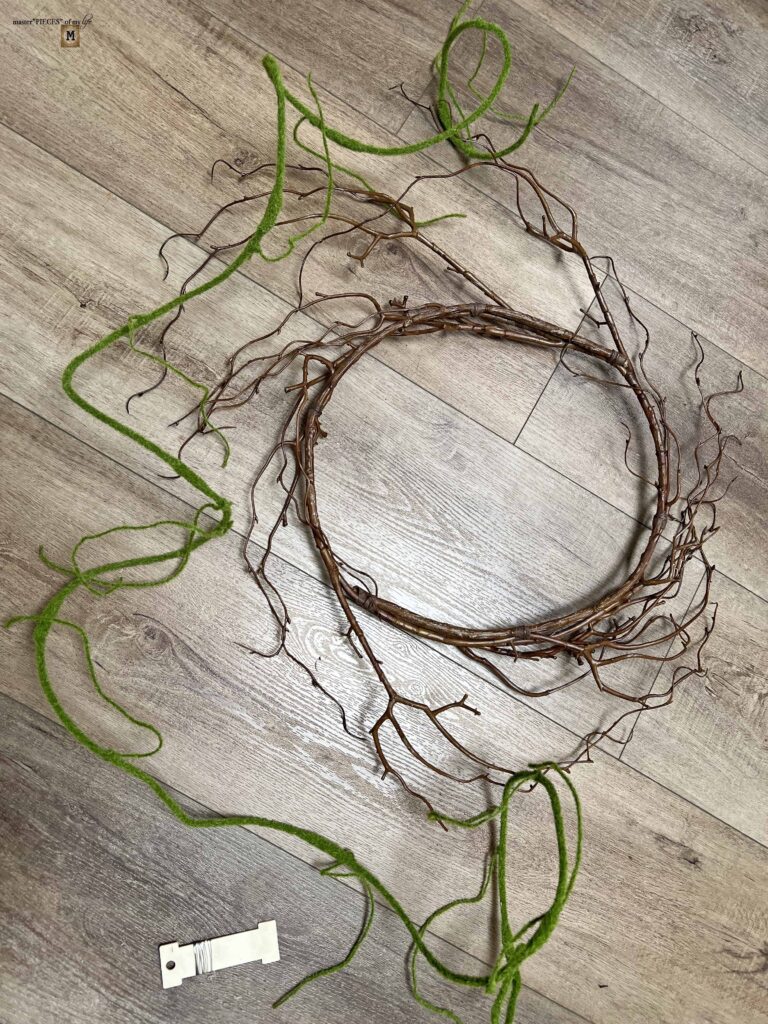
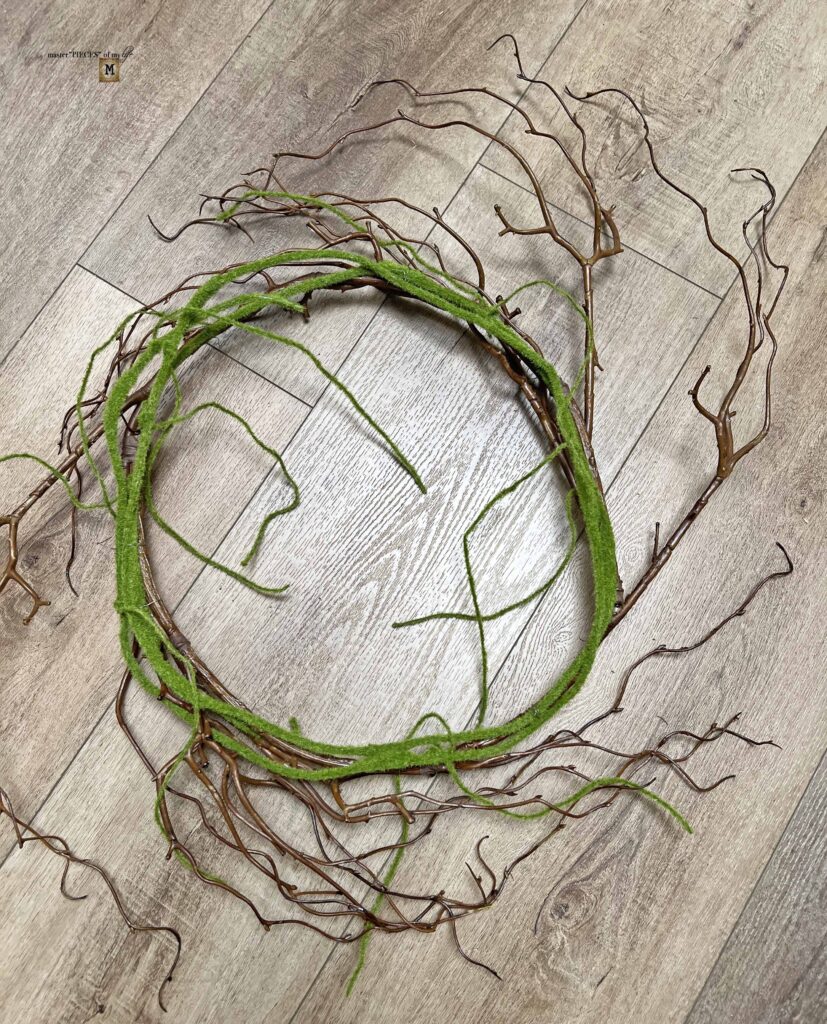
- Attach both with floral wire in various places around the wreath, making sure they are secured together
- Review wreath composition and determine which you would like to be the top versus the bottom
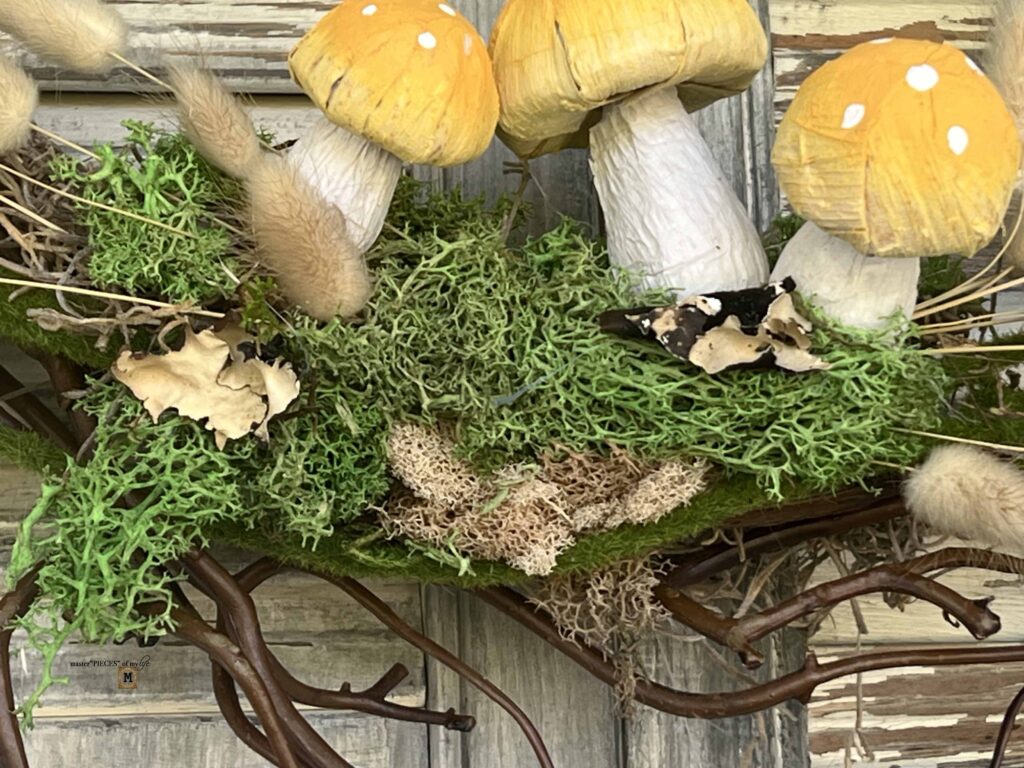
- On bottom portion hot glue a bed of Spanish moss
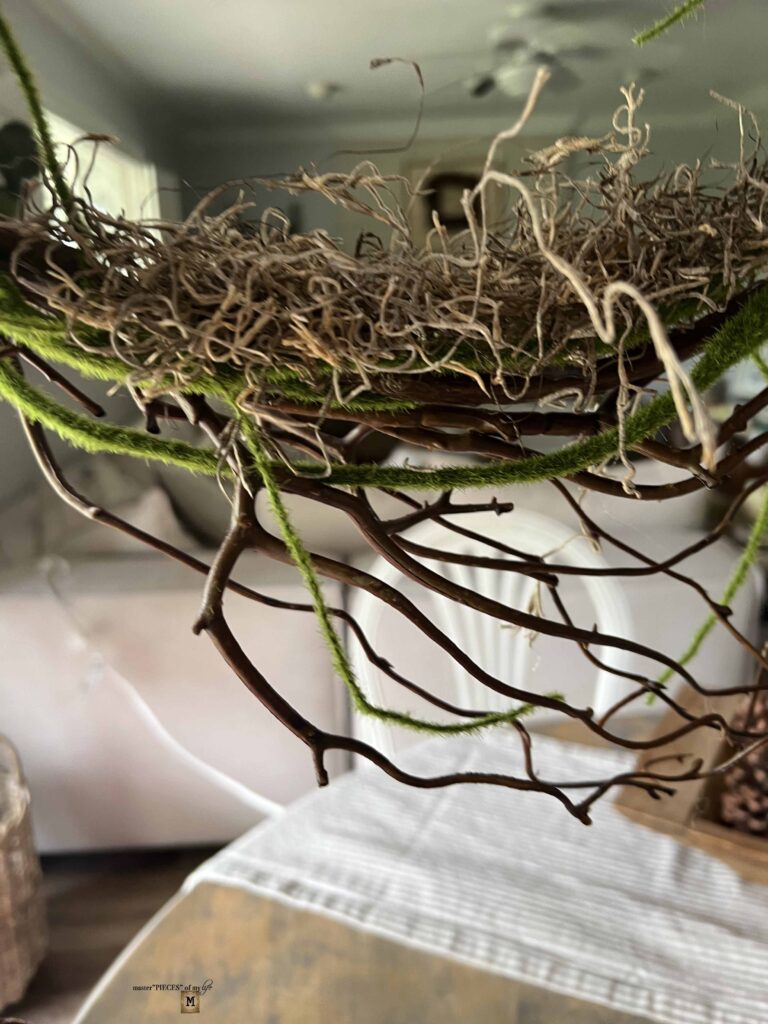
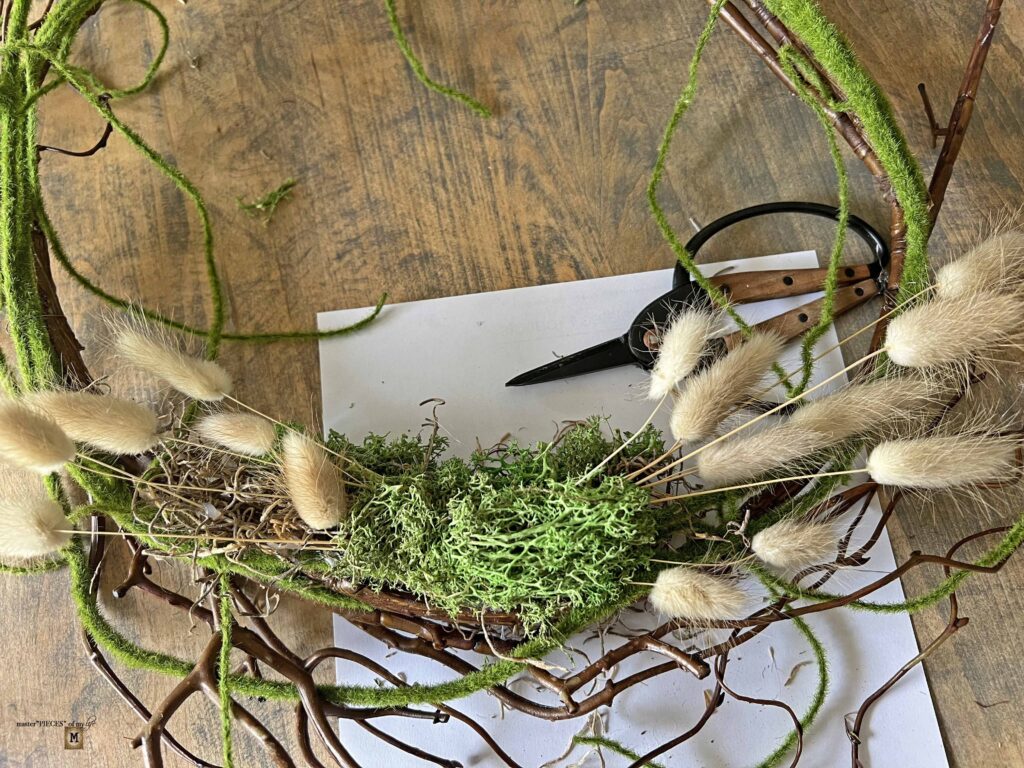
- Once Spanish moss is set, hot glue a layer of Reindeer moss

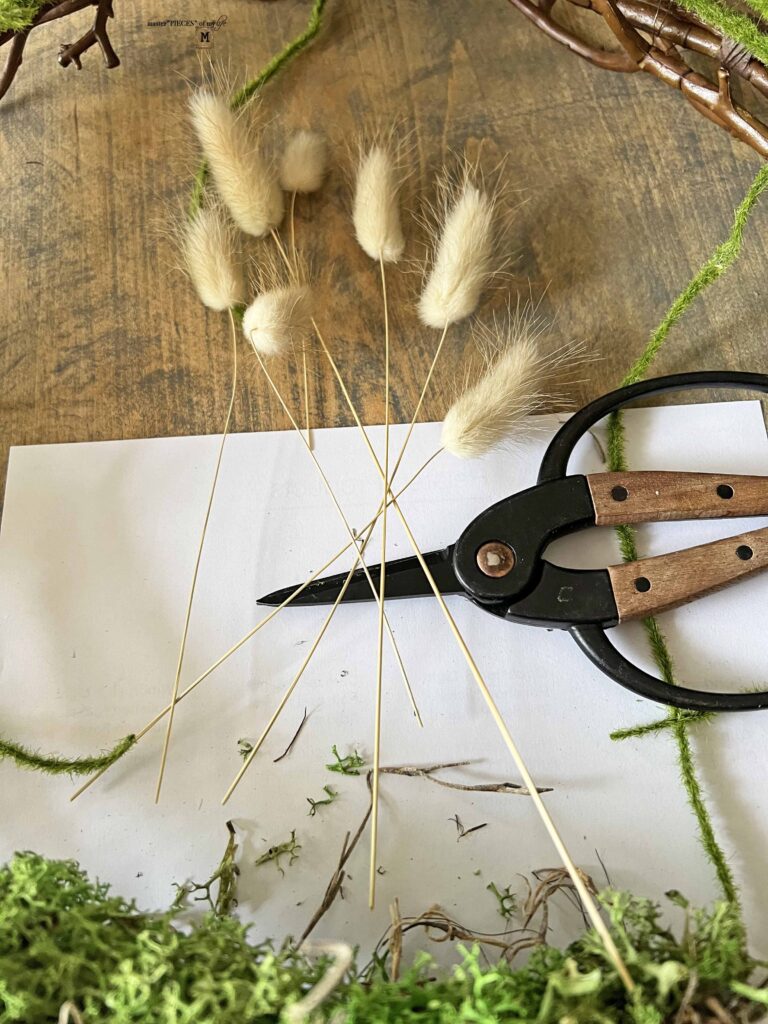
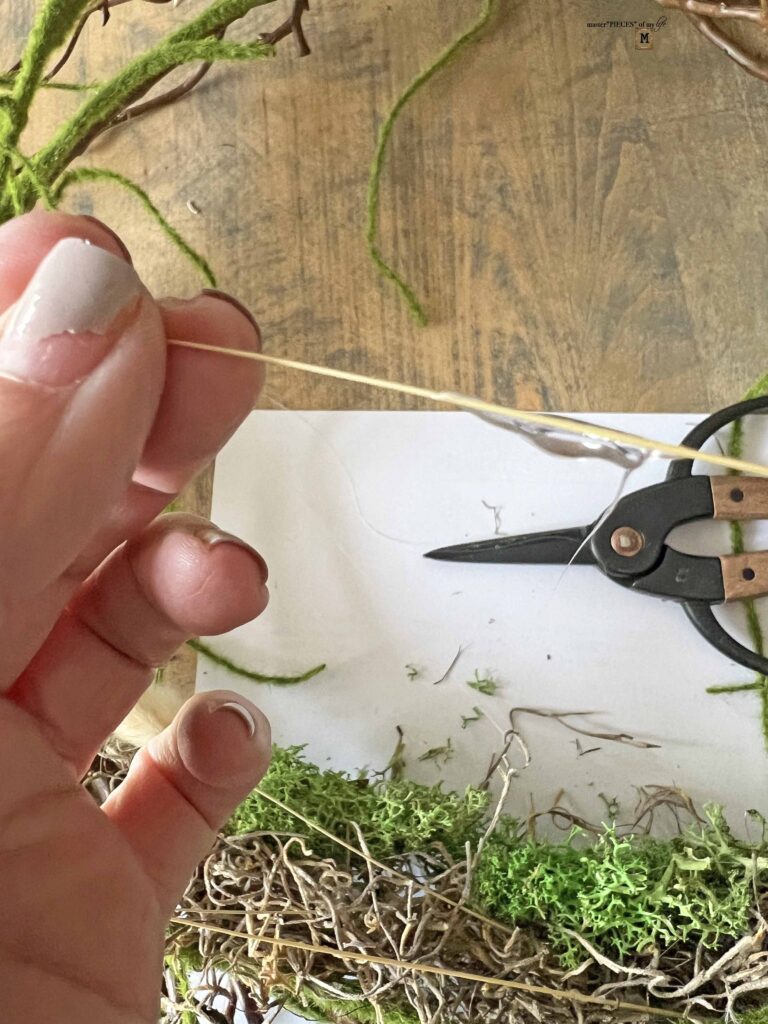
- Cut bunny tail branches to size
- I included 7 bunny stems on one side and 9 on the other side in varied lengths approximately from 3-inches to 9-inches
- Once Reindeer moss is set, add bunny tail stems pointing in opposite directions outward
- Hot glue another layer of reindeer moss in the middle to cover where the ends of the bunny tails meet
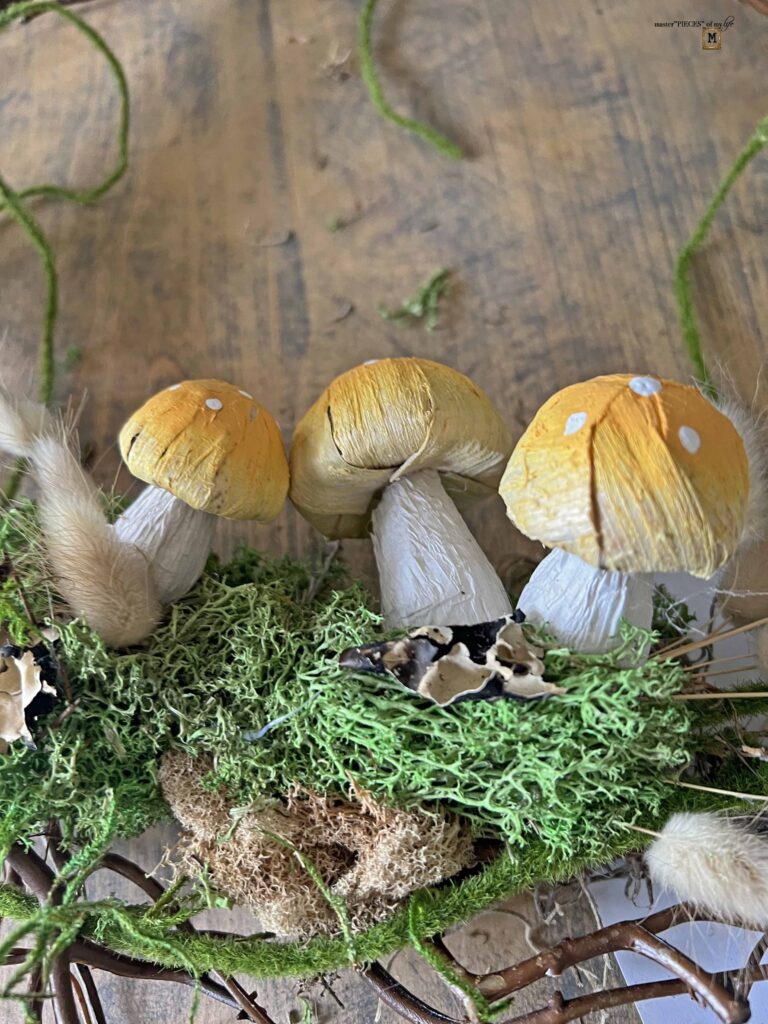
- Hot glue the mushrooms in the center pointing in different directions for interest
- Once mushrooms are set hot glue a few pieces of Lichen for added organic feels
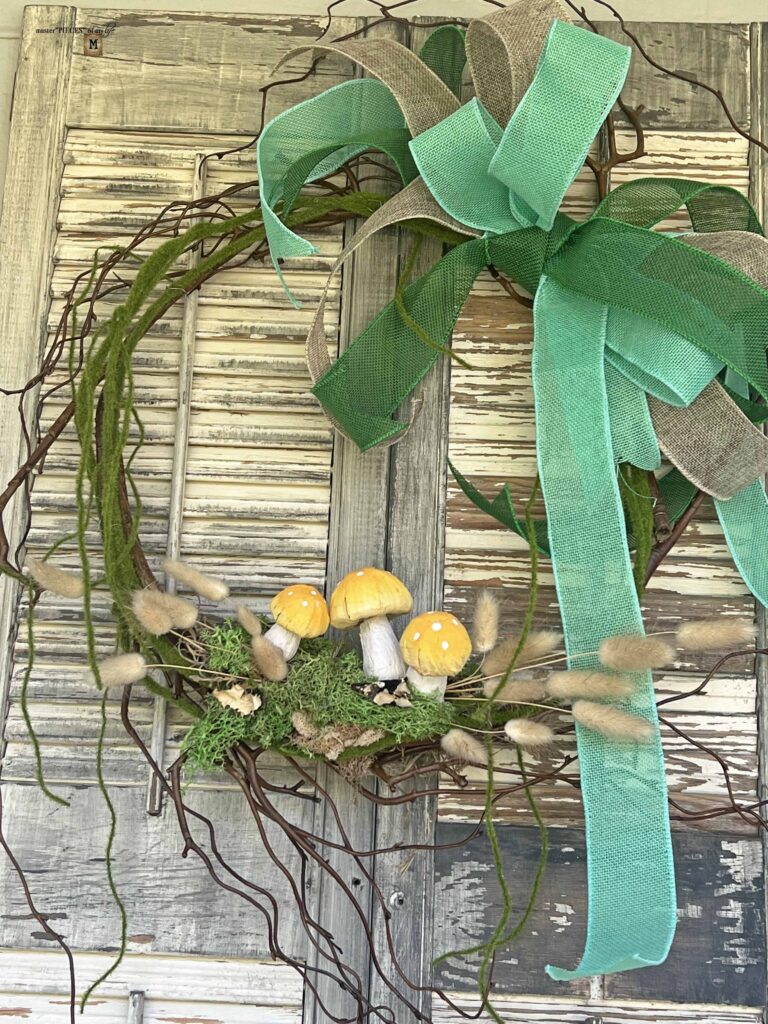
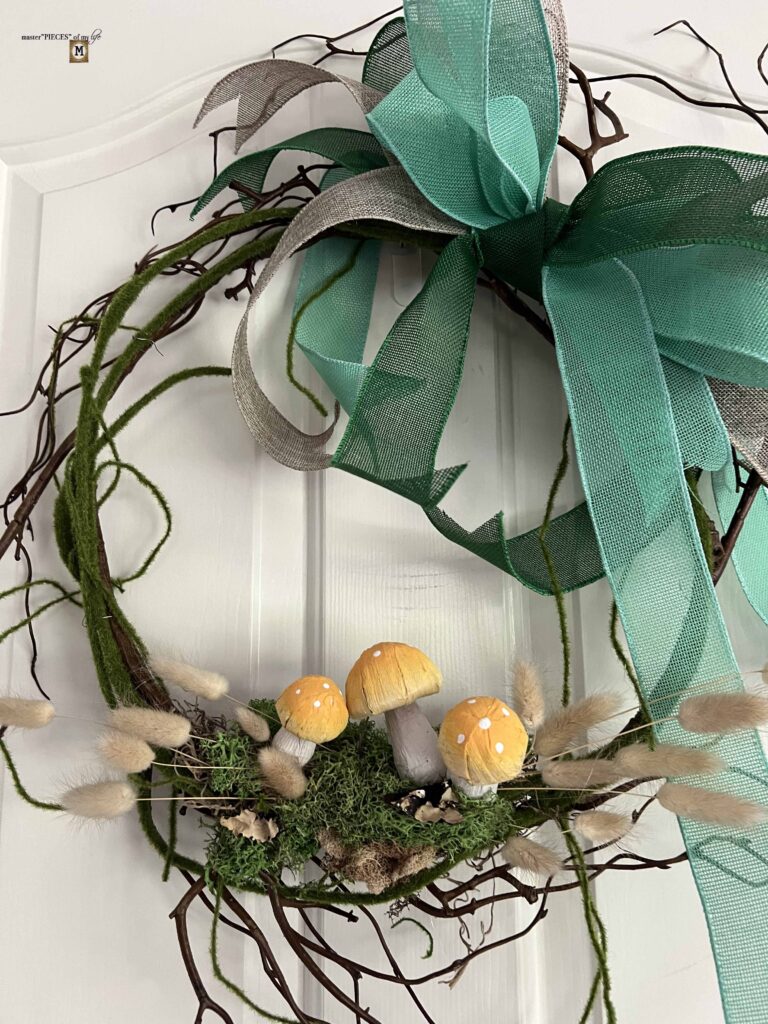
- Make bow and attach to wreath {bow tutorial here}
- Voila! Hang your new wreath in your home and enjoy.
Tips & Tricks for Making a Mushroom Wreath
I cannot stress enough about using silicon finger tips when working with a hot glue gun. I am late to the party on this one, since I have been crafting with a hot glue gun for decades, and I recently joined the silicon finger tip camp. It’s a game changer. Trust me. I included a link to the ones I use, but in case you missed it, here it is again.

When hot gluing a material like moss it’s very loose and allows the hot glue to melt through, which is how you burn yourself so the finger tips are critical for this project.
When gluing the bunny tails, add the hot glue to the very end of the stems and then stick them into your desired location in the wreath. It’s much better and easier than adding the hot glue to the wreath | moss and trying to attach the bunny tail branch.
On that note, I attached the mushrooms in two different ways. For the first one, I added the hot glue to the wreath | moss and attached the bottom of the mushroom to the glue. It did not adhere as well as it should, and I had to make a second pass through with hot glue. For the other 2 mushrooms I added a generous amount of hot glue to the bottom of the stems and then placed them in desired location on wreath. This worked much better with a strong bond.
Styling the Wispy Mushroom Wreath
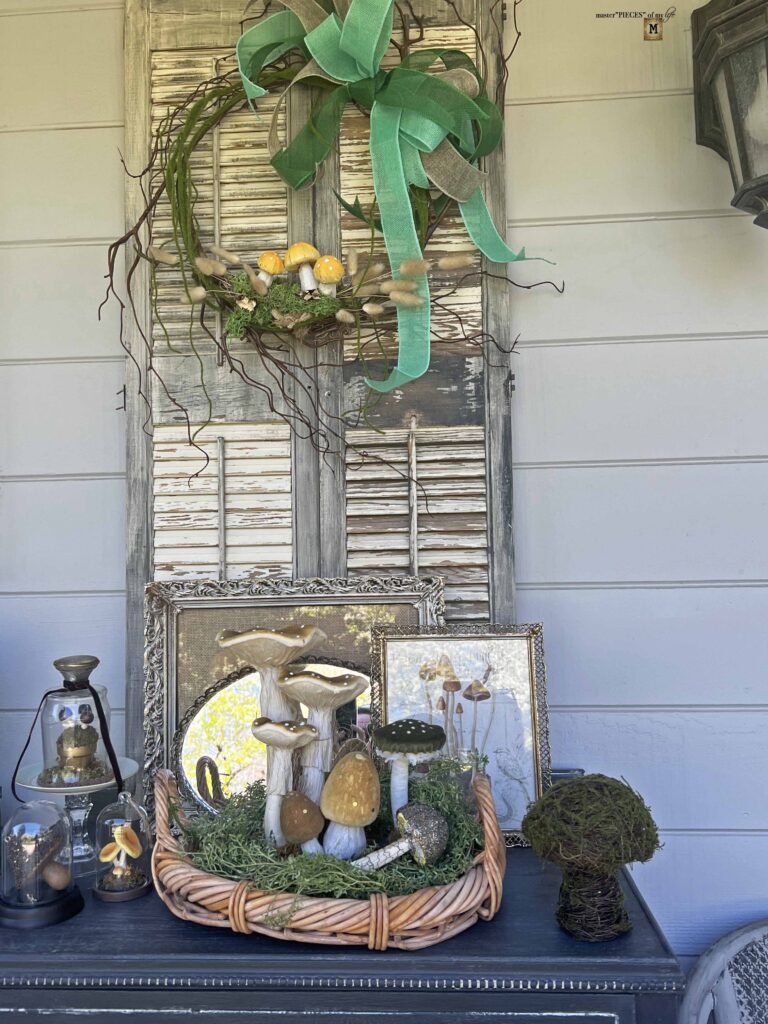
Now to the fun part! I hung the mushroom wreath outside over the outdoor sideboard on my chippy shutters. The weather is finally sunny and crisp and clear after all the cold, rainy days we’ve been having. It feels very spring like and it got me in the mood for an outdoor project.

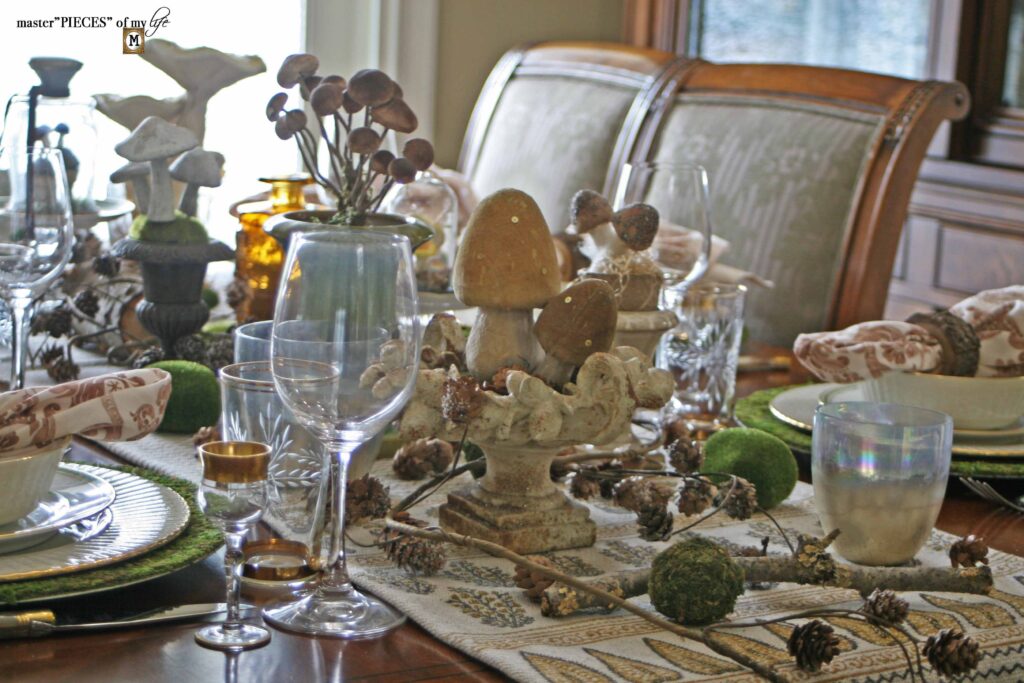
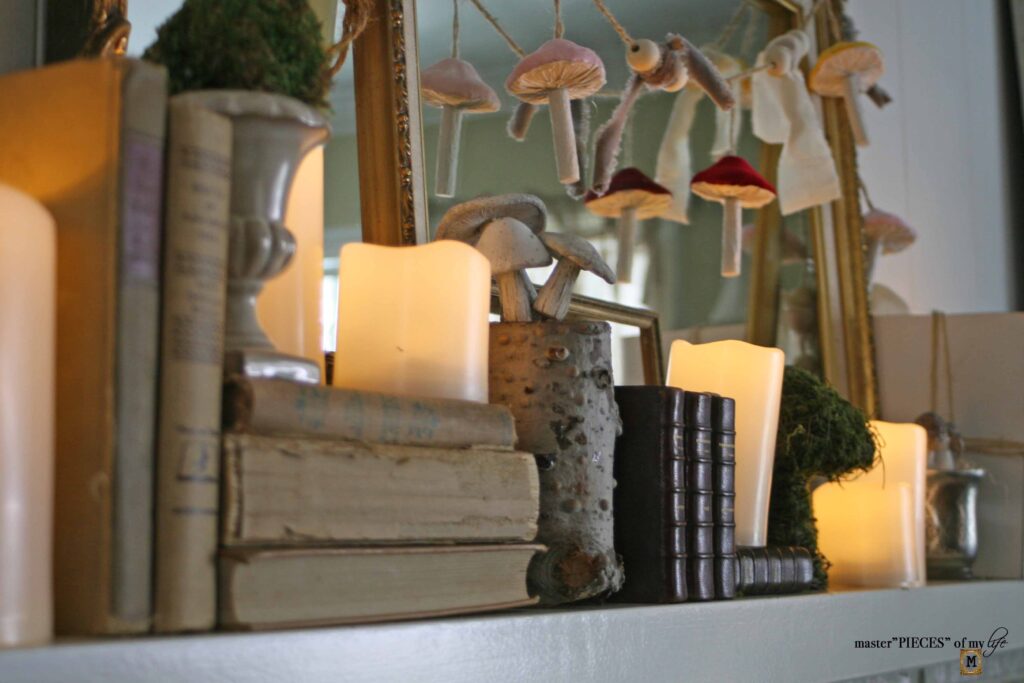
In keeping with the mushroom theme I created a vignette with most of my mushroom pieces. Please keep in mind some of these were gifted to me, but I do have a hard time passing up a cute, happy mushroom.
Since this post is plenty long, I will share all the details about the styling tomorrow. Make sure to pop back in tomorrow and see all the fabulous mushroom fancy! Thanks for being here today, and I hope you liked this wreath masterpiece DIY, inspiring you to create your own. Au Revoir!


More Mushroom Inspiration
My friend Anna from Sky Lark House shared a fabulous wreath tutorial if you want to check out a different look. Anna also teaches you how to make your own mushrooms from clay.
If you are interested in the idea of making your own mushrooms, Wendy from WM Design House teaches how to make your own moss mushroom. Oh dear, moss and mushrooms – amaZing!!
More Related Posts

Most Recent Posts


“For us, the mushroom is a very sacred being. It is a deity because it has a spirit, it has a voice, and it is a sentient being.”
Inti Garcia Flores