


Paint is an easy, cheap and fantastic way to breath new life into dated items. Today I will show you how with paint I transformed these baskets into fabulous decor pieces. This is a pretty easy weathered basket DIY.

This post is from the archives, but I still love all the pieces and use them to this day.
inspiration for the weathered baskets DIY
It all started when I spied this basket out shopping. I was drawn to the shape, which is pretty basic but it spoke to me for whatever reason, BUT I didn’t like the color & finish. You see, at first I saw the natural unbleached wicker version, but then I looked over and saw that there was also a weathered, driftwood finish. It HAD to come home with me. And it did.
This basket got me thinking that I could, and should do something similar with some baskets I have at home. I’ve wanted to up-cycle and transform these baskets for awhile now. A looong while, remember this post {decking the halls & so much more}?


There’s nothing wrong with these baskets per se, but they just needed some love and updating in my eyes.
technique for the weathered baskets DIY
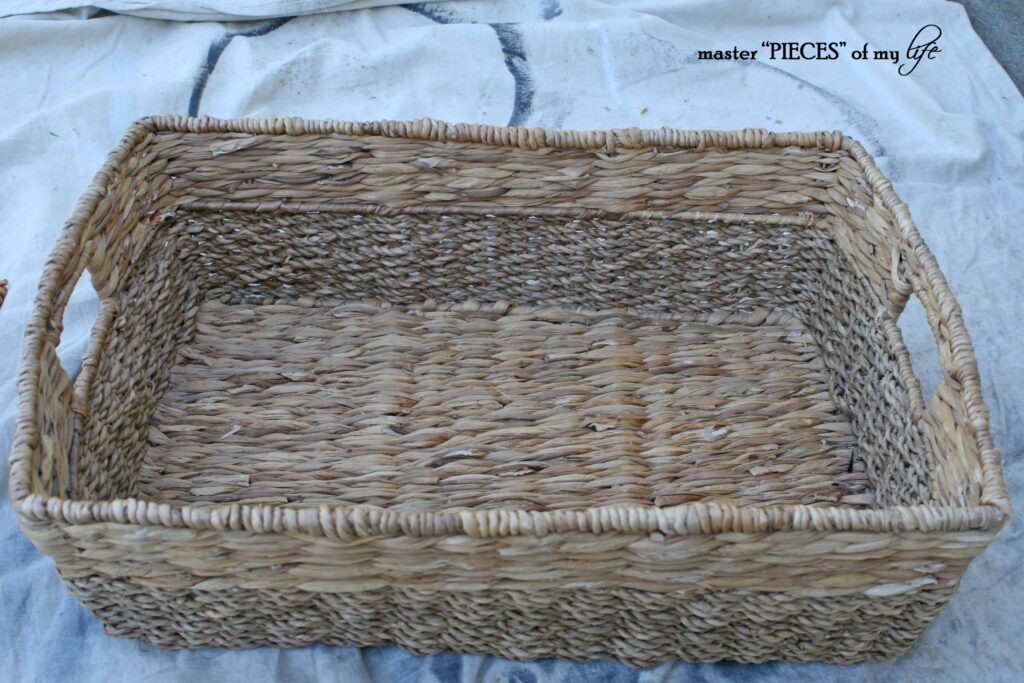
I used the same technique for all of the following projects. First I painted all of them in a gray clay based paint similar to chalk paint. It doesn’t have to be perfect since it’s wicker which in itself makes it pretty imperfect since it’s difficult to get in all the nooks and crannies, but that’s good because you want some of the wicker showing through to add depth.

When the paint is dry (I let mine sit over night), then apply a white wash finish with watered down white clay based paint. As the white wash is applied, wipe it down with a paper towel until the desired effect is reached. This adds a further layer of depth. You can see the before and after of the white wash above.
There is no science here. I didn’t follow any formula or DIY instructions. I just wanted that weathered gray driftwood look you see on so many things out there. So I played mad scientist for a couple of days and I am happy with the results. Paint a base of gray and then white wash it with a combination of white paint and water. Although I used clay based paint I’m sure you can apply chalk, craft, milk and many other types of paint achieving very similar results. It’s meant to be weathered, therefore imperfect. Phew! It takes some of the pressure off.
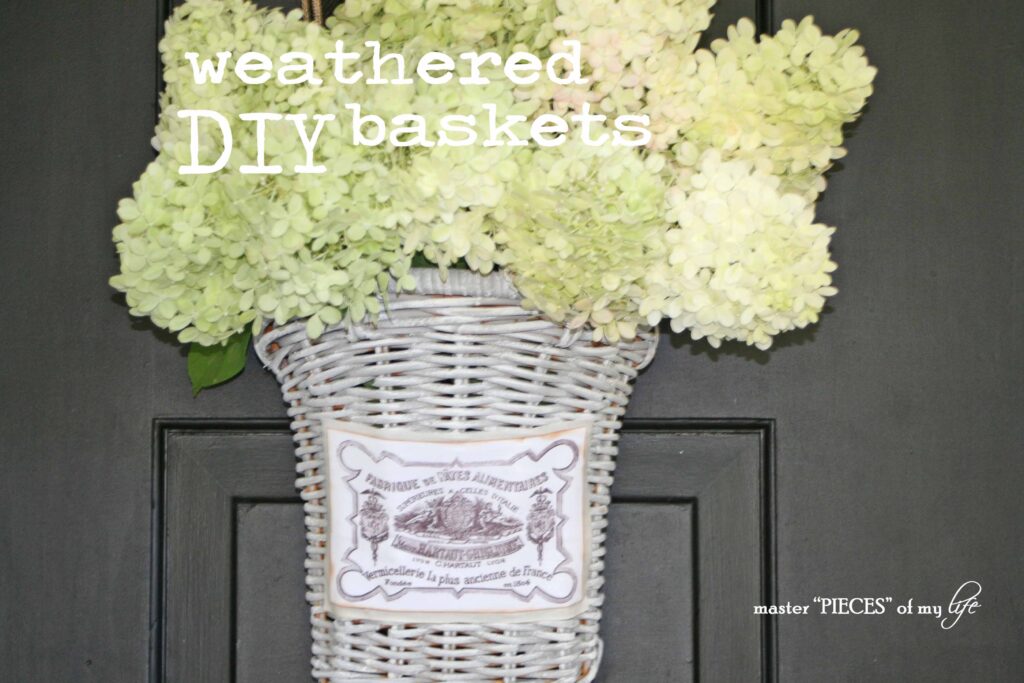
thrifted wall hanging basket
This flat wall basket was a local thrift store find for a couple dollars. I immediately loved the bones, and knew I would transform it eventually.


First I paint distressed the basket, and then I added a printed canvas transfer graphic. The French graphic is from The Graphics Fairy.


I absolutely love how it turned out and it graces our front door at the moment with some of the limelight hydrangeas from the backyard.

I am looking forward to dressing it up throughout the seasons.
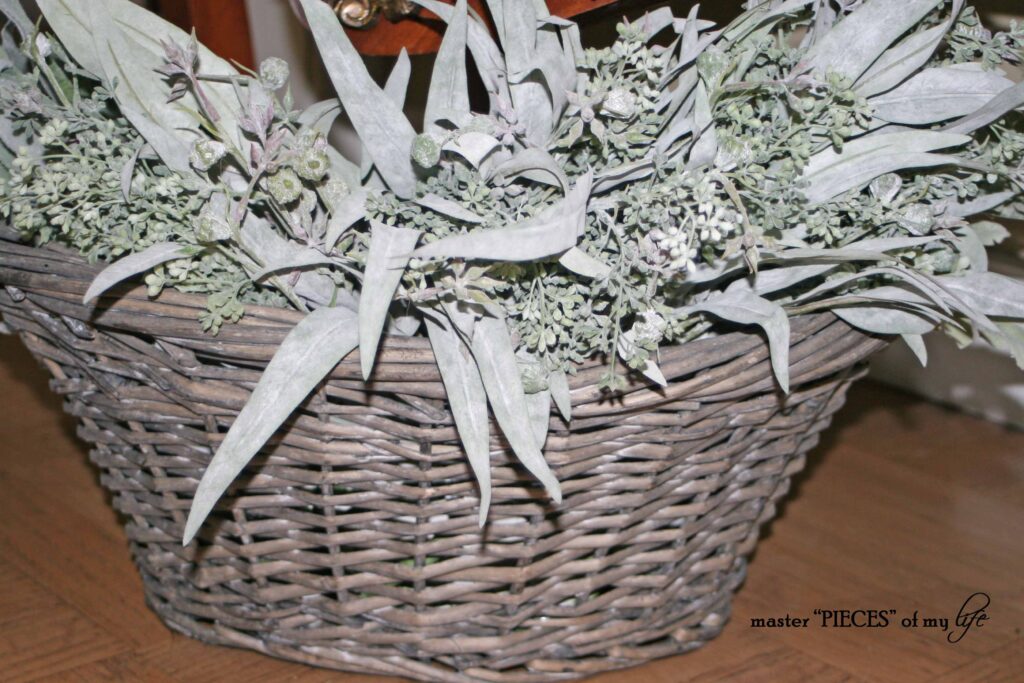
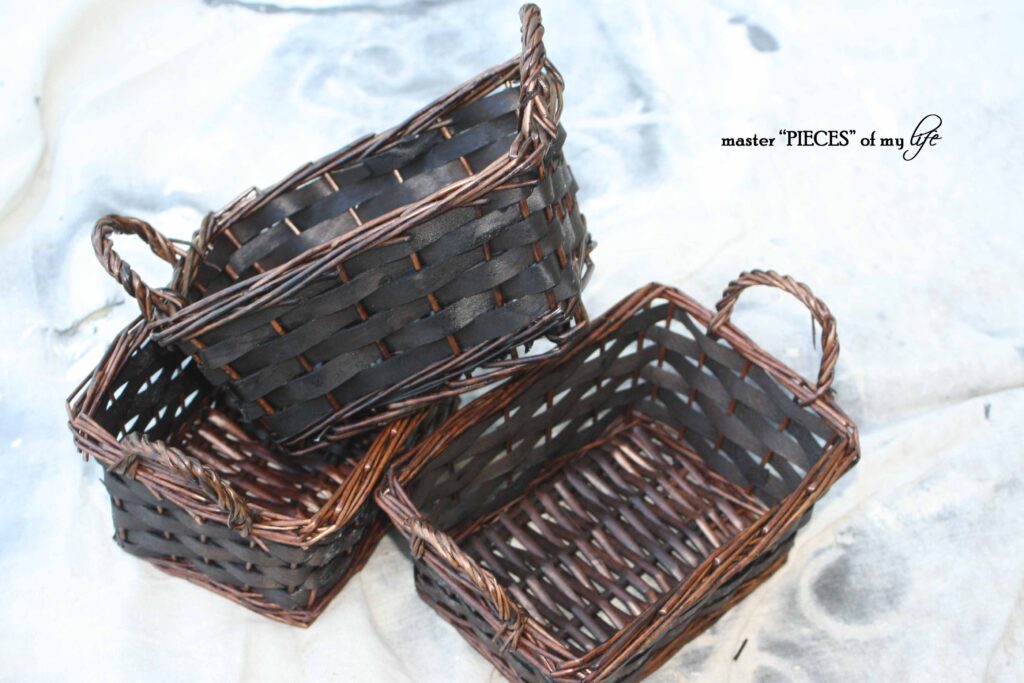
old handled basket
We have had this basket for a very long time. It had a fabric liner, which I am no longer using now that I weathered the basket.
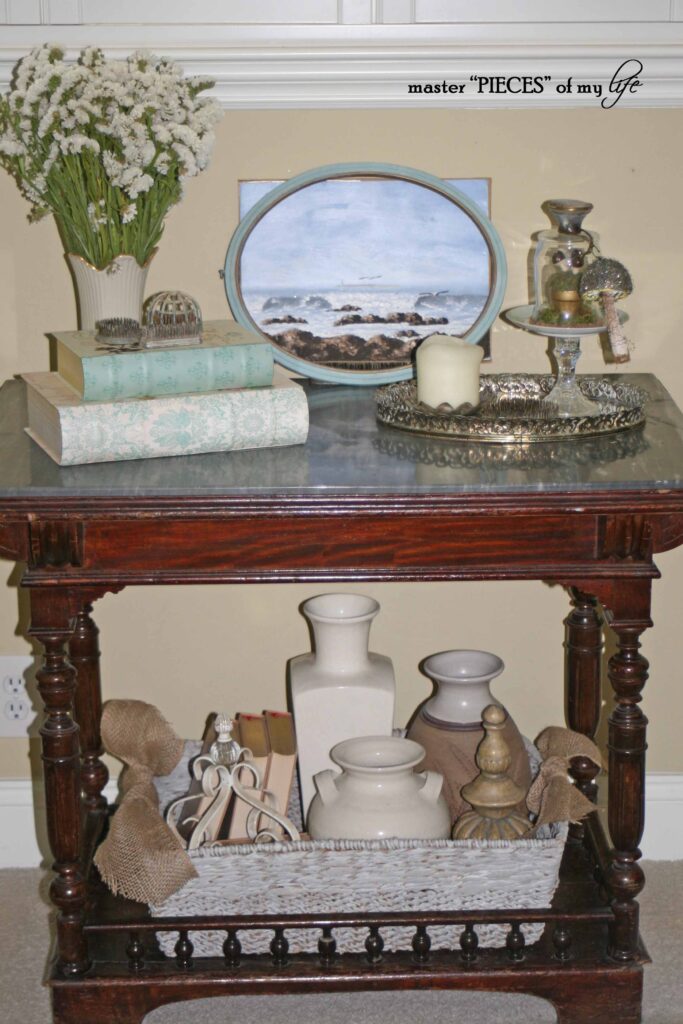
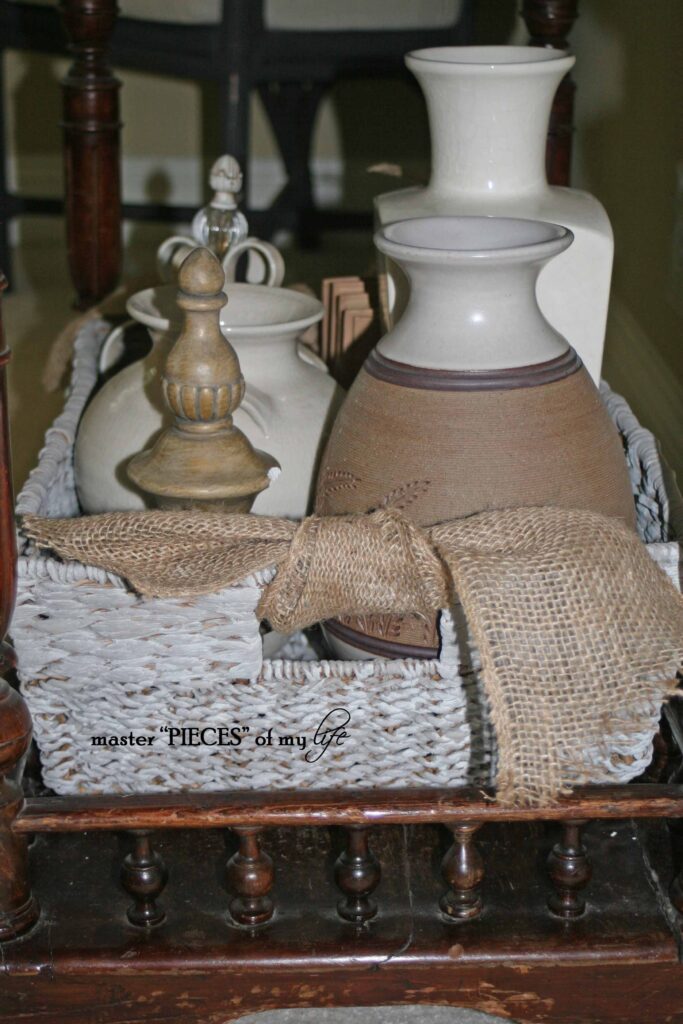
This basket use to sit on the bottom of the coffee table in the family room with magazines, but now I moved it to the guest room.
In the guest room it sits in an old piece of furniture from my home growing up. The basket makes a nice addition.

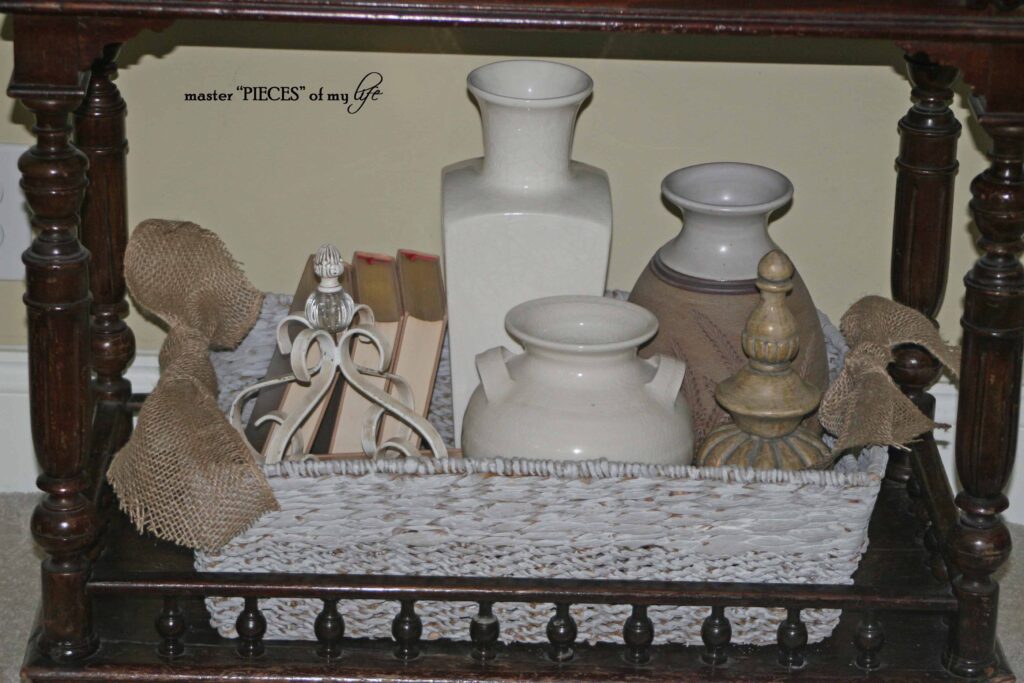
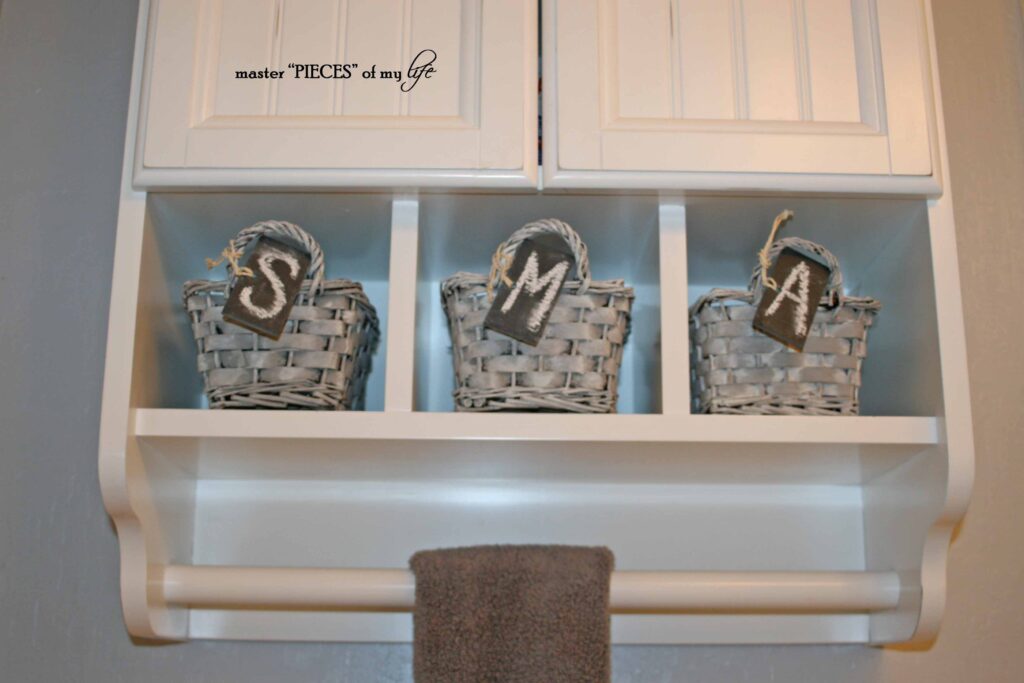
new mini basket trio
Last but not least are a little trio of baskets. I bought these baskets at Michael’s, knowing I had to change them to fit into the kids’ bathroom decor.
These baskets were the perfect size, but totally the wrong color. I wanted the baskets to organize the cubbies in the kids’ bathroom. This was the perfect technique to coordinate the baskets to the bathroom. I added the slate tags I shared here {Valentine’s Day tablescape}.

These baskets are the right size, but not the right color. I had been searching for awhile, carrying the dimensions in my purse for what seemed like forever.

I will share more of the bathroom soon, I just need to update a couple of things first.
If you don’t want to miss out on any of the upcoming projects you can subscribe to receive all my new posts to your in-box.
This shows how sometimes you can alter things to fit your needs and desires. I’m not saying that you want to redo everything you buy new. I certainly don’t.
It’s nice to know there’s options if need be. Here I updated a {1} thrift find, {2} an oldie but a goodie and {3} trio of new baskets.

I am so glad to have these projects behind me. I love how they all came out, and I hope it helps you uplift some old baskets too if you have some kicking around.
“A tisket, a tasket, some weathered DIY baskets.”
sharing @ between naps on the porchSave
Save
Save
Save
Save
Save
Save
Save
Save
Save
Save
Save
Save
Save
Save
Save
Save