


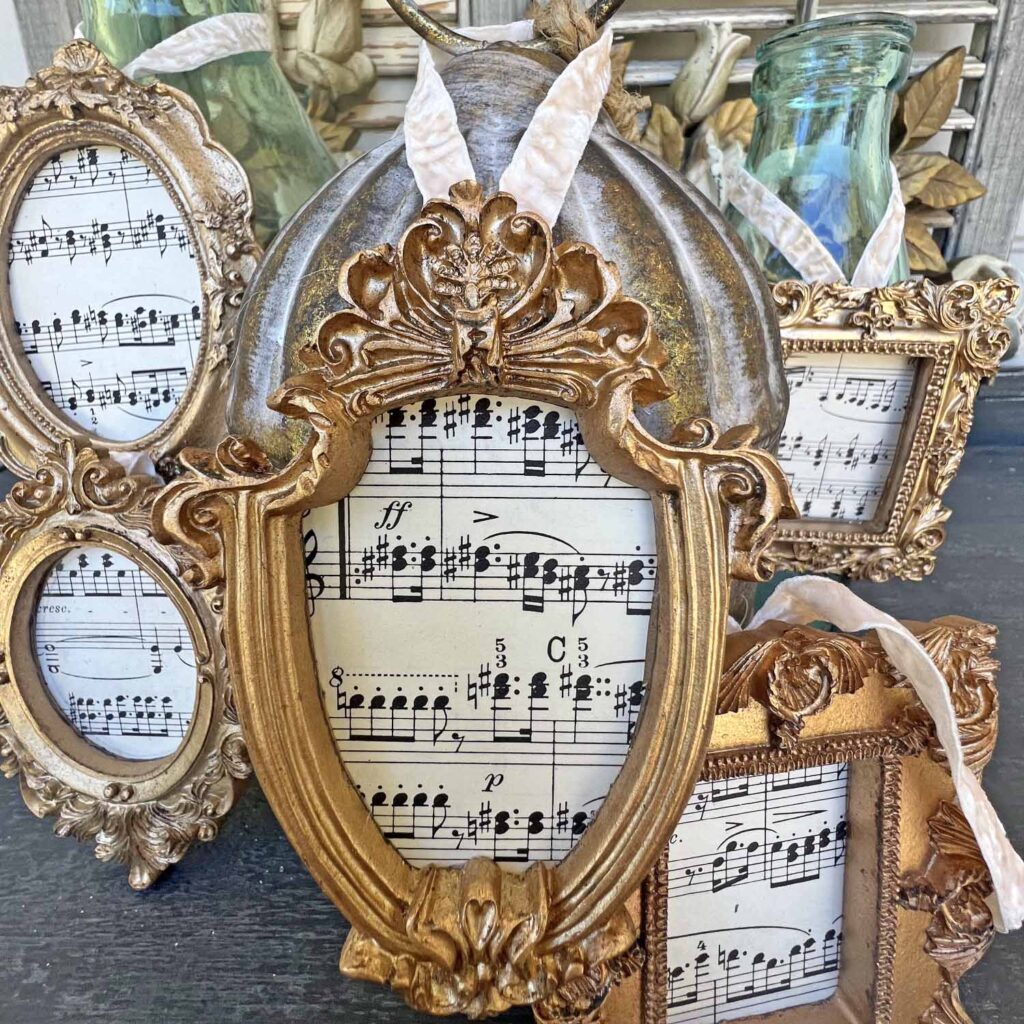
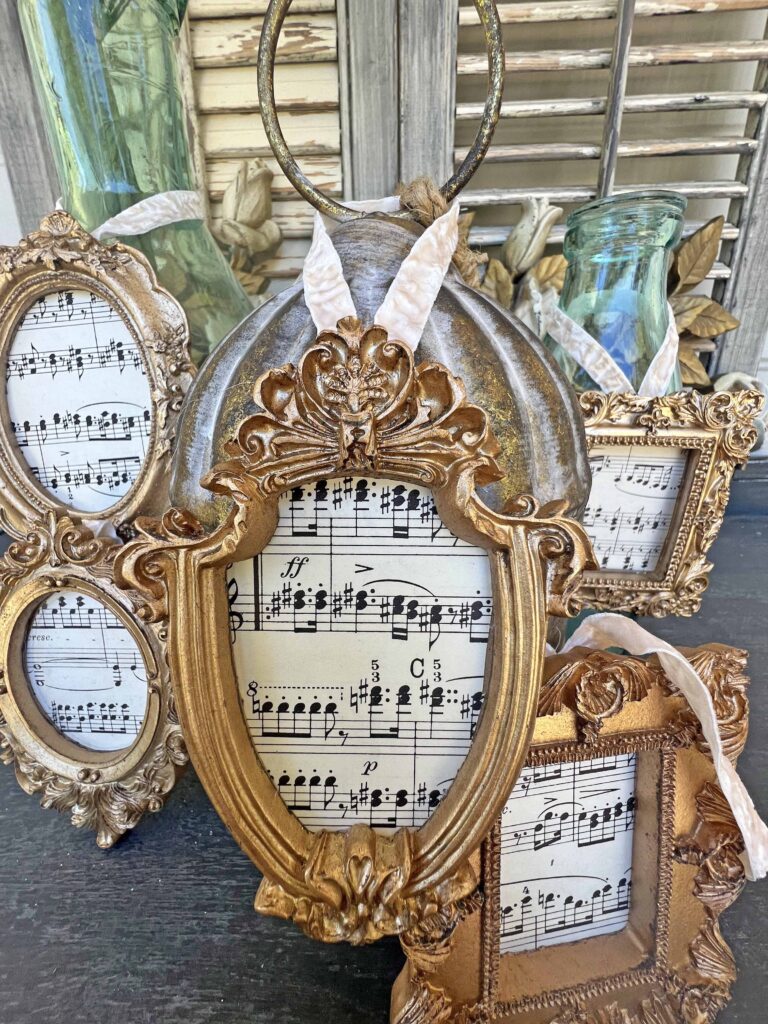
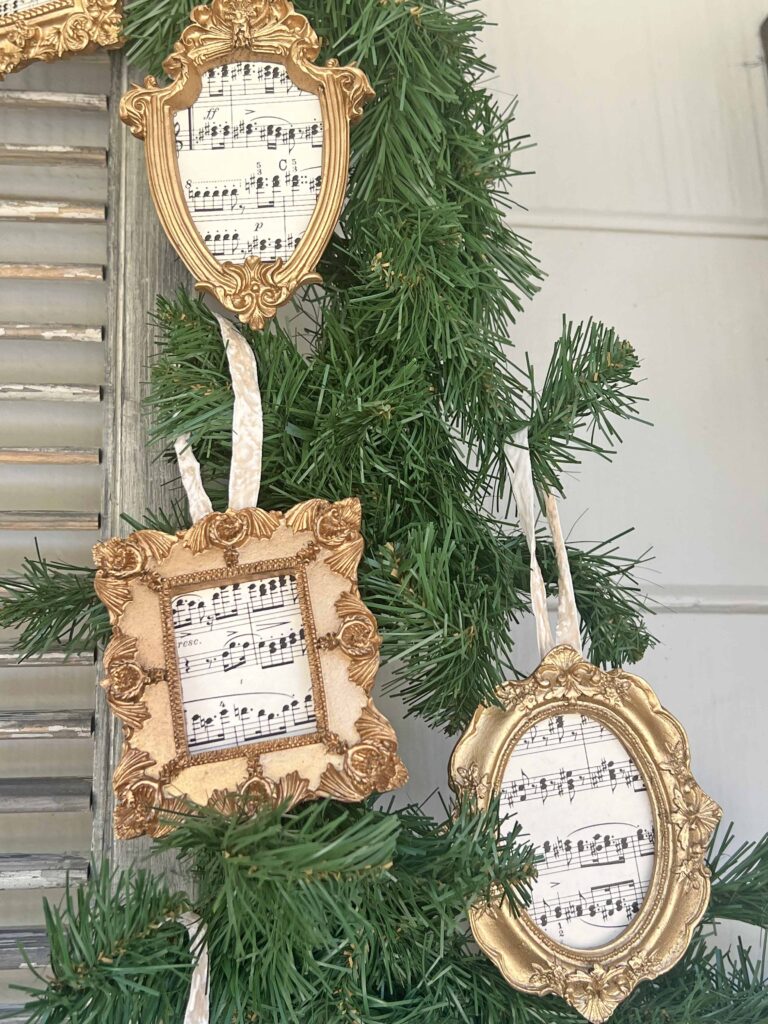
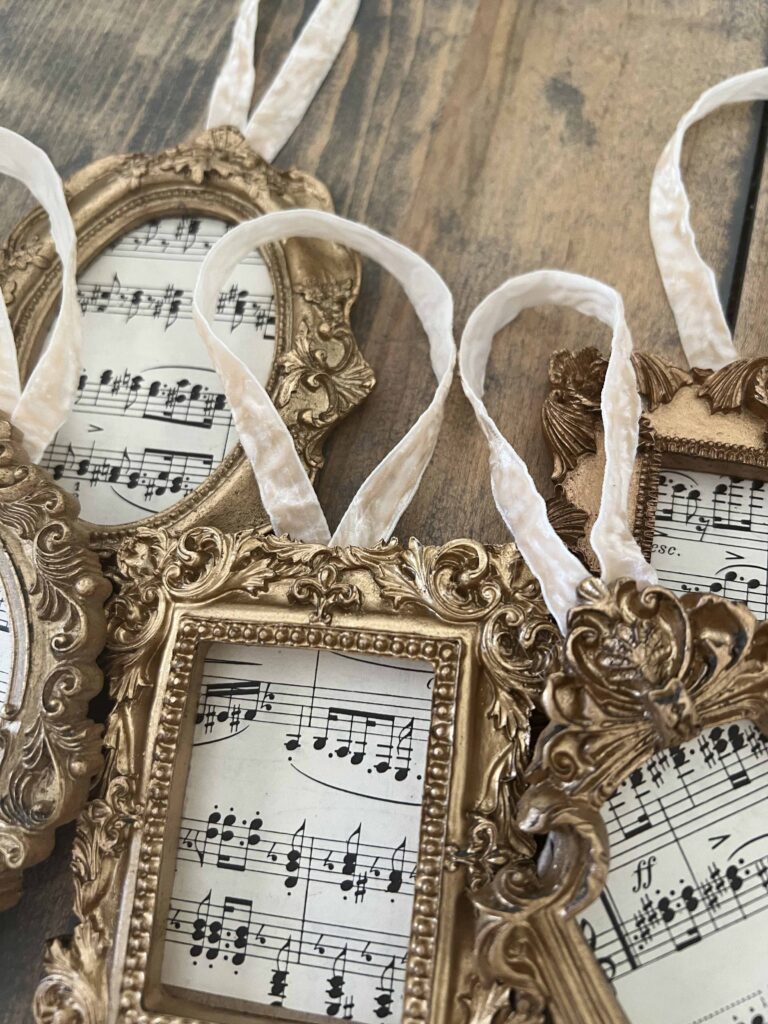
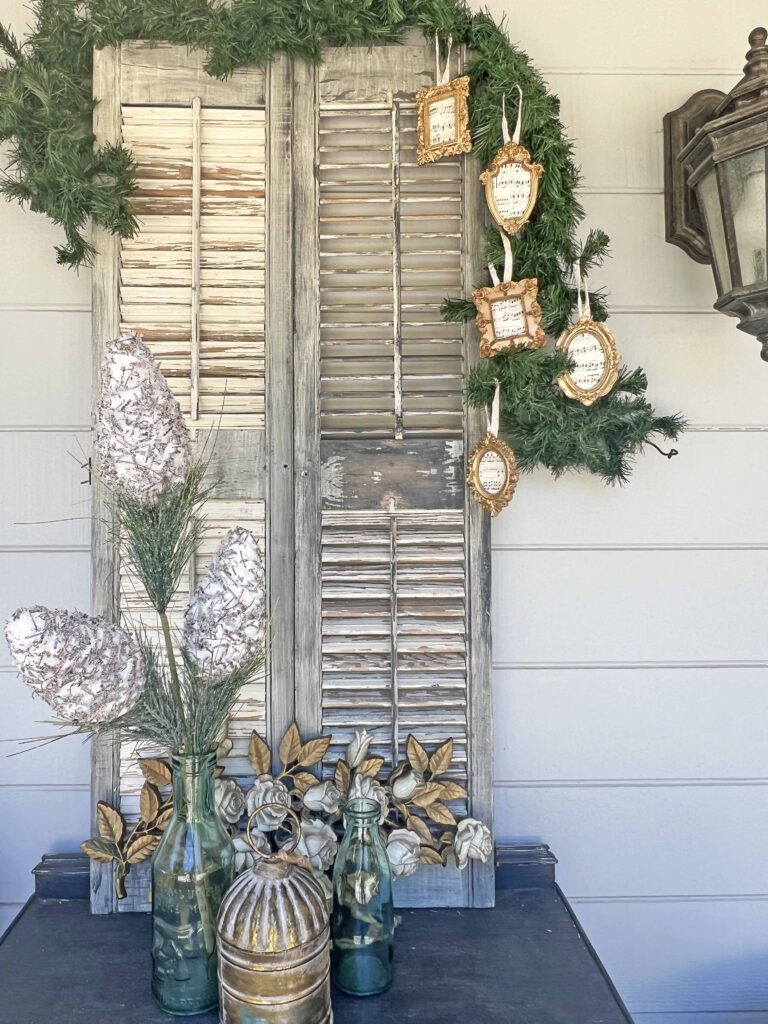
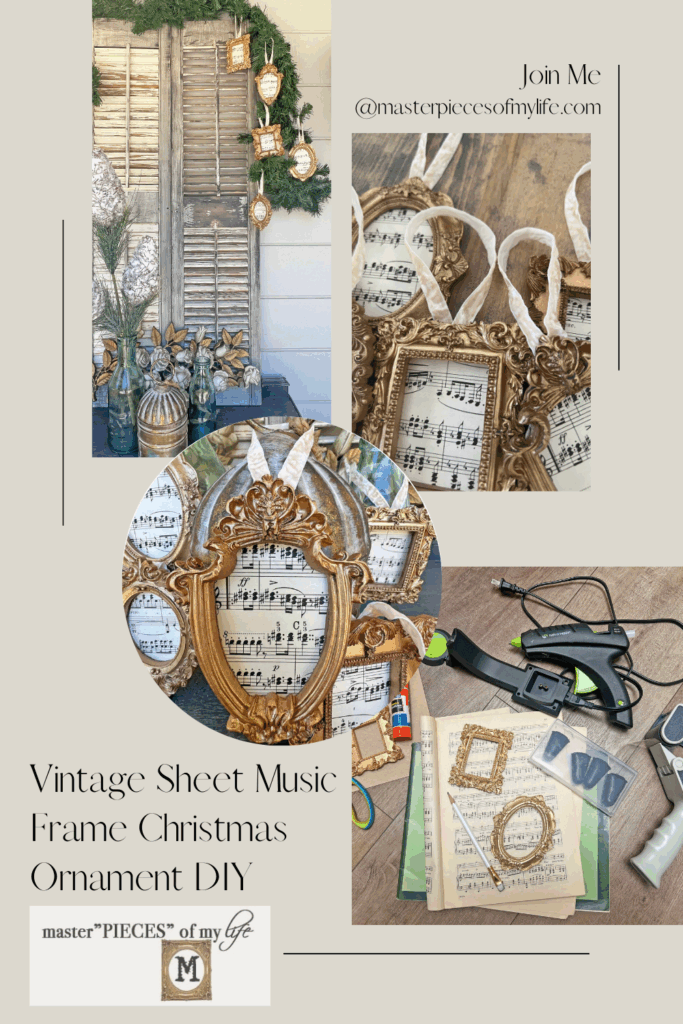
I’m obsessed! These mini gilded frames with vintage sheet music and crushed ivory velvet ribbons are a super easy and super fabulous DIY to throw together super fast. They add nostalgic vibes to your Christmas tree or as decor accents around your home. I am excited to share how you can make these sheet music frame Christmas ornament DIY for your home.

This vintage sheet music frame ornament wraps up Christmas in July around here, but I urge you to continue to create, plan and organize for the holiday season. This way you prevent everything from piling on at the last minute causing stress and not allowing you to fully be present and enjoy the festivities when they are happening. Come on in and let’s get busy.
*Affiliate links might be included for your convenience. These affiliate links mean a small commission is earned if you make a purchase using these links at no extra cost to you. As an Amazon Associate qualifying purchases support this website. For more information: Full Disclosure Policy.
The Inspiration behind the Mini Gilded Frame Sheet Music Ornament DIY
Gilded Frames
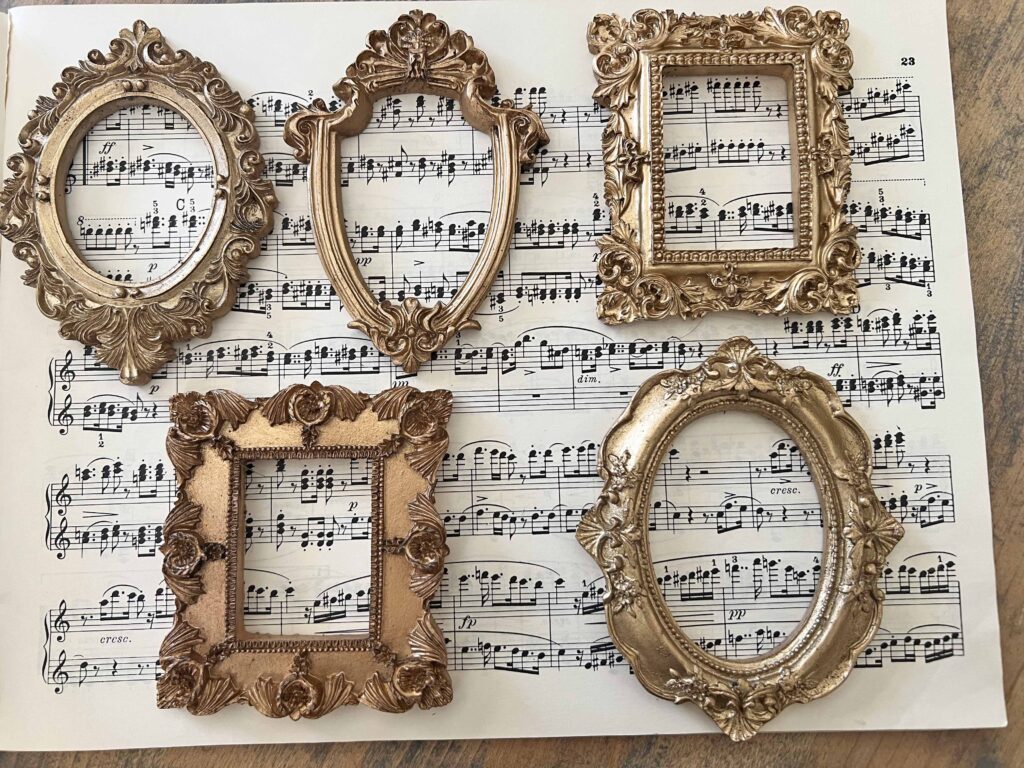
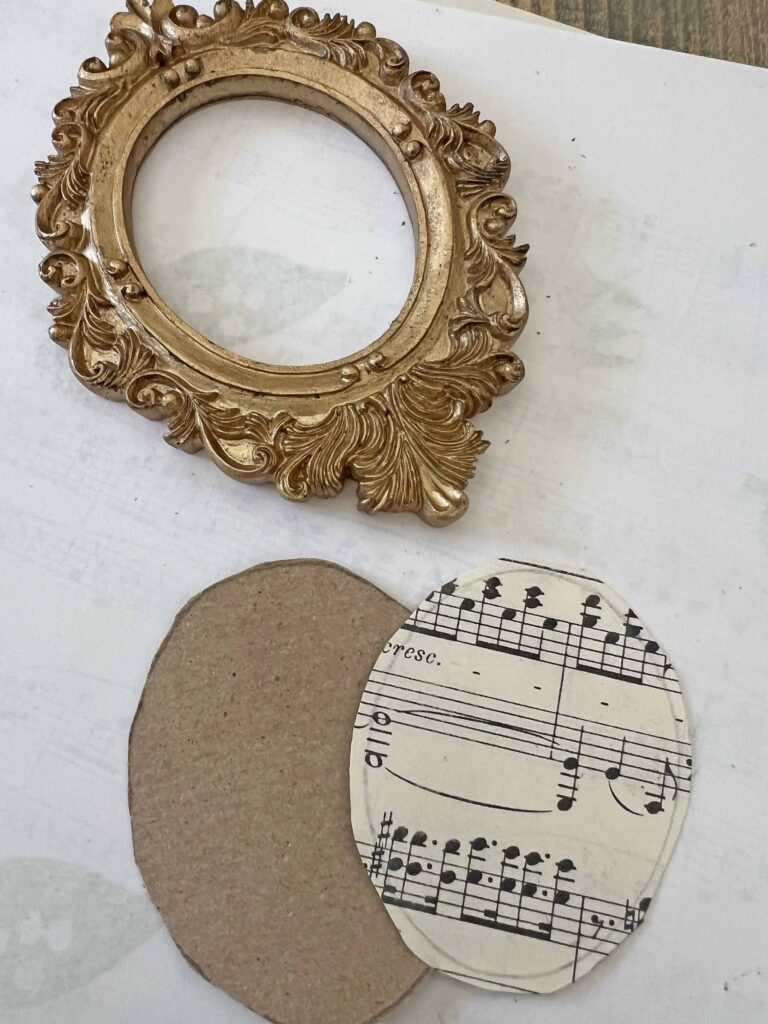
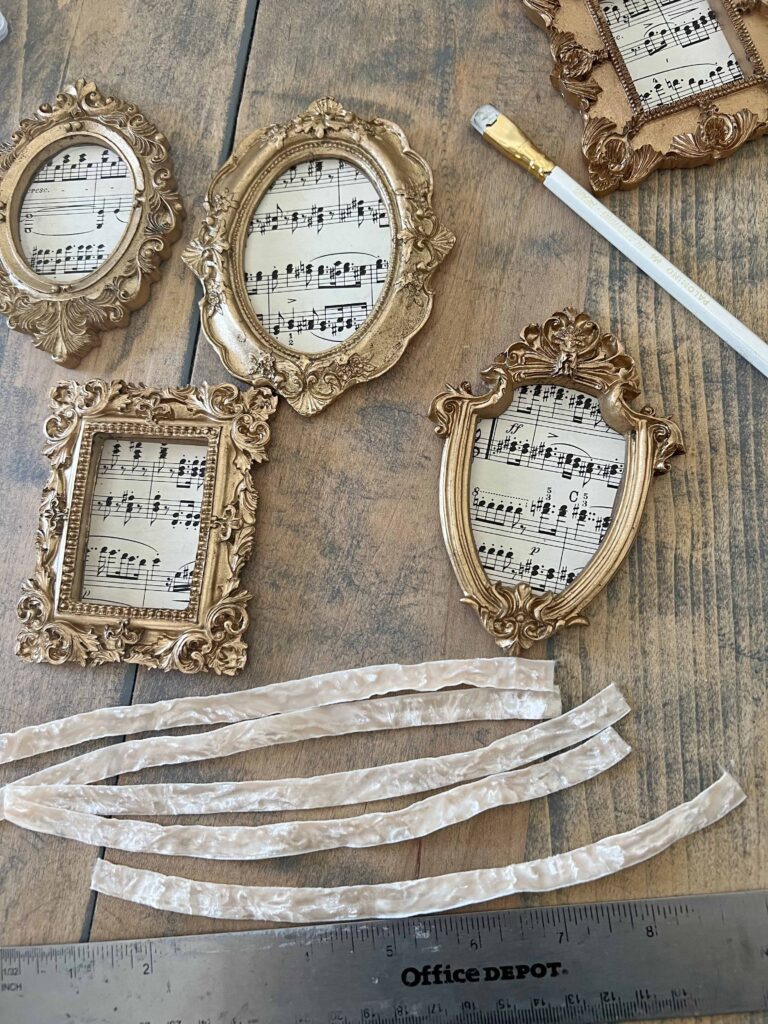
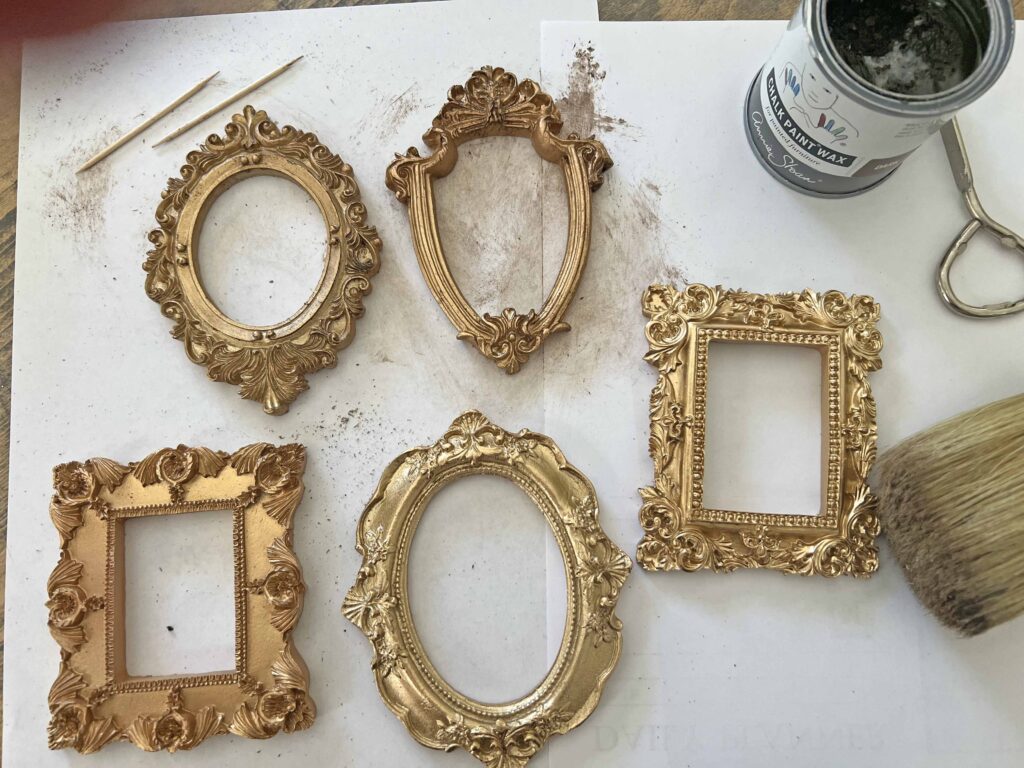
I love gilded frames whether around paintings or mirrors or pictures. When I saw these small resin frames, I knew I wanted to create something with them. And here we are. These are the frames used, which are a fabulous quality with so many possibilities.

Vintage Sheet Music
Vintage sheet music is one of the things I pick up at thrift stores all the time. I use the sheet music for so many projects, and it was the perfect thing to add to these pretty mini frames.
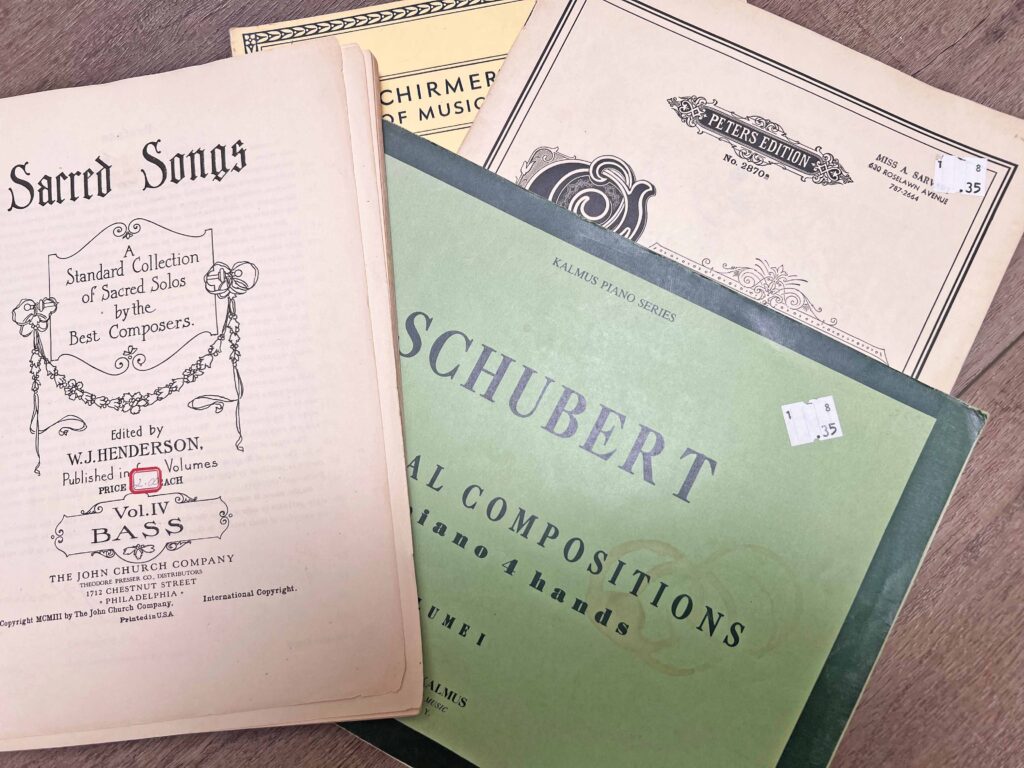
These music books usually cost cents and they inspire so many projects around here. I’ll be showcasing thrifty sheet music projects at the next thrifted goodies installment. Make sure to join me.
How to Create Vintage Sheet Music Mini Gilded Frame Ornaments
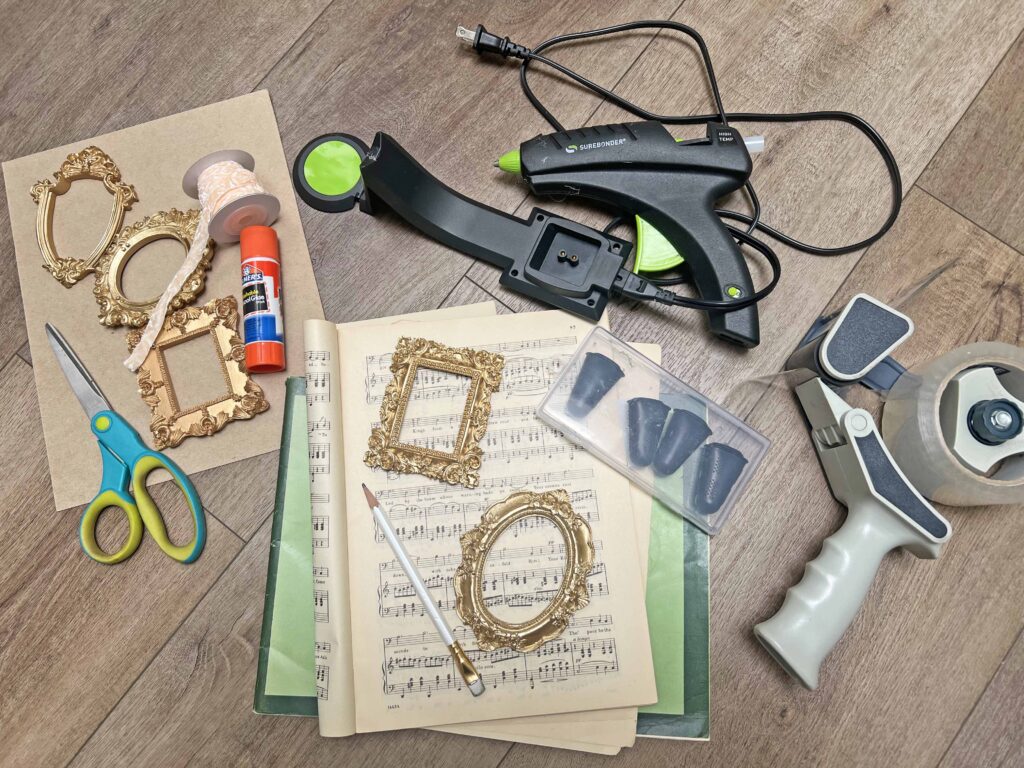
Supplies
- Mini frames
- Vintage sheet music
- Chip board or card stock
- Crushed Velvet Ribbon
Crafting Pro Tip: As I recommend with all my recipes, read all the instructions through once and then re-read everything again. This way you are familiar with everything you need and know what to expect.
Tools
- Glue stick
- Scissors
- Pencil
- Packing tape
- Ruler
- Hot glue gun
- Silicon Finger Protectors
Instructions
- Assemble all your tools and supplies
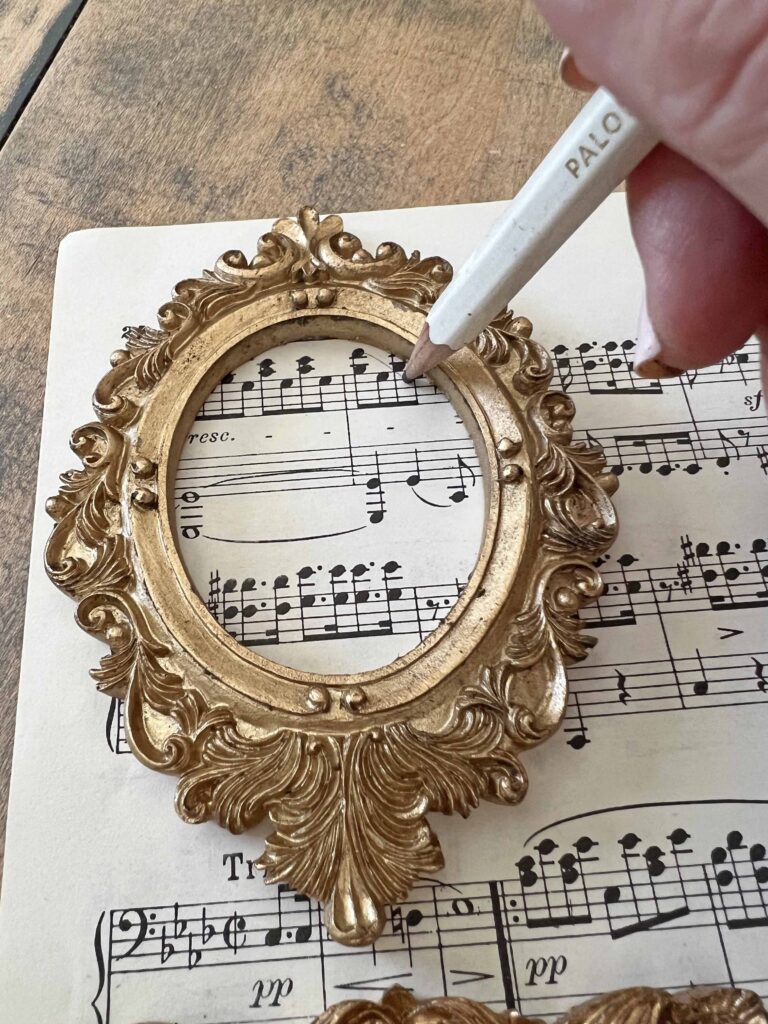
- Select your sheet music
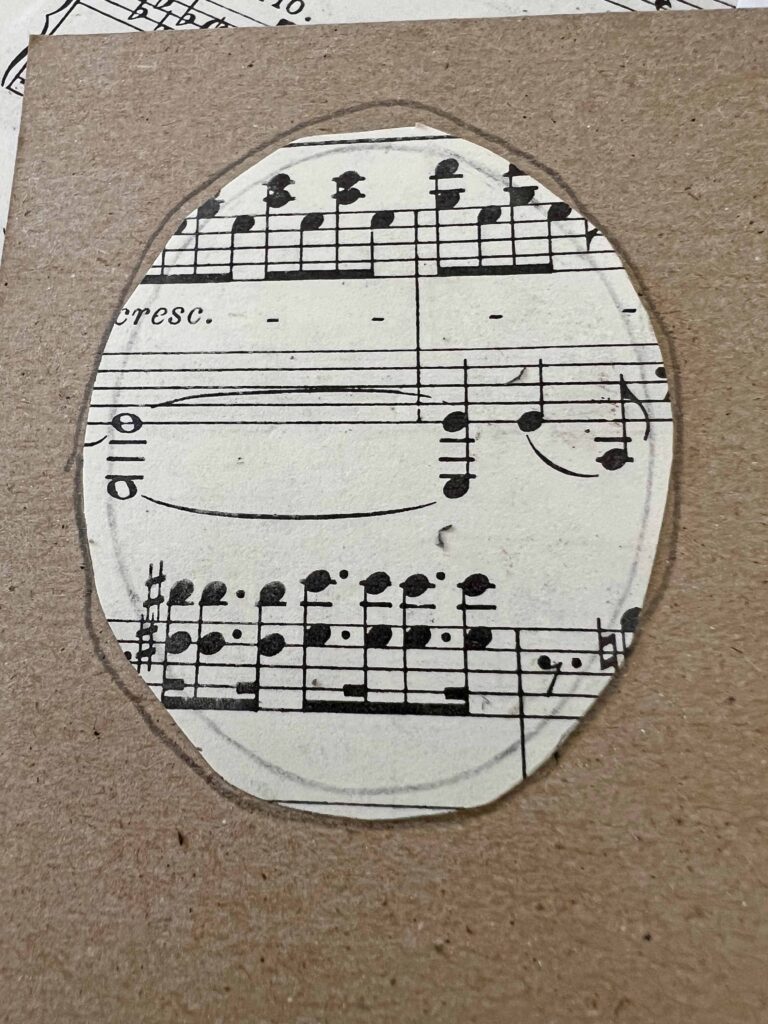
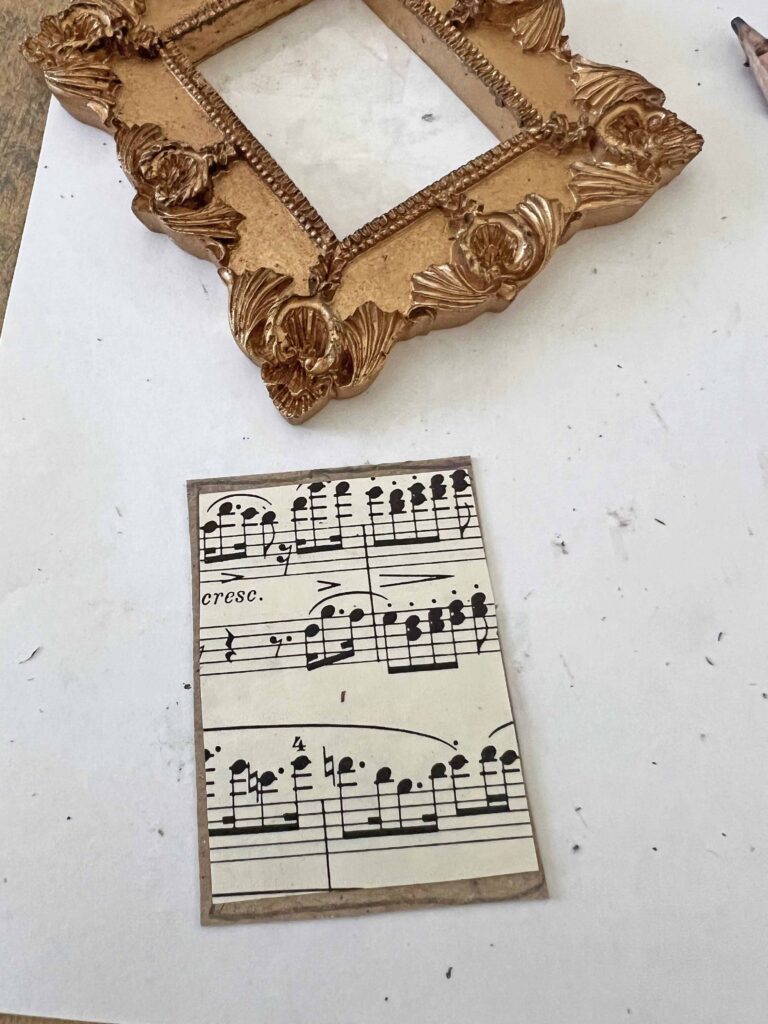
- Using frame opening draw desired shape on sheet music using a pencil
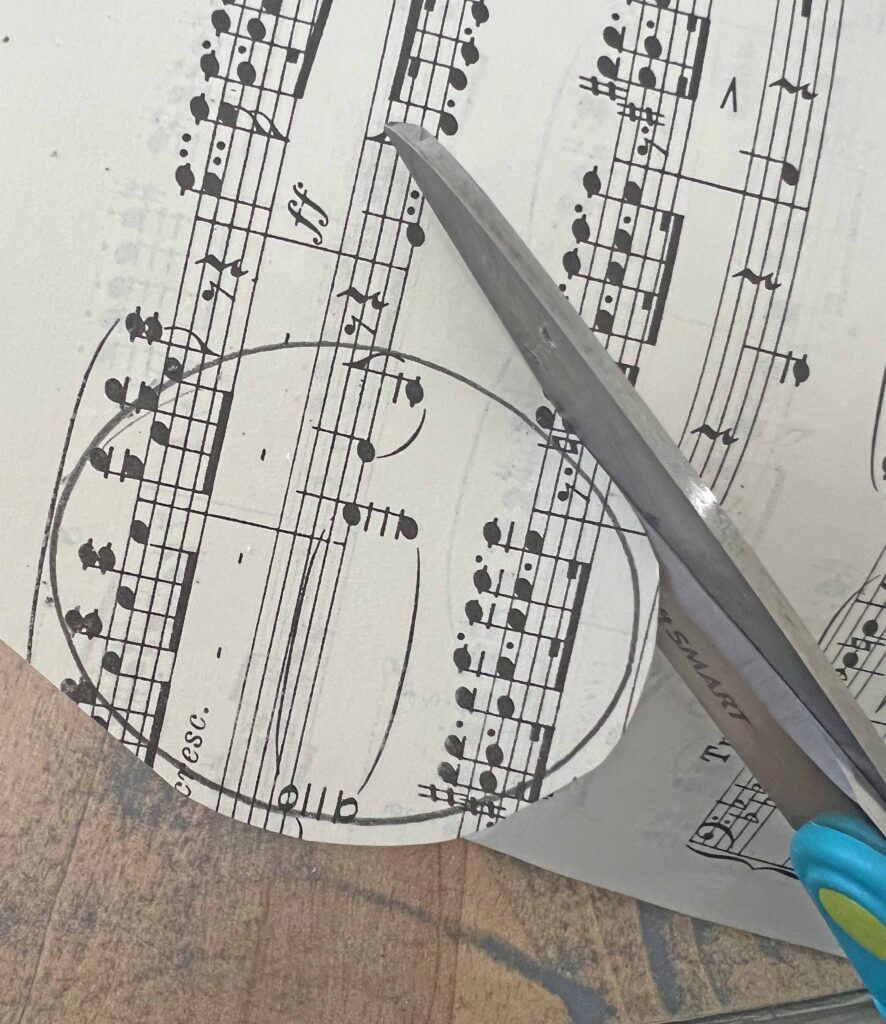
- Cut out the shape following pencil lines on the sheet music and cutting a bit outside the lines
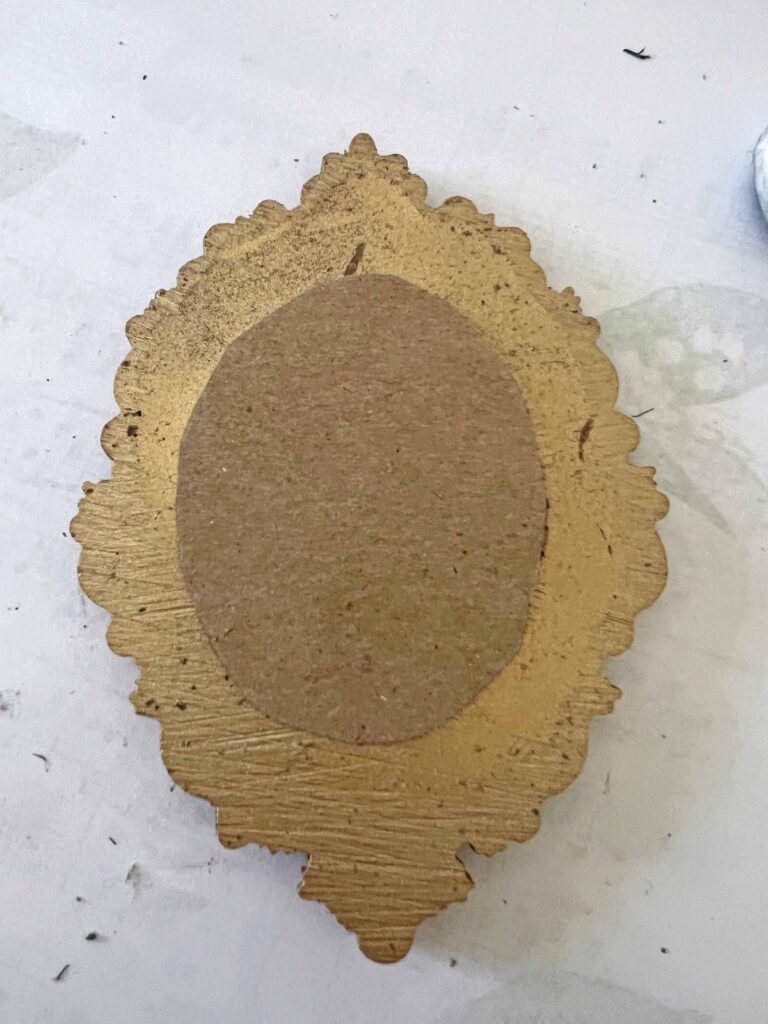
- Trace sheet music shape on chip board using pencil
- Cut out shape from chip board once again cutting a bit oversized, outside the lines
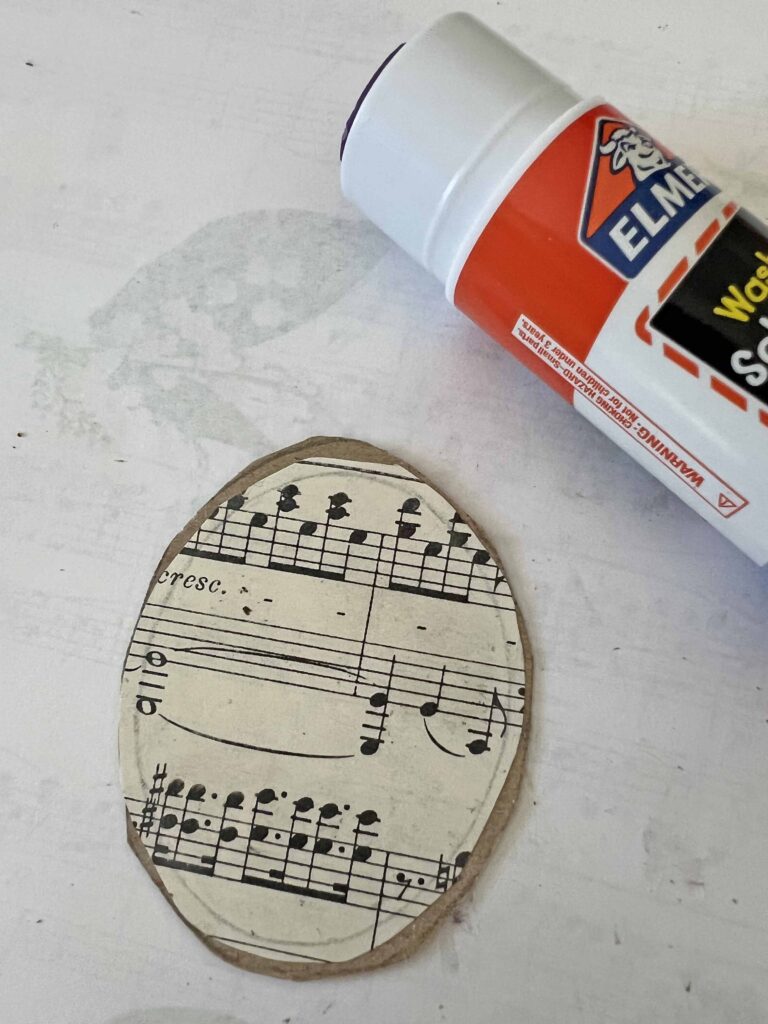
- Using glue stick to attach sheet music shape centered on chipboard shape
- Apply glue stick around frame opening on the backside to place sheet music chip board piece in place
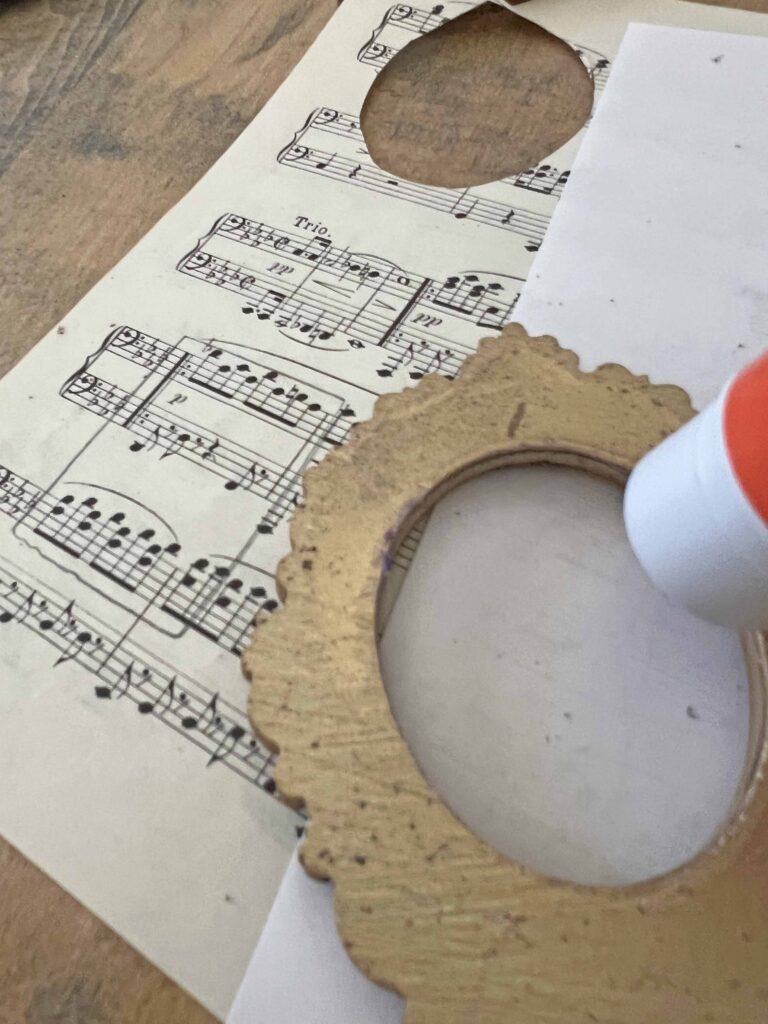
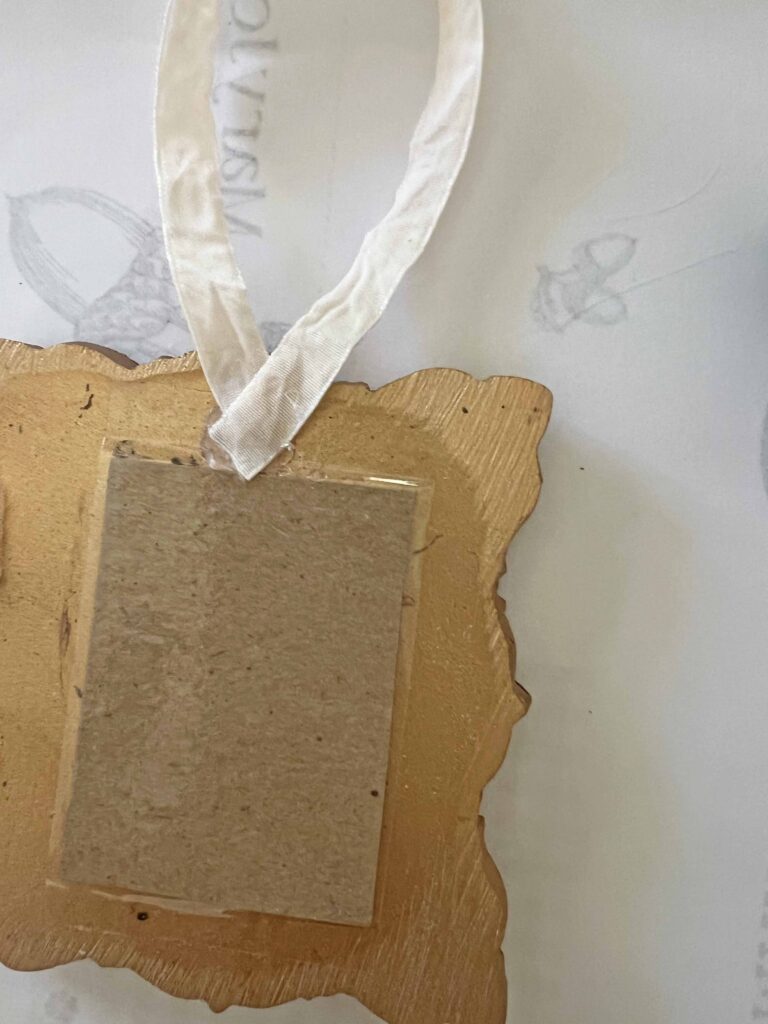
- Use a piece of clear shipping tape to secure sheet music chipboard on backside of frame

- Cut ribbon to size as hanger for ornament (mine is 8-inches long)
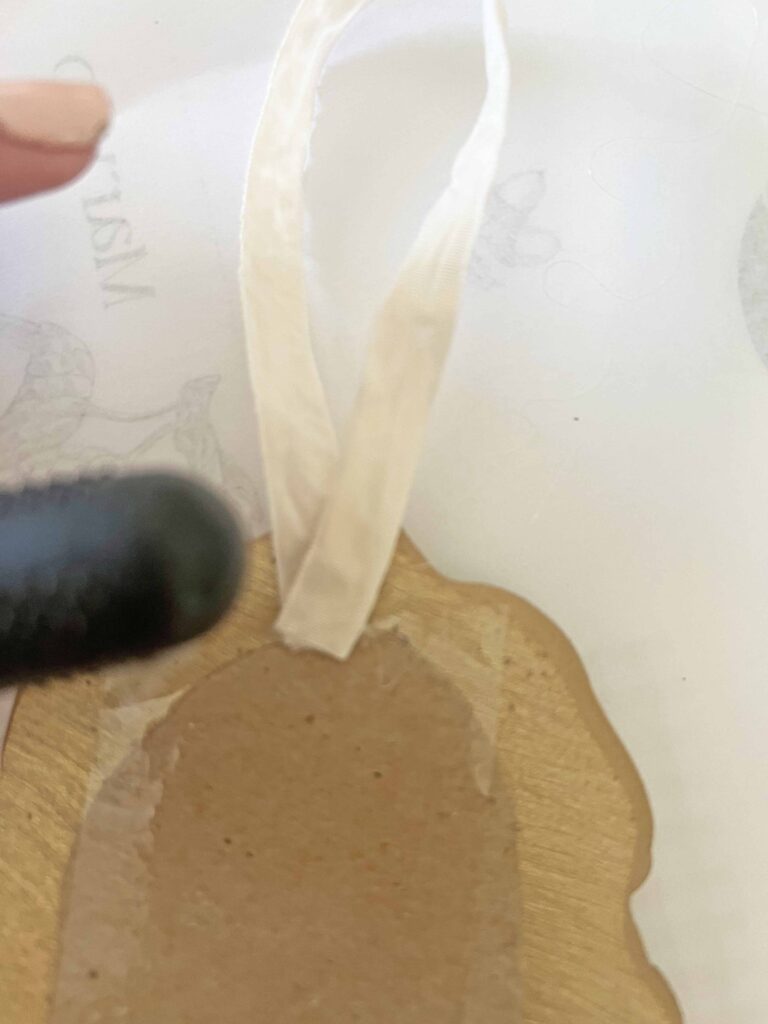
- Form a loop with ribbon to hang ornament and hot glue ends to back of top of frame
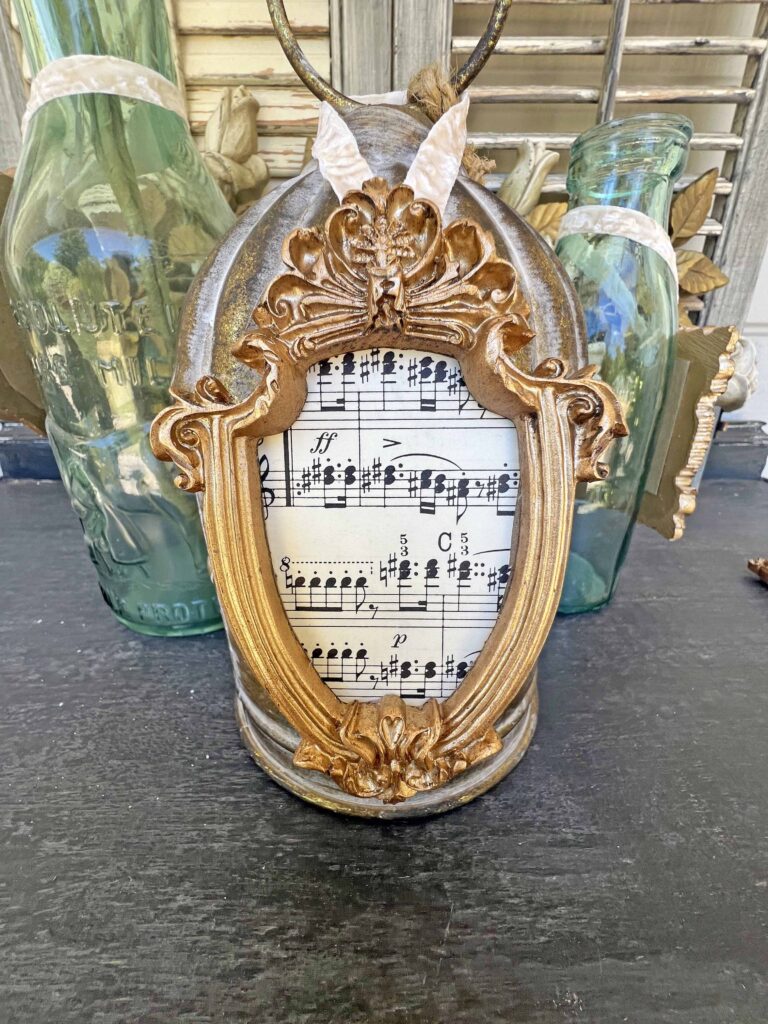
- Viola! You have a beautiful mini gilded frame with vintage sheet music Christmas ornament.
Tips & Tricks to Mini Gilded Frame Christmas Ornaments
The frames had a brassy finish, but applying some dark wax tones them down a bit. This technique aged the frames and gave them more of an antique look. You can also select frames to fit your decor. Silver frames can give off a glam vibe. While distressed white frames would be great for a cottage or shabby chic feel.
Sheet music tends to be printed on thin paper. The chipboard or card stock provides a stiff surface to adhere on the back of the ornaments, which makes them durable. Also by cutting the shapes a bit oversized it allows them to overlap on the back of the frame so they can be attached securely to the back of the ornament. The shipping tape provides a sealing and finishing layer to the back of the frame.
There are three different adhesives used on this project, including glue stick, shipping tape and hot glue gun. Each adhesive is selected as the best choice for the given task. Using the proper bonding agent for any step is super important for the success of any project.
Crafting Pro Tip: Adhesive can make or break a project. Always select the best man for the job. Always be aware of the materials used, paper, plastic, wood, glass, metal, etc. and select the adhesive best for securing a strong bond.
Closing Thoughts about Christmas Crafting in July
I used gold gilded frames and ivory ribbon since our family Christmas tree is themed in ivory and gold. I started the tradition as newlyweds and our tree has stayed true to this theme through almost three decades. The other day I shared this green ornament DIY, which will be a part of our flocked tree in the family. This tree gets a new theme every year and this year I’m planning a green theme.
I hope this sheet music frame Christmas ornament DIY has inspired you. Although I used gold gilded frames and ivory ribbon, you can use any frames and ribbon that fits your aesthetic with the same concept. Make them yours. I hope this inspires you to start crafting for the holidays early. My thoughts are starting to turn to fall and all the holidays that follow. This is that time of year where my content will jump around from late summer to fall to the holidays. I hope you will join me for it all since I love having you here.


More Related Posts

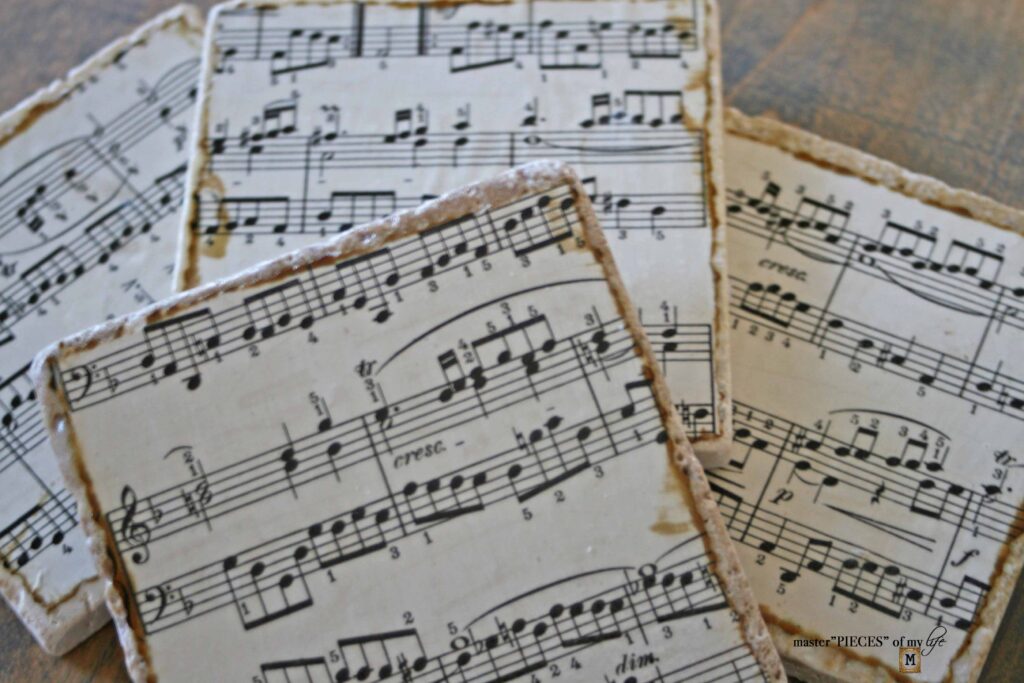
Vintage Sheet Music Coasters DIY
Check out how to make these easy and inexpensive sheet music coasters for your home.
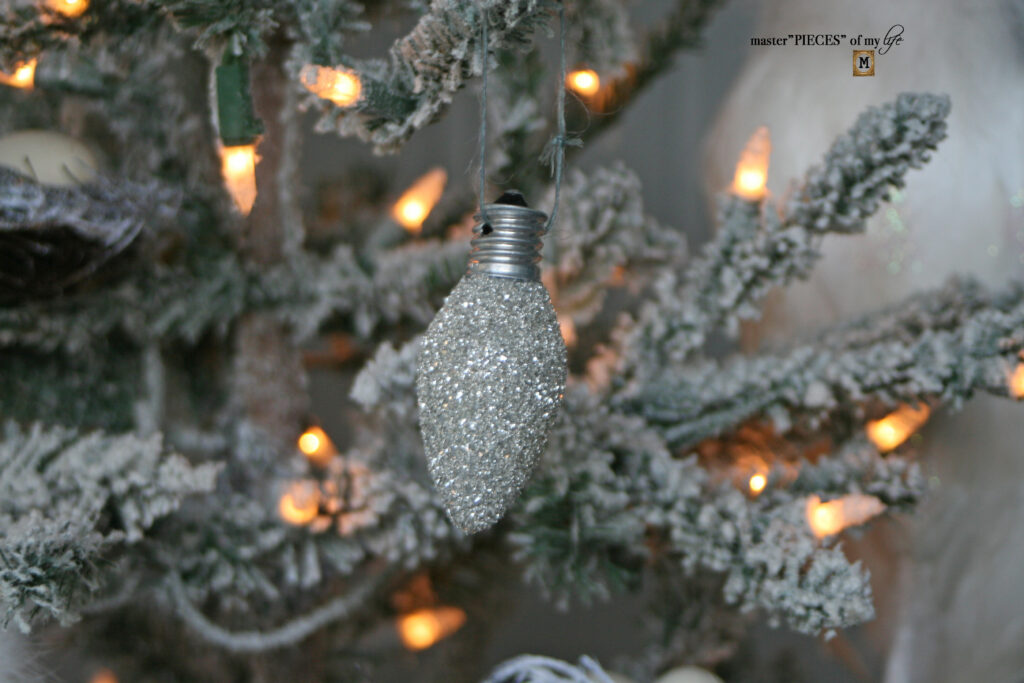
Glitter Old Fashioned Christmas Bulb Ornament DIY
German glass glitter Christmas light bulb ornament DIY.
Most Recent Posts
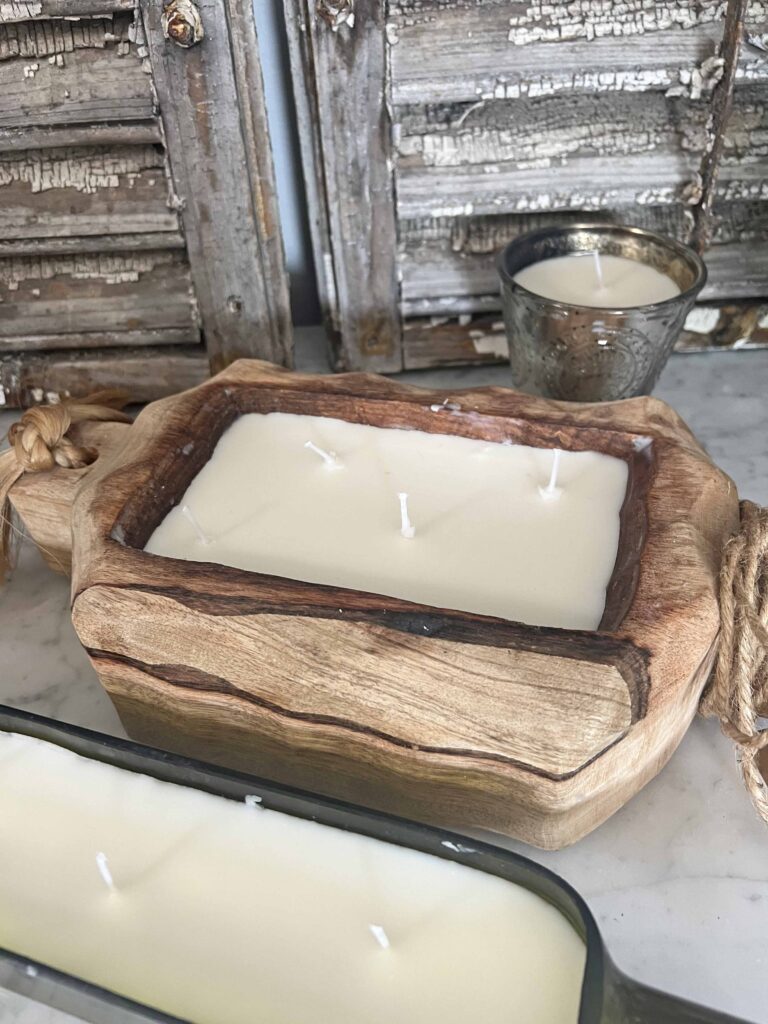
How to Refill Expensive Candle Containers
How to refill beautiful and expensive candle receptacles, bringing them back to life.
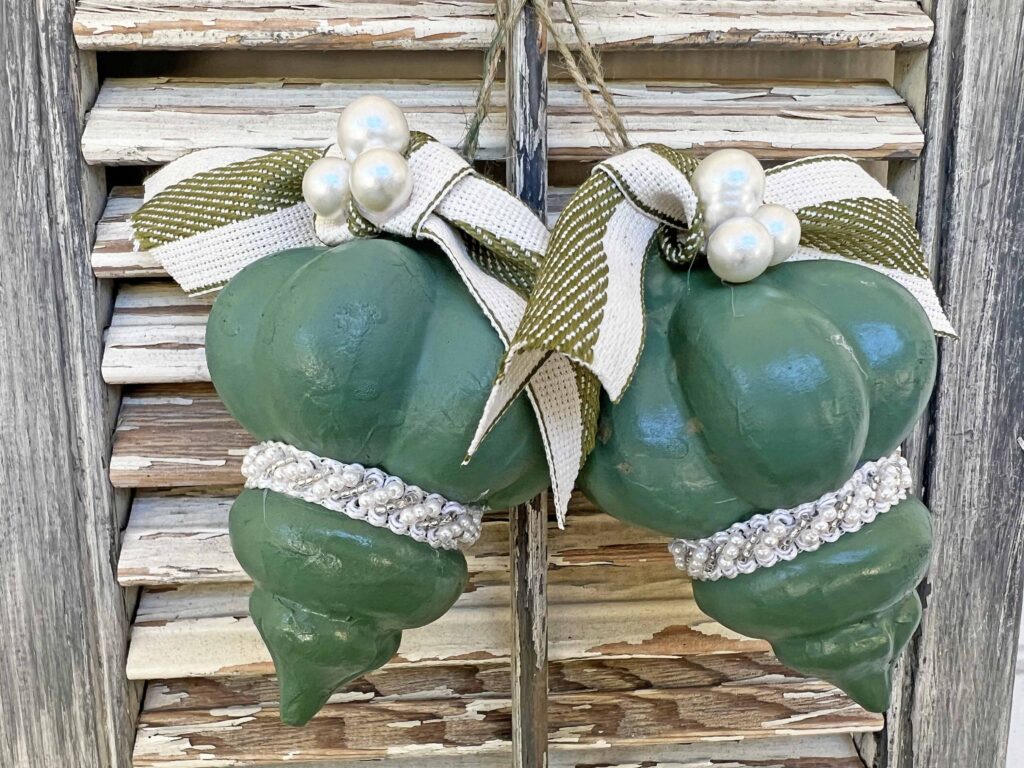
Elegantly Rustic Ornament DIY for Christmas in July
This elegantly rustic ornament DIY with pearl details has all the pretty vintage vibes.
Gifts of time and love are surely the basic ingredients of a truly Merry Christmas.”
Peg Bracken