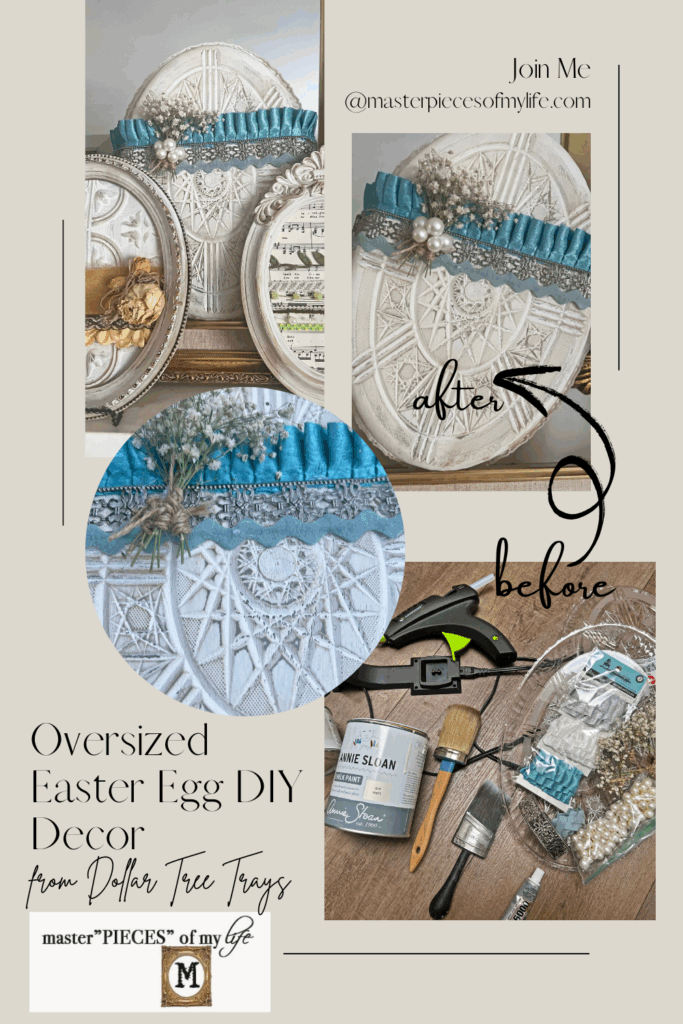
Oversized Easter Egg DIY Decor from Dollar Tree Trays
Are you ready for the Easter holiday? Easter is fast approaching and if you need a last minute, quick, easy and affordable decoration, I’ve got you. This starts as inexpensive plastic Dollar Tree trays and ends up like an Easter egg DIY decor trend forward seasonal accent. It’s a fantastic transformation which can be personalized to your own style.
*Affiliate links might be included for your convenience. These affiliate links mean a small commission is earned if you make a purchase using these links at no extra cost to you. As an Amazon Associate qualifying purchases support this website. For more information: Full Disclosure Policy.
Inspiration for the Oversized Easter Egg DIY Dollar Tree Tray Hack
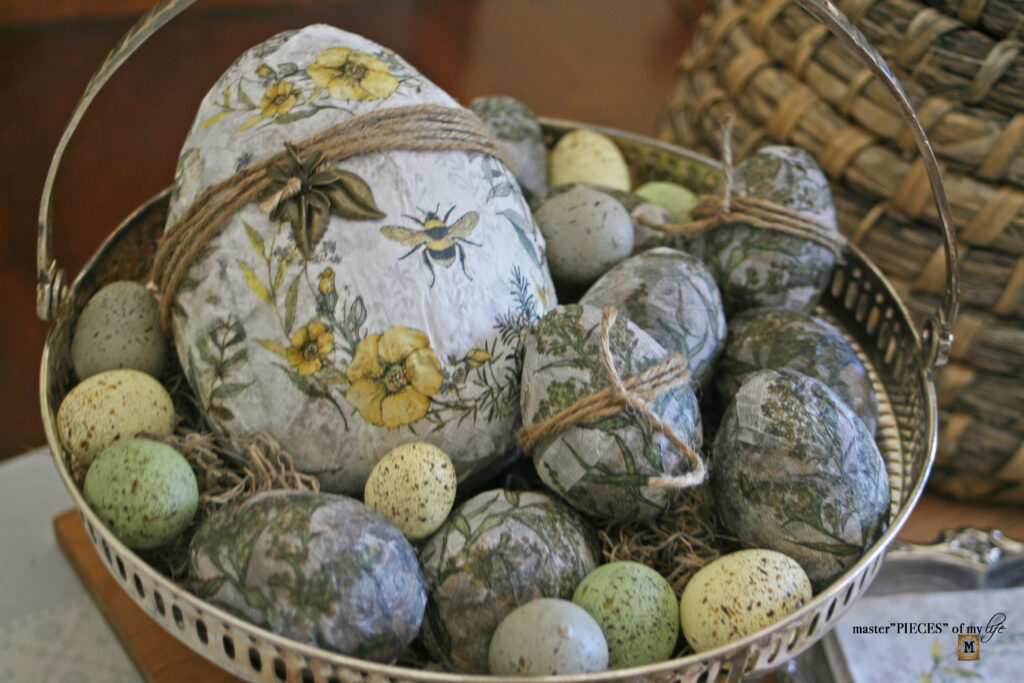
This project was inspired by a couple of things. A while back I shared the trash to treasures Easter egg project. Well, you know I like things in odd numbers, and it bugged me that I only had two trash to treasure eggs.
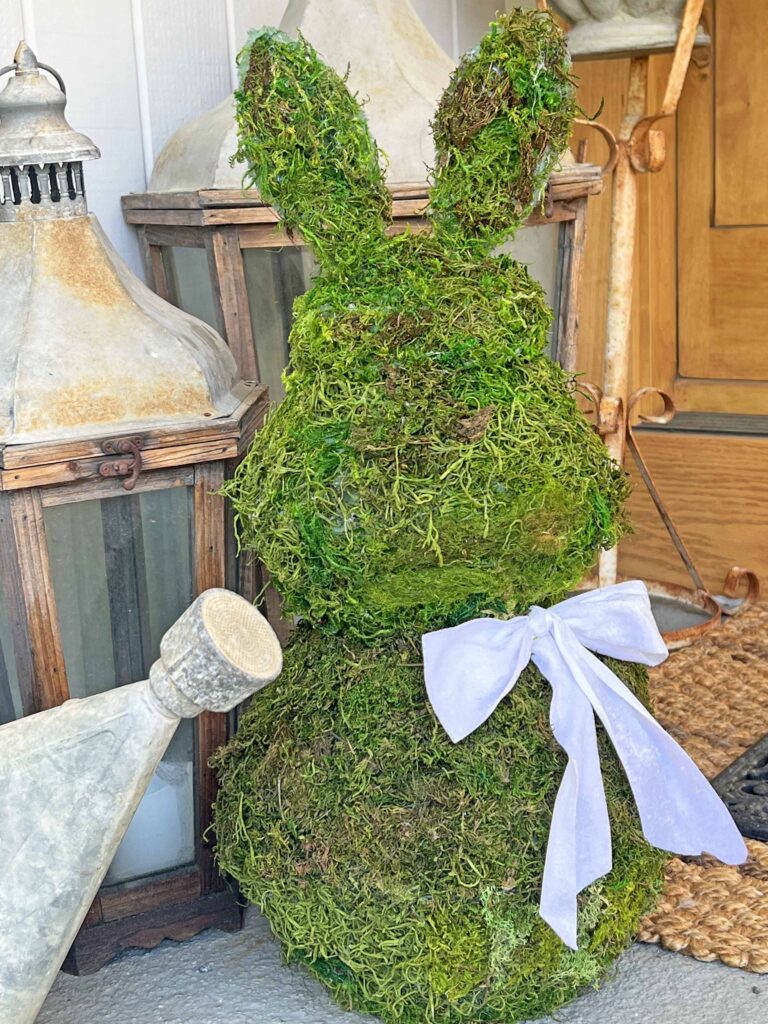
This egg DIY adds another affordable piece to complete the set of three. The other day I shared the Mr. Moss Bunny project using Dollar Tree bowls. Well, we’re going to piggy back on that concept here, and use two plastic trays to create the oversized Easter egg. Please join me as we get crafty and make this easy yet charming Easter egg.
How To DIY an Easter Egg from Dollar Tree Trays
Supplies
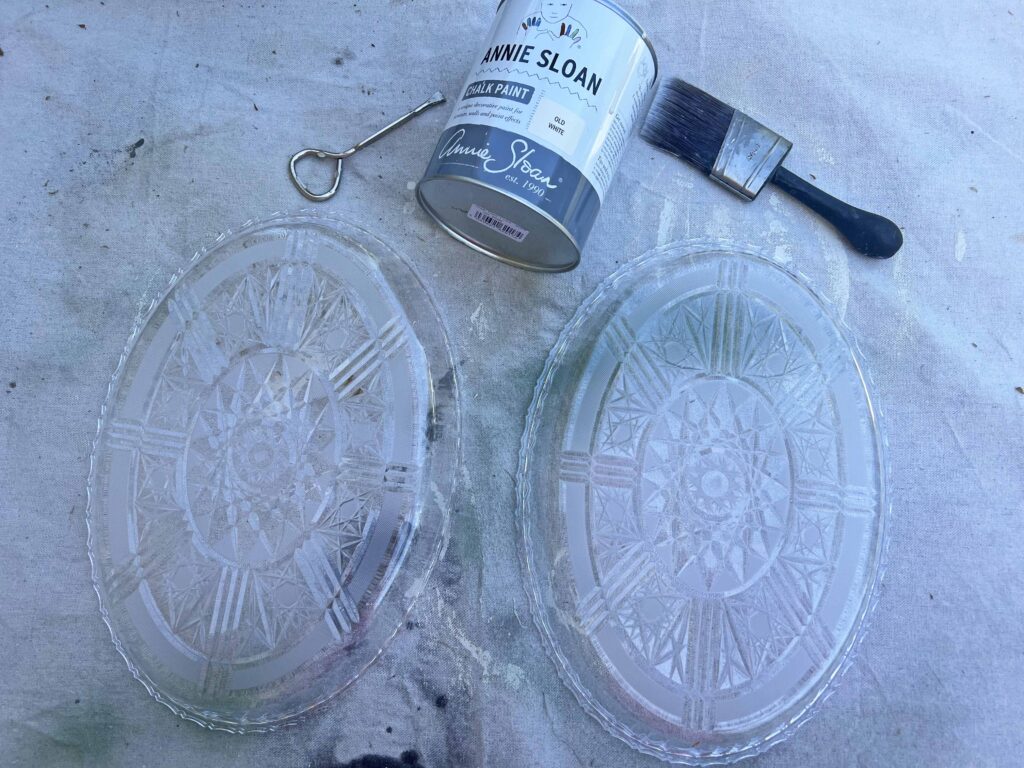
- 2 Dollar Tree Plastic Trays (approximately 13-inches)
- White Chalk Paint
- Sand Paper
- Dark Wax
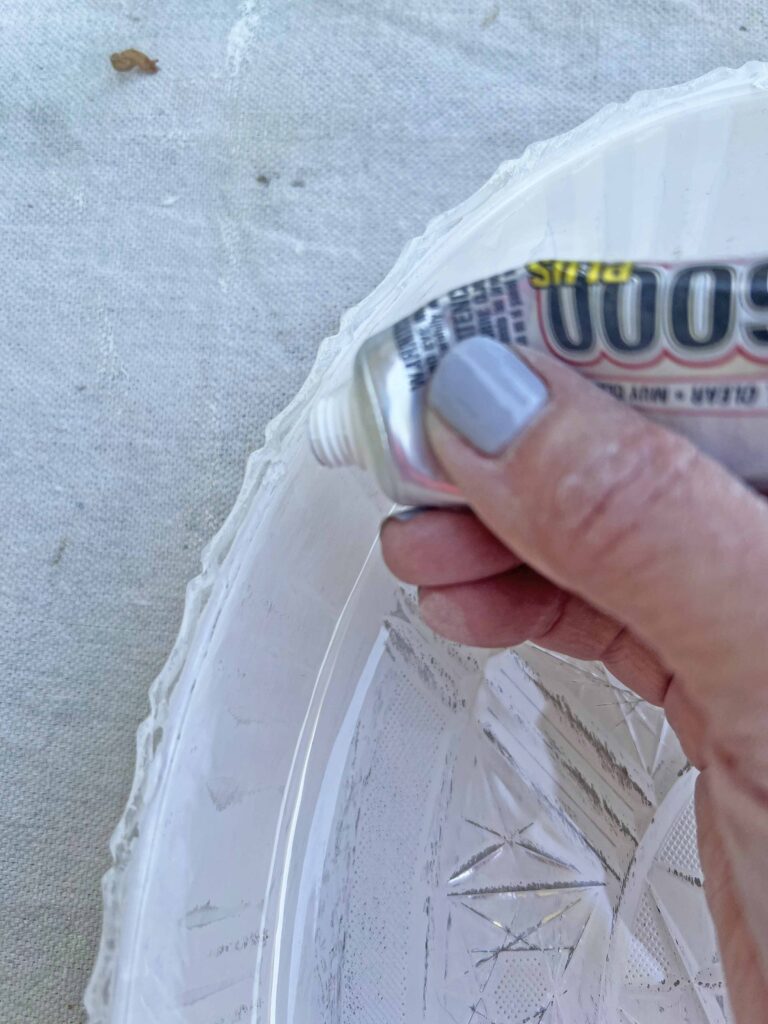
- E6000 Adhesive
- Assorted Ribbons and Trims
- Dried Florals
- Crafting Pearls

Tools
- Paint Brush
- Wax Brush
- Rag
- Hot Glue Gun & Glue Gun Glue Sticks
- Silicone Finger Protectors
- Scissors
Crafting Pro Tip: Read all the instructions through once and then re-read everything again. This way, you are familiar with everything you need and know what to expect.
Instructions
- Assemble all supplies and tools
- Remove all stickers from plastic trays
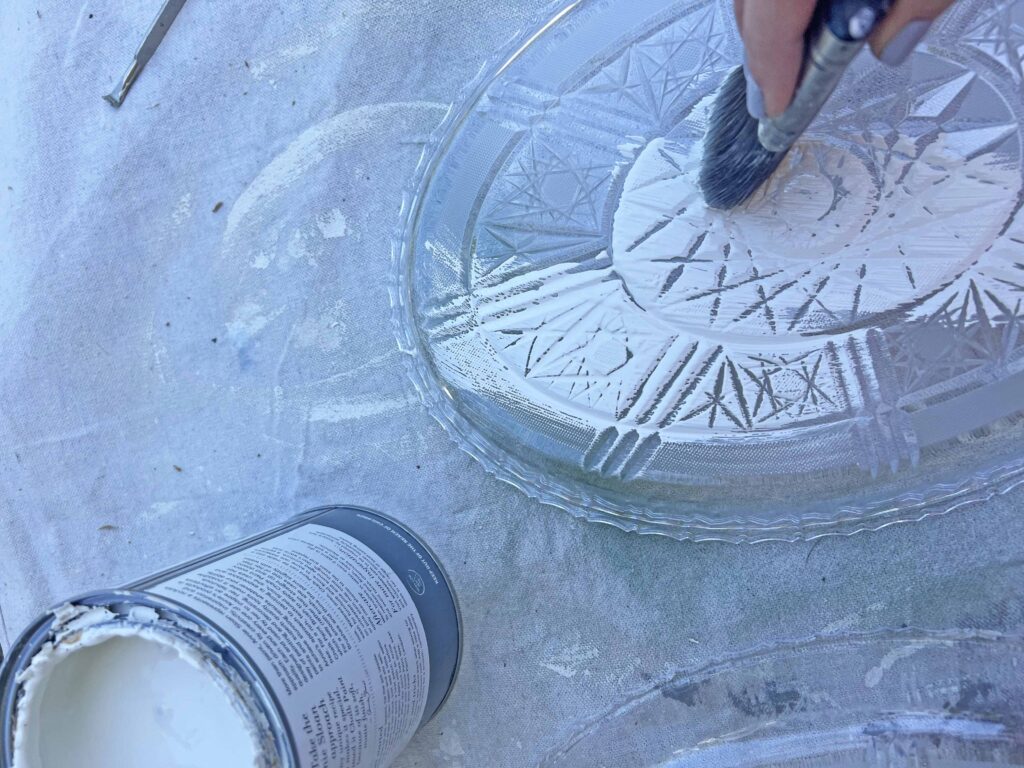
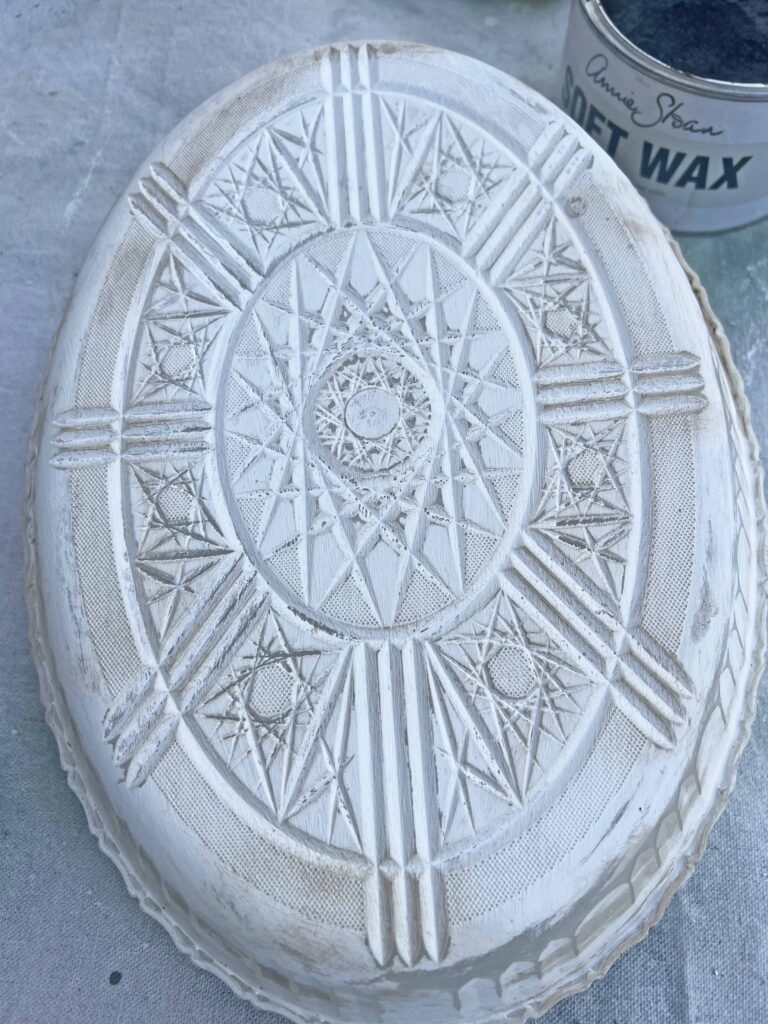
- Paint outside of trays with white paint and set aside to dry

- Once first coat of paint is dry, sand lightly all over
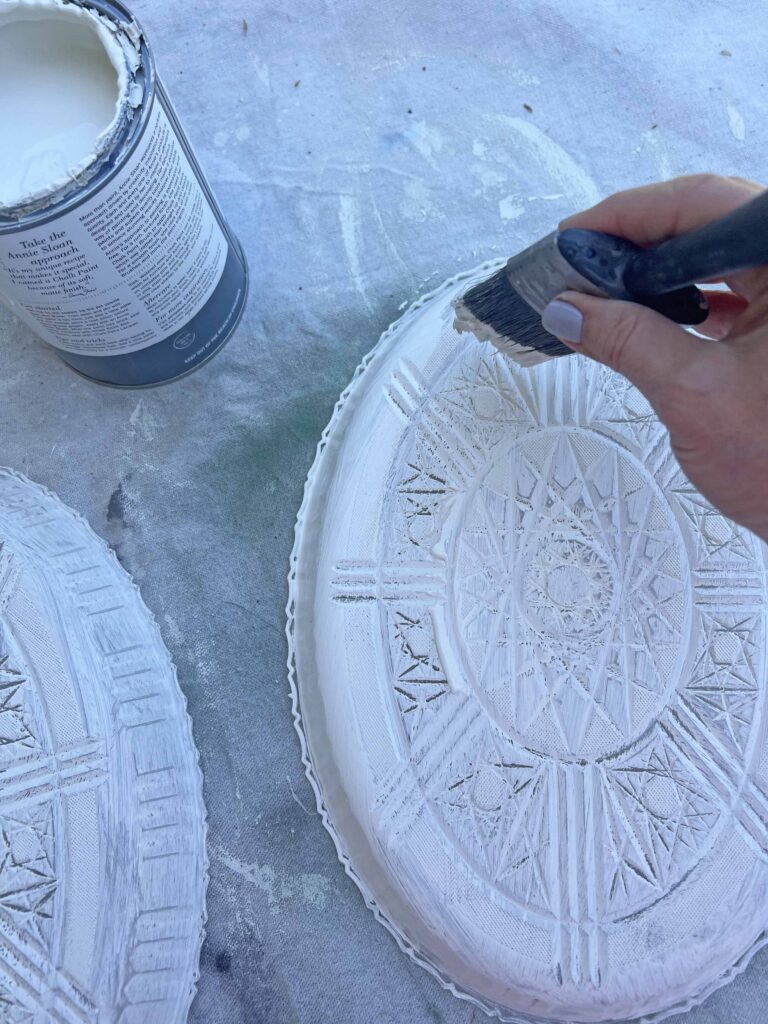
- Apply second coat of paint and set aside to fully dry
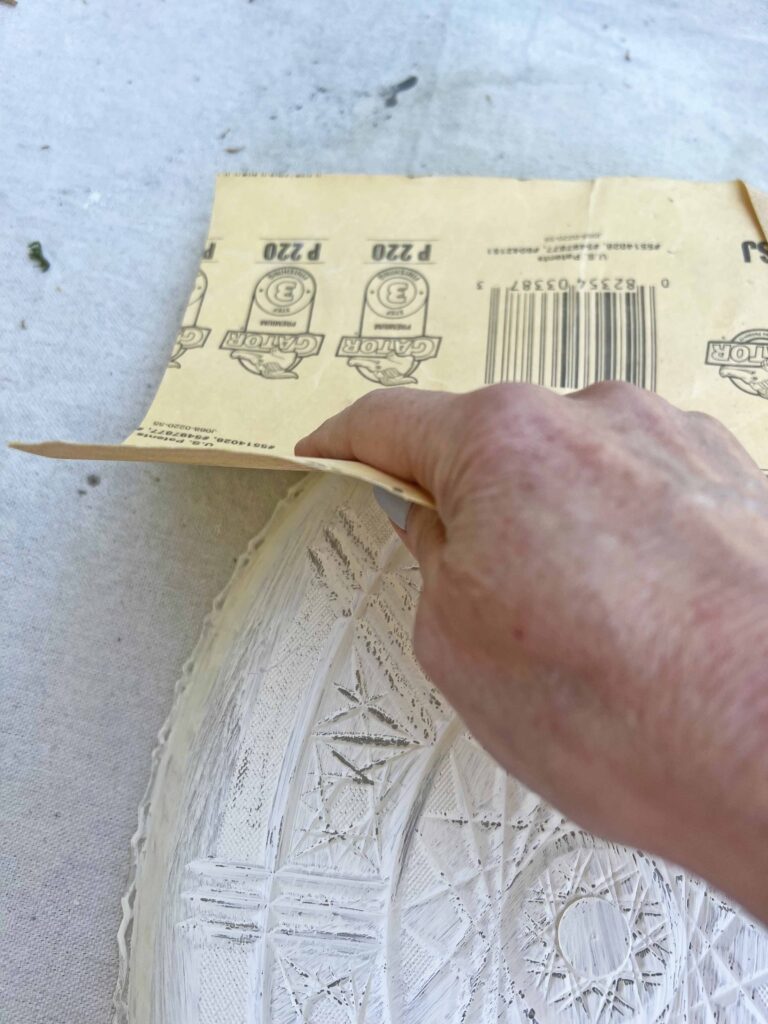
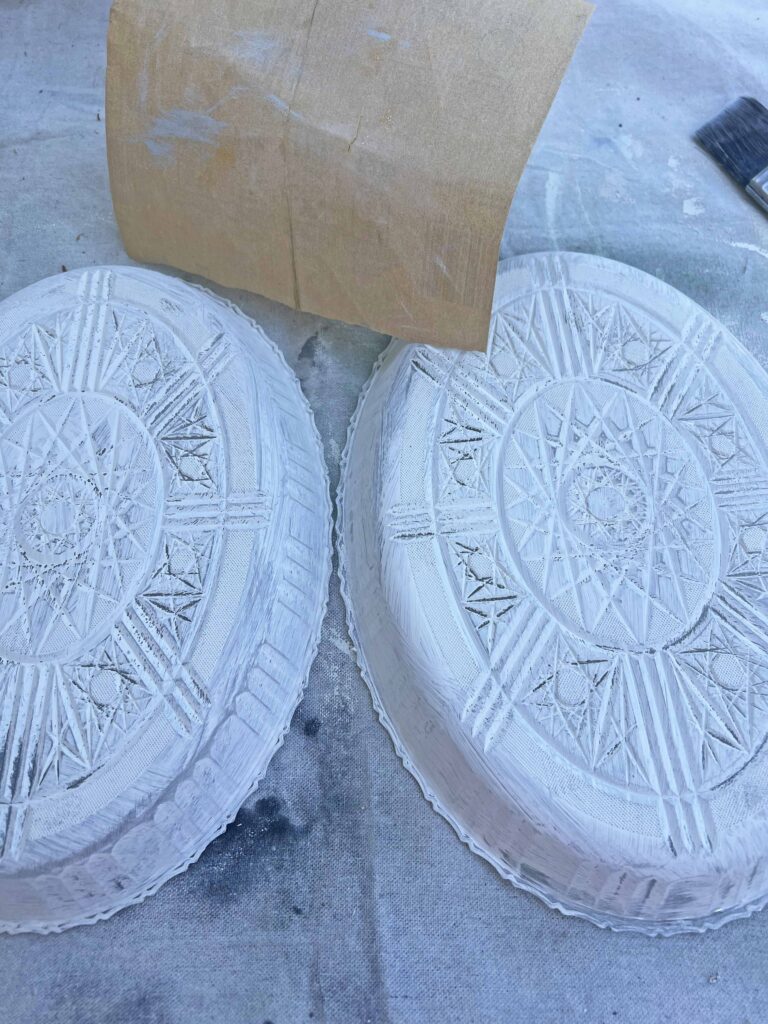
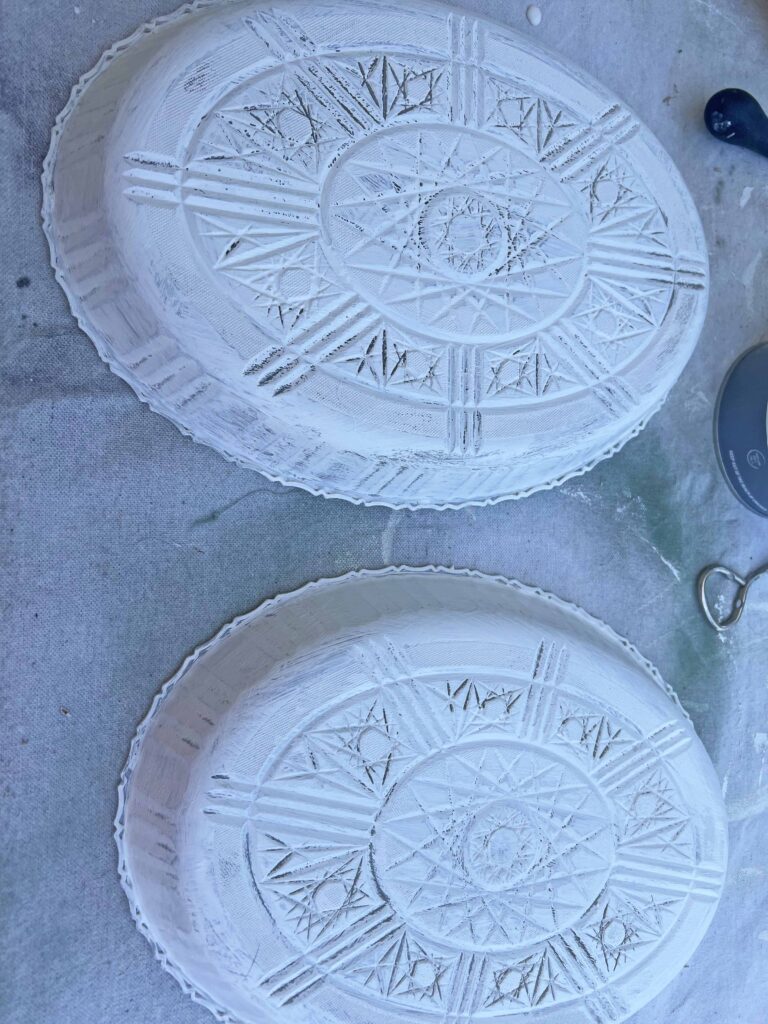
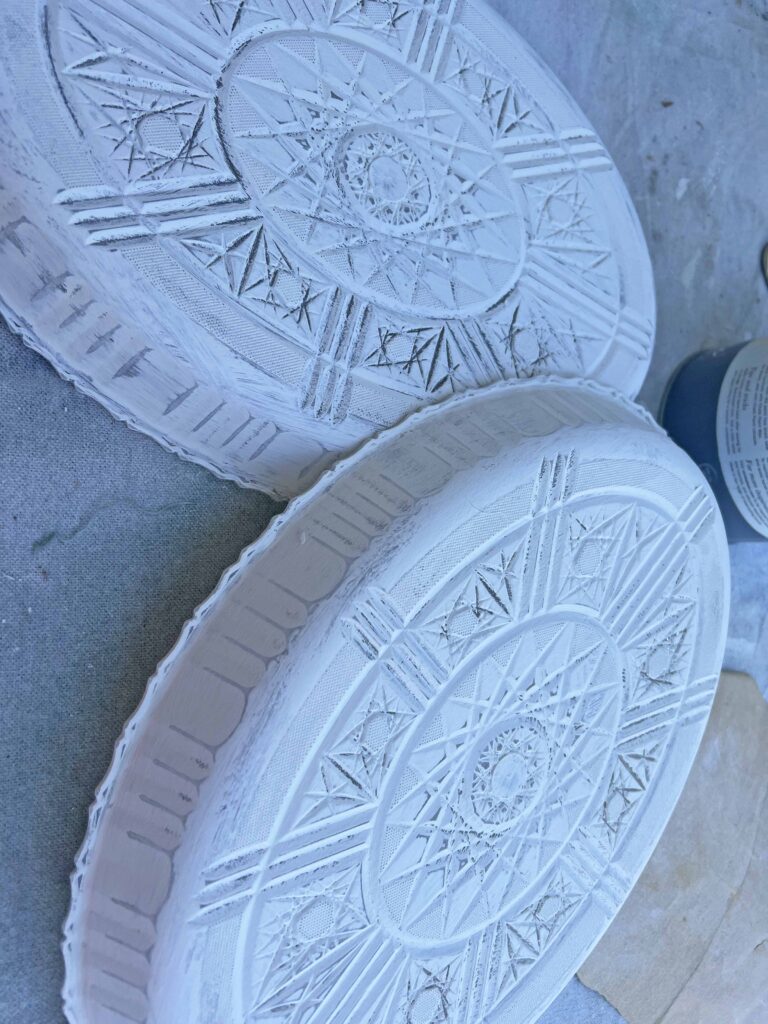
- Once trays are fully dry, sand painted trays again to create distressing
- Glue both trays together by using E6000 adhesive around edge and set aside to fully dry

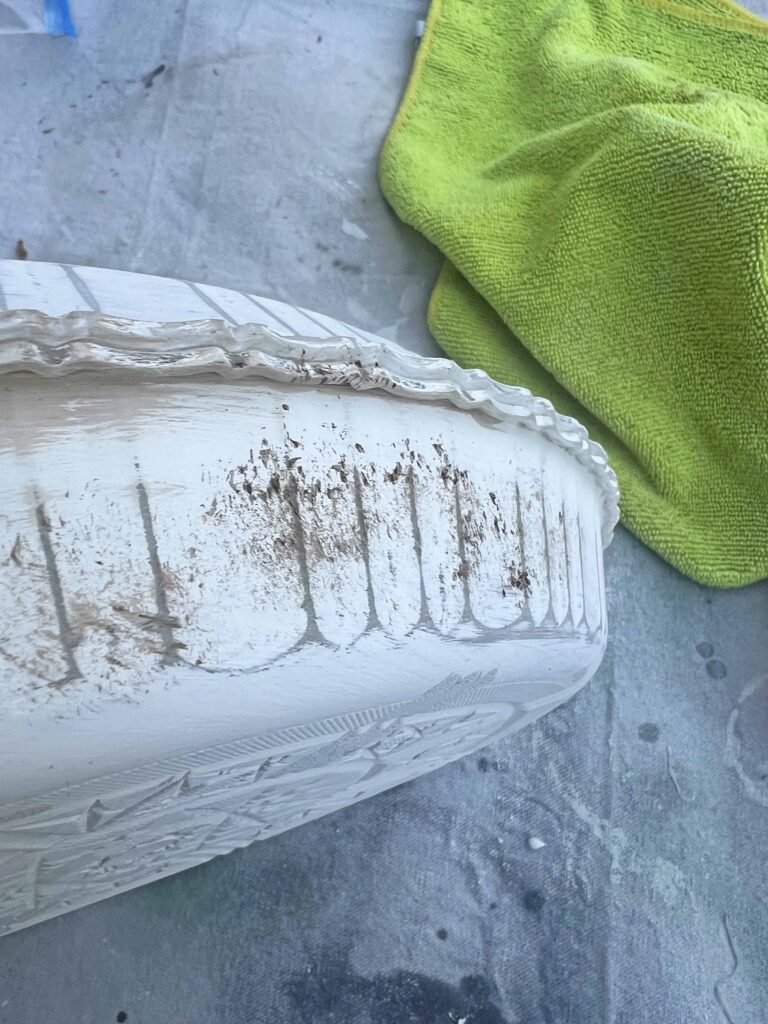
- Once glue is set and trays are secured together, apply dark wax around egg and wipe down with rag, creating more distressing and patina

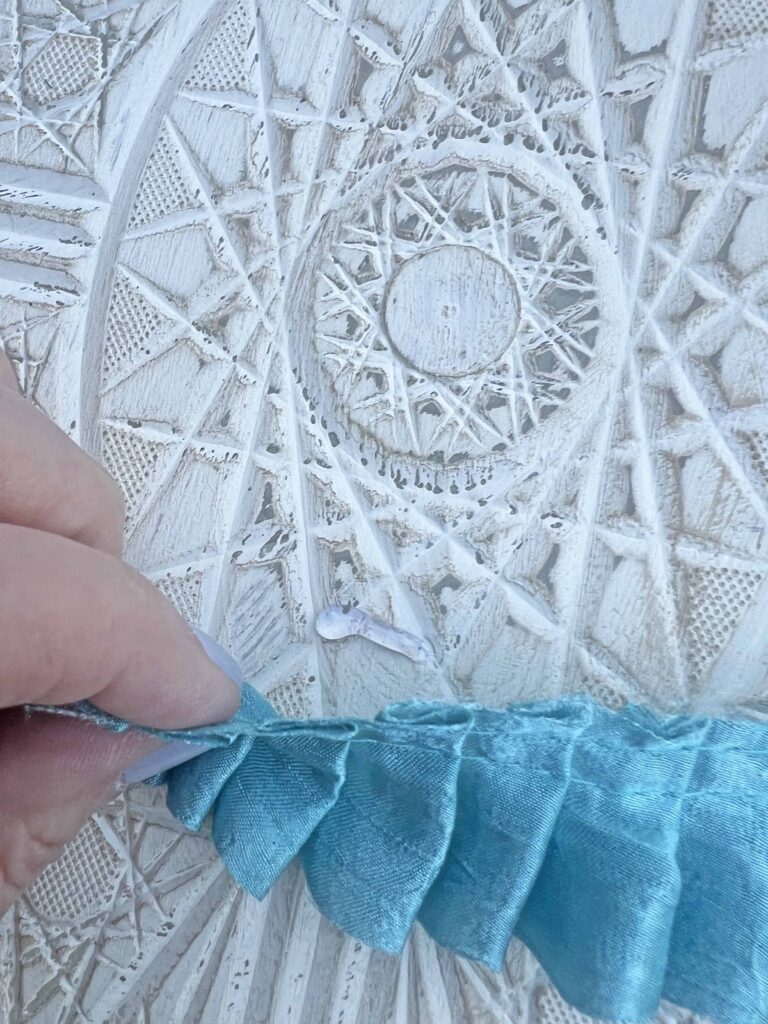
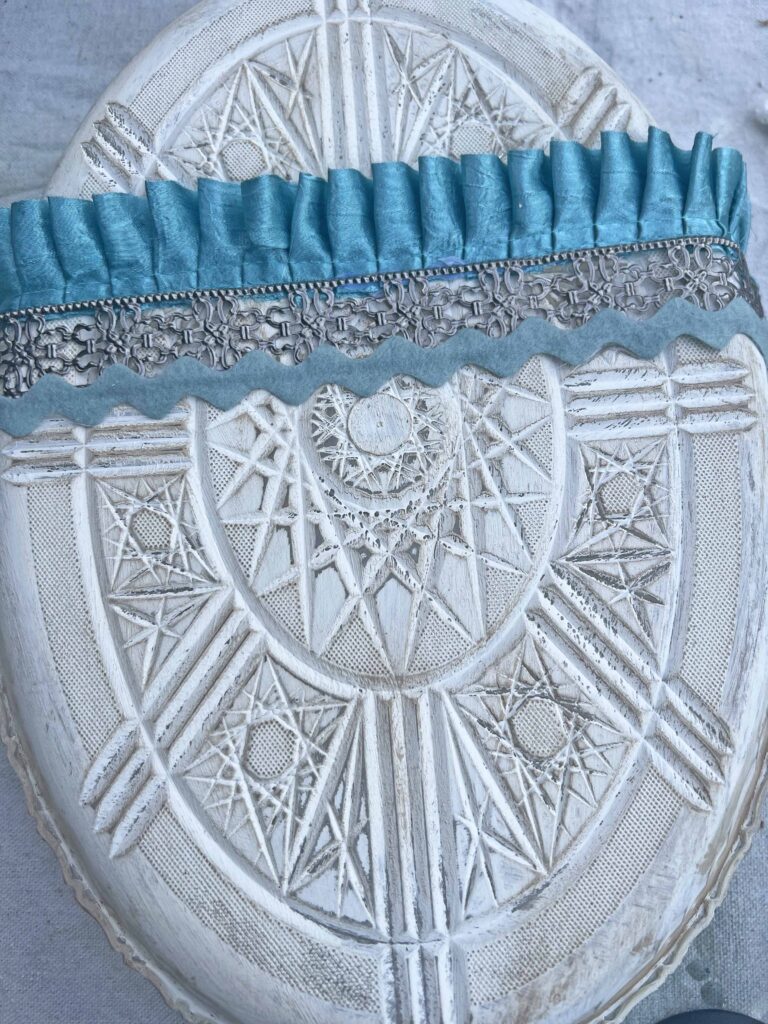
- Once egg is distressed to your liking, cut ribbon(s) to size to decorate front of egg
- Using hot glue gun adhere ribbon around egg
- Repeat the above step with all the ribbons selected
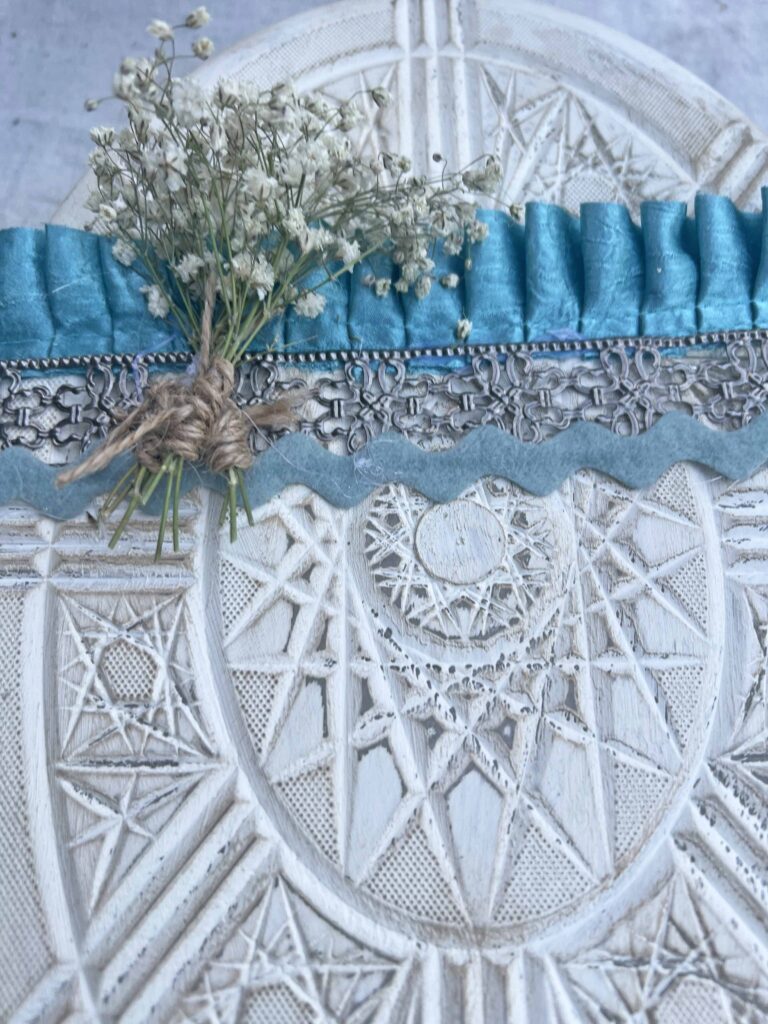
- Once all the ribbons are in place, adhere dried flowers using hot glue gun
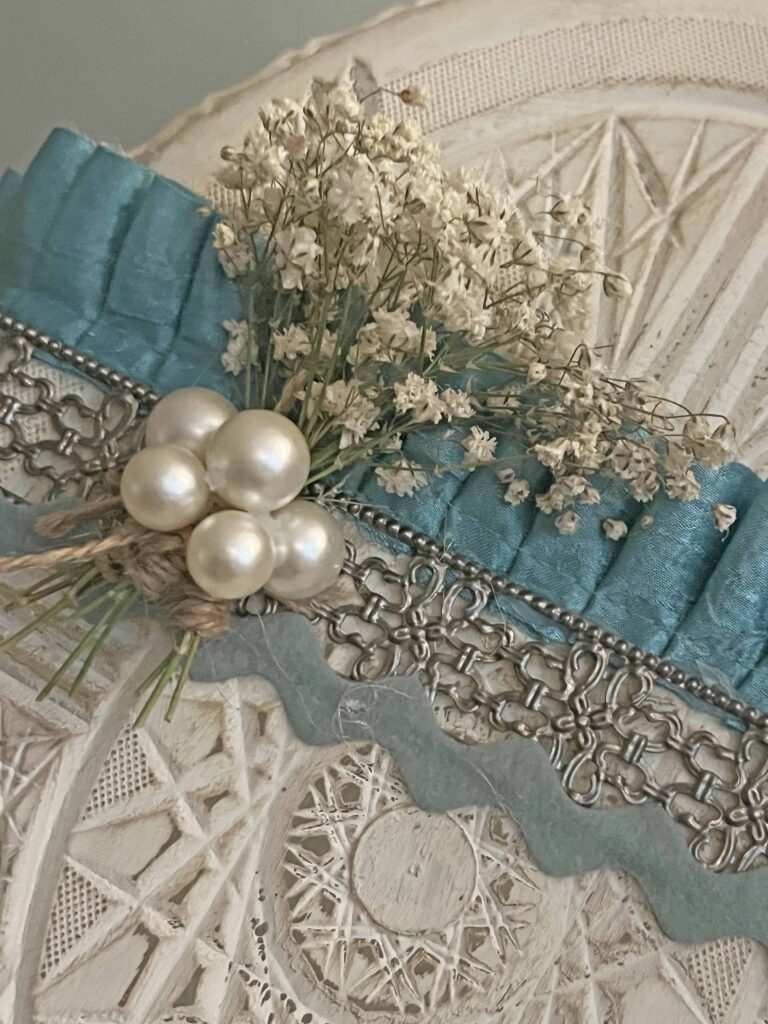
- Add pearl accents using hot glue gun
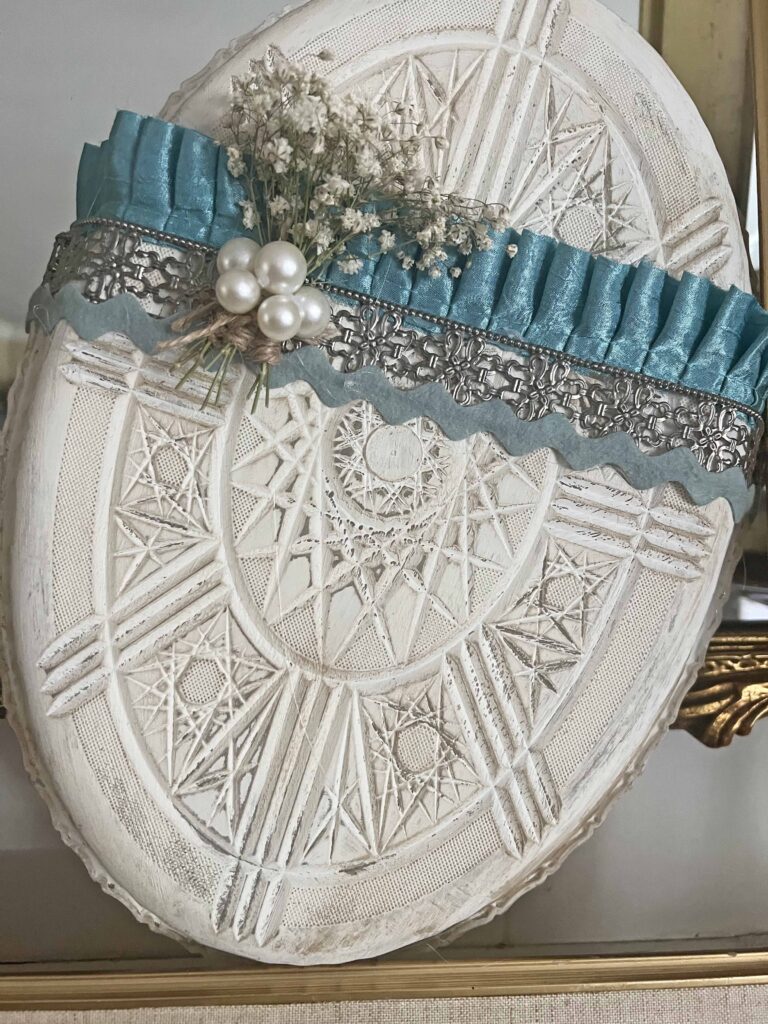
- Voila! Enjoy your oversized, fantastic Easter egg made from DT trays

Warning: Please proceed with caution when handling a hot glue gun. Silicone finger protectors are highly recommended. Maintain personal discretion and responsibility at your own risk.
Tips & Tricks for the Ovesized Easter Egg DIY
Color Options are Limitless
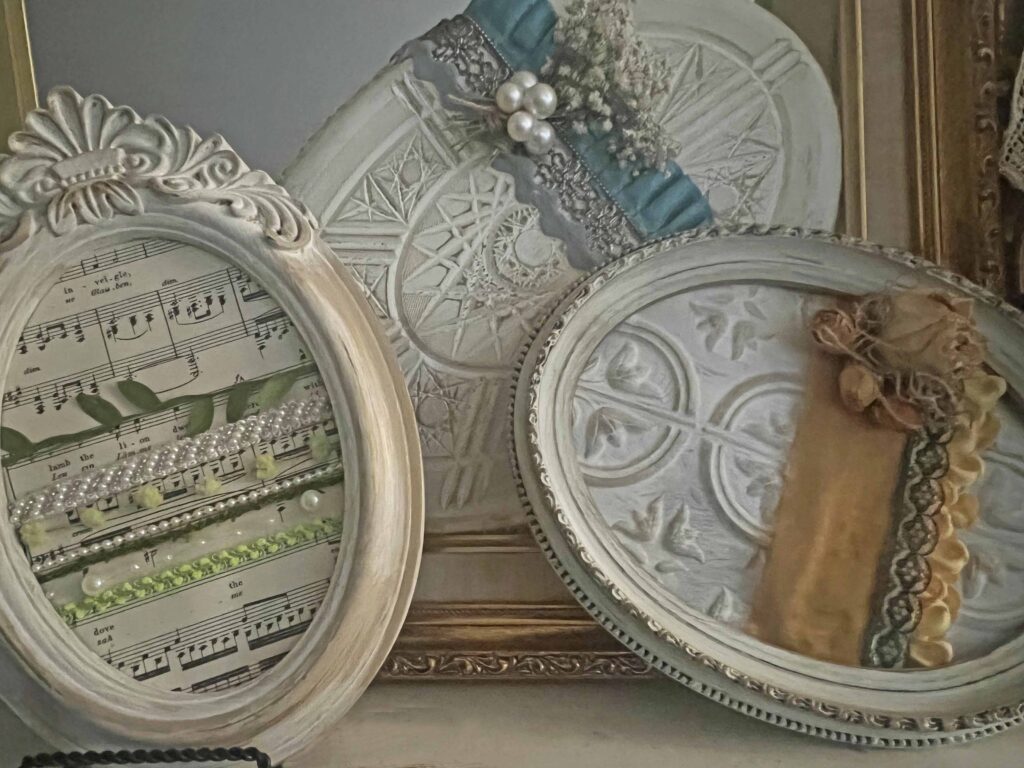
Use colors and patterns which compliment your style and home aesthetic to decorate the egg. I used silver blues to contrast with the gold and greens of the previous eggs. Pastels of course are perfect for the Easter and spring season, but bright sunny colors would also look amazing. The key is for the Easter egg(s) to fit into your home interior design seamlessly. Personal crafts allow for customization.

Use What You Have
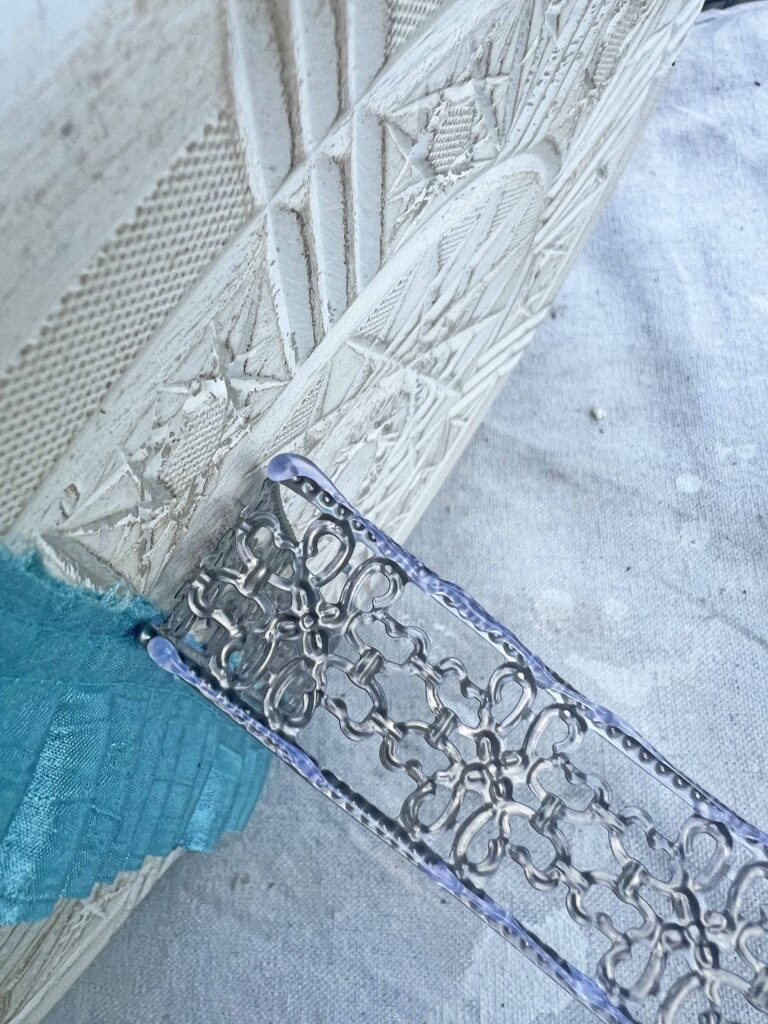
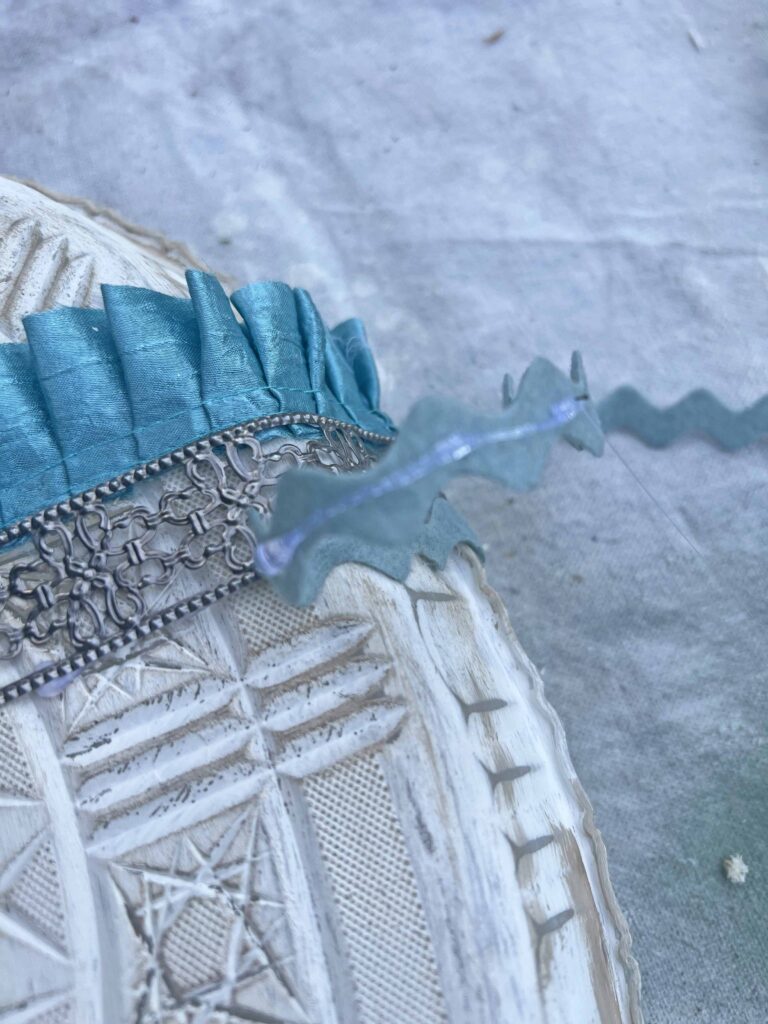
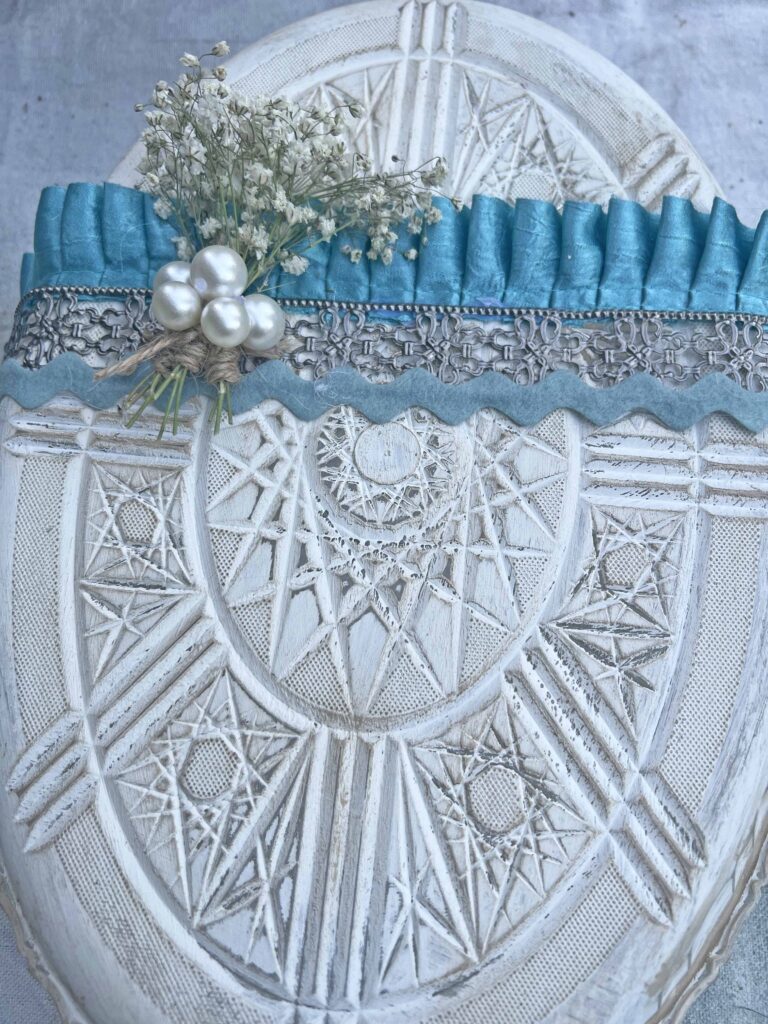
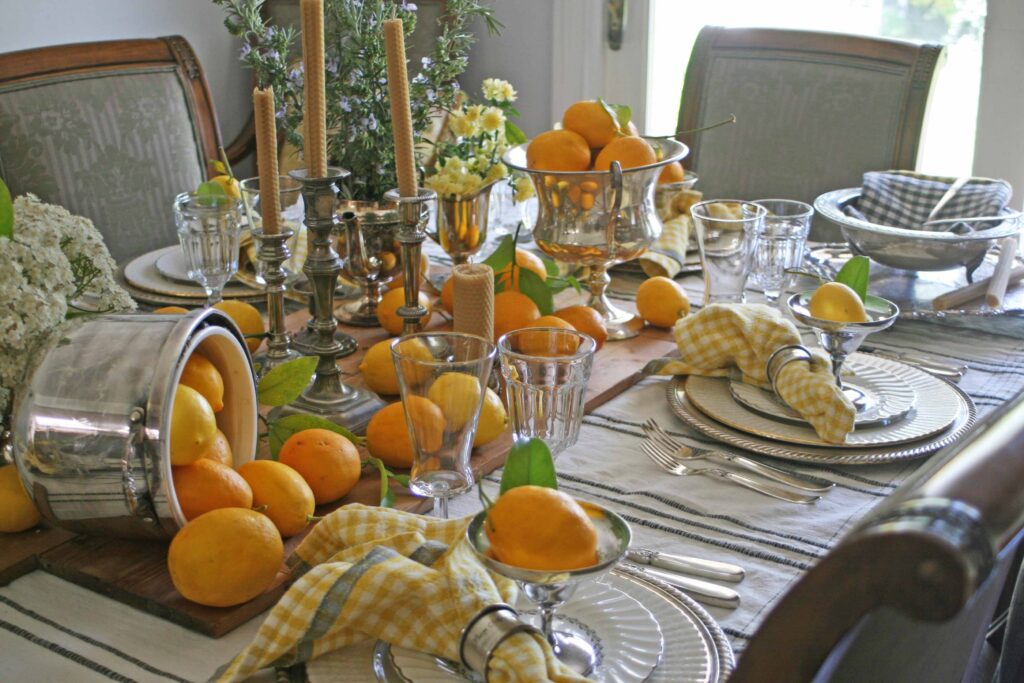
I’m a big proponent of using what you have before buying new stuff. All the materials I used were in my craft stash with the exception of the DT trays. The selected finishes and embellishments coordinate and compliment the other eggs. I had the baby breath bundles left over from this project {Moss Bunny Inspired Table}, and the pearls were left over from this project {Christmas Ornament DIY}. I love getting double duty from supplies. The ruffled blueish teal ribbon and the ice blue ric rac were from my scrapbook days stash, while the metal ribbon is from the Dollar Tree, which I used before here {crown napkin rings}.
Crafting Pro Tip: Save remnants and left over materials from a project, rather than throwing out or donating. Invariably the remnants will come in handy for a future project. Sometimes you just need a little piece of something, not requiring to buy a whole spool or package of something. It’s economical and practical.
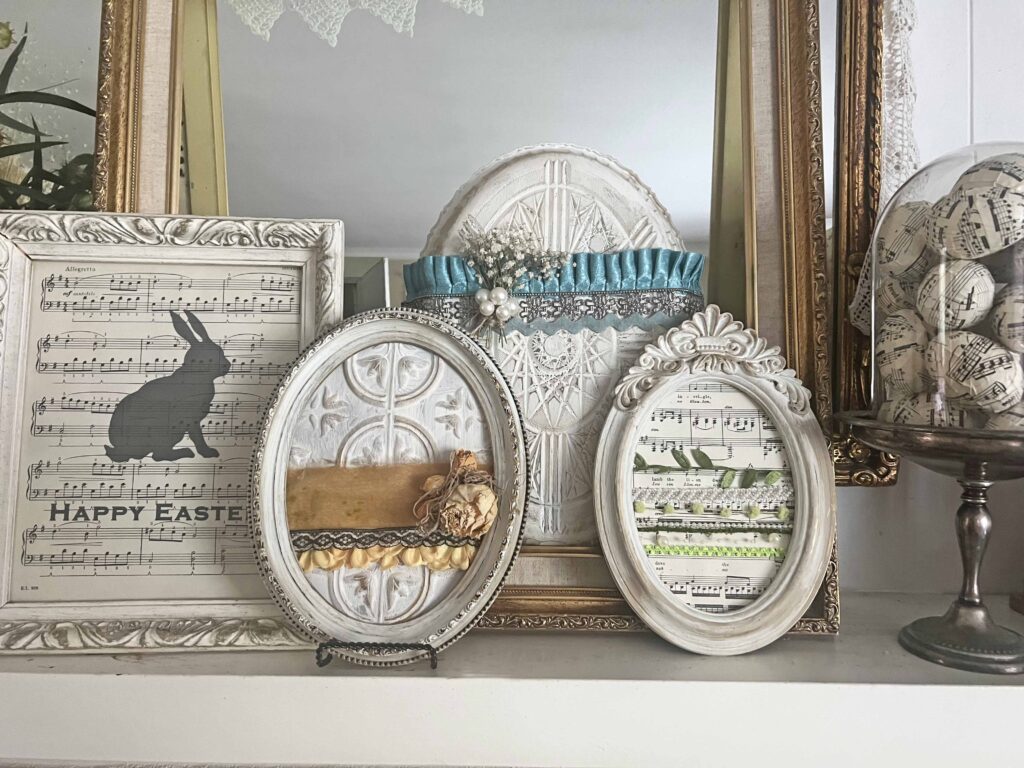
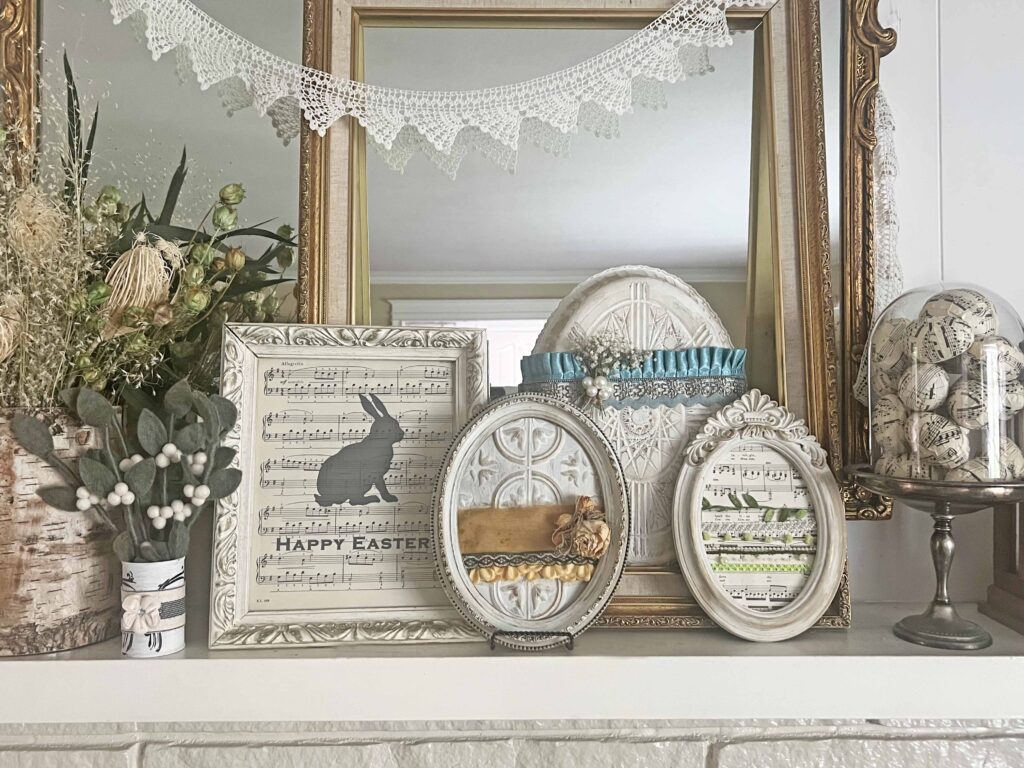
Coordinate & Compliment with Other Decor
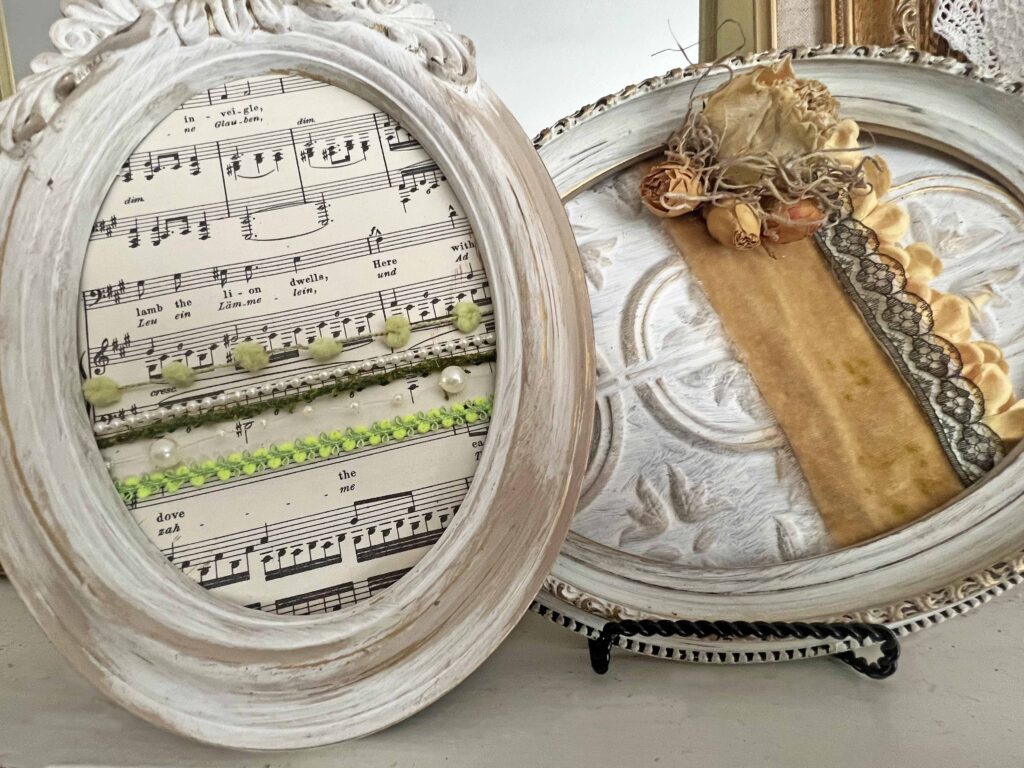
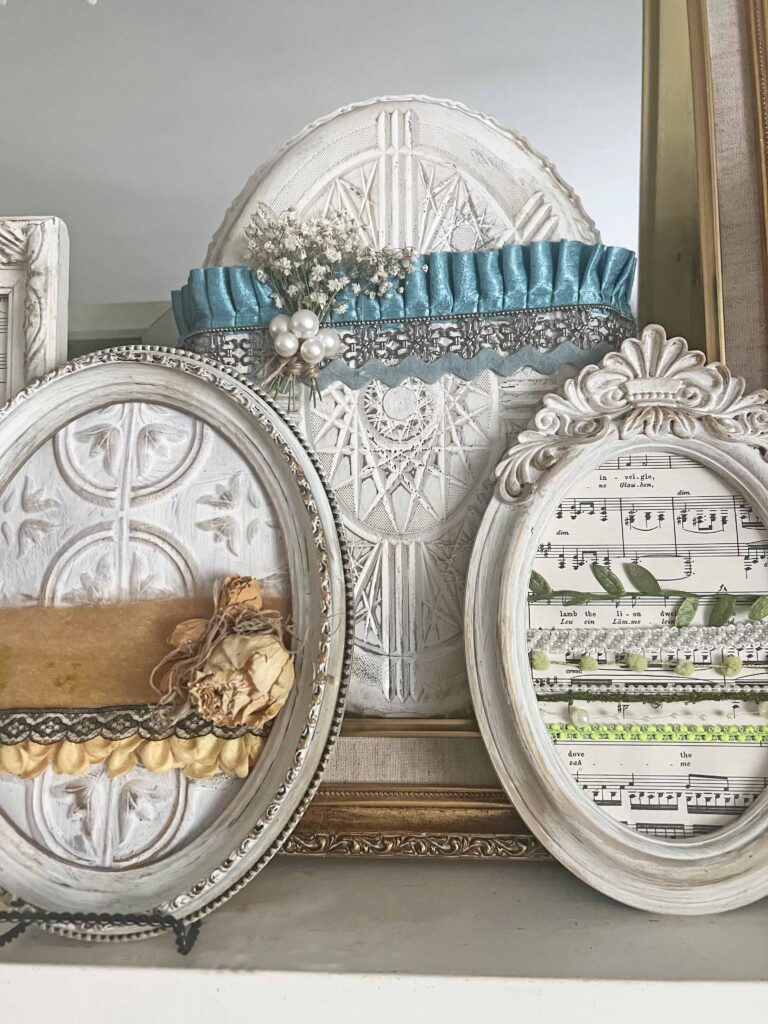
The silver blues in this new egg are a nice compliment to the warm golds and fresh greens in the other two eggs. The previous eggs were overall warm, while this new egg uses cooler tones. The dried florals and pearl accents tie into the other eggs as well. Although each egg is slightly different they all work together as a set. The selections work with the overall feel of our home aesthetic, which is one of the many benefits of personalized decor.
To Patina or Not To Patina
That is a question only you can answer. I like distressed and rusty and old grungy stuff that has lived and has amazing stories to tell. Although this is a new piece I just created, I want it to have that old world feel like it’s been around a bit. If you prefer a cleaner look and a more contemporary feel, you might want to skip the sanding or | and waxing steps. Keep in mind the distressing helps accentuate the details in the plastic tray, bringing out the pattern. Do what works for your home and personal aesthetic. Always be true to your style and your home will coordinate with itself.
Work Through the Creative Process
When starting projects like this, collect as many supplies as you believe will work with the craft. Then as you create and bring everything together use what works and exclude the misfits. Use elements which speak to you and let your instincts guide you as you bring a piece to life. Make the piece yours so each time you see it, it brings a smile to your face. Creating unique decor accents is a favorite around here. If this is something you enjoy as well, feel free to sign-up below to receive all new content directly into your in-box.
Closing Thoughts
Are you ready for Easter? Are you hosting or are you celebrating at friends and family? Either way, have the best time. If you celebrate other holidays, wishing you the best as well. This is the last Easter post for the season and there’s a ton of spring content coming your way.
Thanks for stopping by today and I hope you liked this Easter egg DIY from Dollar Tree trays. It’s always a pleasure to have you here. If there’s a type of post I do, which you prefer over others, please let me know. Do you like seasonal crafts like this, or more general DIYs, or thrifting posts, or decorating articles or recipes…..whatever it might be, I would love to hear. See you next time friends.

Shop the Oversized Easter Egg DIY Look
- Annie Sloan Old White Chalk Paint
- Dark Wax for Furniture & Accessories
- Wax Brushes
- Hot Glue Gun
- Glue Gun Glue Sticks
- Silicone Finger Protectors
- Metal Ribbon
- Blue Ruffled Ribbon
- Blue Rim Rac Ribbon
- Mini Dried Baby’s Breath
- Crafting Pearls

More Related Posts
Most Recent Posts
Easter is the soul’s first taste of spring.”
Richelle E. Goodrich
So cute! Love the ribbon and the pop of color!!???
Thank you, I know! The color was a big step for me ?although it’s still monochromatic. ?U