marble and wood pedestal stands DIY
Let me show you a quick and easy marble and wood pedestal stands DIY from thrifted items. I am attracted to white marble pieces and I have picked up a few pieces while thrifting. This is a great up-cycle to breathe new life into them.

Just add some wooden pieces and turn them into fabulous up-cycled marble and wood pedestal stand serving pieces. For a few dollars you can create unique items that are all your own.
I found that although I love these white marble pieces…found while thrifting for a great price…I wasn’t really using them. So what’s the point, right?
the concept behind the marble & wood pedestal stands
Then one day I saw a marble pedestal at a home decor store and a light bulb went off. Duh! Why didn’t I think of this sooner?
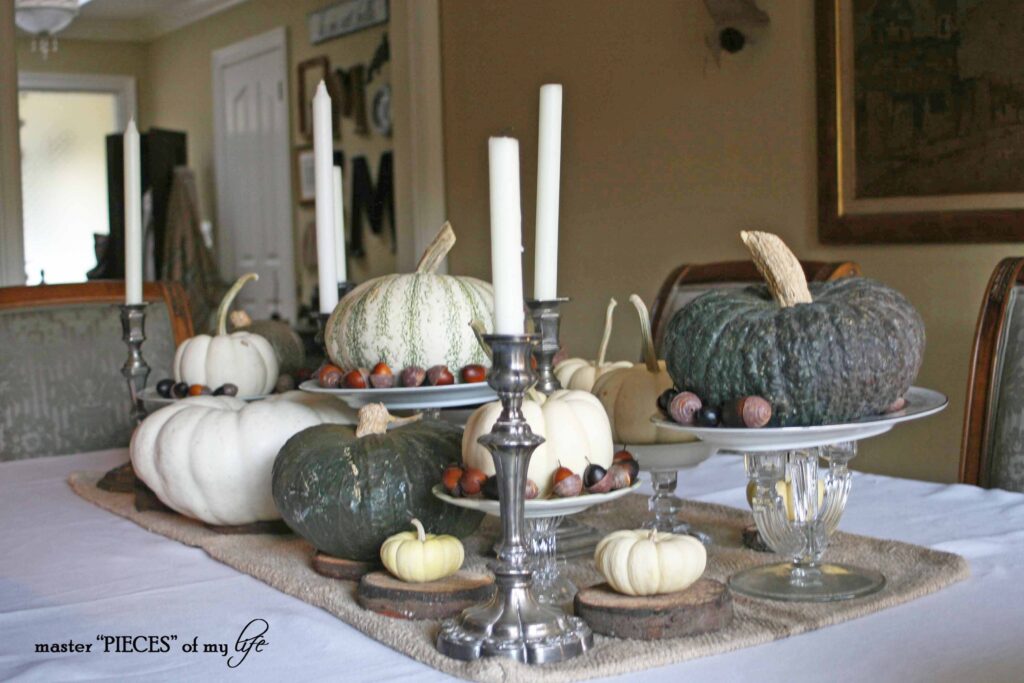
I have made many, many pedestal plates using pretty china dishes with candlesticks. I actually use to sell them in my consigning days, and this is a natural extension. This will give you an idea of my pedestal plate collection {pedestal plates & pumpkin table}.
the design behind the marble & wood pedestal stands
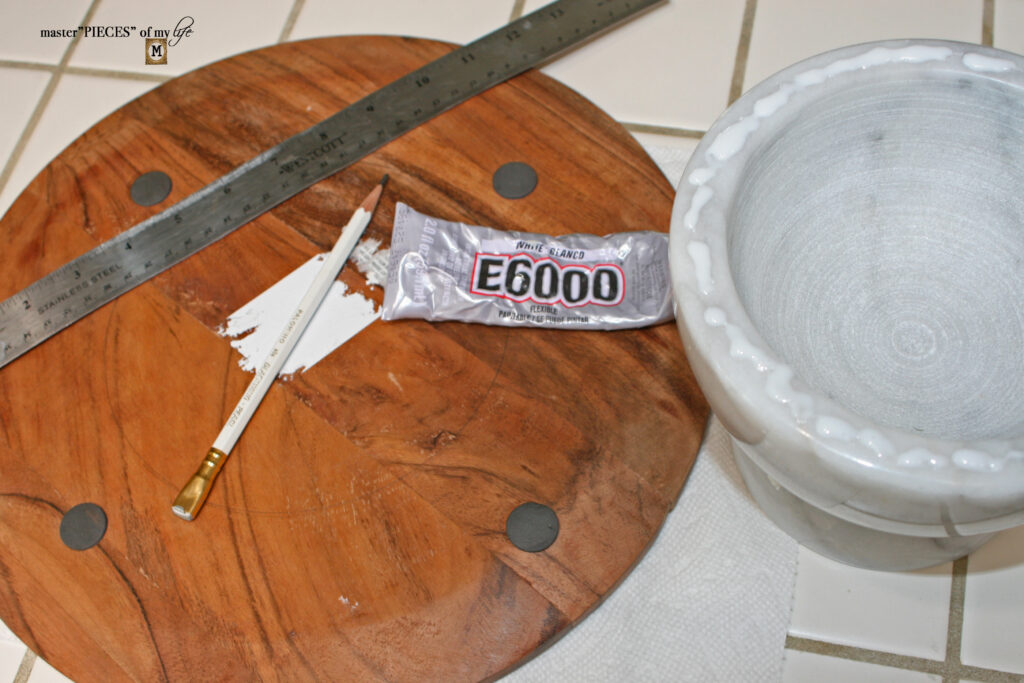
All you need is a base, a top, and E6000 adhesive. This is the best glue for the job. Trust me. I tested many glues back when I was selling the pedestal plates, assuring the pedestal plates were durable for my customers. The E6000 is the {wo}man for the job! ??
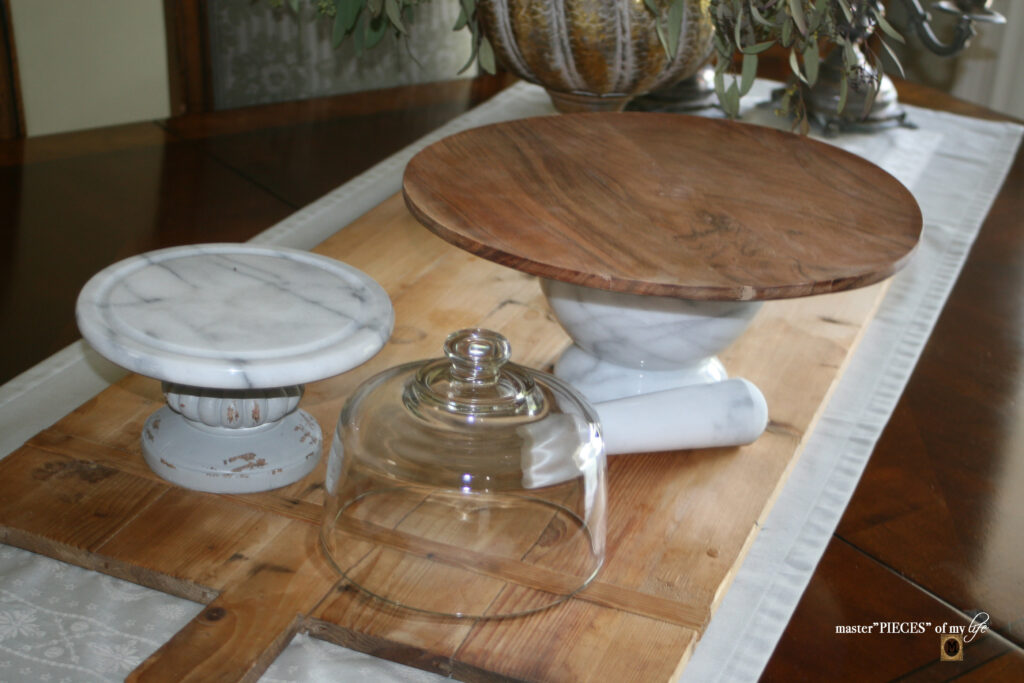
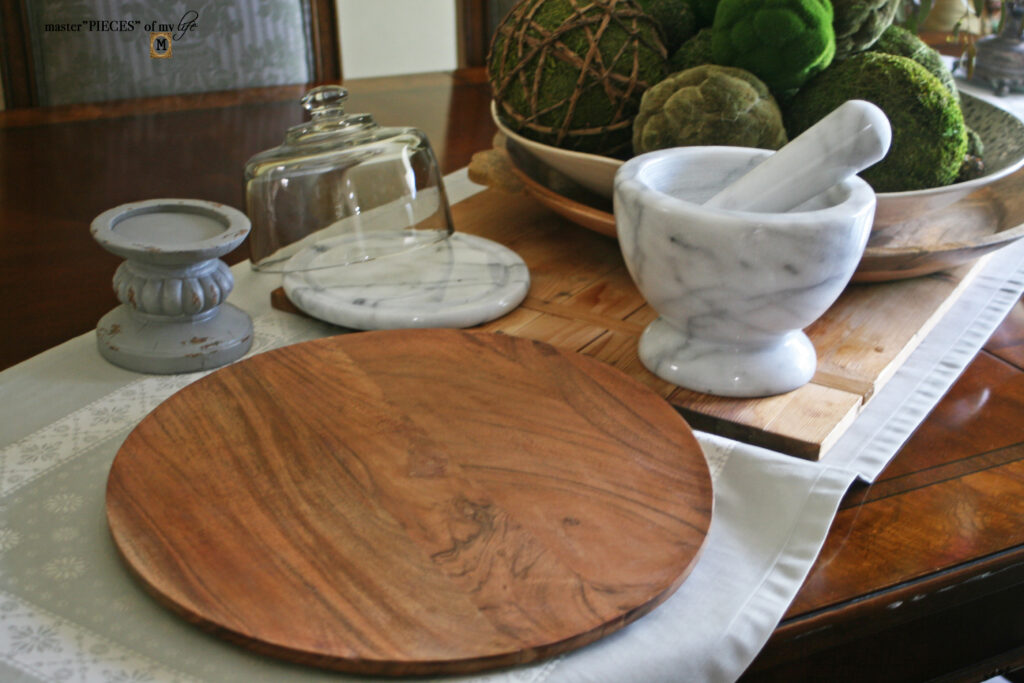
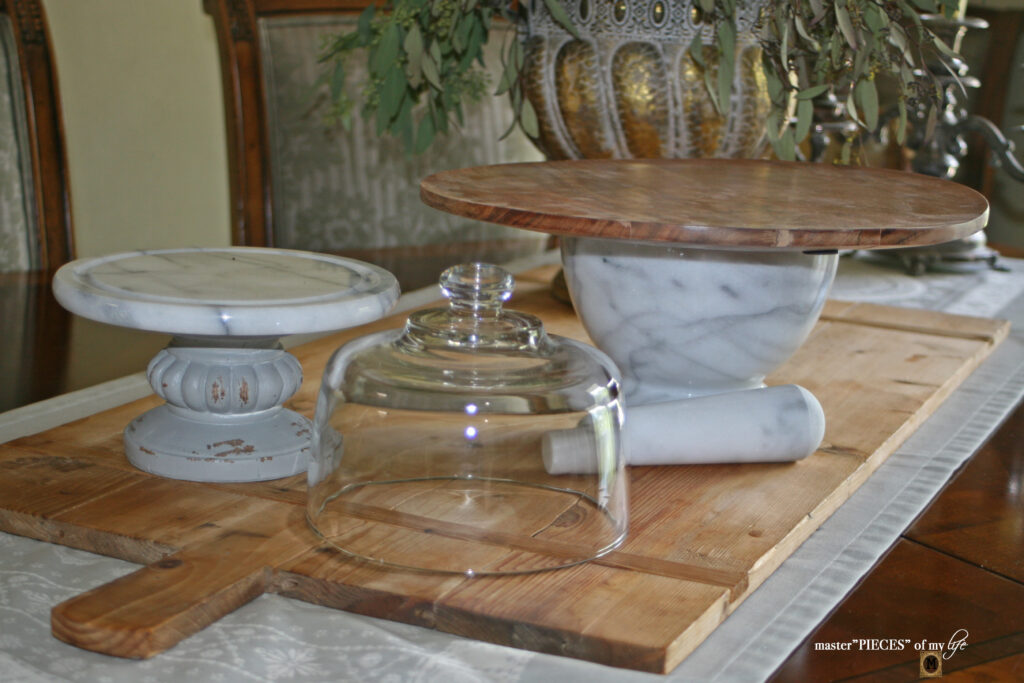
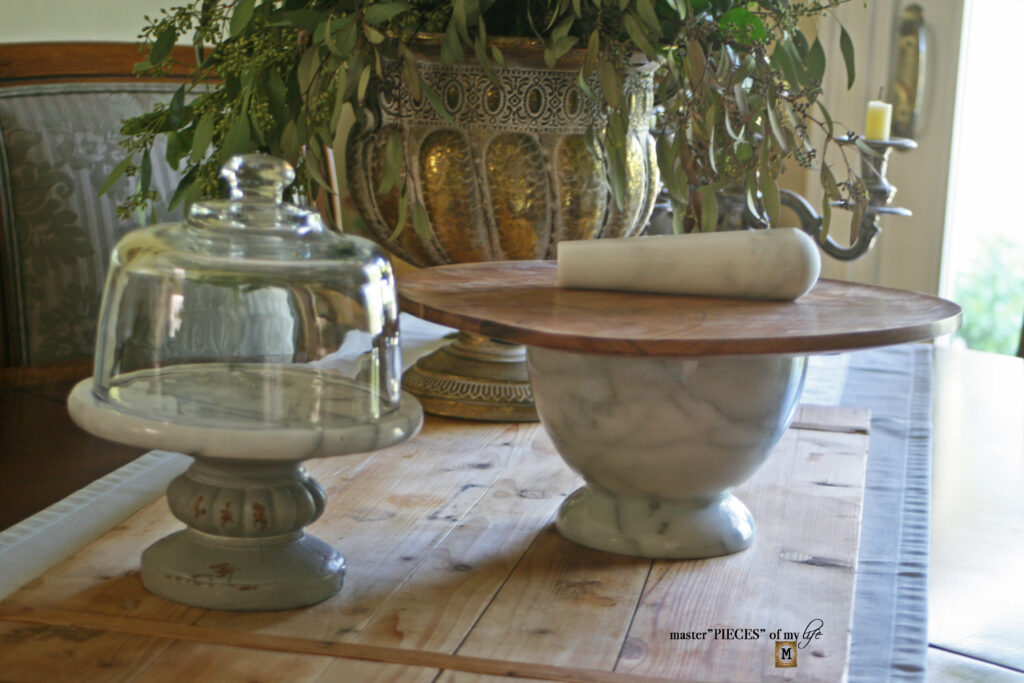
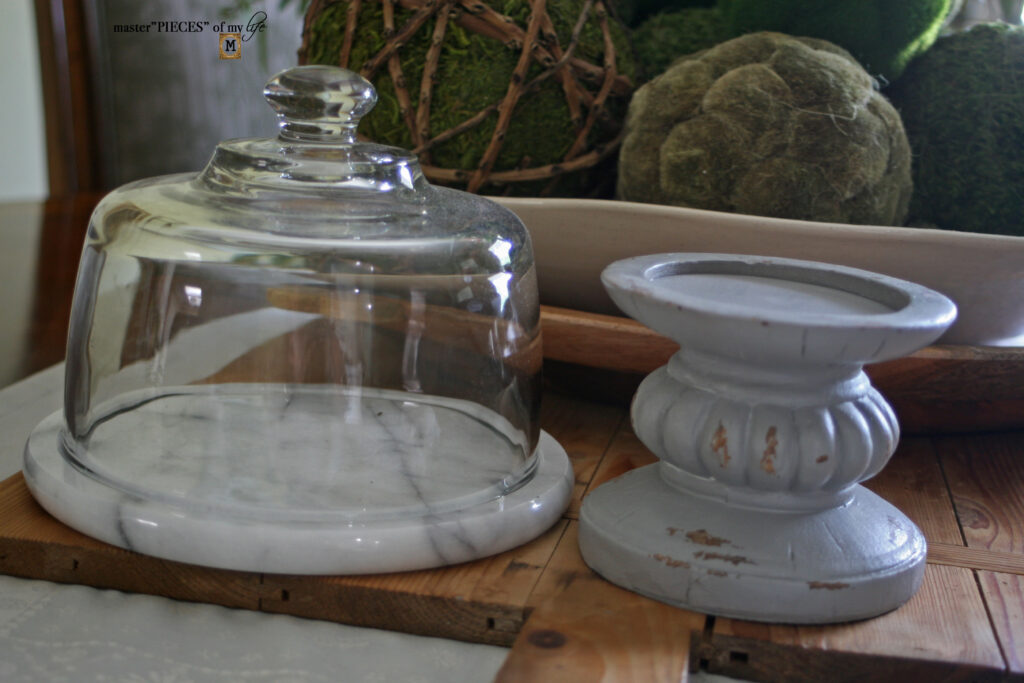
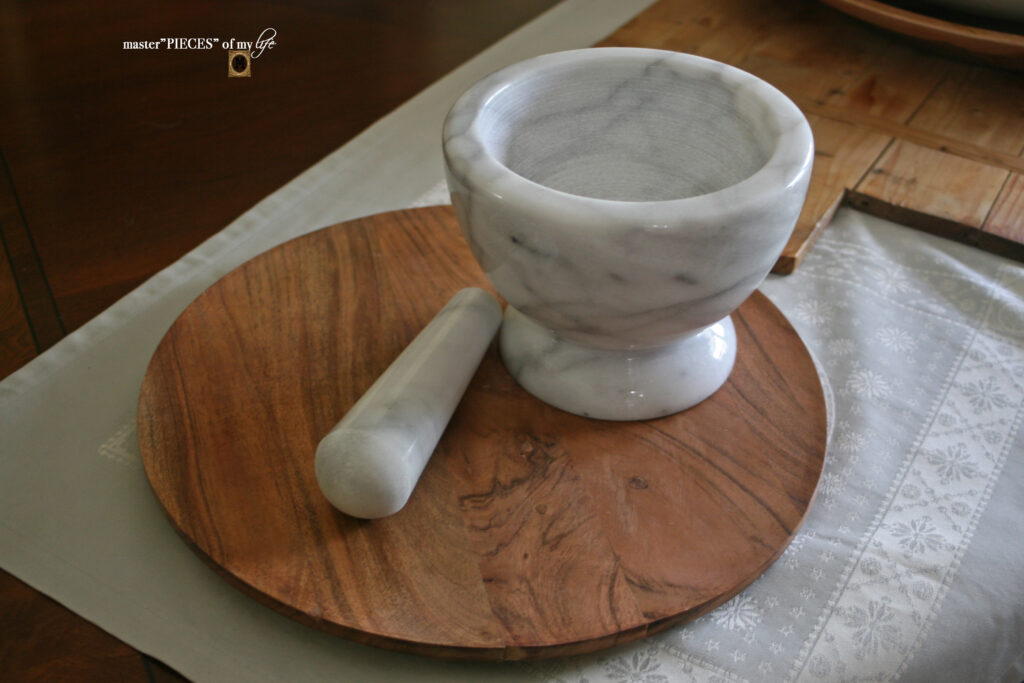
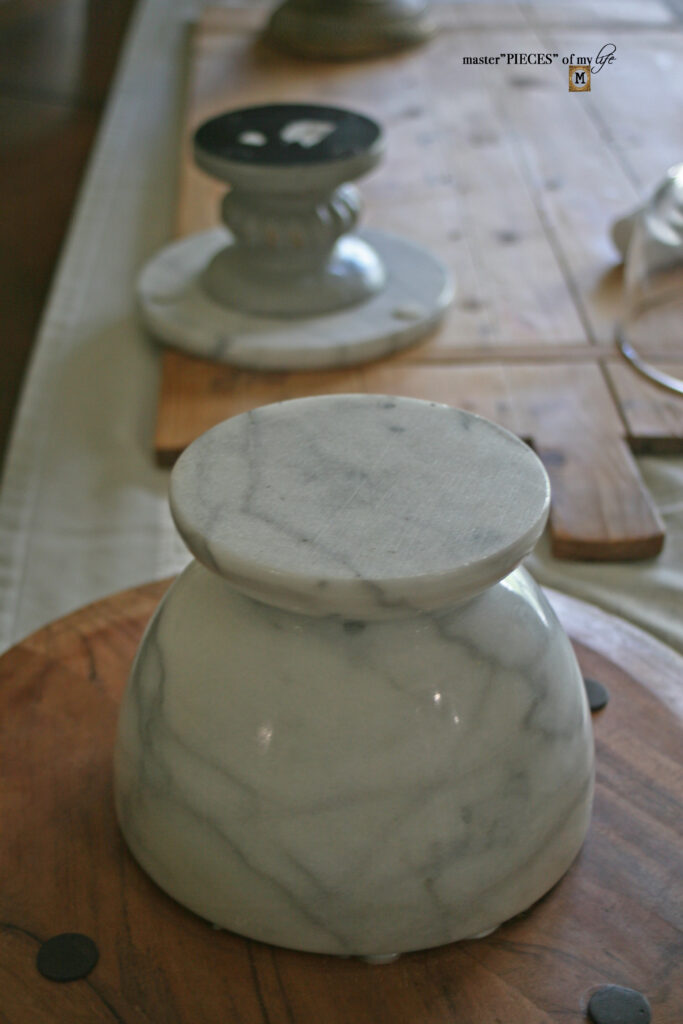
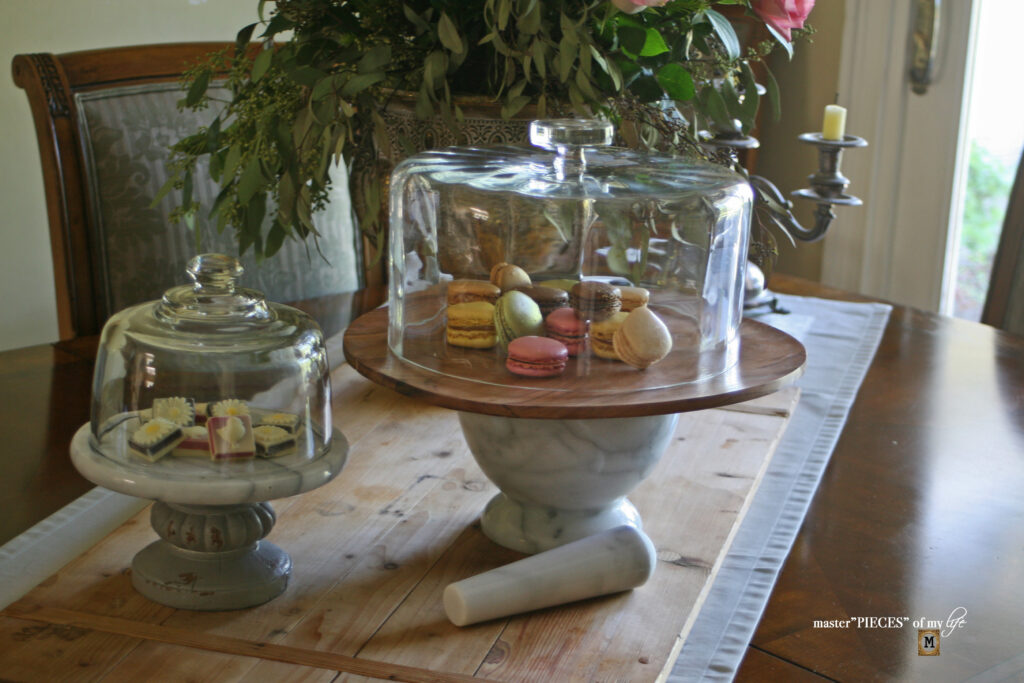
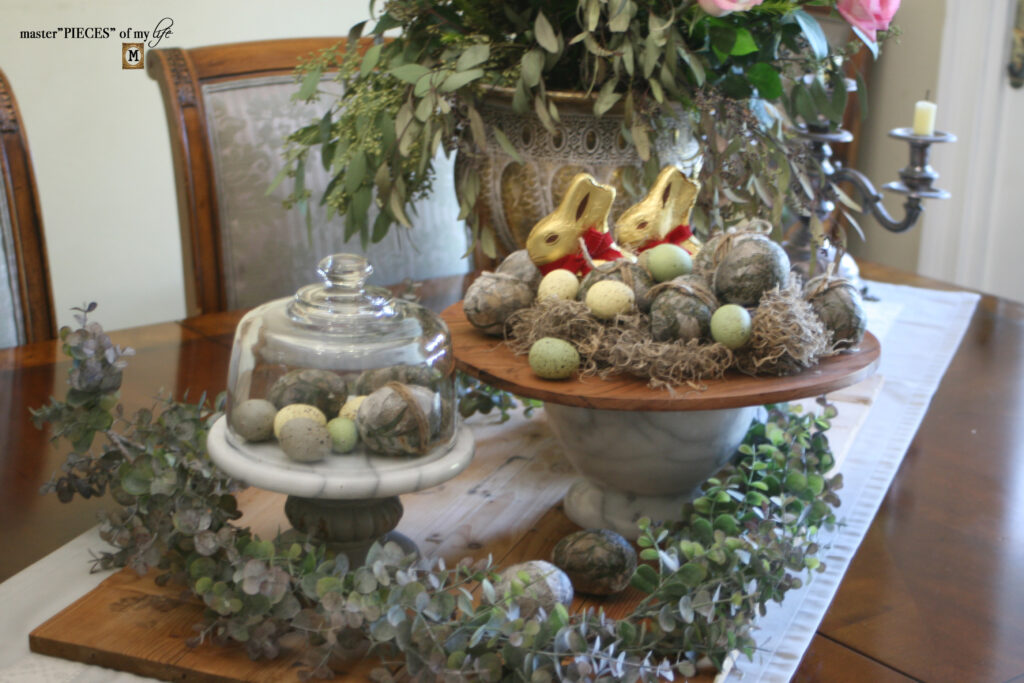
For this project, I made a couple of pieces with opposing designs. One piece is a marble cheese dish with a glass cover on top and a distressed wooden candle holder on the bottom. The other piece is a wooden plate on top with a marble mortar bowl on the bottom.
This pestle & mortar set I loved at first sight but it is h.e.a.v.y! When I spied it, I envisioned serving guacamole in it, and crushing herbs and spices in it, but it is so cumbersome I quickly shied away from it. Unfortunately it is not practical and super inconvenient because of its heft. BUT it’s weightiness made it the perfect candidate for a base. It is super sturdy and it won’t let the top plate topple over.
the simple DIY steps behind the marble & wood pedestal stands
There’s really one simple step to creating these serving marble and wood pedestal stands. Glue and go. That’s it. Pretty easy, but here are some helpful hints.
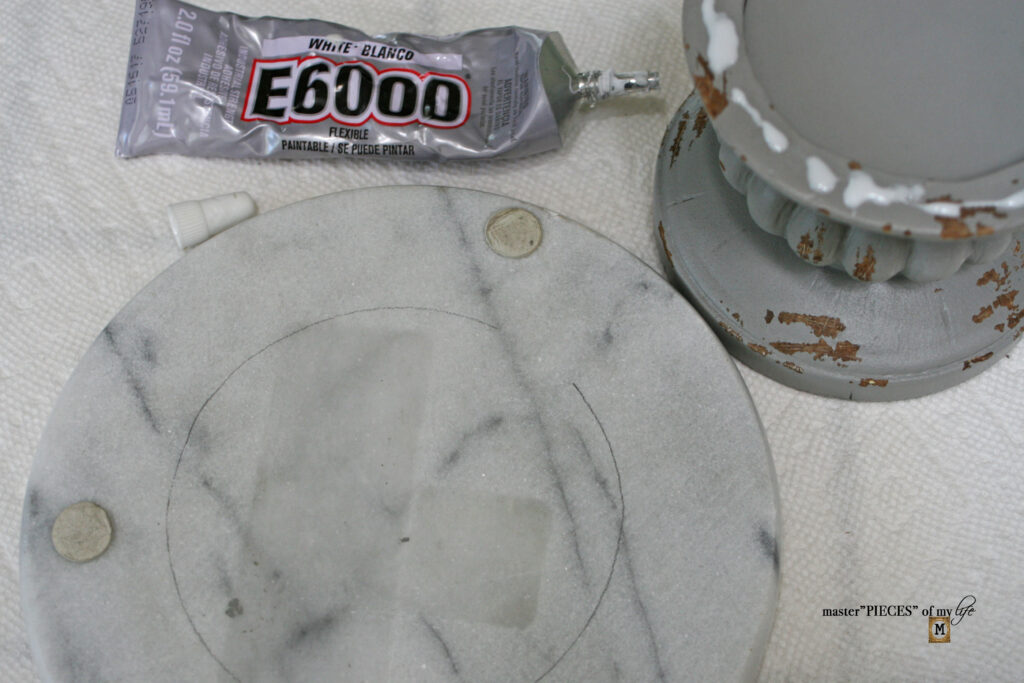
?? Measure your pieces so you glue them together centered correctly. I use to think I could eyeball it, but believe me, measuring is best, and I will leave it at that. ?
?? Let your pieces adhere overnight. Avoid the temptation to move them around while the glue is setting. Once the glue sets appropriately it is pretty secure, but it might slip & slide if you move them too soon while the glue is still wet.
?? I also recommend hand washing only for these pieces. This goes for any wooden items. I don’t know how the adhesive would fair under the high heat of a dishwasher. My educated guess is not too well.
the skinny behind the marble & wood pedestal stands
??3 items: {1} a top {2} a bottom {3} E6000 adhesive
?? 3 steps: {1} measure {2} glue {3} enjoy
I love to up-cycle old things and breathe new life into them.
If you don’t want to miss out on any of the upcoming projects you can subscribe to receive all my new posts to your in-box.
It’s a pretty easy DIY. Hopefully you will look at those random marble and wood pieces while perusing thrift shops, garage sales, flea markets, etc. in a different light.
“It’s not about what it is – it’s about what it can become.’
Dr. Seuss
sharing @ Between Naps on the Porch Metamorphosis Monday
What a great upscale!! Thanks for sharing at My Big Fat Menopausal Life’s Share the Wealth Party. Have a wonderful week!
Thank you so much! So simple, yet I don’t know why it took me so long to figure it out. Thanks for the visit. XO- MJ
What a beautiful table scape! Thank you for sharing! It’s amazing what can be created by thrifting. ?
Thanks so much Linda! I’m so glad you liked it. XO- MJ
I LOVE DIY’s like these! Marble and wood pedestals ae super expensive, so kudos! Thanks for sharing at Vintage Charm. xo Kathleen
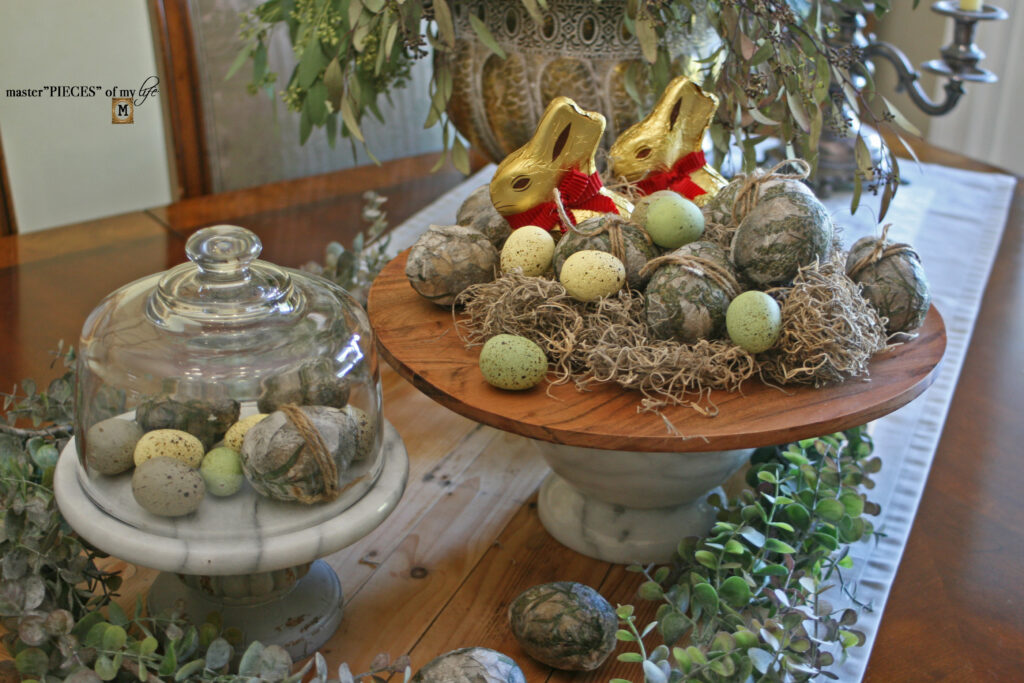
These are adorable!!! You have them styled so pretty for Spring! What a fun way to upcycle old things into something brand new! Thanks so much for sharing at Home Imagined today, friend!
Thanks so much Rachel! Yup it’s about keeping all those old things new again. Thanks for popping in. XO- MJ
MaryJo, what a fantastic way to repurpose those marble pieces. I love them as pedestals. And your Spring display is a breath of fresh air. You are so creative. Thanks for sharing with us. Have a great week.
Thank you so much for your kind words. I really appreciate it. Have a fantastic day! XO- MJ