

I am so glad you are here today since it’s a super exciting day. It’s a busy day with many things happening, but mainly I am sharing how to make your own DIY moss cross for Easter.

I am also a guest blogger over at Katherine’s Corner, which will go live on her blog next week, on Tuesday, March 12th. I am truly honored and blessed to have this opportunity. If you do not know Katherine, please pop over and introduce yourself. Katherine is super inspirational in so many ways.


If you are coming over from Katherine’s Corner, welcome, and I am so happy you are here.
*Affiliate links might be included for your convenience. These affiliate links mean a small commission is earned if you make a purchase using these links at no extra cost to you. As an Amazon Associate qualifying purchases support this website. For more information: Full Disclosure Policy.
The Inspiration for the DIY Moss Cross
I have been wanting to make a moss cross for awhile now. My bloggy friend Debra @ Common Ground has a beautiful moss cross, which also has a beautiful story behind it. Every time I see it in her decor during this time of year, I always aspire to make my own. And here we are. Give Debra a visit, she has a fabulous vintage loving soul.


Then Katherine from Katherine’s Corner asked me to be a guest blogger on her website. While I was brainstorming what I could bring to Katherine’s blog, it dawned on me a moss cross would be the perfect project to share on Katherine’s Corner in honor of Reverend Katherine. That’s right, Katherine is an ordained Reverend. I told you, there’s many layers to this very special lady and she’s definitely one to follow.

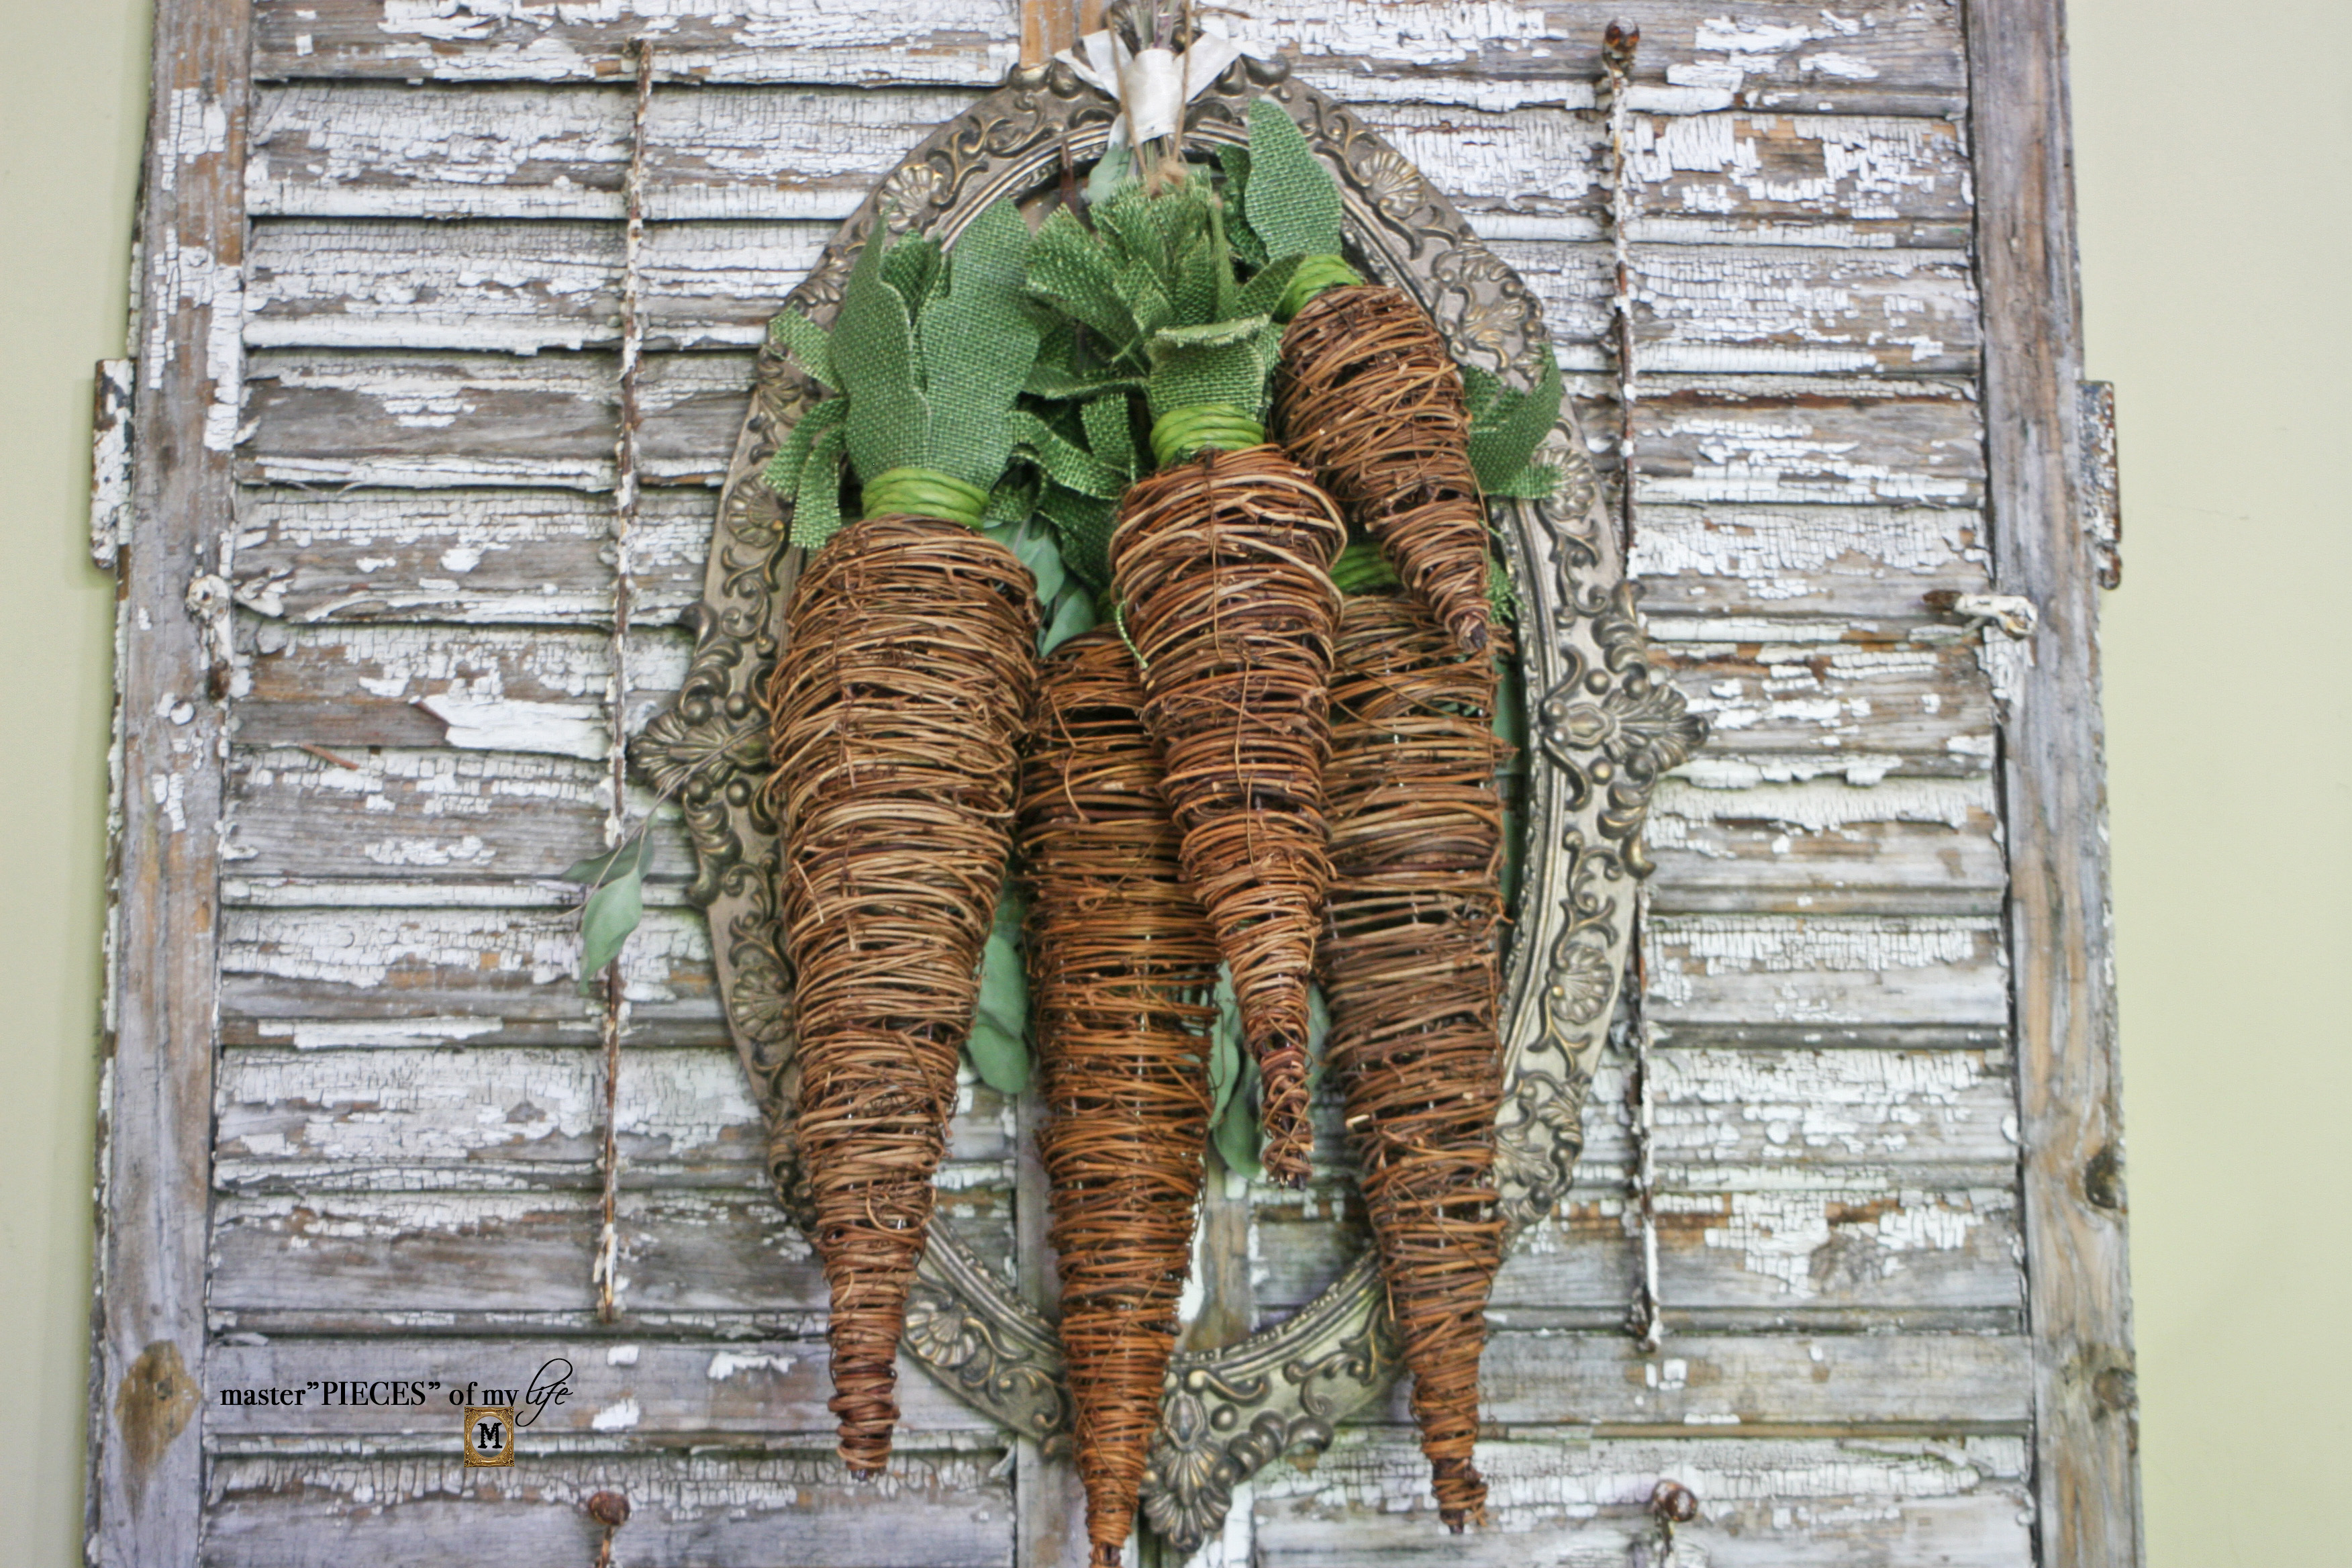
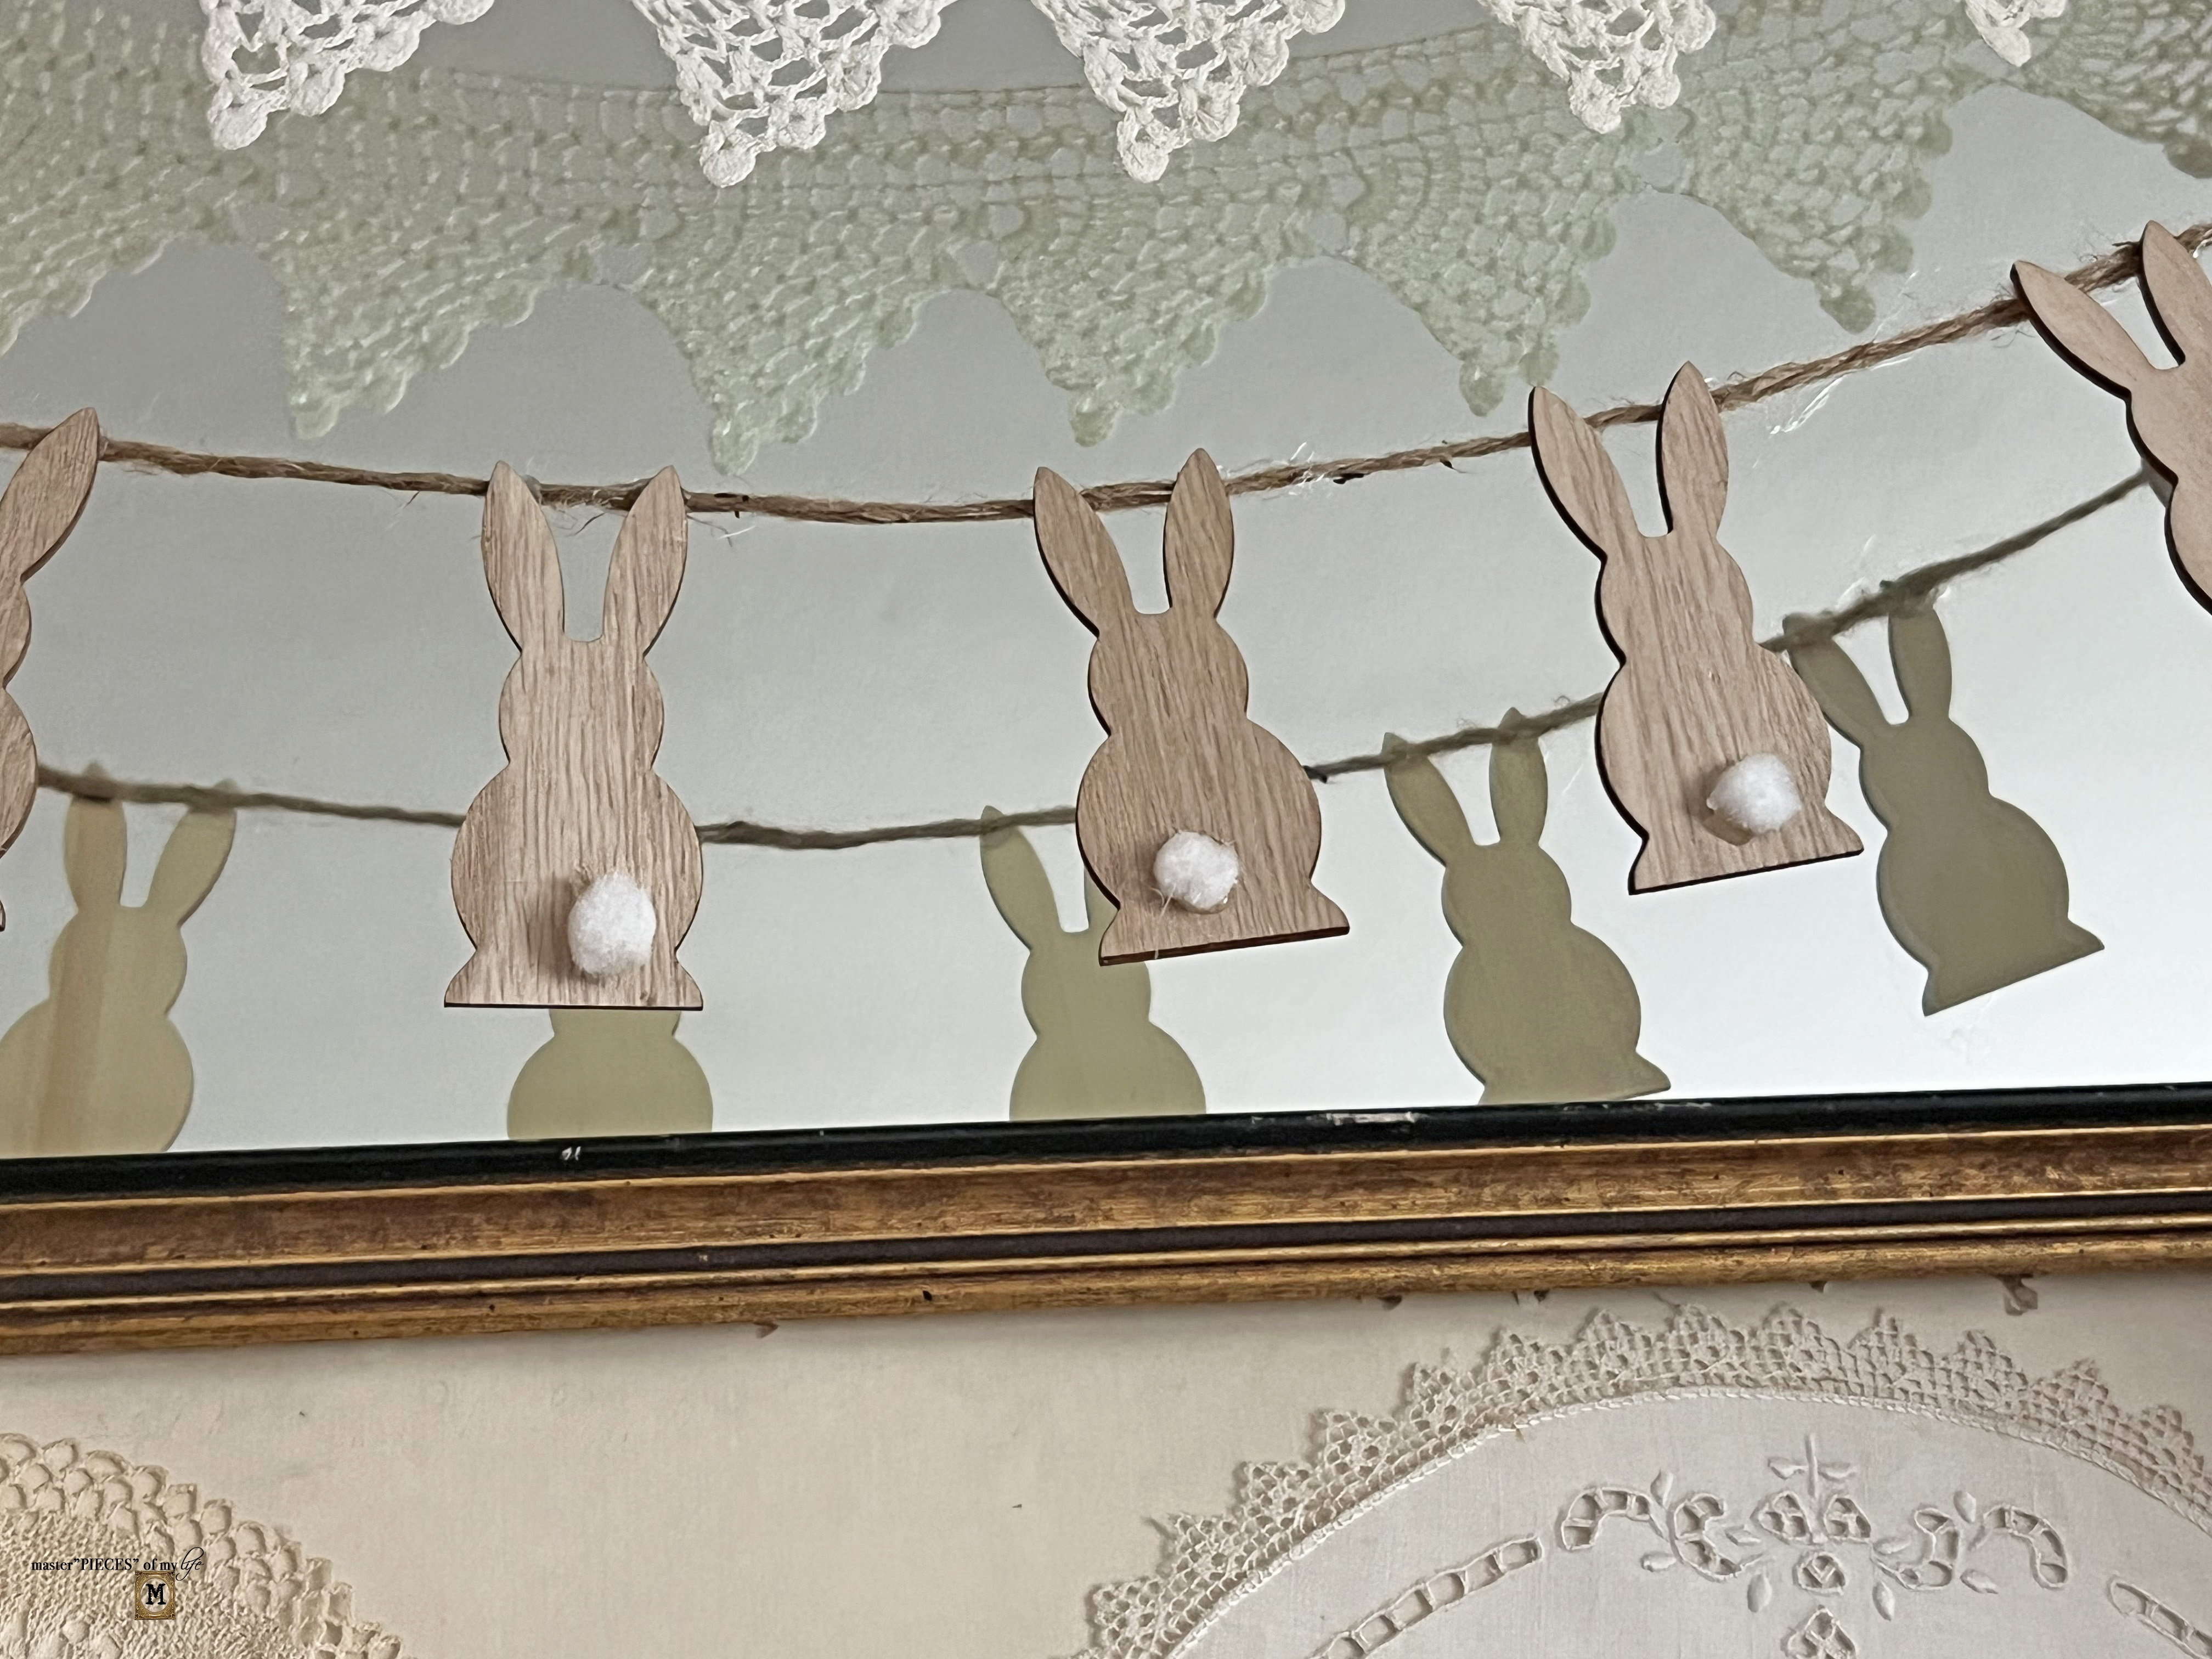
Come on in, and let me share how to make your own moss cross for the Easter holiday. Although I love all the bunnies and eggs and carrots, I do try to remember the incredible meaning behind Easter Sunday. It’s important to reflect on the resurrection, rebirth and rejuvenation of the season.
How to Make Your own DIY Moss Cross for Easter
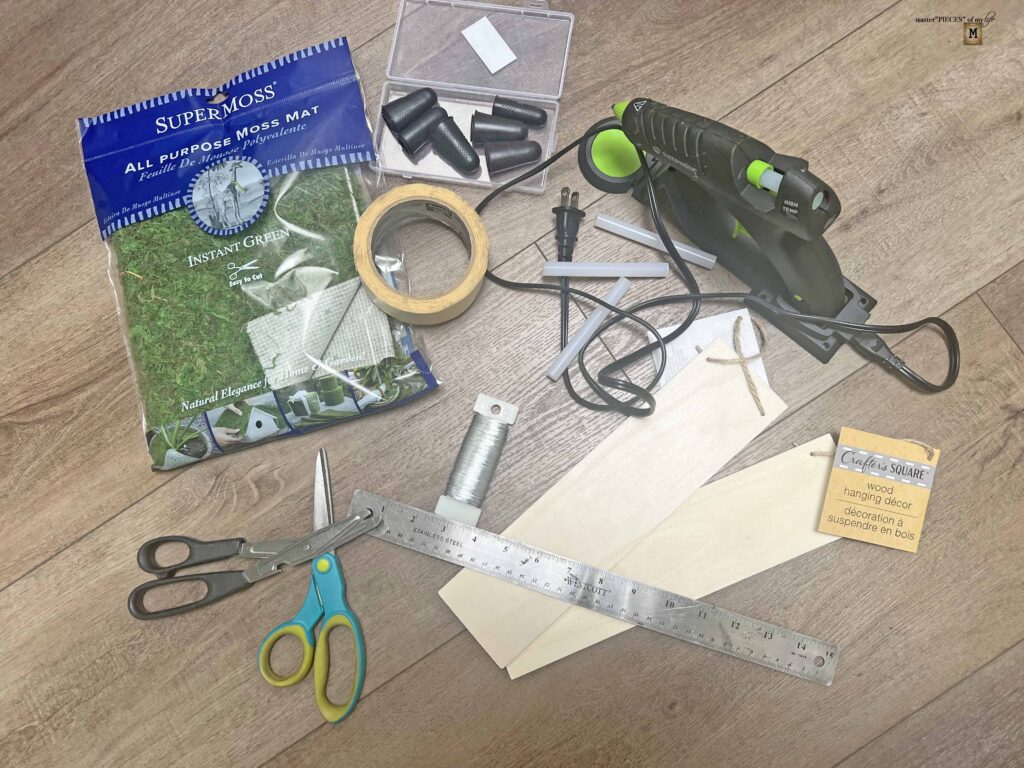
Supplies
- 2 flat wood pieces-almost 12-inches x 4-inches (Dollar Tree)
- Peel & stick sheet moss
- Masking tape
- Ruler
- Hot glue Gun
- Glue gun glue sticks
- 22-gauge florist wire
- Brown spray paint
- Ivory velvet ribbon (optional)
- Floral picks (optional)
- Chandelier drop (optional)
Instructions
- Assemble all supplies
- Plug in hot glue gun to warm up
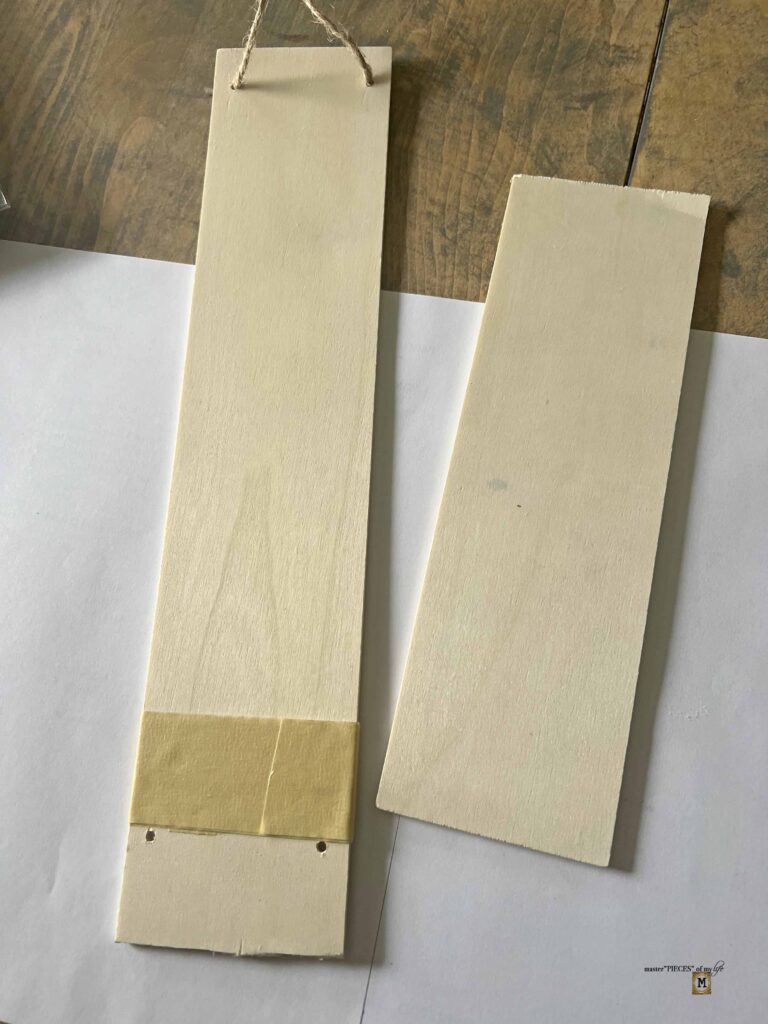
- Cut 2-inches in length off of one wooden piece and cut the strap off, if it has one
- Attach the 2-inch piece of wood to the bottom of other wooden piece using masking tape (this will all be covered up with moss so it doesn’t matter how pretty it is)
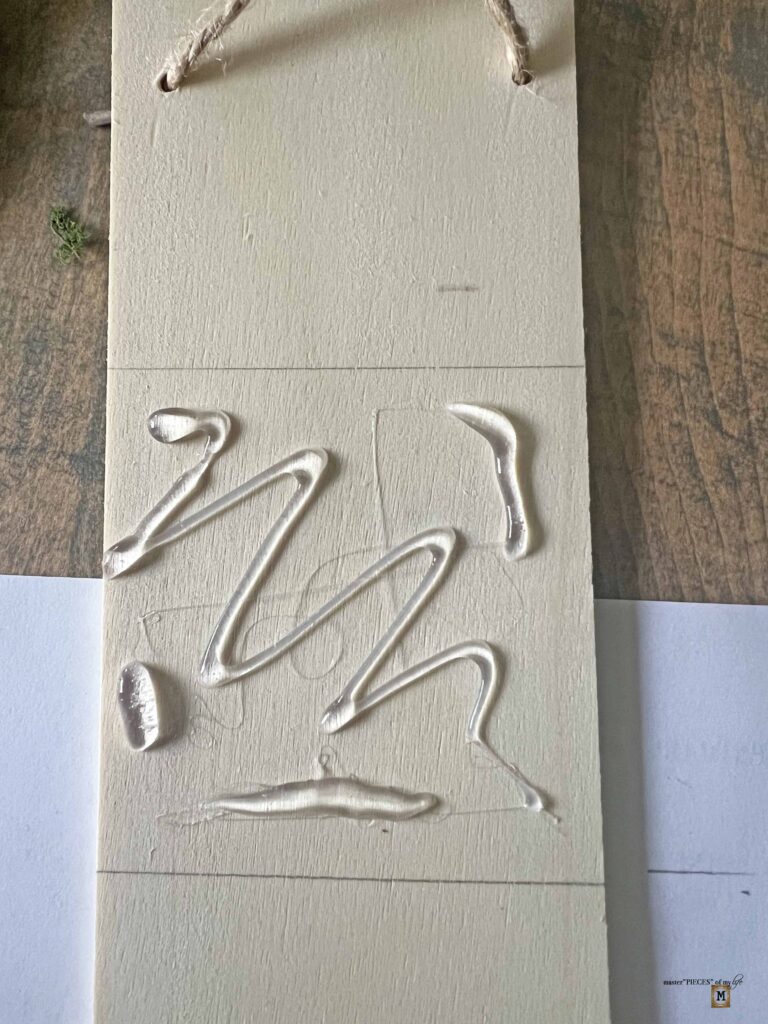
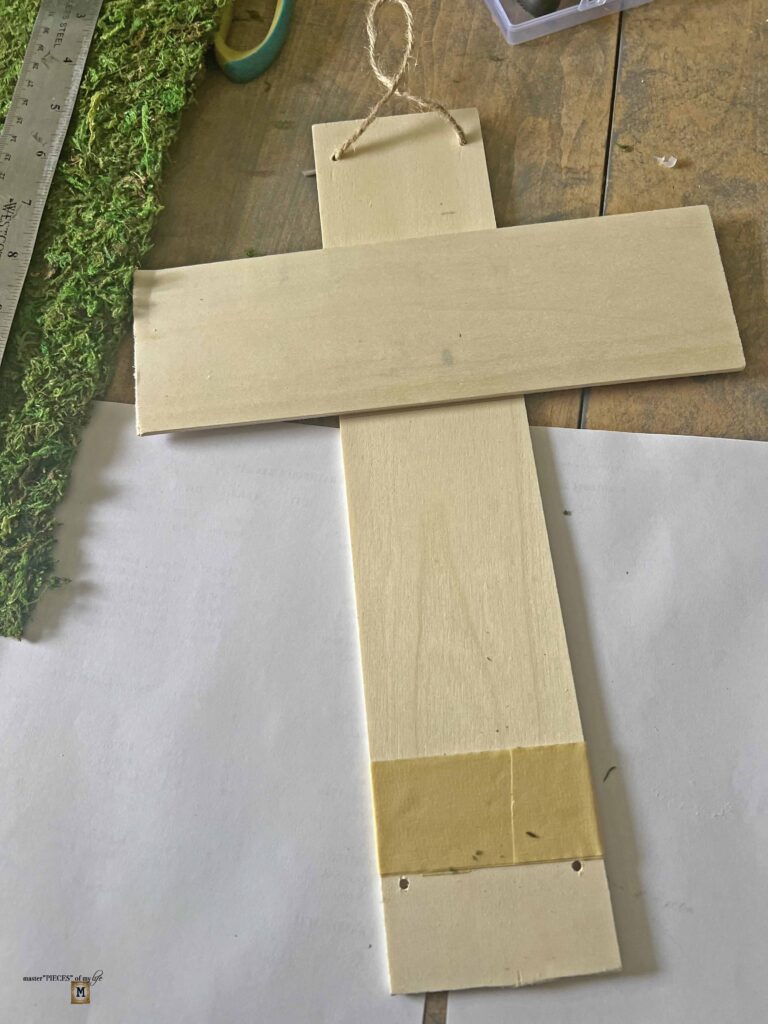
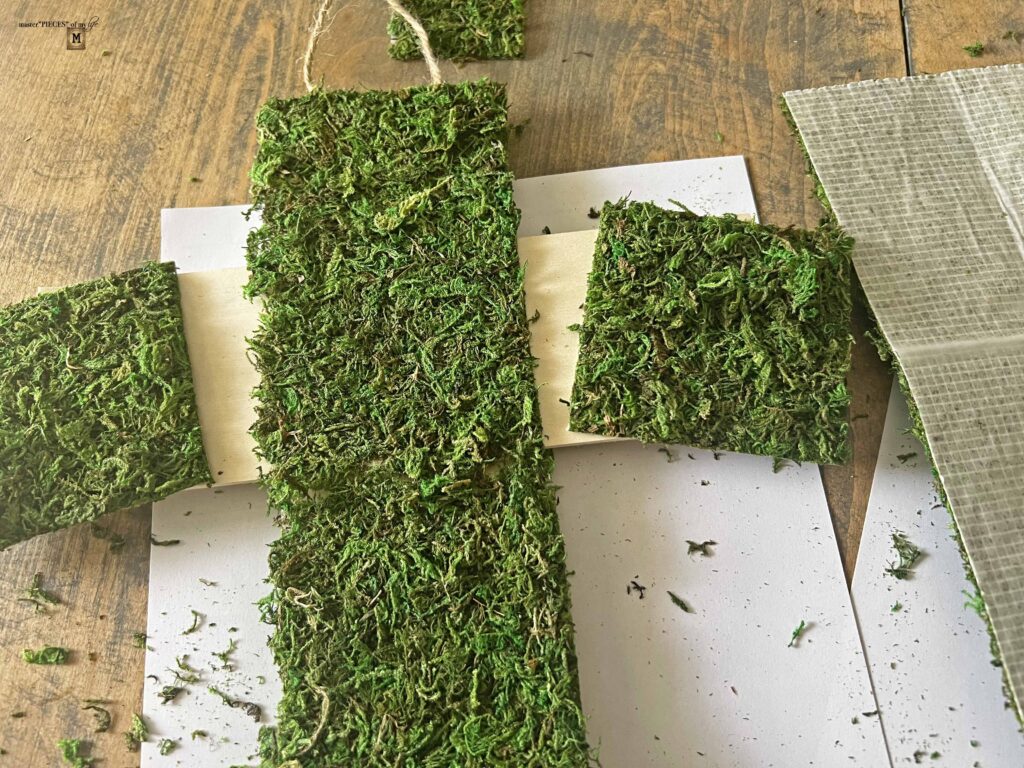
- Then hot glue the two pieces of wood together in the shape of a cross; I eye-balled this, but there are websites that will provide the proper cross dimensions
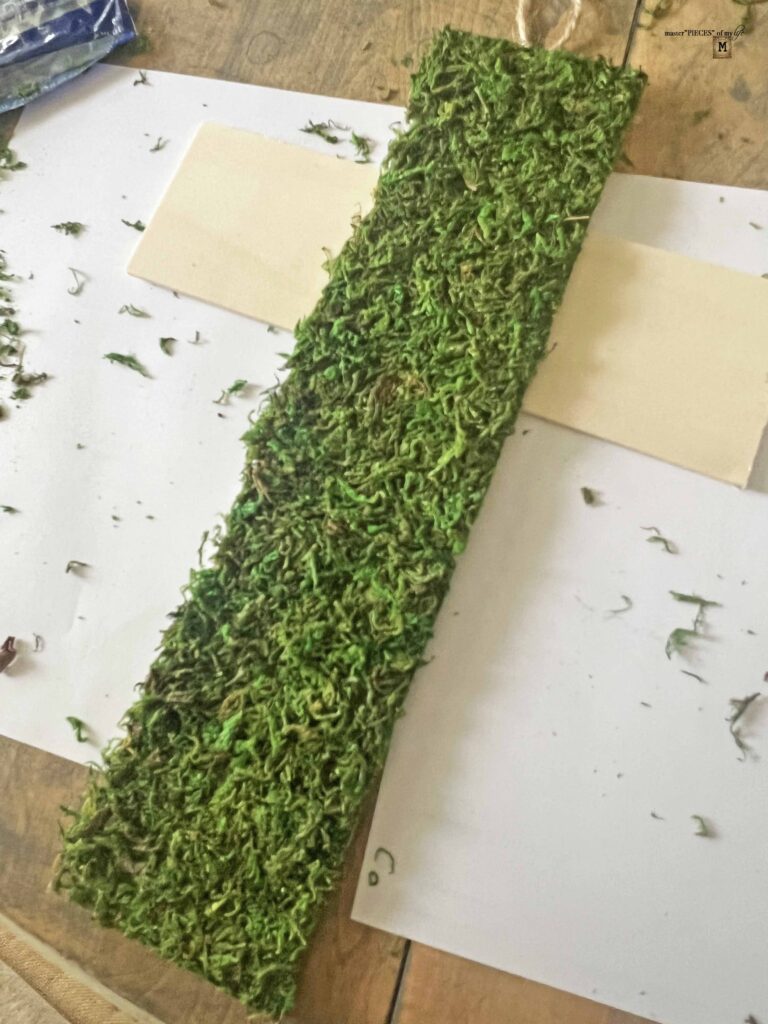
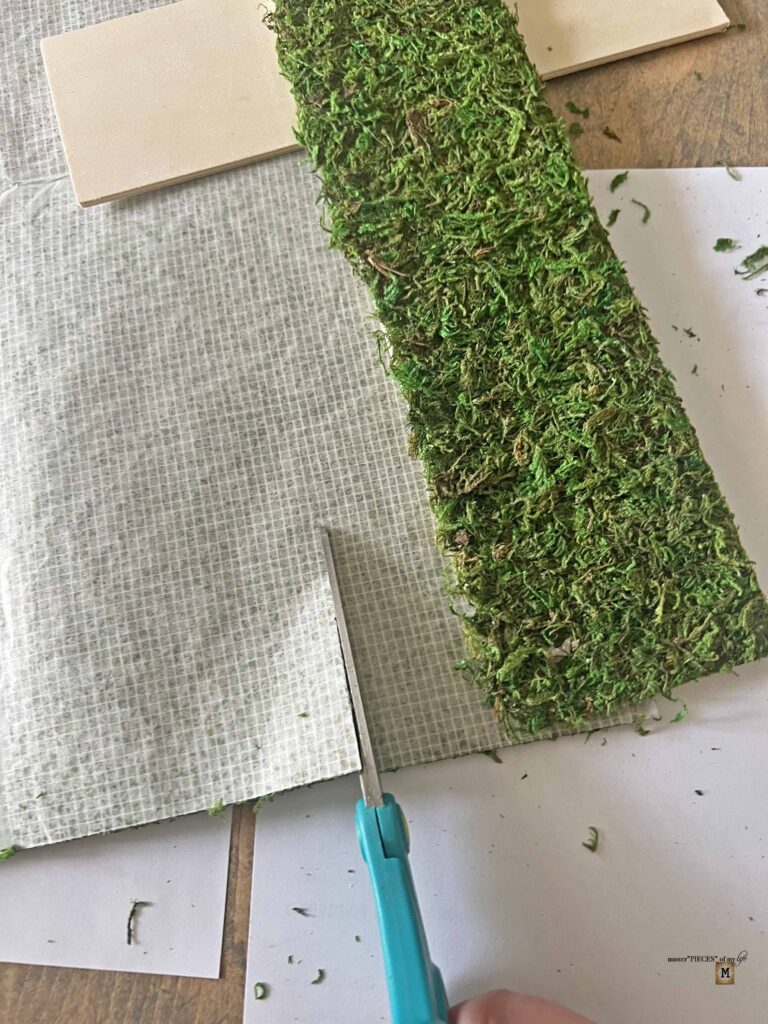
- Measure the vertical piece of the cross and cut two pieces of moss according to the dimensions
- Adhere moss to vertical pieces on front and back; the sheet moss I used was self adhesive but you can also use the hot glue gun for this
- Then measure the horizontal pieces on each end and cut out moss; you will require 4 pieces 2 on each side, front and back
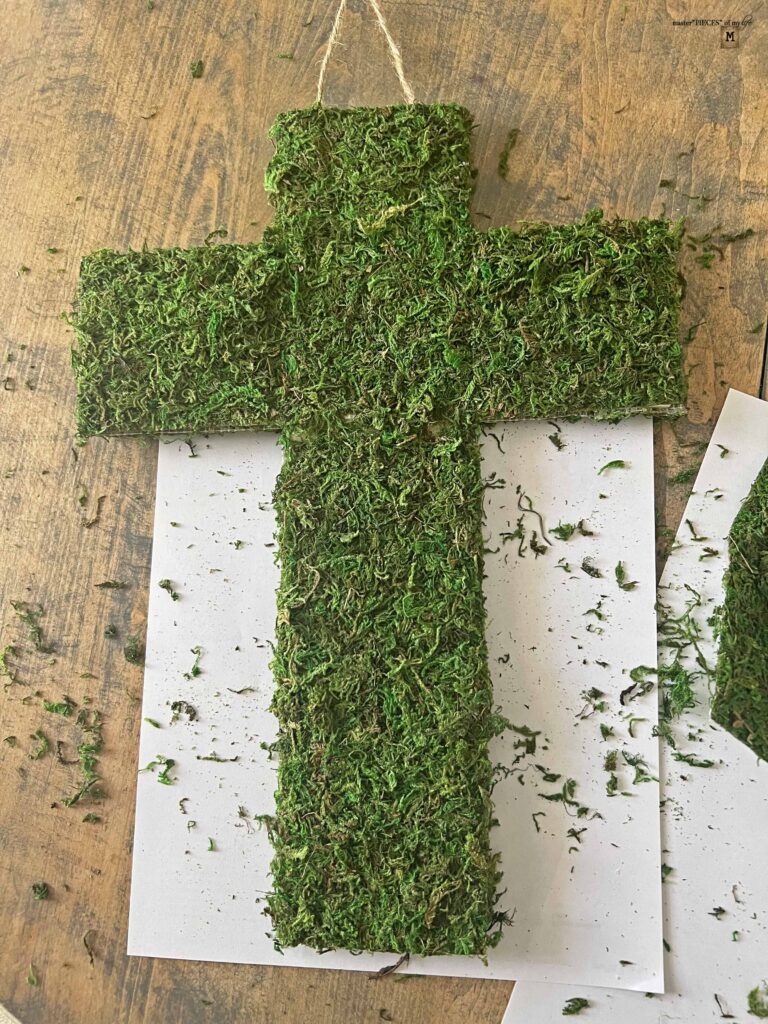
- Adhere the moss pieces to the wood, working one side at a time
- Set the cross aside, letting it set and rest
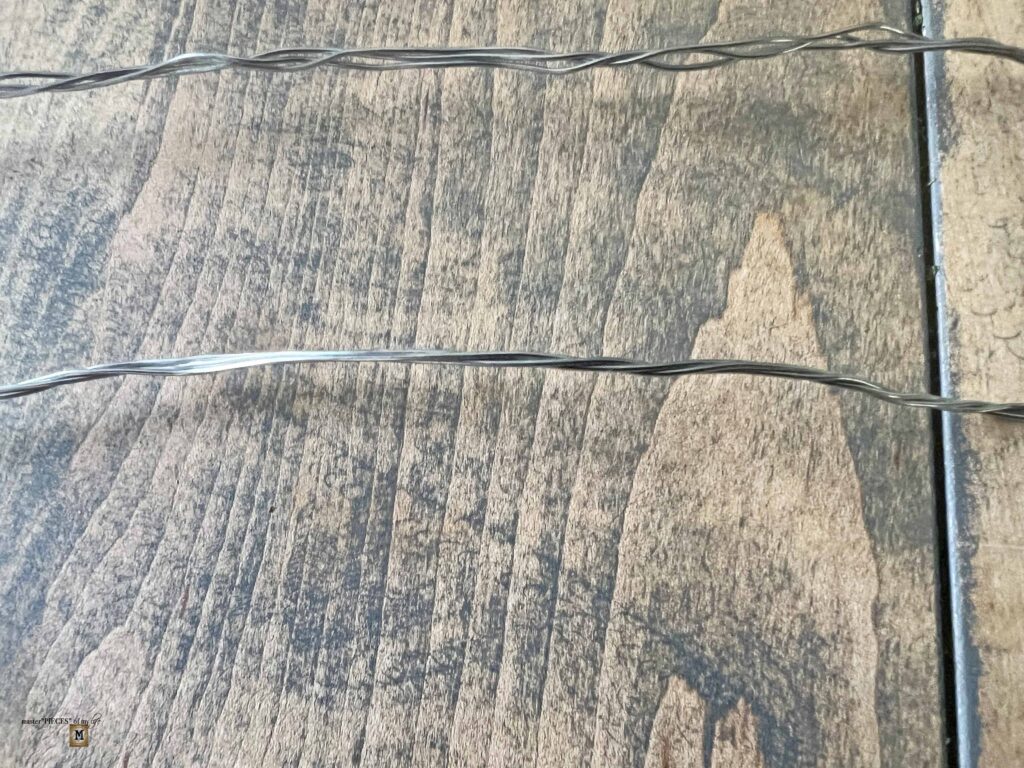
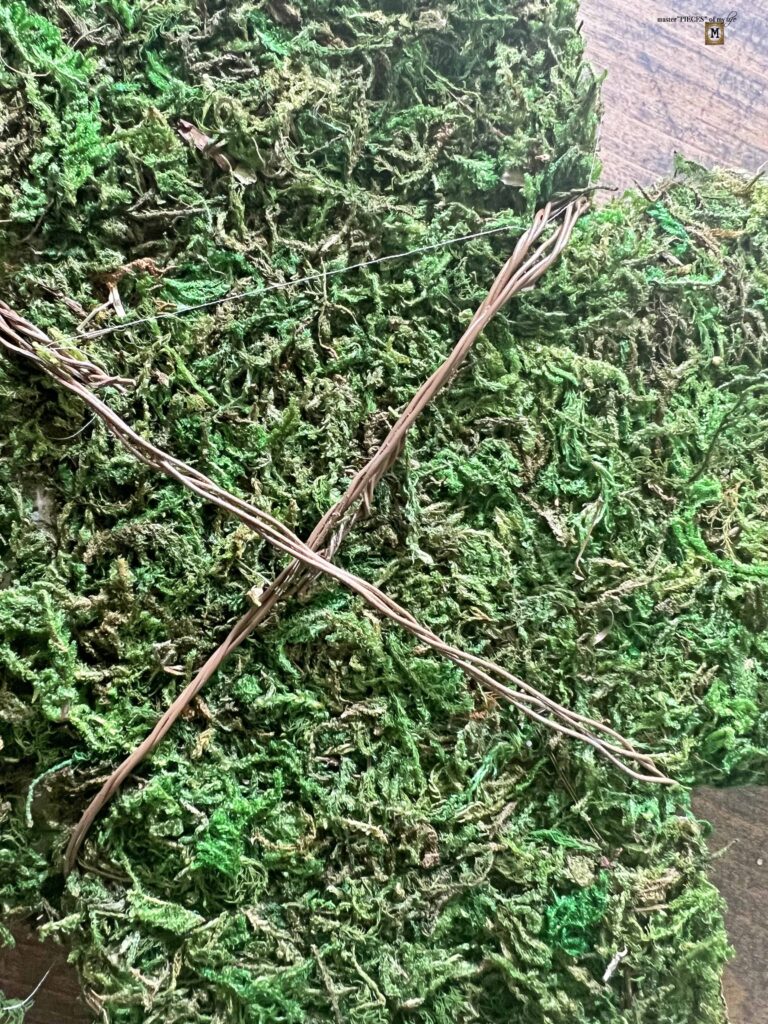
- Cut 6 pieces of florist wire, measuring 15-inches each
- Twist three pieces of wire together; start by twisting and then twist again and then twist some more; do this twice for two separates pieces of 3 wires each
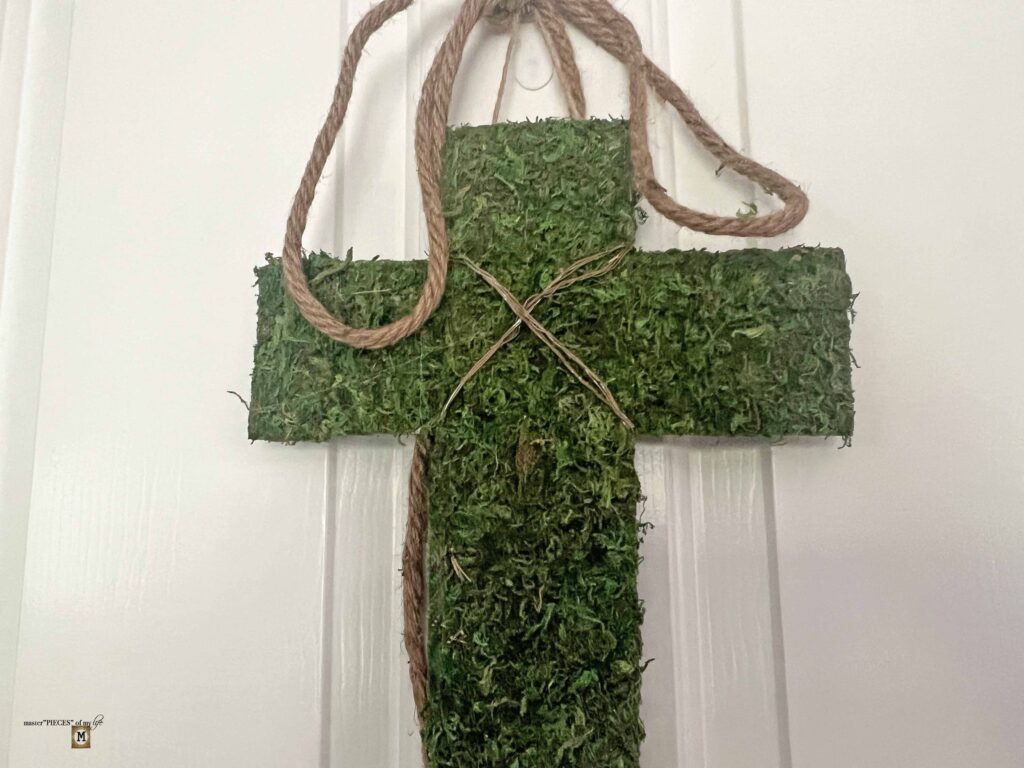
- Spray paint wire with brown paint to make it more rustic and emulate the thorny crown
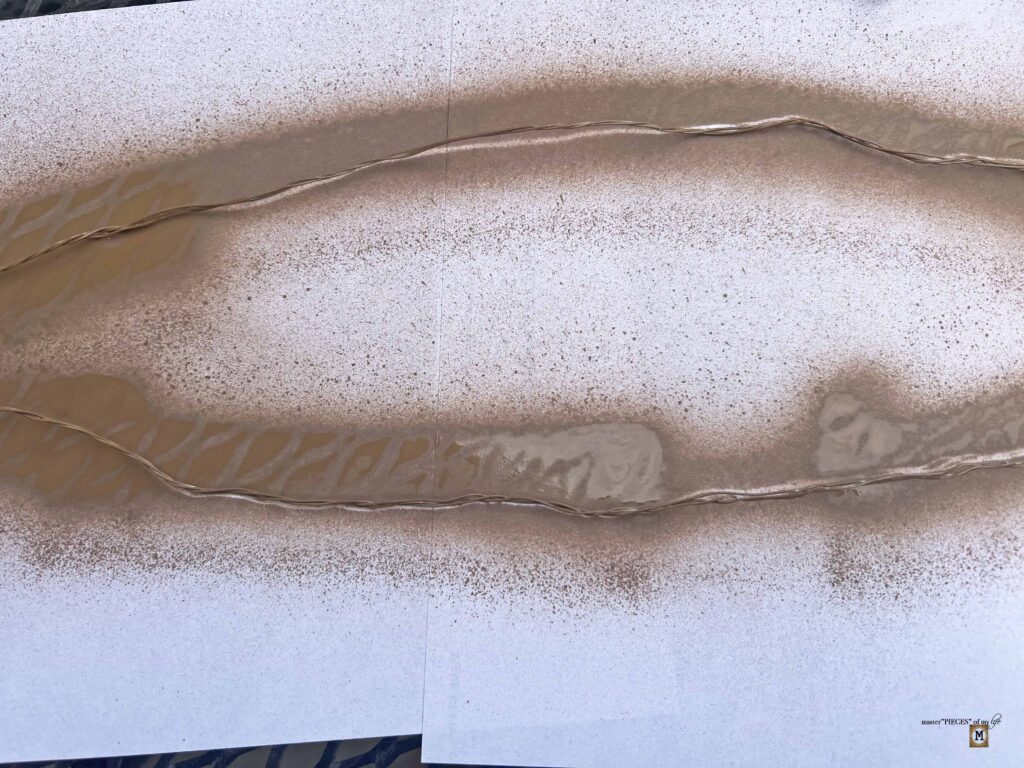
- Once wire is dry, wrap metal pieces around center of cross on the diagonal, simply twisting ends into themselves to attach
- Enjoy your new moss cross as is or feel free to embellish it; Make it yours!
How to Style the DIY Moss Cross for Easter
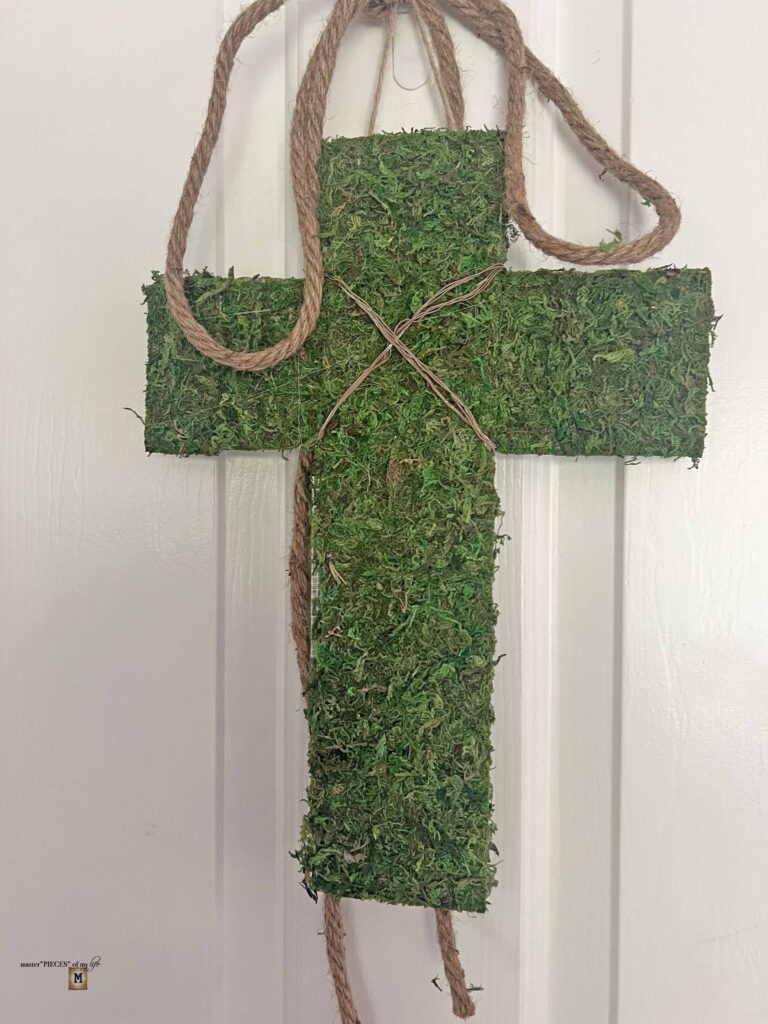
Simply Naked
The moss cross is fabulous all on its own. It can be peacefully set by itself, evoking all the emotions and feelings of the season. It’s a great piece, which can be integrated into so many decor styles.
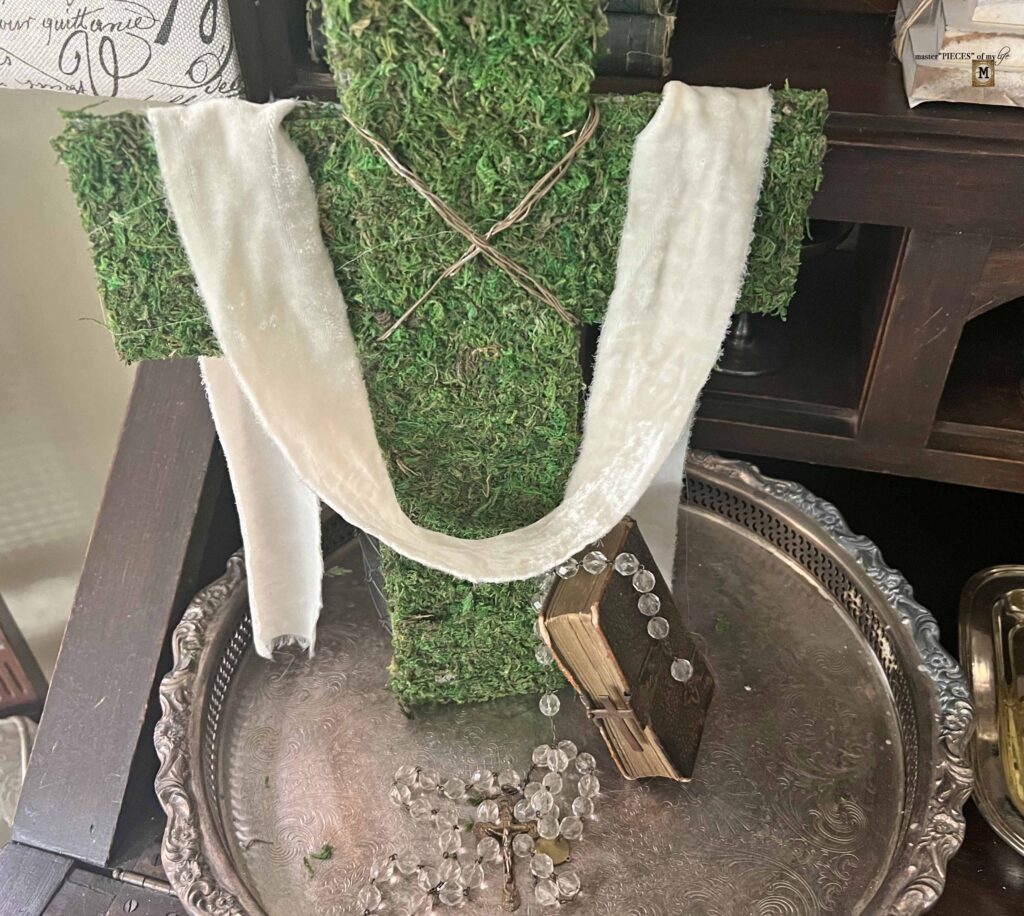
Simple Shroud
With a simple draped shroud (off white ribbon or cloth) the moss cross takes on an even more pious point of view. The religious undertones are more pronounced but it is still in a very understated manner. I simply used an ivory velvet ribbon to drape on the cross.

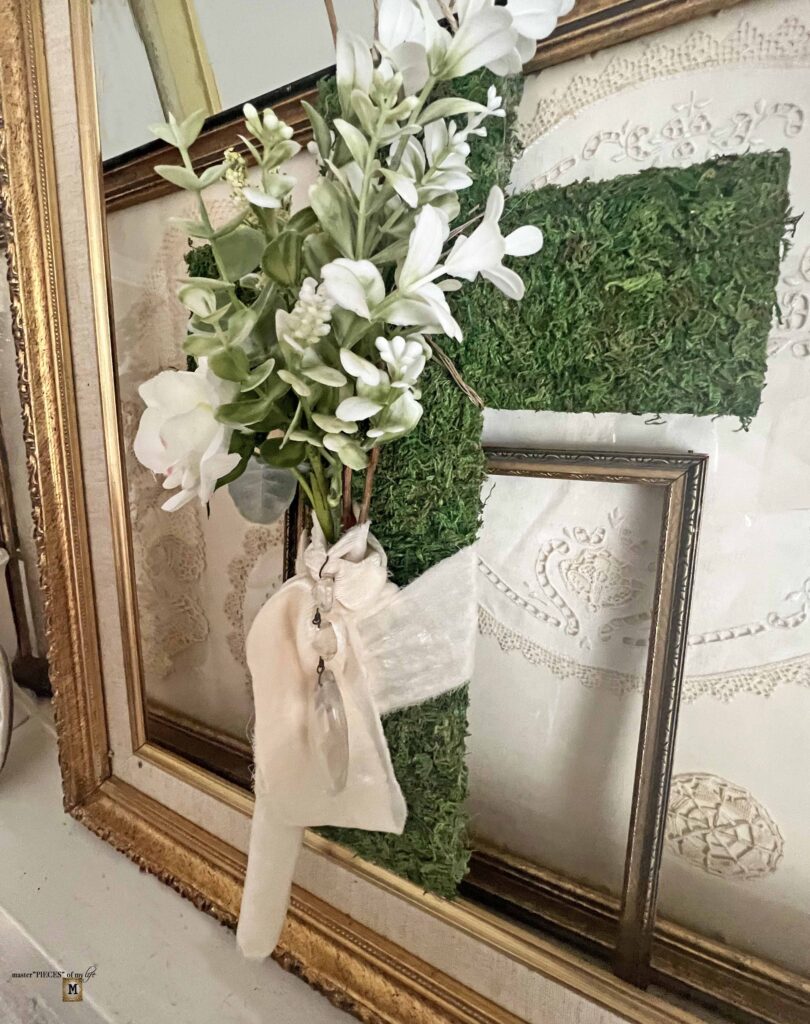
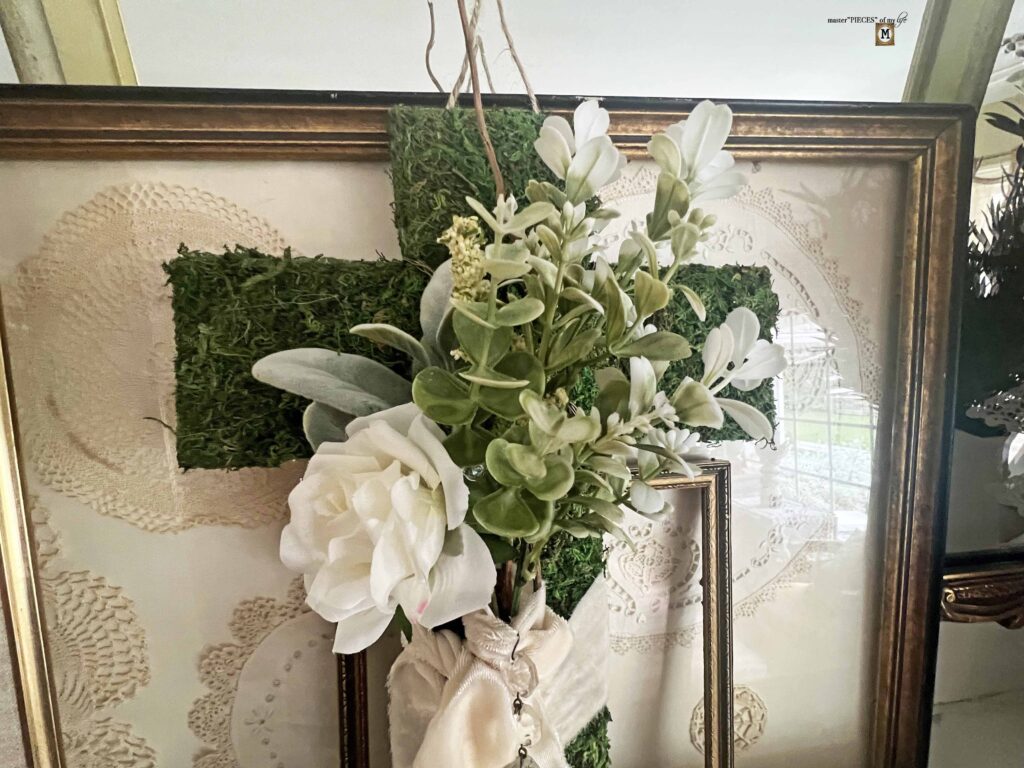
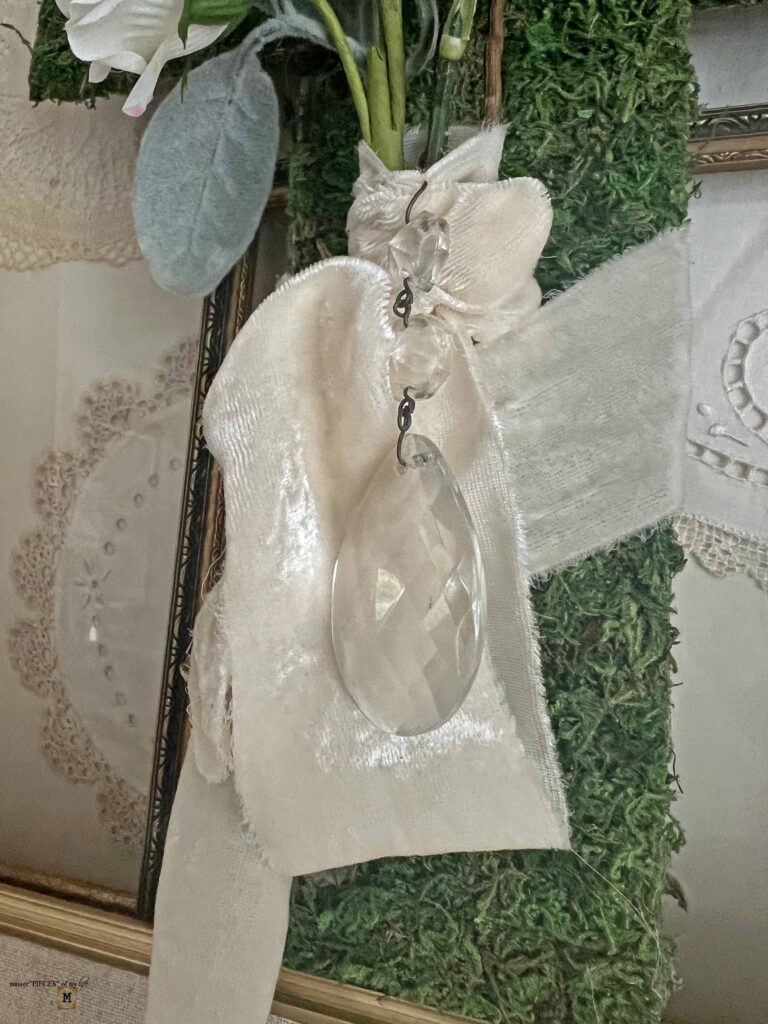
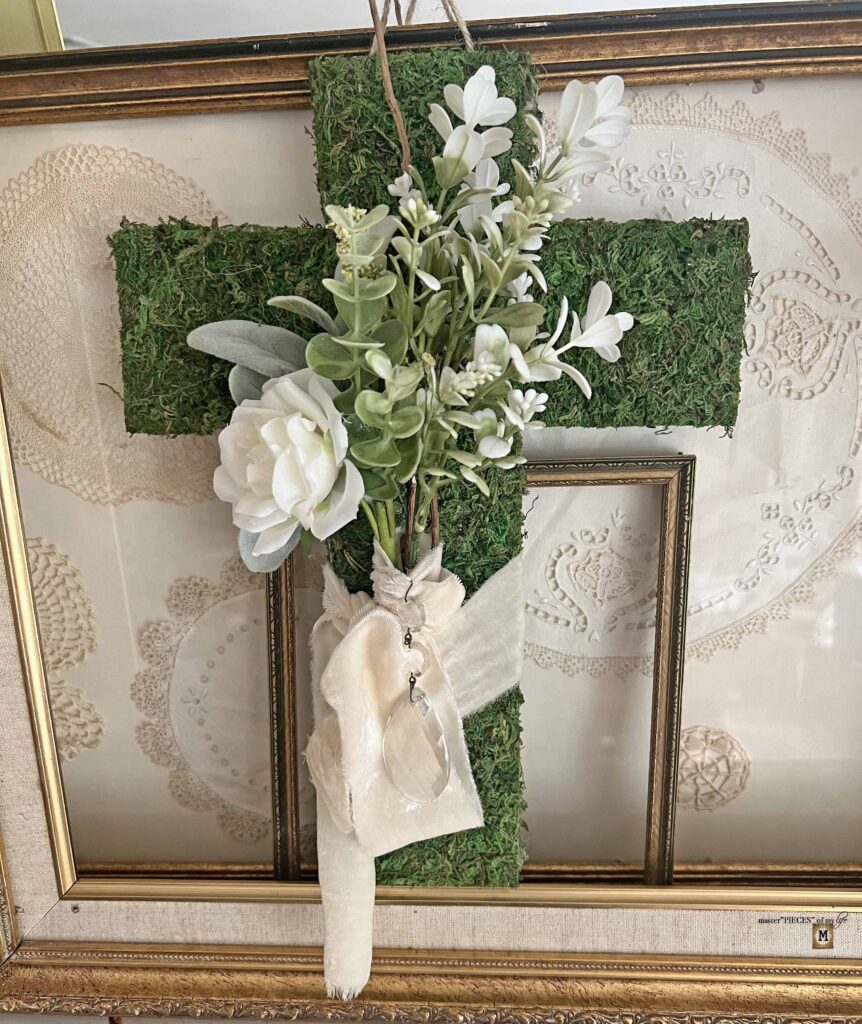
Embellishments
By adding some flowers and embellishments, it amps up the decorative vibes. I used a couple of faux floral picks, wrapped in the velvet ribbon and a crystal chandelier drop, symbolizing a tear drop.

Final Thoughts About the DIY Moss Cross for Easter
I am so happy I finally created this piece. It adds a higher level and thoughtful layer to our Easter decor. Once I finish my Easter decorating you will see it in a place of honor.
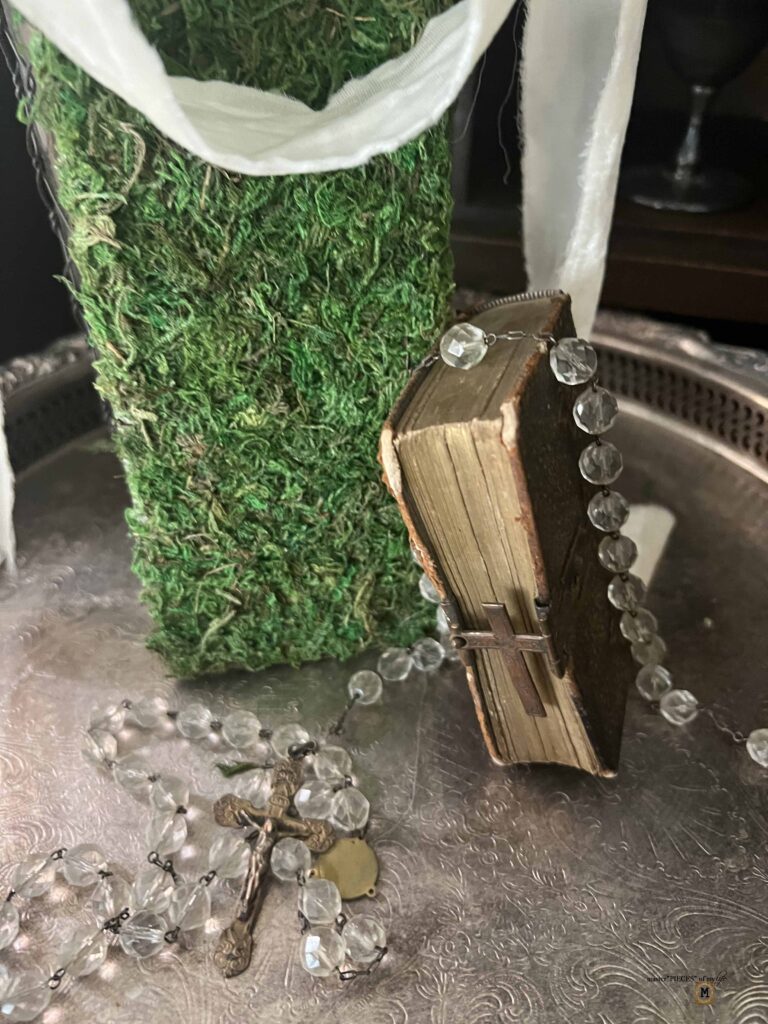
I love decorating with moss anything plus I have inherited, from my mother, an inclination to decorate with religious pieces. This moss cross is the perfect piece to bring these two together in synergy.
If you have never worked with peel & stick moss, I highly encourage you to try it. Depending on the project you are working on, it can be a total game changer. I actually bought mine accidentally, but it was a happy surprise. It makes the project faster and it has grid lines on the back, which is super helpful when you are cutting straight lines.
Also I found the wood pieces at the Dollar Tree but you could cut your own if you’re so inclined. That way you cut the pieces to the exact length you want, skipping the step to extend the vertical piece and shorten the horizontal part.

You can embellish the piece in so many ways, adapting it to your decor and style. In other news, I am super jazzed that both Masterpiece kiddos will be home on spring break during Easter Sunday. I am already preparing and getting the house Easter ready! More Easter and spring projects coming soon!
Thank you to Katherine for sharing this and, it was an honor to be a guest blogger for the first time at Katherine’s Corner.
Thanks for being here and see you next time. Au Revoir!


More Related Posts


Most Recent Posts
“Our old history ends with the cross; our new history begins with the resurrection.”
Watchman Nee