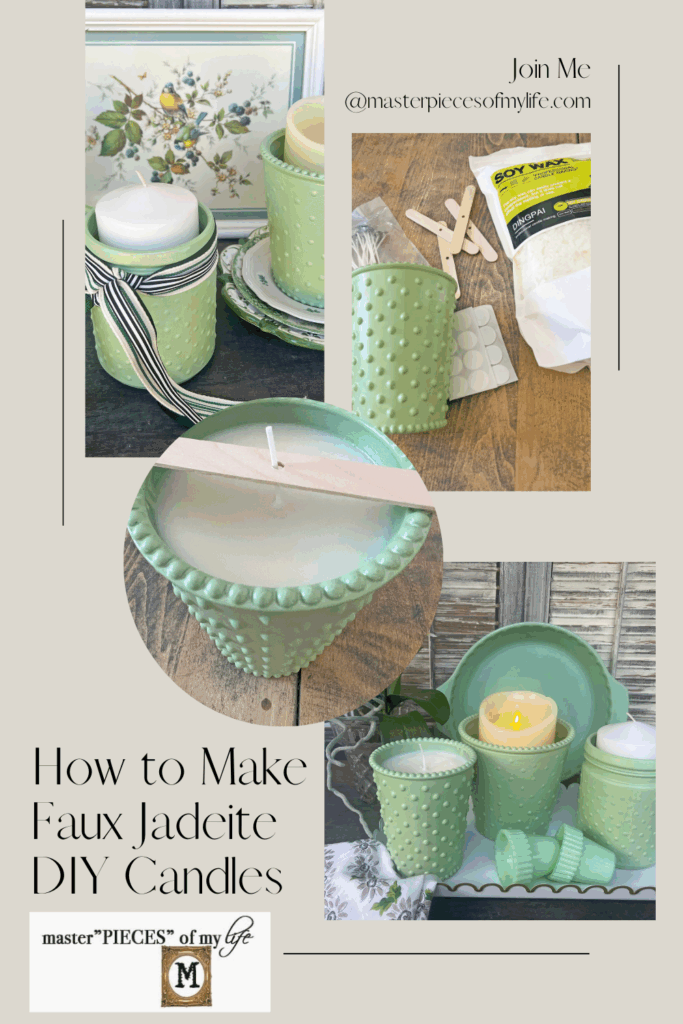
How to Make Faux Jadeite DIY Candles
Do you enjoy creating your own personal decor for your home? Oh good, then you’ll enjoy this post. Today I’m sharing how you can get the vintage jadeite look and create your own candle holders in three different ways. I shared how to make faux jadeite pieces from thrifted glassware not too long ago and today we take it a step further creating DIY candles.
*Affiliate links might be included for your convenience. These affiliate links mean a small commission is earned if you make a purchase using these links at no extra cost to you. As an Amazon Associate qualifying purchases support this website. For more information: Full Disclosure Policy.
Inspiration Behind the Faux Jadeite Candle DIY
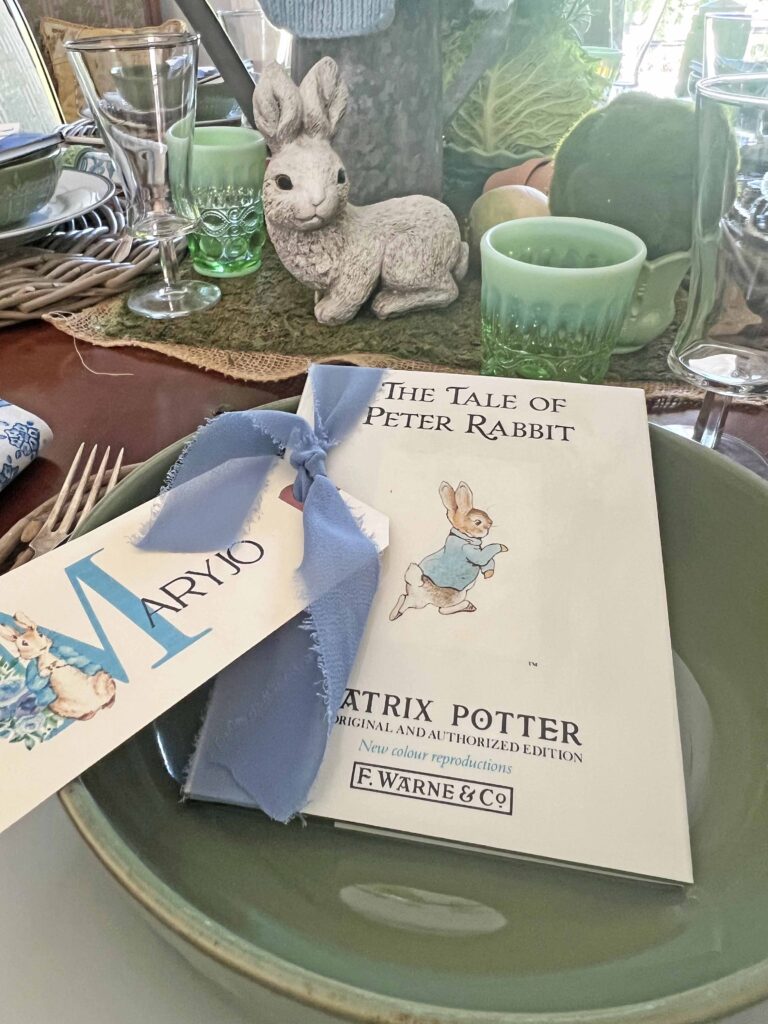
These faux jadeite candles were inspired by a couple of projects. Last month I shared the faux jadeite hack with thrifted glassware. I love how the pieces turned out, which I used in my most recent table project {the Tale of Peter Rabbit Table Styling} along with today’s candles.


I simply took it a step further here, inserting candle making as well. If you’re a regular reader, then you know I like to pour my own candles into fun vessels. And here we are. I’ve included other options besides pouring your own hot wax, since I know this might intimidate some folks. You can achieve a similar look with store bought candles. Please join me as we get crafty.
How To Make Faux Jadeite Candles 3 Ways
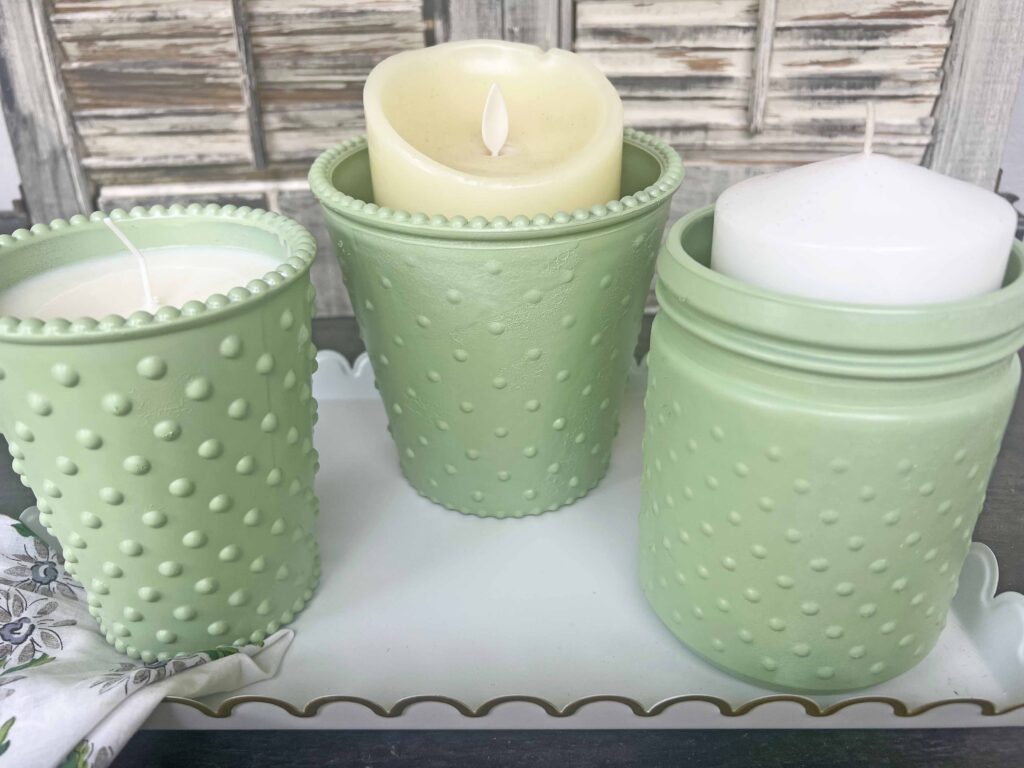
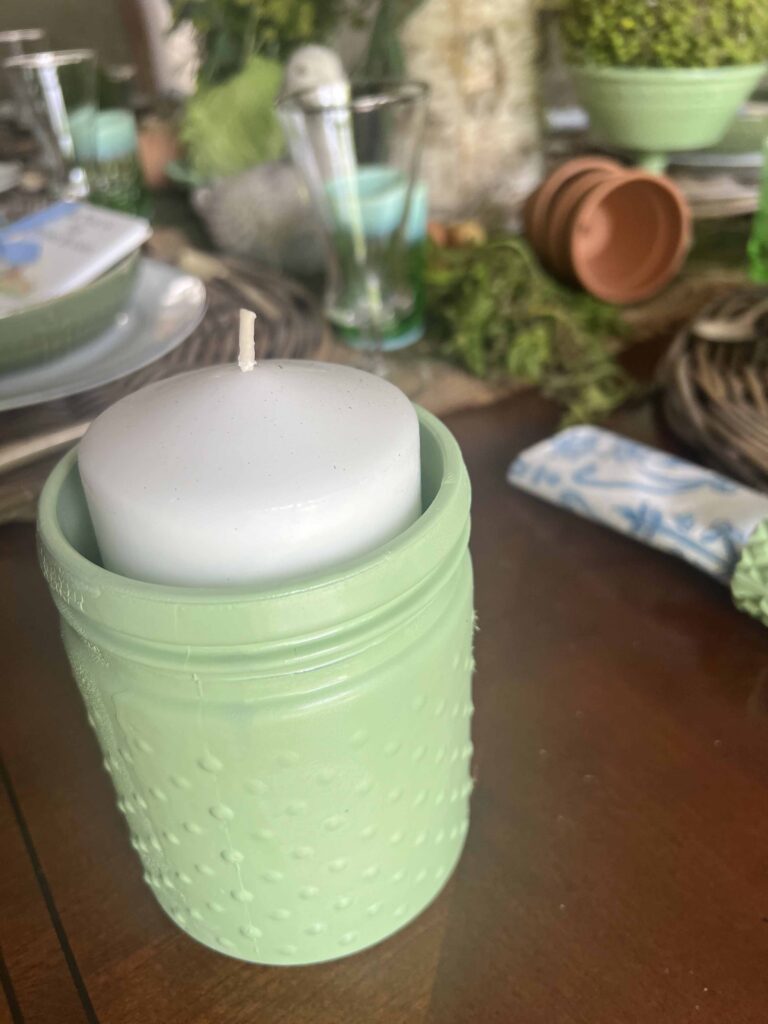
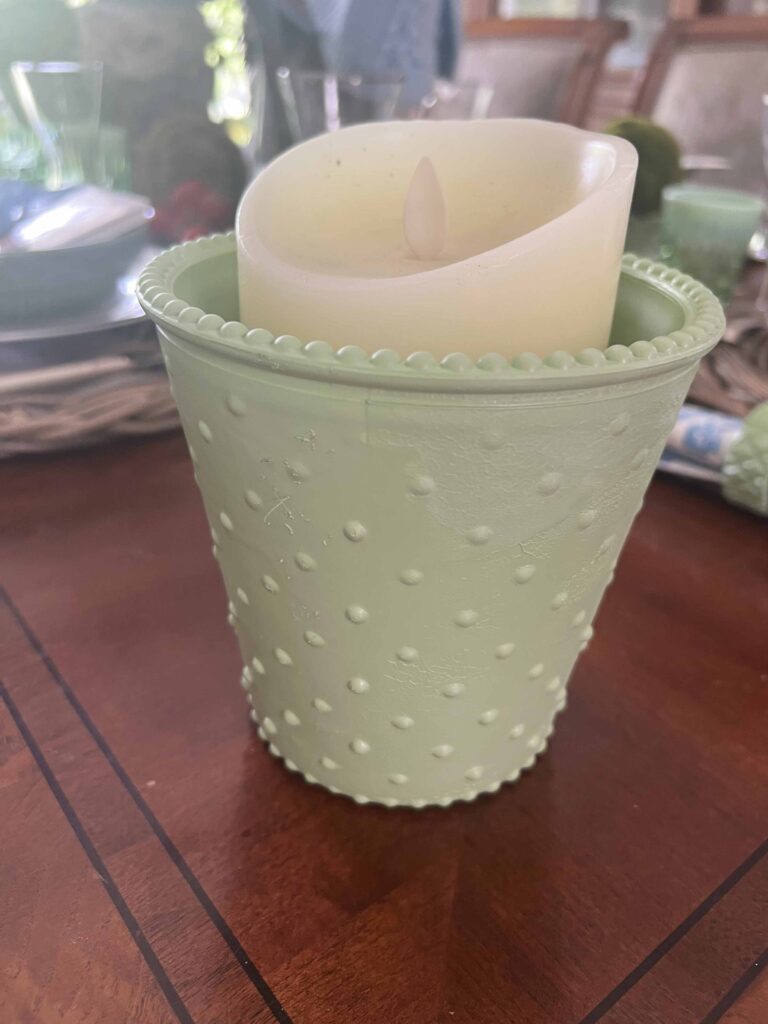
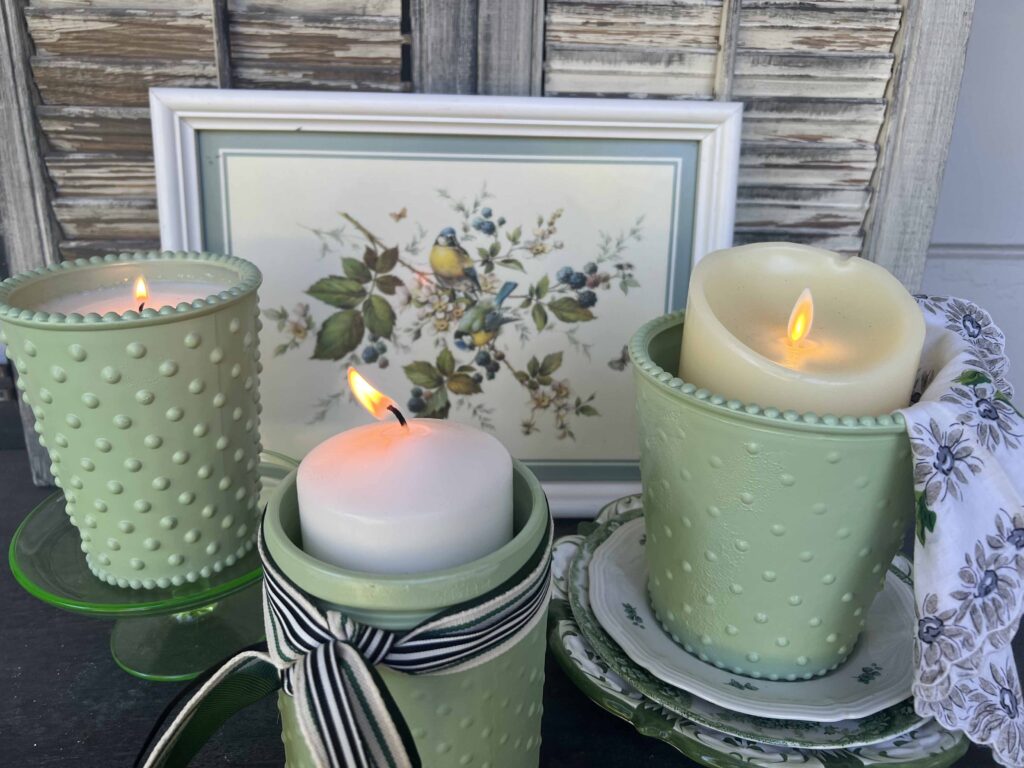
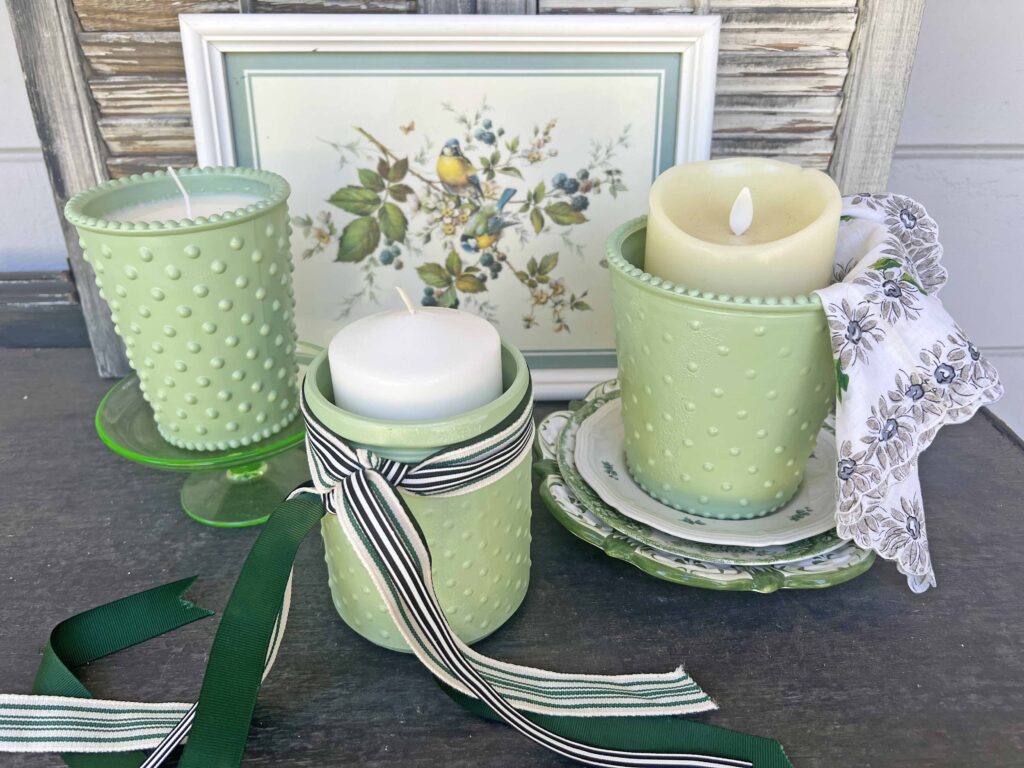
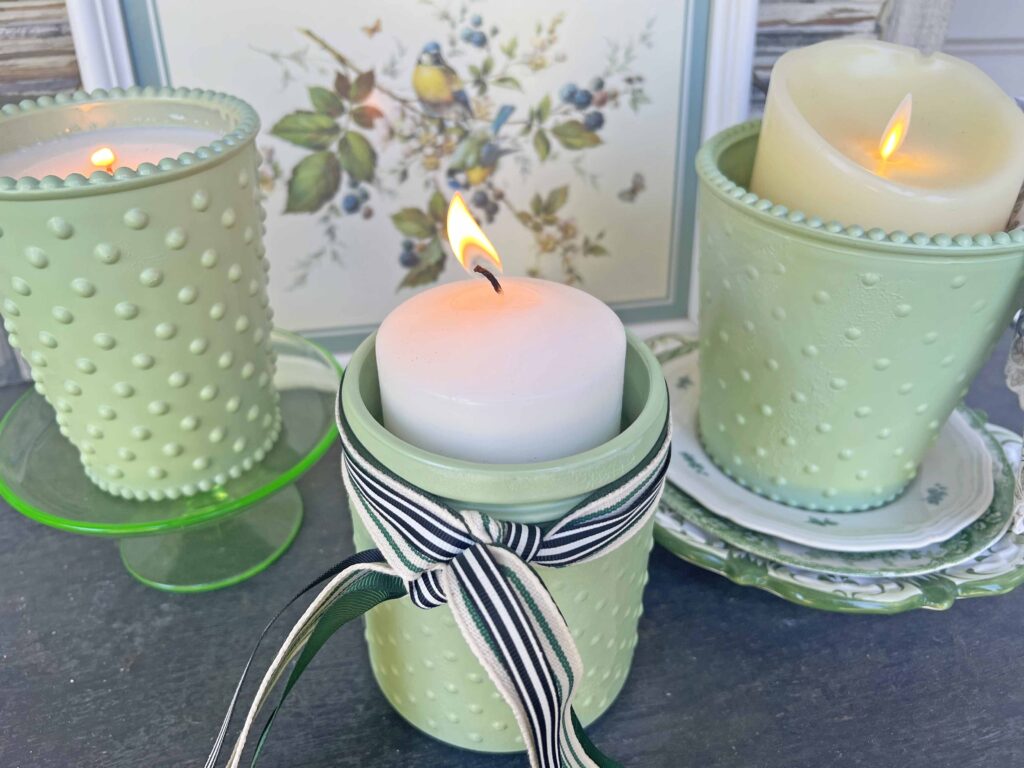
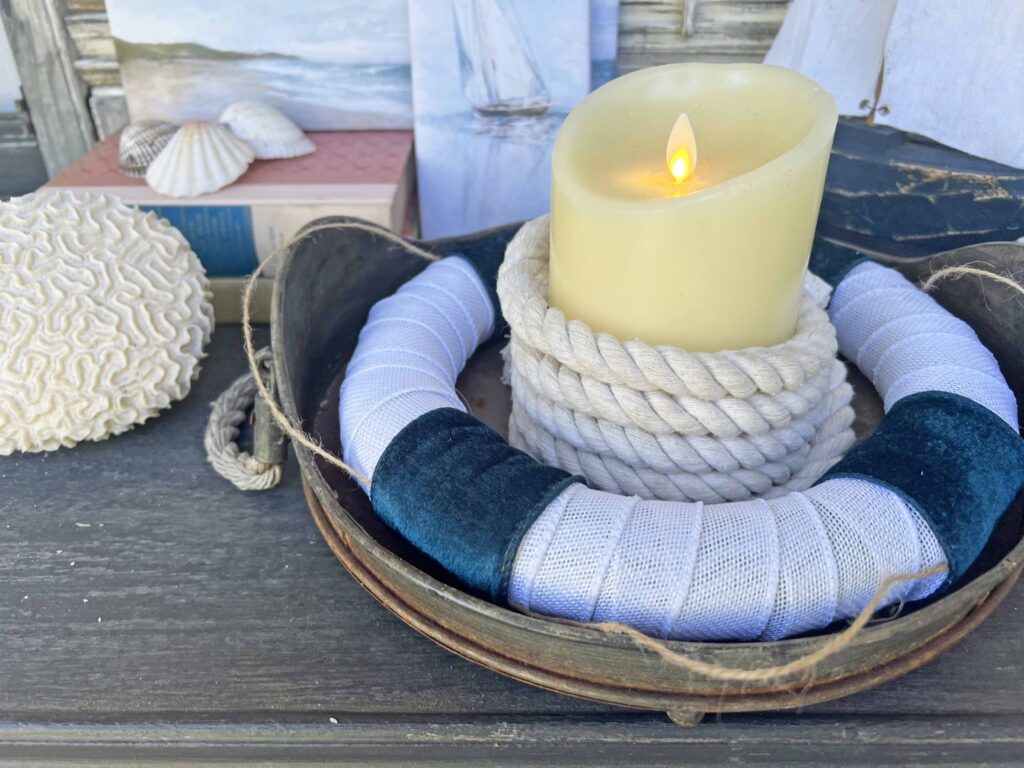
I used thrifted glass pieces to make these faux jadeite candle holders. Three different container styles show how to hand pour a candle right into the container or you can use a real store bought candle simply inserted in the container and last but not least you can use a battery operated candle. I feel like Goldilocks with all the different choices. lol. But seriously, there’s something for everybody here, going from most complex to the simplest option.
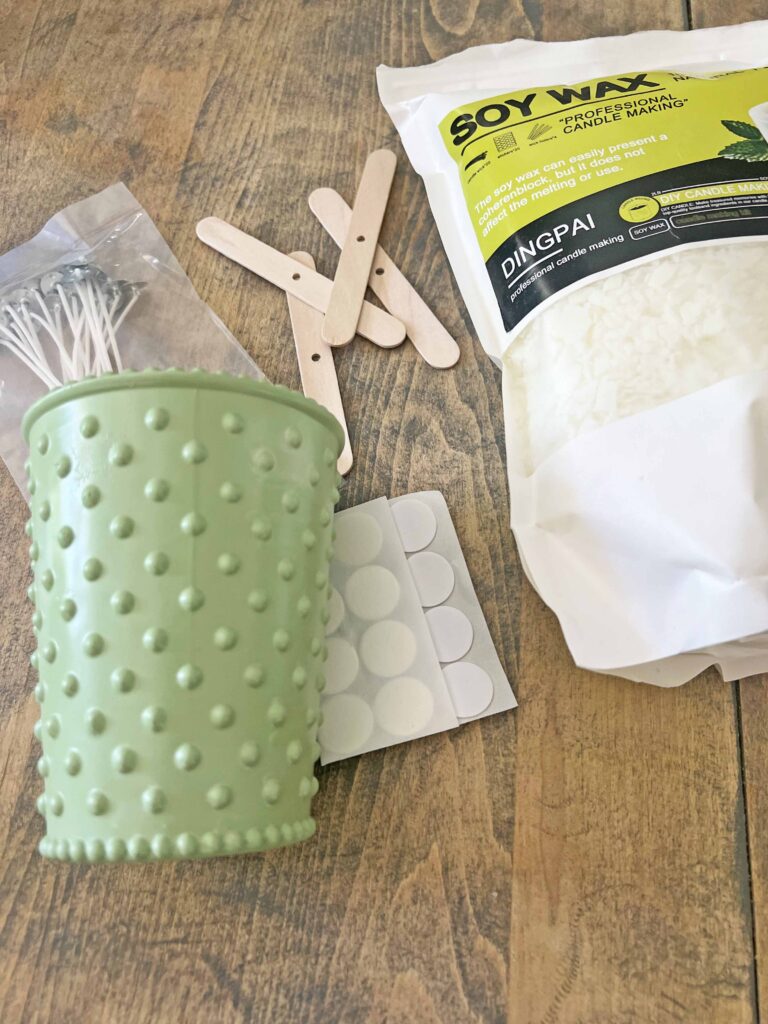
Supplies
- Glass Container(s)
- Pistachio Krylon Spray Paint
- Clear Acrylic Coating
- Soy Candle Wax
- Candle wicks with wick stickers (included in soy wax kit)
- Wick holders (included in soy wax kit)
- Battery Operated Candle
- Pillar Candle
Tools
- Pyrex Cup or Microwaveable Bowl
- Oven Mitt
- Scissors
Crafting Pro Tip: Read all the instructions through once and then re-read everything again. This way, you are familiar with everything you need and know what to expect.
Instructions for Painting Glass
- Clean glassware thoroughly, removing any stickers or tags
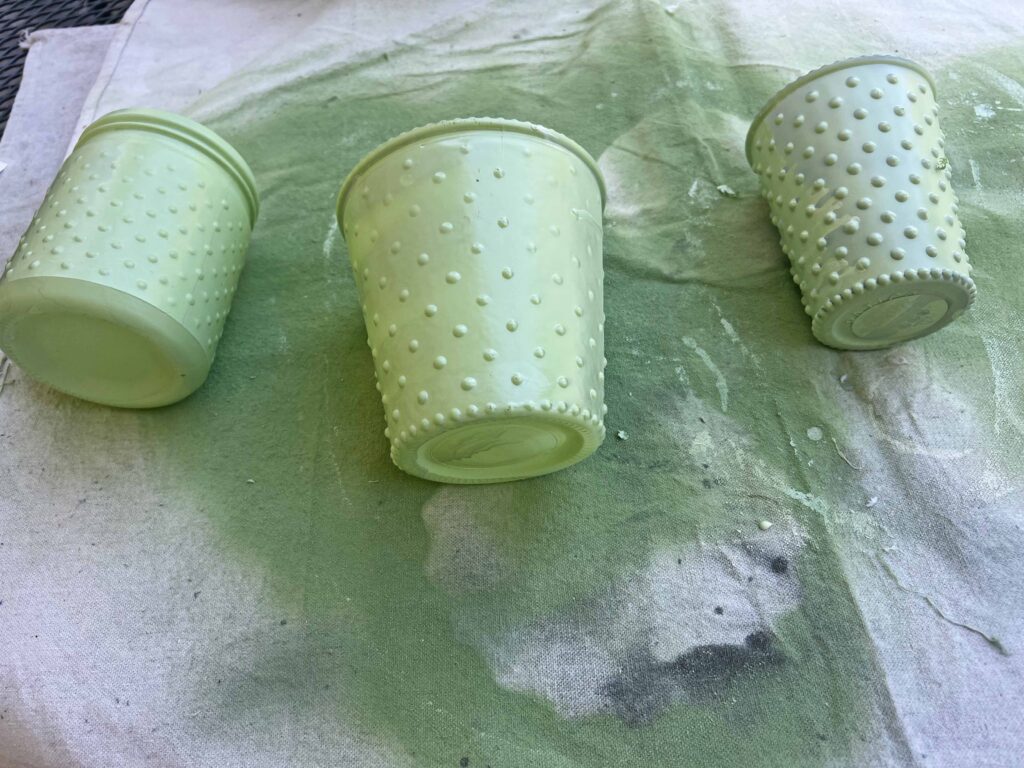
- In a well ventilated space, spray paint glass pieces liberally to fully coat the outside and set aside to dry
- When first coat is dry apply second coat of spray paint
- Repeat above step to apply a third coat of paint
- Set painted glassware pieces aside and allow to fully dry
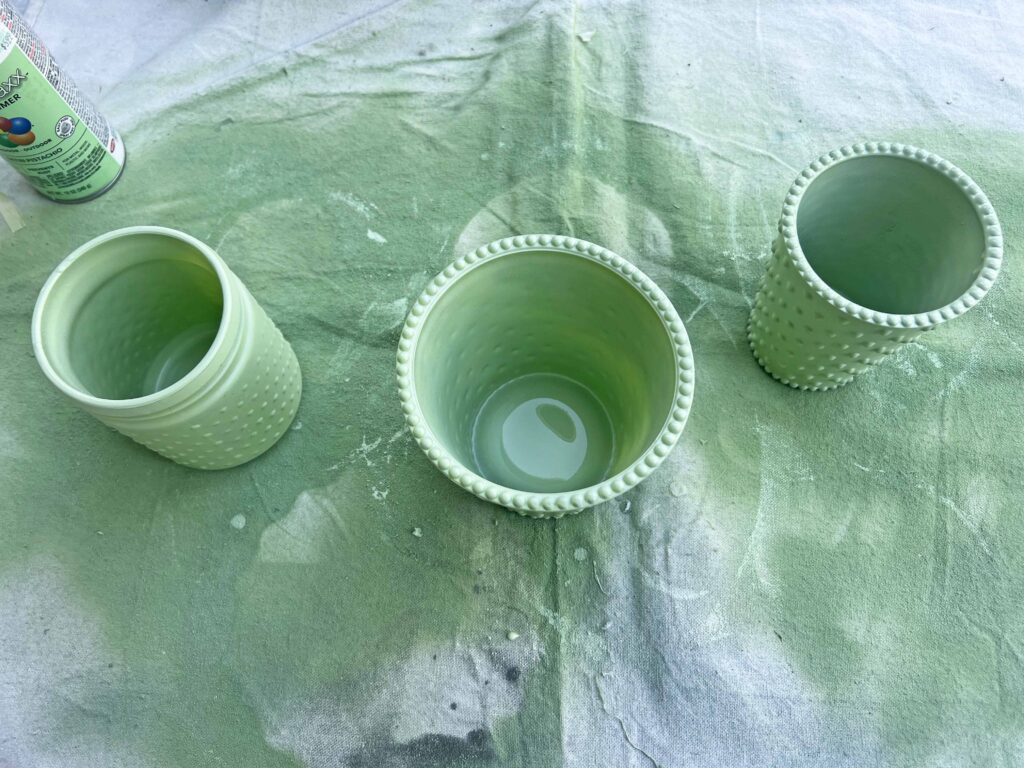
- Once paint is completely dry on the outside, flip glassware around and spray top edges and inside to prevent any bare spots
- Once all coats of paint are set and cured, spray pieces with clear acrylic spray on the outside to coat and seal
Warning: This tutorial includes the handling of hot wax. Please proceed with caution, be careful, and use all the appropriate protection and equipment.
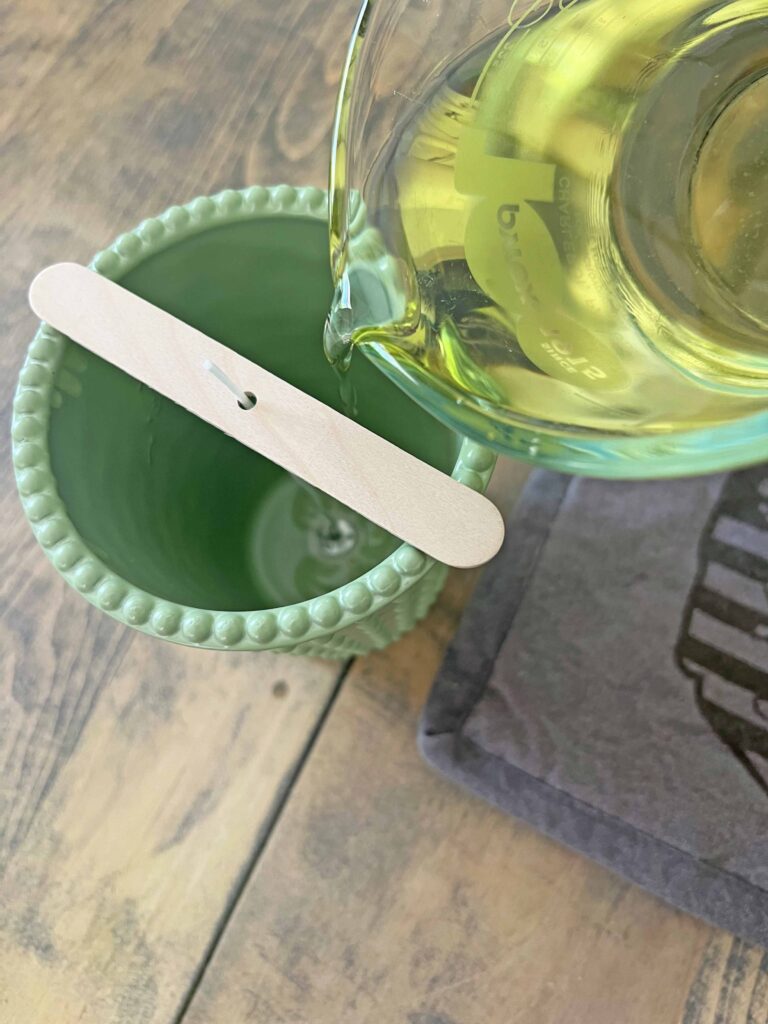
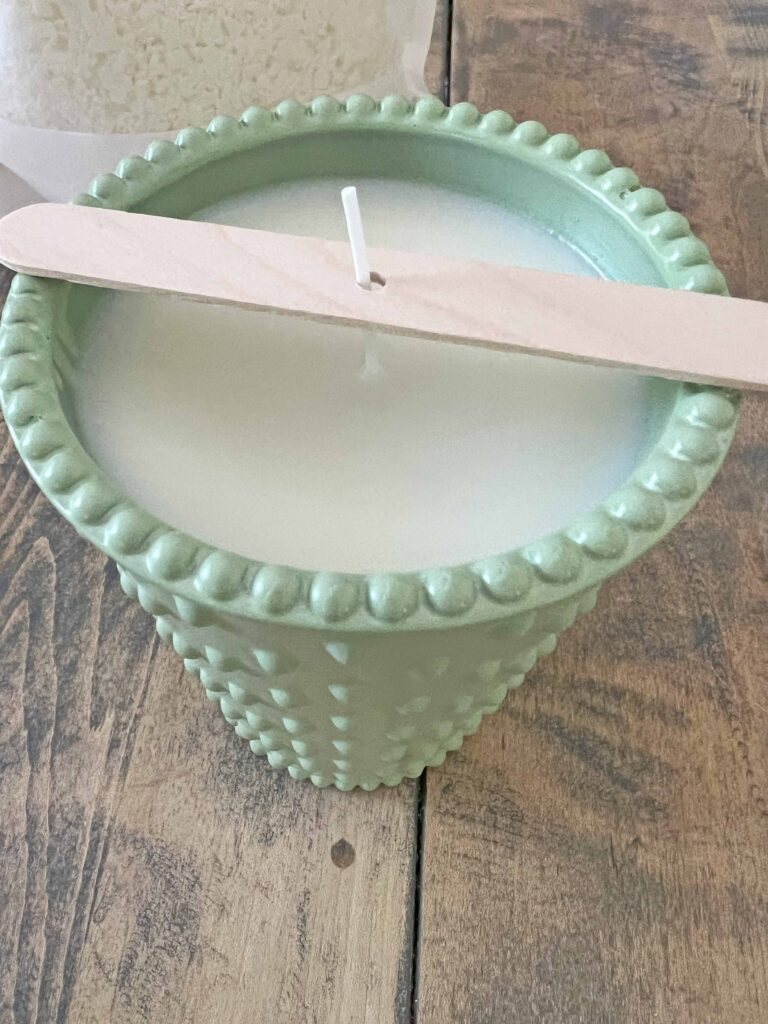
Instructions for Pouring Candle Wax
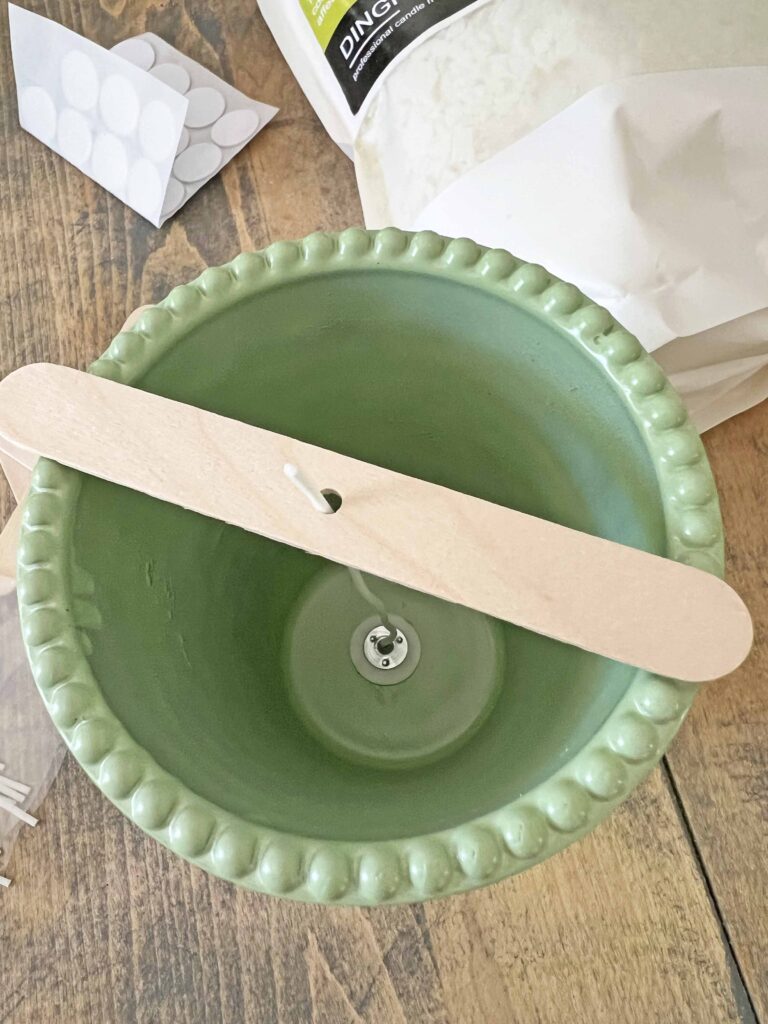
- Adhere wick stickers in the bottom center inside the container(s)
- Attach wicks on top of stickers
- Set wick holder through wicks to hold in position
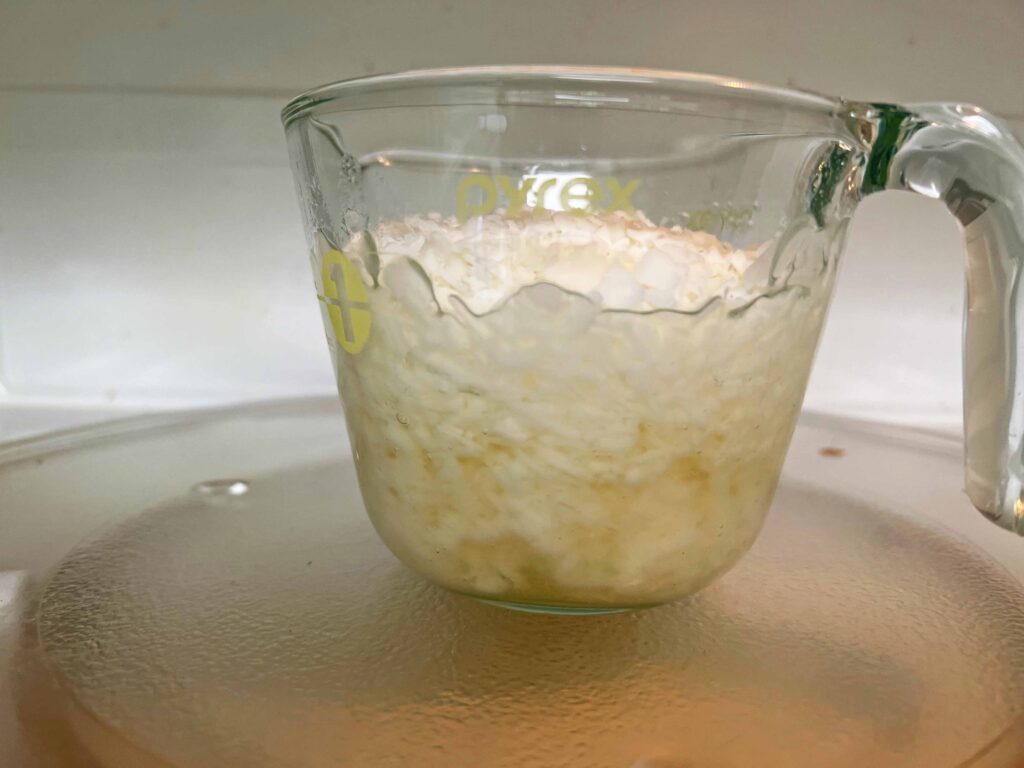
- Fill pyrex container with unmelted wax
- Microwave pyrex with wax in 1 minute increments until fully melted, resulting in a clear liquid
- Remove pyrex from microwave, using an oven mitt, and allow melted wax to sit until it becomes opaque
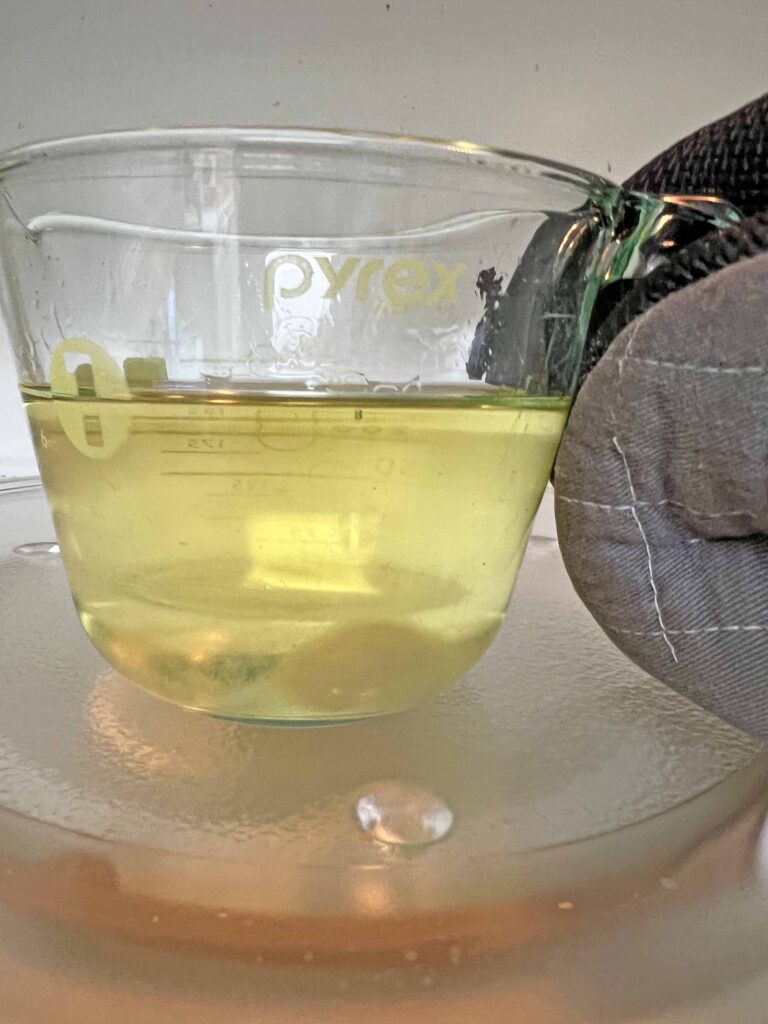
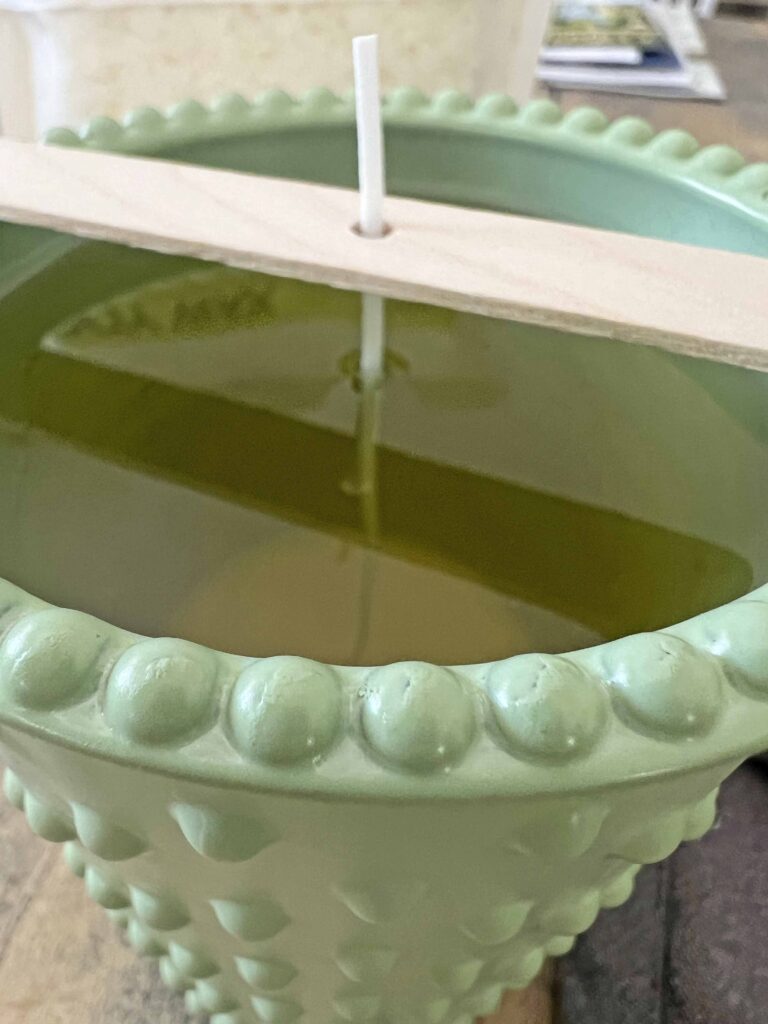
- Once liquid wax becomes opaque, pour into container slowly and carefully
- Let candle container sit allowing wax to firm up fully
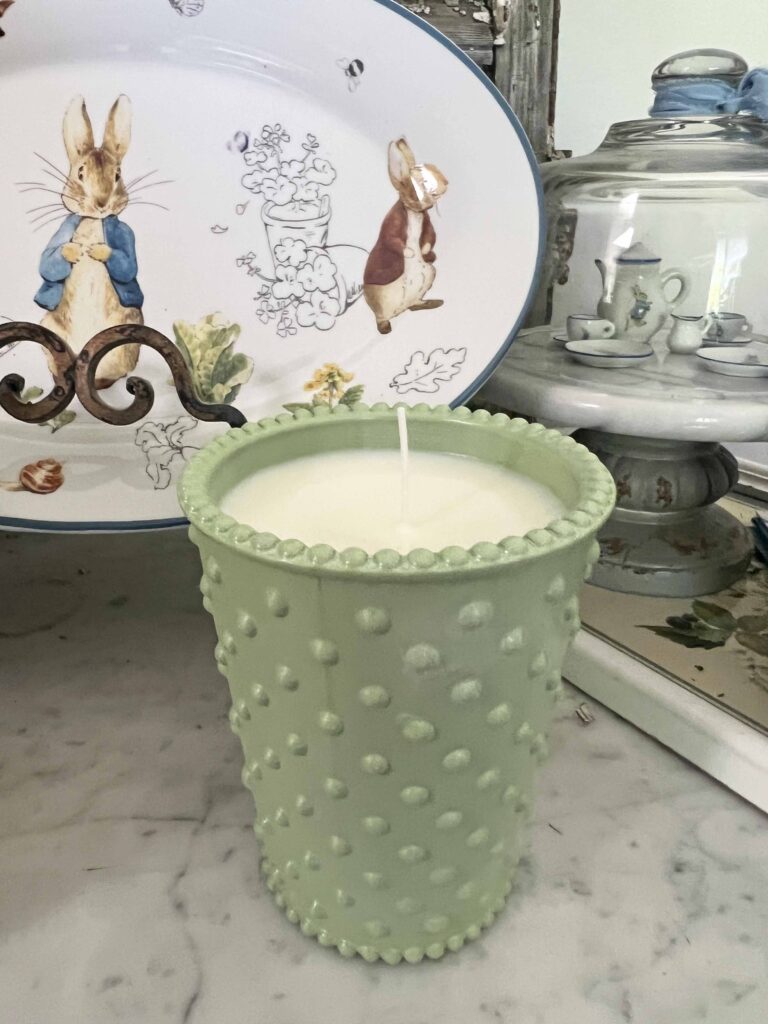
- Once wax is set and firm, trim wick to about 1/4-inch
- Voila! Enjoy your amazing faux vintage jadeite candle holder (s)
Reader Tip: Find more candle making information and a more detailed step by step tutorial here: {How to Refill Expensive Candle Containers}.
Tips & Recommendations on How To Make Faux Jadeite Candles
About the Spray Paint
The Krylon Pistachio color spray paint seems to be the best match to the true Jadeite color. I used a FolkArt Acrylic paint for my first faux Jadeite project. Remember this {Vintage Inspired DIY Tinsel Tree with Jadeite Ornaments} last Christmas? The name of the paint was Jadeite, well the name says it all, right? Well not so much.
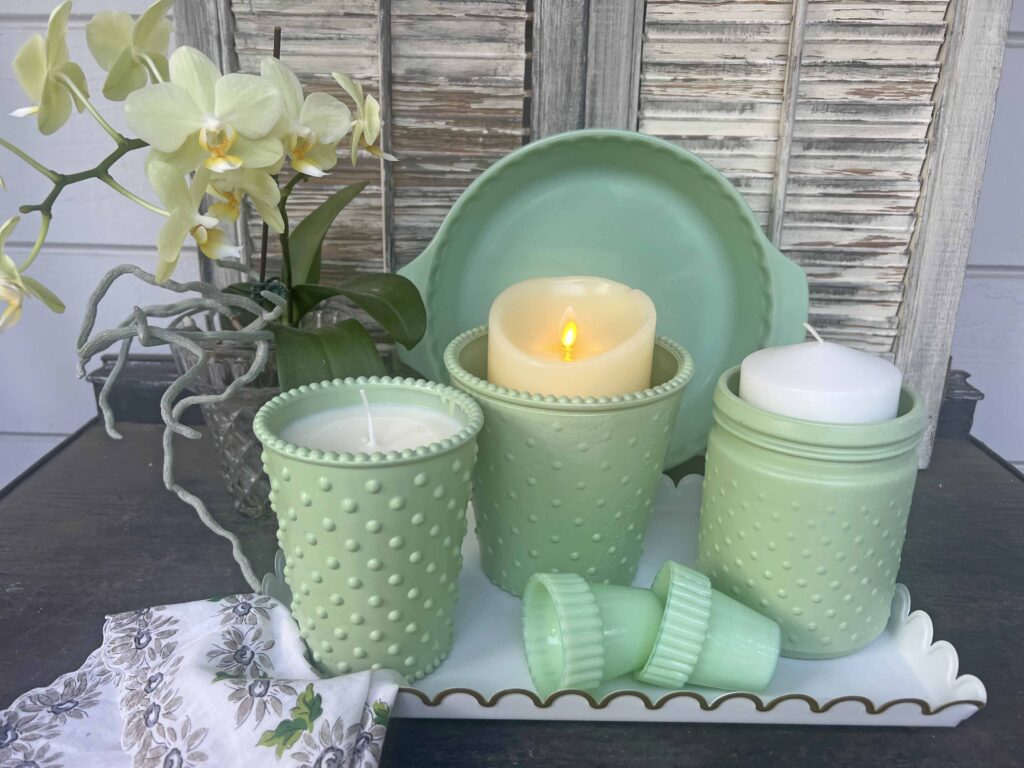
After reading a multitude of tutorials on the subject, I chose to use the Pistachio spray paint, and I highly recommend it. I’ve included it in the shopping section for your convenience. The green shade seems to blend with my authentic jadeite pieces well. You can see above the candles and some faux pieces mixed with real jadeite. On a total side note, when using spray paint always cover your surroundings appropriately and do it in a well ventilated space. I do my spray painting projects outside for both of these reasons.
Candle Wax Options
This is my first time using this soy wax in flake form. I usually use the Himalayan Candle Grapefruit Pine Refill Kit, which is my favorite scent. Since I wanted to use these candles for tabletop purposes, I chose to use an unscented candle wax. It’s not recommended to use scented candles at dinner tables since it interferes with our senses while eating.
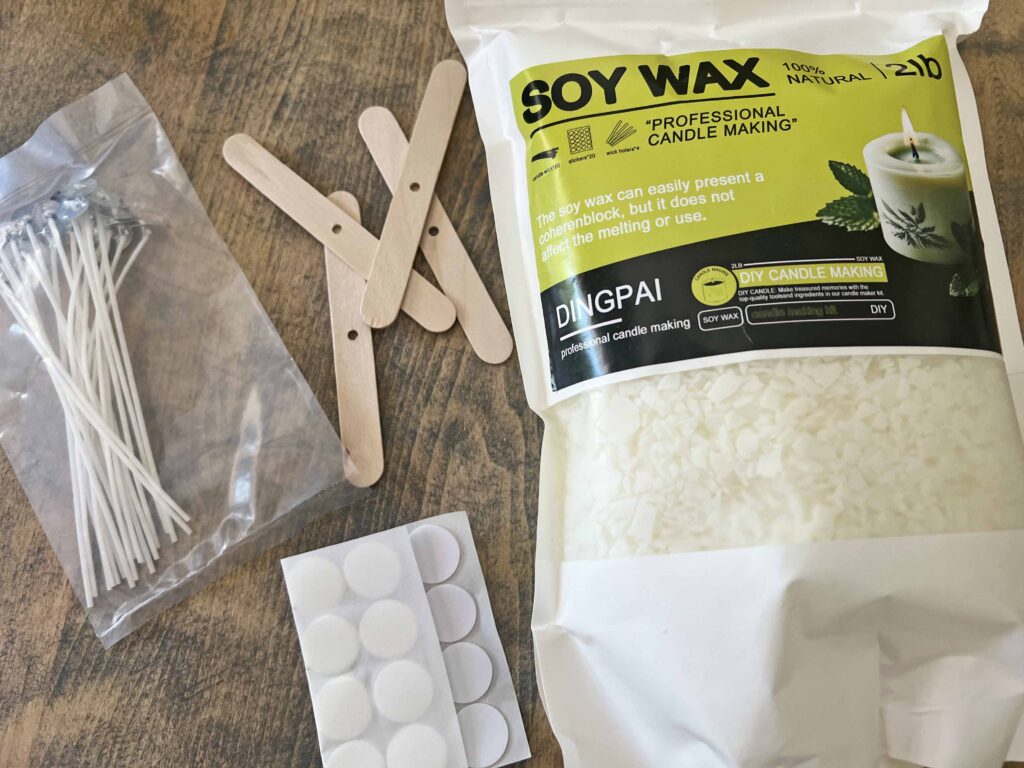
At first I was worried about melting the soy flakes in the microwave, which I prefer over stove top melting. The description and instructions for the product did not mention anything about microwave meltable. I asked the virtual assistant for the product and the answer was a bit ambiguous at best. So I tested melting it in the microwave in small increments and worked myself up. It worked just fine, and one minute intervals are prudent. I prefer using the microwave since I just find it faster, easier and less of a mess. Always read and follow all the specific instructions on the package of your particular wax.
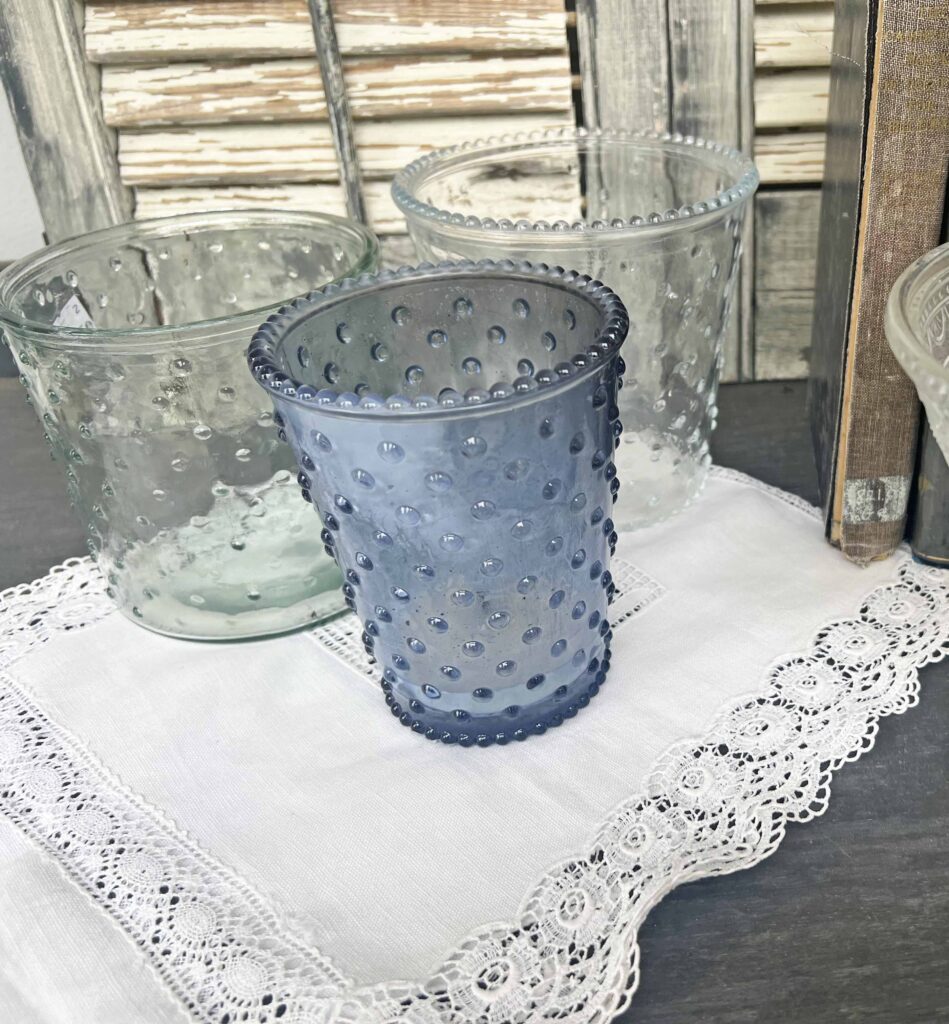
Glass Containers
I used glass containers I picked up while thrift shopping since I frequent thrifts in my area. I also recycled a glass candle container from my son’s room which was done. You can also find inexpensive glass pieces at garage sales, flea markets and even the Dollar Tree. Inexpensive pieces are best for this type of project. I think I paid around $1-$2 each for these pieces.
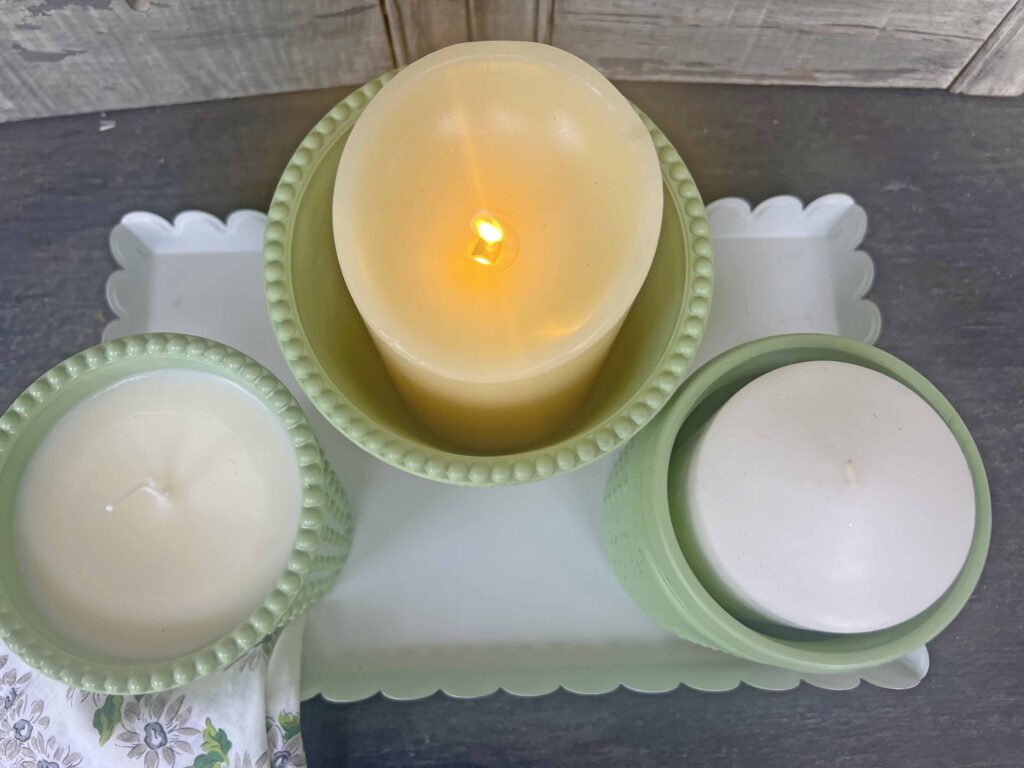
The hobnail design on these pieces spoke to me since it’s reminiscent of milk glass styles. I am pleased how the hobnail looks with the faux jadeite finish. They do not look like dollar pieces to me anymore. What do you think?
Burning Etiquette
When you burn your candle for the first time allow it to burn long enough for the melted wax to reach the edges of the container. This will assure that the candle will burn evenly in subsequent uses, optimizing the wax usage. You don’t want the candle to burn vertically tunneling down, making a hole down to the bottom of the container and leaving the wax on the sides unused. Instead the candle should burn horizontally using all the wax fully to the edges.
There are more candle making projects scheduled for the summer time season. If you want to stay up to date and not miss any new posts from Master”pieces” of my Life, feel free to sign up below. This way you will receive new blog posts directly to your in-box for your convenience and pleasure. We would love to welcome you to the Masterpiece community.
Warning: Do not leave a burning open flame candle unattended. Do not burn open flame candles near children and or pets.
Closing Thoughts
These containers can be filled with any sort of wax or candles, scented or unscented, colored or plain white, flameless and battery operated. The options are many, creating opportunities for many different lifestyles. They would also make a fabulous personal gift.
We burn candles all year long around here. We have real flame candles and battery operated flameless candles throughout our home inside and out. I love the magic candles create. I hope you enjoyed today’s post and it was lovely to have you here. Au revoir!

Shopping the Look
- This is the Soy Wax I used today.
- When I use scented candle wax this is my preferred product Himalayan Candle Grapefruit Pine Refill Kit.
- This accessory kit for candle making is super helpful.
- This hobnail jar is similar to the one I used.
- I like the tall profile of this hobnail jar.
- This is a great variety of pillar candles and dripless is always gold!
- Remote & timers are always key on battery operated candles.

More Related Posts


Most Recent Posts
How far that little candle throws its beams! So shines a good deed in a naughty world.”
William Shakespeare