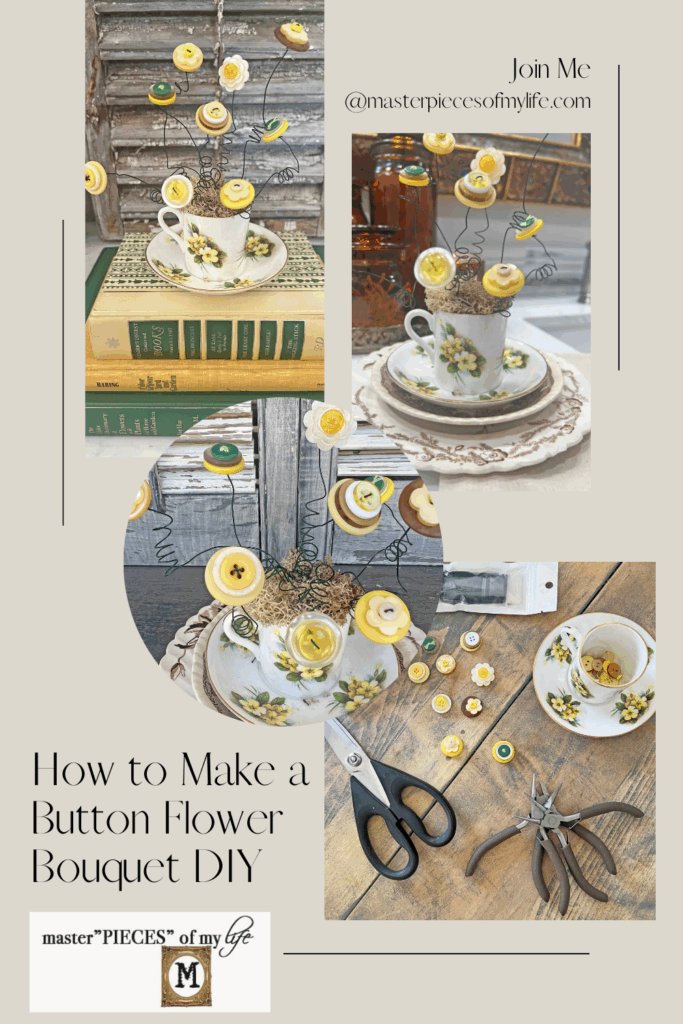
How to Make a Button Flower Bouquet DIY
Do you love buttons? Or do you have a collection of buttons bored and lonely in a tin or box tucked away somewhere? Well, I have a solution for you today on what to do with all the pretty buttons. Button flowers are easy to make and full of charm. Come on in and let’s talk about this easy button flower bouquet DIY craft, which is as cute as a button. Sorry, I couldn’t help myself; way too easy. But seriously, let’s get crafty.
*Affiliate links might be included for your convenience. These affiliate links mean a small commission is earned if you make a purchase using these links at no extra cost to you. As an Amazon Associate qualifying purchases support this website. For more information: Full Disclosure Policy.
Inspiration Behind the Button Flower Bouquet DIY
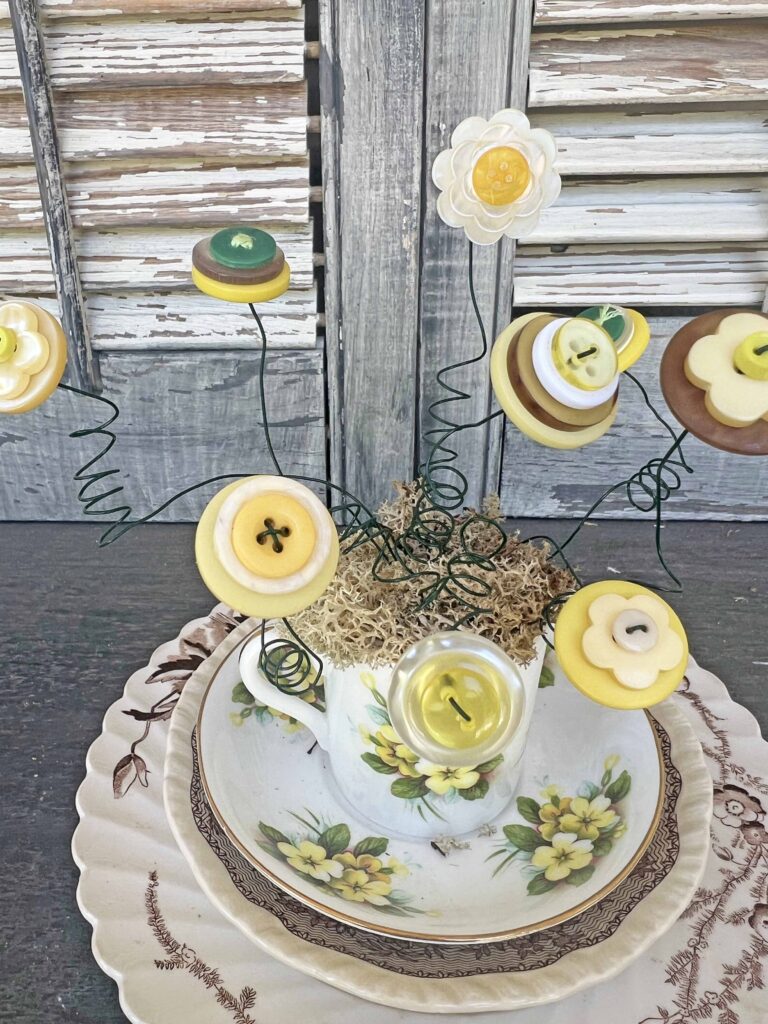
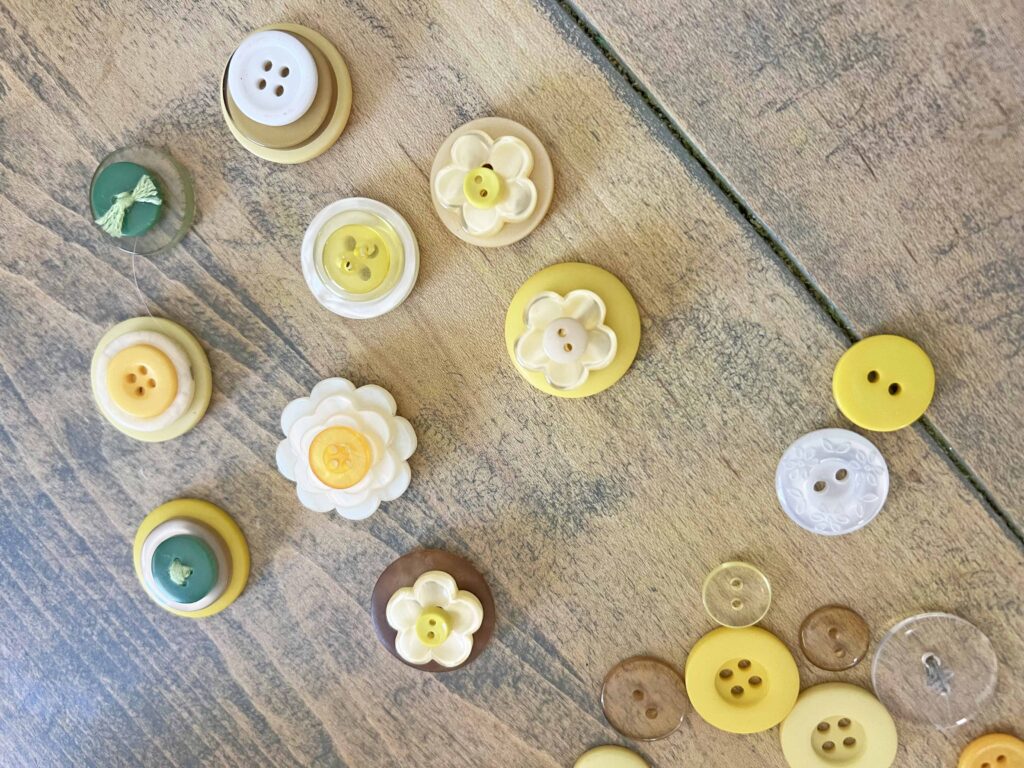
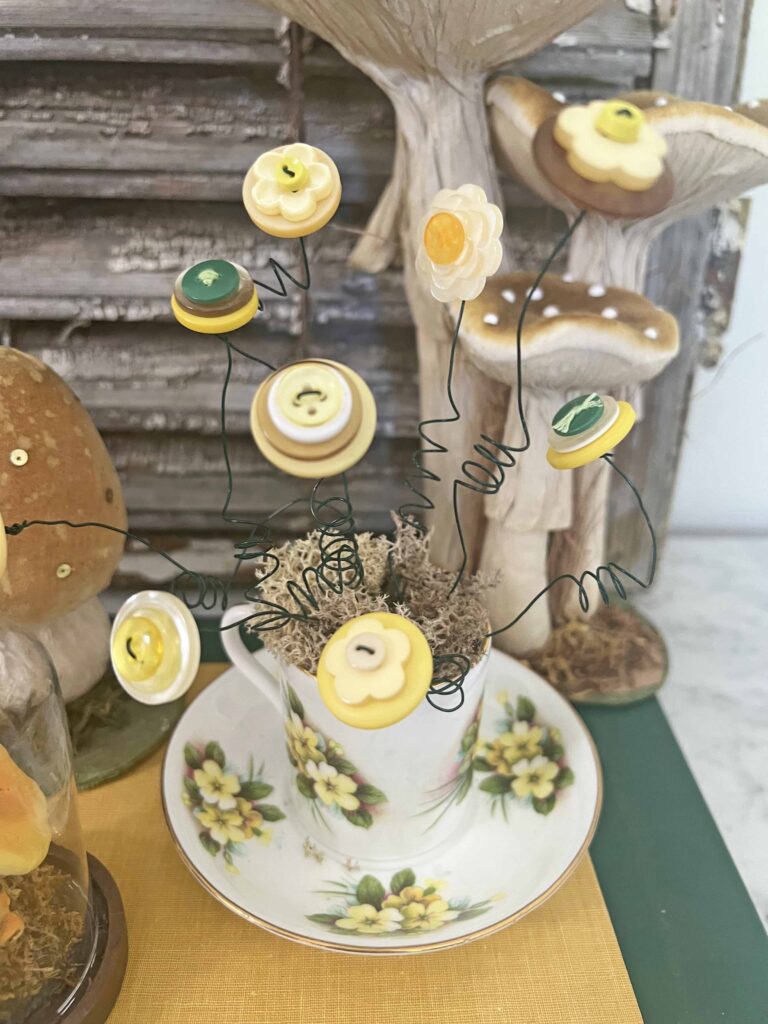
The color yellow is a favorite of mine, which always pops up in my decor this time of year. I found this demitasse cup thrifting a few years ago and wanted to do something special to style it in a Spring vignette. I had seen button bouquets in salt & pepper shakers awhile back and thought….hmmm. A little yellow button bouquet in the demitasse vintage cup might be quite charming. And here we are.
How To Make a Bouquet of Button Flowers
Pretty button stacks attached with floral wire create the cutest button flower bouquet. This can be adapted in so many ways with different button styles, and varied color palettes and unique containers. The mechanics remain the same, but the details can be altered to fit your aesthetic.
Supplies
- Vintage Tea Cup (or desired container)
- 22 Gauge Green Floral Wire
- Assorted Buttons
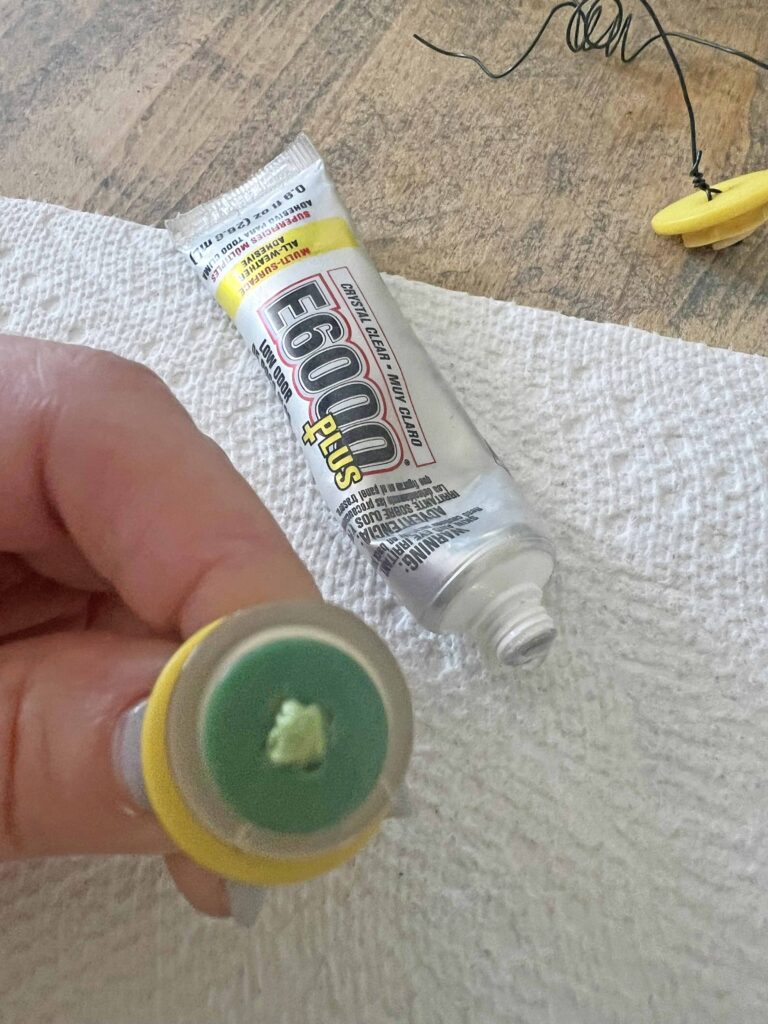
- E6000 Adhesive
- Floral Foam or Styrofoam
- Moss
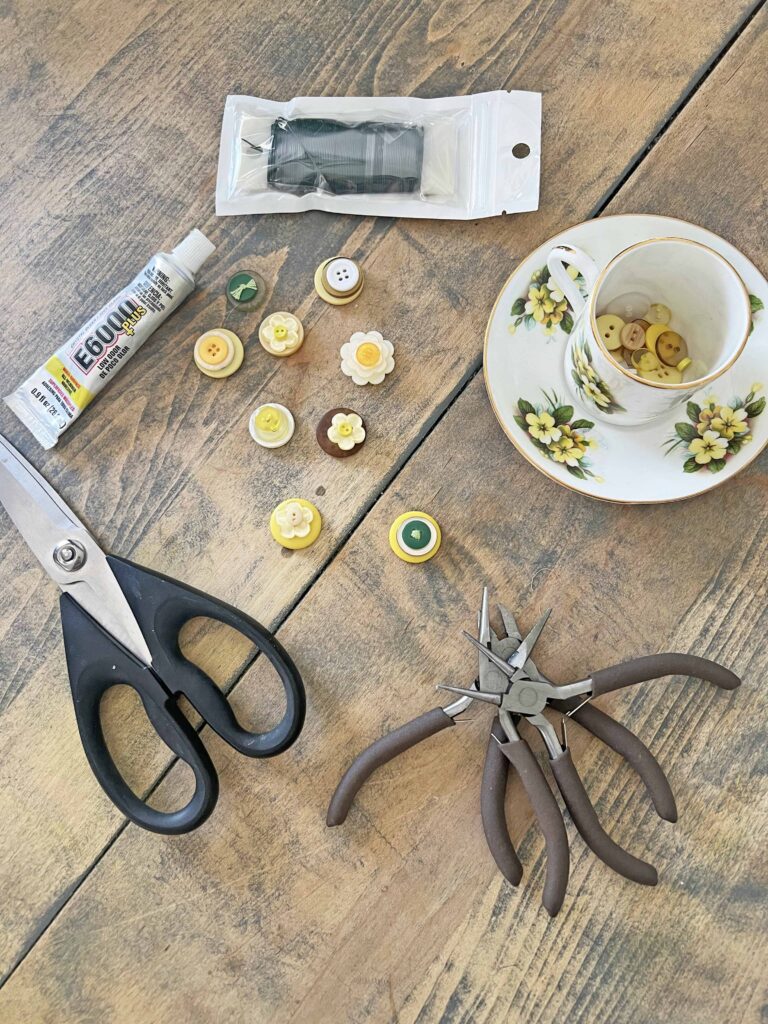
Tools
- Jewelry | Crafting Pliers
- Scissors
Crafting Pro Tip: Read all the instructions through once and then re-read everything again. This way, you are familiar with everything you need and know what to expect.
Instructions
- Read instructions thoroughly and assemble all supplies & tools
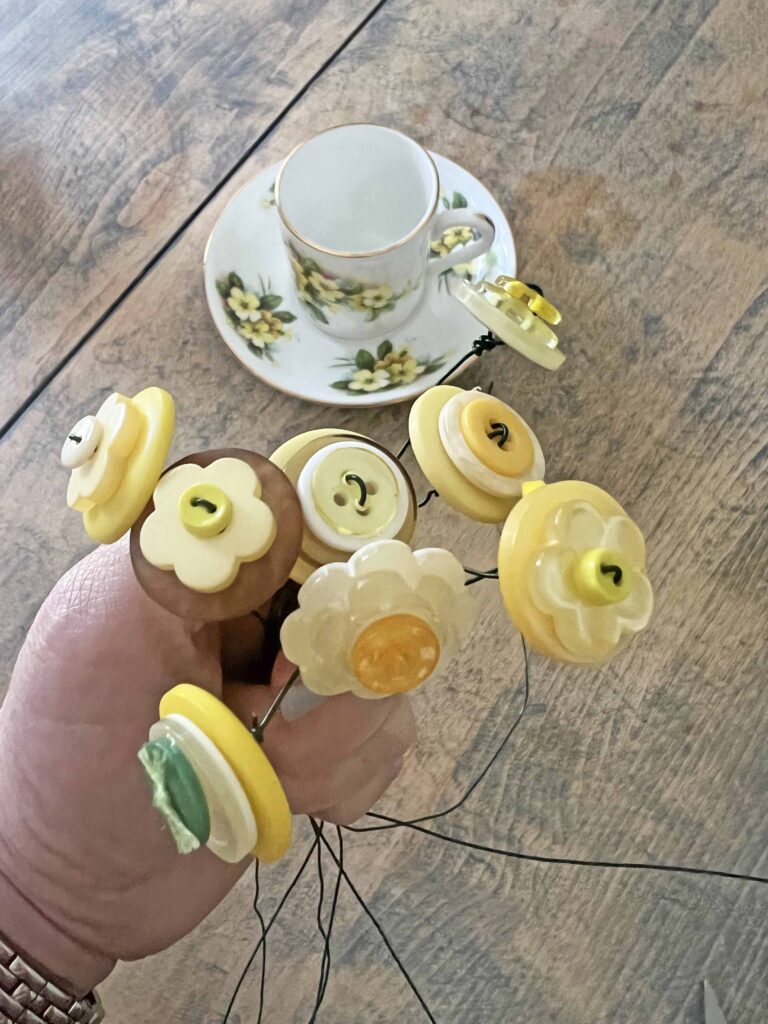
- Choose and assemble all your button flowers, grouping buttons together and creating flower stacks
- Cut floral wire piece around 9-12 inches long, depending on the size of your container
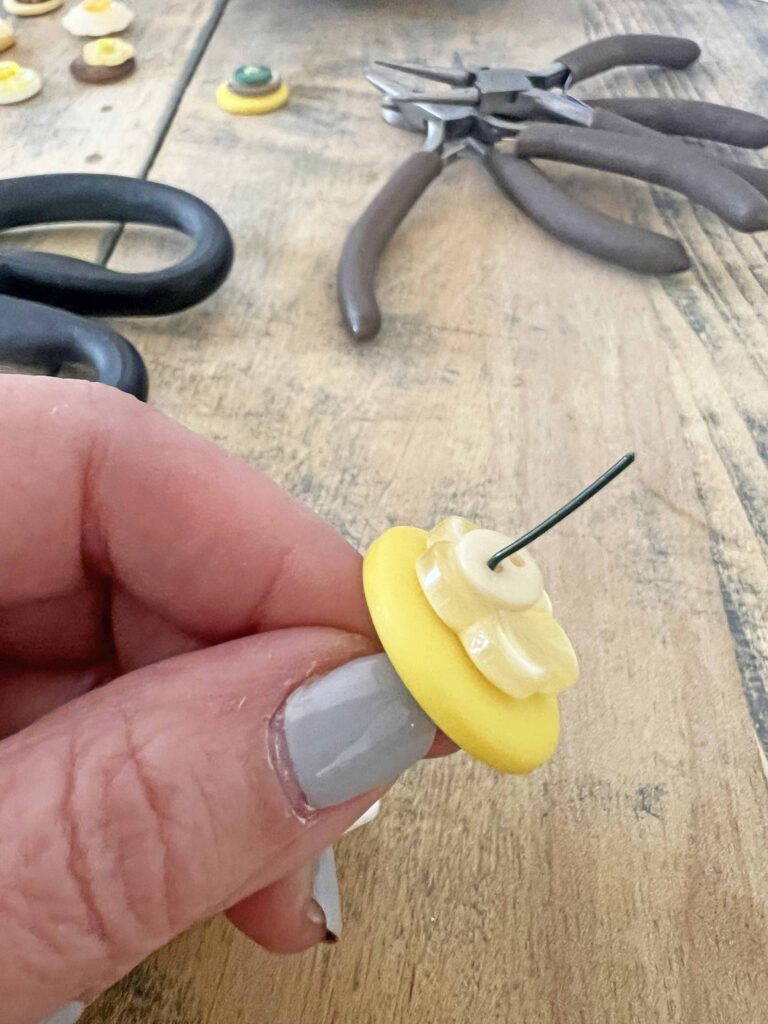
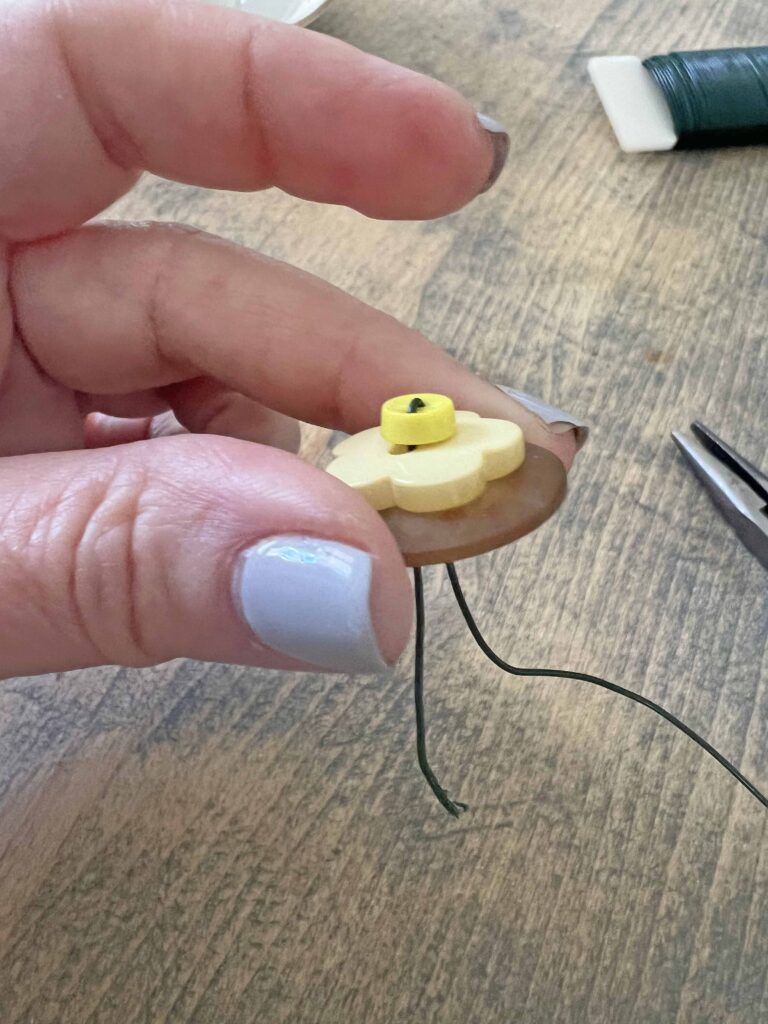
- Thread wire through flower stack from the bottom up
- Then thread wire back down through opposite hole, using pliers to pull and bend wire
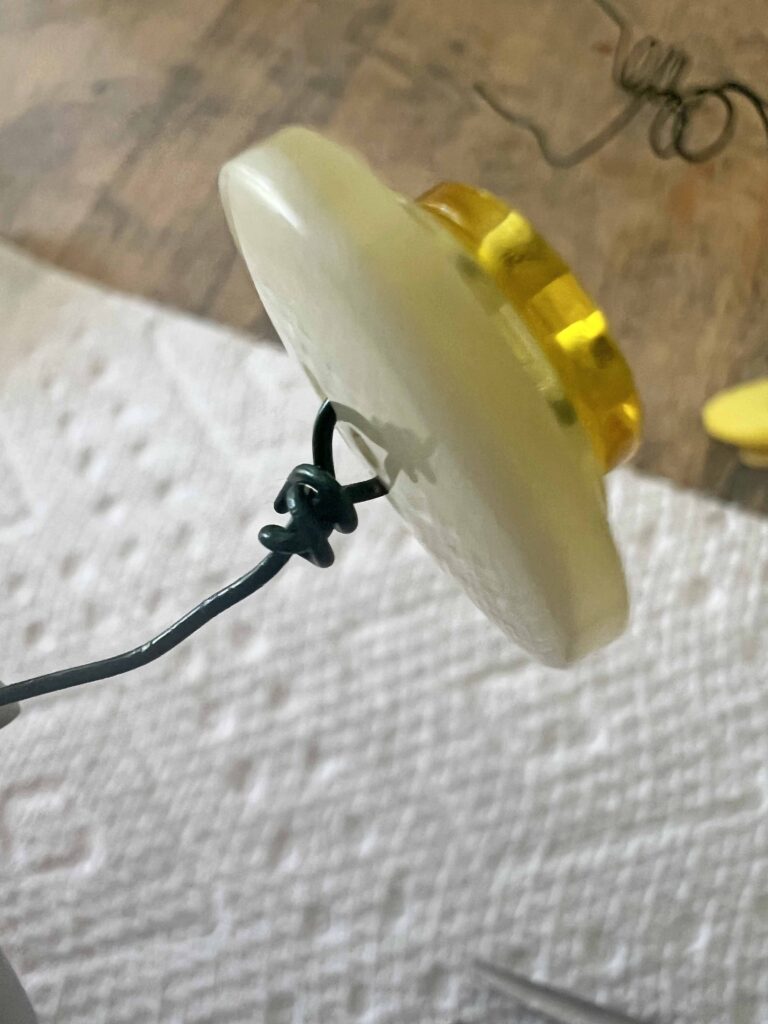
- Twist wire underneath button to secure and trim any excess wire
- Repeat above steps as many times as required for all flower stems
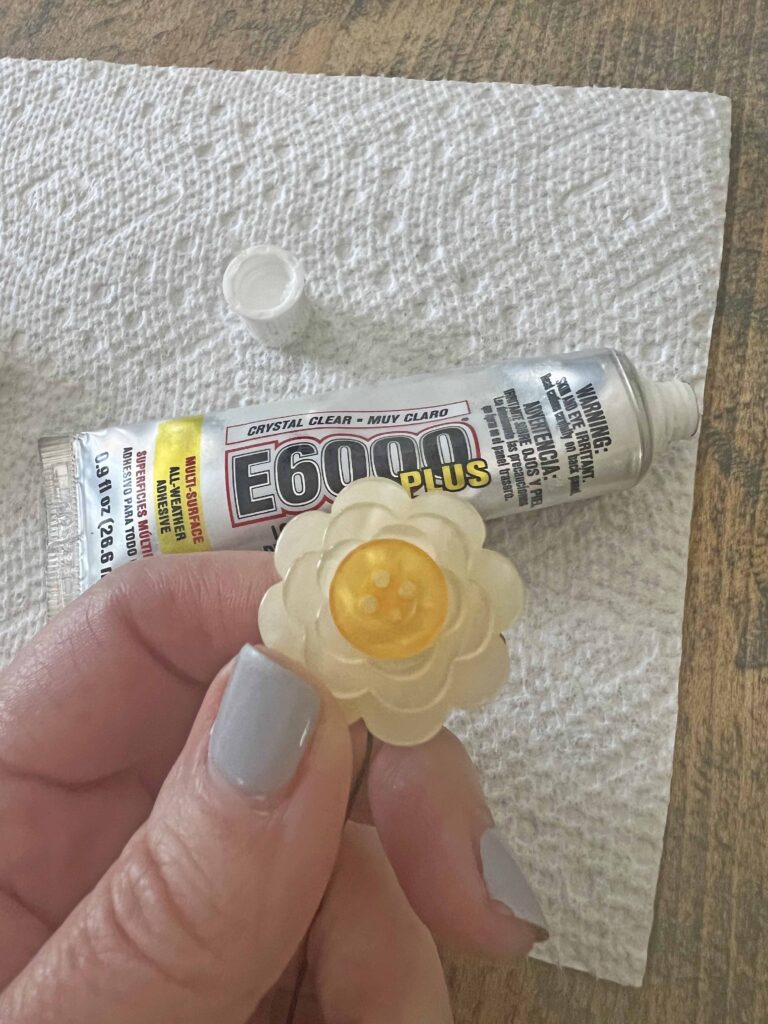
- If top button does not contain a hole or has decor blocking it like mine simply thread wire through bottom button(s) and glue top button on bottom button(s)
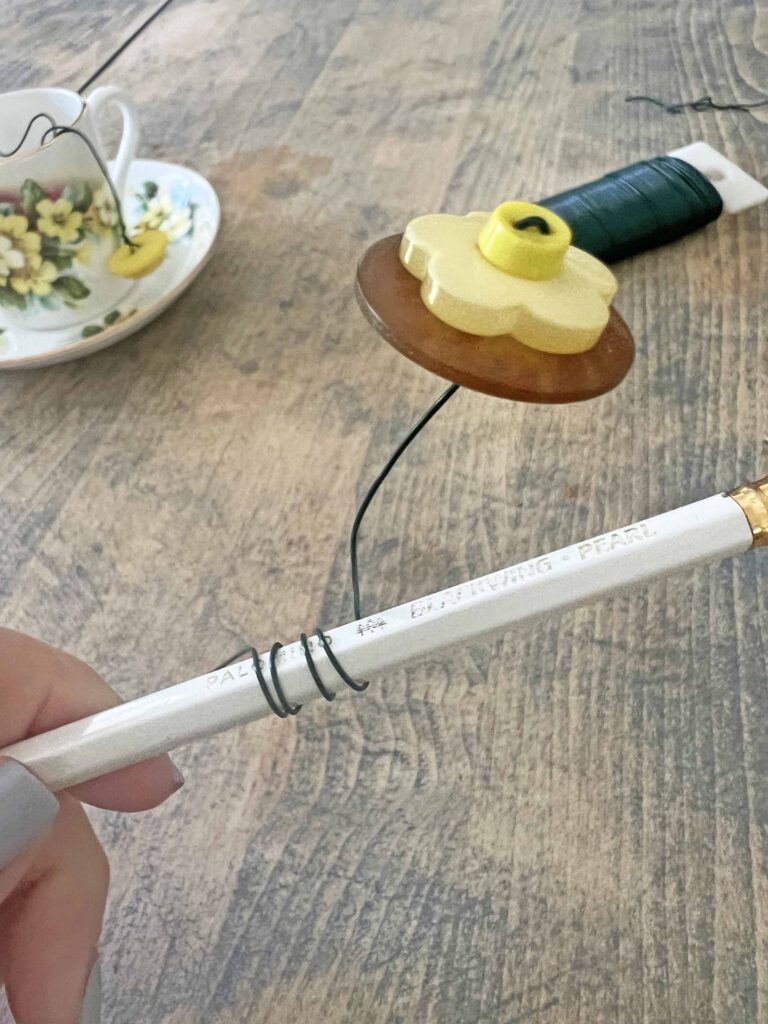
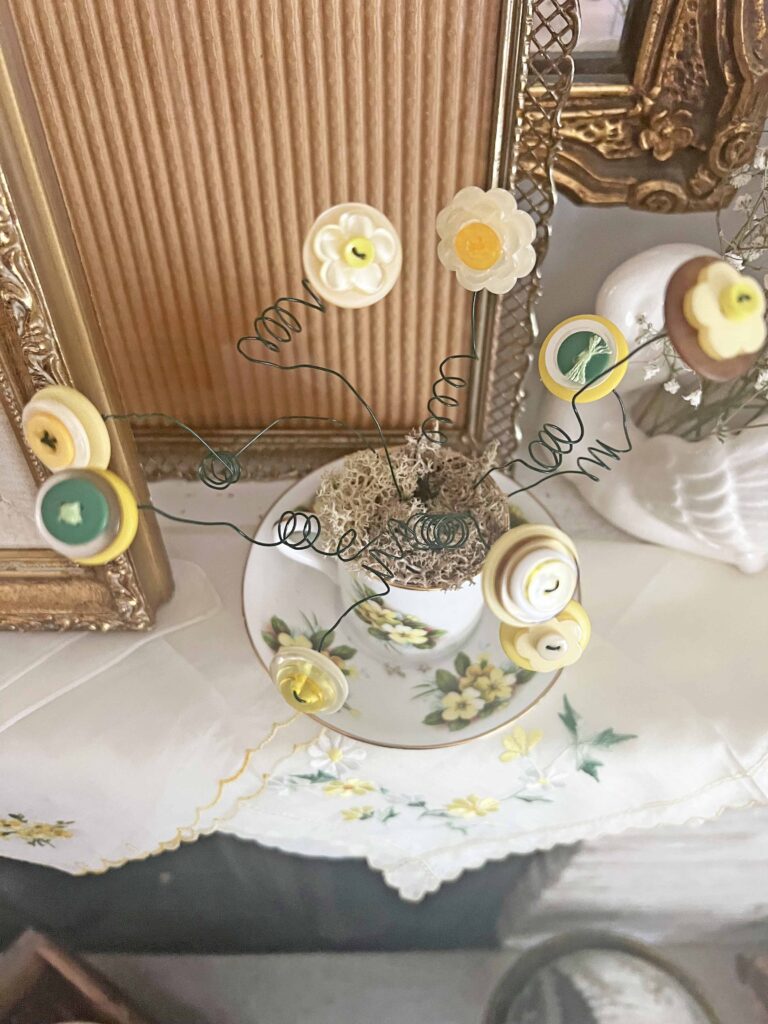
- Twirl floral wire stem around a pencil to create curls on stems
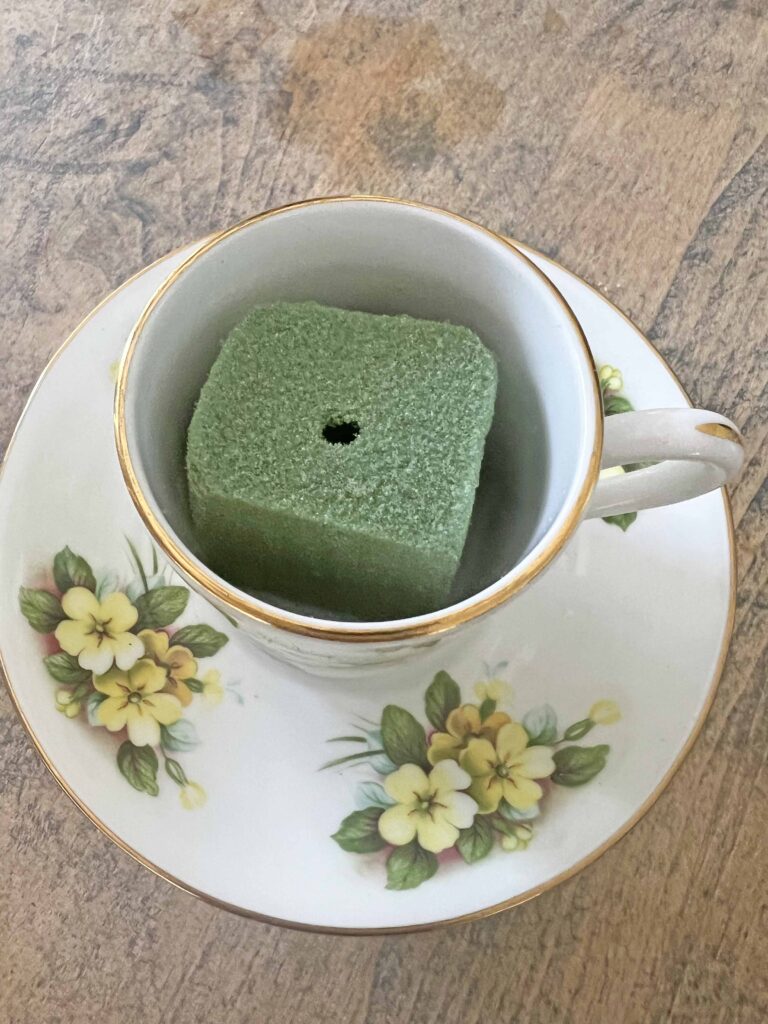
- Once all flower stems are done, cut foam to size of container and insert in cup
- Insert flower stems into foam, cutting wire to size if necessary
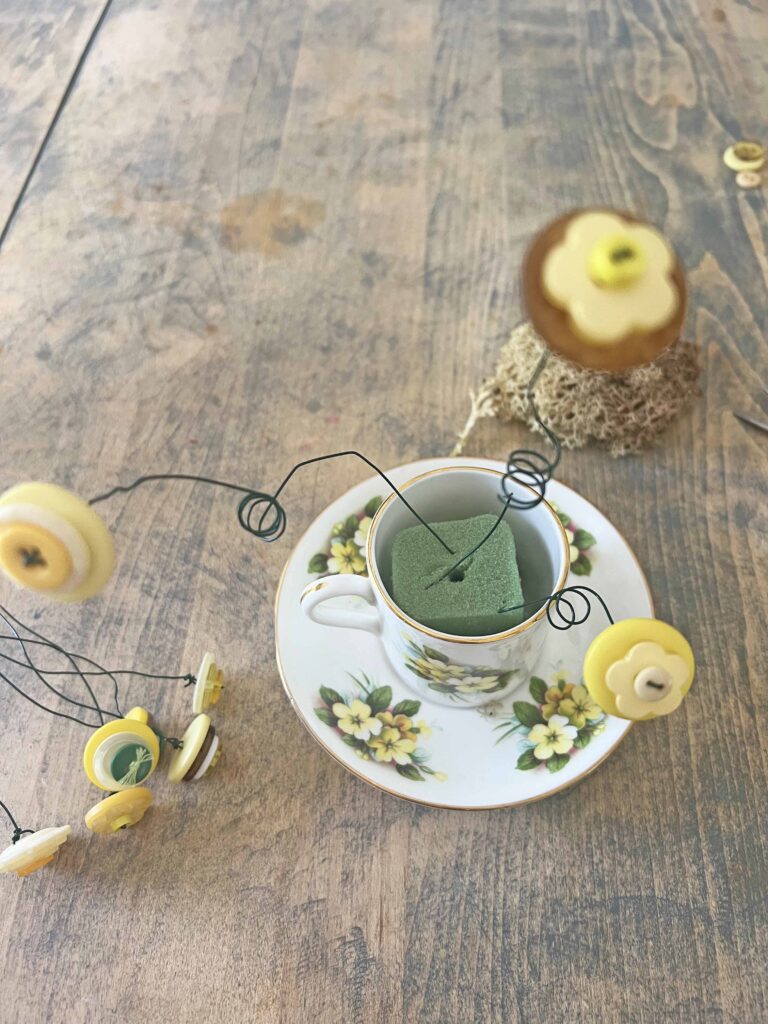
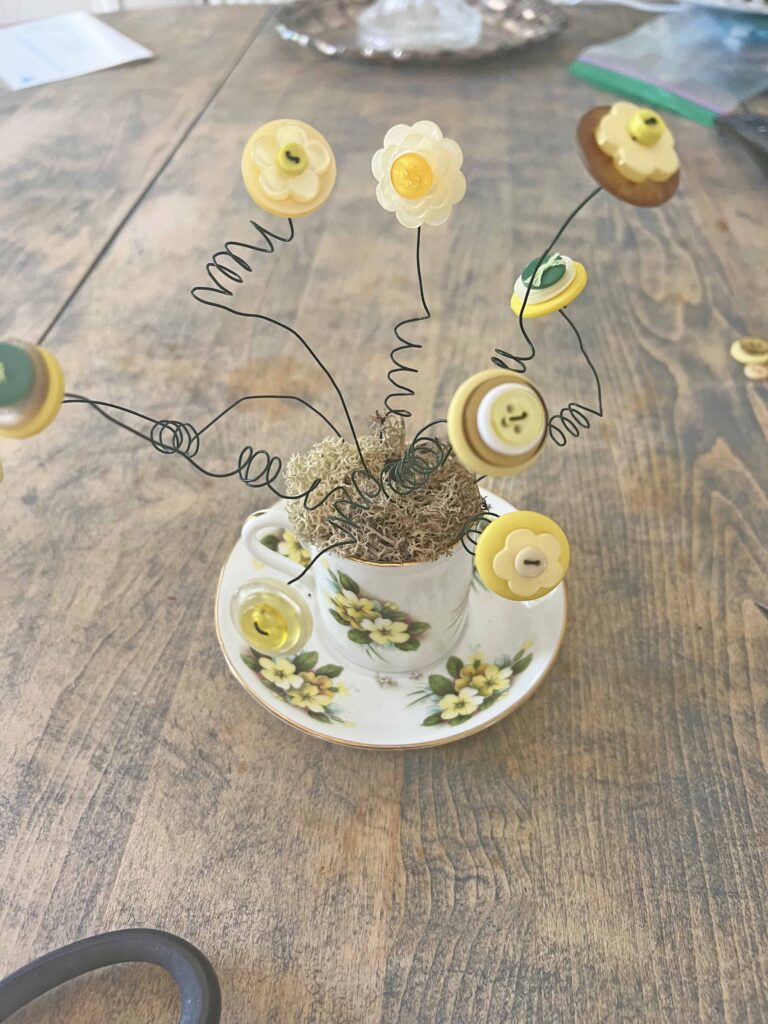
- Bend wire stems and arrange flowers until desired composition is achieved
- Add moss on top of foam to hide mechanics
- Voila! Enjoy your new tea cup flower bouquet
Recommendations & Tips for the Button Flower Bouquet DIY
Beyond a Tea Cup
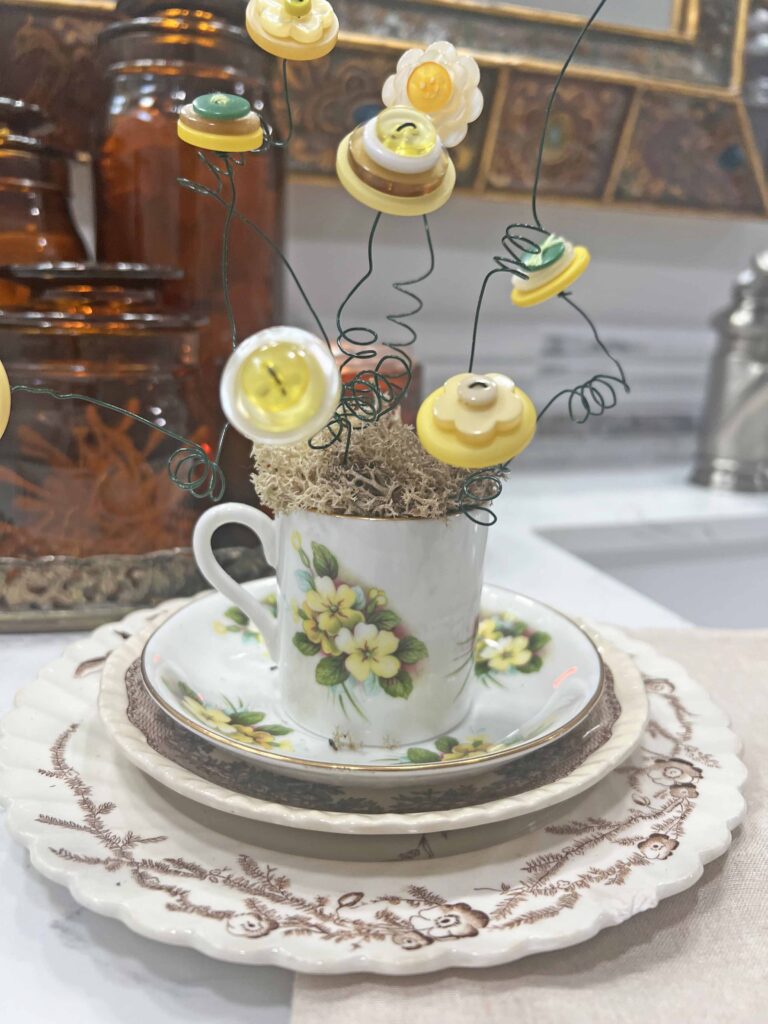
I used a tea cup since it was the inspiration for the project, but you could really use any desired vessel or container. If you want to stick to the vintage vibes, I think a silver creamer or sugar bowl would be adorable. The possibilities are truly endless. Use any charming cup or vase you have kicking around, new or old. By adding the button flowers it becomes a unique accent in your decor. I found this demitasse china cup thrifting a few years back, and it speaks to my vintage sensibilities.

Button Styles
The buttons I used had different configurations. Some had 2-holes, others had 4-holes, some didn’t have holes at all, while some had the holes already decorated with thread. You can use different techniques to make all of these different button styles work.
2-Holes
Thread through 1st hole from bottom up then thread top to bottom on other hole
4-Holes
Thread through holes from bottom up then top to bottom, working diagonally and then criss cross
No Holes
Thread wire through bottom button and glue other(s) on top (bottom button needs a hole of some sort)
Blocked Holes
Thread wire through buttons with holes and glue blocked buttons on top
Bouquet Bounty
I chose to use nine stems since I thought that was a good number to fill my cup. Make as many stems as you think are appropriate for your vessel size. One dramatic stem can be as impactful as a dozen cute flowers. Do what works best for your style and size container you choose. Also there is no right or wrong way to create the flower stacks. One of my flowers only used two buttons while another one used four, and all the rest of the flowers used 3 buttons. Play with the buttons until you reach the correct composition based on size, color and configuration.
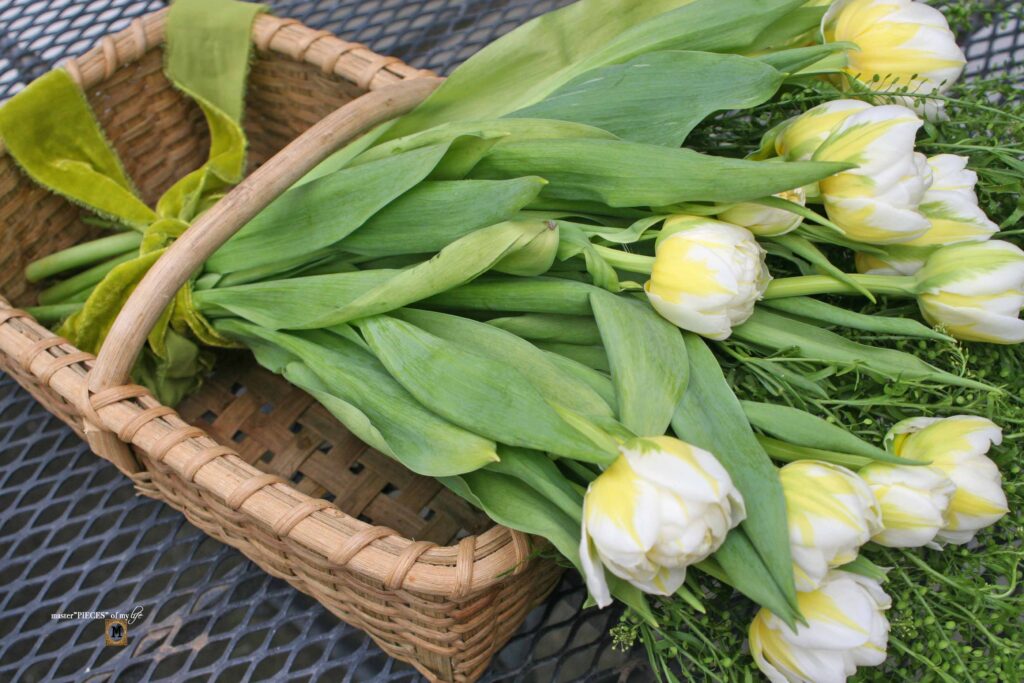
Color Spectrum is Unlimited
I used yellow flowers since it matched the cup plus it’s a go to color for me for spring decor. Other spring colors would be super cute, plus you can Pin this to use for Fall decor with browns, burnt oranges and golden hues or at Christmas time with red, green and gold flowers. Or simply use colors that fit into your everyday decor, which can be used year round. Blue and white flowers would be amazing for all you blue and white decor folks. You do you.
Permanent vs. Seasonal
I didn’t glue anything down since I might use the cup in a different manner down the road. Or I might want to add the flowers to something else. Without the glue, I can dismantle the project and use the pieces in different ways also making it easier to store. If you will be creating a permanent decor piece, I suggest gluing the foam and moss down for a more secure bond.
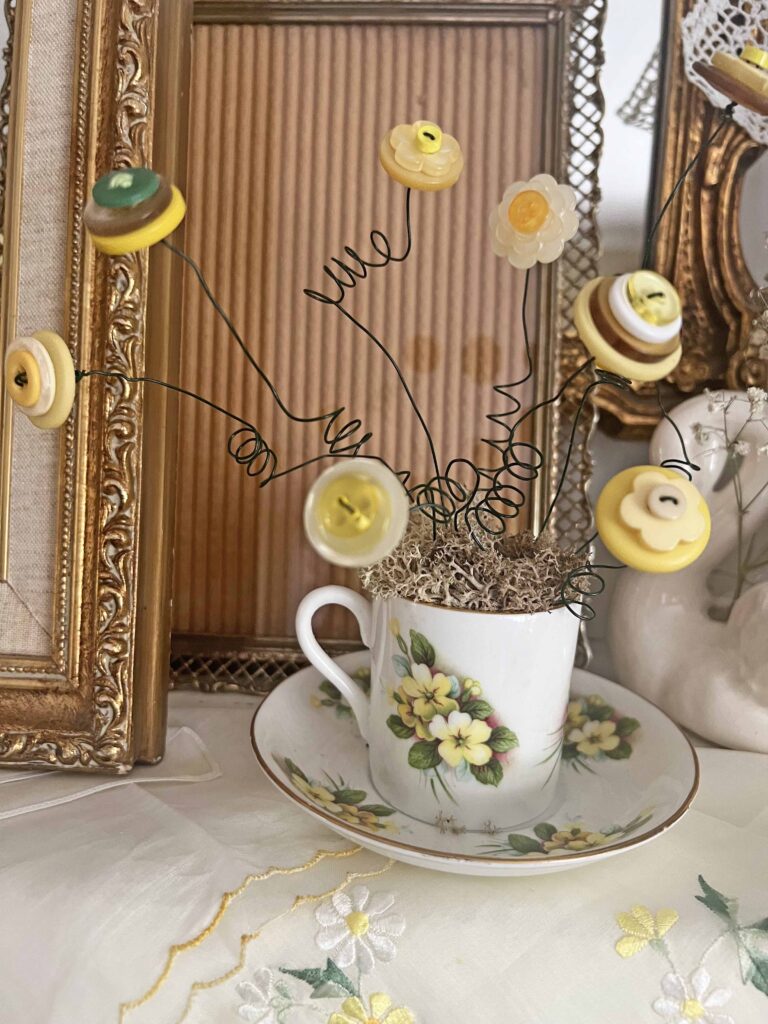
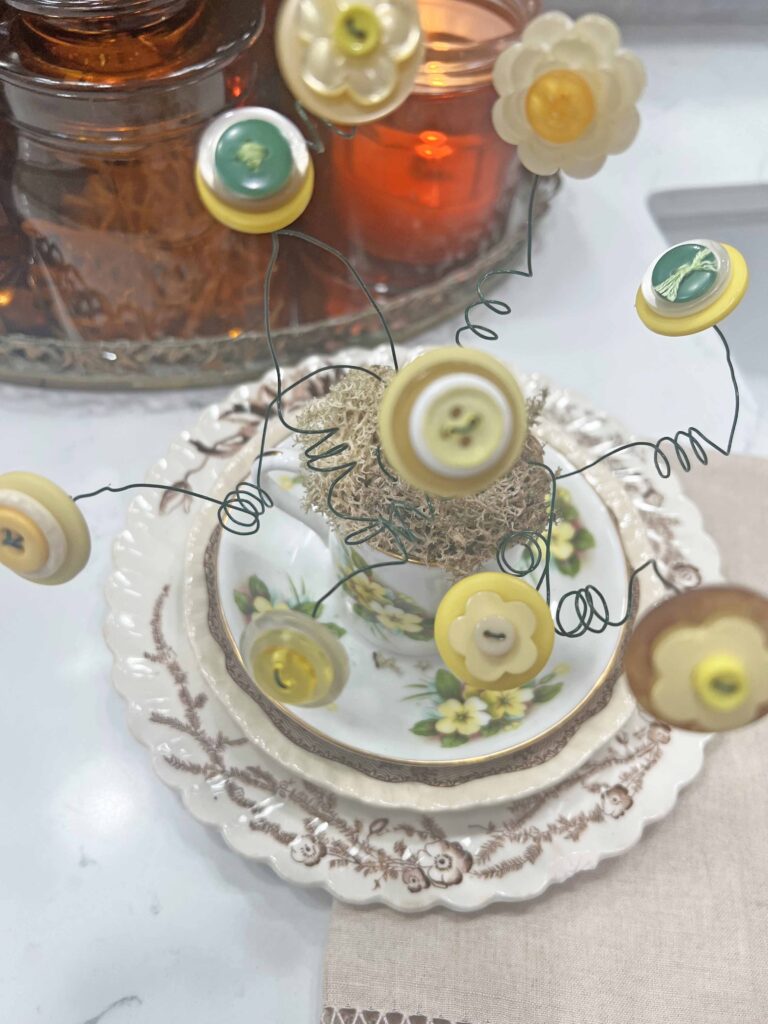
Styling the Button Flower Bouquet
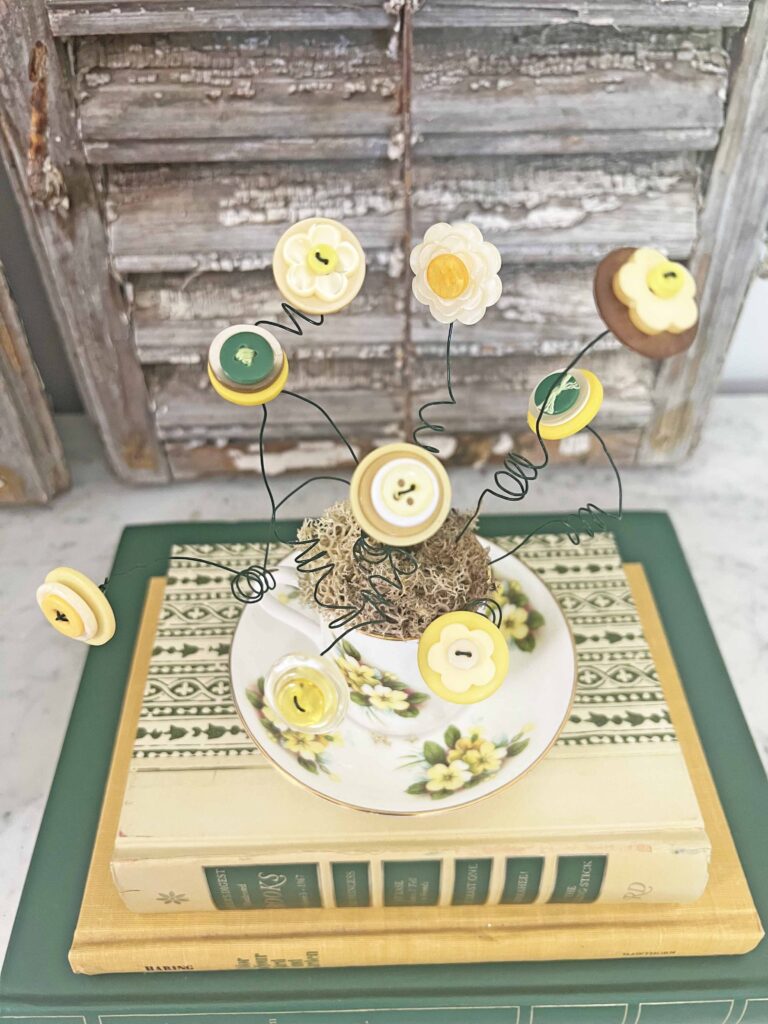
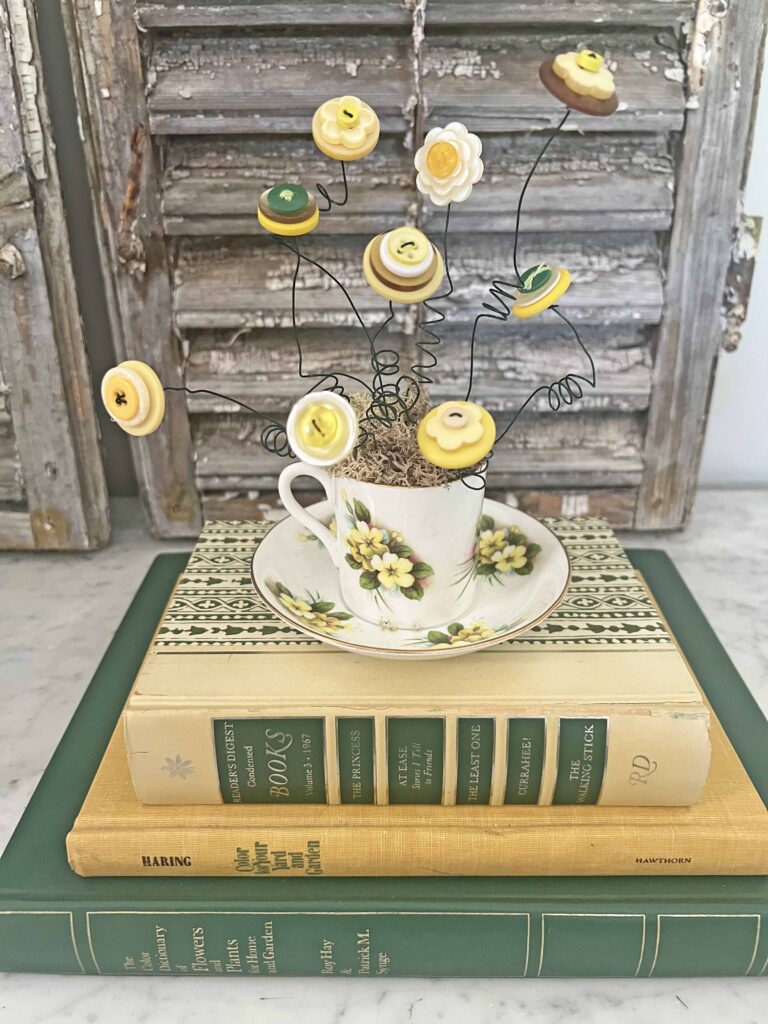
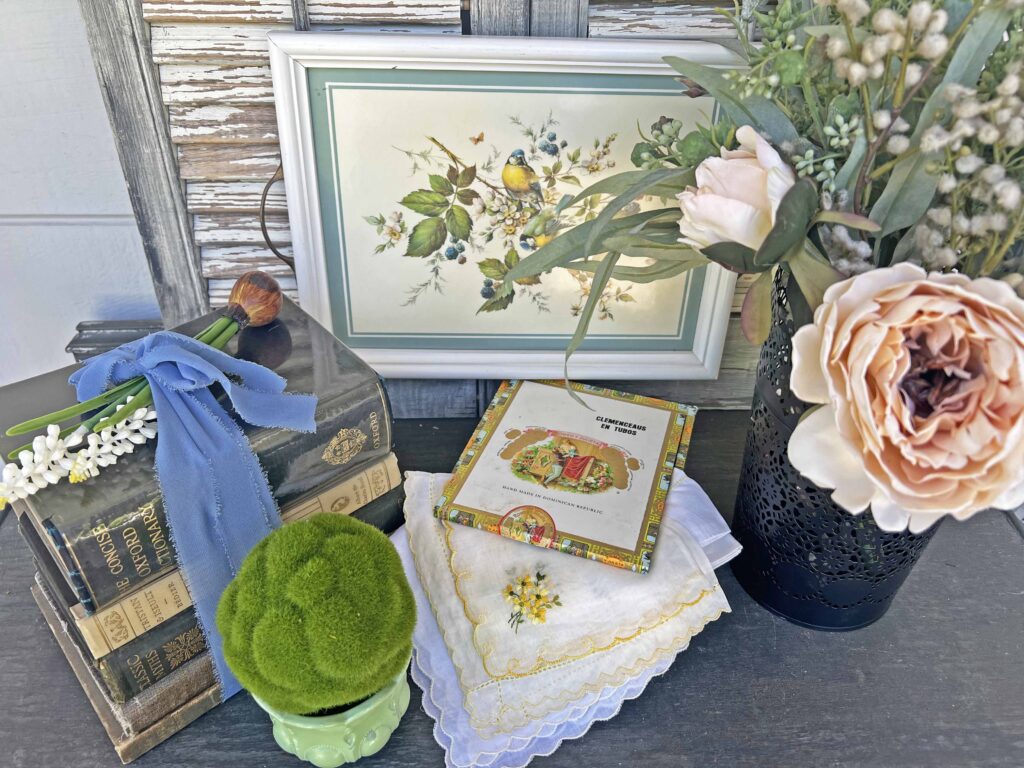
This demitesse cup button flower bouquet is a diminutive decor accent which can be included in many places in your home. It can be the star of a seasonal decor vignette on top of a book stack or it can be a simple detail among other pieces.
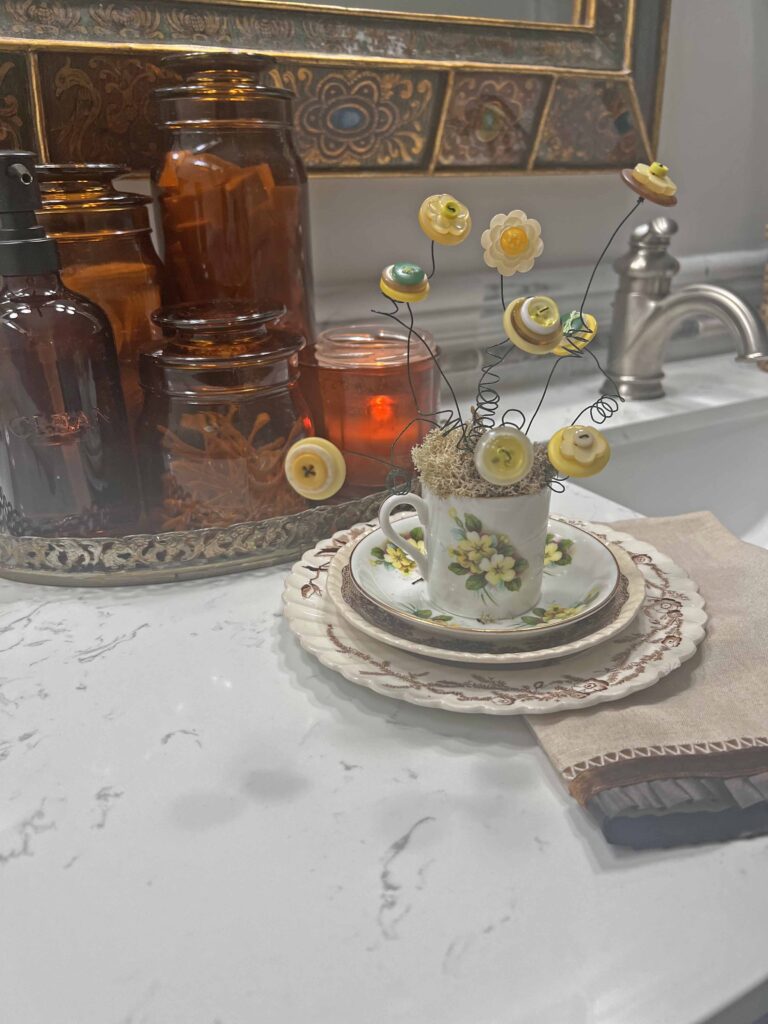
It can add a touch of charm for shelf displays or it can add an unexpected smile in a bathroom or bedside table. It’s a super sweet and simple way to spread Spring vibes throughout your home in an unexpected way.
The sweet tea cup flower bouquet is styled as part of our cheery yellow spring mantel styling. Here’s a sneak peek, but I will be sharing all the details to the mantel decor in a subsequent post.
If you don’t want to miss any new posts, and have new Master”pieces” of my Life content delivered directly into your inbox, please sign-up below. It would be my pleasure to have you join the Masterpiece Community.
Closing Thoughts
What did you think of this button flower bouquet DIY? In the springtime, flowers seem to be sprinkled everywhere, and this little decor accent mirrors all the beauty around us. I love to use fresh flowers around our home, but it can get expensive and they don’t last forever. This is a sweet way to have perennial flowers inside your home.
Next time you get a new sweater or blouse and it comes with auxiliary buttons, save them in a safe place for projects just like this! I hope you enjoyed your visit today, see you again soon. Au revoir!

Shop the Button Flower Tea Cup Bouquet Look
- This cup with yellow and bird accent with scalloped edges is giving me all the MaryJo vibes; I’m very tempted.
- This is a sweet floral teacup too.
- Love the shape of this tea cup set and the blushes and pinks are beautiful.
- This is an amazing ironstone transfeware piece.
- This tea cup set is for all the blue & white lovers in the house.
- This the wire I used: 22-Gauge Green Floral Wire
- This assortment of yellow buttons is amazing.
- This set is a great assortment if you prefer colored buttons.
- Love, love, love this collection of white buttons.
- Crafting, jewelry pliers are great tools to have in your arsenal.
- Floral Foam is always clutch for so many projects.
- I love the neutral feels of natural colored reindeer moss.

More Related Posts
Most Recent Posts


Wherever life plants you, bloom with grace.”
Old French Proverb
So so so cute!!! I absolutely love this!! Perfect colors too??
Thank you baby girl. ?U ?
Ok MaryJo, you e completely outdone yourself on this one. Adorable ?
Thank you so much! ? ?
These are absolutely darling, MaryJo! I have never thought about doing something like this with buttons. I love this idea. Pinning! Thanks for sharing this at the Will Blog for Comments #61 linkup. Looking forward to seeing what you share at #62. Have a great rest of the week!
Thanks Jennifer. I’m so glad you liked them. They were fun to make. XO- MJ
Oh they are super cute!! Thanks for joining in on Home Matters Linky Party! I will be featuring your post this week! #HomeMattersParty xx
Thanks so much. I appreciate the love and support. XO- MJ
Exciting news! 🙂 This blog post was one of the most popular at the Will Blog for Comments #61 linkup! It will be featured in the spotlight of #62, starting today. Thank you for sharing this post with us. Have a great weekend.