


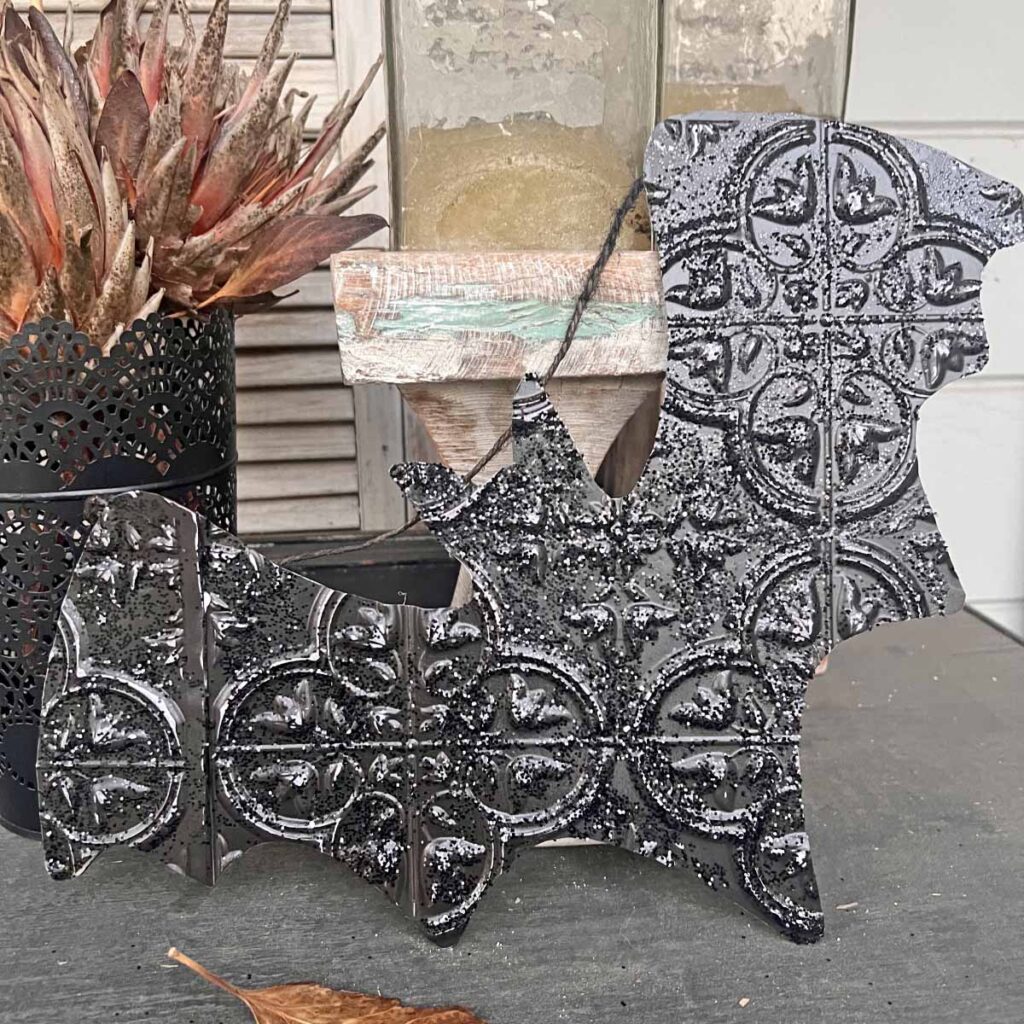
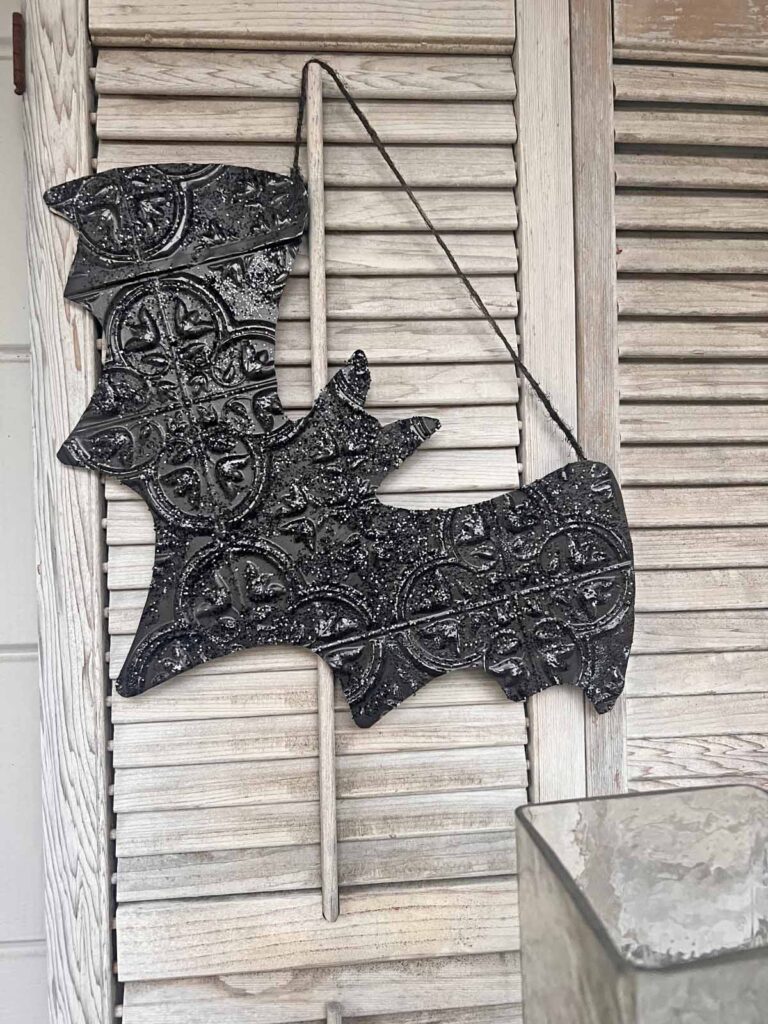
Do you want a seasonal decor craft that doesn’t break the bank, but yet looks fantastic? Well, I have the perfect project for you today. A plain wood bat sign and faux tin tiles from the Dollar Store come together with some paint to become a charming vintage Halloween decor accent. Please come in and join me as I walk you through how you easily create this Halloween faux tin tile bat too.

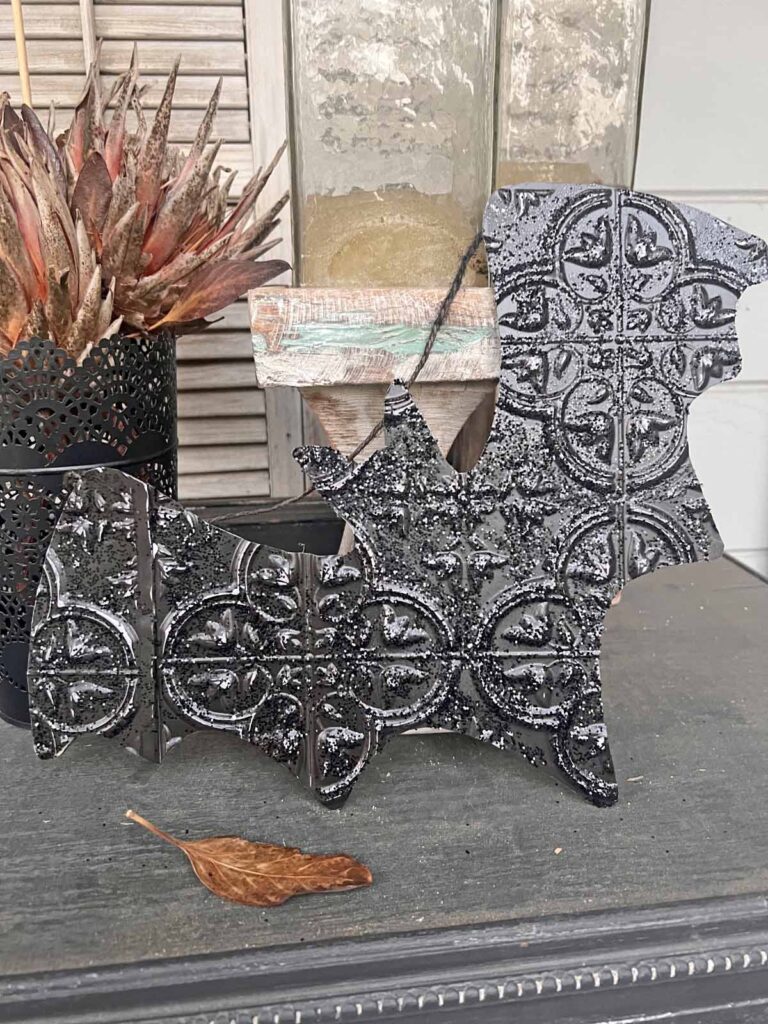
Creating your own decor provides customization which you can stamp with your own personal style. Just because you’re crafting it yourself doesn’t have to be difficult or labor intensive. This is simple, easy and looks otherwise. Enjoy the process & let’s get crafting.

Key Takeaways
Faux Tin Tile Halloween Bat Decor DIY
> Creating your own seasonal decor saves money and creates a unique and personally customized look
> A step-by-step tutorial on how to make your own faux tin tile bat decor with
> Discover tips and recommendations for crafting at home
*Affiliate links might be included for your convenience. These affiliate links mean a small commission is earned if you make a purchase using these links at no extra cost to you. As an Amazon Associate I earn from qualifying purchases which support this website. For more information: Full Disclosure Policy.
Inspiration Behind the Faux Tin Tile Bat
The peel-n-stick faux tin tiles are a favorite medium for crafts around here, and I want to use them for an acorn decor project for the fall season. While looking for the acorn form at the Dollar Tree, I came up empty. There were no acorn shaped wood pieces to be found, but alas I spied this bat piece and a light bulb immediately went off. And here we are.
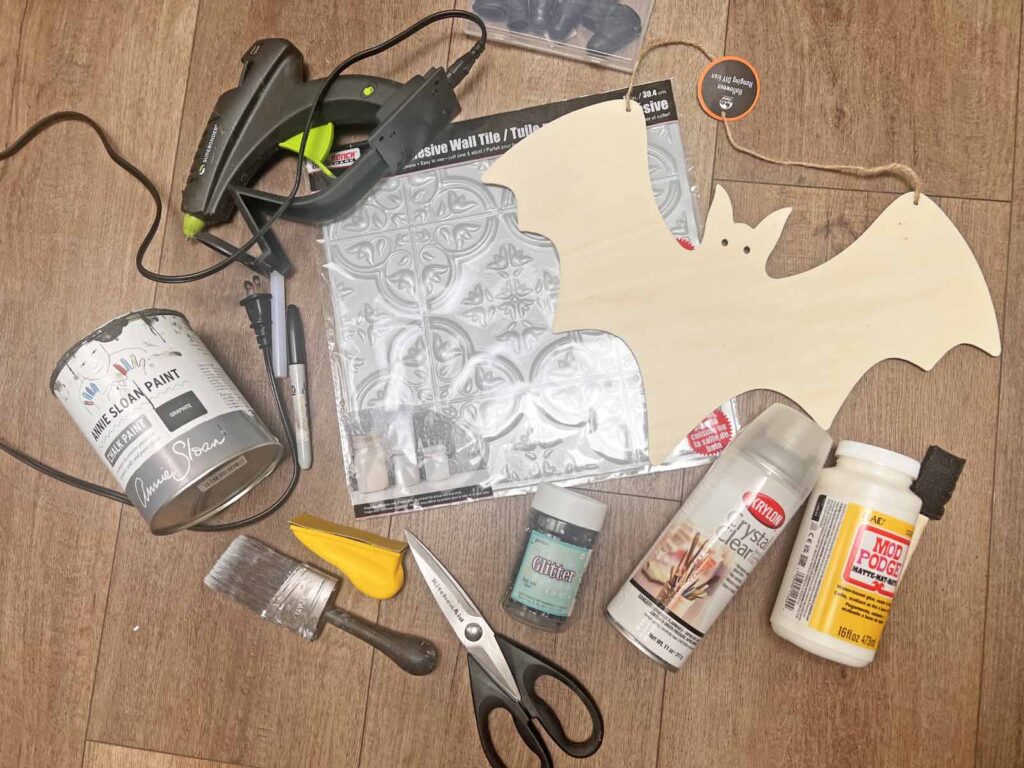
faux tin tile || wood bat cut-out || black spray paint || black glitter
As I mentioned, these self-adhesive faux tin wall tiles are great for many projects. I love the vintage vibes they provide, and adaptability to customization. If you like the look, check out these other projects and be inspired.
More Faux Tin Tile Decor DIY Projects
*** Christmas in July: Faux Tin Tile Christmas Tree Craft
*** Faux Tile Gingerbread Men DIY
*** Faux Tin Tile Heart DIY Valentine’s Day Decor
*** Stylish Cupid’s Arrow DIY Decor
*** Turning Oval Picture Frame Trash into Easter Egg Treasures
*** Patriotic DIY: Faux Tin Tile Star Charms Hanger
Faux Tin Tile Halloween Bat Tutorial
This project is easy and economical, yet looks like a million bucks! The best part is you can customize it to your own decor preferences. Have fun with it! Halloween is a whimsical holiday, which begs our inner child to come out to play.





MJ Insider Crafting Tip
Read all the instructions through once & then re-read everything again, familiarizing yourself with everything you need. By knowing what to expect avoids any surprises during a project, preventing unnecessary stress.
STEP-BY-STEP INSTRUCTIONS
Prep Project
- Read instructions thoroughly
- Assemble all supplies & tools
- Remove all tags and packaging from supplies

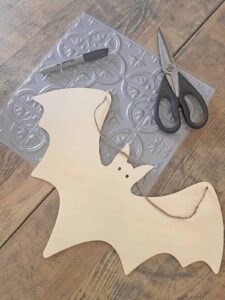
Create Tin Tile Bat
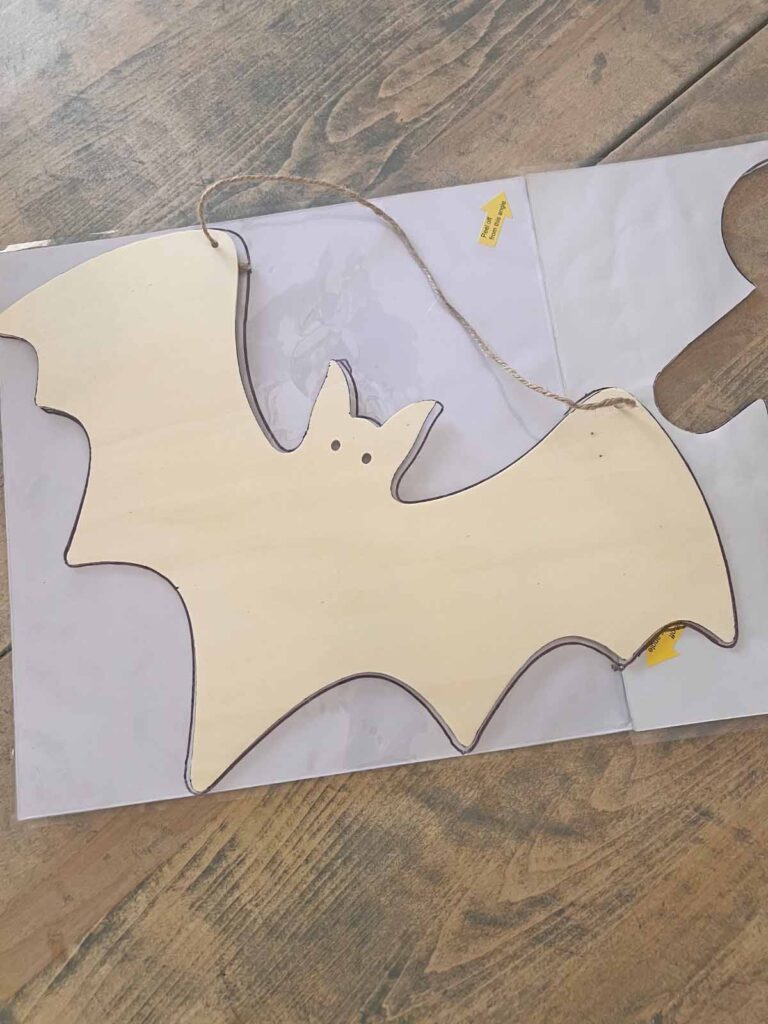
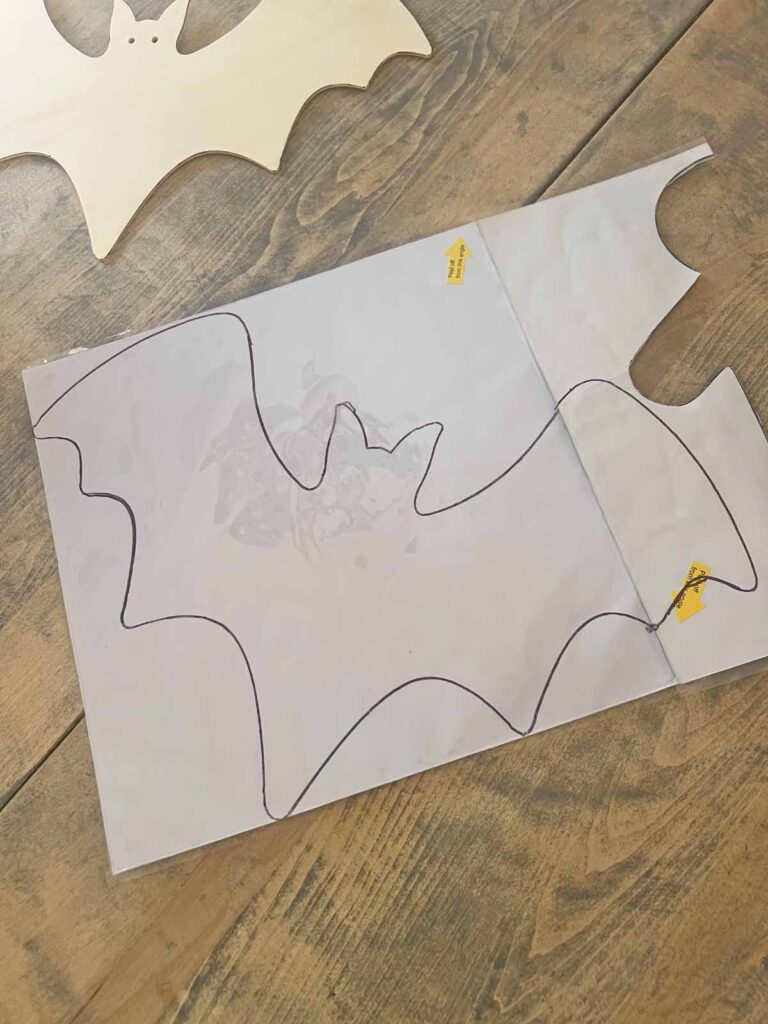
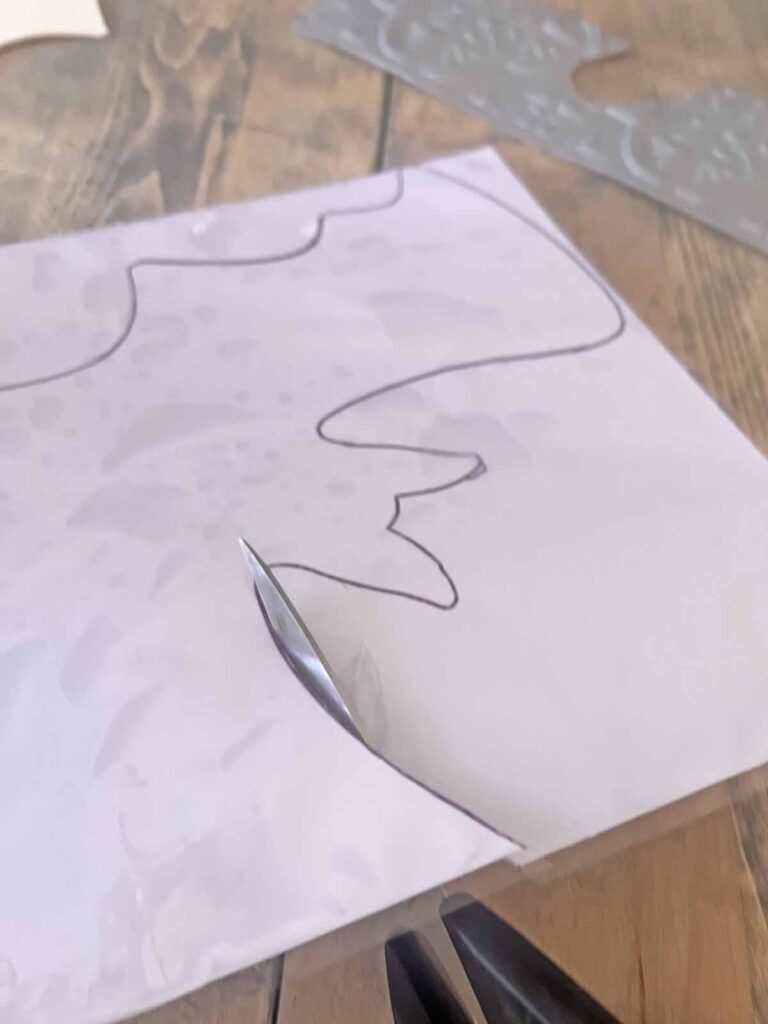
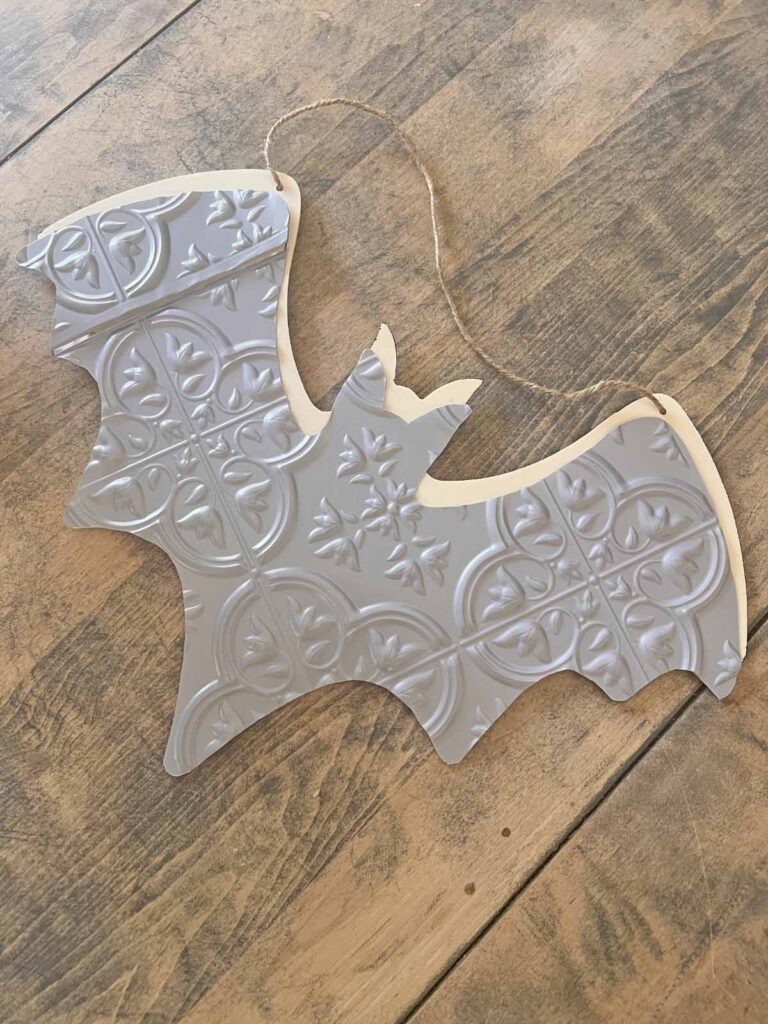
- Using wooden bat form as a guide draw shape on back of tin tiles with a sharpie (you mighty need two tiles if your bat is bigger than 12 inches like mine- I used a full tile plus a scrap from an old project)
- Use scissors to cut out bat form from wall tile
- Note: the DT tiles have a plastic backing you can simply discard since we won’t be using it here
Paint Bat
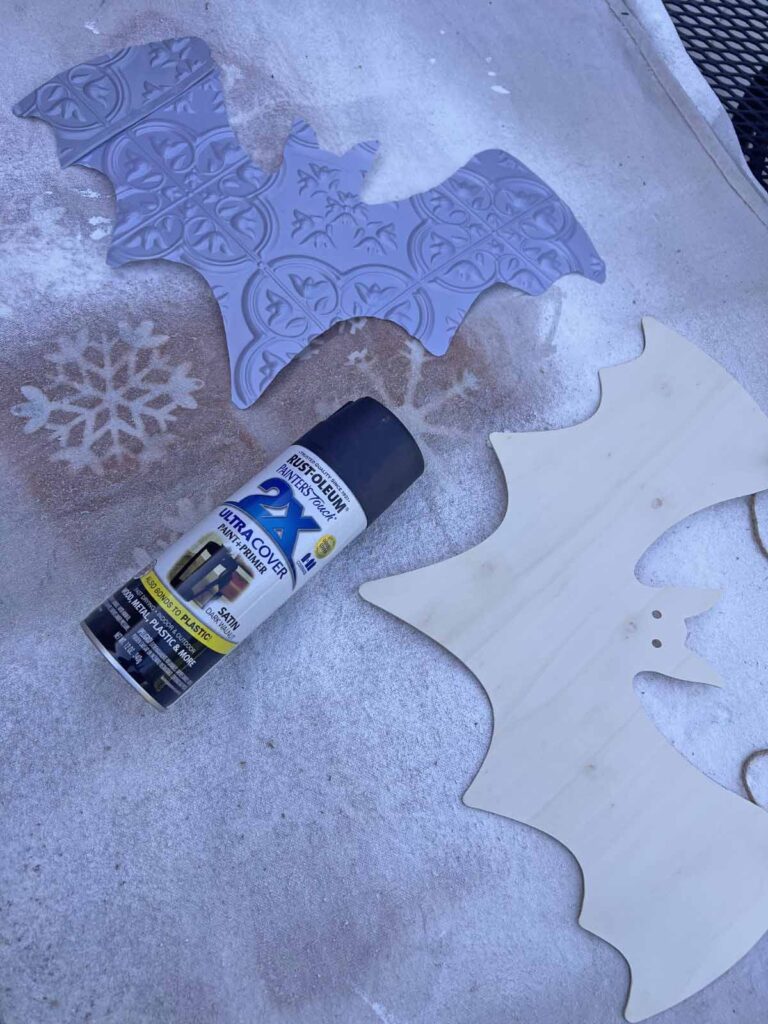
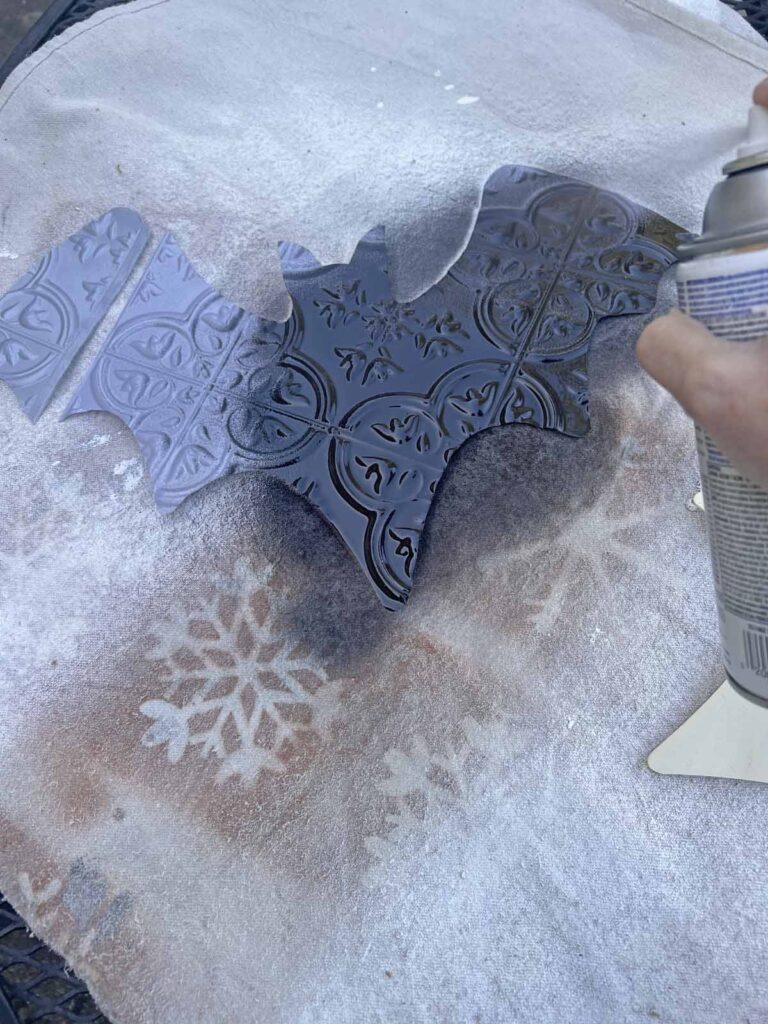
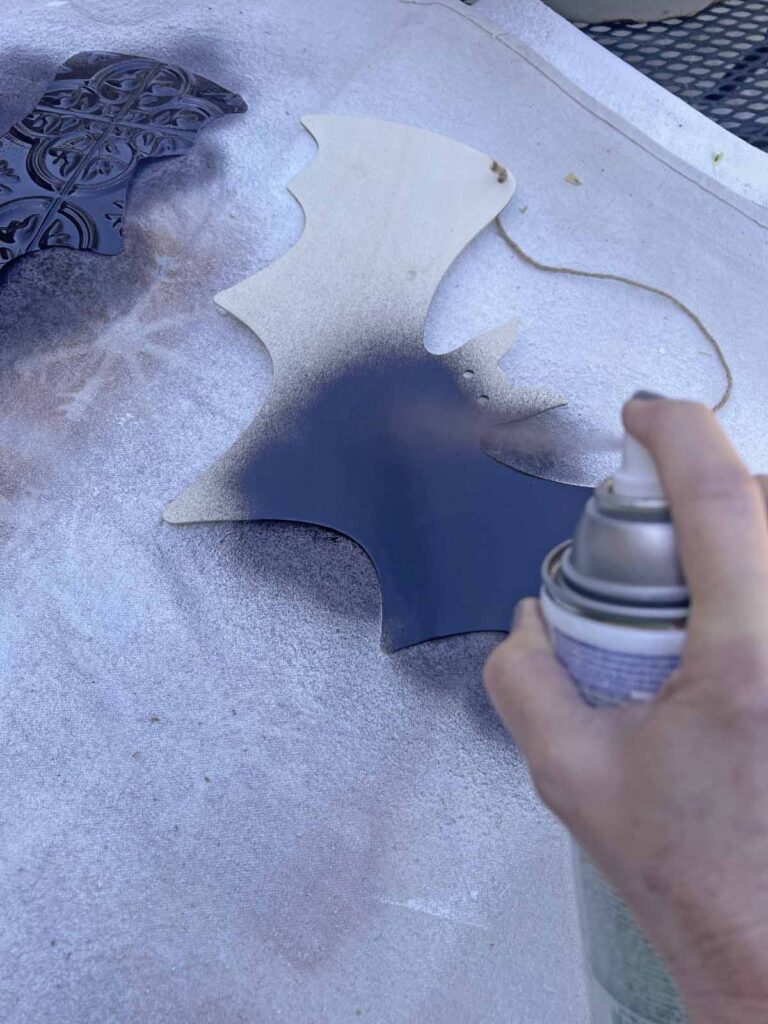
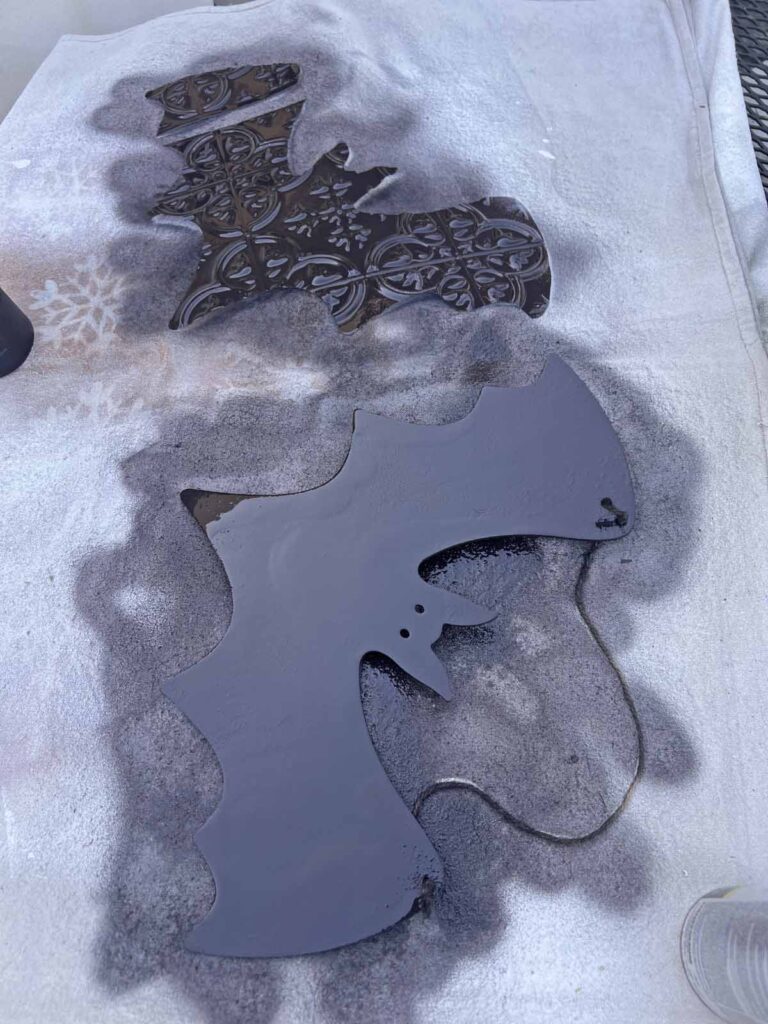
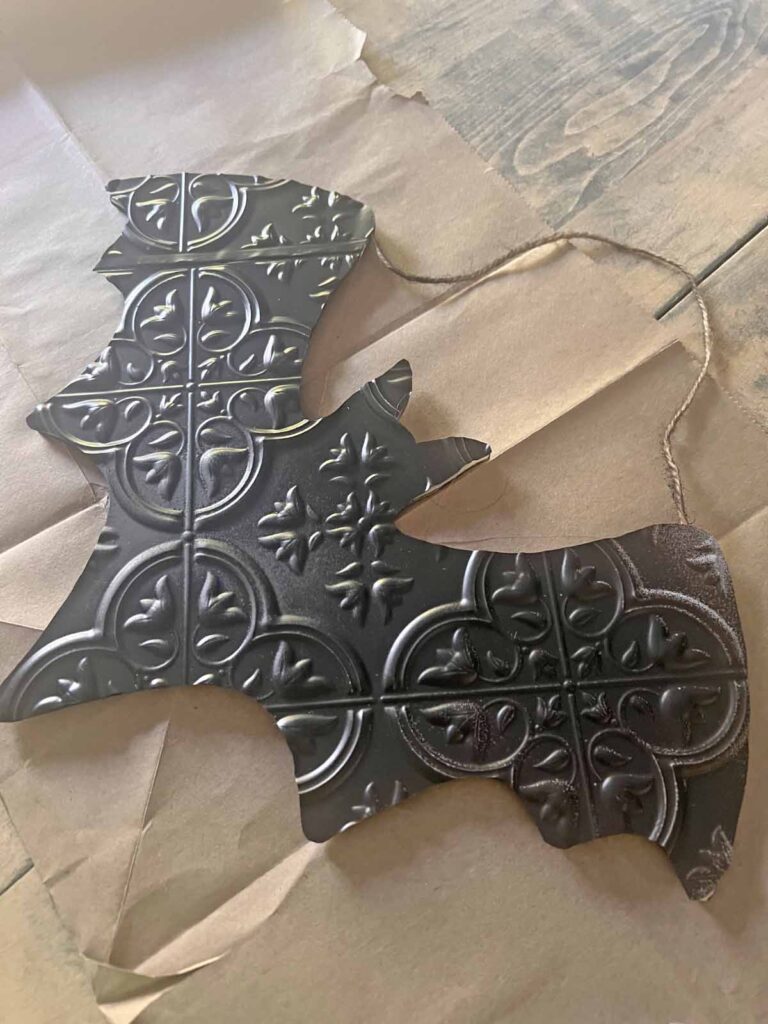
- Spray paint a liberal coat of paint on tin tile bat and the back of wooden bat, including the sides
- If your bat has a hanging twine like mine, spray paint hanger as well covering the whole thing
- Set everything aside to fully dry
Assemble Bat
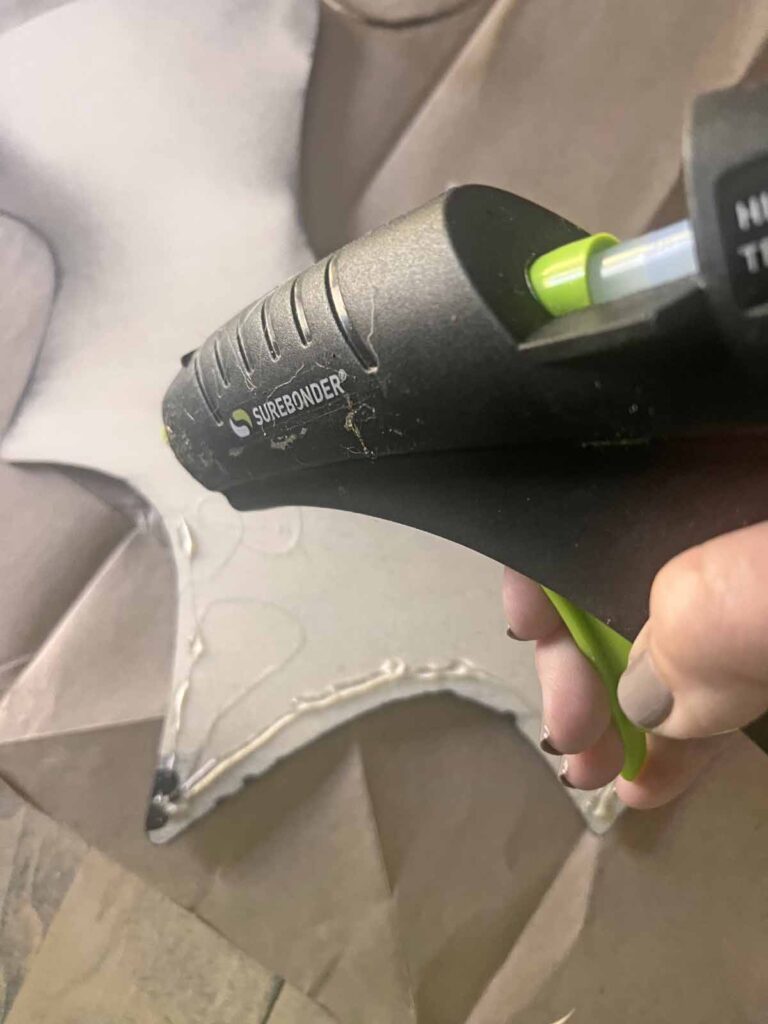
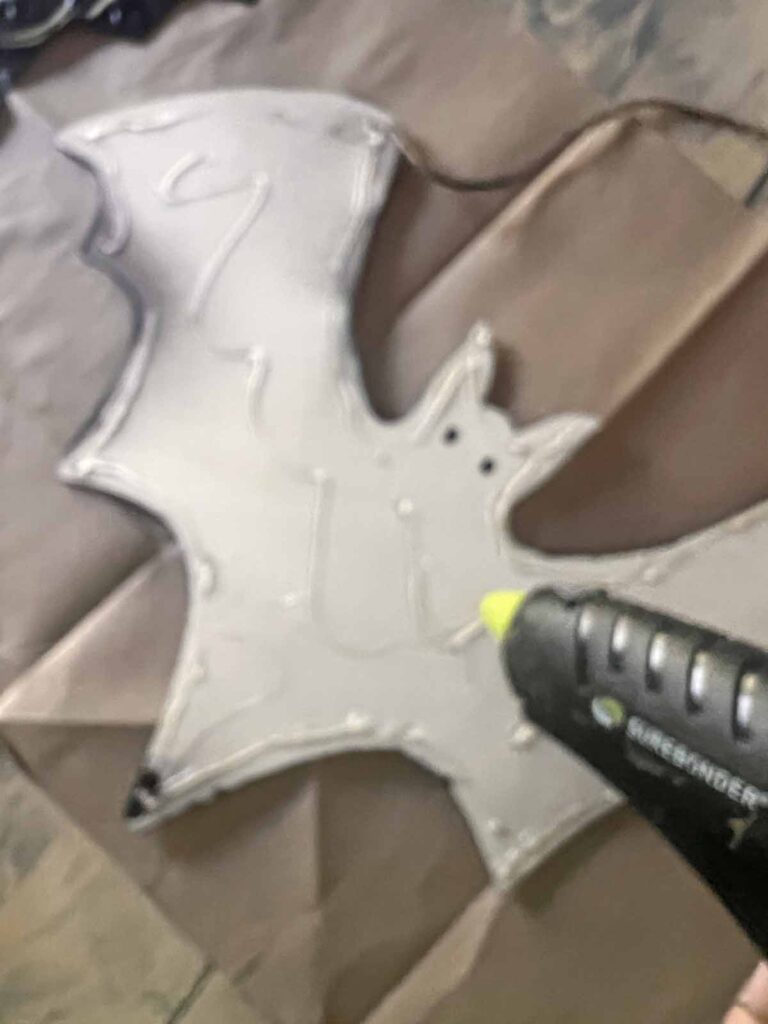
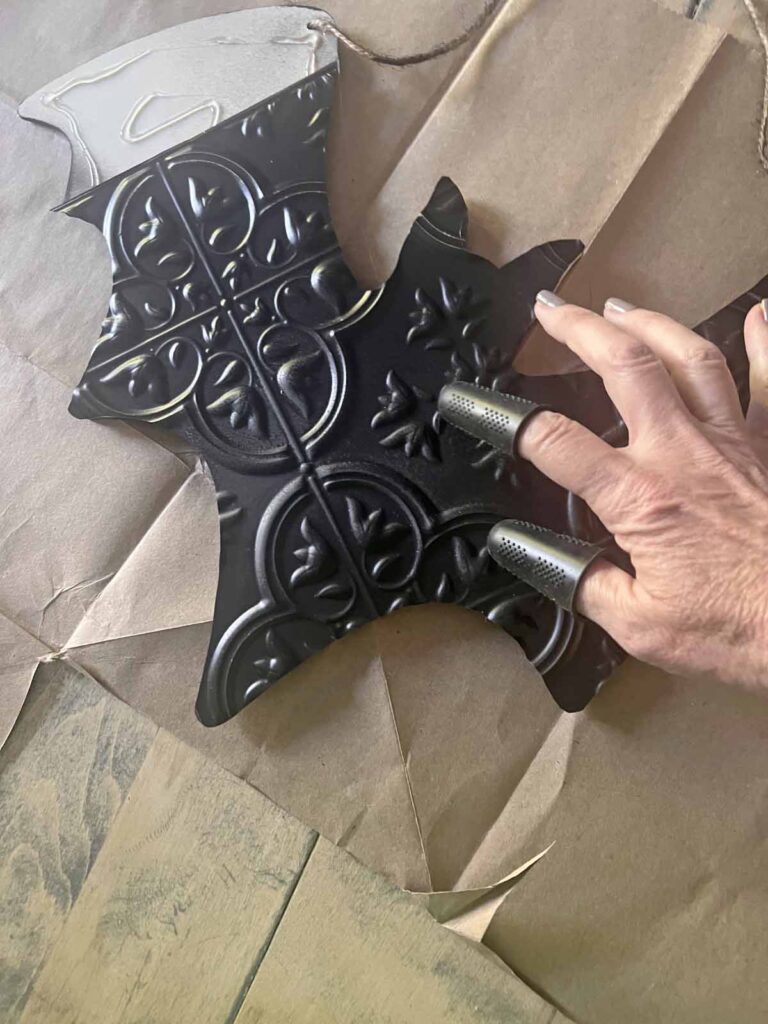
- Using hot glue gun add a liberal amount of glue all around edges and some of the center of front of wooden bat
- Gently place tin bat on hot glue and press, forming tight seal
- Note: the faux tin tile is a thin plastic which gets hot easily with hot glue so silicone finger protectors are a good idea or use a towel or rag to protect yourself when you press down
Embellish Bat
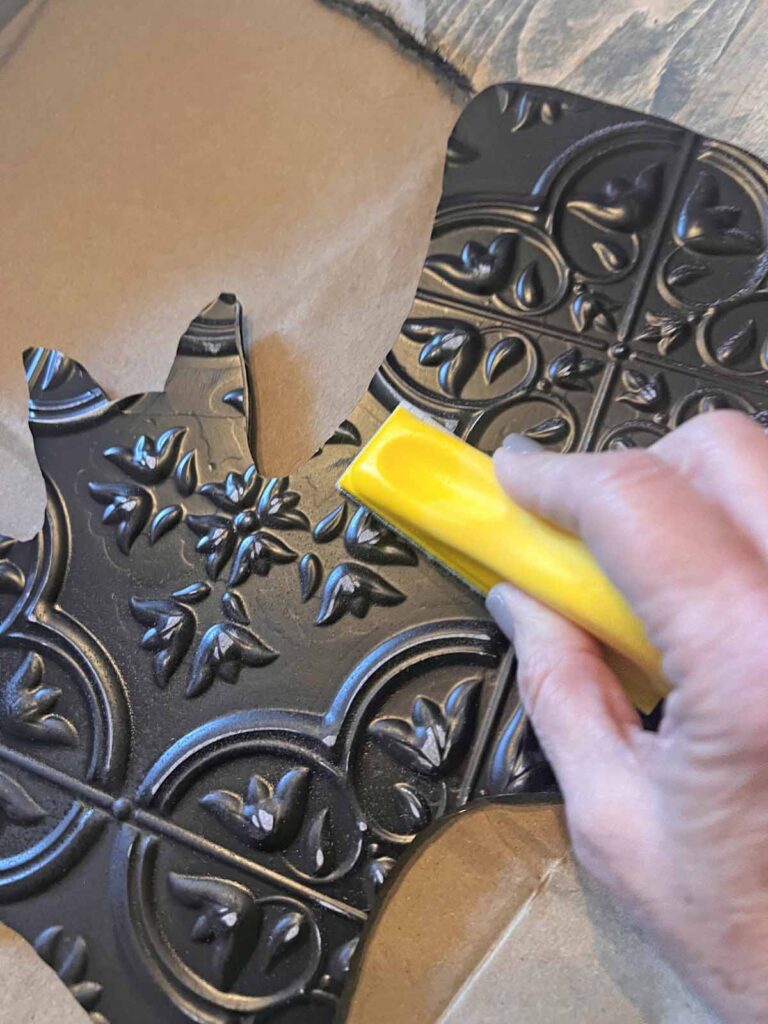
- Using sanding block or sand paper roughly rub around tin tile to distress and remove some paint from raised details, creating contrast
- Remove any dust from sanding (I use a clean paint brush to do this)
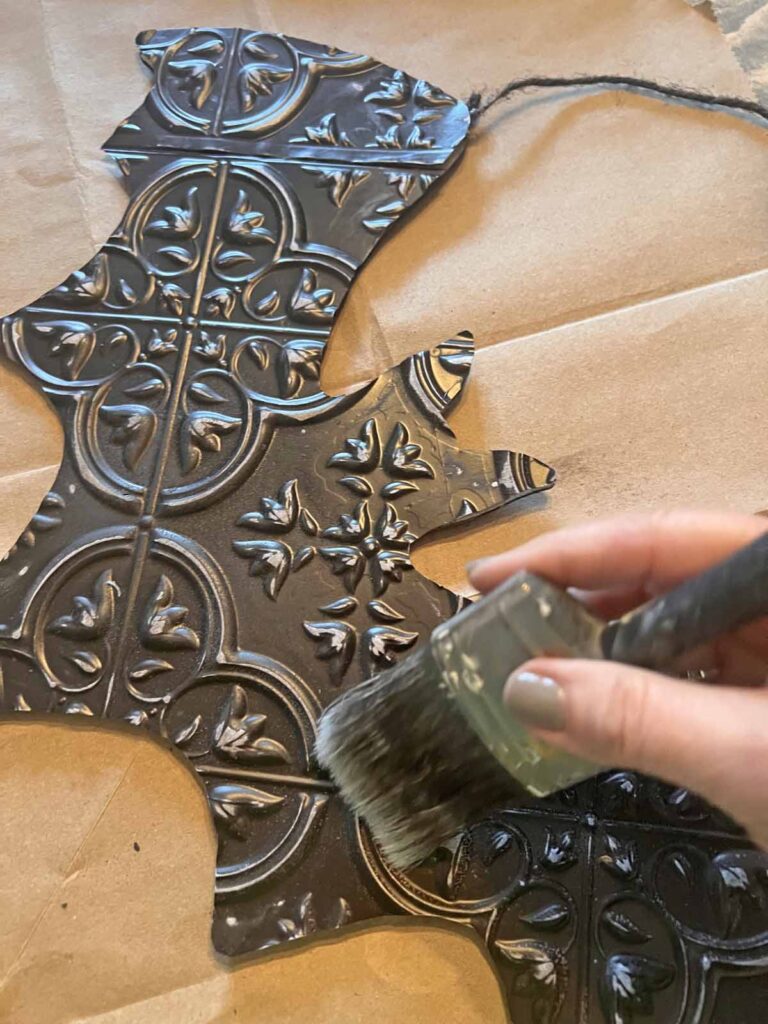
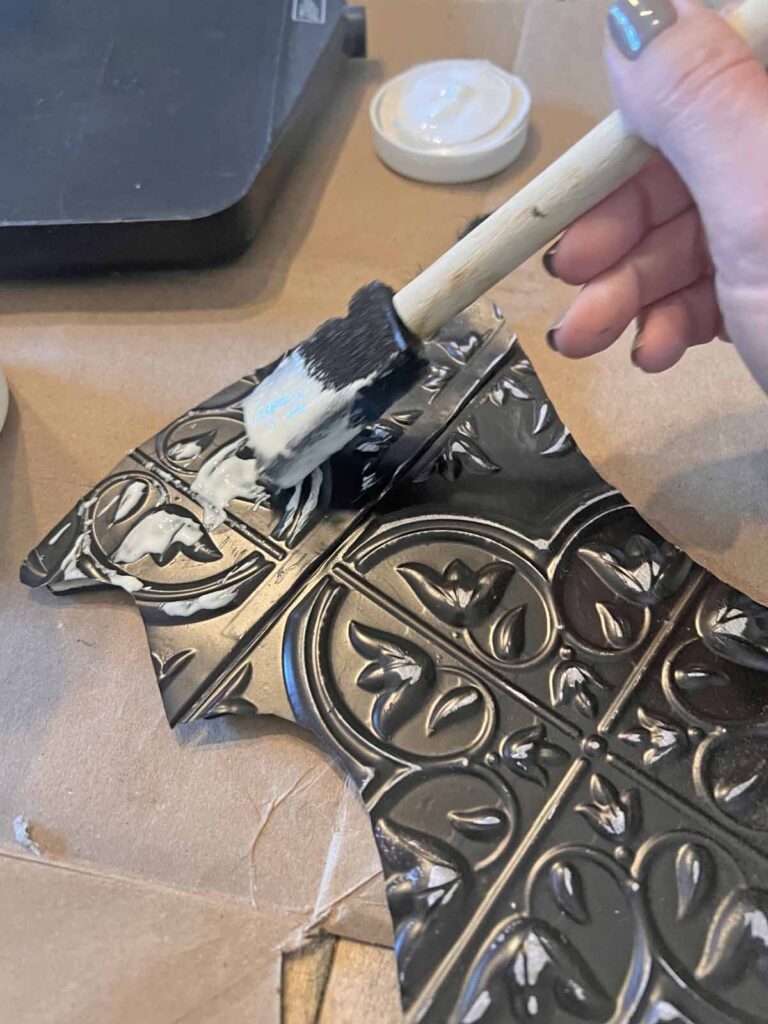
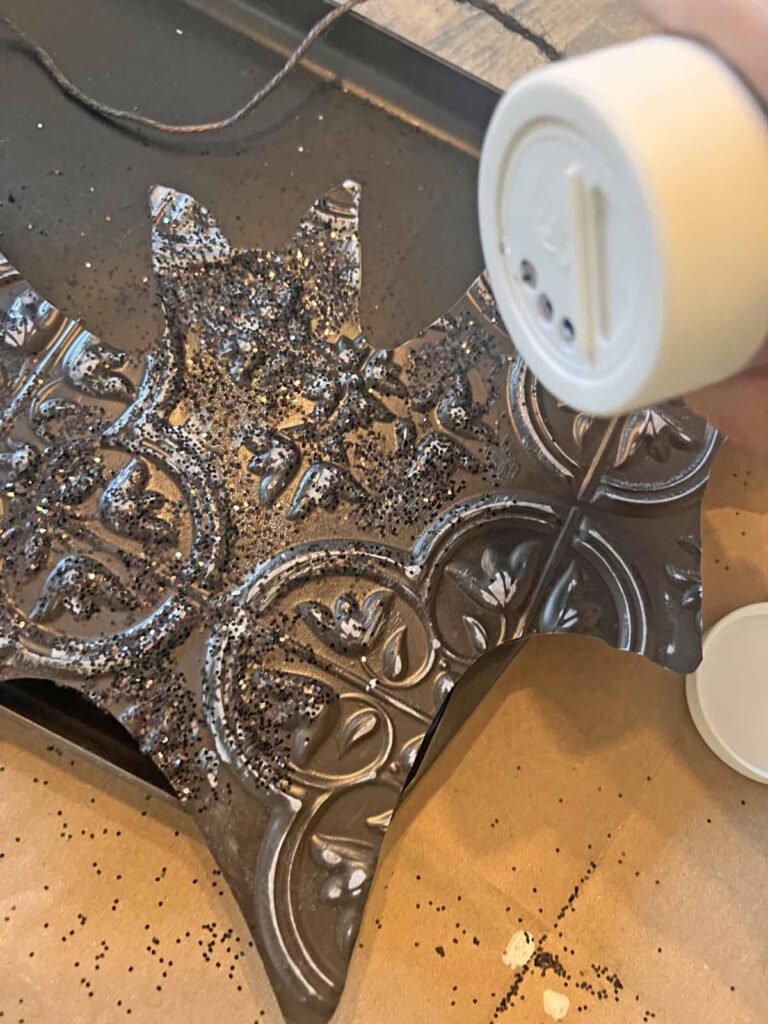
- Using a foam brush apply a coat of decoupage medium and sprinkle with glitter, working around entire bat to create a finished look
- Set aside and allow to cure so glitter adheres to bat securely
- Examine composition; if desired add more glitter using above steps
Voila!
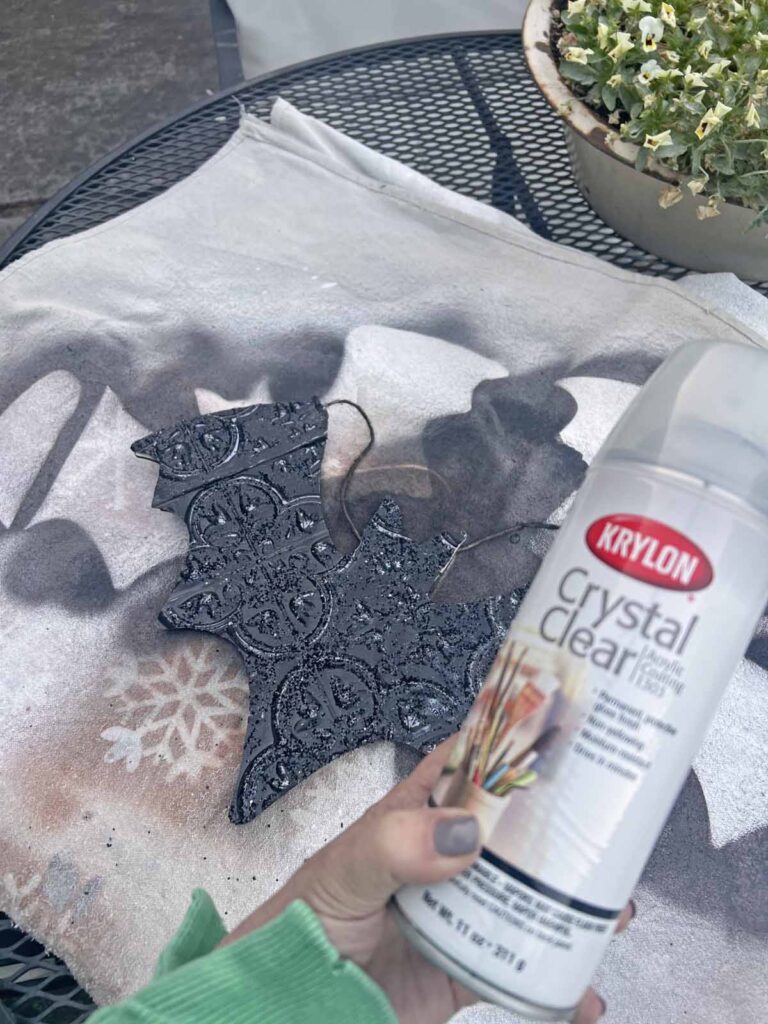
- Spray finished piece with acrylic spray to seal project and minimize shedding, glitter has a way to go places
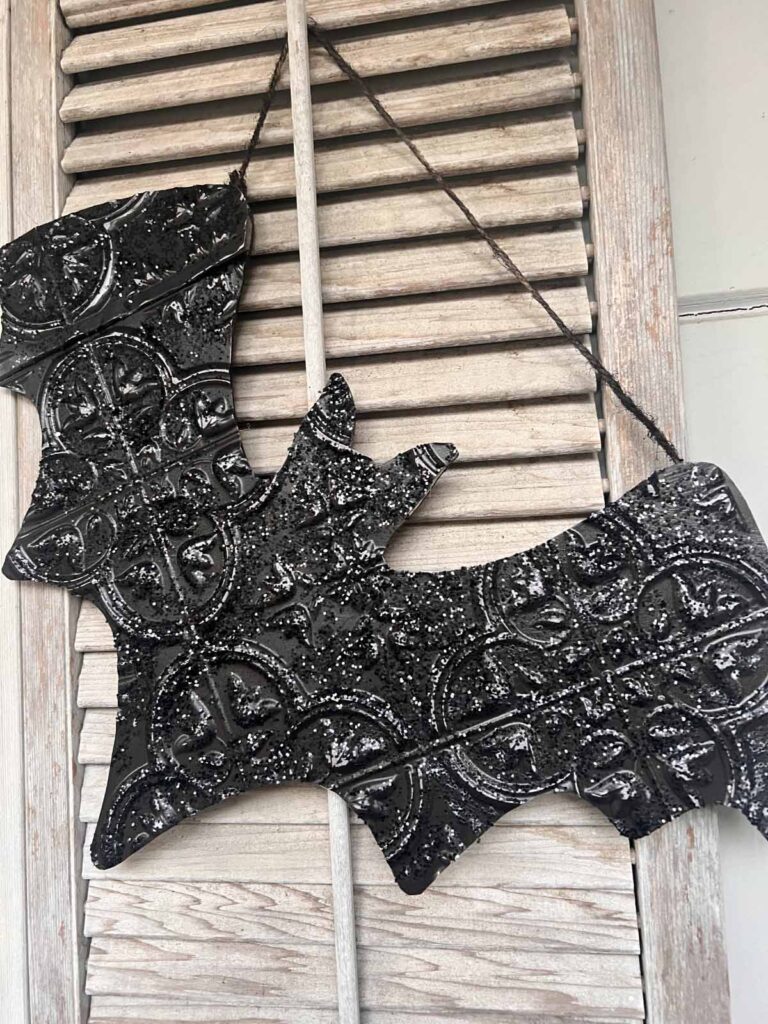
- Enjoy your new charming, vintage inspired tin bat
- Happy Halloween!
Warning
Please proceed with caution when handling a hot glue gun. Silicone finger protectors are highly recommended. Maintain personal discretion and responsibility at your own risk.
Tips & Recommendations to Keep In Mind
Paint Tips
I used black spray paint since I had it on hand. Originally I was going to use graphite chalk paint, but changed my mind. The chalk paint I had was old and had seen better days, plus spraying is much easier than applying the chalk paint with a brush. I have used acrylic paint, chalk paint and spray paint on the various projects I’ve created with these faux tin tiles. Each paint variety applies and distresses differently. How do I choose which medium to use? The straightest answer is whatever I have on hand. I always try to use what I already have rather than buying more supplies.
Embellishing Techniques
The sanding and glitter add depth and dimension to the bat decor, which provides interest. The sanding brings some of the background color forward while the glitter adds sparkle and a touch of vintage glam. Although you can also leave it flat without embellishments for a modern, minimalistic look. You do you and make it yours.
Hanging Mechanism
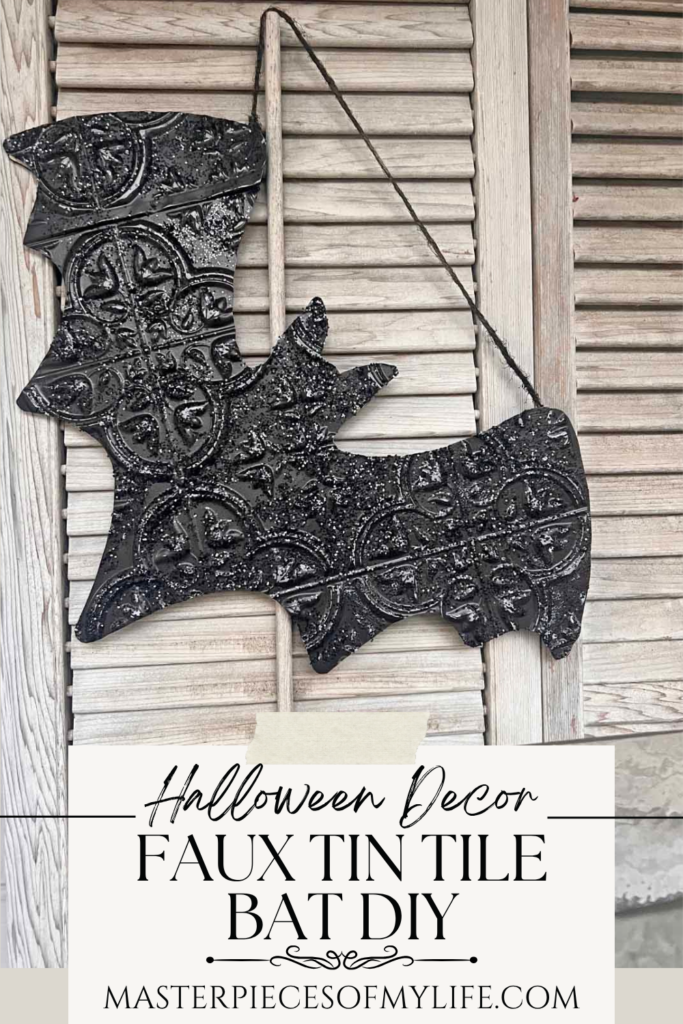
This particular bat sign already had an attached twine hanger, which I kept since it allows for different display possibilities. I can hang it from a door, cabinet, mirror, etc. or I can simply tuck the twine behind the sign and use it as a leaner. If your sign doesn’t have an attached hanger, you can use the technique I used here {Patriotic DIY: Faux Tin Tile Star Charms Hanger} to add one.
Sealing is Important
Sealing the final project protects it and hopeful minimizes any glitter shedding as much as possible. If glitter dust bothers you, maybe forgo the glitter and add rub-n-buff or another medium, which might prove to be less messy. Either way seal your project to protect it so it lasts for many seasons to come.
Styling Suggestions
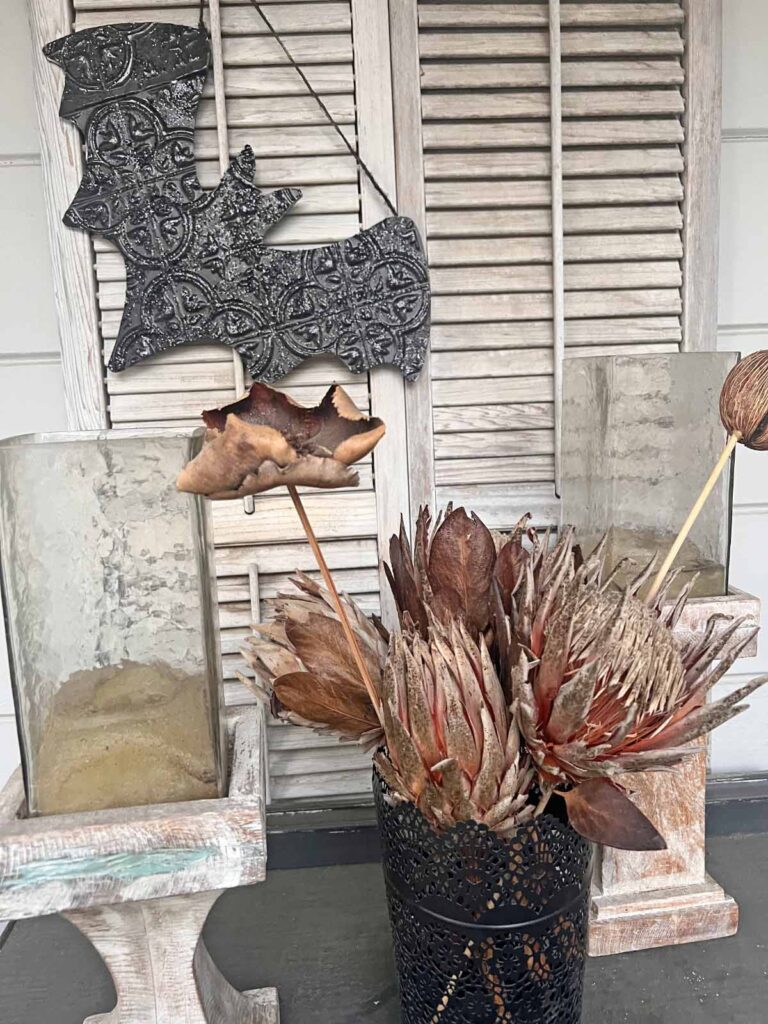
Like mentioned above you can hang the bat or you could simply prop it on a shelf or mantle as a leaner. There is no wrong or right way to display the bat, simply use it whatever way works for you and makes you happy. I’m thinking I might use it for a mantelscape display. If and when I do, you know I’ll be sharing it here.
MJ Crafting Pro Tip:
Creativity improves our mental health by elevating our mood, lowering anxiety and reducing stress. By regulating our emotions through creative endeavors provides a sense of control and empowerment. Not only does it make us feel better, but it also makes our homes look amazing.

Grab a copy of my free
Vintage Home
Decor Guide
This guide provides 10 easy ideas to add timeless charm to your home with a free PDF full of images and inspiration.
We are always striving to master the art of joie de vivre around here. If you enjoy the good life and want a reflection of this in your home, please consider joining the Masterpiece community. Sign up you won’t miss any new content, receiving all new posts directly into your in-box.
I don’t know who needs to hear this…
Count down to Halloween…
Just saying…
More Halloween Related Projects
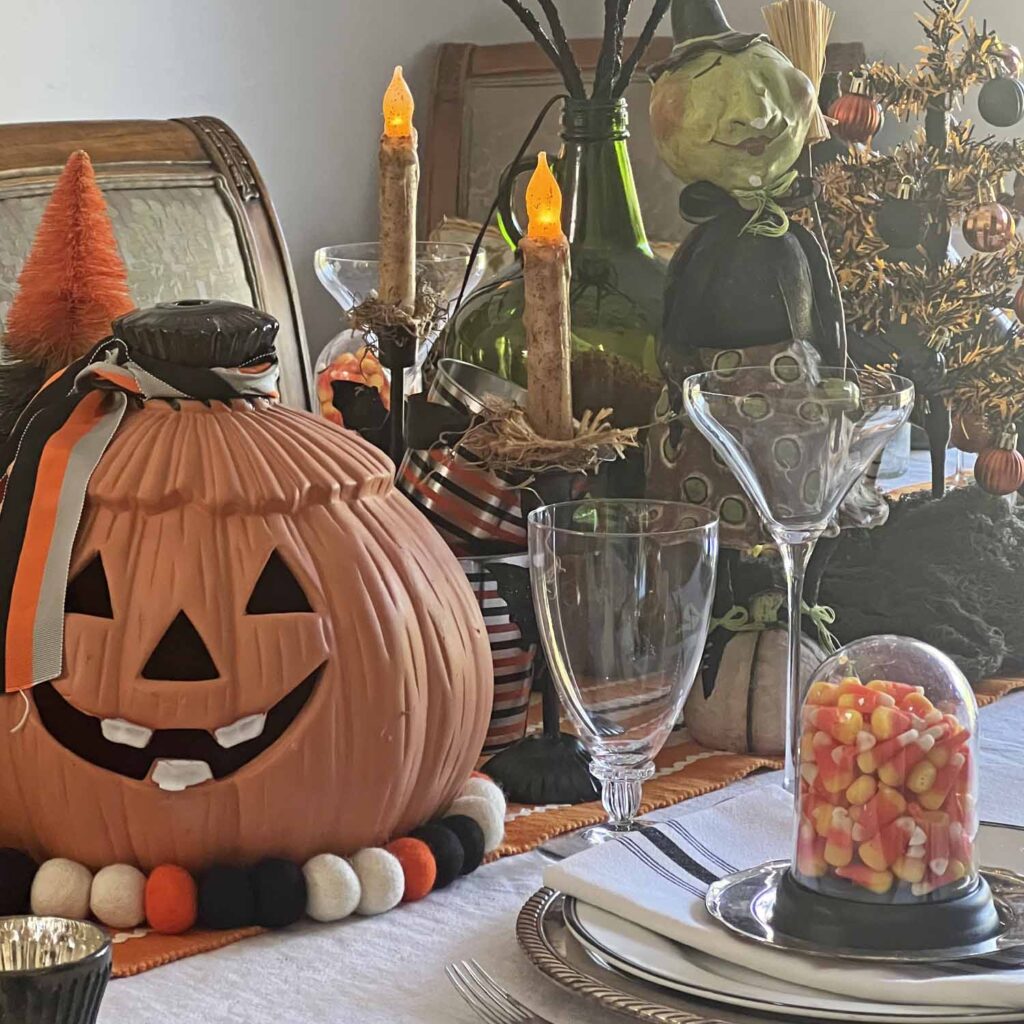
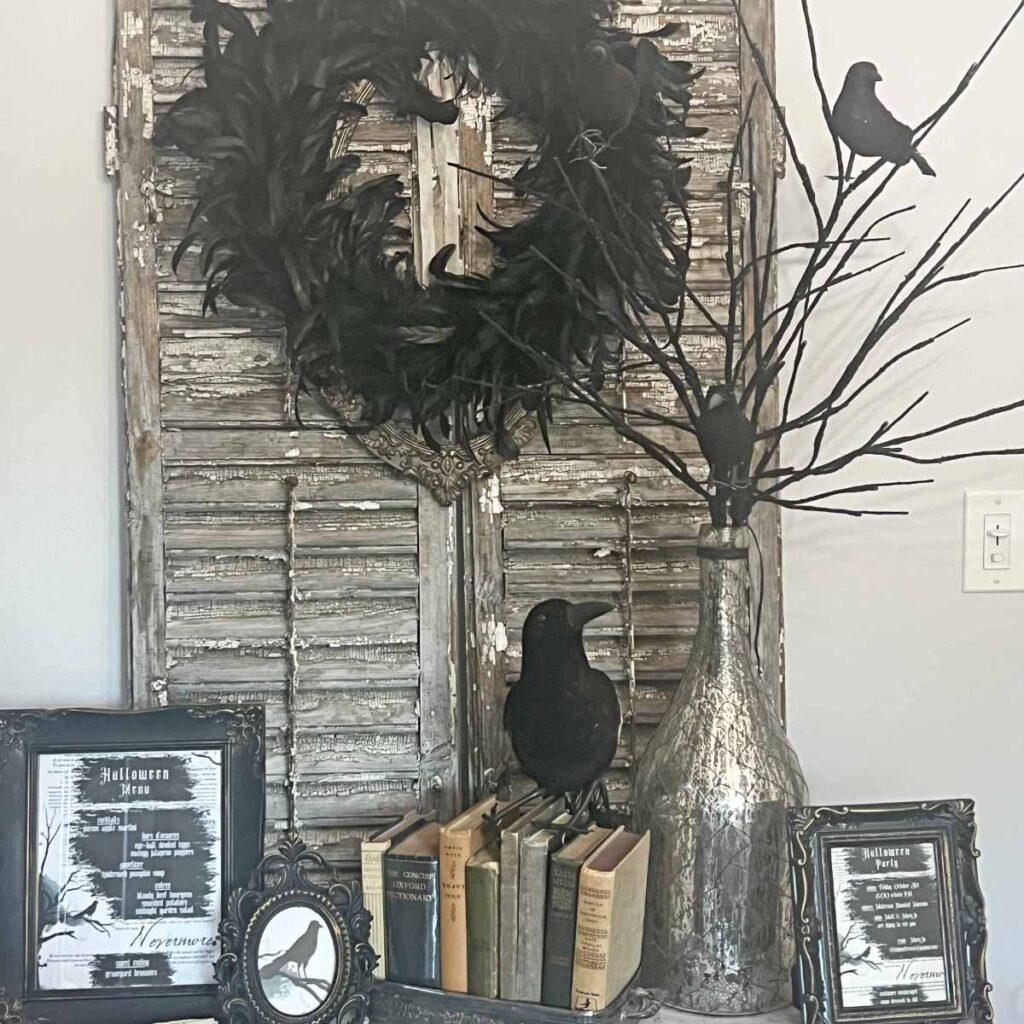
Closing Thoughts ~ Faux Tin Tile Halloween Bat DIY Conclusion
What do you think of the faux tin tile bat DIY? I’m really happy with how it turned out, and it was a fairly easy DIY, plus super affordable. Do you like to craft your own seasonal decor? Would you give this a try? Let me know in the comments, I would love to know.
Thanks for stopping by and spending part of your day with me. Hope to see you again soon.
Au Revoir!



Q & A ~ Halloween Tin Tile Bat DIY
Q1. What if I don’t have or can’t find a wooden bat form?
A1. This is an easy fix. You can use cardboard, heavy chipboard or foam board as the backing behind the tin tile. Simply draw a bat figure on the board and cut out following the same instructions above. This allows you got create bat(s) in any size you desire. I also included options in the shopping section below for your convenience.
Q2. Can I display the faux tin tile bat outside?
A2. It’s recommended you use the bat decor indoors. If you want to use it outdoors make sure it’s in a protected and sheltered space. Inclement weather like rain, wind, etc. might damage the piece.
Q3. How long does the faux tin tile bat DIY take to make?
A3. If you don’t count the drying time for the paint this can easily come together in about an hour. It’s an easy weekend project, allowing for multiples without too much extra work.
Get the Faux Tin Tile Bat Halloween Decor Look
- Silver Tin Peel and Stick Tile
- Wood Bat Cutout 12 x 4 Inch
- Unfinished Flying Bats DIY Wood Bats
- Rust-Oleum Painter’s Touch 2X Ultra Cover Spray Paint, Gloss Black
- Rust-Oleum Painter’s Touch 2X Ultra Cover Spray Paint, Ultra Matte Black
- Black Glitter
- Cordless Hot Glue Gun
- Triple Thick Clear Glaze Aerosol Spray

Don’t forget to Pin It and save for later. You never know when inspiration will strike!
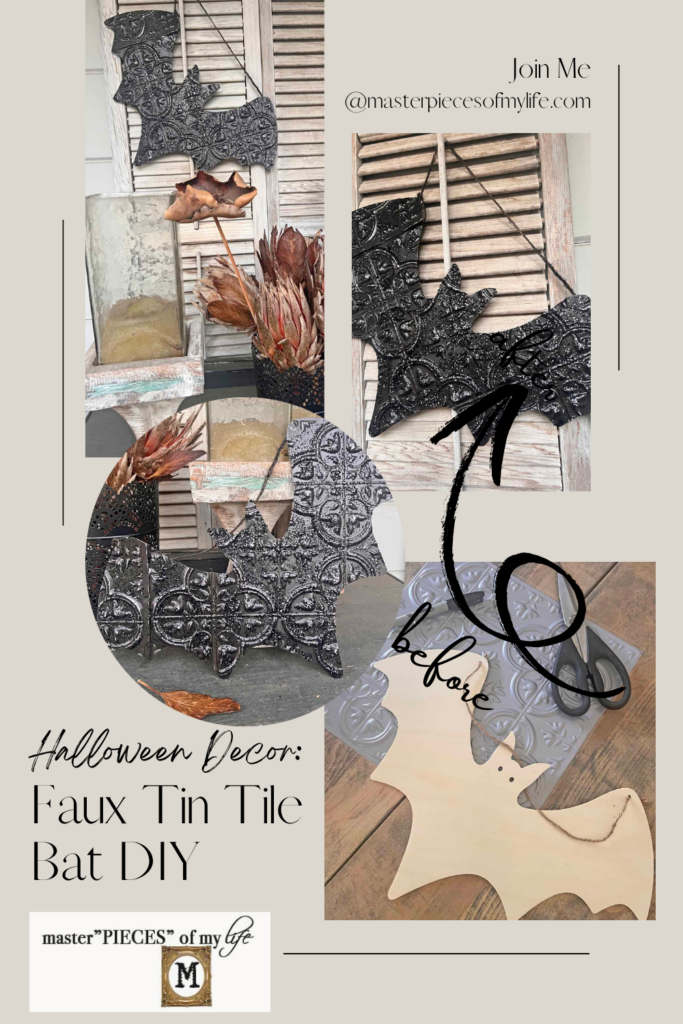
For more inspiration follow me on Pinterest.
Most Recent Posts



Twinkle, twinkle little bat! How I wonder what you’re at! Up above the world you fly! Like a teatray in the sky!”
Lewis Carroll, “Alice in Wonderland”