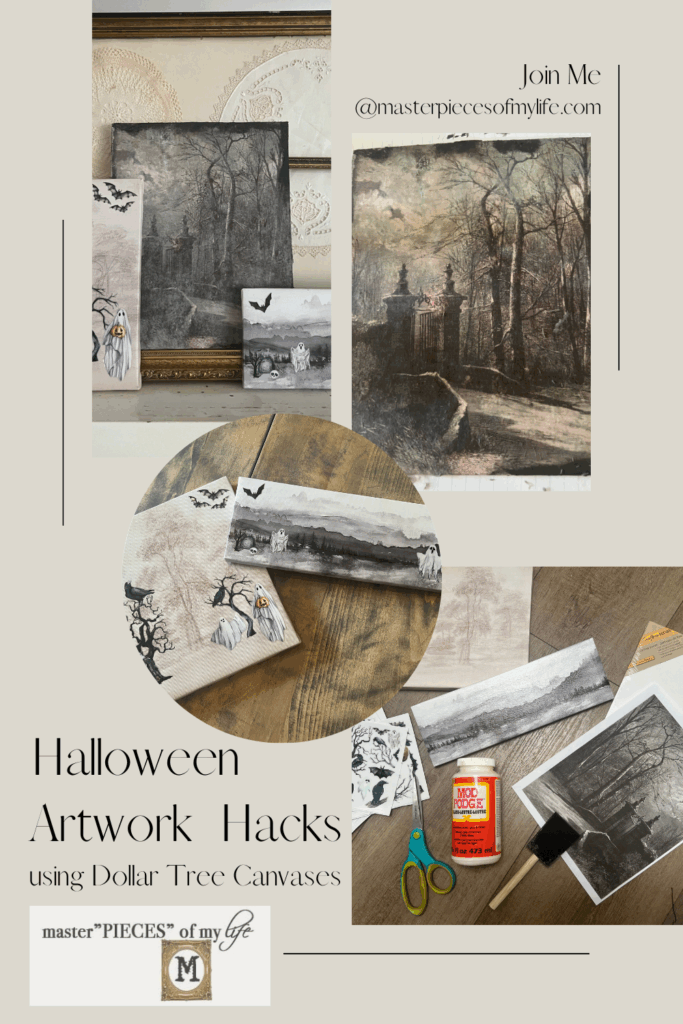
Halloween Artwork Hacks Using Dollar Tree Canvases
Hello friends! I have a fun one for your today. Do you want to add some Halloween charm into your home decor but don’t necessarily want it to take over? I got you! By using some simple Dollar Tree canvases you can create some Halloween artwork. These Halloween artwork hacks can easily be adapted to your style and won’t break the bank. Come on in!
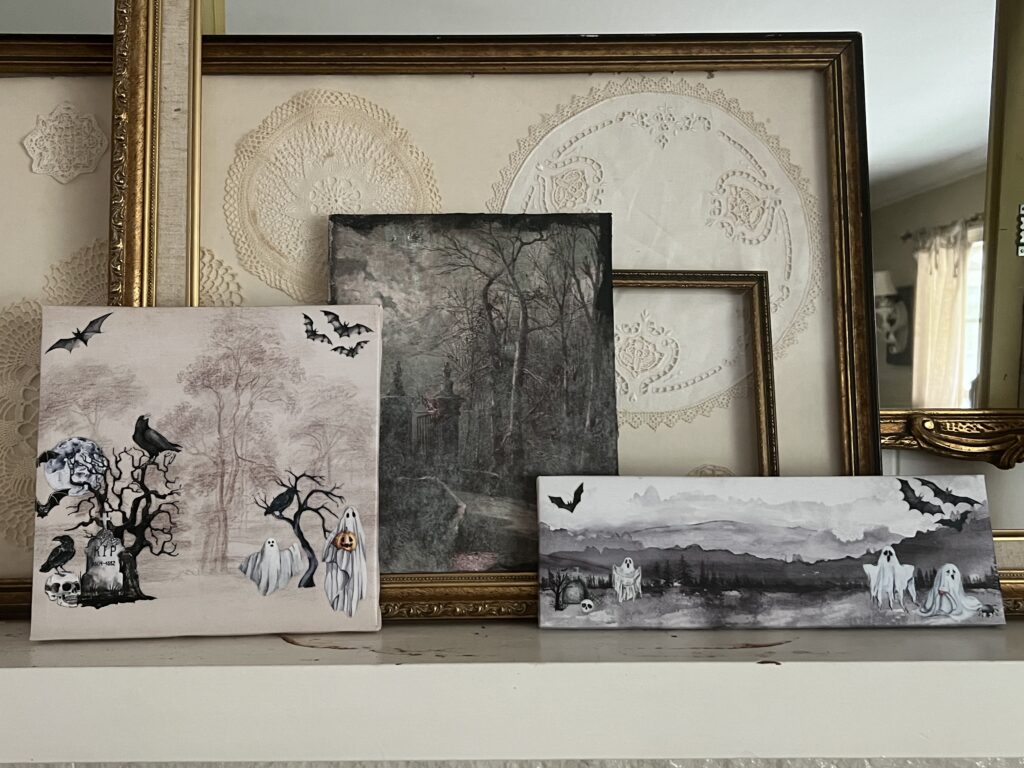
I am sharing a couple of techniques today. Be warned these little canvases are addictive. You can make one for a small detail to tuck into a vignette. Or since they are so simple to make you can create a bunch to create a Halloween art gallery. Either way it’s super fun, super simple and super affordable.
*Affiliate links might be included for your convenience. These affiliate links mean a small commission is earned if you make a purchase using these links at no extra cost to you. As an Amazon Associate qualifying purchases support this website. For more information: Full Disclosure Policy.
Inspiration behind the Halloween Artwork Hacks
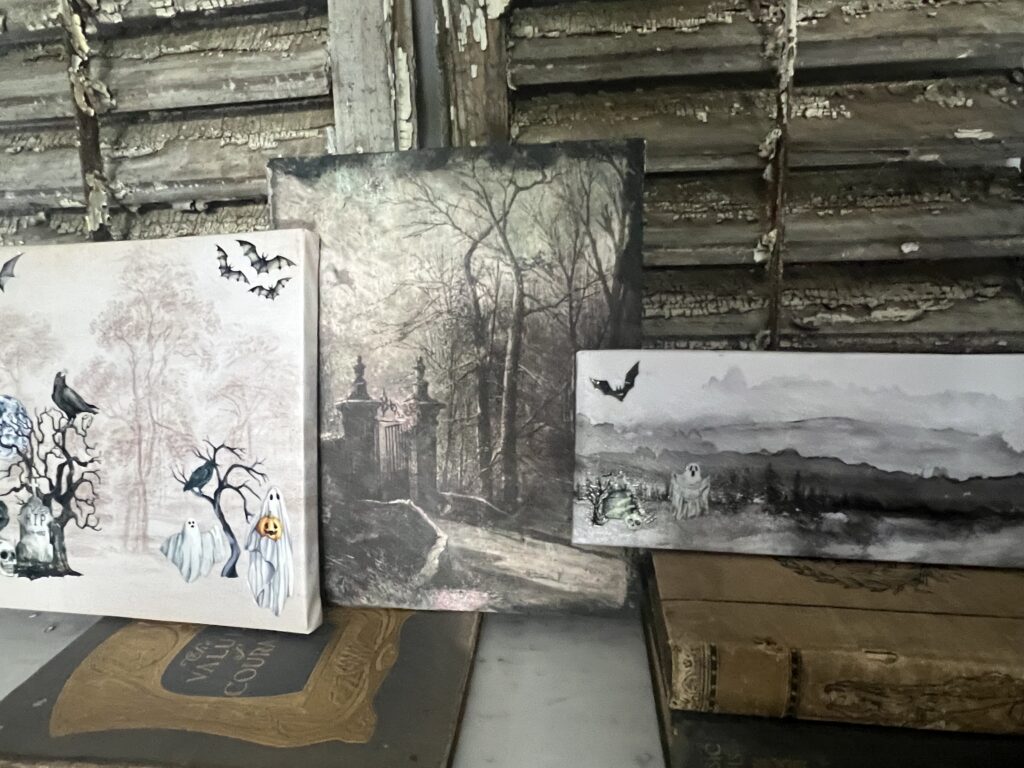
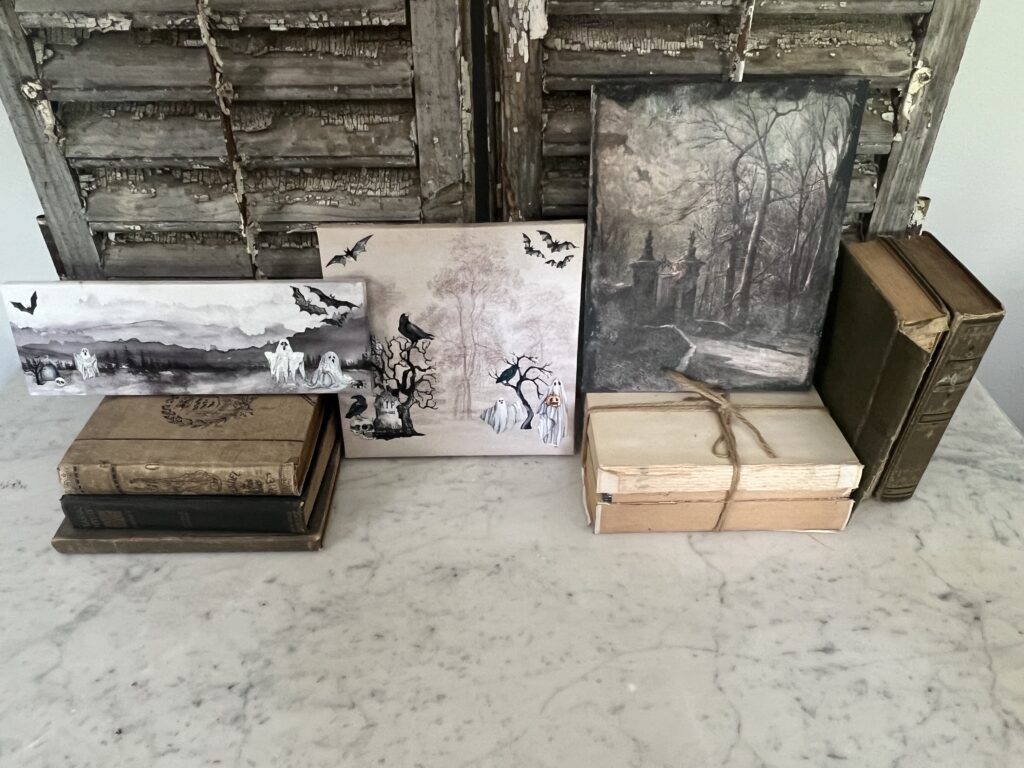
Have you seen these little canvases at your local Dollar Tree? I always look at them, since some of them are pretty scenes, but at the end of the day I walk away since I rather find real artwork at thrifts, garage sales and the such. UNTIL, I had that “aha!” moment. What if I embellish these little cute canvases? I have seen folks paint ghosts and spider webs and more on images or paintings… so here we are.
I don’t feel bad about altering a $1.25 mass produced printed canvas rather than a real piece of artwork someone might have poured their heart into. Anyway, that started the thought process. Then rewind to when I shared this {Easily Transform an Image into a Painting Hack}, and I spied plain canvases a the DT and thought, hmmm I could take it a step further. The technique is slightly different here, but in the same vein nonetheless. I am not done playing with faux artwork. I am fairly certain you will be seeing more of this.
How to Create Halloween Artwork from Dollar Tree Canvases
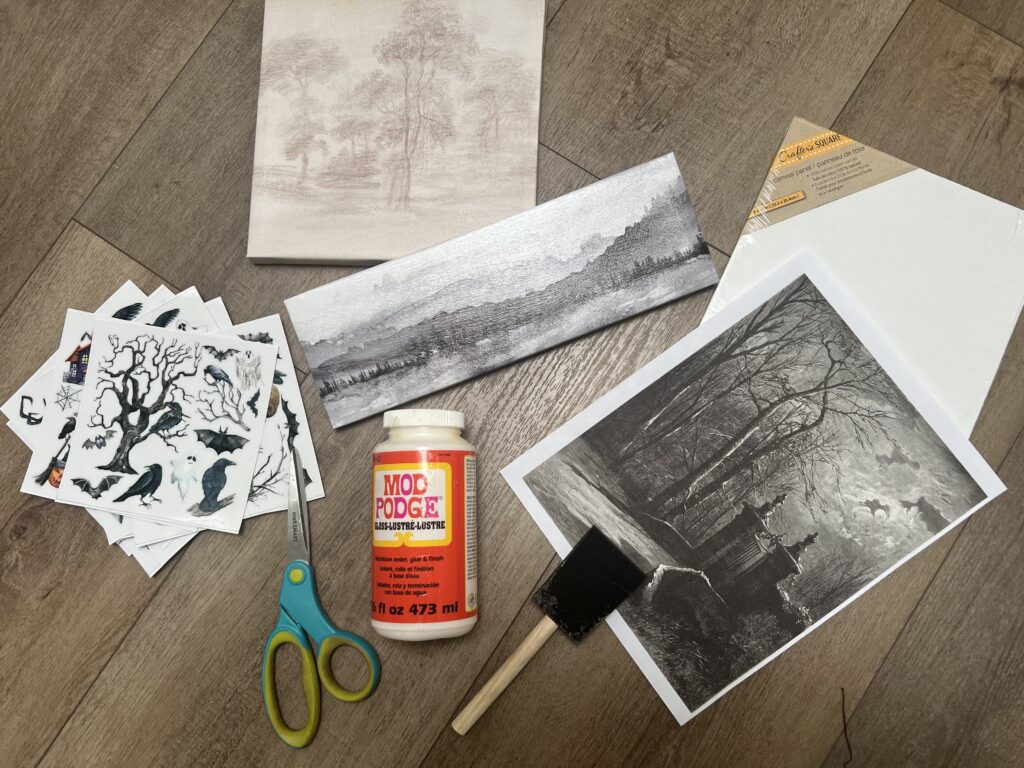
Supplies
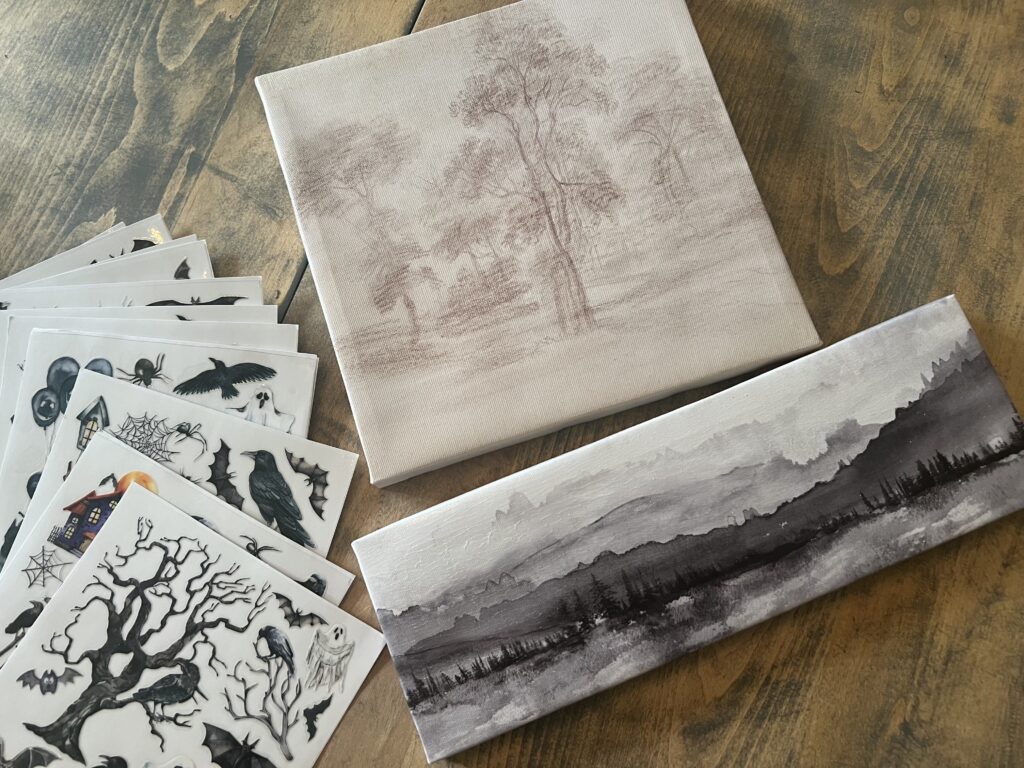
- Assorted Canvases (I used printed and plain)
- Rub-on Transfer Images
- Copy Paper
- Decoupage Medium
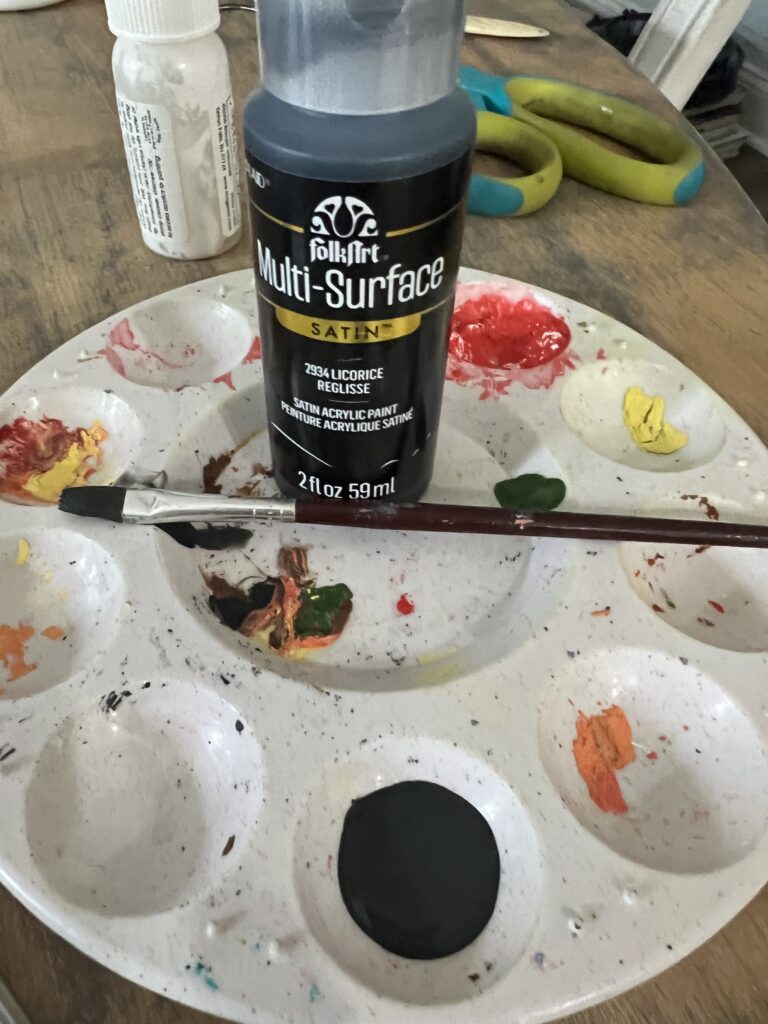
- Acrylic Paint
Tools
- Scissors
- Bone Folder
- Crafting Tweezers
- Printer (I use an inkjet)
- Foam Brush
- Craft Paint Brush
Crafting Pro Tip: As I recommend with all my projects, read all the instructions through once and then re-read everything again. This way, you are familiar with everything you need and know what to expect.
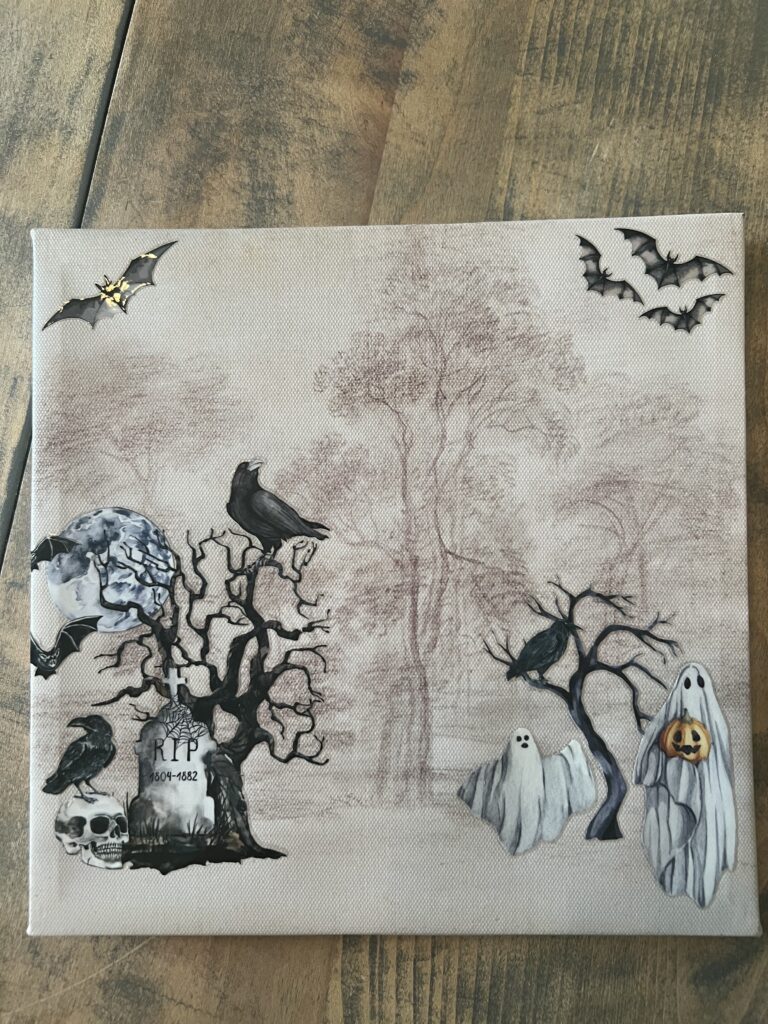
Instructions Technique #1 Using Printed Canvas
- Read instructions thoroughly and assemble all supplies & tools
- Select rub-on images and cut out
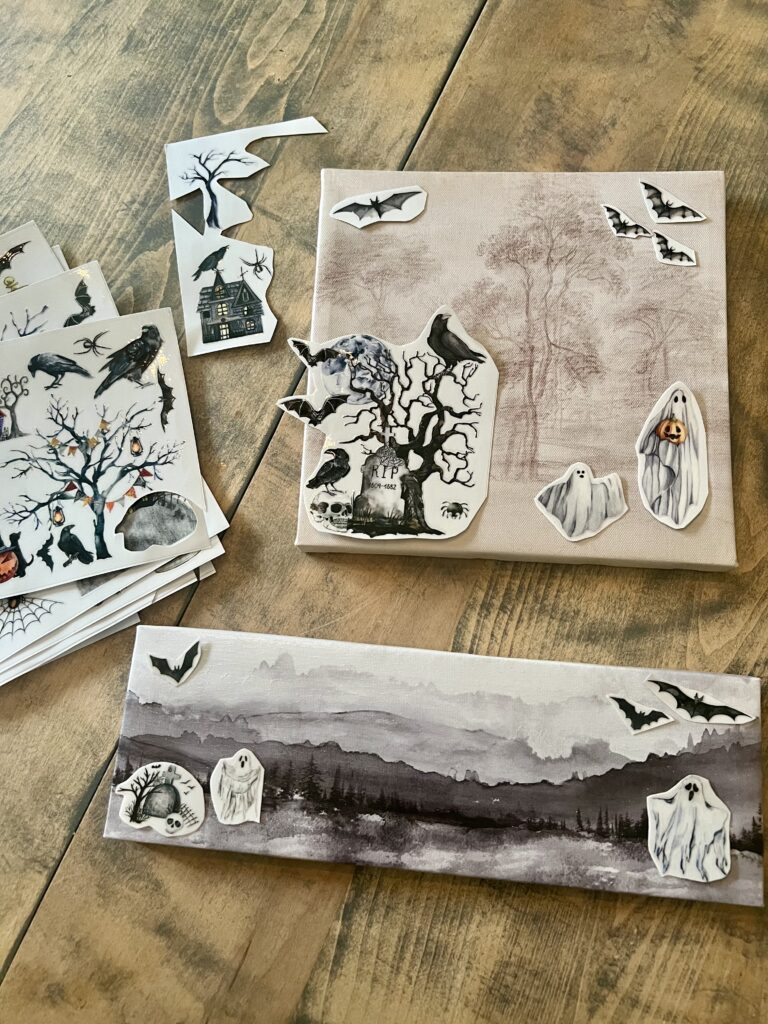
- Apply rub-on images using bone folder onto canvas in desired position
- Use tweezers to lift back of images for ease of use
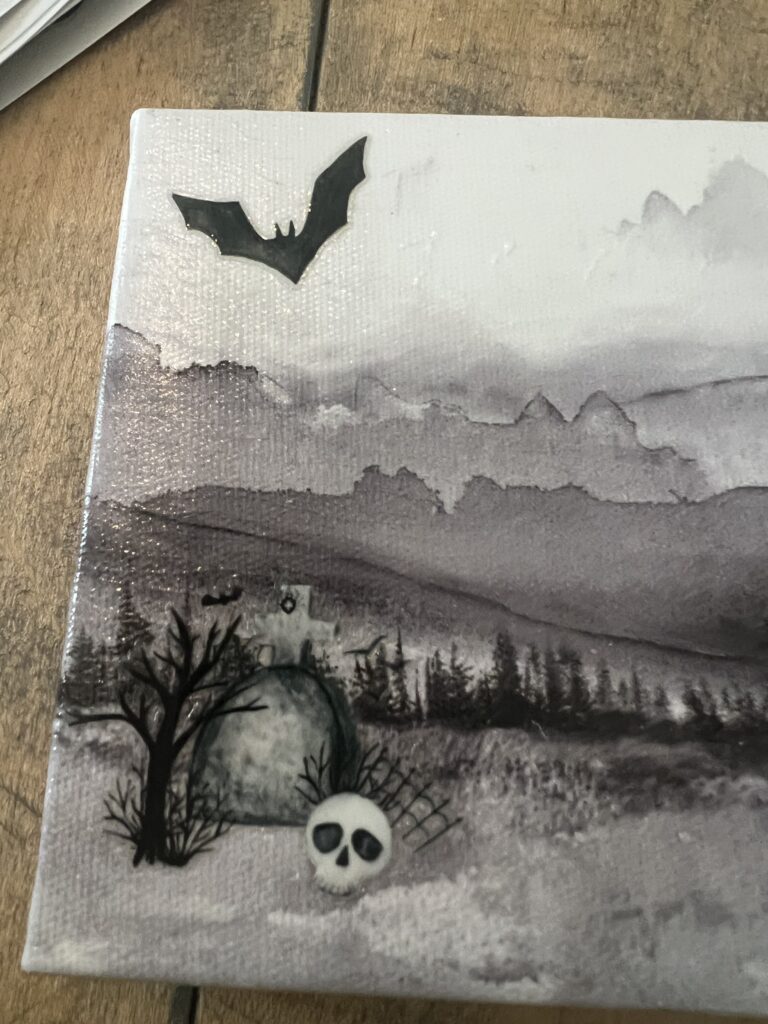
- Add as many images on canvas to create “spooky” scene
- Voila! a Halloween artwork hack
Instructions Technique #2 Using Plain Canvas
- Read instructions thoroughly and assemble all supplies & tools
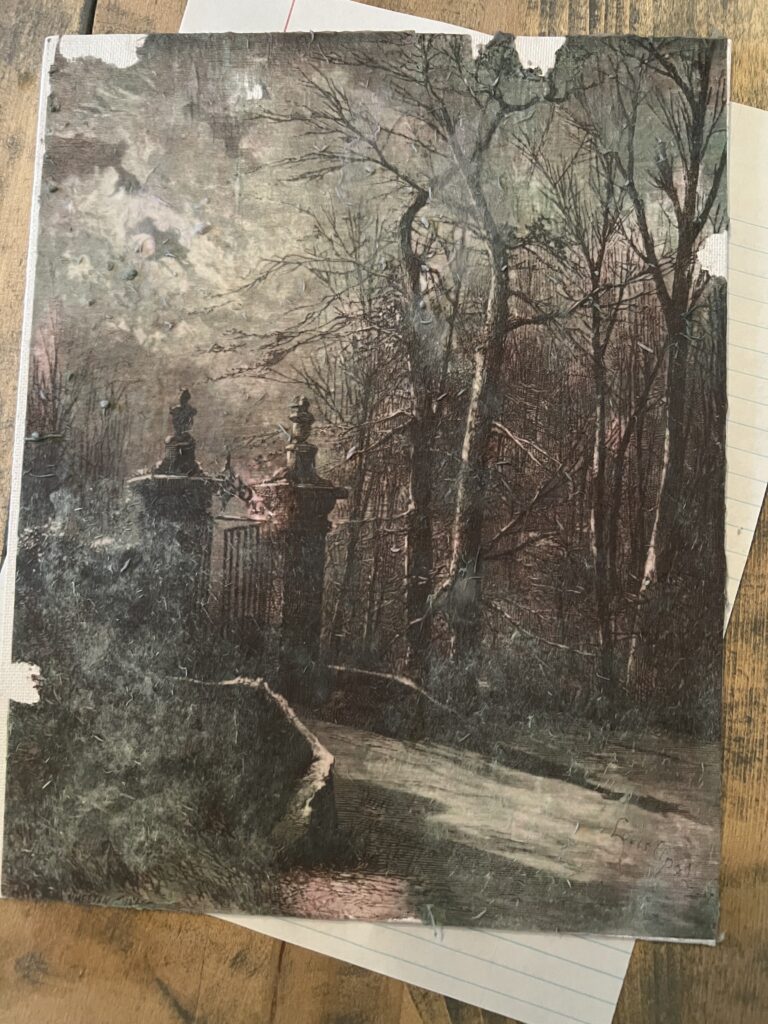
- Find a free image on-line, which will fit your canvas appropriately (I used an 8×10 flat canvas board)
- Print out image and cut off any excess paper on margins so only image is visible
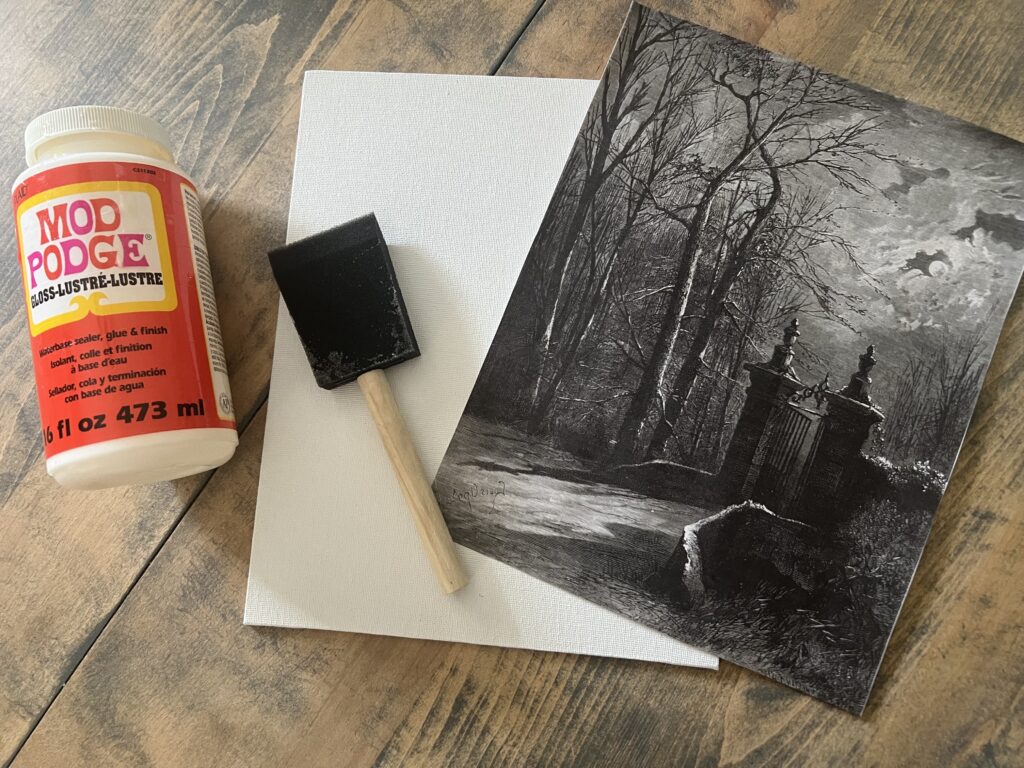
- Apply decoupage medium covering entire canvas and the entire front of image
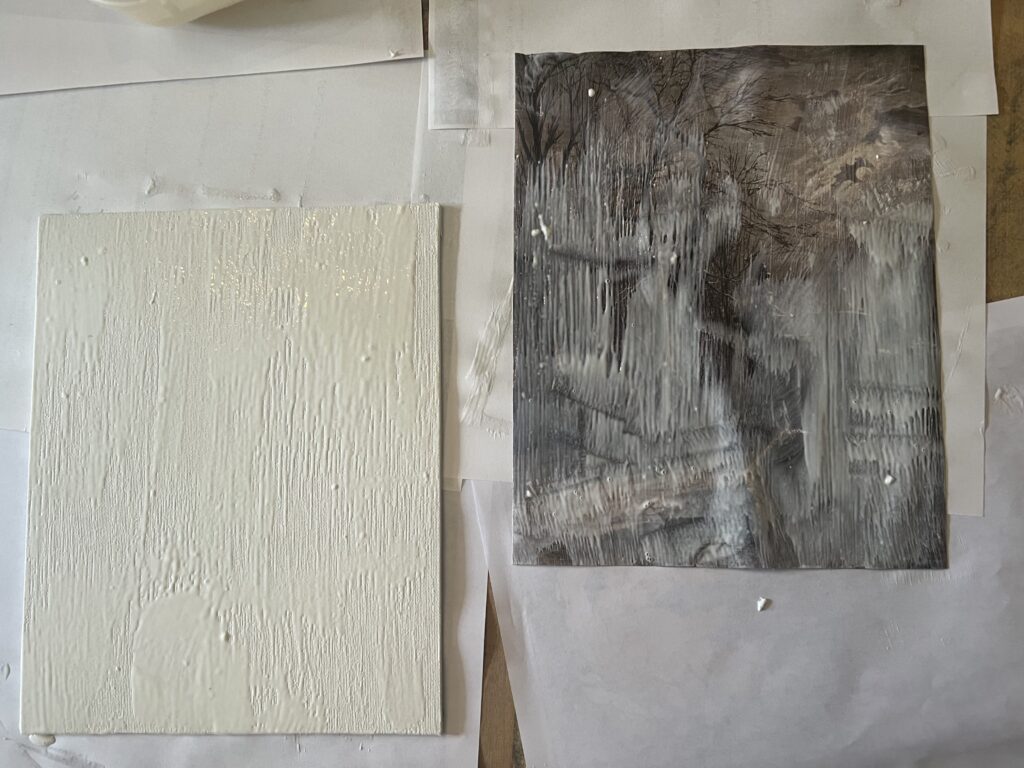
- Apply image on canvas face down (so image with decoupage is facing canvas)
- Smooth out any wrinkles gently and set aside
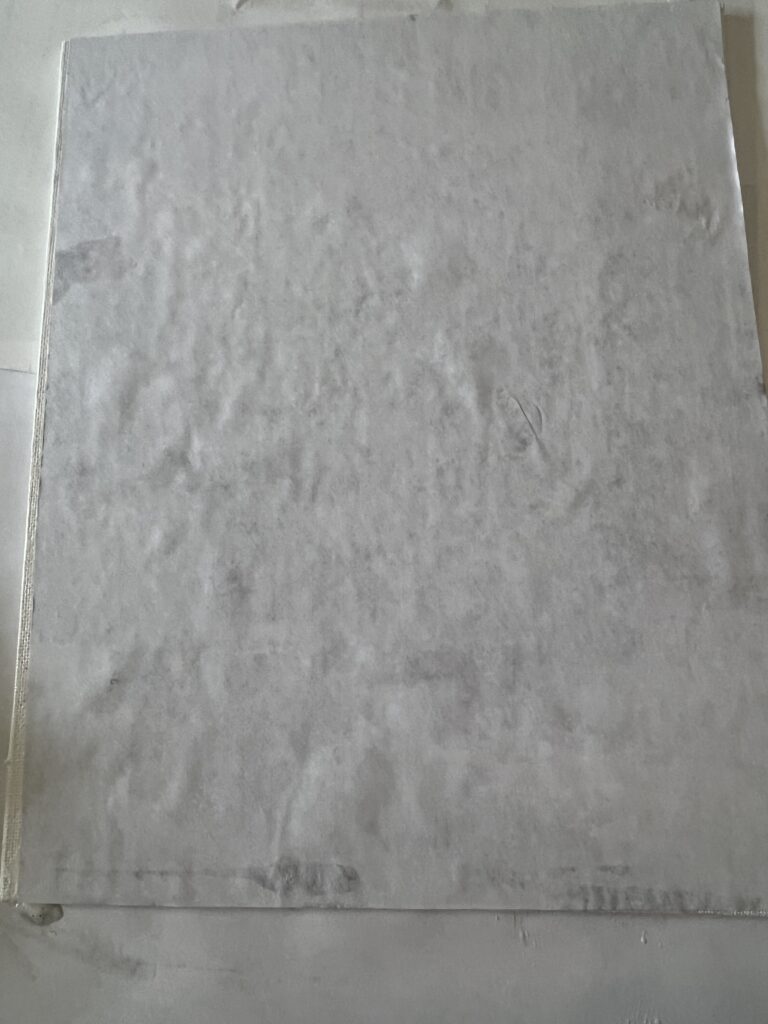
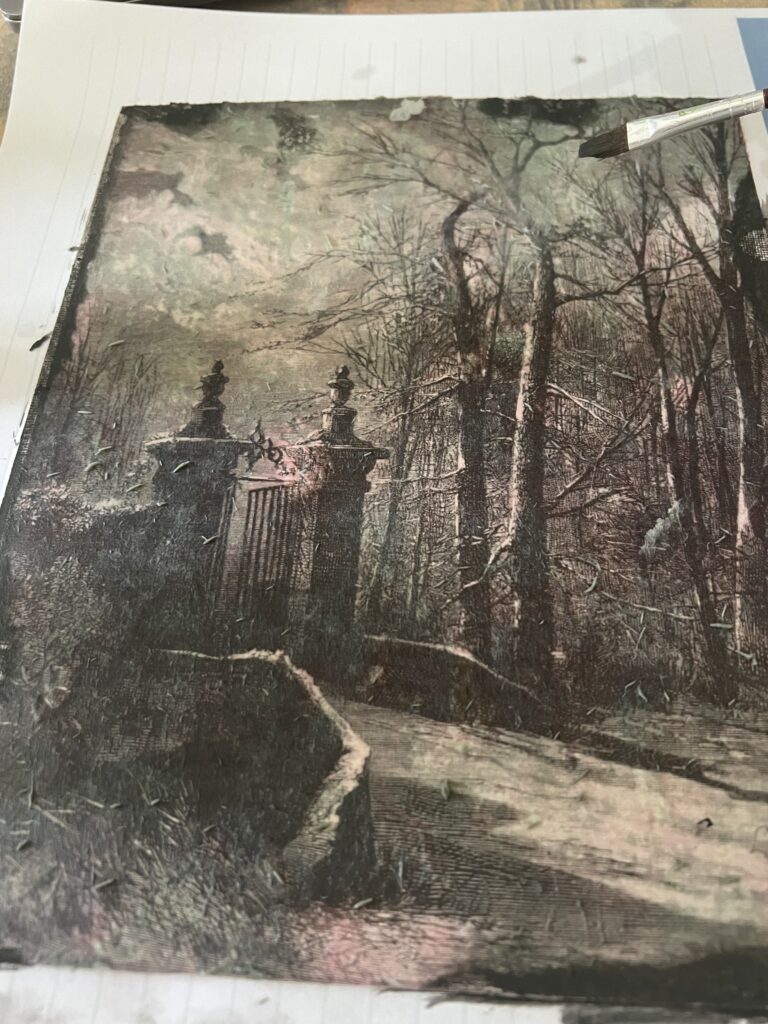
- Once decoupage medium is fully dry apply small dabs of water to paper and rub gently to remove the paper
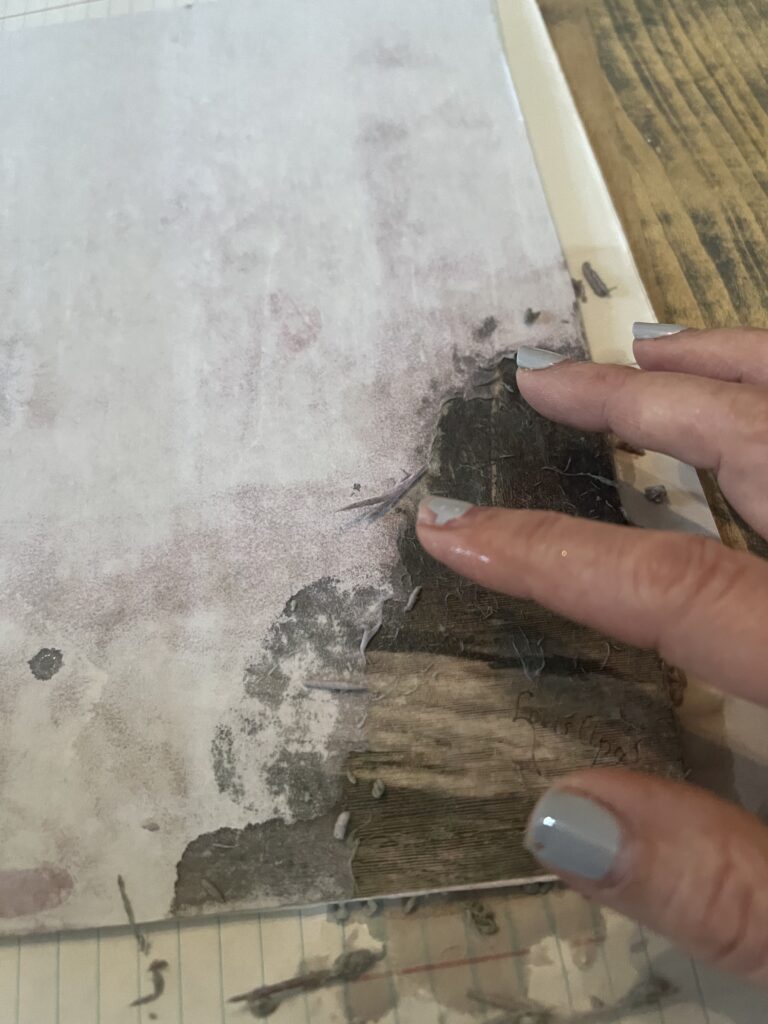
- Gently work yourself around entire canvas until whole image is visible
- Work smoothly and slowly when applying water to remove the paper, allowing image to appear
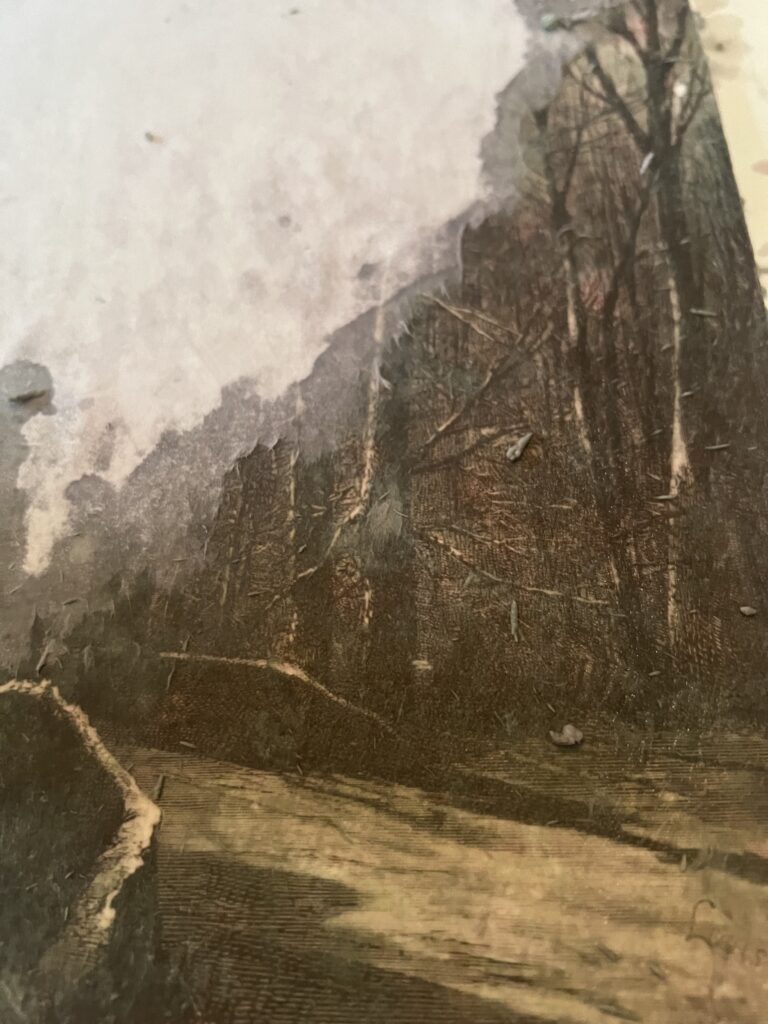
- Invariable you might get some rips or bald spots in your image, which can be fixed
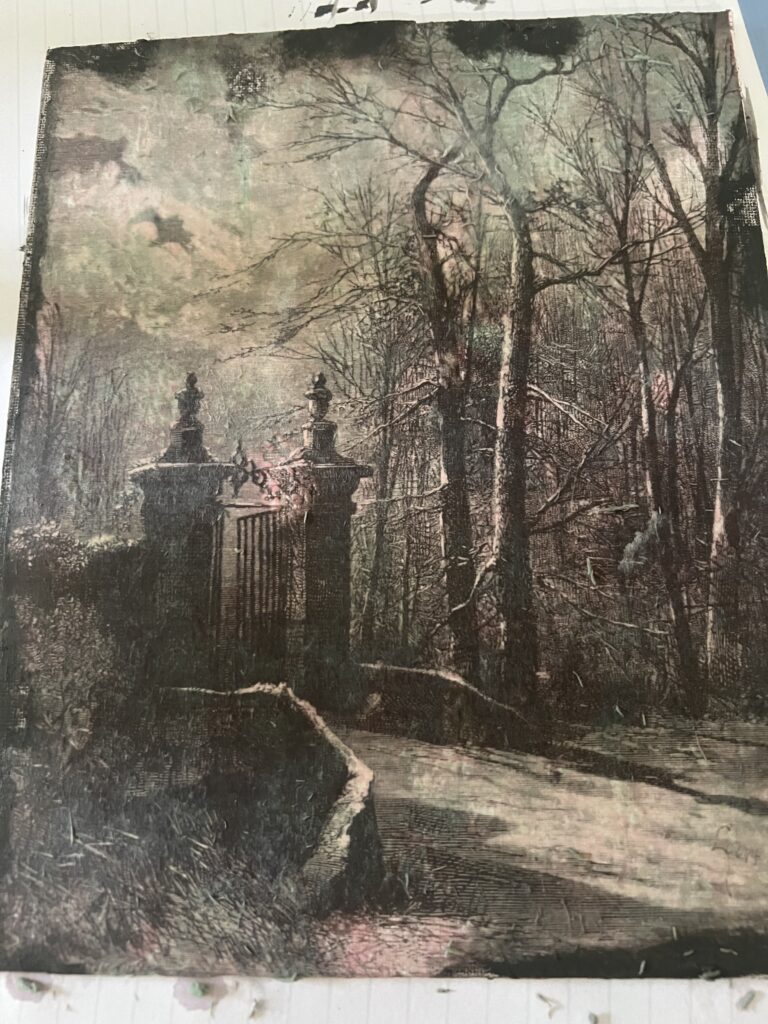
- Once canvas is fully dry, apply acrylic paint in areas where canvas is exposed, choose a color that coordinates well with the picture in order to hide imperfections
- Allow paint to fully dry
- Voila! You have a custom piece of art
Tips & Tricks for Creating Halloween Artwork Hacks
I found the transfer images on Amazon, which are slightly different than run-ons I have used in the past. I was hesitant a first but they worked out marvelously, plus I have a ton of images left over for other projects. The rub-ons do have a glossy finish , which gives them a sheen and my preference usually leans towards matte finishes, but it gives the printed canvases a bit of a pop.
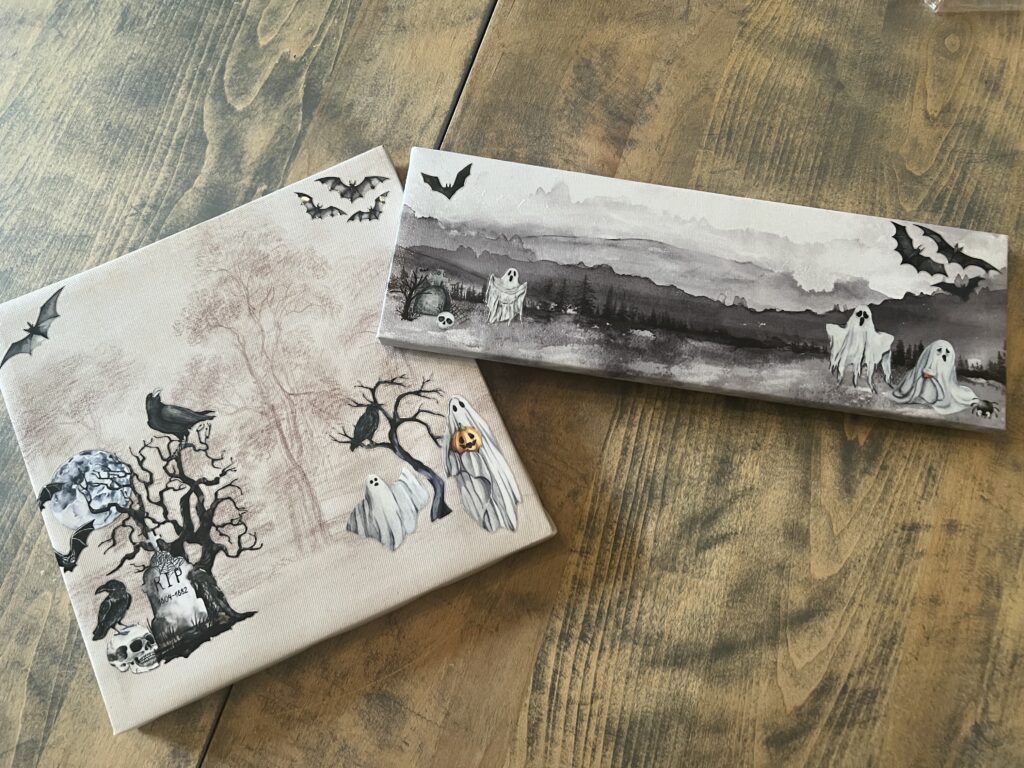
Also if you are not familiar with rub-on transfers, always makes sure to peel back slowly to make sure image is transferring properly. When you see a part of the image has not transferred, simply reapply and use the bone folder to help the image along as you continue peeling slowly. Always follow the instructions on the package since sometimes there are variations in application. I have placed links to the image transfers I used, but there are a few different styles. Feel free to adapt the artwork hacks to your style and preference.
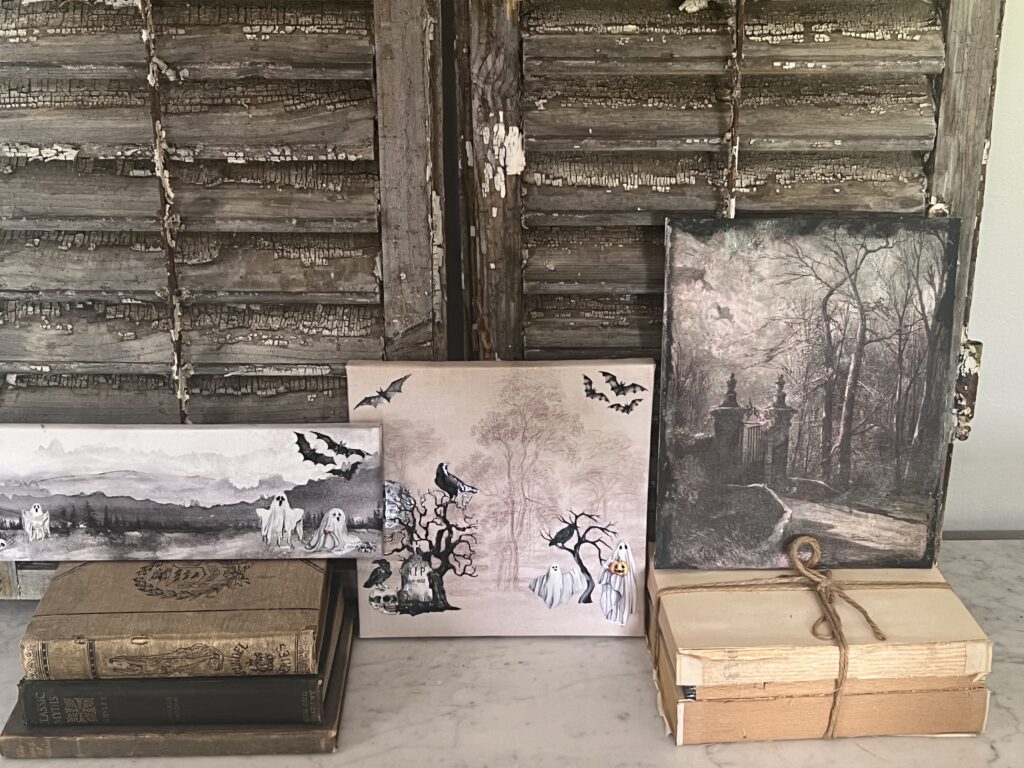
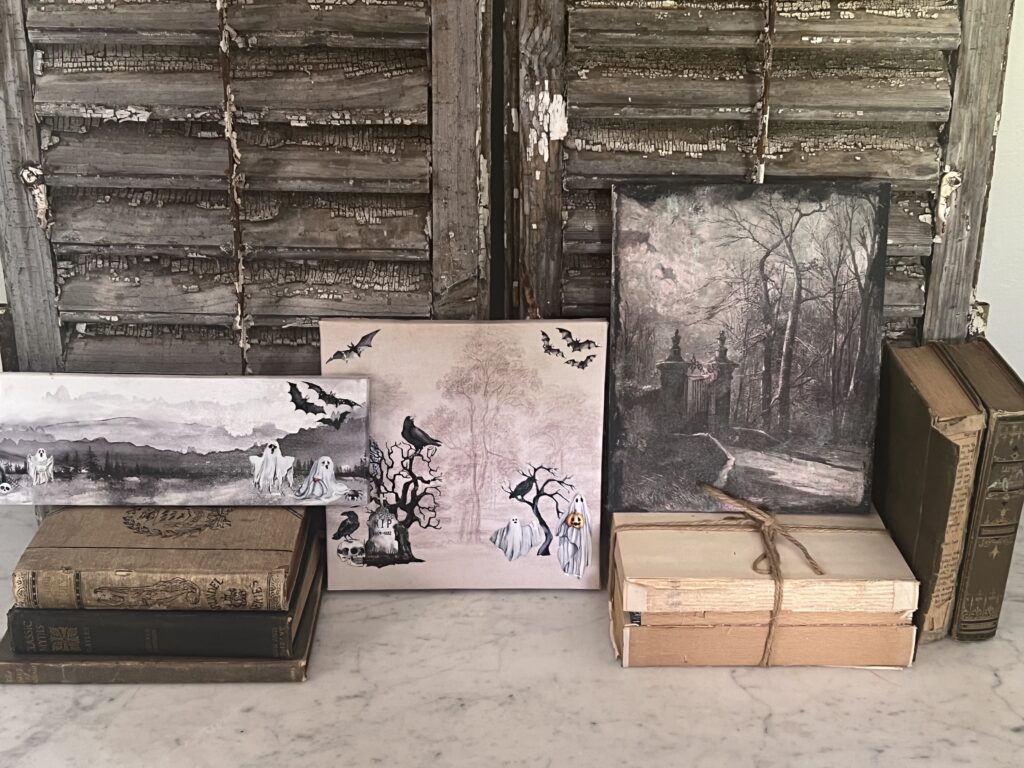
For the image transfer using the 2nd technique with decoupage medium, once again you can select an image that corresponds to your aesthetic. I found the image by searching for free Halloween images on line, which offers a wide variety of options. I wanted a really neutral image that would bridge both printed canvases together. Since one printed canvas included muted browns while the other was a strong black & white image, I was worried they would not pair well together.
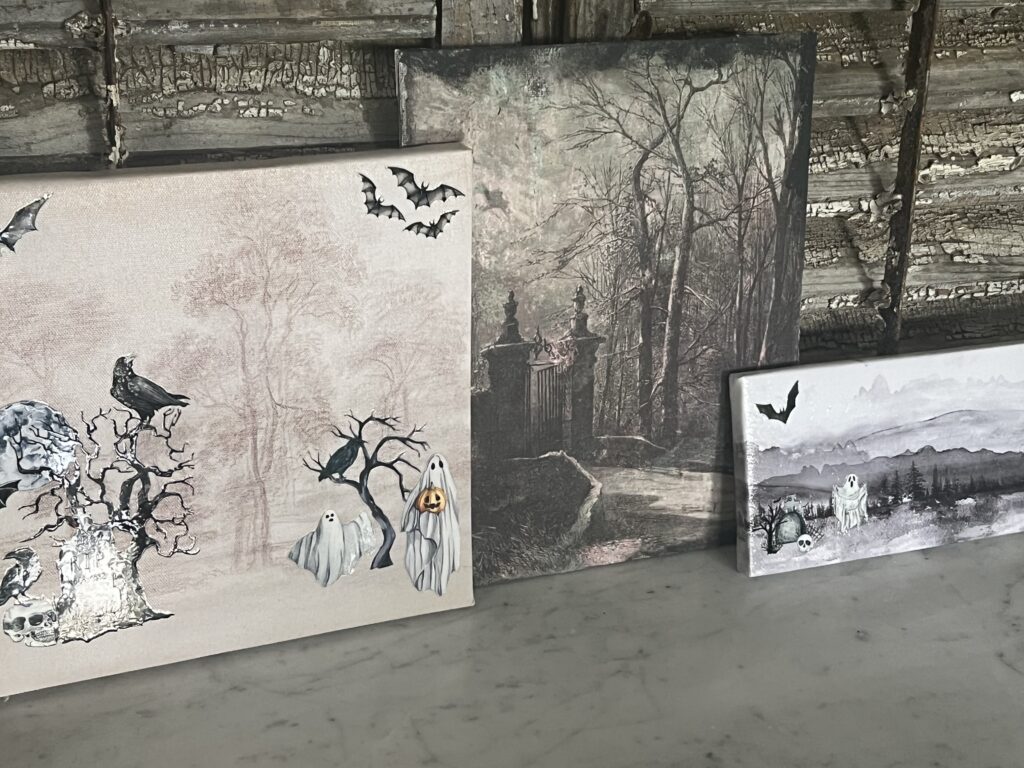
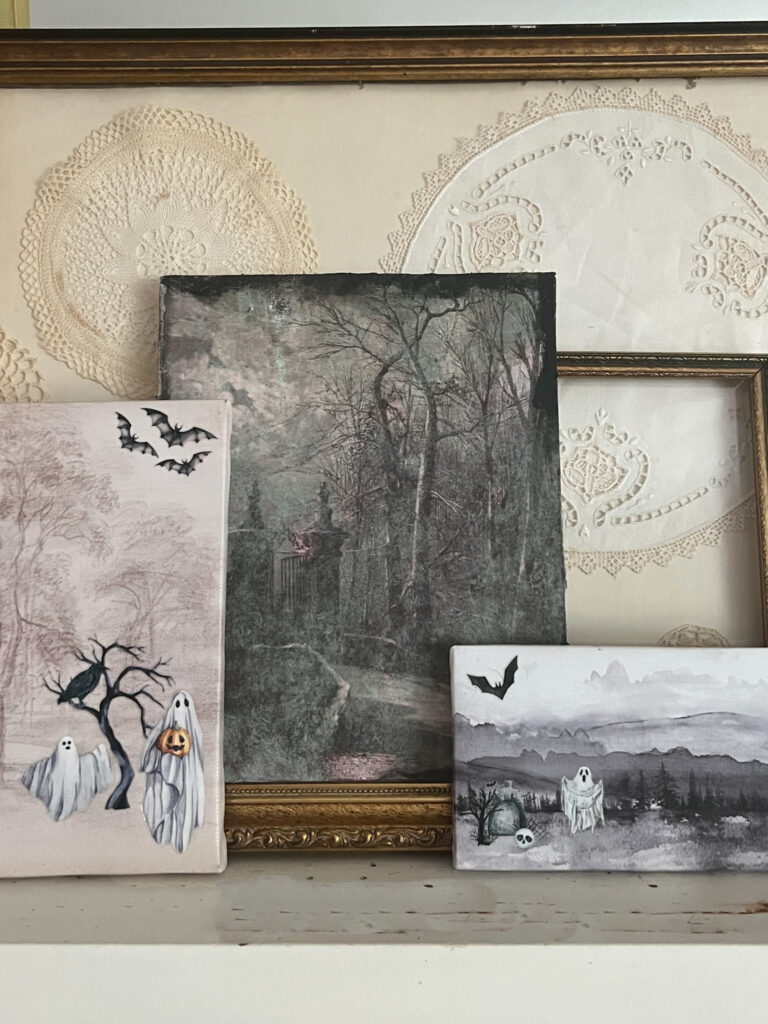
I selected rub-on transfers for the printed canvases that not only fit the particular scene, but that would also coordinate with the other canvas so I could style them together. These will be styled on a mantel scape or maybe in an other project, but you will see them around here in Halloween decor.
Also for the decoupaged image, do not be discouraged if your image rips or has blemishes like mine did. Paint covers all sorts of imperfections. Just remember to work slowly and gently as you add water and remove the paper so as to minimize the imperfections. SInce this was a spooky image, I did not mind the grunge and it was pretty forgiving for this technique.
Closing Thoughts
Like I mentioned above, you will be seeing these magical Halloween artwork pieces around here among our Halloween decor. The weather temps around here have taken a nose dive, and it truly feels like Autumn. I know it will go back up in a few days, but in the meantime I’m enjoying the cozy Fall feels.
Fall is my absolute favorite. I grew up back East in the NY metro area, and I love the crispness in the air and all the smells and colors that come with the season. So the weather right now in northern California is reminding me of an east coast Autumn. I’ll take it for now! And enjoy it while it lasts, because invariable we will have higher temps again.
Oh, and on a side note, I sent Miss Masterpieces pictures of the new artwork and immediately she wanted it for her house in Boulder. She’s a Junior at University of Colorado and one of her roommates agreed. Soooo, this artwork might end up in Colorado. It made me happy that they liked it so much.
Are you a Halloween person or strictly Fall? Either way I have your covered since I love it all and have a ton of content scheduled from table designs to more crafts and of course decorating inspiration. I hope you enjoyed these Halloween artwork hacks and until next time. Thank you for being here.

Shopping for Halloween Artwork Hacks
- Framed Landscape Canvas for only $4.99
- Unframed Landscape Artwork
- 8×10 Plain Canvas Pack
- Halloween Rub-on Images
- Bone Folder
- Decoupage Medium
- Foam Brushes
- Charcoal Acrylic Paint
- Craft Paint Brush Set

More Related Posts
Easily Transform an Image into a Painting Hack
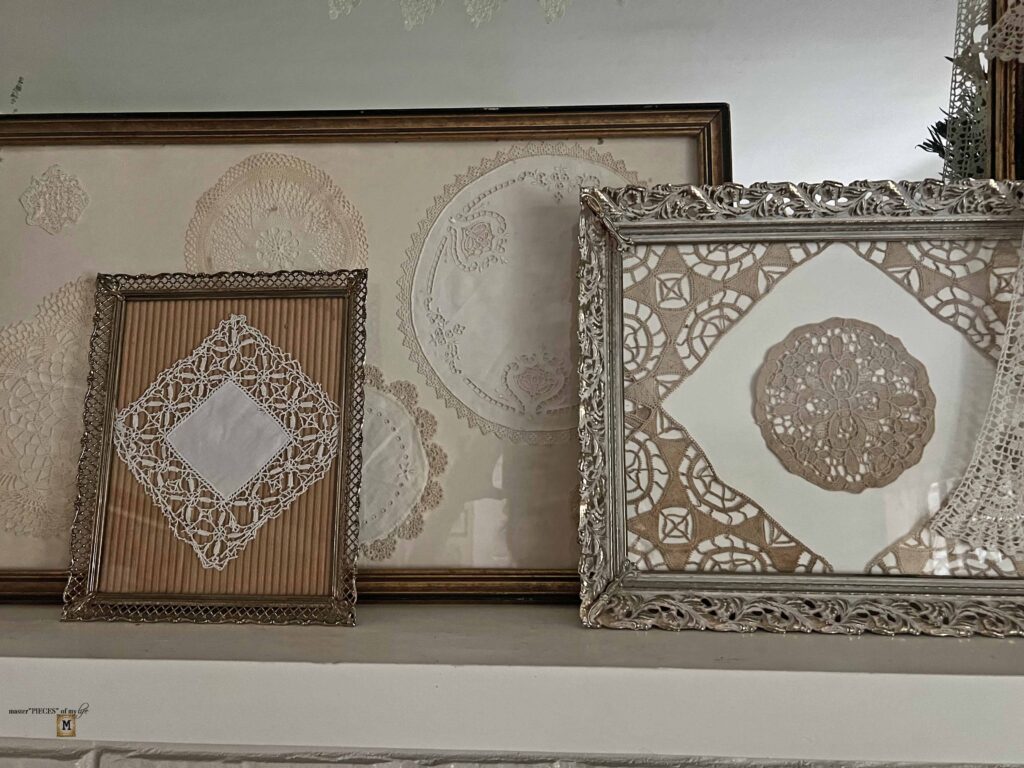
Framed Doily Artwork DIY
Most Recent Posts
Using Vignettes for Fall Decorating
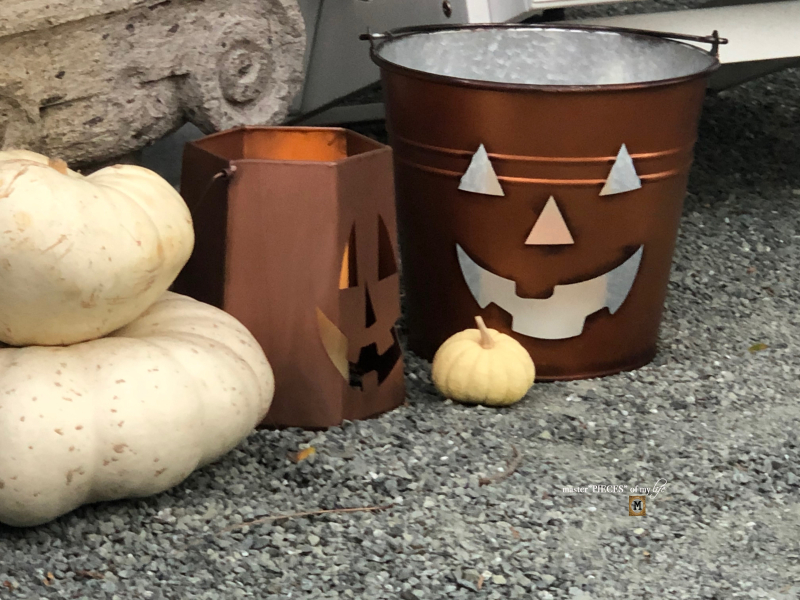
Halloween Outdoor Decor Ideas
A blank canvas…has unlimited possibilities.”
Stephanie Perkns
Great ideas. I am definitely going to try one of these and see how it works. Thanks for the tutorial. Have a lovely week.
Lynne
Thanks Lynne. Let me know how it goes when you try it. XO- MJ
So cool, MJ! What a great idea and for such a good price! Love that transfer one….very eery looking!
Thanks Rachel! They were fun to make & are unique. XO- MJ
These are so, SO cute! What a great idea! Would work so well with lots of different holidays! Very creative MaryJo. :)Susan
Thanks so much Susan. Yes! I already have plans for other holidays. lol. XO- MJ
MaryJo! I adore both of these ideas, they all look so good! You know I love a great Dollar Tree transformation, so I’m pinning this now! I can’t wait to try to transfer an image like that! So fun! I’m trying to add more Halloween decor to my house this year and I’ll be sharing a thrifted Halloween picture we embellished with paint next week! Thanks for all the spooky inspiration!!
Thanks so much Donna! I can’t wait to see your spooky artwork. All your Halloween projects look fabulous. XO- MJ
Fall only person here! Really like this project. Nice your daughter wants one!!
Thanks so much! They were fun to make! XO- MJ
Oh my word, MaryJo, these are such a fun way to decorate for Halloween. I have 2 nephews that look forward to Spooky Season all year so they are going to be over the moon when they see this idea. Thanks so much for the easy to follow step by step. I can’t wait to try this with them too! Big hugs, CoCo
Thanks so much CoCo! Yes, this is perfect for littles. Hope they enjoy it! XO- MJ