


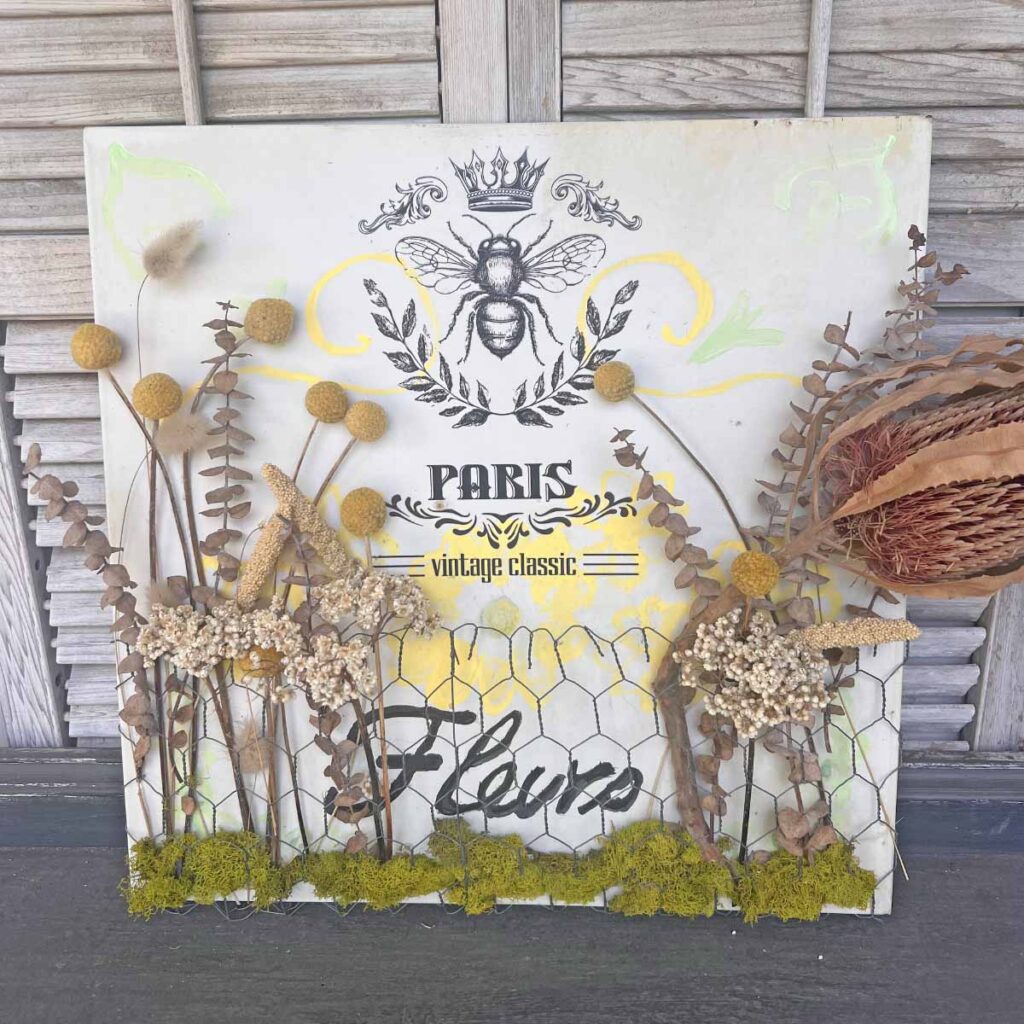
Do you like a good glow-up project? Well, I got a good one for you today. I pretty garden sign became faded from outdoor exposure and was in dire need of a dress change. I’ll walk you through the techniques I used to recreate this pretty garden sign. Please come in and join me as I walk you through how to up-cycle a pretty floral garden sign.

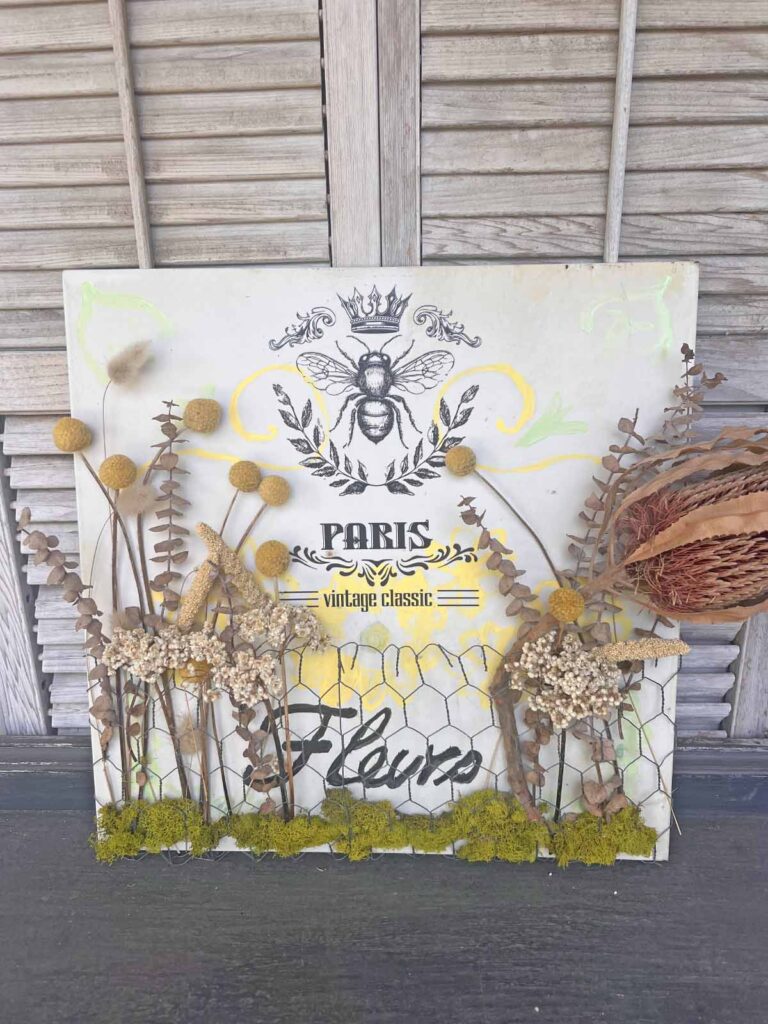
In this article I share the techniques I applied to create the garden sign, which you can apply to a similar piece, creating a sign masterpiece with your preferred style. Refurbishing an old piece is ideal but not necessary. You can apply the techniques to a new piece to create a similar look.

Key Takeaways
How to Up-cycle a Floral Garden Metal Sign
> Old garden decor that is faded and weathered shouldn’t simply be thrown out, but rather up-cycled with a new lease on life
> Mixed media and crafting techniques provide a new look for distressed decor
> Discover tips and recommendations for crafting at home
*Affiliate links might be included for your convenience. These affiliate links mean a small commission is earned if you make a purchase using these links at no extra cost to you. As an Amazon Associate I earn from qualifying purchases which support this website. For more information: Full Disclosure Policy.
Inspiration Behind the Floral Garden Metal Sign
This garden metal sign has been hanging around our back patio for many years. Unfortunately the natural elements finally faded the design to where it just provided a blank slate. I decided to bring some of the old artwork back a bit plus add more details and dimension.

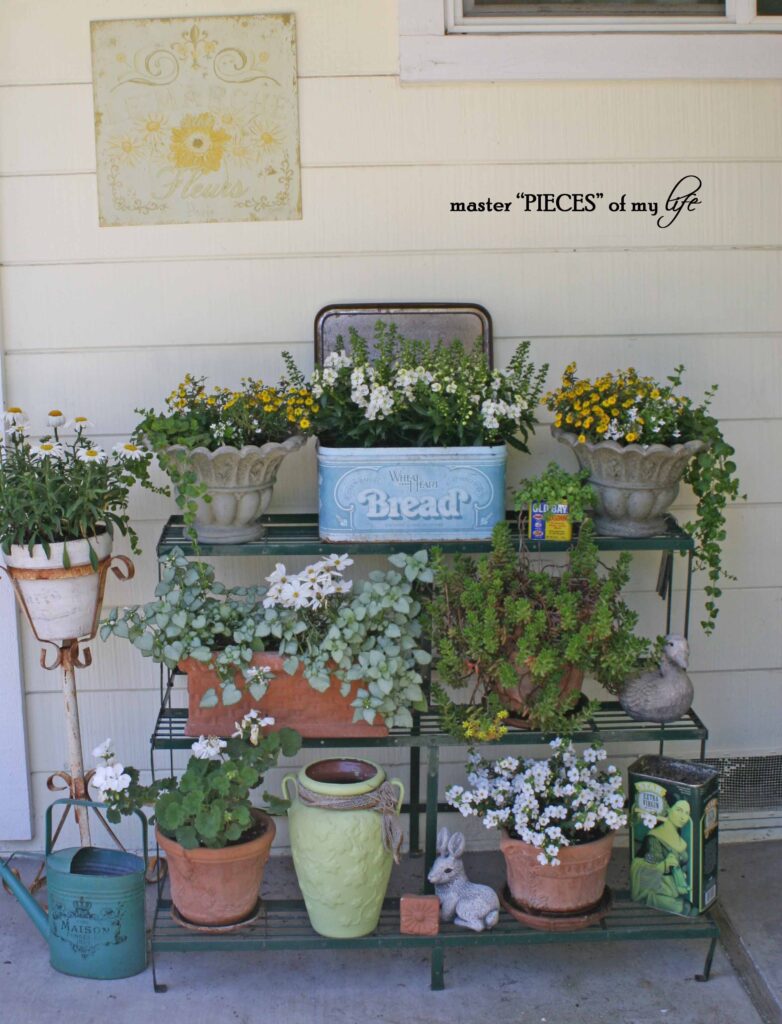
The sign had been layered with a mix of techniques from acrylic paint to rub-on transfers to dried florals. I love the shape and size of the sign so I’m super jazzed with the new look. Saving pieces from the landfills and breathing new life into old, less than, items is always a goal around here.
How to Give an Old Metal Garden Sign Glow-up Techniques
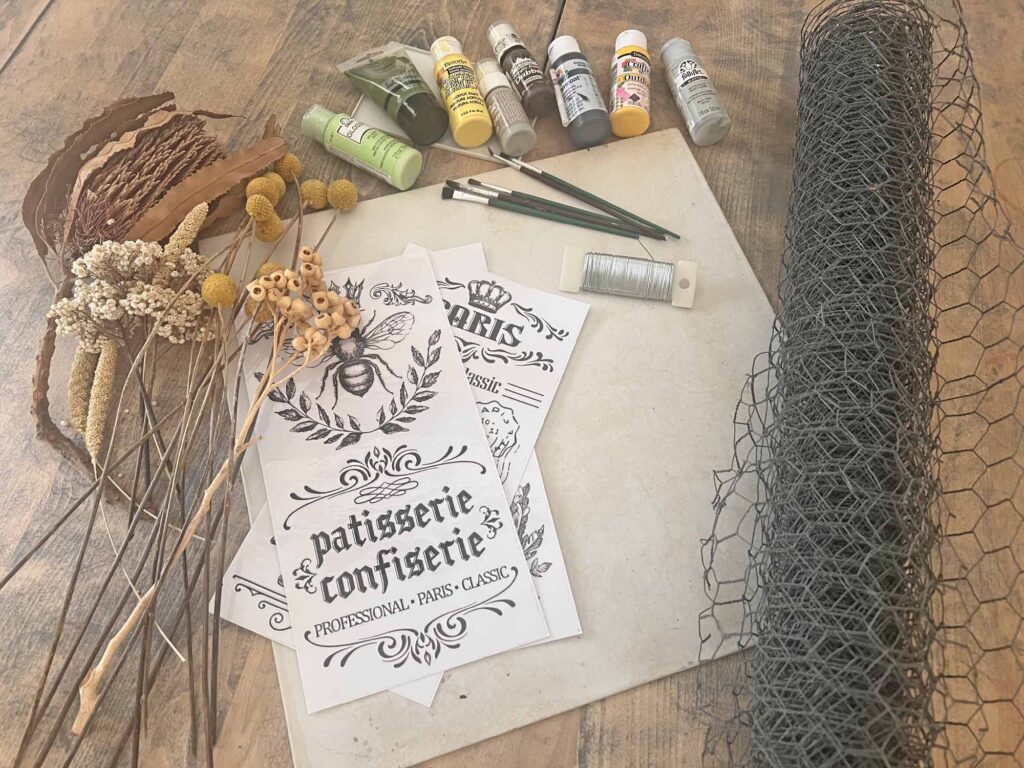
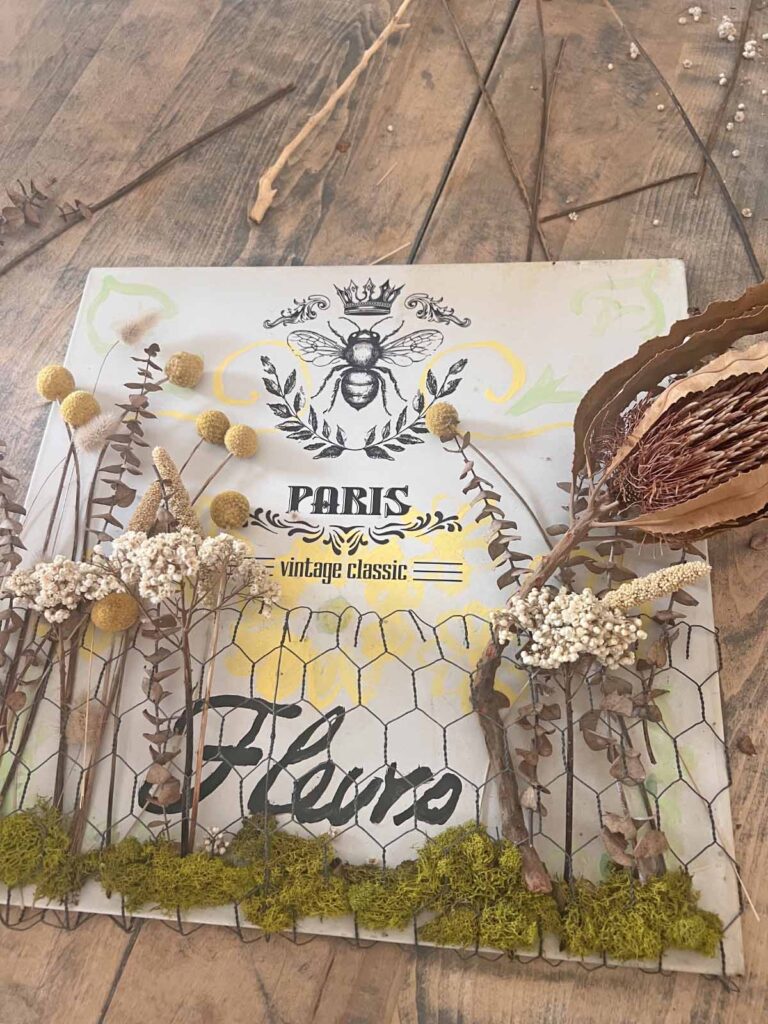
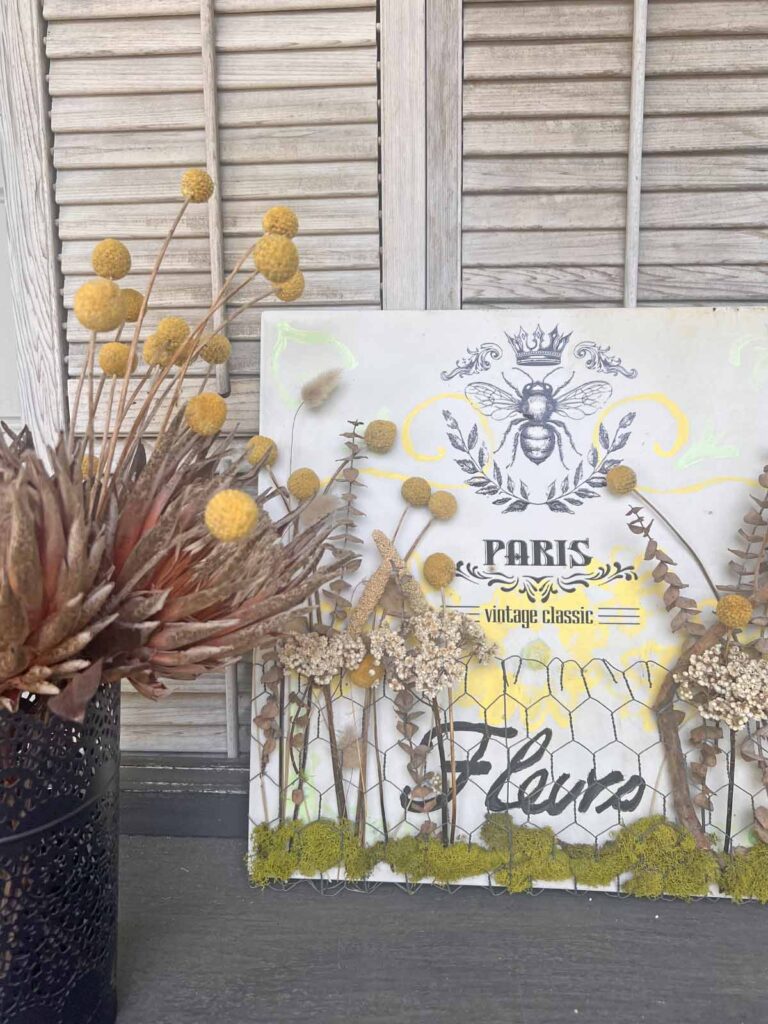
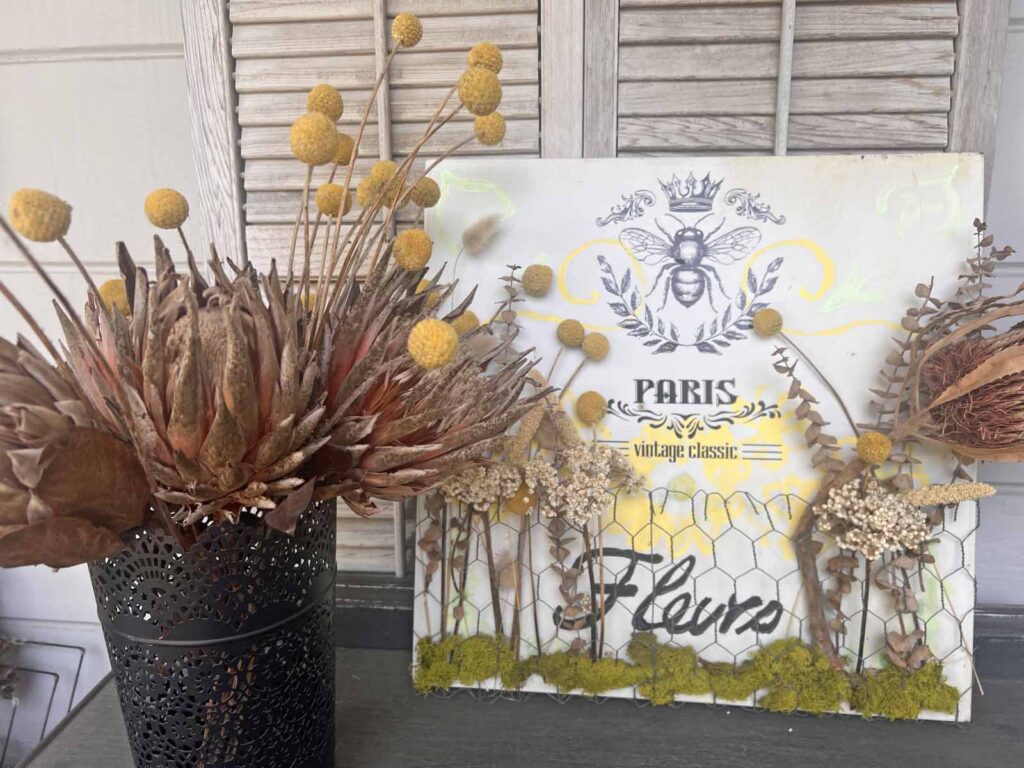
Dried florals tucked into chicken wire give a garden vibe, while the layers of paint and rub-on transfers provide an artistic and dimensional background.





MJ Insider Crafting Tip
Read all the instructions through once & then re-read everything again, familiarizing yourself with everything you need. By knowing what to expect avoids any surprises during a project, preventing unnecessary stress.
STEP-BY-STEP INSTRUCTIONS
Prep Project
- Read instructions thoroughly
- Assemble all supplies & tools
- Clean old metal sign
- Select acrylic paint colors

Paint Background Design
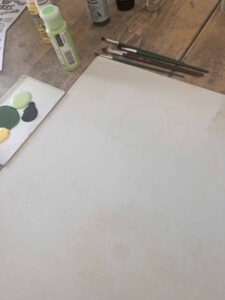
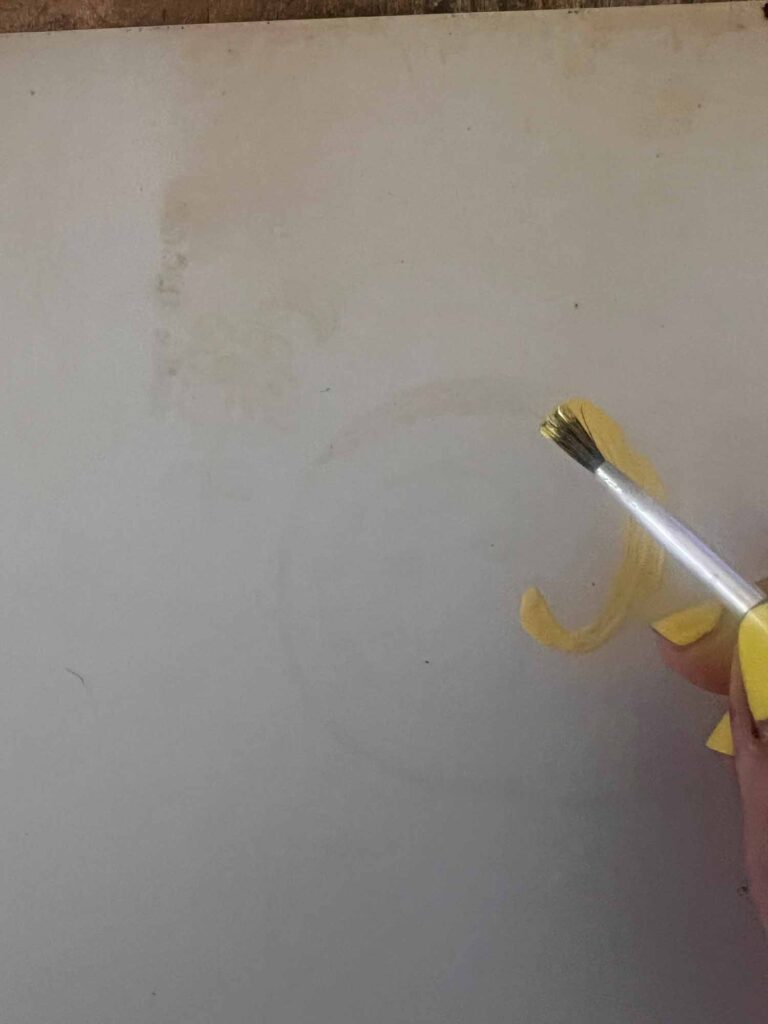
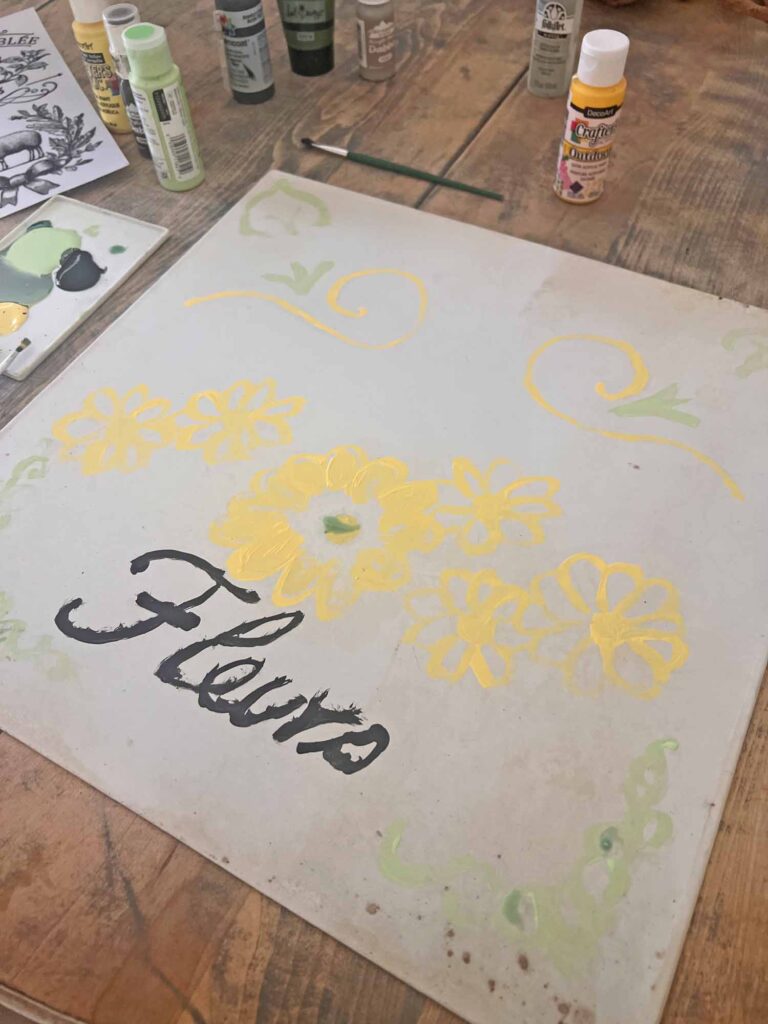
- Using acrylic paints apply background design
- Note: if there isn’t an existing design to follow, you can free-hand a design or use stencils
- Set sign aside and allow paint to dry
Apply Graphic Transfer
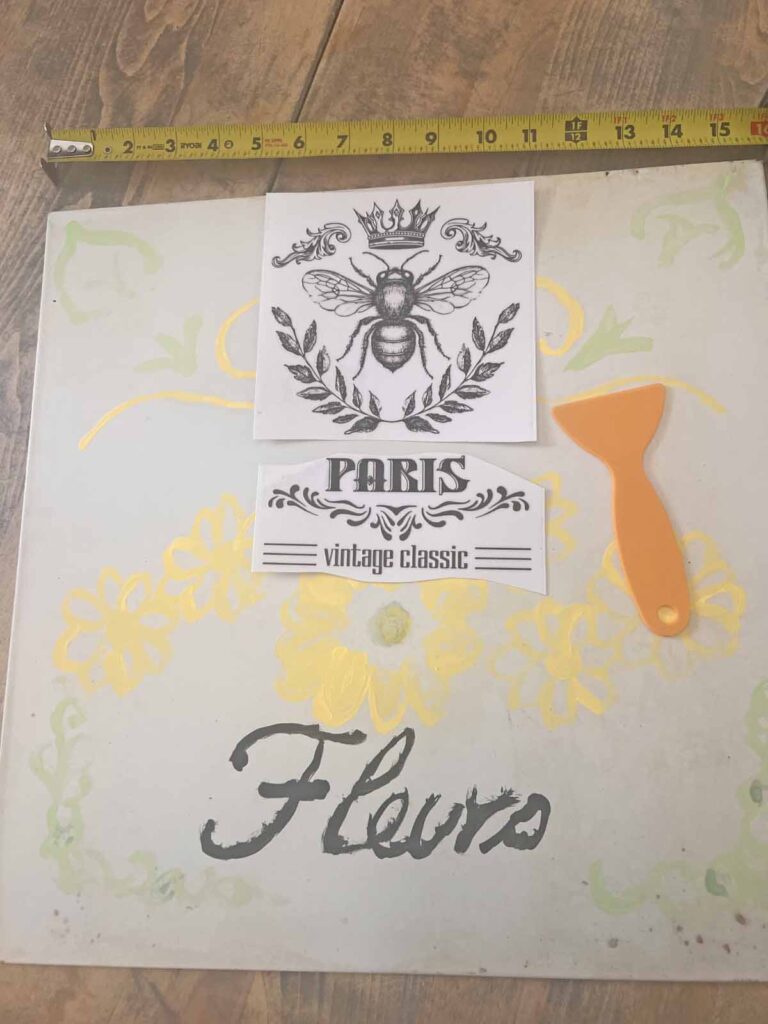
- Select graphic transfer design and cut out
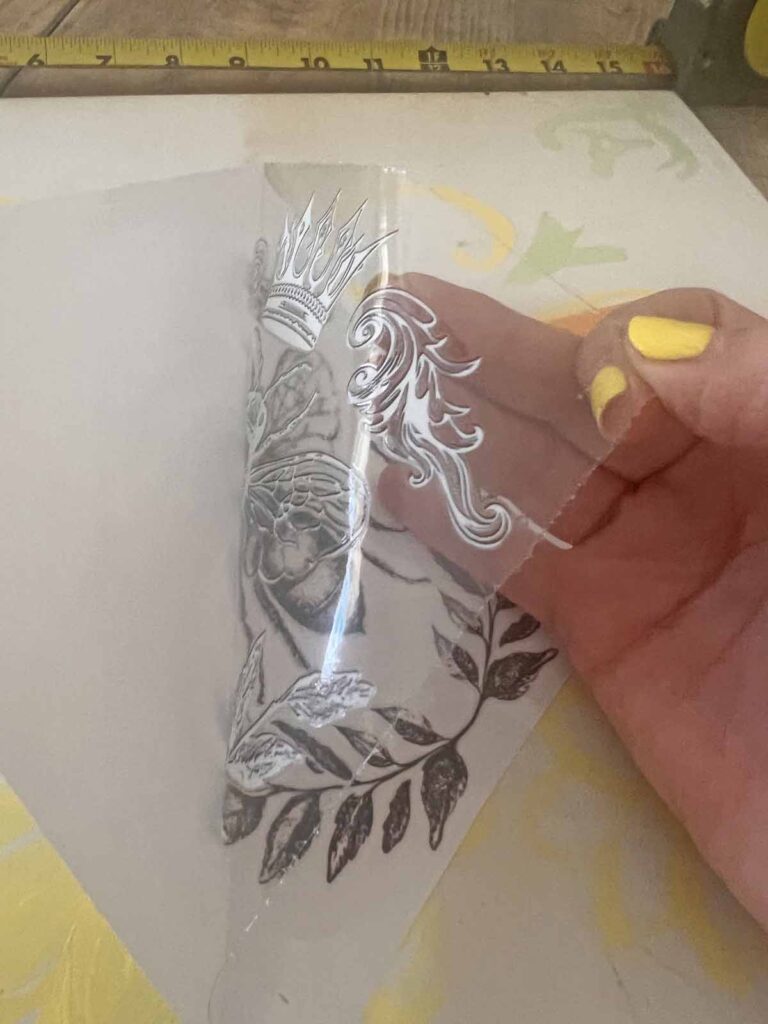
- Gently remove transfer backing and place on sign
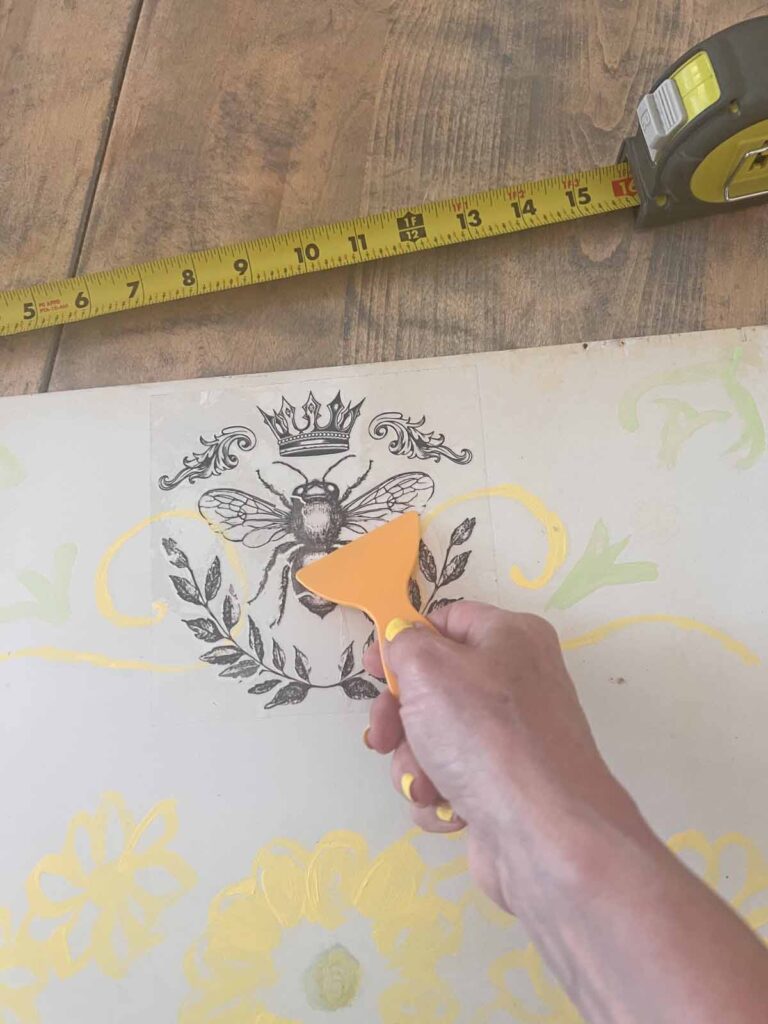
- Using burnishing tool rub graphic to transfer design onto sign
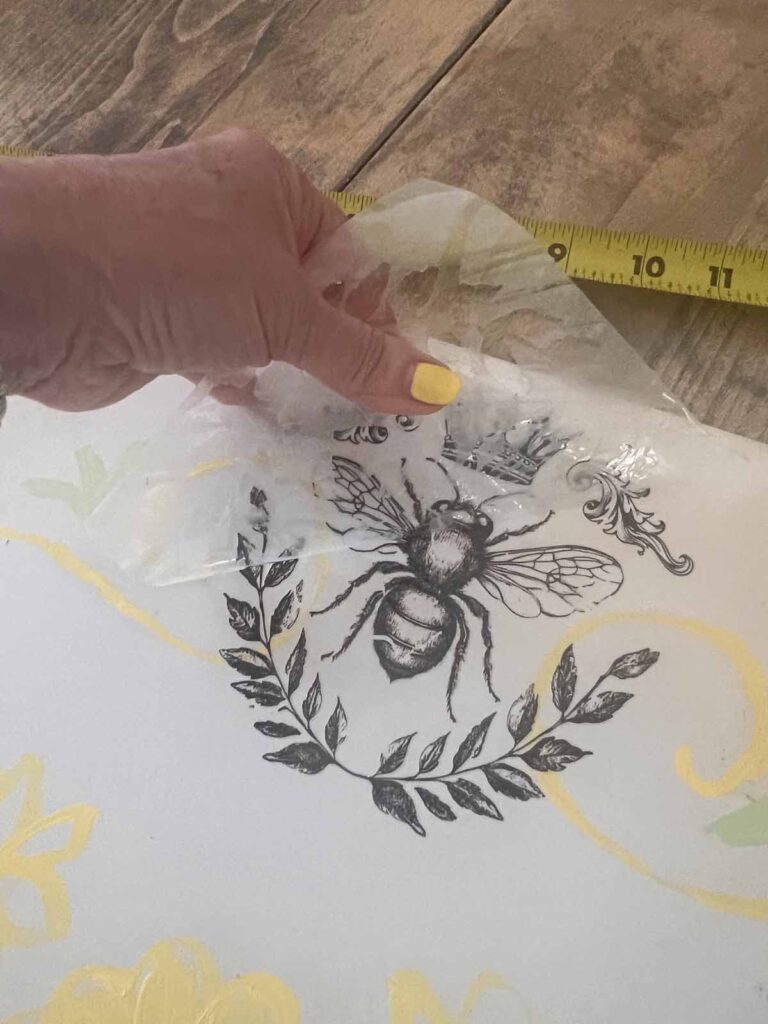
- Gently lift plastic off rub-on leaving transfer on sign (if any section doesn’t transfer, gently place rub-on back down and burnish further)
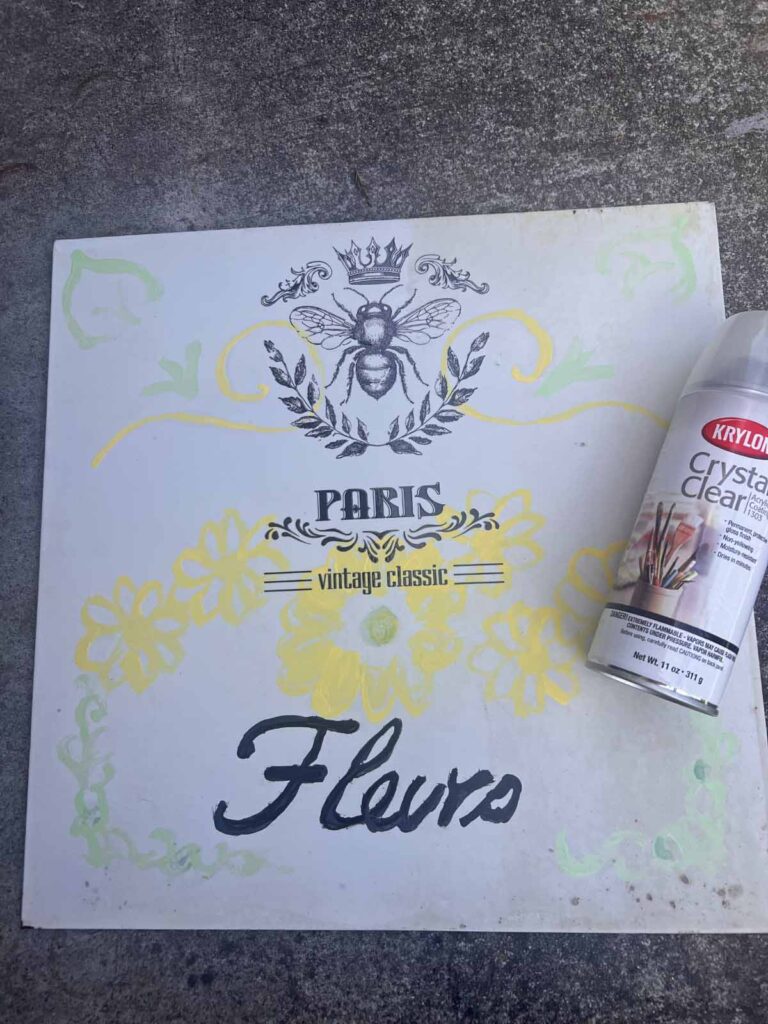
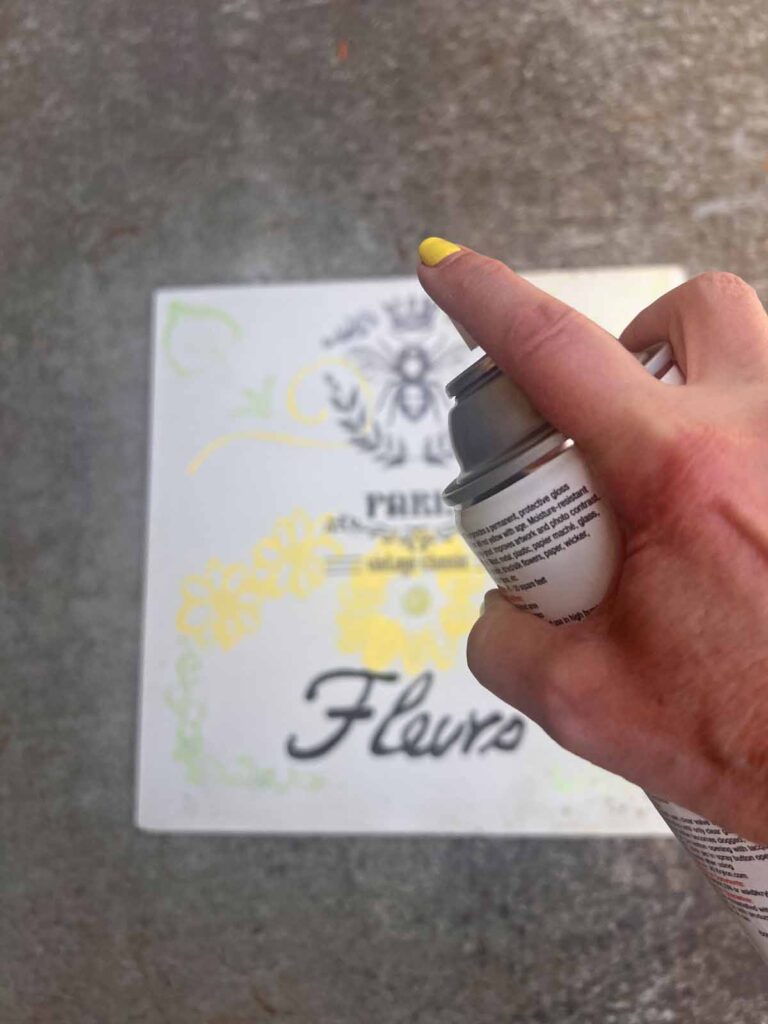
- Once transfer is complete spray entire sign with clear acrylic sealer
- Set aside and allow to cure
Attach Chicken Wire
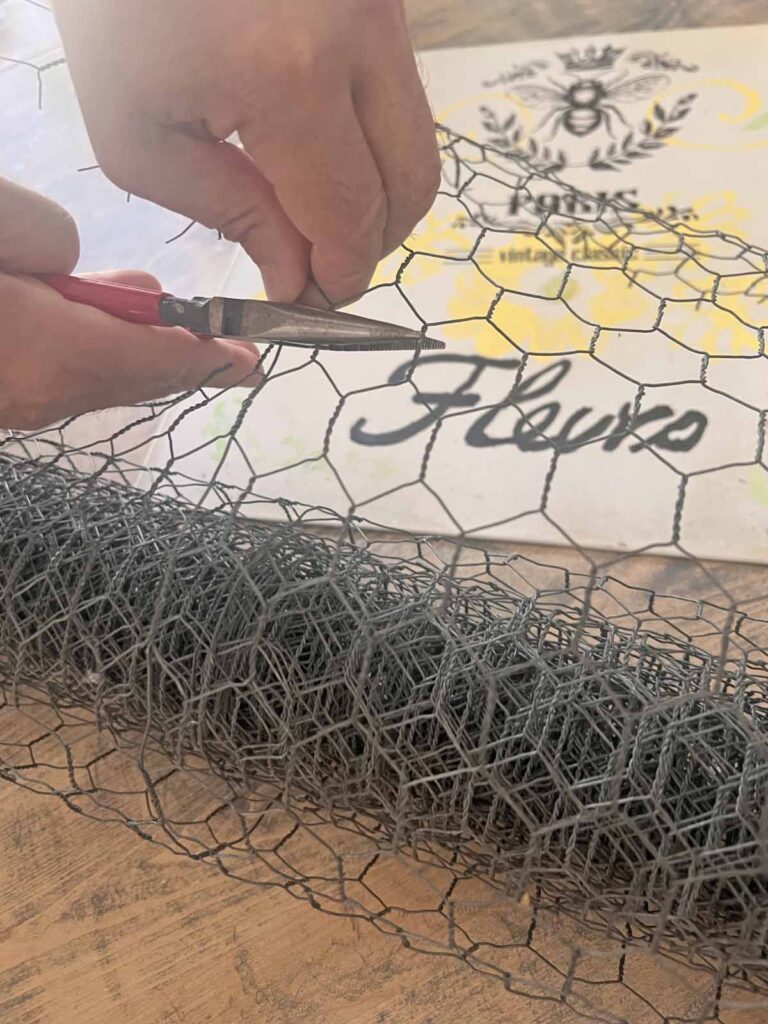
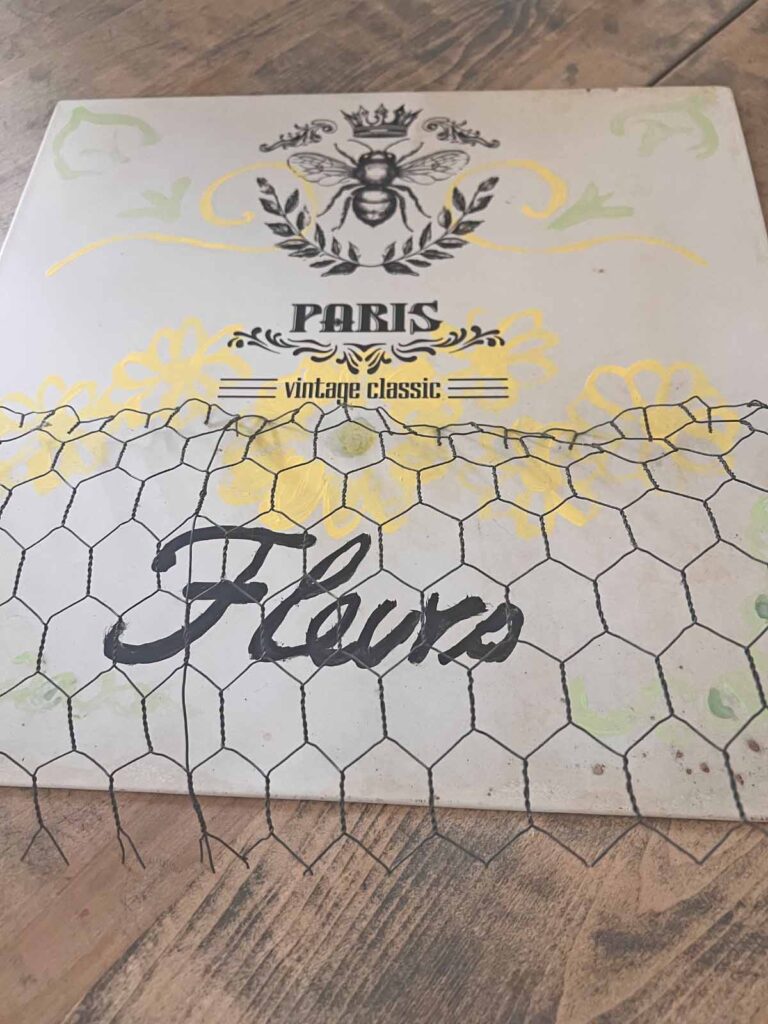
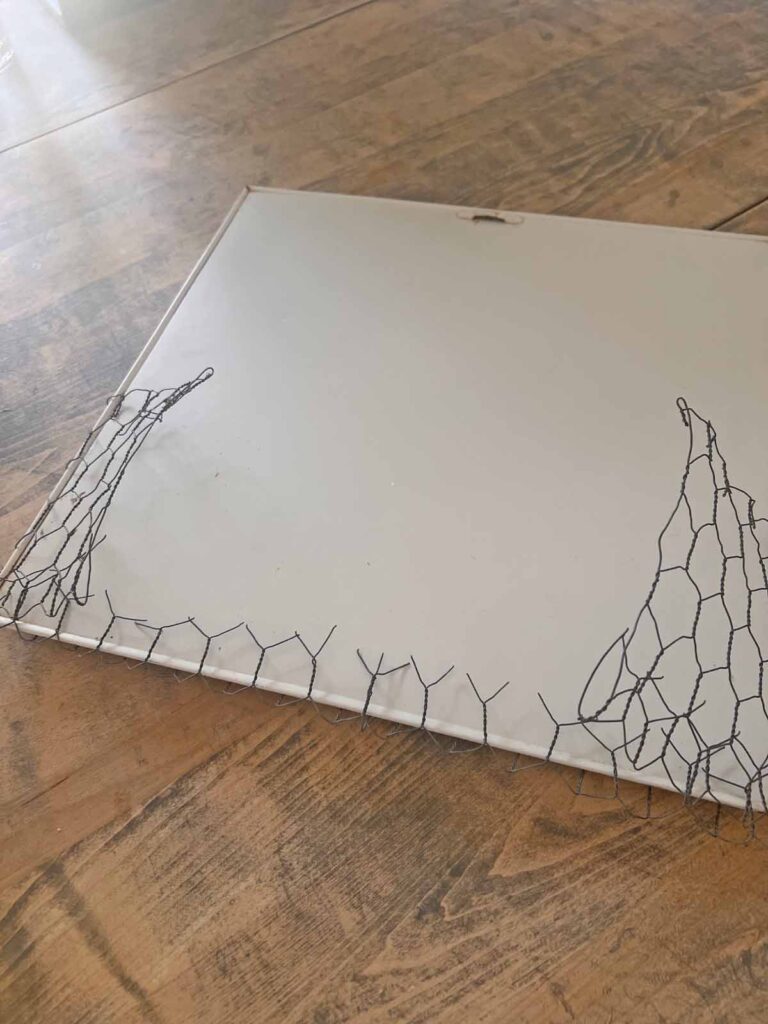
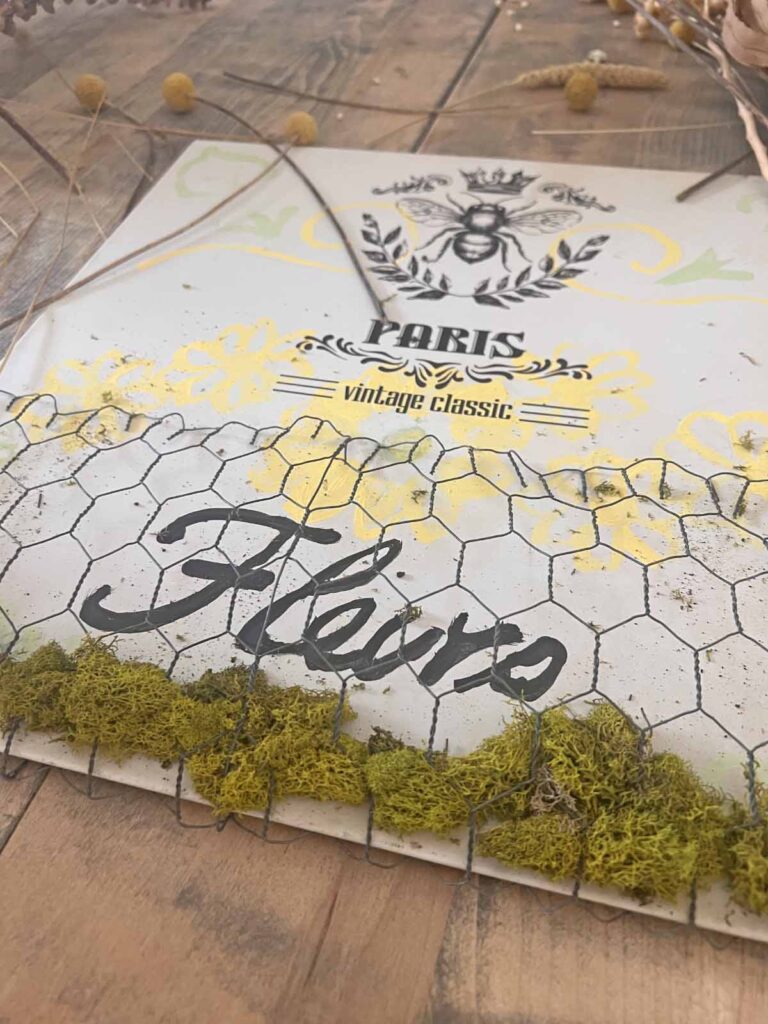
- Cut a piece of chicken wire so it can wrap around sign, covering approximately 1/3 of bottom of sign
- Include a 1-inch over hanging lip on bottom of sign
- Fold bottom lip of chicken wire around to back
- Fold both sides into back of sign
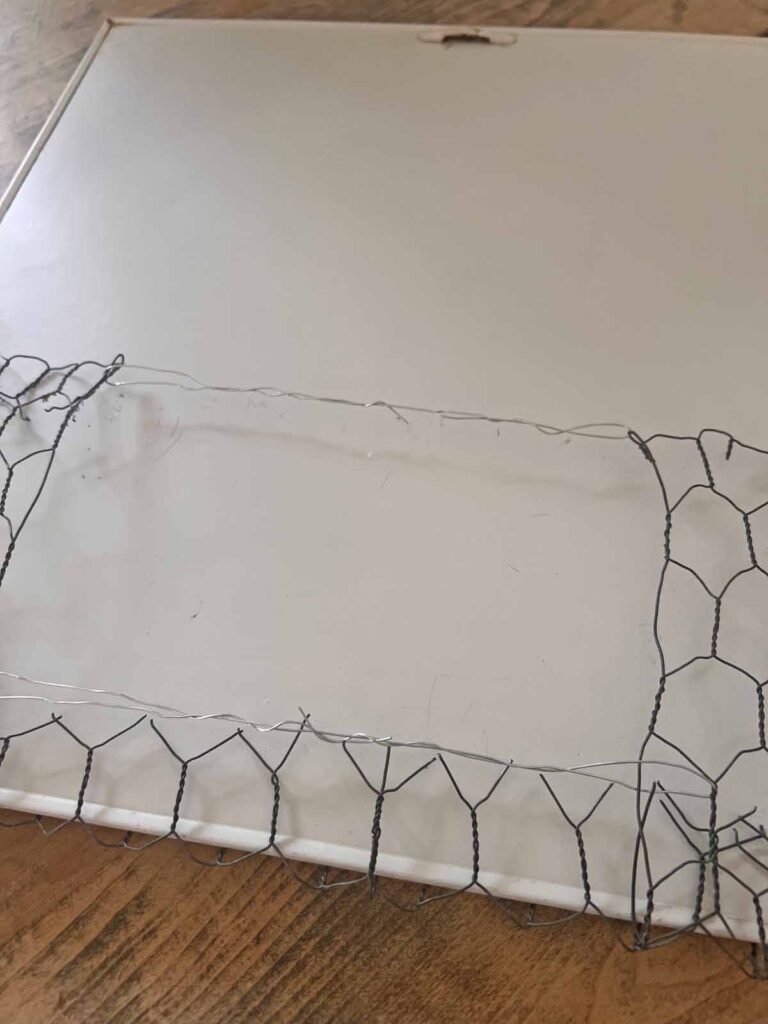
- Invert sign on work surface and using floral wire tie chicken wire in the back of sign to secure in place
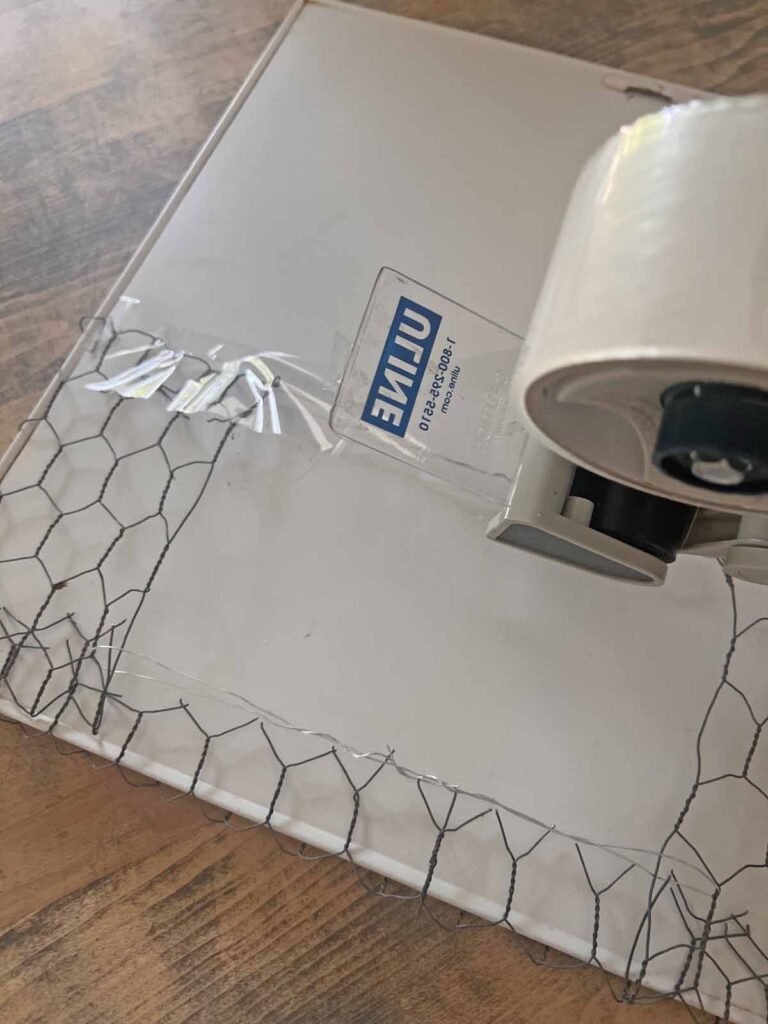
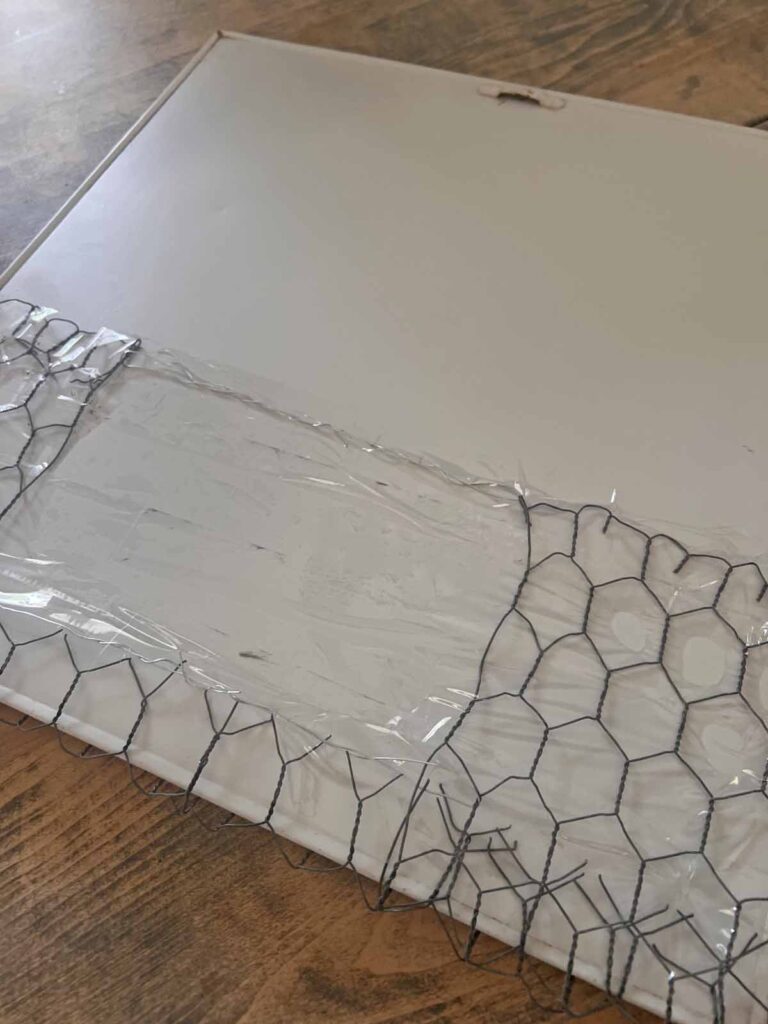
- Cover chicken wire with shipping tape on the back to prevent injury when handling or damage to furnishings and walls when displayed
Insert Dried Florals
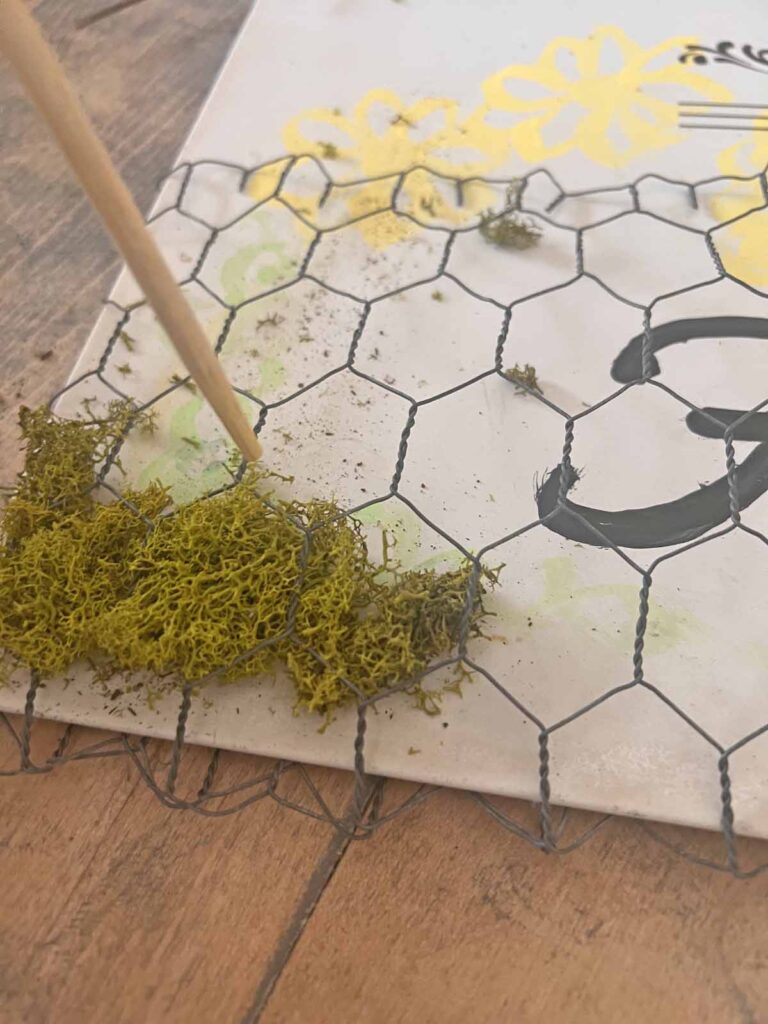
- Add a layer of moss at the bottom of chicken wire creating a bed for the floral stems (I used a chopstick to push moss all the way down)
- Select dried florals
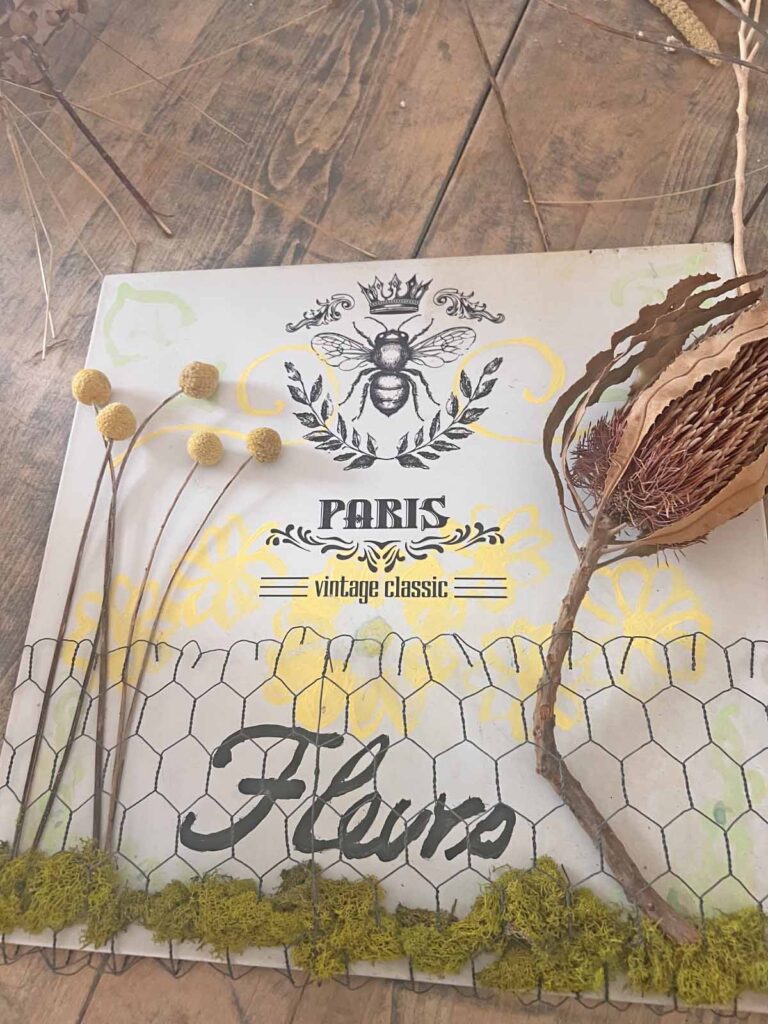
- Insert stems into chicken wire to hold in place
- Arrange dried flowers throughout chicken wire framing rub-on transfer on each end, but allowing graphic to show through, creating layers and depth
Voila!
- Spray finished piece with acrylic spray to seal project and minimize shedding
- Hang your pretty, new again, floral garden sign
- Enjoy your new (old) garden accent
Warning
Please proceed with caution when handling chicken wire. Gloves are highly recommended to avoid any mishaps and prevent unnecessary cuts. Maintain personal discretion and responsibility at your own risk.
Tips & Recommendations to Keep In Mind
Metal Sign
You can find old rustic metal signs at thrifts and garage sales. If you can’t find an old sign you can always create one using a piece of sheet metal. The new sheet metal provides a blank canvas to start from scratch and create your own design.
Painted Design
The old metal sign I up-cycled had a pretty graphic design with flowers, graphics and words, which had faded through time. I followed some of the design to the best of my ability with acrylic paint to use as a backdrop to the flowers. If you don’t have a previous design to follow or are not confident painting a design, you can always use a stencil to guide you.
MJ Insider Crafting Tip
When I painted the world “fleur” using the craft brush the bristles created a messy typography. I used an acrylic paint pen to clean it up. Although I can be creative, I wouldn’t necessarily consider myself artistic. Knowing your limitations when crafting and adjusting accordingly goes a long way.
Dried Florals
I used dried and preserved flowers I had on hand. Some I dried myself and others I purchased. You could also use faux florals, which would probably last much longer. If you create a piece for a special event you could use fresh flowers, which would only last a short period of time, but would look stunning for said occasion.
Hanging Mechanism
My particular tin sign had a hanging hook in the back, but you could easily add a picture hanging hook to your garden metal sign masterpiece if you would like. The sign can also be displayed on an easel or propped on a shelf.
Sealing is Important
Sealing the final project protects it and minimizes any floral shedding. Plus sealing the project after the paint and transfer were applied creates a protective layer before the wire and florals are inserted. The chicken wire and dried flowers can scratch the surface of the sign and this adds a layer of defense.
Make It Yours!
I love moody blooms and monochromatic designs, but you can create a floral garden sign with your preferred aesthetic. Use the type of flowers which you prefer in the colors that speak to you. Vibrant flowers create a fun display and pastels are soft and calming. Most importantly, use what you like and make it yours.
MJ Crafting Pro Tip:
Creativity improves our mental health by elevating our mood, lowering anxiety and reducing stress. By regulating our emotions through creative endeavors provides a sense of control and empowerment. Not only does it make us feel better, but it also makes our homes look amazing.

Grab a copy of my free
Vintage Home
Decor Guide
This guide provides 10 easy ideas to add timeless charm to your home with a free PDF full of images and inspiration.
We are always striving to master the art of joie de vivre around here. If you enjoy the good life and want a reflection of this in your home, please consider joining the Masterpiece community. Sign up you won’t miss any new content, receiving all new posts directly into your in-box.
More Floral Related Projects
Closing Thoughts ~ Dried Floral Garden Sign Glow-up Conclusion
What do you think of the floral garden sign glow-up? I am pretty satisfied to give this metal sign a new lease on life with a different look. I hope some of these techniques speak to you and inspire to somehow be used in an up-cycle project. Please let me know if you repurpose an old piece.
Thanks for stopping by and spending part of your day with me. Hope to see you again soon.
Au Revoir!




FAQs ~ Floral Metal Sign Glow-up
Q1. How do I protect the colors from fading?
A1. Spray the sign with a clear UV-resistant acrylic sealer. Repeat once a year to maintain the sign in the best condition.
Q2. Will it rust outdoors?
A2. Most aluminum or powder-coated metal signs resist rust, but untreated steel can weather or rust over time
Q3. How do I keep the sign looking fresh?
A3. Protect the flowers from direct sun light and inclement weather. Replace flowers as they become spent and weathered.
Get the Floral Garden Sign Look
- Aluminum Sheet Metal 12 x 12 x 1/64 (0.02”) Inch Thin Flat Plain Aluminum Plate
- French Farmhouse Rub on Transfers for Furniture and Craft 6×12 Inch Vintage
- FolkArt Multi-Surface Paint, 2 oz, Daffodil Yellow
- FolkArt Outdoor Acrylic Paint in Grass Green (2 Ounce)
- Paint Pens Permanent Markers, Medium Tip
- Chicken Wire
- DIY Natural Dried Flower Set
- DIY Natural Dried Flower Set, 12 Kinds Bulk Dried Flowers- Eucalyptus,Lavender,Wheat, Bunny Tails,Billy Ball
- Triple Thick Clear Glaze Aerosol Spray

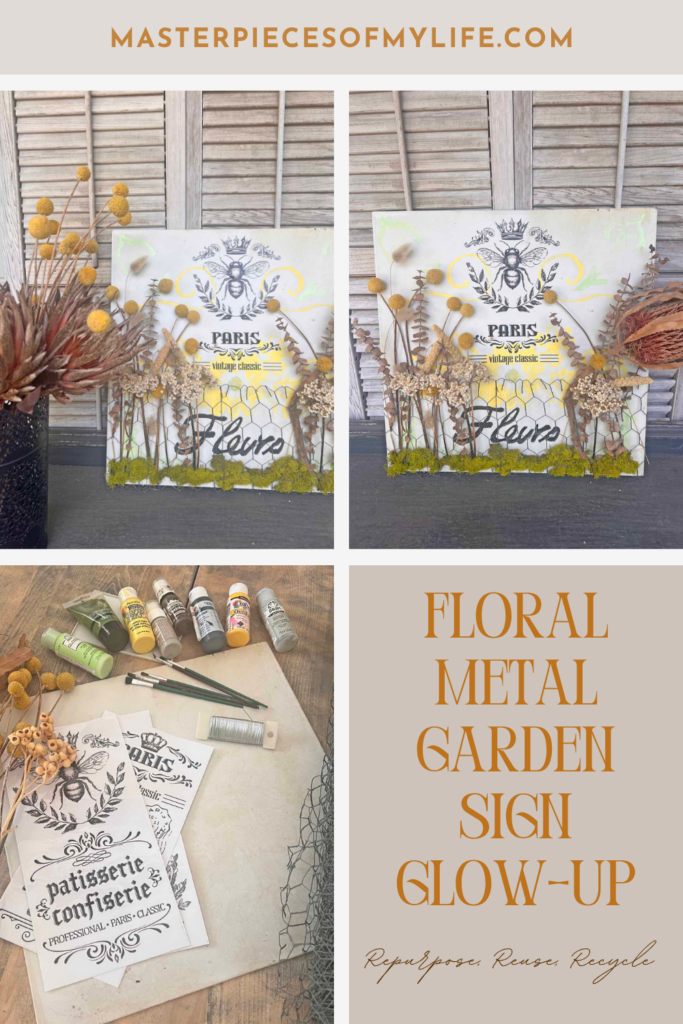
Don’t forget to Pin It and save for later. You never know when inspiration will strike!
For more inspiration follow me on Pinterest.

Most Recent Posts

A garden is a grand teacher. It teaches patience and careful watchfulness; it teaches industry and thrift; above all, it teaches entire trust.
Gertrude Jekyll: