


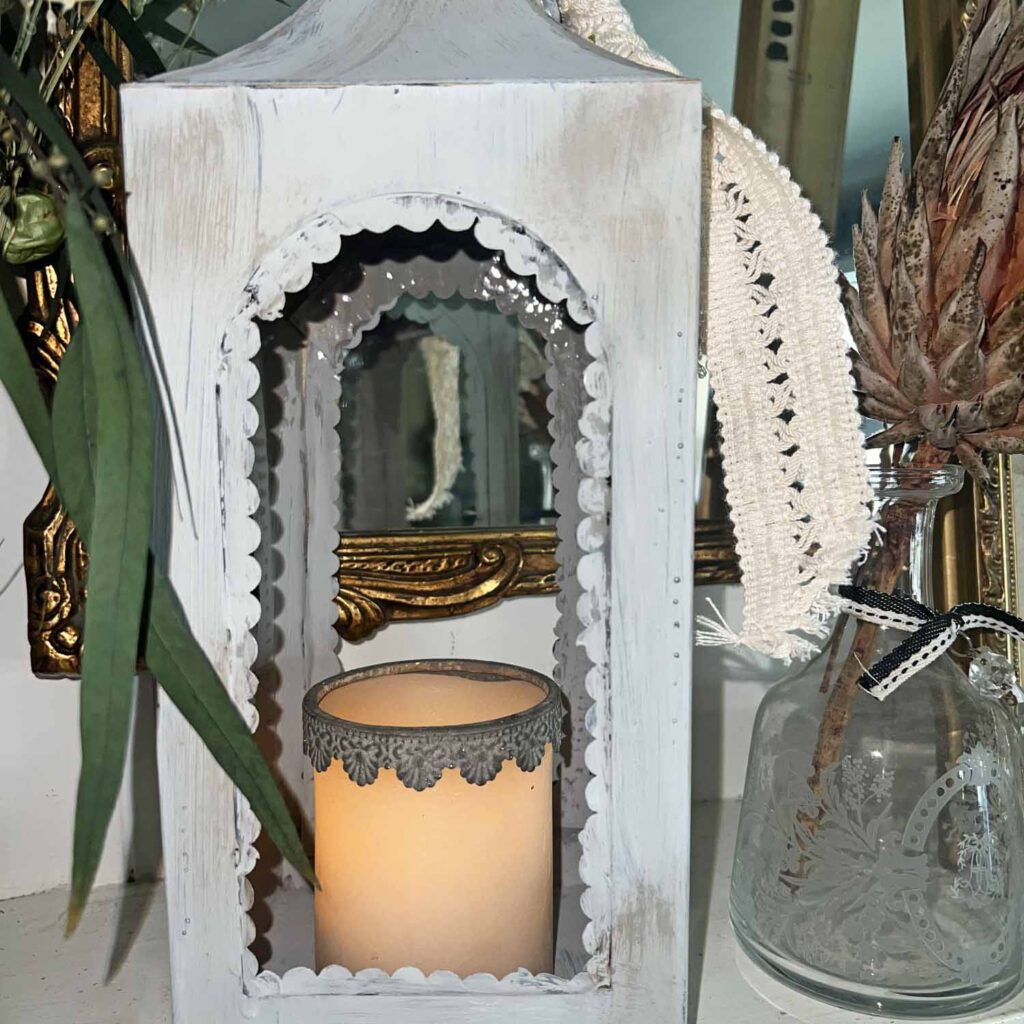
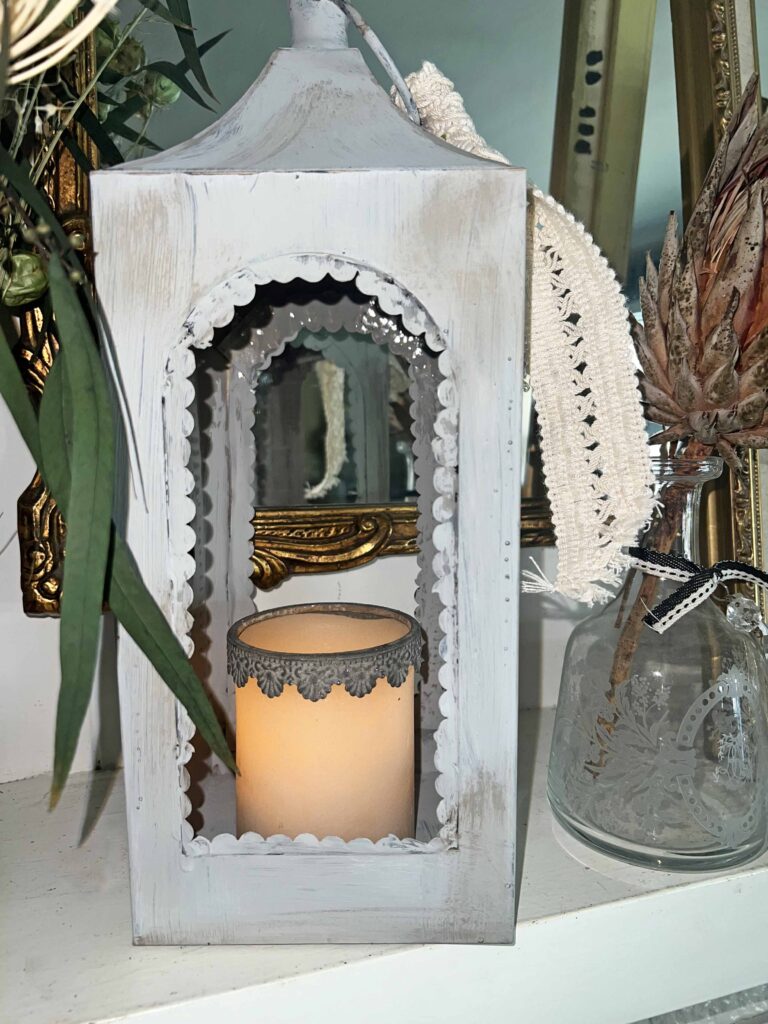
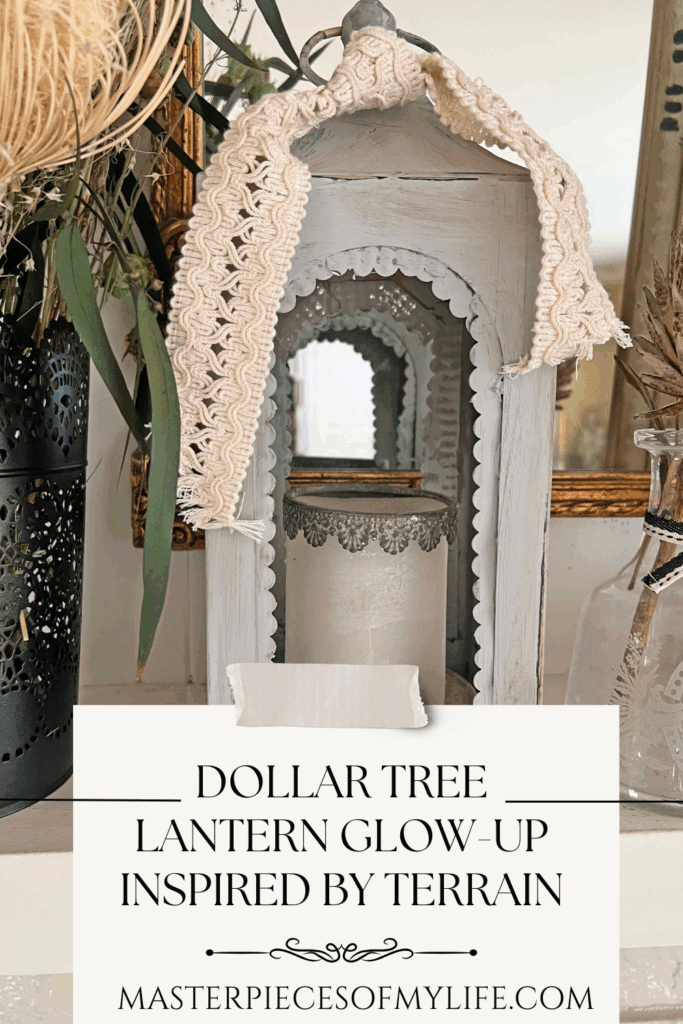
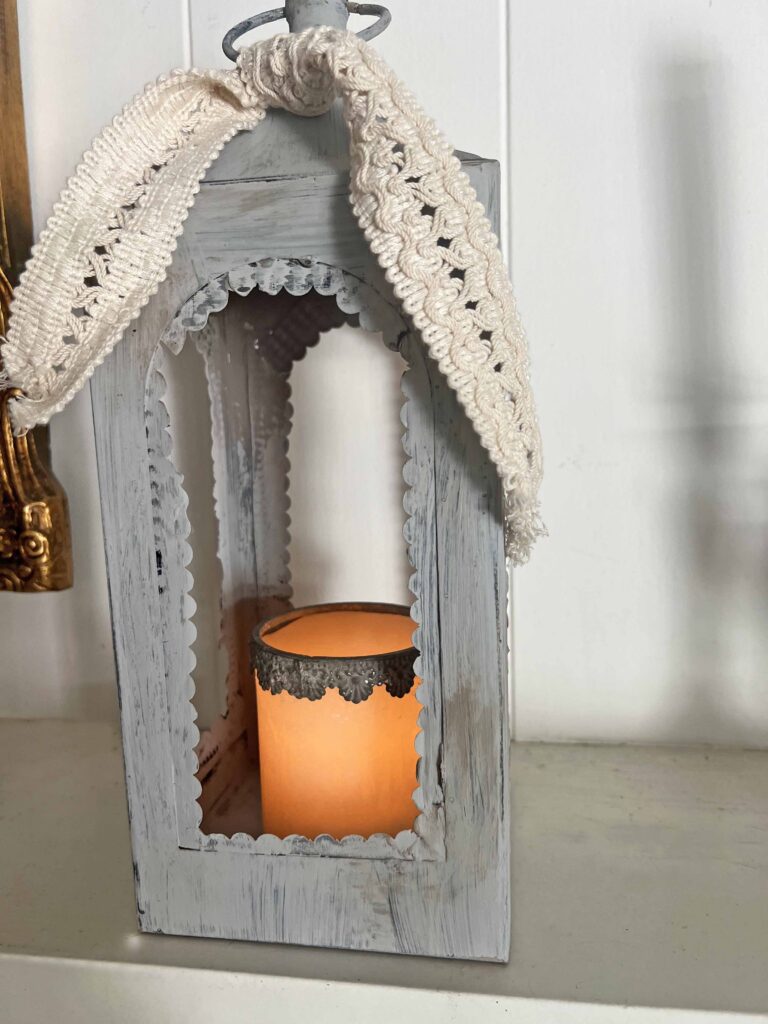
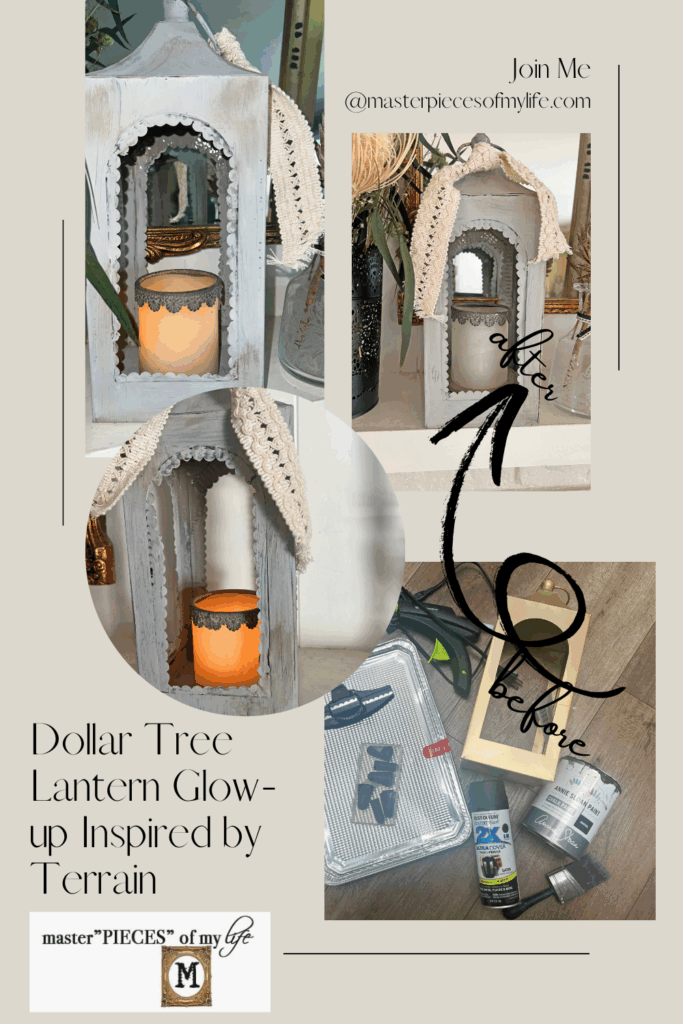
Are the long, cold winter days bringing you down? I have a fun project today to brighten your home interiors. A simple Dollar Tree lantern is given a glow-up inspired by a Terrain scalloped, distressed lantern. The basic DT lantern is transformed with unique presence and personality.

Terrain is one of my favorite retail destinations, but it is a spendy situation. When I can mimic the look at the fraction of the cost, I give it a go. Please come in and join me as I share the method to my madness for this project.

*Affiliate links might be included for your convenience. These affiliate links mean a small commission is earned if you make a purchase using these links at no extra cost to you. As an Amazon Associate qualifying purchases support this website. For more information: Full Disclosure Policy.
Inspiration for the Dollar Tree Lantern
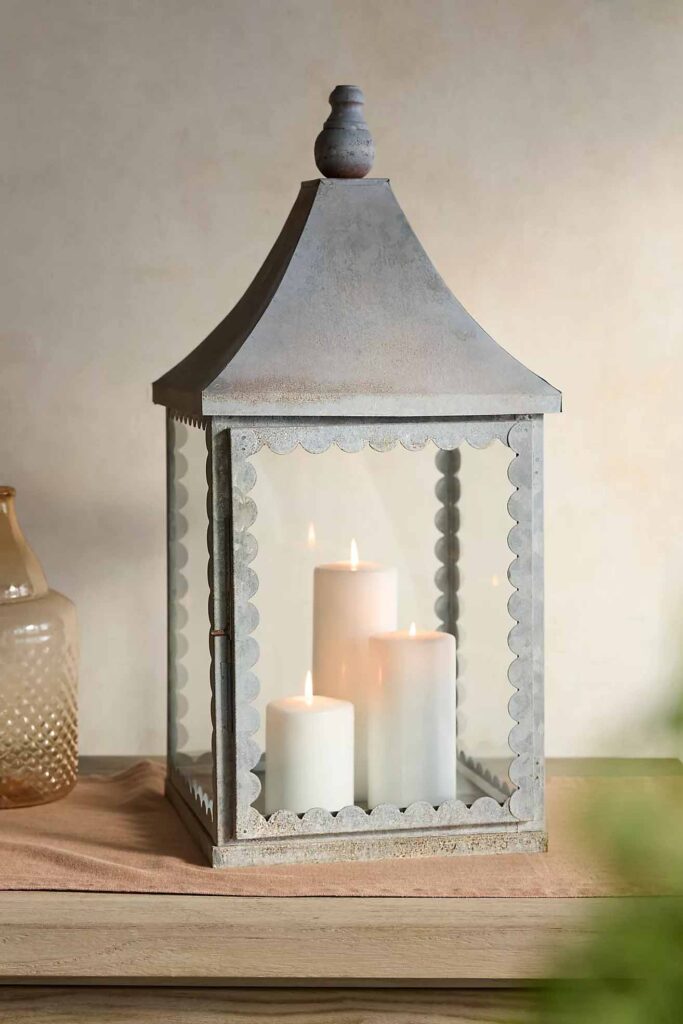
Like I mentioned above this project is inspired by the Scalloped Lantern from Terrain. It’s a stately iron piece which stopped my scroll when it came through my feed. I saw this last year or maybe the year before and fell in love, but a) I already have plenty of lanterns and b) did not love the price tag.
Then last summer I was strolling the Dollar Tree aisles after picking up some supplies and spotted a lantern display. I was impressed with the offerings and then it hit me. Light bulb moment if you will. How can I transform this plain Jane lantern into an inspired Terrain scalloped lantern? And here we are.
Step by Step Instructions for the Dollar Tree Lantern Glow-up
With some supplies from the Dollar Tree you can do this too. Grab a lantern and aluminum cookie sheets from your local DT plus some paint. Let’s get busy.
Supplies
- Plain Lantern
- Aluminum Foil Cookie Sheets (2 pack)
- Black Spray Paint
- French Linen Chalk Paint
- Paris Gray Chalk Paint
- Dark Furniture Wax
- Sand Paper
- Glue Gun Glue Sticks

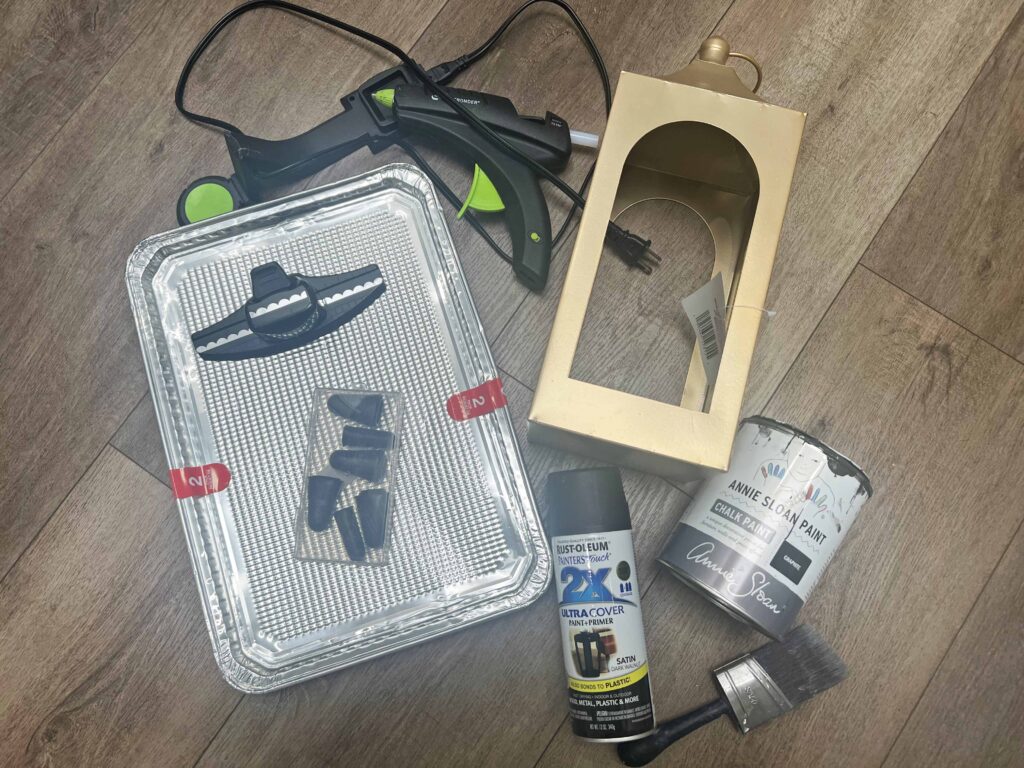
Tools
- Scallop Border Punch
- Craft Scissors
- Hot Glue Gun
- Paint Brush
- Wax Brush
- Rag
Crafting Pro Tip: Read all the instructions through once and then re-read everything again. This way, you are familiar with everything you need and know what to expect.
Instructions
- Read instructions thoroughly and assemble all supplies & tools
- Remove all packaging and tags from supplies
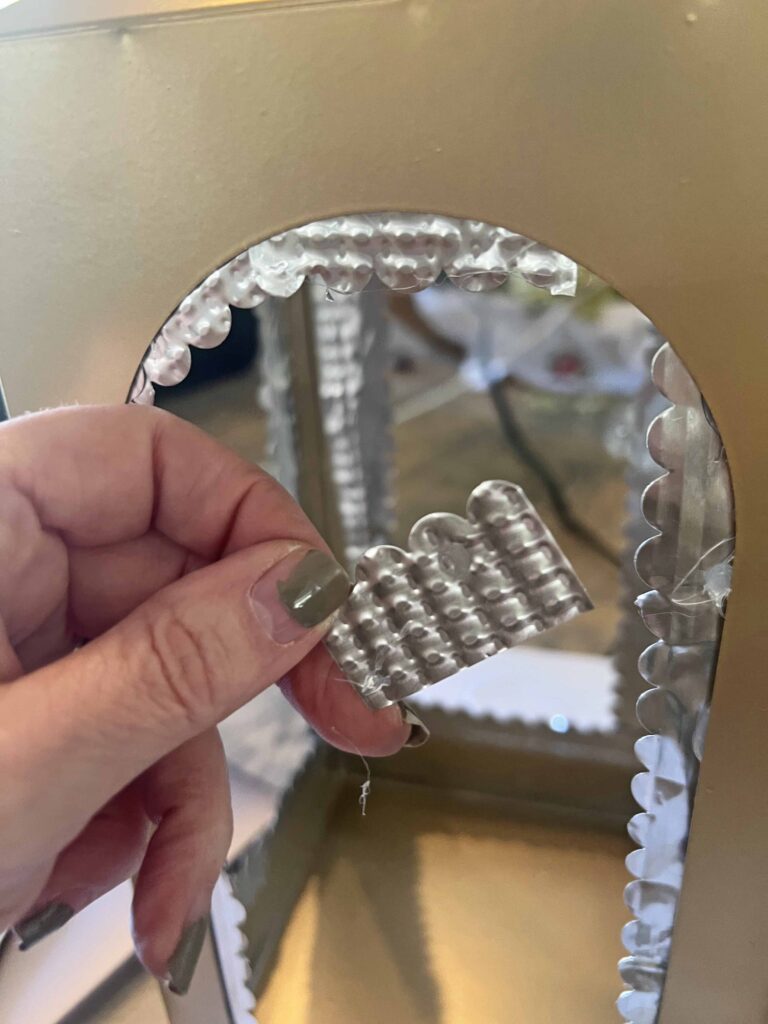
- Using scissors cut edges off of disposable aluminum foil baking trays

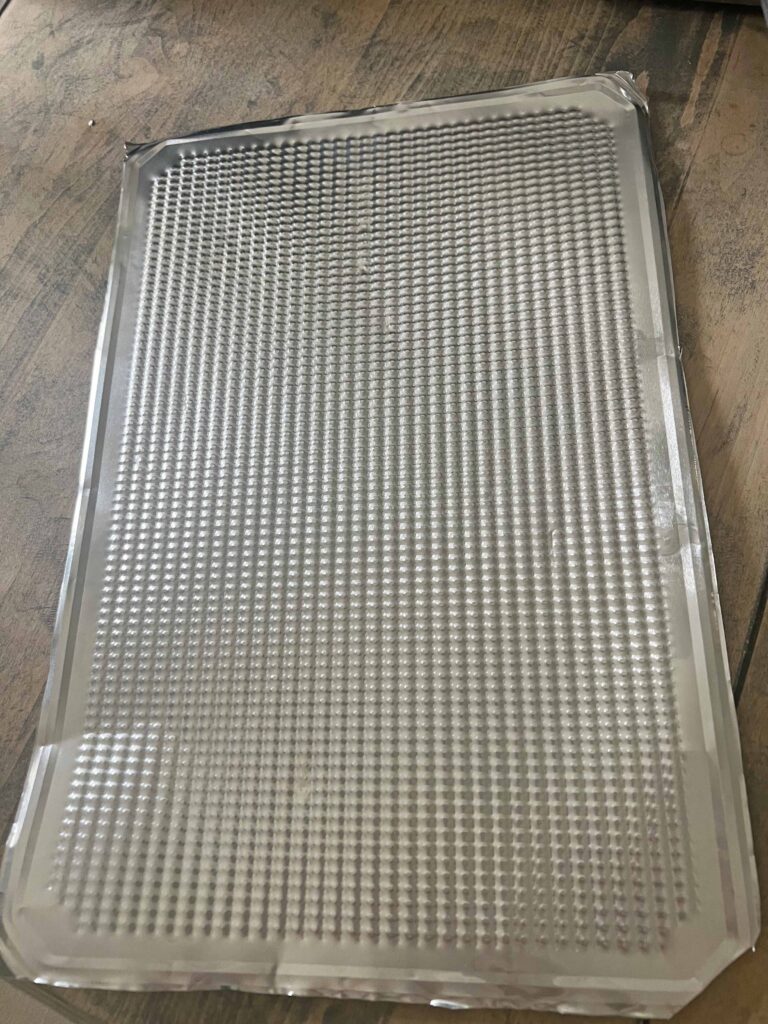
- Using scallop border punch go around all four sides of aluminum baking trays, which provides eight stripes of scalloped edging
- Cut edging sized to fit lantern openings (each opening has two long sections on each side and a short one on the bottom)


- Plug hot glue gun in to heat up
- Hot glue scalloped edging around all openings on all four sides of lantern
- For the curved top, punch a couple more strips and divide them into smaller sections to attach to the curved top (I used three pieces with 4 scallops each, but it might depend on your punch size)
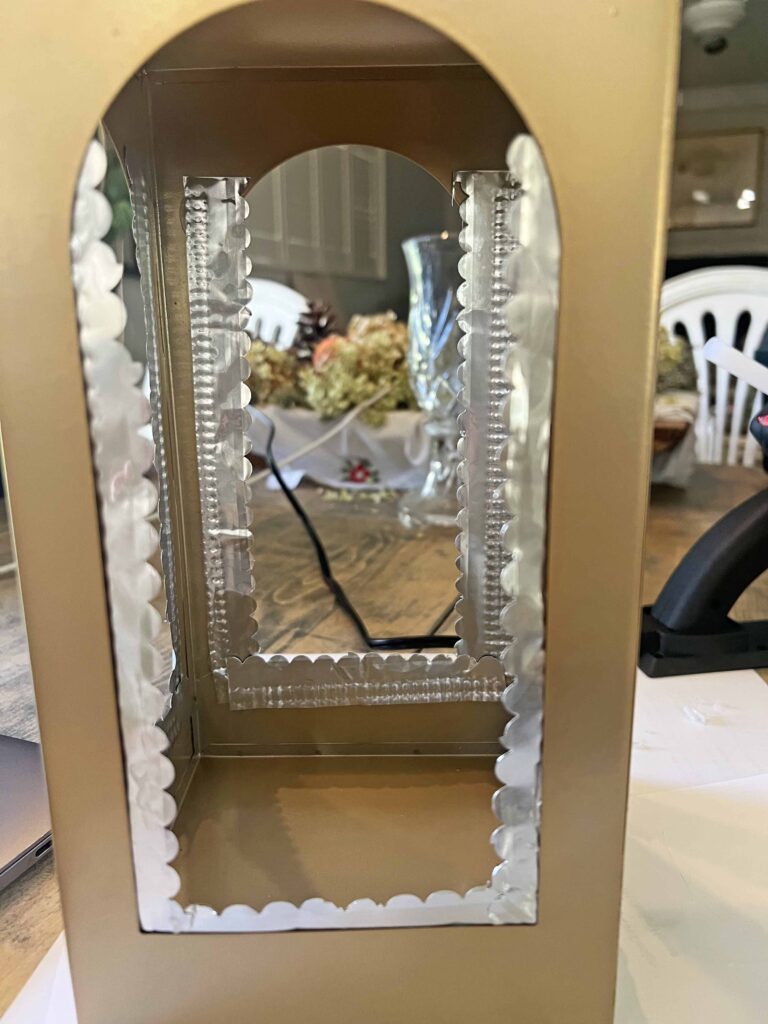
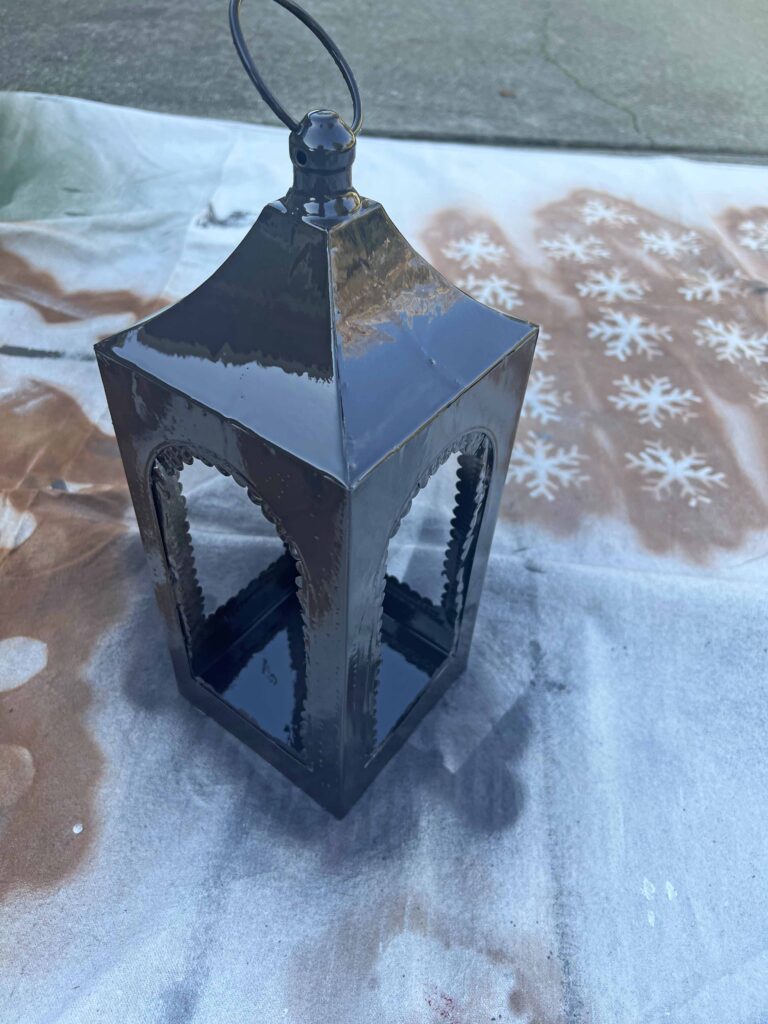
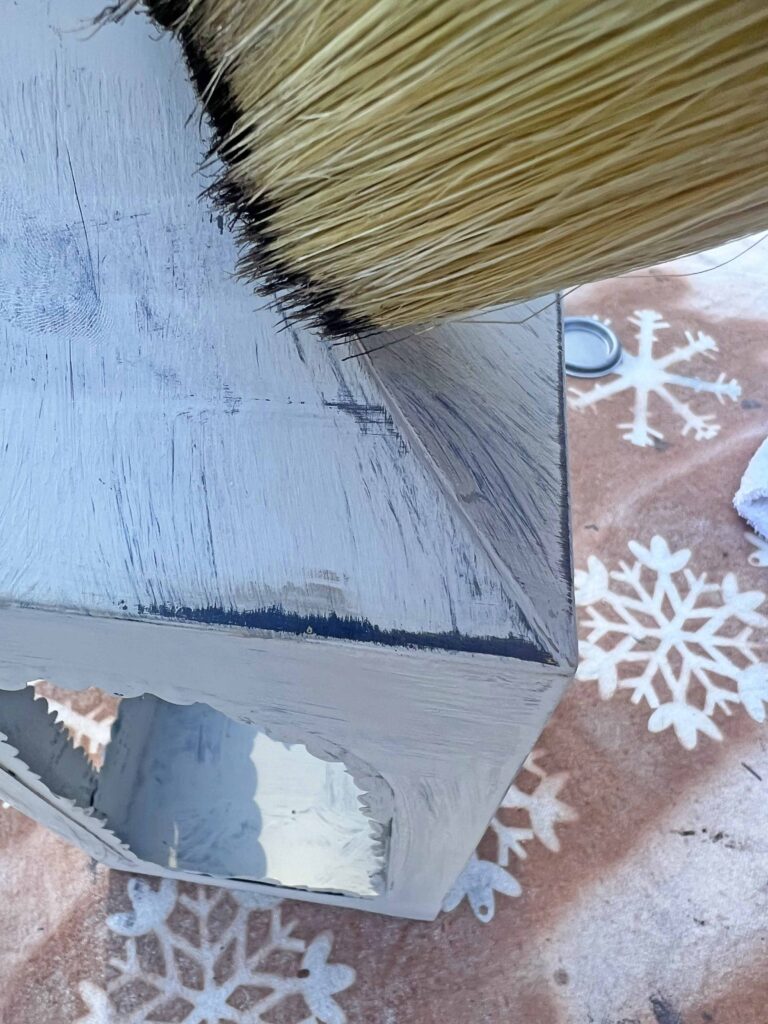
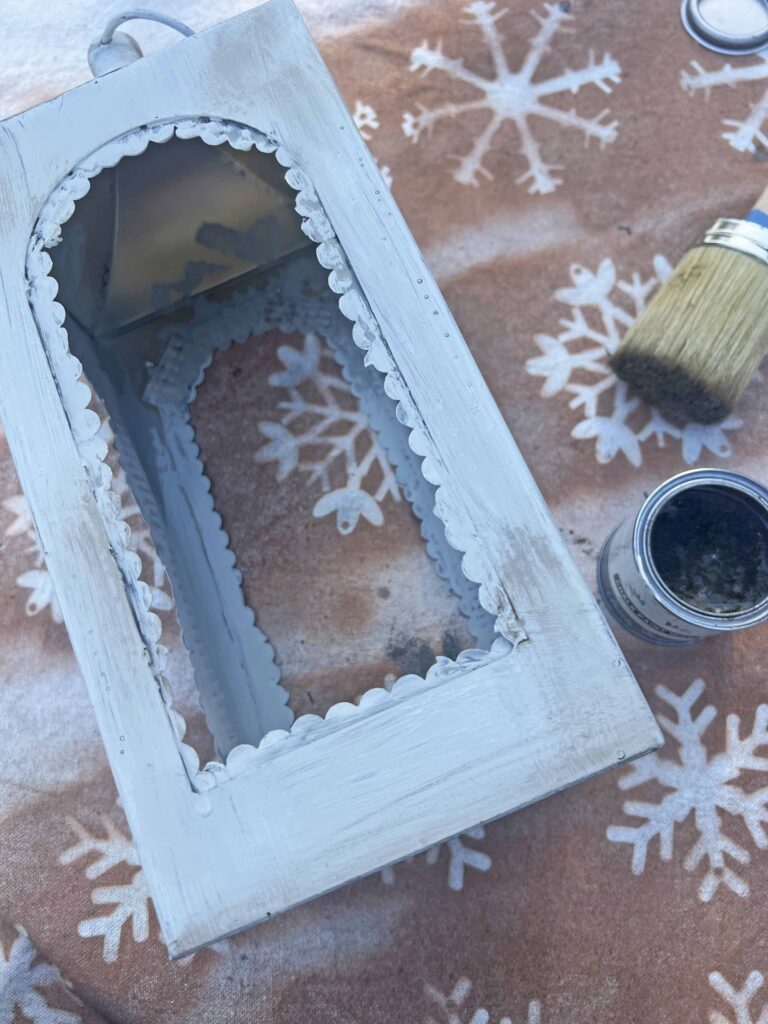
- Once all scalloped edging is secured to lantern, apply a layer of black spray paint and allow to dry thoroughly
- Once spray paint is dry, apply a layer of linen chalk paint using a paint brush
- Set aside and allow to dry fully
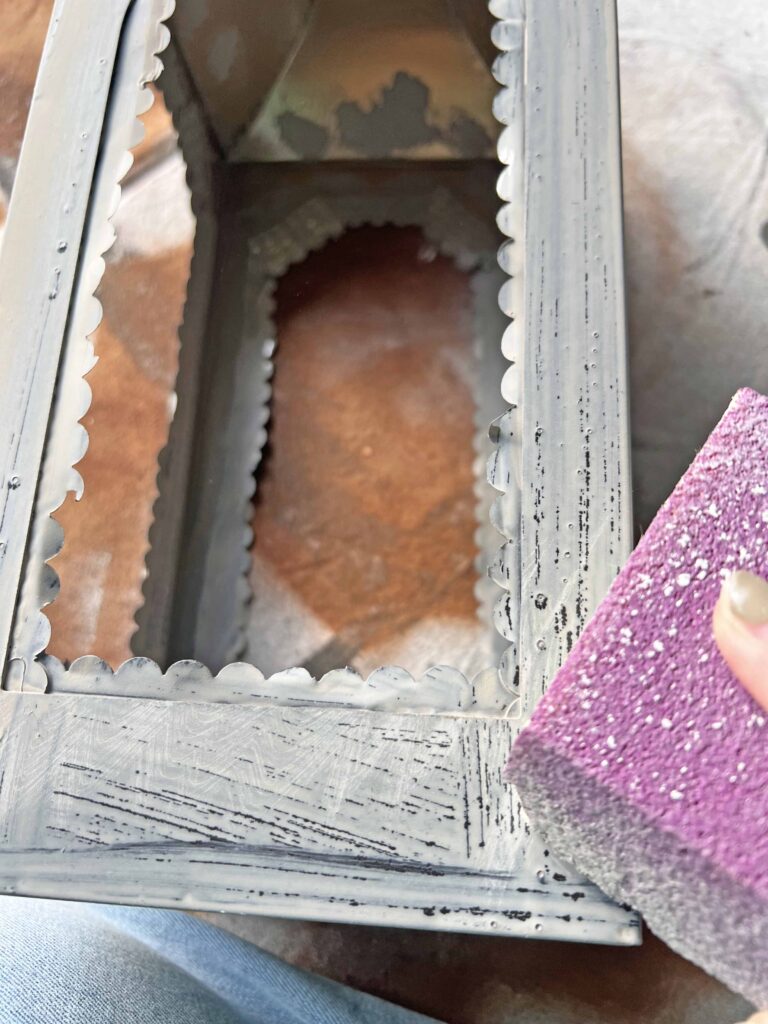
- Sand paint gently to smooth and prep for next layer
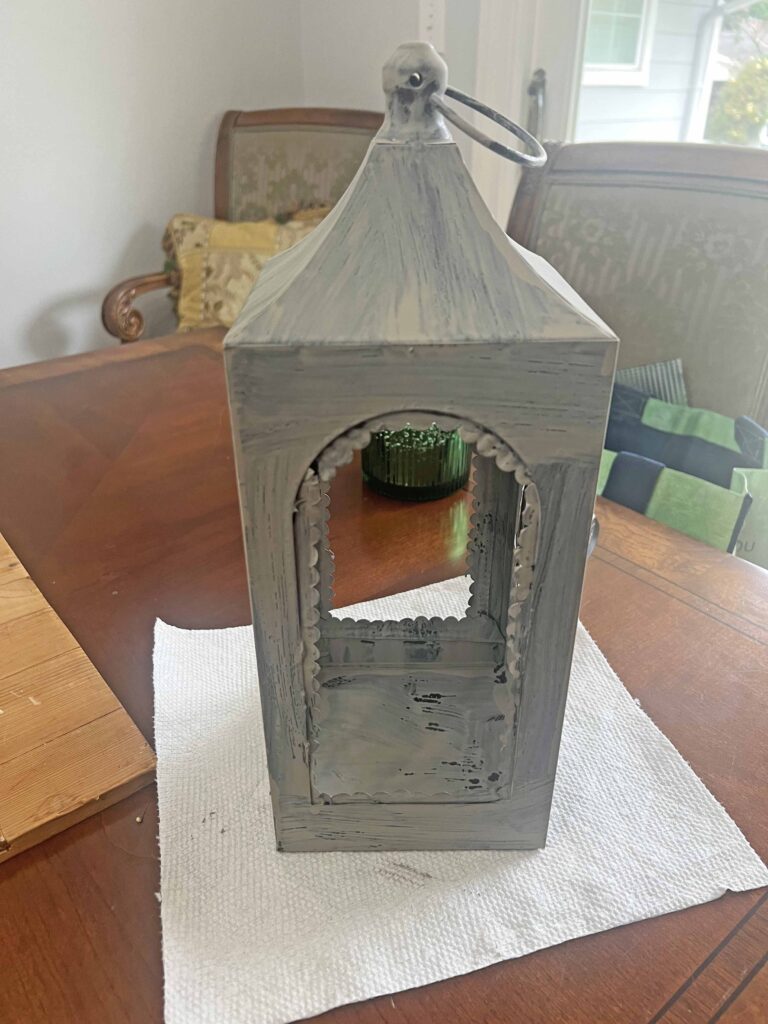
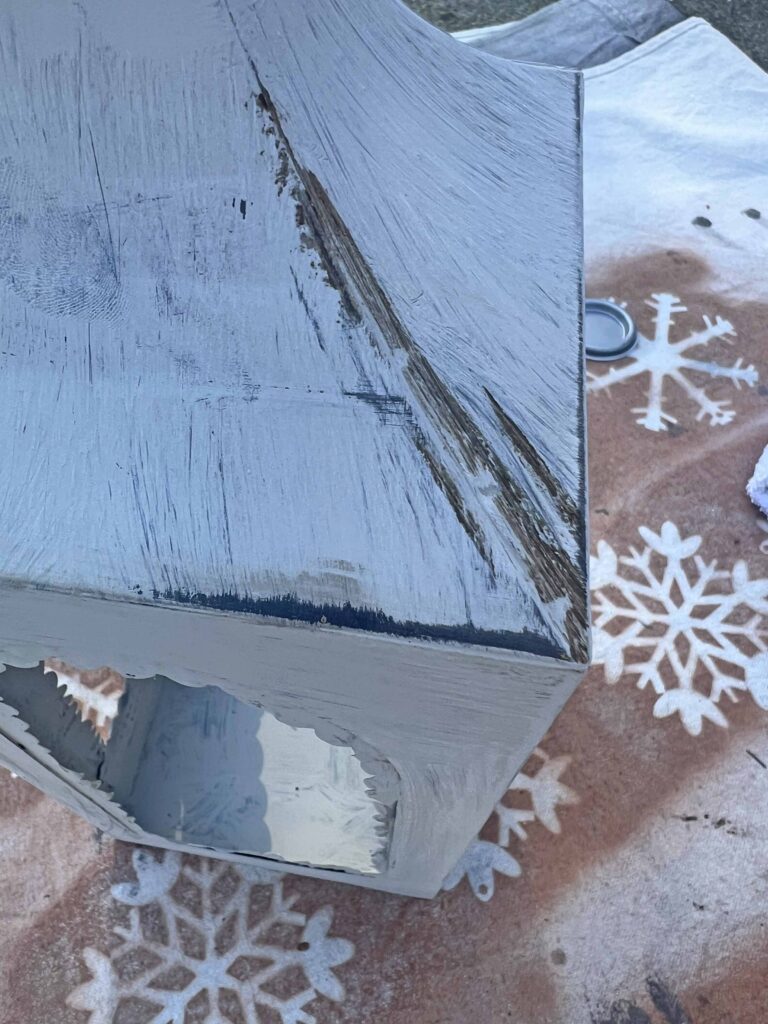
- Apply a layer of gray chalk paint and set aside to dry fully
- Sand around lantern to smooth and distress

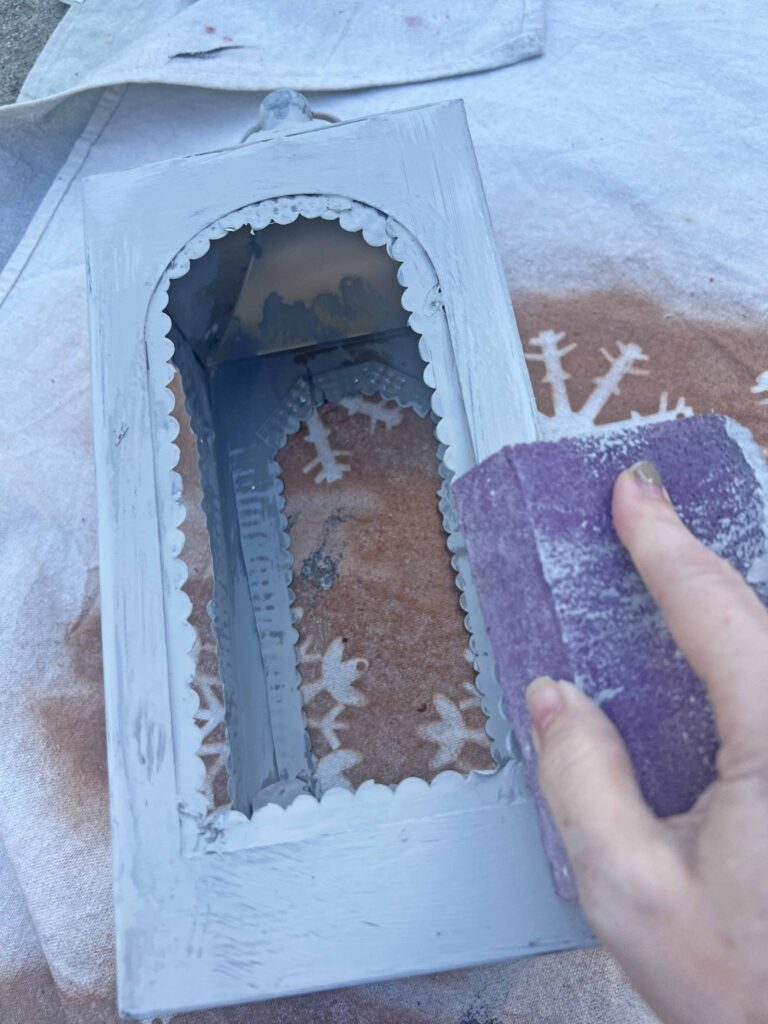
- Apply strokes of dark wax on edges on random spots (start slow you can add more as you go)
- Using a rag wipe wax to blend and distress
- Spray with Clear Acrylic Sealant
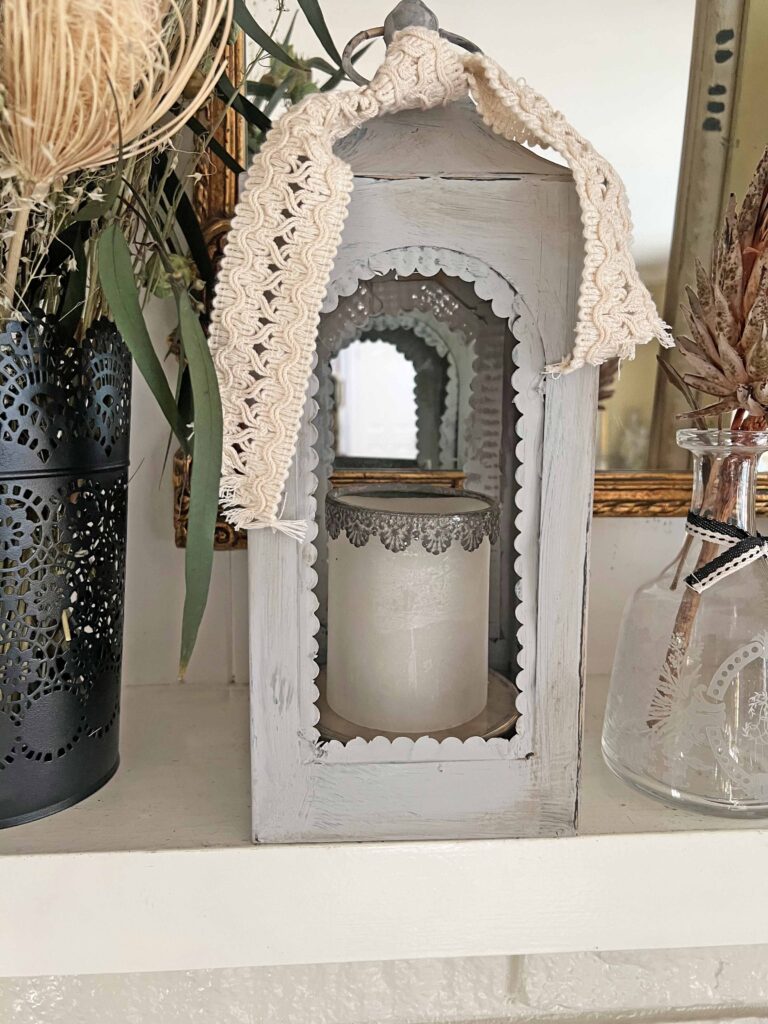
- Voila! Style your new lantern and enjoy the glow
Craft Warning: Please proceed with caution when handling a hot glue gun. Silicone finger protectors are highly recommended. Maintain personal discretion and responsibility at your own risk.
Tips & Recommendations to Keep In Mind
To Punch or not to Punch
If you don’t have a scallop border punch and don’t want to buy one (I totally get it), you could use metal ribbon trim similar to what I used for this project {Wakefield garden pottery knock off}. I have included options in the shopping section below for your convenience. I have a plethora of punches in my craft stash and a maintenance tip for punches is to use them on tin foil to sharpen them, hence where the hair brained idea to punch through an aluminum baking tray came from.
Color Options
I used a few layers of paint, including black, linen and gray to achieve a similar color palette to the original piece. Feel free to experiment with different colors. The layering of different colors achieves the range in color with a similar distressed look. The dark wax also adds an aged distressed effect.
Distressing Dilemma
I prefer distressed, grunge decor hence why I fell in love with the original piece. If that’s not your cup of tea you can apply less distressing or skip it all together. Make it yours. Mr. M always makes fun of me because I like to say that I want something to look like it’s been here for 100 years. I love Old World flair and patina is everything.
Flameless Candles for the Win
I would only recommend using battery operated flameless candles in this lantern. The lantern does not contain a glass enclosure to contain a real flame if something were to happen. Also the layers of paint and sealant worry me around an open flame. I would recommend sticking to decor and faux candles with this piece for precautionary measures.
Value
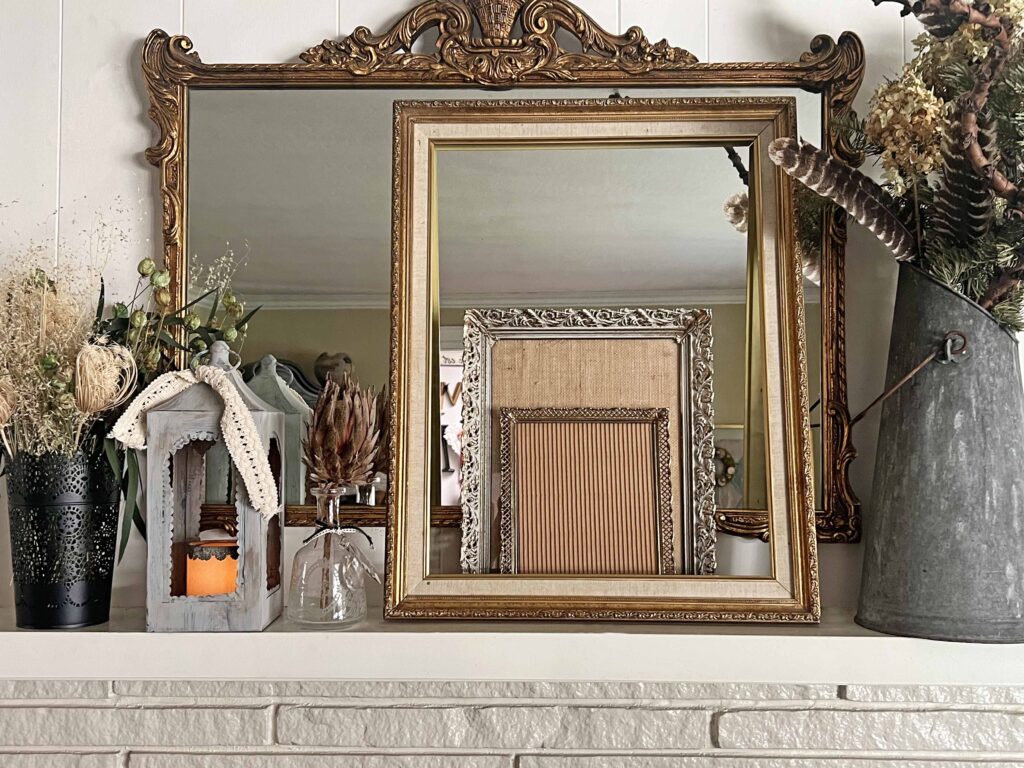
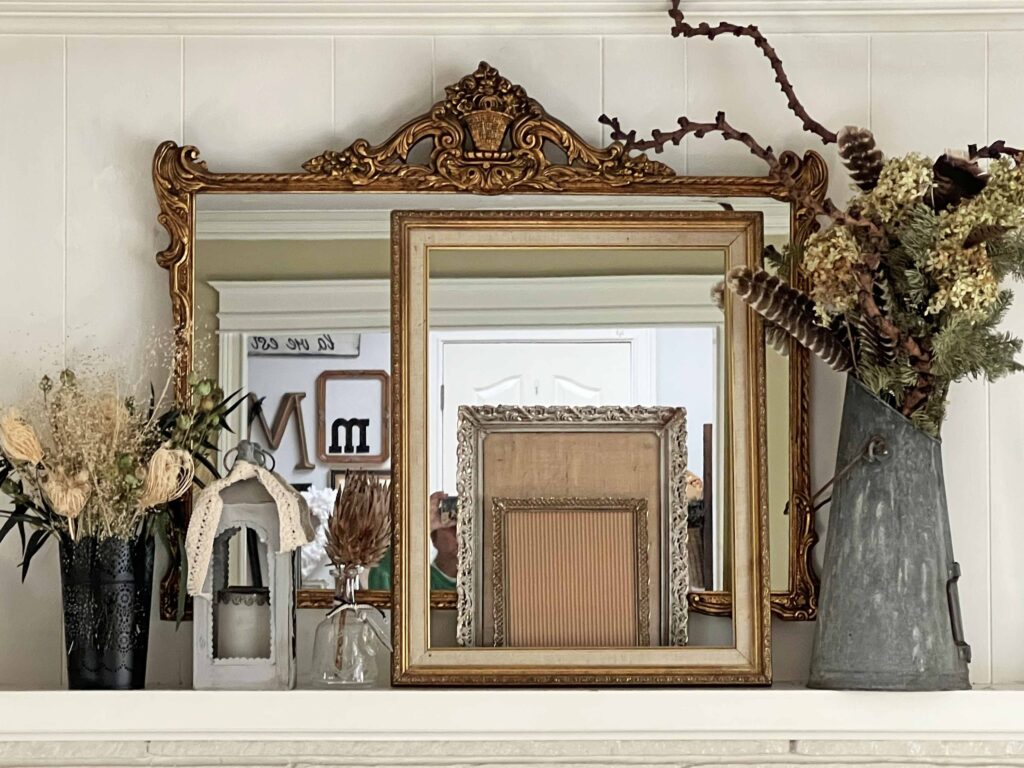
The original lantern is well over $100 while this inspired piece is less than $10. Not bad, huh? I know a metal tin lantern accent doesn’t compare to a beautifully crafted iron masterpiece, but at the fraction of the cost it’s not a bad inspired imposter. I’m loving the glow it’s giving on our winter mantel.
We are always striving to master the art of joie de vivre around here. If you enjoy the good life and want a reflection of this in your home, please consider joining the Masterpiece community. Sign up below and you won’t miss any new content, receiving all new posts directly into your in-box.
Closing Thoughts
When I bought this lantern it cost $5 at the Dollar Tree and there was a smaller version for $3. I was just at the Dollar Tree the other day (if you follow me on social media then you probably saw my rant) and prices have gone up!!! This lantern I think is now $7. I’m sorry but they need to rename the store and rebrand because it’s not the Dollar Tree anymore. Not even close. I did pick up some supplies though, which you’ll see me use in upcoming projects
I hope today’s project inspires you in some way to transform a lesser than piece into a homespun fabulous decor accent. Thanks for dropping by today and can’t wait to see you next time. Au revoir!


Shop the Look
- Traditional Black Candle Lanterns, Decorative Light Home Decor, 15.5″ Tall, Lean & Sleek
- Modern Farmhouse Lantern Decor, Black Metal Decorative Hanging Candle Lanterns Ideal for Home Decor, Parties & Events, 15.1″ High (No Glass Panel)
- Fiskars Border Punch, Scallop Sentiment
- Decorative Metal Ribbon Border Trim, 10 Feet Roll, Flexible Cutout Pattern for DIY Projects (Silver, 1-1/3 Inch Metal Lace-2)
- Craft Scissors
- Glue Gun
- Silicone Finger Protectors
- Surebonder All Purpose Mini-Size Hot Glue Sticks for Crafts
- Rust-Oleum 249844 Painter’s Touch 2X Ultra Cover Spray Paint, 12 oz, Satin Canyon Black
- Annie Sloan Chalk Paint® (French Linen, 1 Litre/33.8 Fl Oz) a unique decorative paint for furniture, cabinets and home décor with no sanding or priming
- Annie Sloan Chalk Paint® (Paris Grey, 1 Litre/33.8 Fl Oz) a unique decorative paint for furniture, cabinets and home décor with no sanding or priming
- Annie Sloan Chalk Paint® Wax (120 mL, Dark) – Protective Furniture Wax for Paintwork | Seals, Softens & Enhances Hand-Painted Finishes
- Wax Paint Brush, 2 Inch Round


Don’t forget to Pin It and save for later. You never know when inspiration will strike!
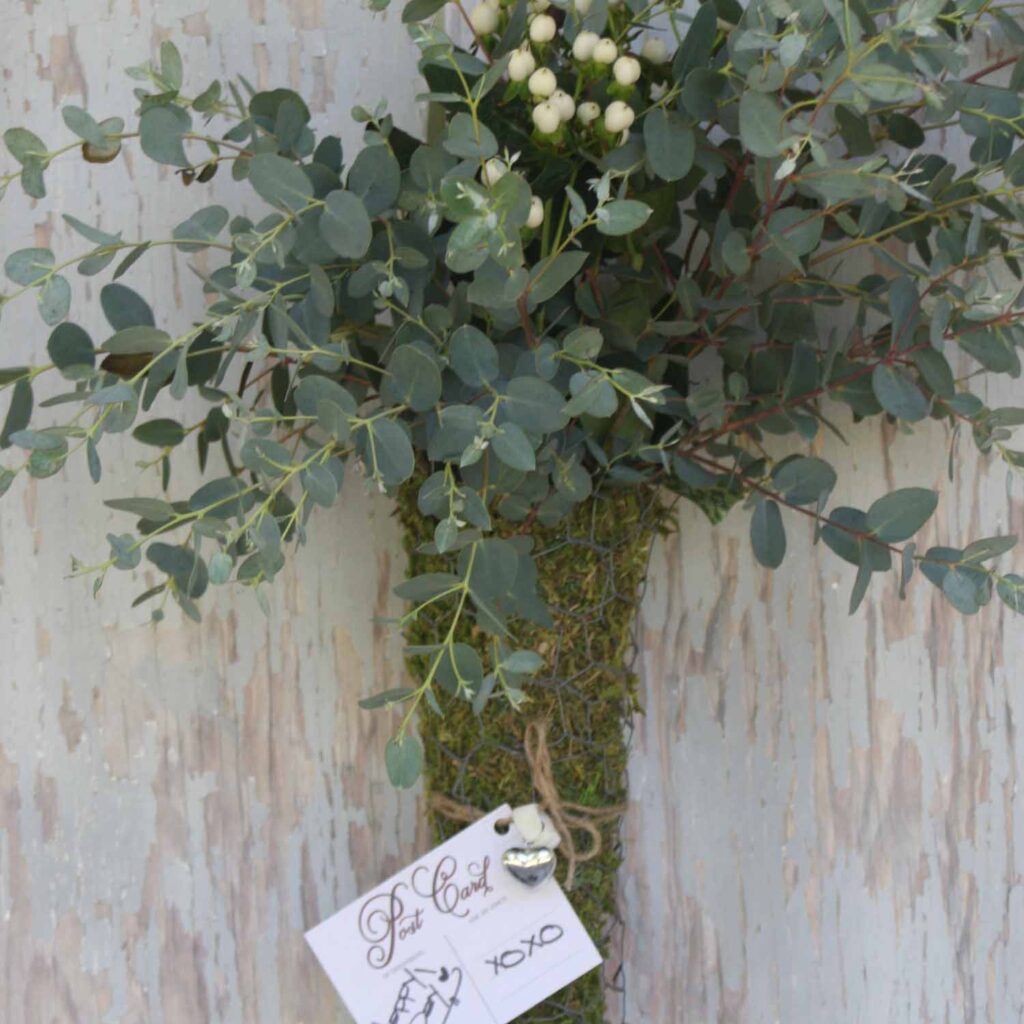
More Related Posts

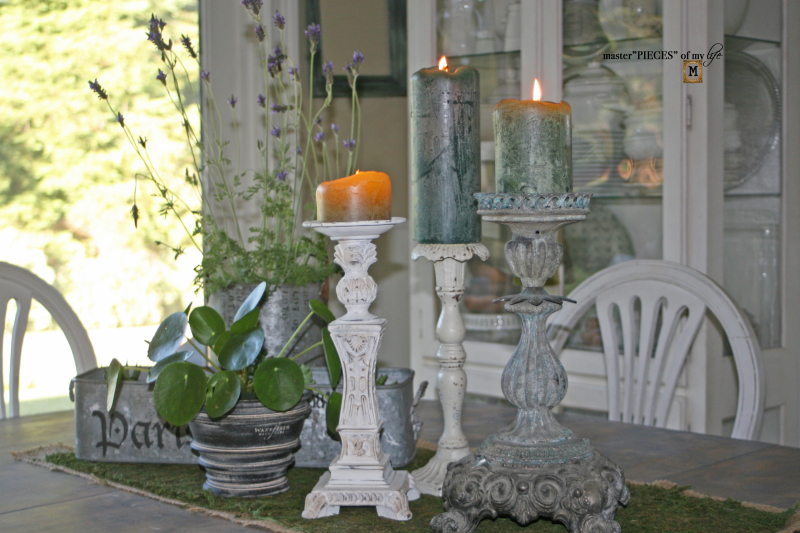

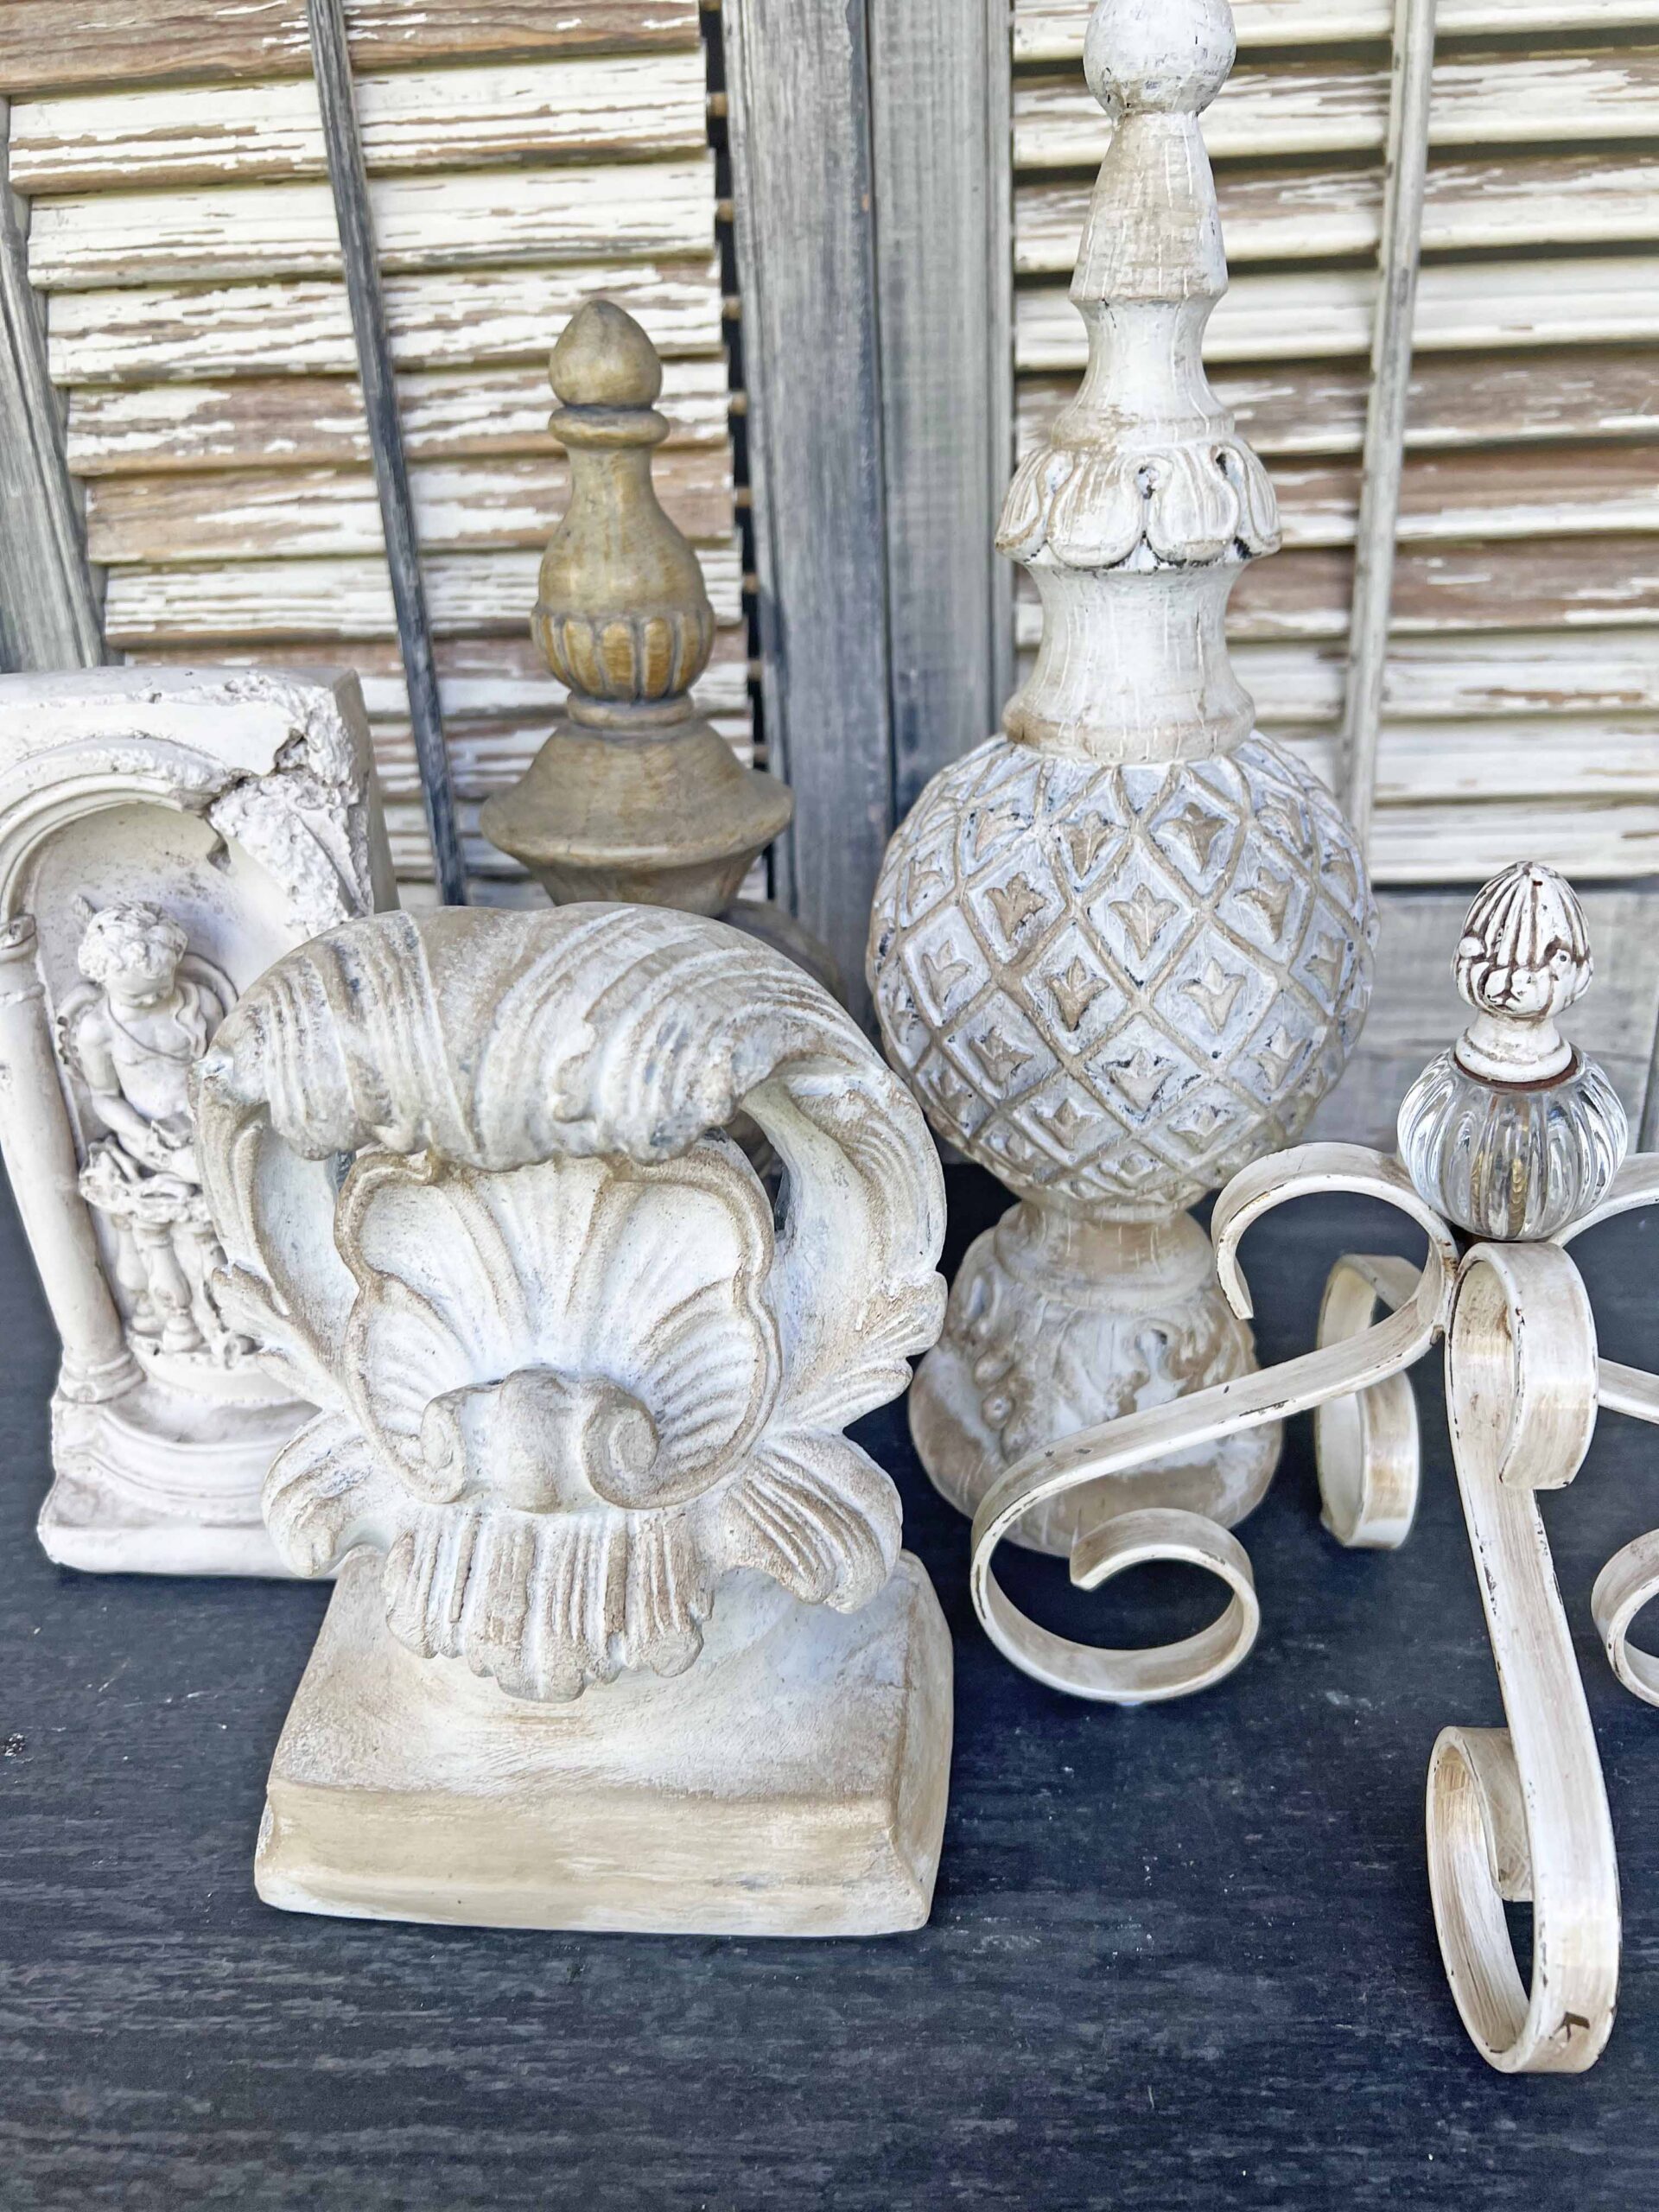

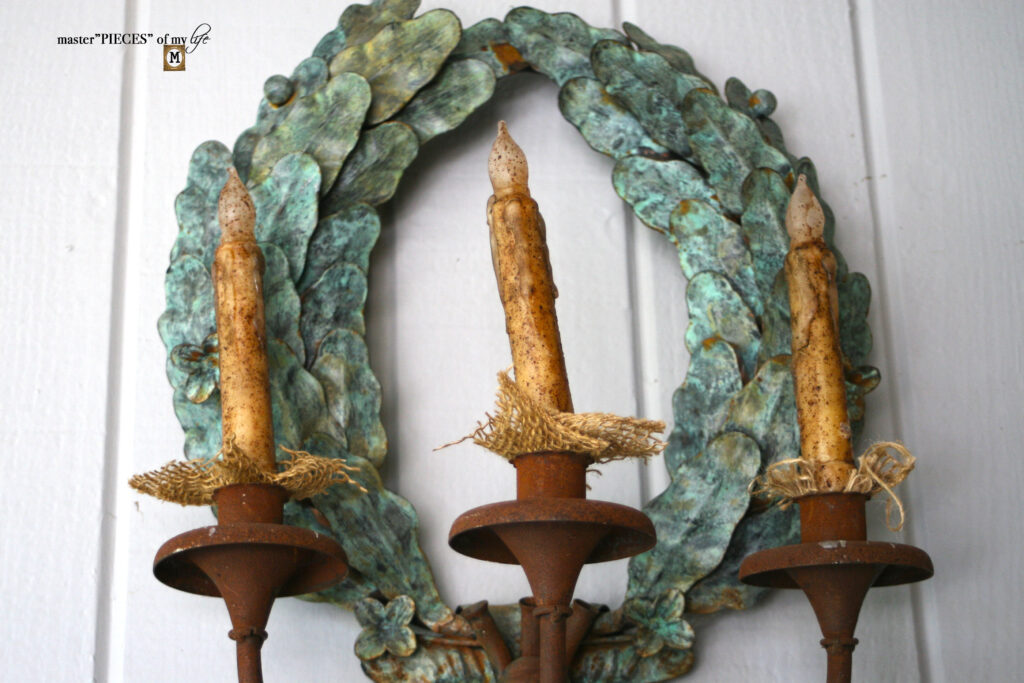
Most Recent Posts


Moon is the light from a lantern in heaven”
Munia Khan