


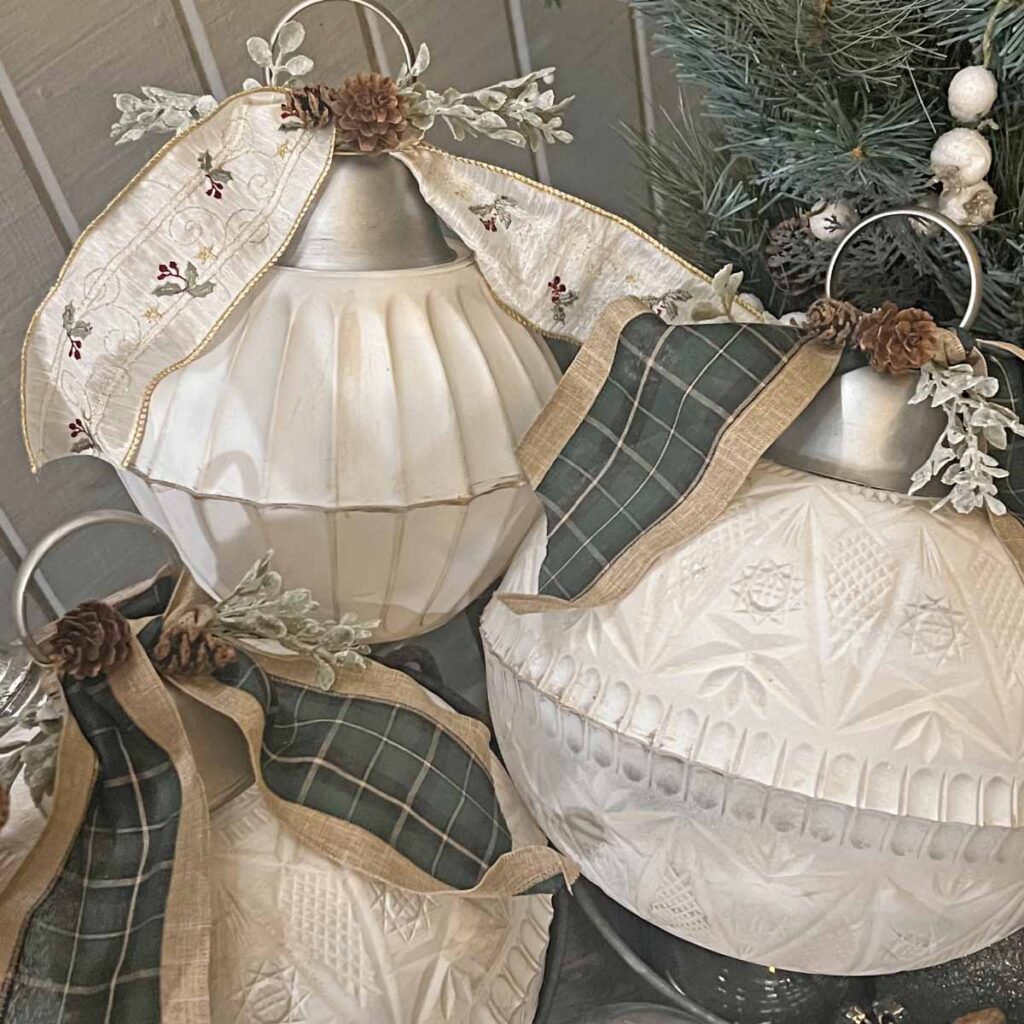
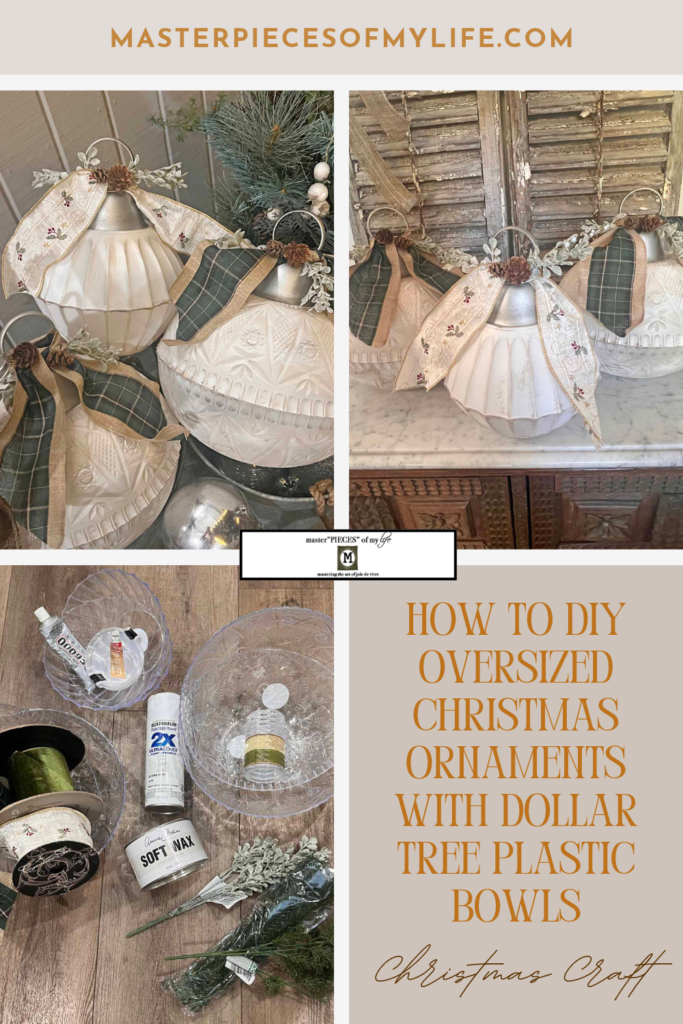
Do you like to create your own decor and seasonal decorations? If you do, I have some inspiration for you today. Simple and affordable supplies from the dollar store come together to create awesome and magical oversized Christmas ornaments. And the best part? You can customize them to your own decor aesthetic. Please join me as we create this easy and affordable Christmas ornament from dollar tree plastic bowls.

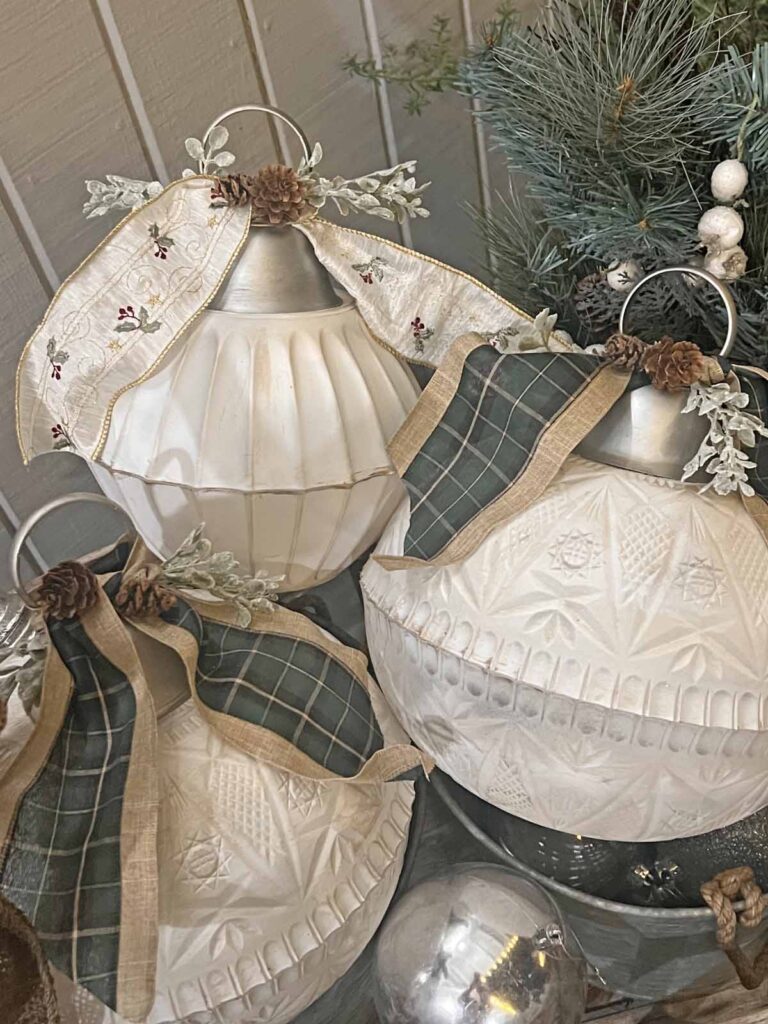
These ornaments are created in a neutral and muted palette since it’s my preference, but feel free to use red & green traditional colors or silver & gold for a bit of glam. Deep reds like burgundy and maroons are on trend this year and would look stunning for this project. You do you and make them yours.

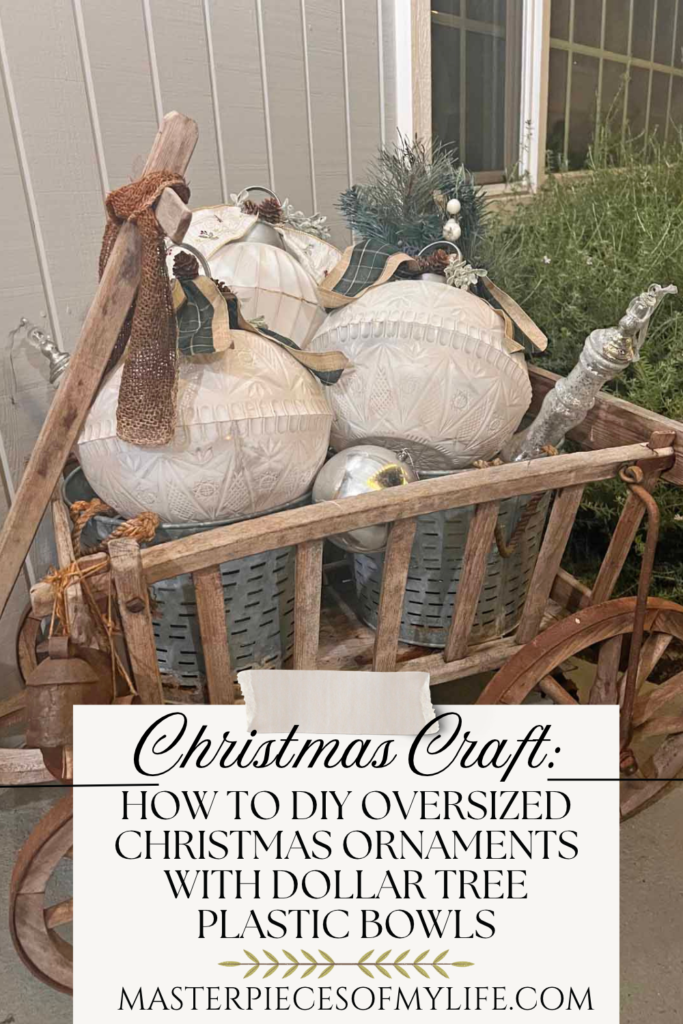
The Gist
Oversized Christmas Ornaments DIY from Dollar Tree Bowls
> Simple plastic bowls create the most amazing Christmas ornaments for unique holiday decor accents
> Step by step guide to create oversized ornaments easily and economically
> Discover tips and recommendations for crafting at home
*Affiliate links might be included for your convenience. These affiliate links mean a small commission is earned if you make a purchase using these links at no extra cost to you. As an Amazon Associate I earn from qualifying purchases which support this website. For more information: Full Disclosure Policy.
Inspiration Behind the Oversized Christmas Ornament DIY
Do you remember the charming moss Easter bunny or the fabulous Easter egg we created from Dollar Tree party plastic supplies? Well, we are going to piggy back on that concept to make whimsical giant ornaments. Affordable plastic bowls and trays can be used to create unique and personal seasonal decor. This particular Christmas ornament DIY has been trending for awhile and this is my personal process and take on the project.


Check out these other projects for more inspiration:
How to Create Oversized Christmas Ornaments from Dollar Tree Plastic Bowls
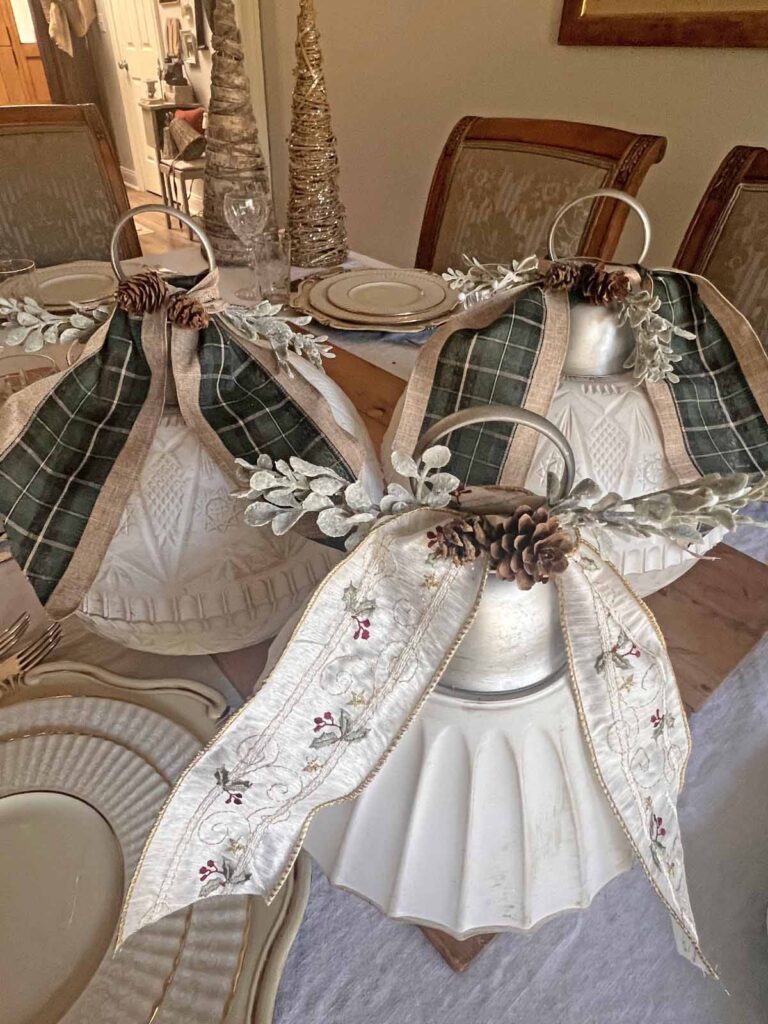
With some supplies from the Dollar Tree you can easily do this too! Below I provide the information to make one ornament but make as many as you want or need. I created 2 large ornaments plus a small one for a particular styling project- more on this later.



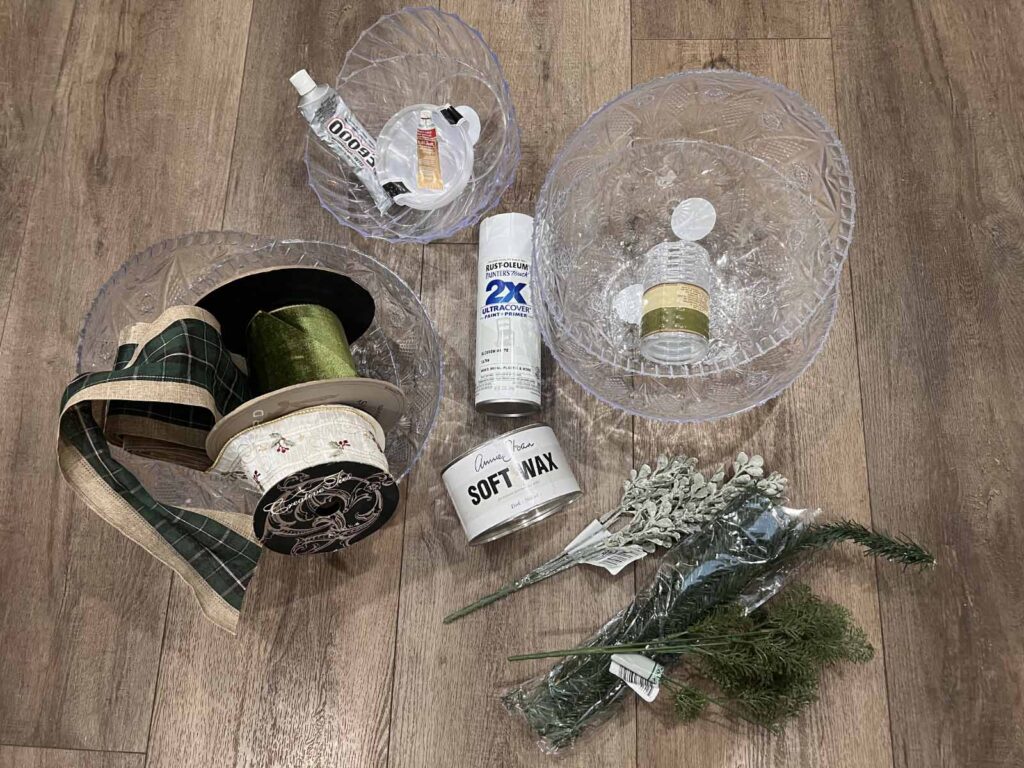


MJ Insider Craft Pro Tip:
Read all the instructions through once & then re-read everything again, familiarizing yourself with everything you need. By knowing what to expect avoids any surprises during a project, preventing unnecessary stress.
STEP-BY-STEP INSTRUCTIONS
Prep Project
- Read instructions thoroughly
- Assemble all supplies
- Remove all tags and stickers from supplies

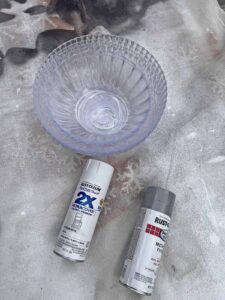
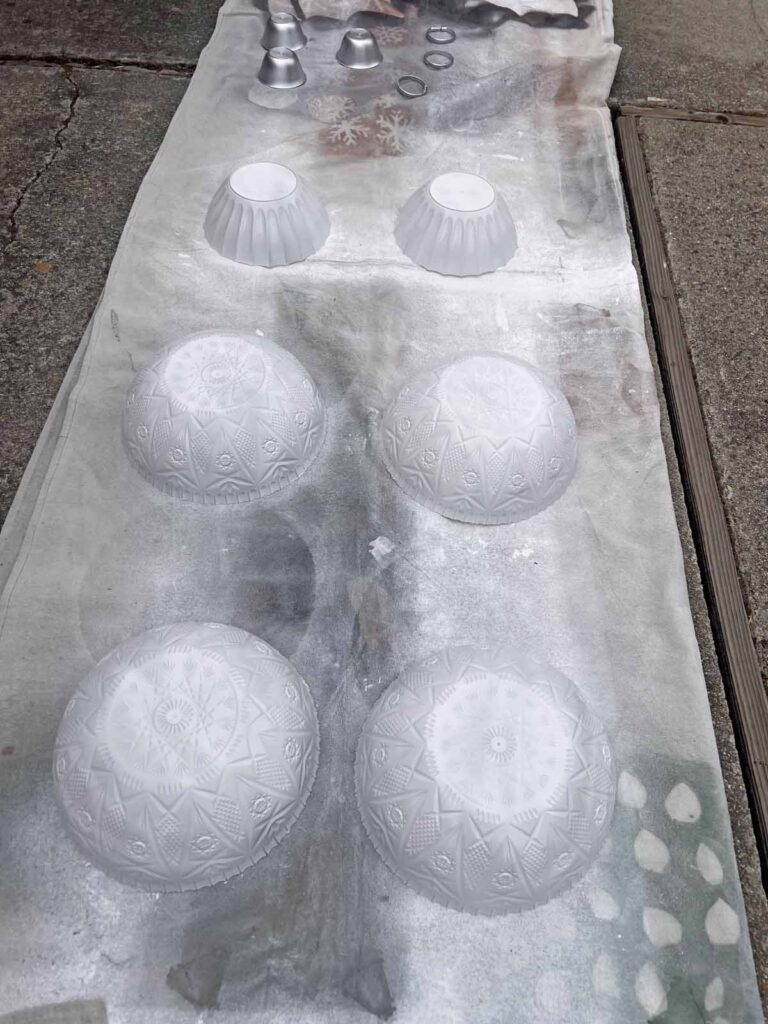
Paint Plastic Supplies
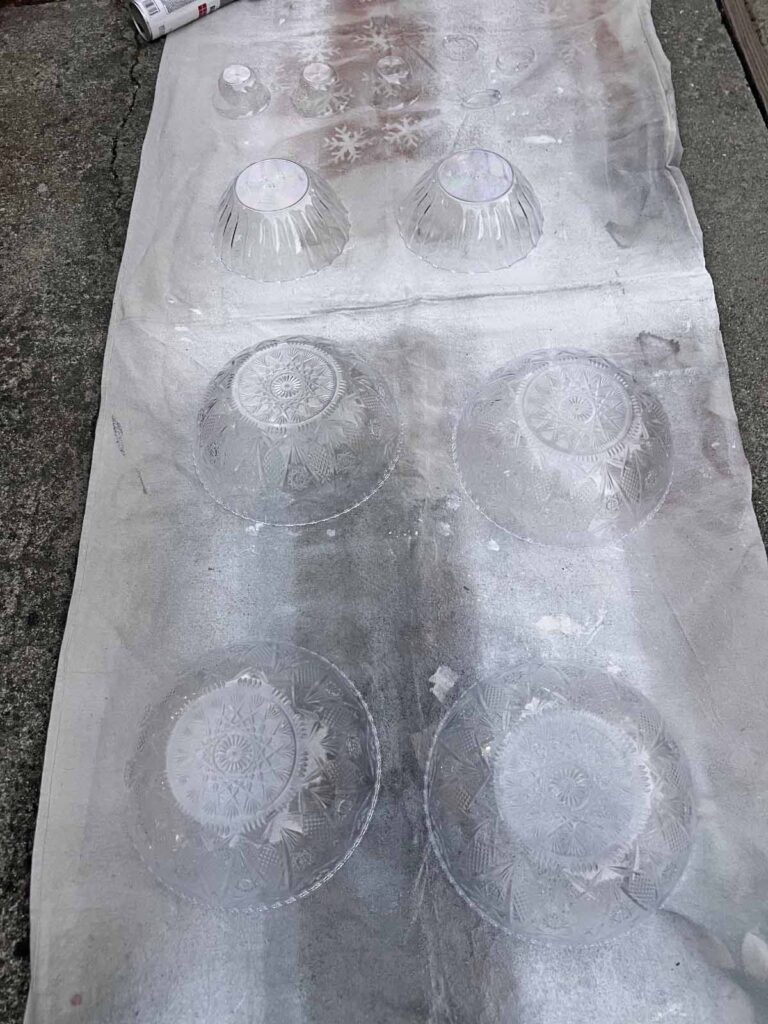
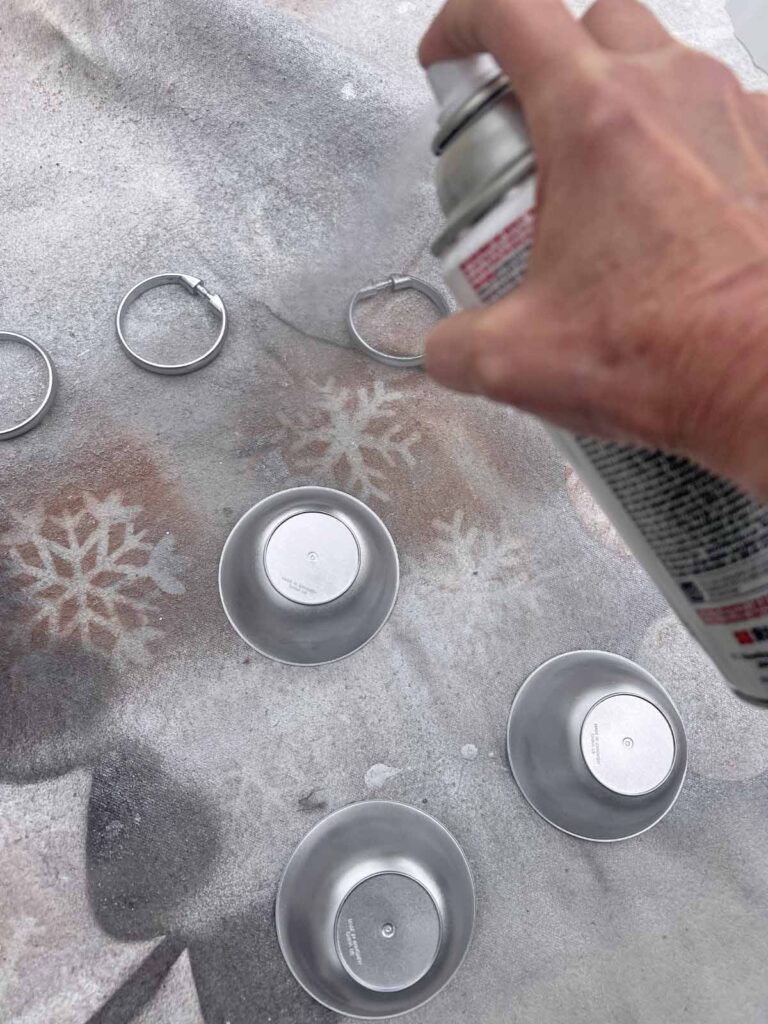
- Place plastic bowls upside down and curtain ring on paint tarp, cardboard, etc.
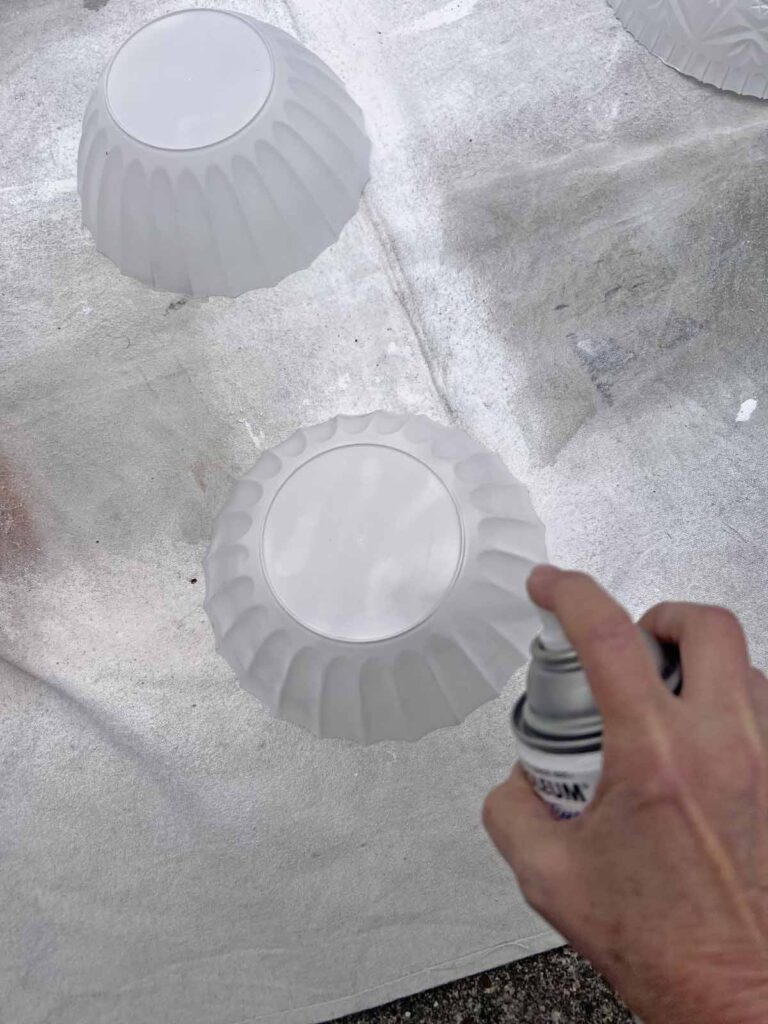
- Using white spray paint- paint large bowls
- Using silver spray paint- paint small bowl and curtain ring
- Once paint has dried fully, apply a second coat of paint on all the plastic elements using the same colors
- Allow everything to dry fully
Glue Bowls (forming ornament)
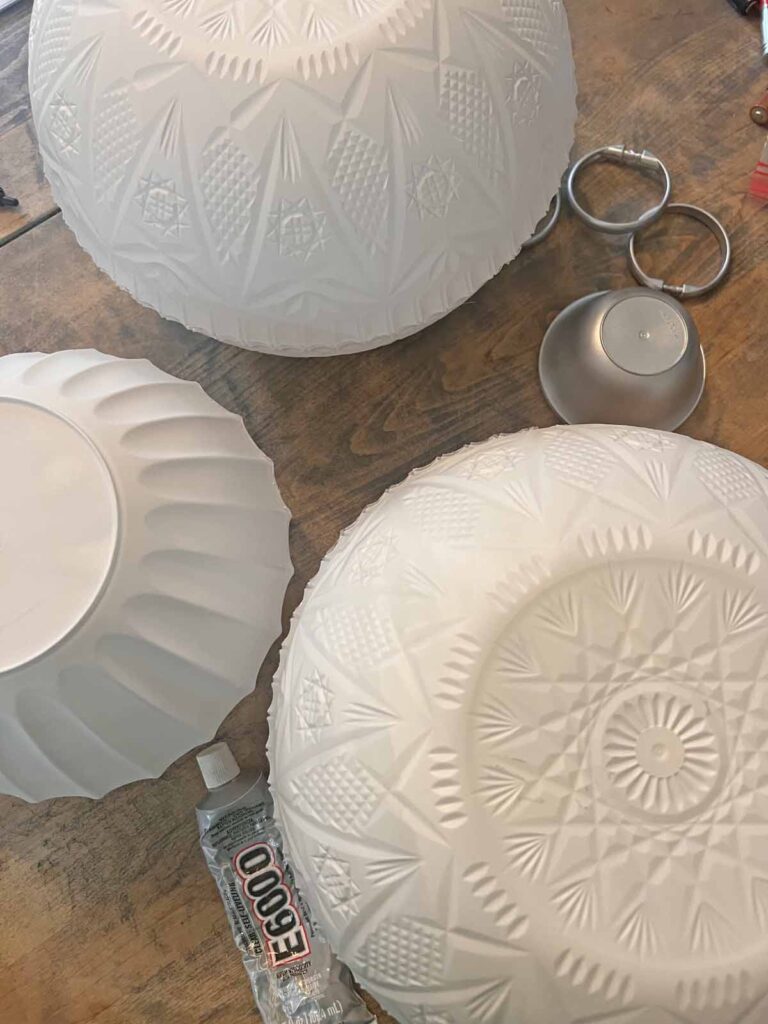
- Once all the paint has dried completely and can be handled, assemble ornament shape
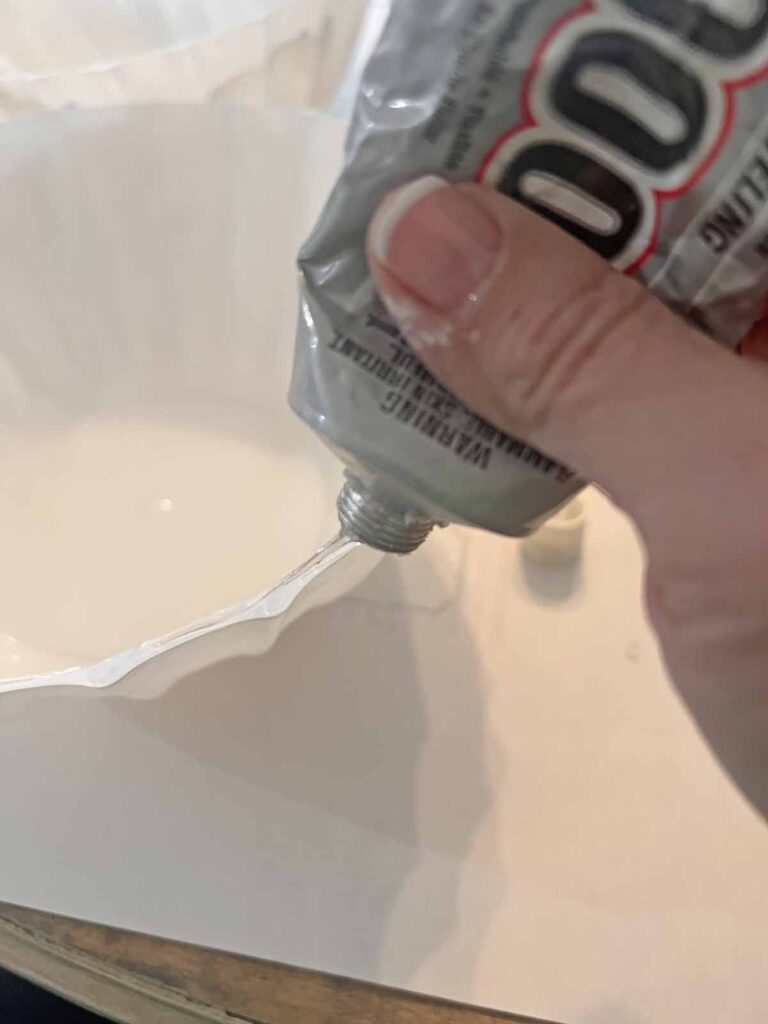
- Apply a liberal amount of E6000 adhesive around the entire rim of one large bowl
- Carefully set bowl against the edge of other matching bowl, lining pattern correctly, and hold until the glue starts to set
- Put glued bowls aside to fully set, allowing the glue to cure completely (I recommend allowing it to sit overnight so it can be handled for the rest of the project without worrying it might come apart)
Distress Painted Plastic Supplies
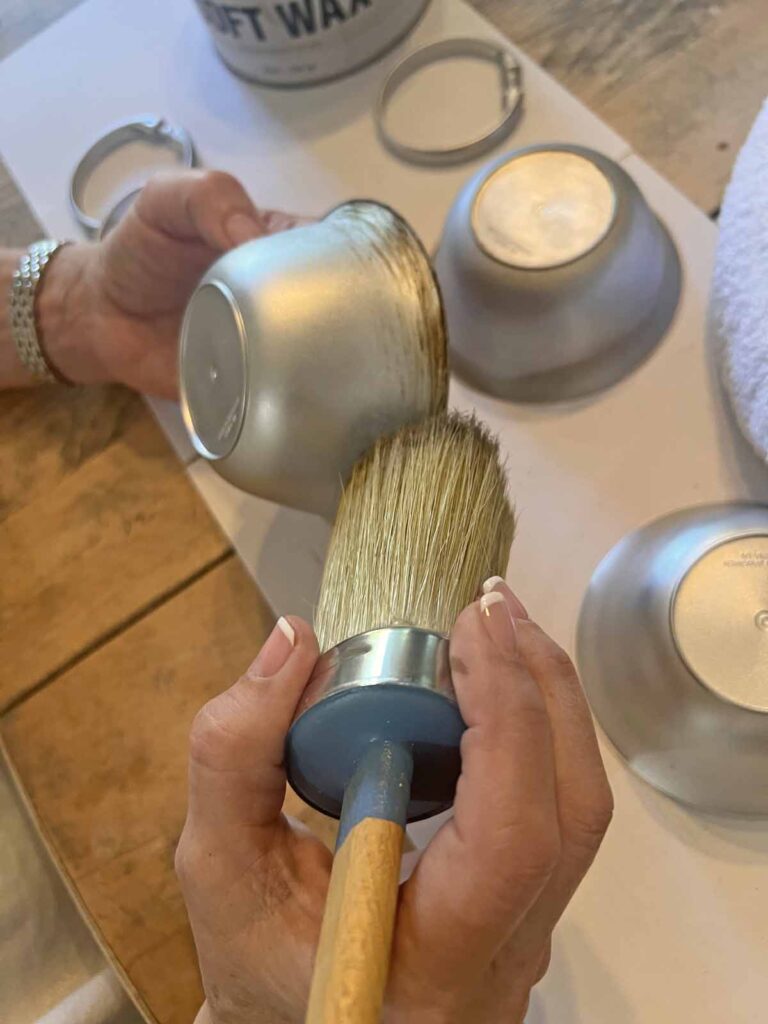
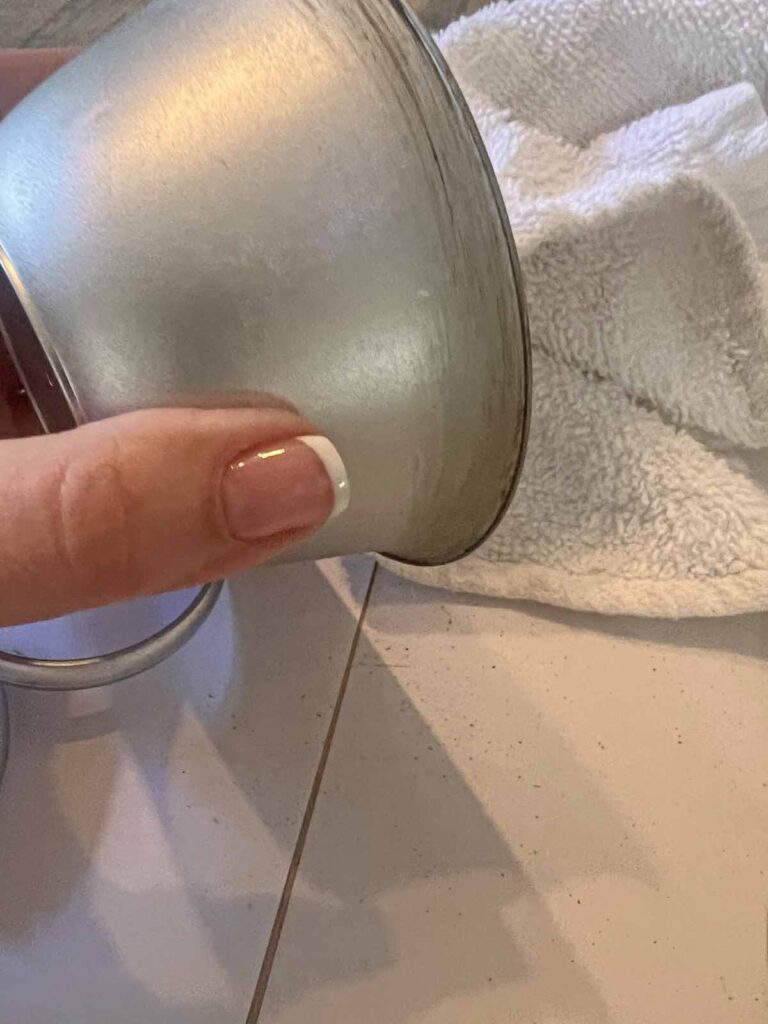
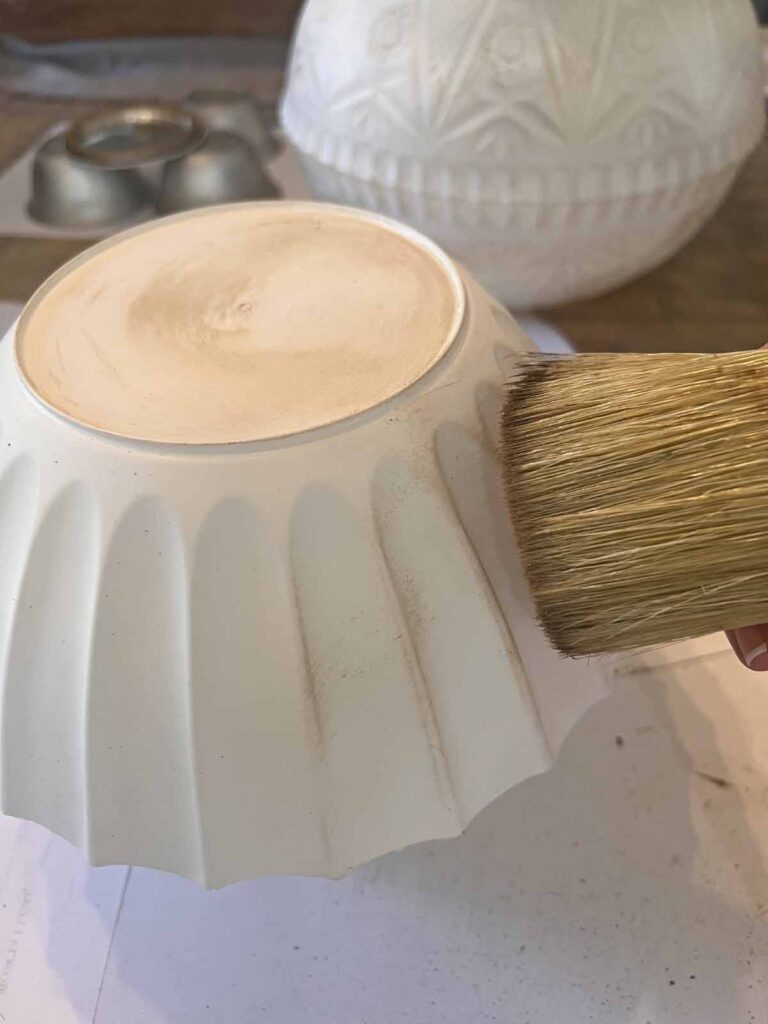
- Using a wax brush apply a liberal amount of dark wax around the outside edge of small silver bowl
- Using a rag wipe away at the dark wax to cause it to fade, creating a patina effect
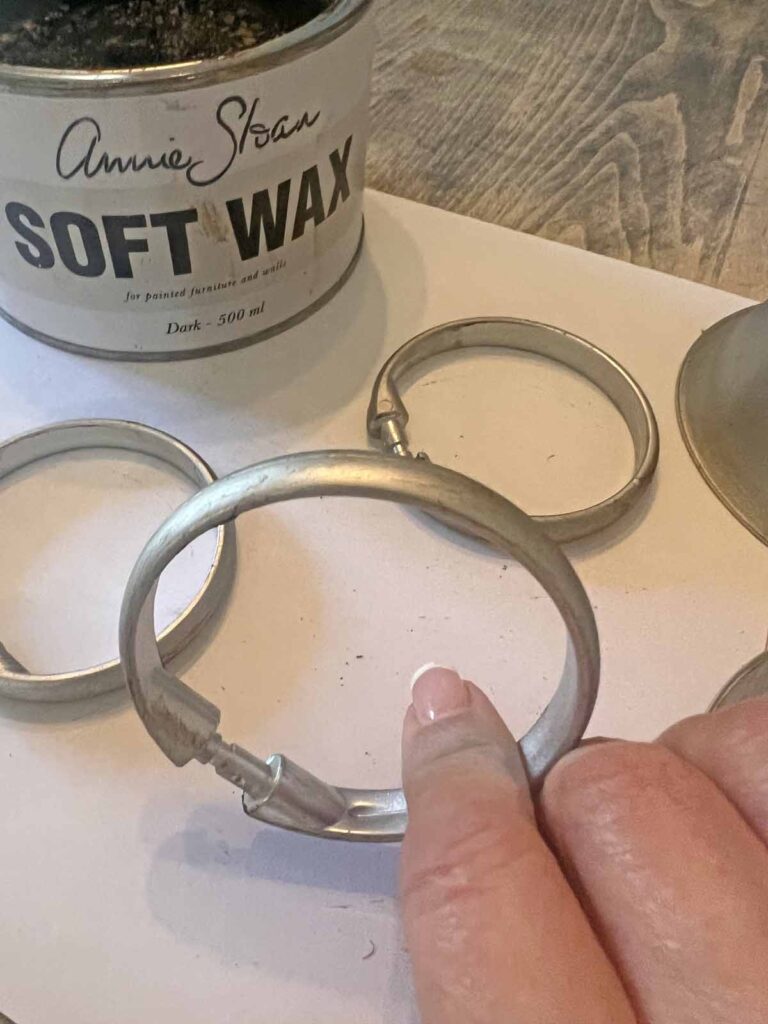
- Apply dark wax all around curtain ring and wipe with rag to also patina
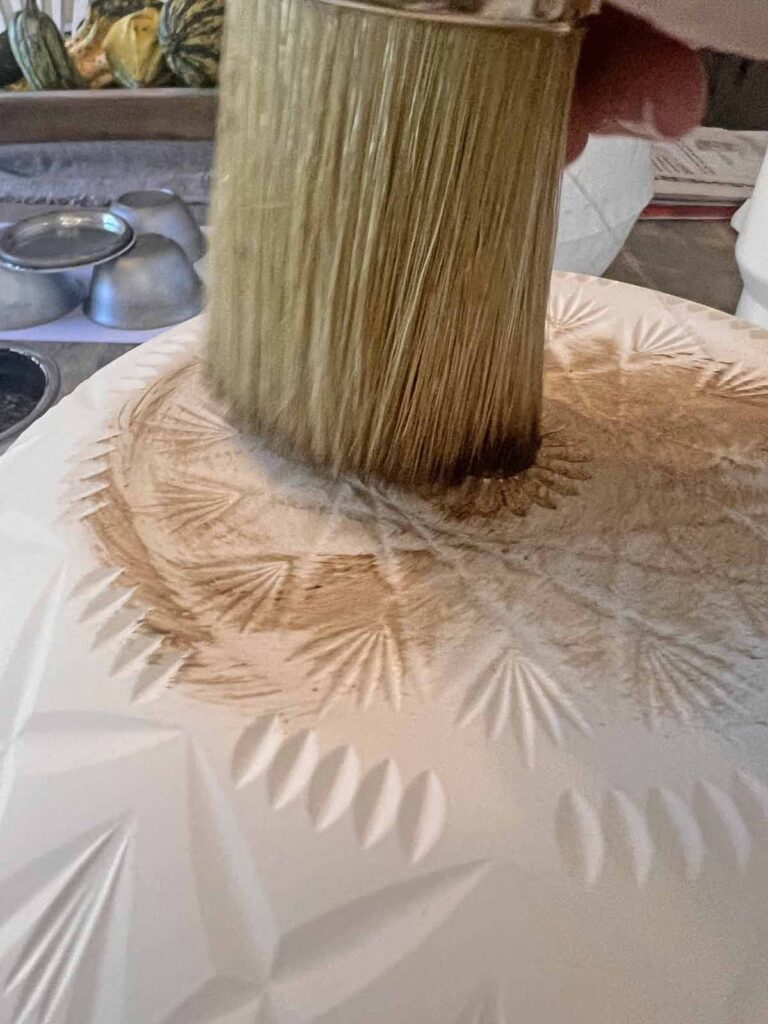
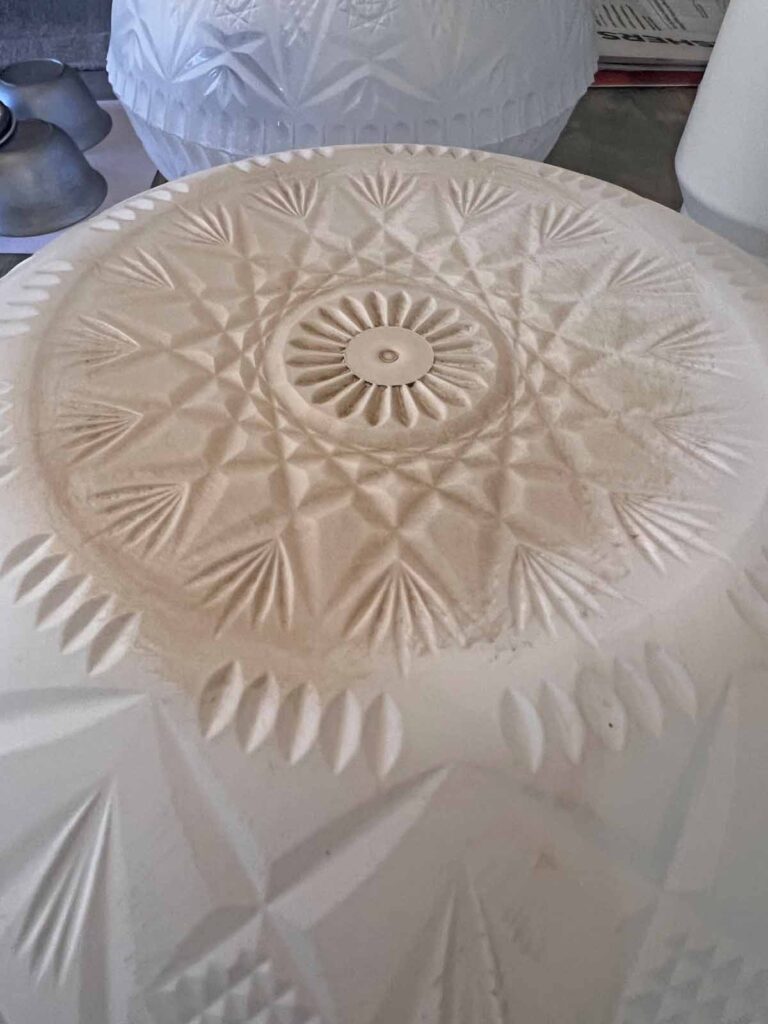
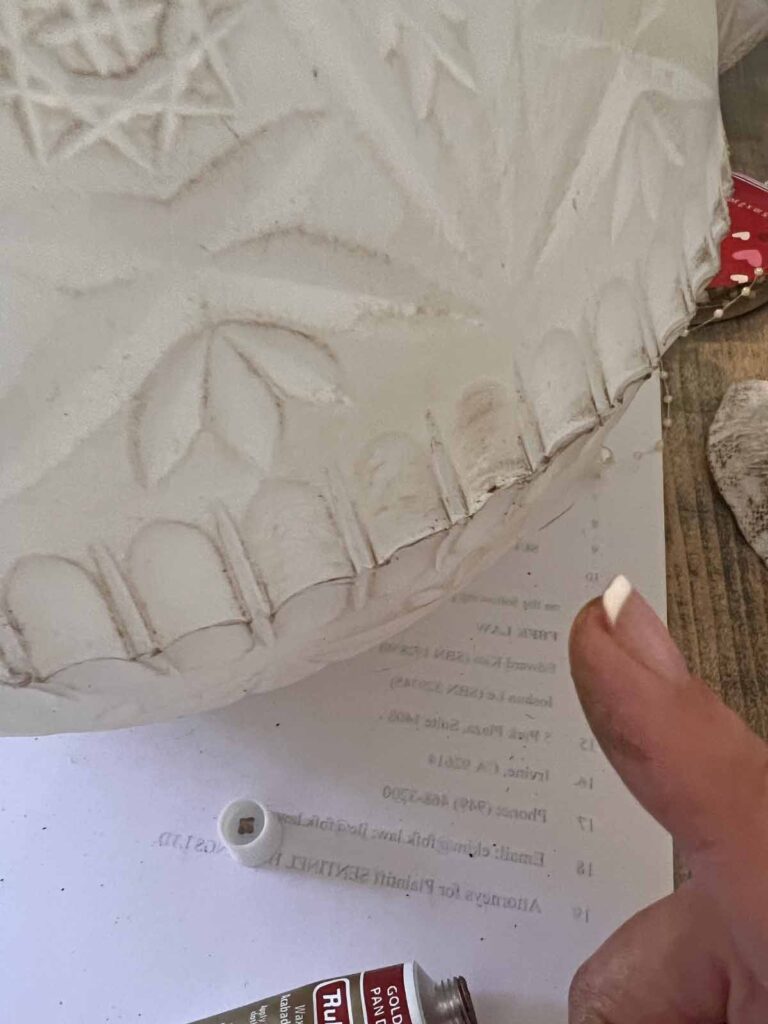
- Starting in a small section, apply dark wax on bowls (ornament) and wipe with rag to soften look
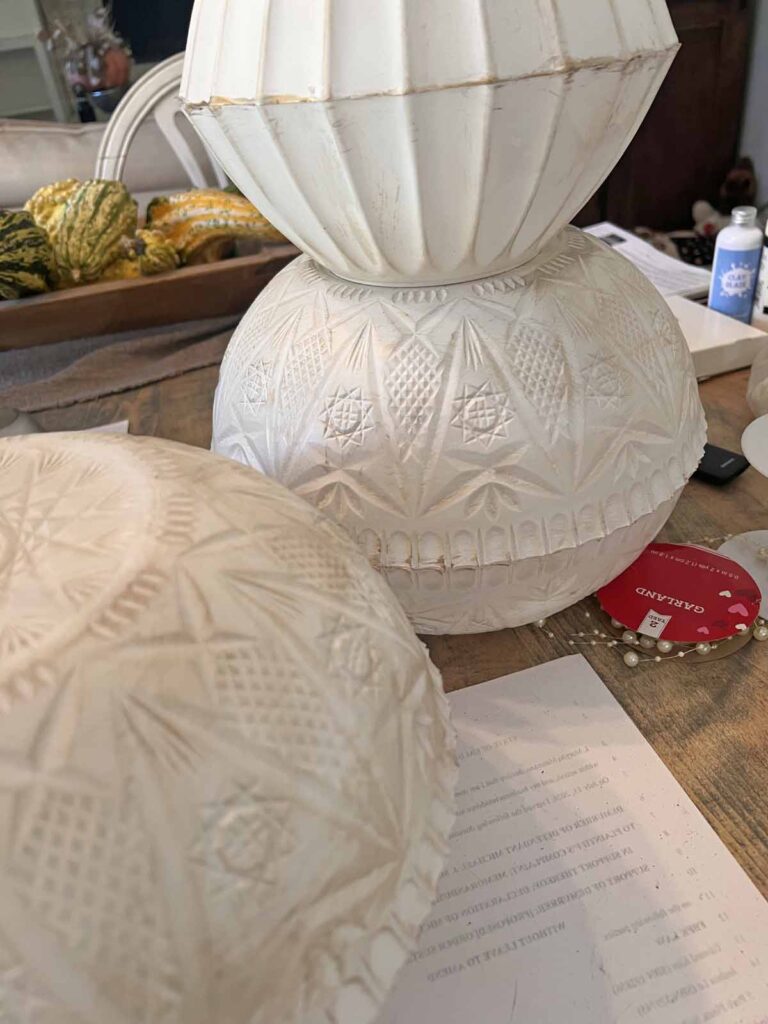
- Work around entire ornament, applying wax and wiping with rag until you reach desired effect
- Set aside
- Using gold rub’n buff apply small amounts on raised edges of ornament and wipe away, creating faded gilding effect (I prefer to use my finger to apply Rub’n Buff but you can also use a small paint brush if you desire)
Add Ornament Top
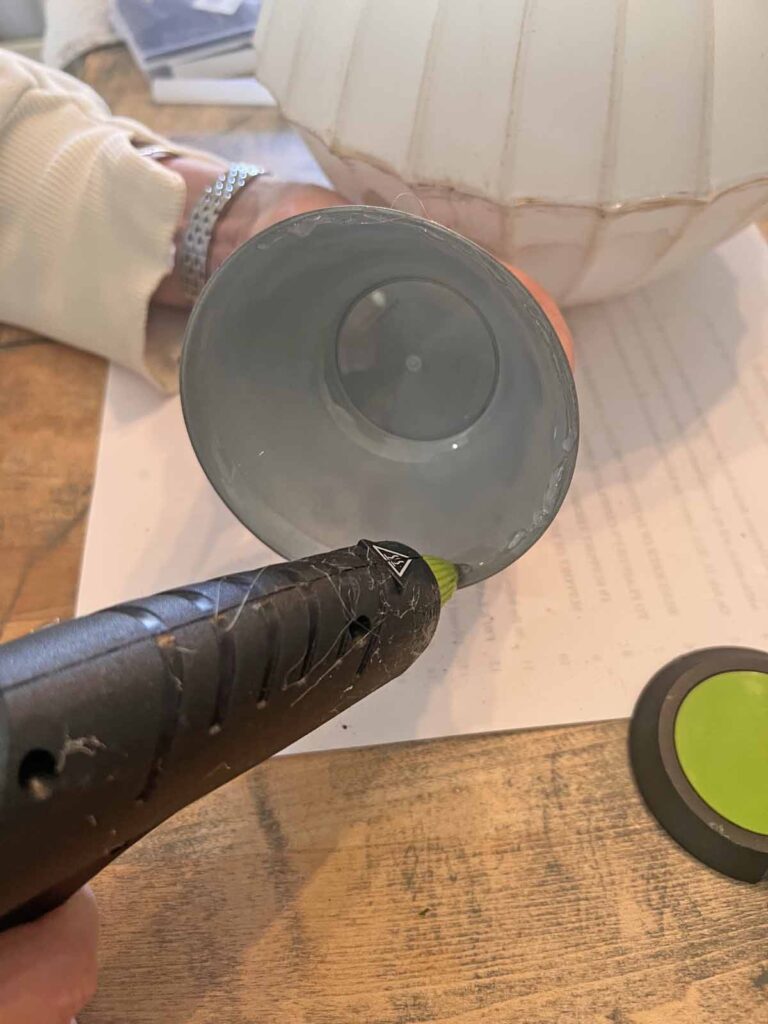
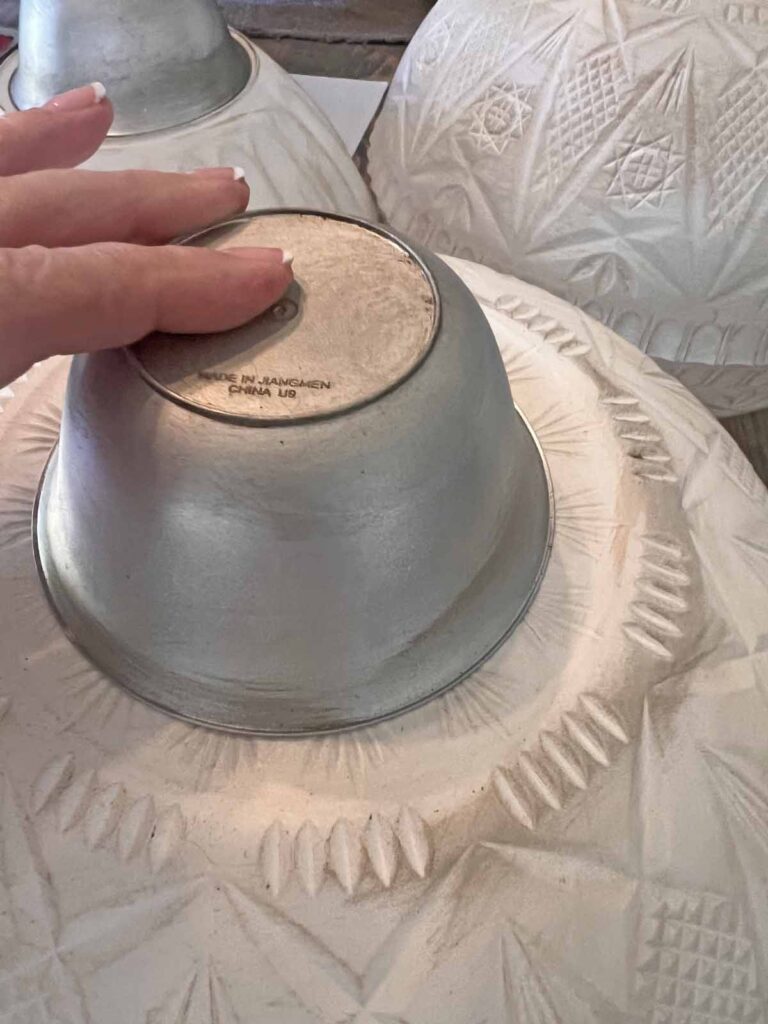
- Apply a liberal amount of hot glue around inside rim of small silver cup
- Place on top of ornament and hold to adhere
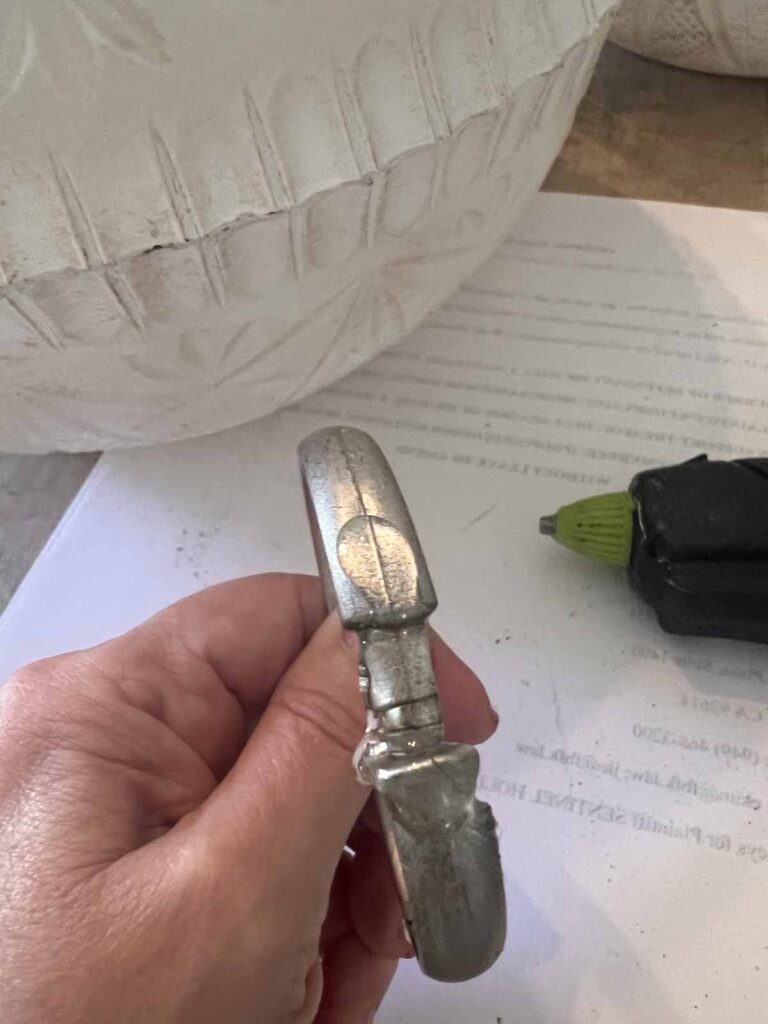
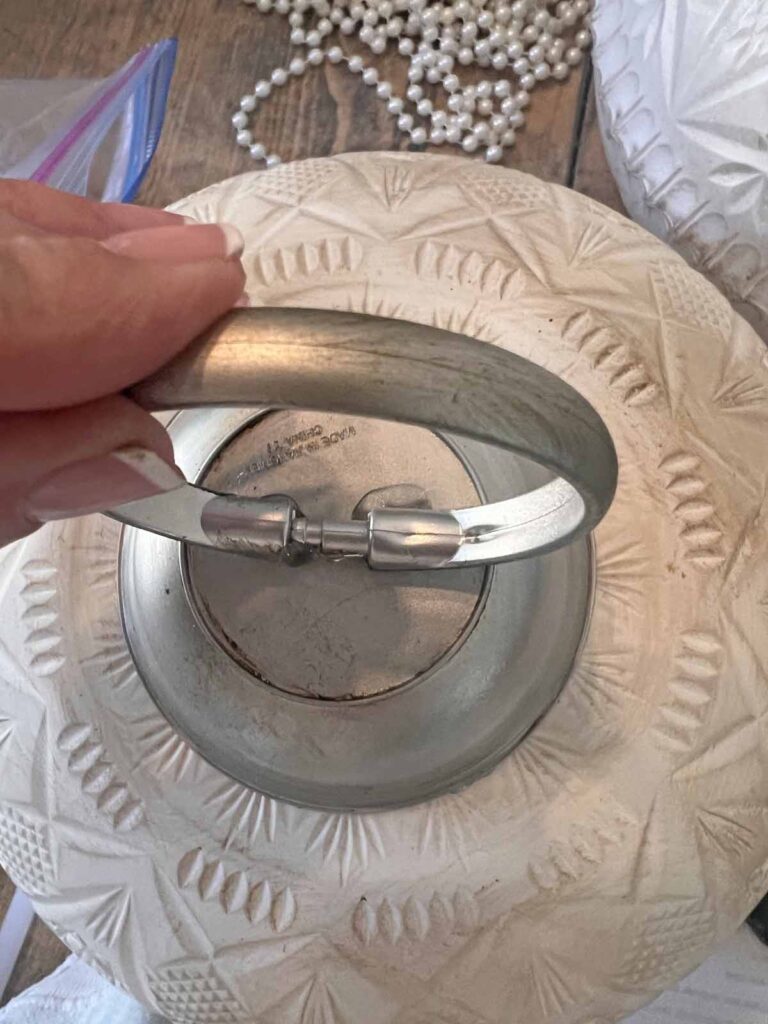
- Place a liberal amount of hot glue on flat edge of curtain ring and adhere to top of small silver bowl (hold it in place for a minute or so, so it sets properly)
- Your ornament shape is complete with ornament, cap and hanger
Embellish Ornament
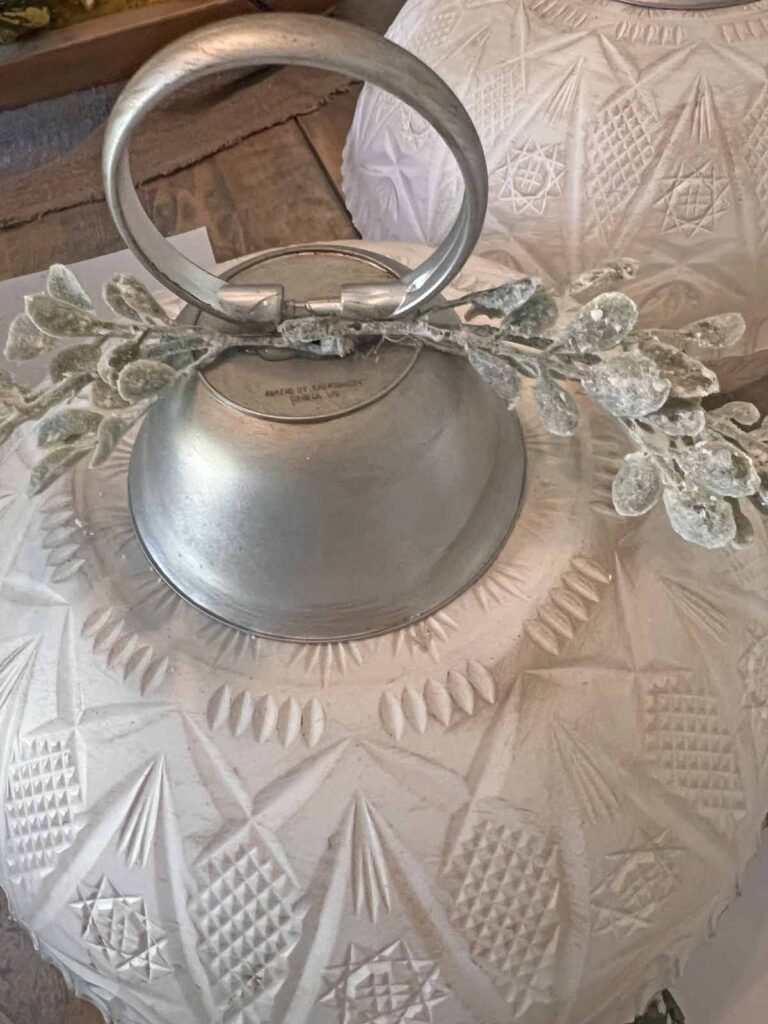
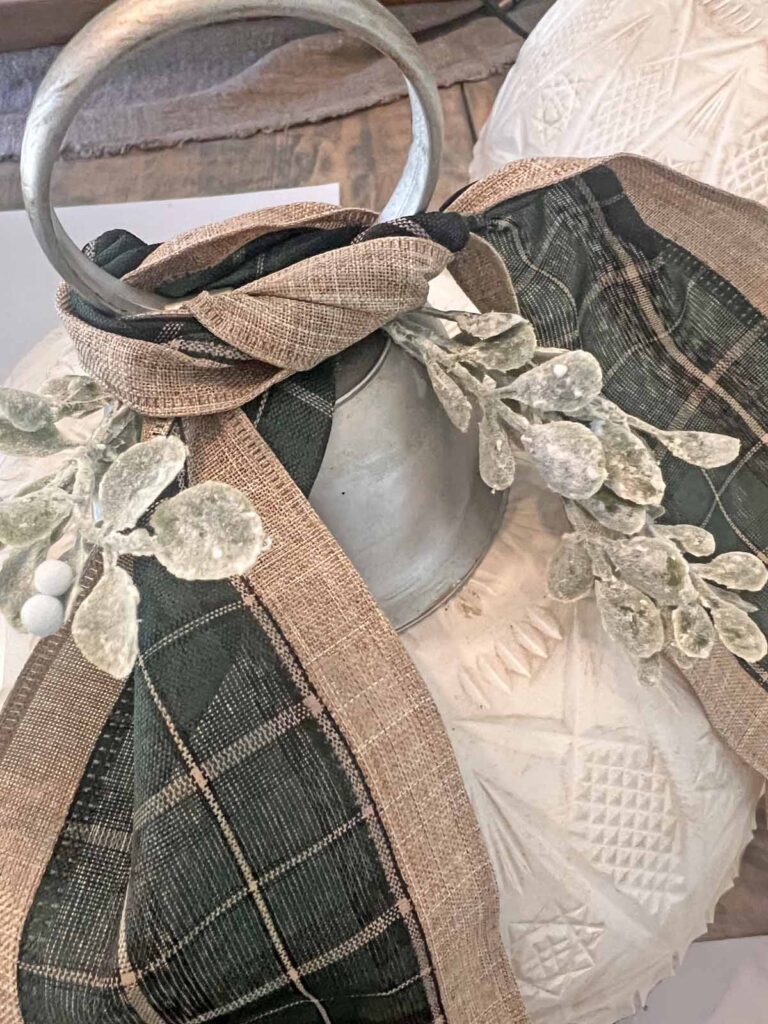
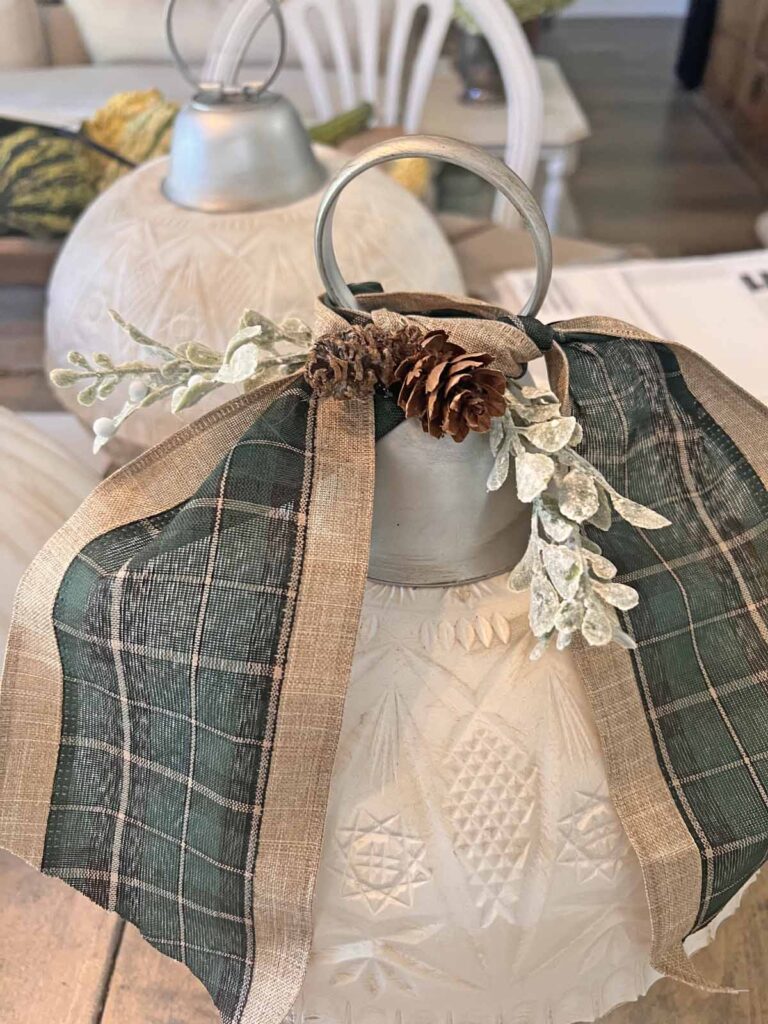
- Using hot glue gun add greenery sprigs around ring base
- Add a piece off ribbon around where the ring meets the cap and tie a knot or bow to hide the mechanics
- Using hot glue gun add small pine cones on top of greenery
- Voila! Display your oversized Christmas ornaments proudly
Warning
Please proceed with caution when handling a hot glue gun. Silicone finger protectors are highly recommended. Maintain personal discretion and responsibility at your own risk.
Tips & Recommendations to Keep in Mind
Color Options are Limitless
Use colors and patterns which compliment your style and home aesthetic to decorate the ornament(s). The colors used here are muted, but feel free to use colors that speak to you and coordinate your decor. Red and green would be beautiful for a traditional look or gold and silver would add a bit of glam. This is an easy and affordable project which lends itself to apply trendy colors. The deep reds are having a moment and would look beautiful. Chartreuse is a favorite color of mine and would be fun for this project. The key is to coordinate your home interior design seamlessly, and personal crafts do just that, allowing for customization.
To Patina or Not To Patina
That is a question only you can answer. I like distressed, grungy old stuff that has lived and has amazing stories to tell. Although these are newly created pieces, I want it to have that old world feel like they’ve been around a bit. If you prefer a cleaner look and a more contemporary feel, you might want to skip the waxing and|or gilding steps. Keep in mind the distressing helps accentuate the details in the plastic bowls, bringing out the pattern. Do what works for your home and personal aesthetic. Always be true to your style and your home will coordinate with itself.
Use What You Have
I’m a big proponent of using what you have before buying new stuff. The spray paint were in the garage left over from other craft projects like this and this. To decorate the ornaments I used ribbon, greenery and pine cones which were already in my craft stash. Also if you find deeply discounted supplies like ribbon or greenery which are your style, I say pick them up since invariably they will fit a project down the road at a fraction of the cost. Thrifts, garage and estate sales are also great resources for affordable craft supplies.
Work Through the Creative Process
When starting projects like this, collect as many supplies as you believe will work with the craft. Then as you create and bring everything together use what works and exclude the misfits. Use elements which speak to you and let your instincts guide you as you bring a piece to life. Make the piece yours so each time you see it, it brings a smile to your face. Creating unique decor accents is a favorite around here.
MJ Insider Crafting Pro Tip:
Save remnants and left over materials from projects, rather than throwing out or donating. Invariably the remnants will come in handy for a future project. Sometimes you just need a little piece of something, not requiring to buy a whole spool or package of something. It’s economical and practical.


We are always striving to master the art of joie de vivre around here. If you enjoy the good life and want a reflection of this in your home, please consider joining the Masterpiece community. Sign up you won’t miss any new content, receiving all new posts directly into your in-box.

Grab a copy of my free
Vintage Home
Decor Guide
This guide provides 10 easy ideas to add timeless charm to your home with a free PDF full of images and inspiration.
PSA…
I don’t k now who needs to hear this
Count down to Christmas …
Just saying…
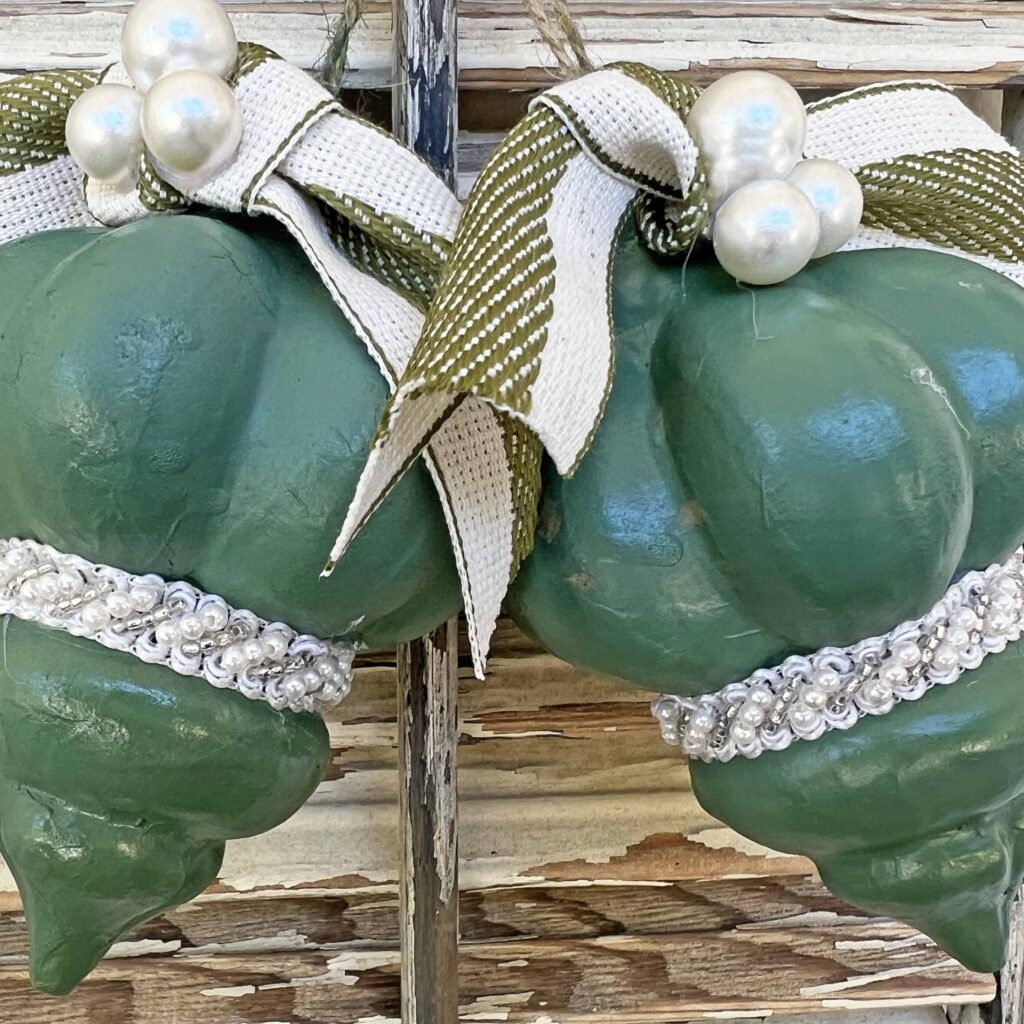
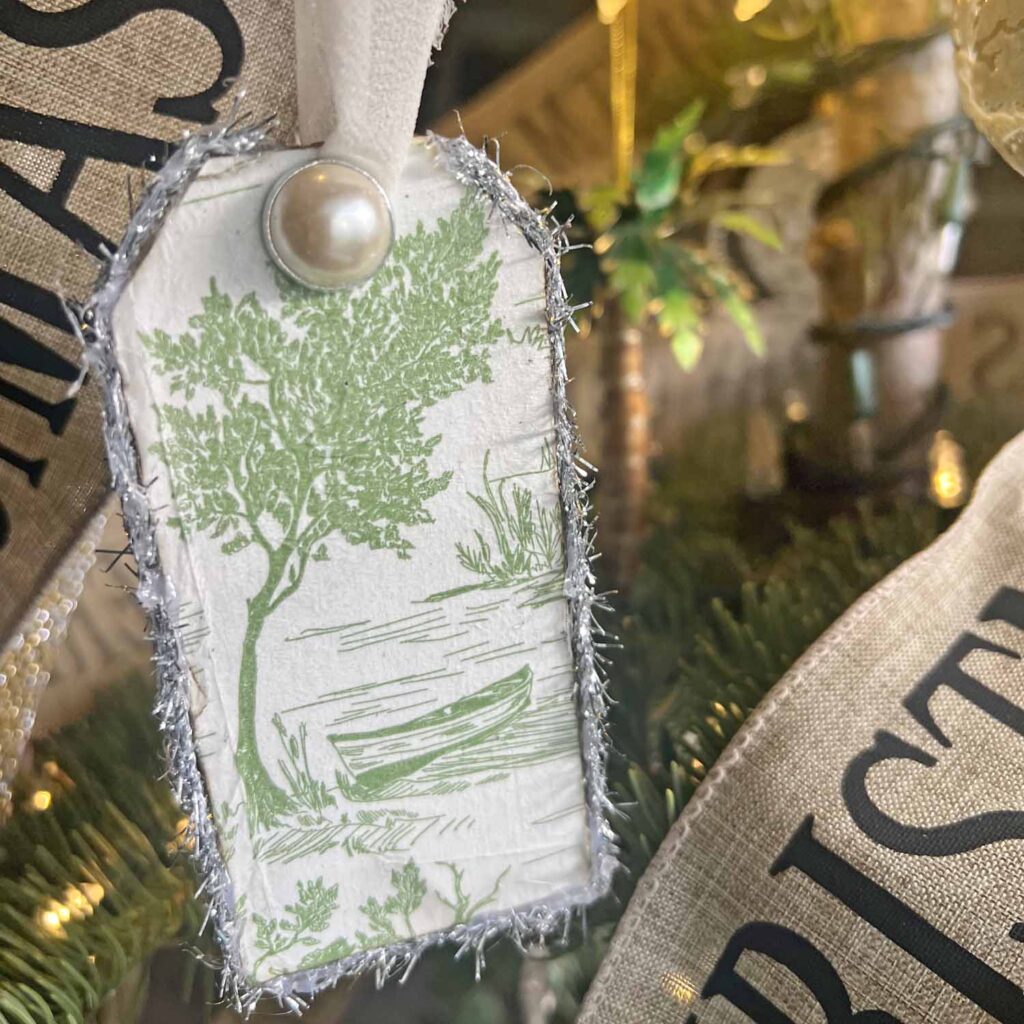
More Christmas Ornament DIYs




MJ Insider Crafting Pro Tip:
Creativity improves our mental health by elevating our mood, lowering anxiety and reducing stress. By regulating our emotions through creative endeavors provides a sense of control and empowerment. Not only does it make us feel better, but it also makes our homes look amazing.
More seasonal decor, crafts, recipes are scheduled on the blog. If you don’t want to miss any new content, you might enjoy following along. Sign up and receive all new posts directly into your in-box. We would love to welcome you to the Masterpiece community.
Closing Thoughts ~ Oversized Christmas Ornament DIY Conclusion
What do you think of the oversized ornament DIY? I’ll be sharing these at the end of the week for a welcoming holiday home tour. Make sure to stop by and check it out. There’s a ton of holiday content planned for the season, including tablescapes, more crafts and plenty of holiday decor.
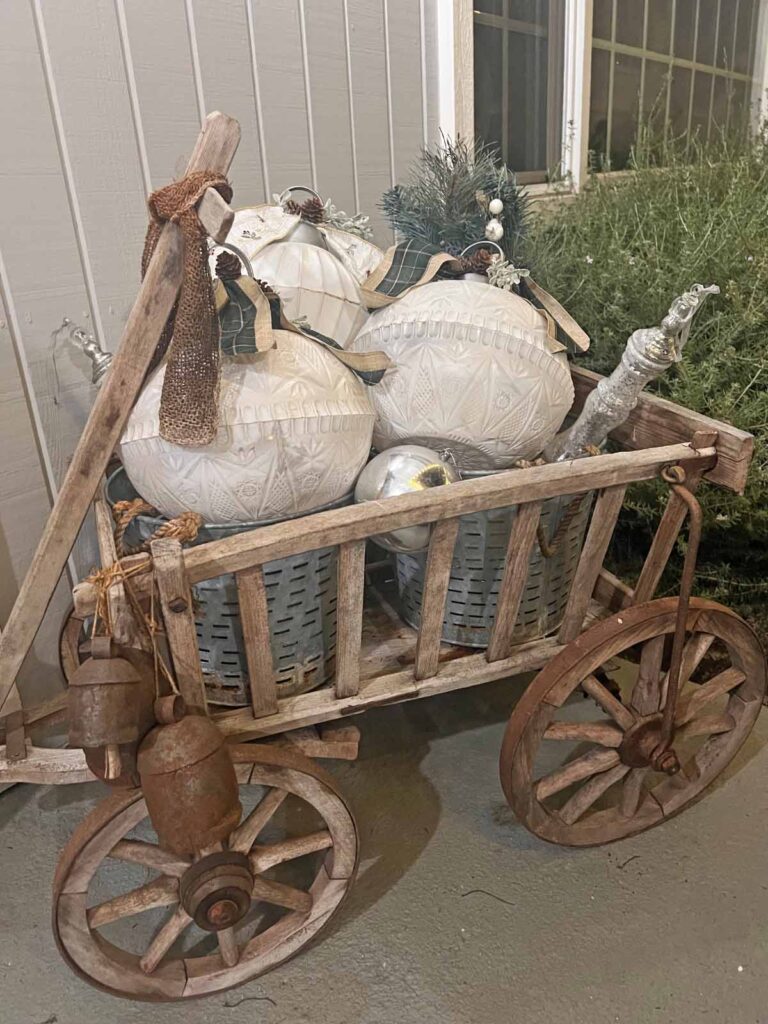
What do you think? Let me know if you give this a try. I would love to see your version. Happy crafting! Thanks for stopping by today, and I hope to see you again soon. It’s always lovely having you here.
Au revoir!

FAQs – Oversized Christmas Ornament DIY
Q1. Do I have to use spray paint to make this ornament DIY?
A1. Nope! Any paint which will adhere well to the plastic and distress well can be used, including chalk, acrylic or craft paint. I recommend using what you already have if possible rather than buying more paint to keep the project extremely affordable. Keep in mind, spray paint provides easy and quick application.
Q2. What if I can’t find plastic curtain rings?
A2. You can be as creative as you want to make the hanging loop for the ornament. If you can’t source plastic curtain rings, you can substitute jute twine or metal wire to form a hanging loop.
Q3. How can I use the oversized Christmas ornaments in my decor?
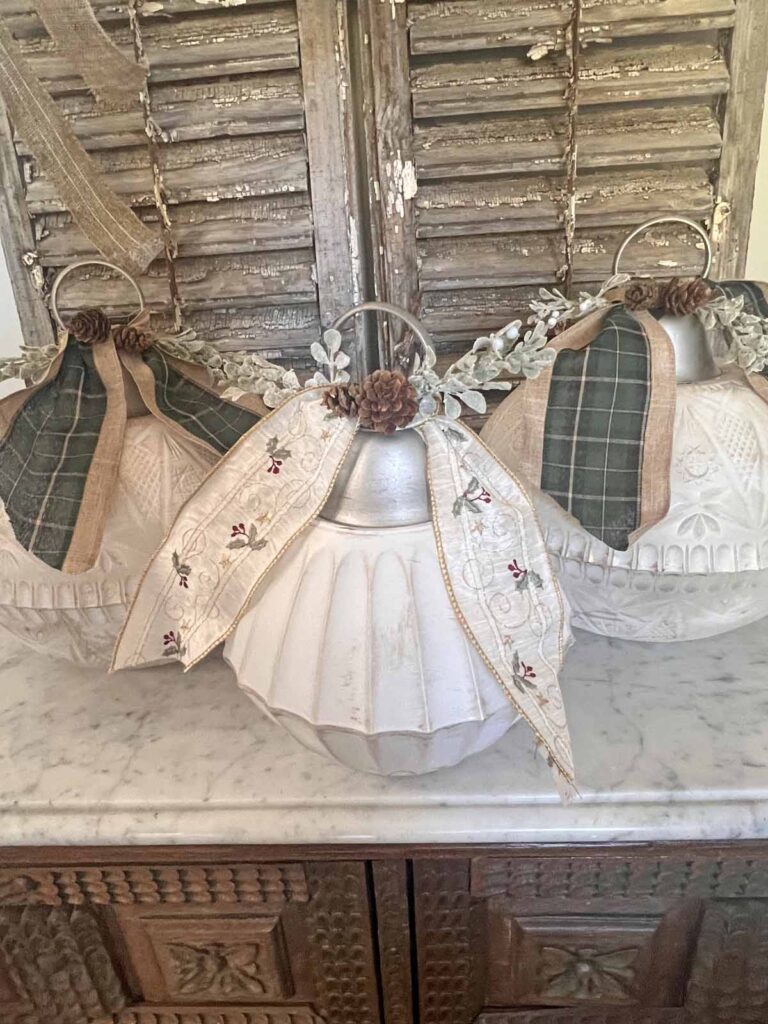
A3. Since these pieces are oversized they are not necessarily intended to hang on the everyday Christmas tree. Due to their shatterproof nature they make great accents for outdoor decor. They would also look great indoors placed around the fireplace heart or tucked under the Christmas tree.
Get the Look
- Rust-Oleum Painter’s Touch 2X Ultra Cover Spray Paint, Satin Blossom White
- Rust-Oleum Stops Rust Bright Coat Metallic Spray Paint, Aluminum
- E6000 Clear 1.9 Fl Oz Plus Multipurpose Adhesive-1.9oz
- Hot Glue Gun
- Glue Gun Glue Sticks
- Silicone Finger Protectors

Don’t forget to Pin It and save for later. You never know when inspiration will strike!
For more inspiration follow me on Pinterest.
Most Recent Posts

It was the most beautiful but curious ornament I had ever seen.”
James Barbato, The Magic Christmas Ornament