


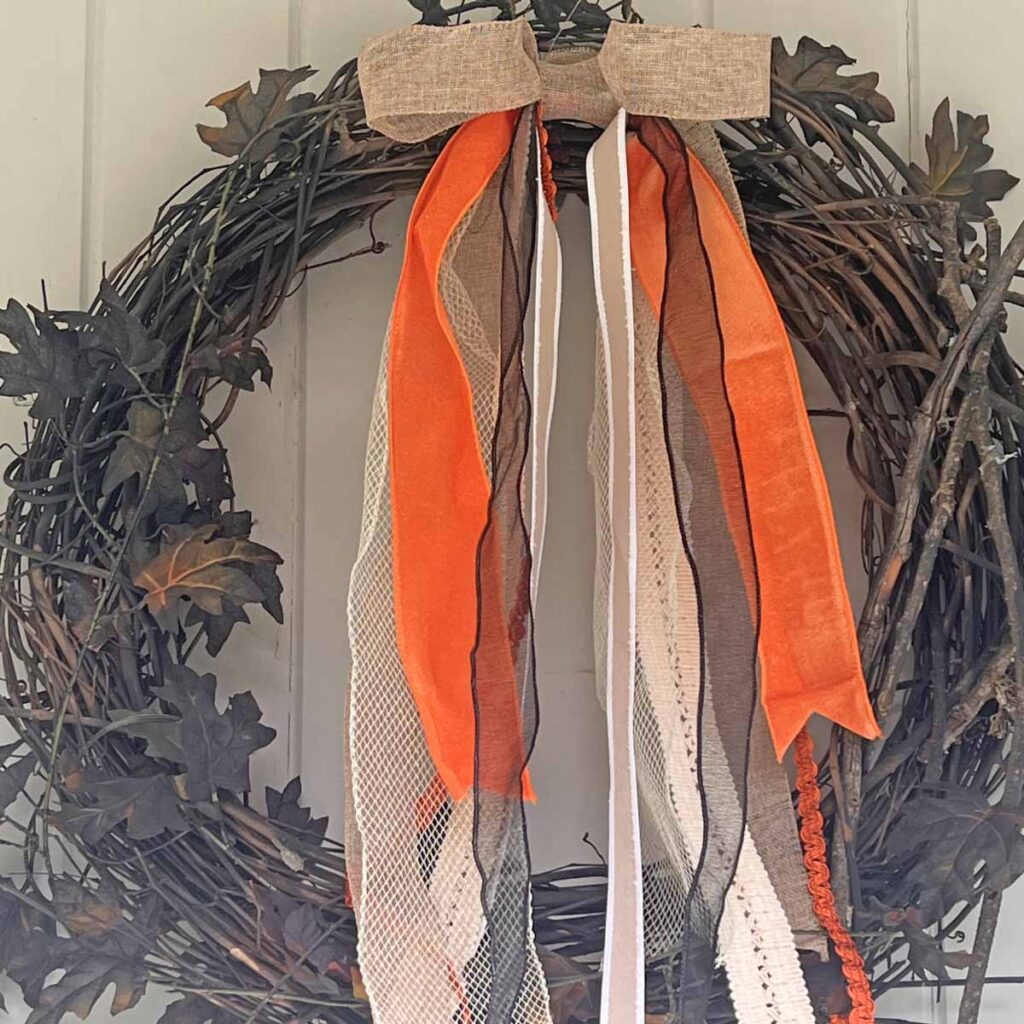
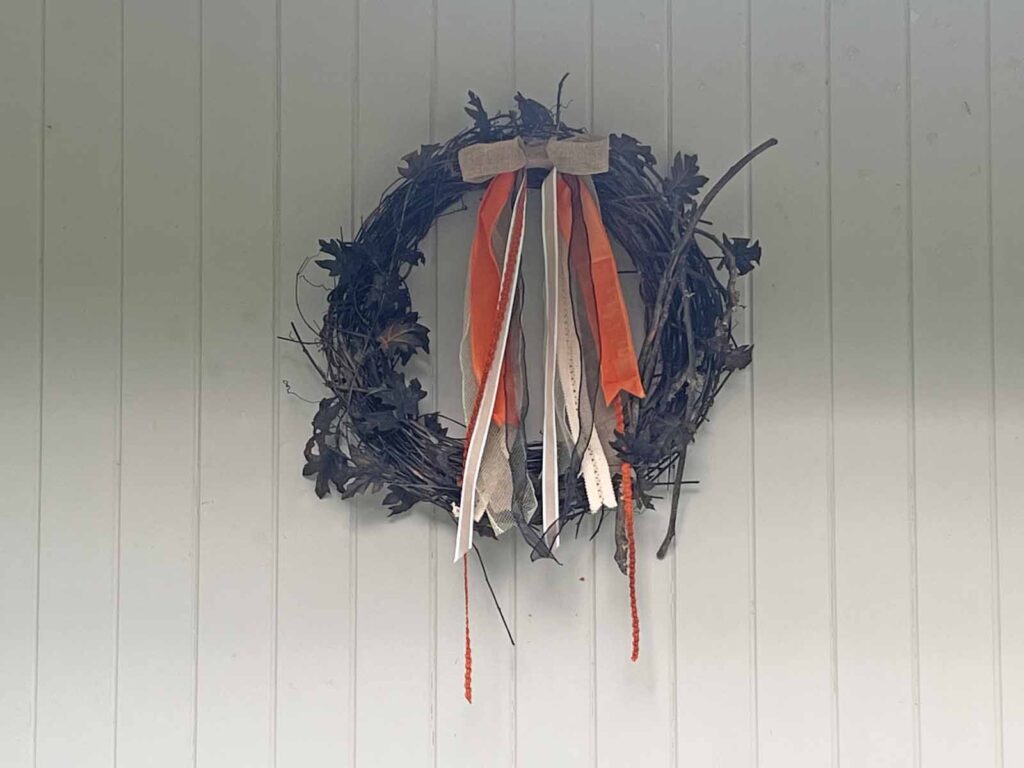
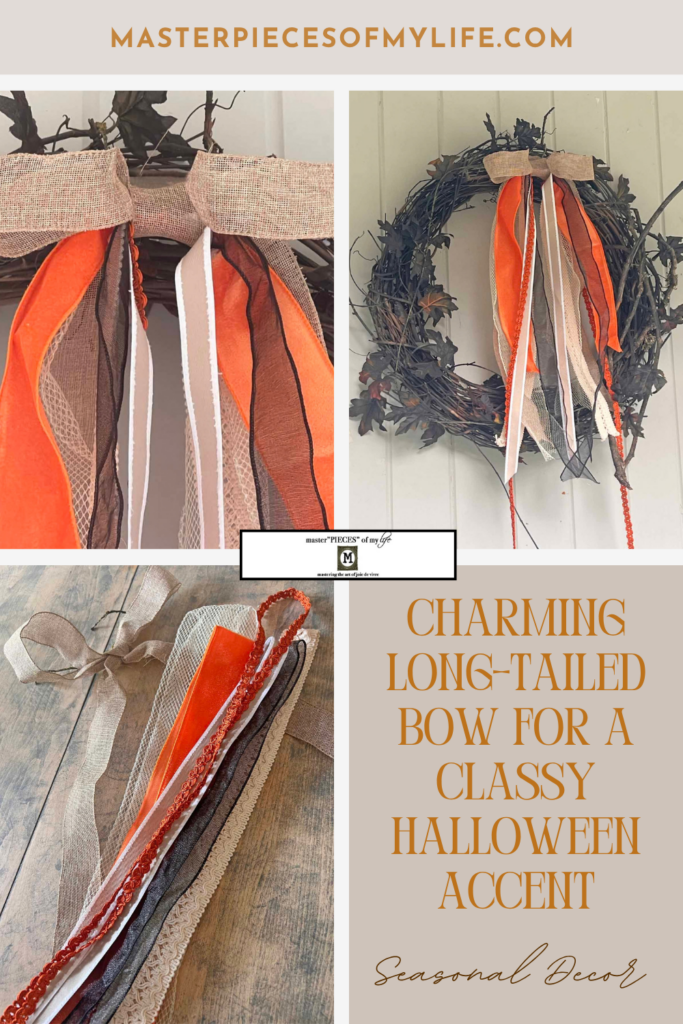
Do you want a super easy way to jazz up a wreath for Halloween in an elegant manner rather than kitschy? Well, I have the perfect solution for you today. A perky, fluffy bow always does the trick. A long tailed charming bow which is fully customizable and a breeze to put together for a festive touch is always a good idea. This Halloween charming bow idea hits all the holiday notes in a subtle and understated manner.

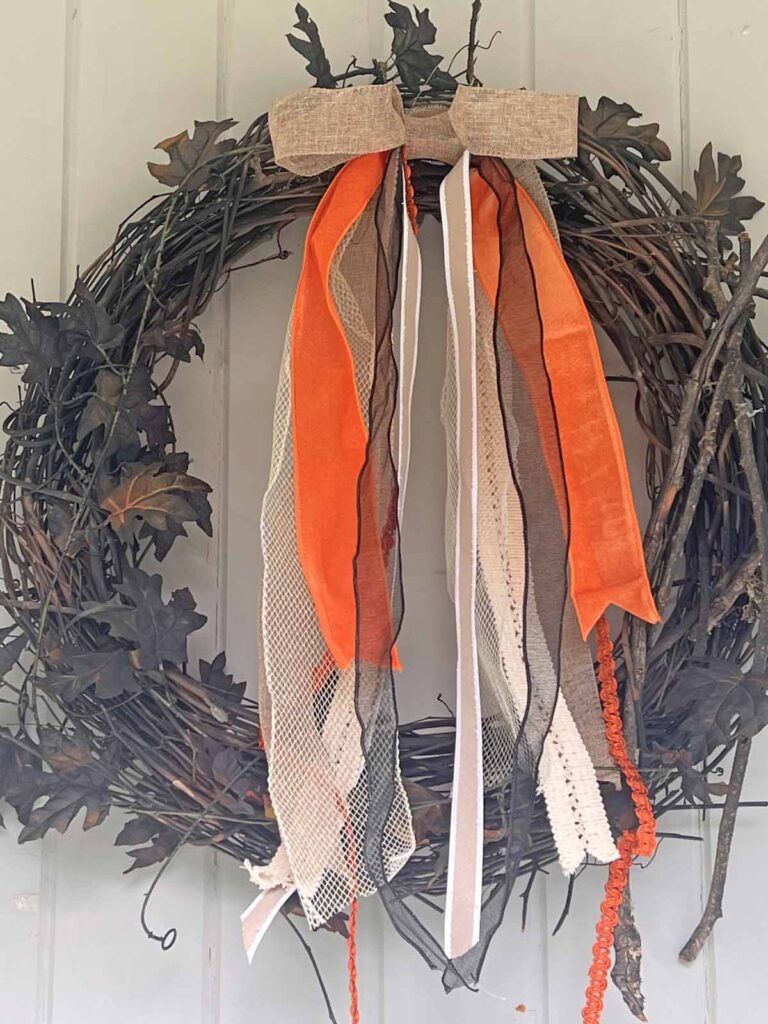
Remember this long tailed bow for the 4th of July and Spring and St. Patrick’s Day and before that for Valentine’s Day? Well, we will piggy back on that idea and customize it for the fast approaching Halloween festivities. It’s an easy and sustainable way to be seasonally current without reinventing the wheel for every holiday and | or season.

The Gist
> Inspiration for an easy and charming Halloween bow for a seasonal wreath
> A long tailed and easily adaptable bow is a perfect decoration for Halloween with versatility and charm
> Step by step instructions to create a seasonal long tailed bow
> Tips & recommendations for crafting a long tailed bow
*Affiliate links might be included for your convenience. These affiliate links mean a small commission is earned if you make a purchase using these links at no extra cost to you. As an Amazon Associate I earn from qualifying purchases which support this website. For more information: Full Disclosure Policy.
Inspiration for the Long-tailed Halloween Bow
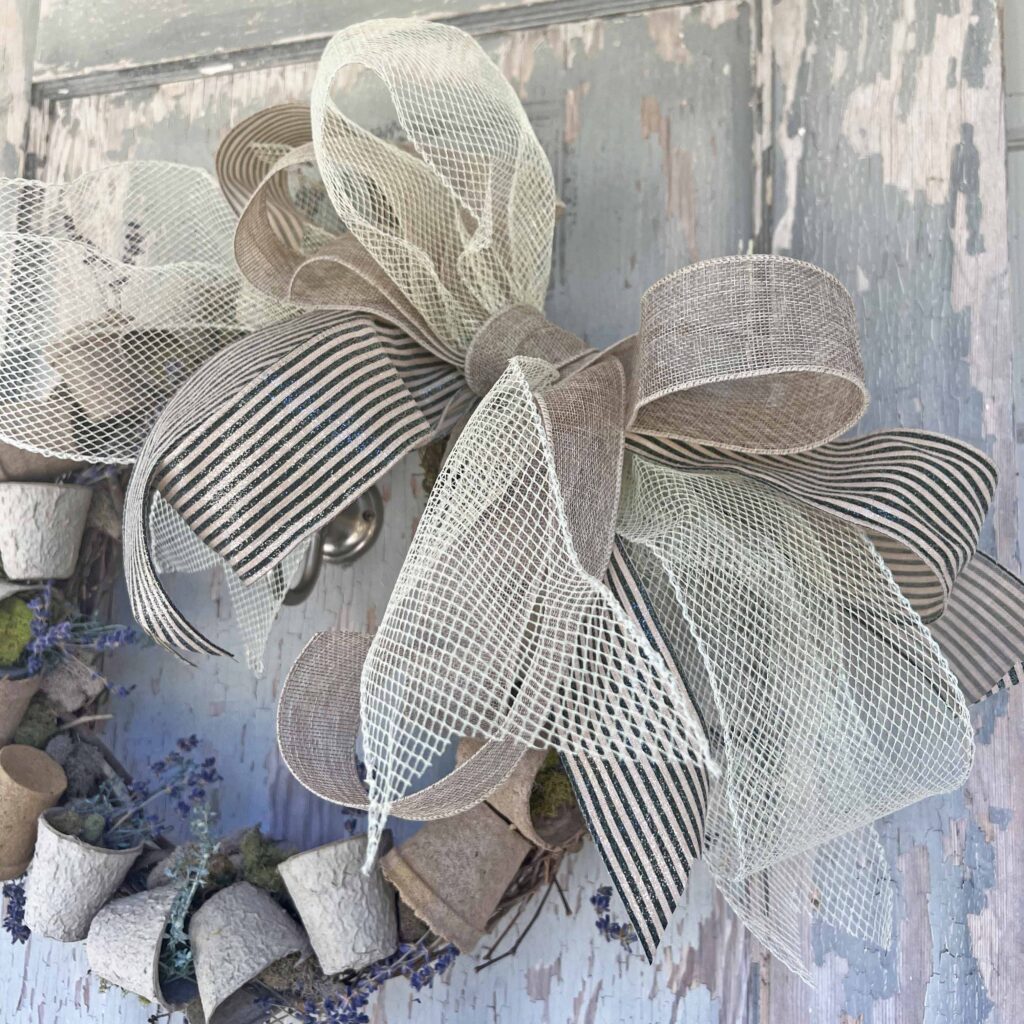
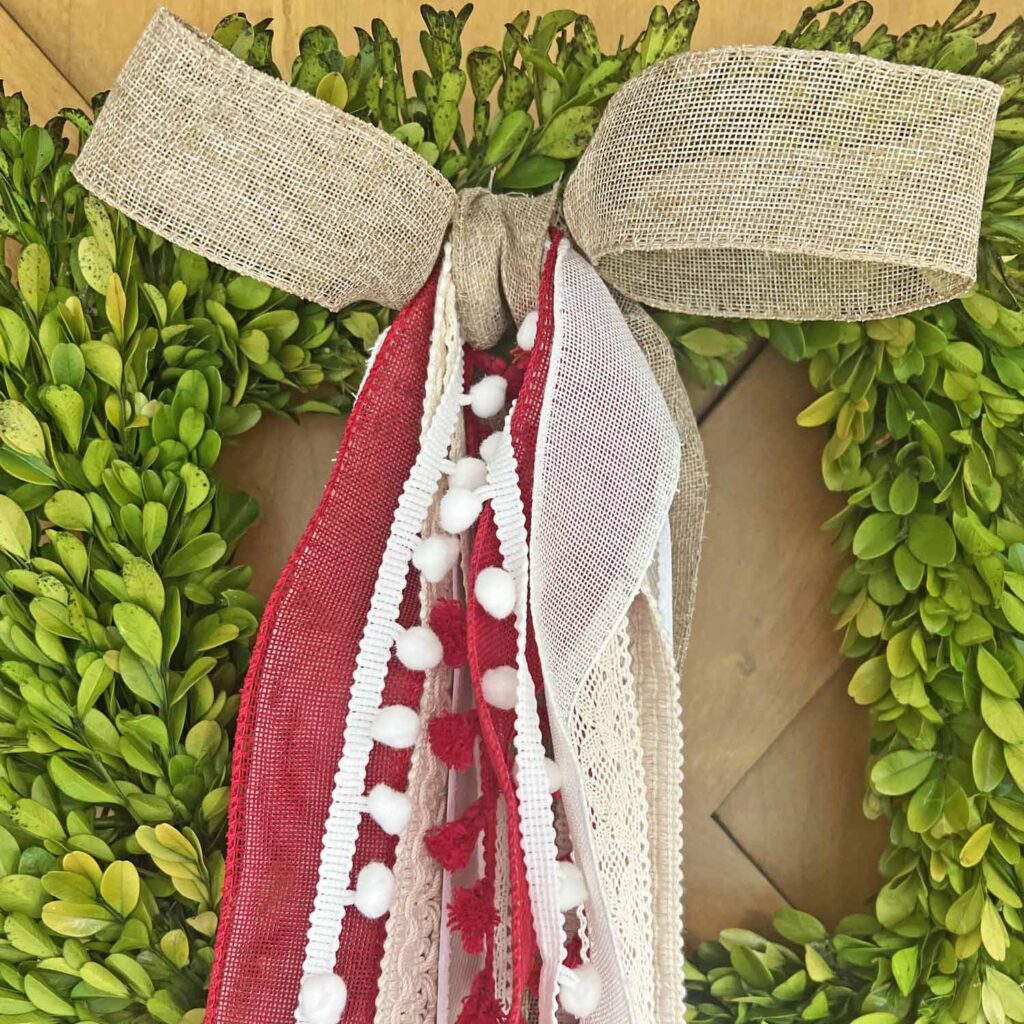
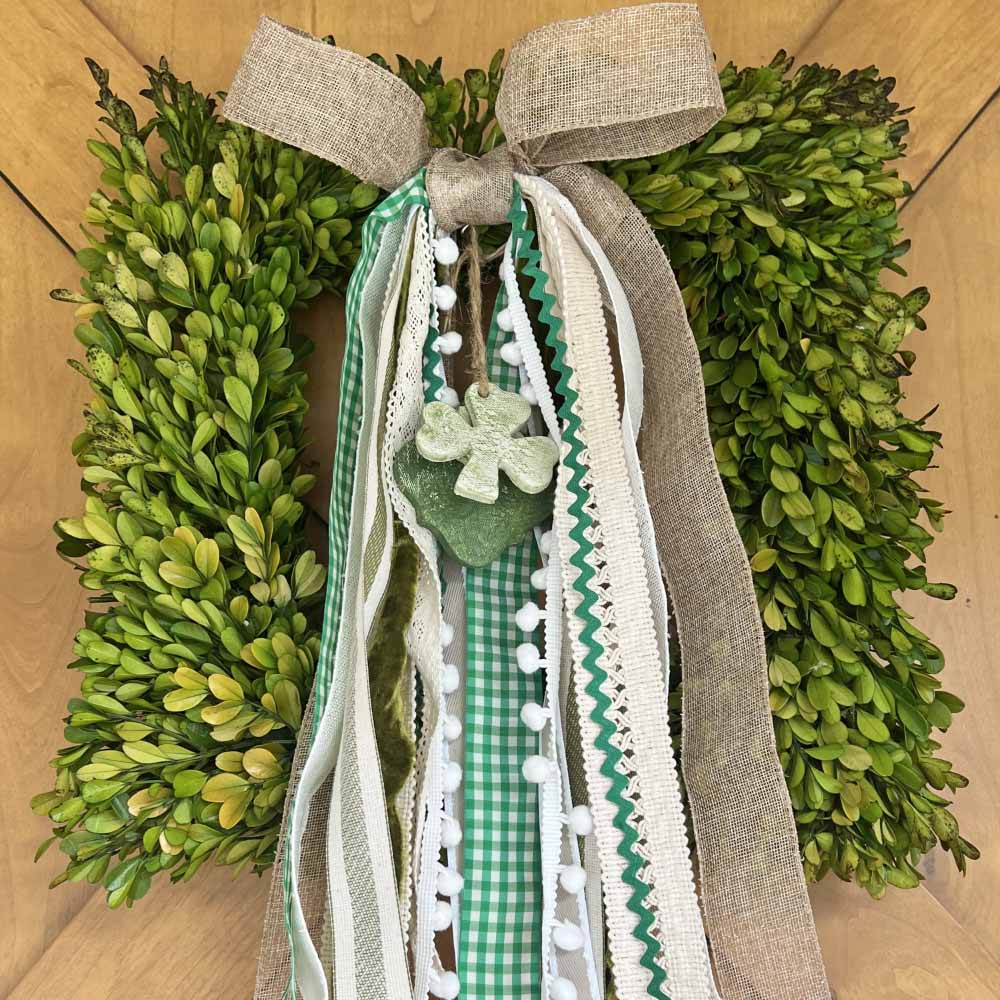
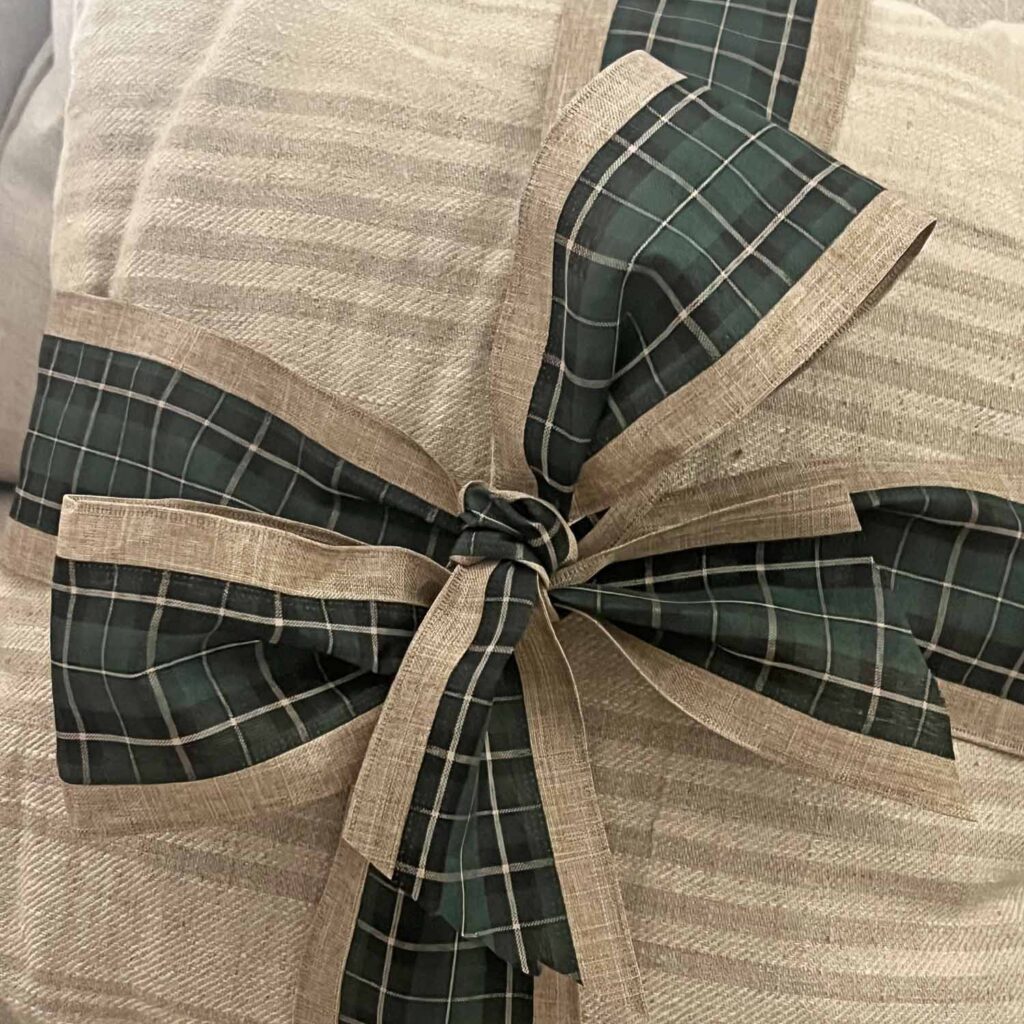
The long tailed bow tutorial was inspired to shift gears and have a dress change for each and every holiday. By simply exchanging appropriately colored, patterned and themed ribbons creates a different effect for seasonality. The red ribbons screamed Valentine’s Day, and the green ribbons gave all the Erin go Bragh vibes while the soft spring colors complimented Easter decor. Then the ribbons were updated with red, white & blue colors and patriotic motifs along with some thrifted ornaments for the perfect 4th of July. Now fun Halloween colors bring this DIY bow full circle.
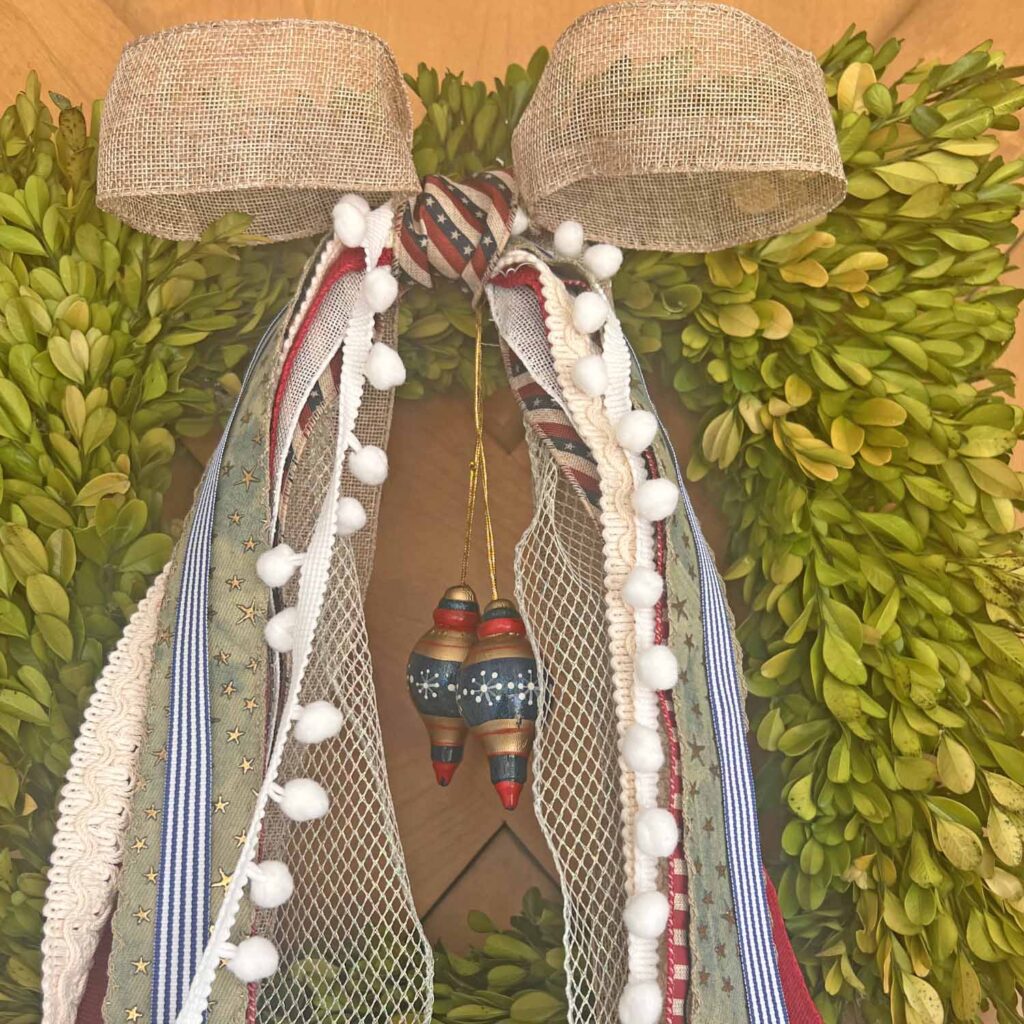
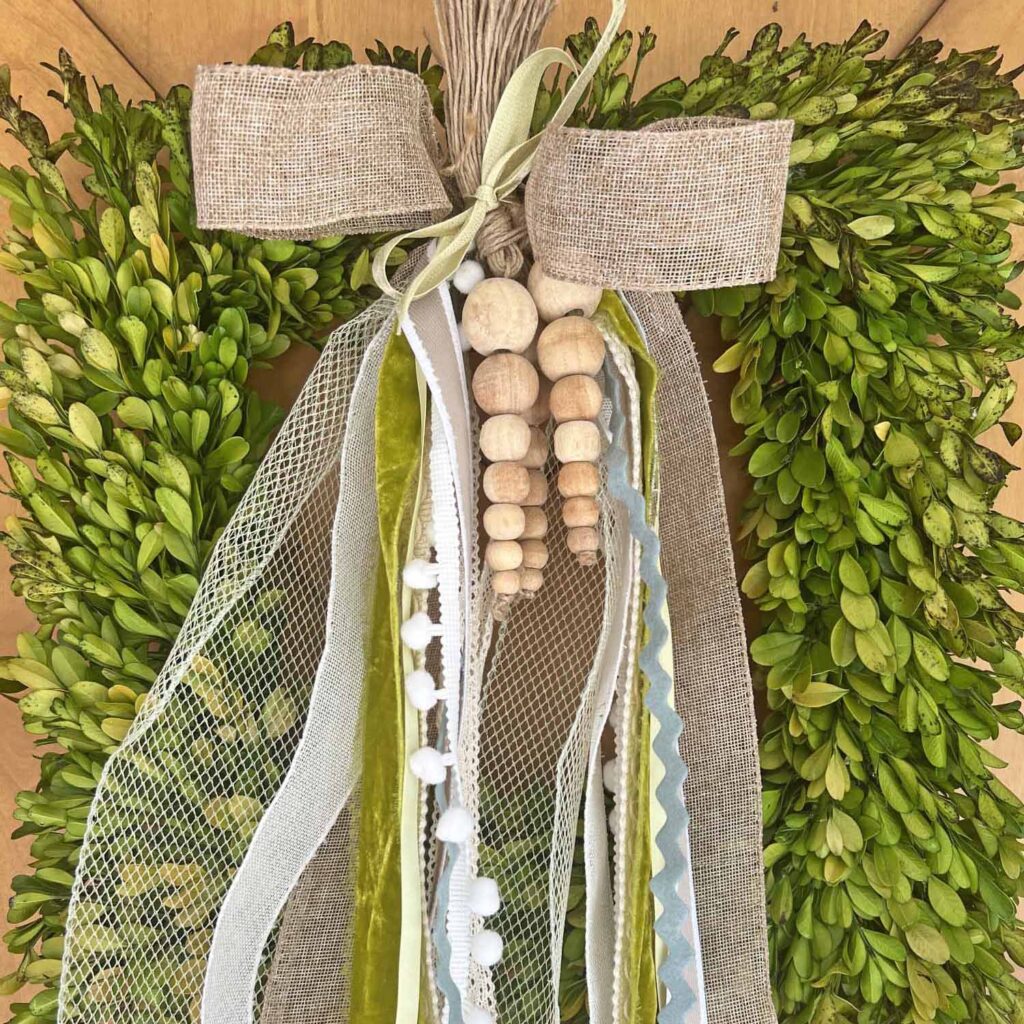
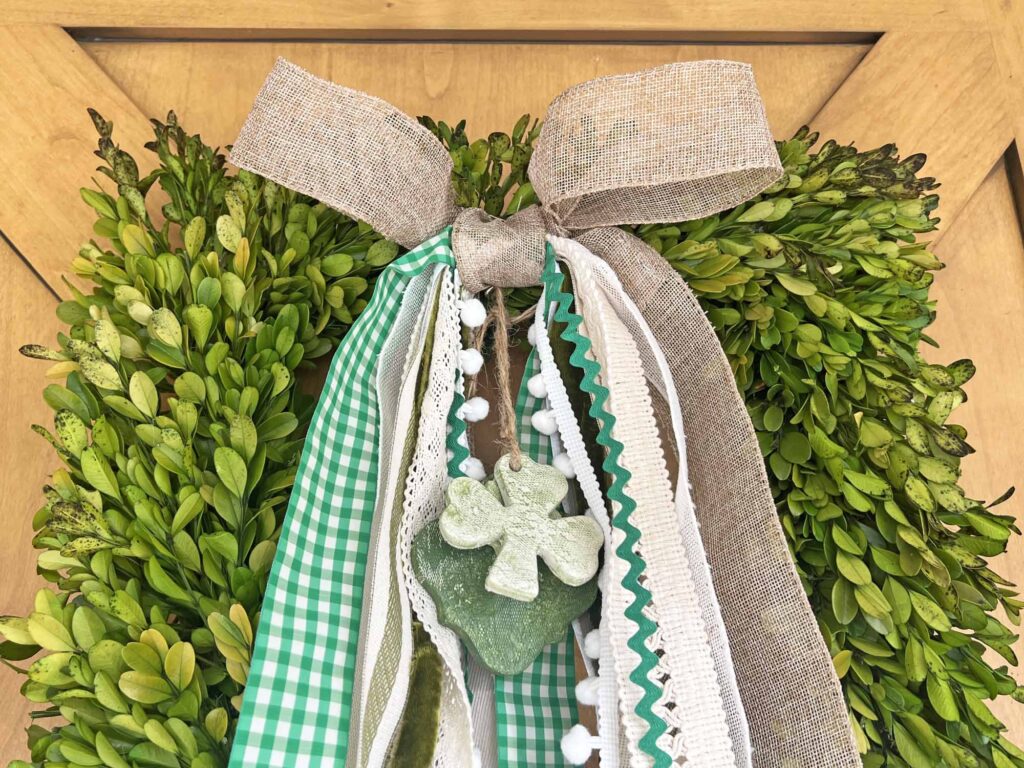
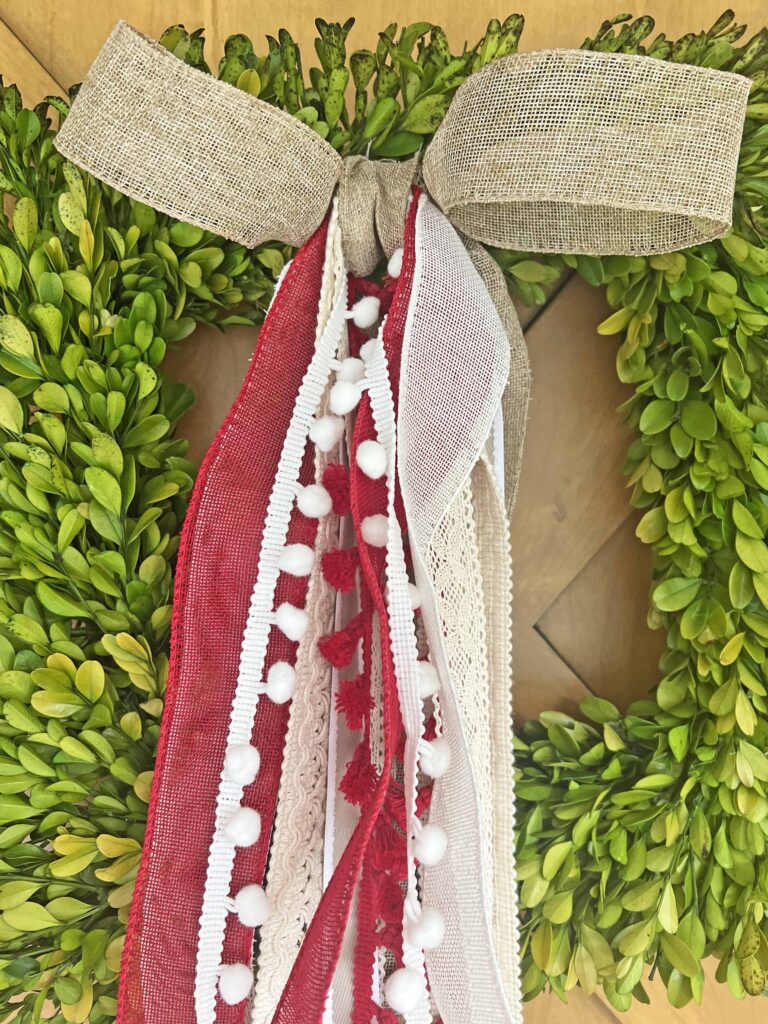
You can find the full posts for all the different bows here:
How to Create a Halloween Long Tailed Bow
Although today we are updating a bow for Halloween, you can use these steps and techniques to create any themed bow, by simply adapting the ribbon selections. Think red and green or silver and gold for Christmas. The possibilities are endless. Make it yours, and let it reflect your personal style.





MJ Insider Craft Tip
Read all the instructions through once & then re-read everything again, familiarizing yourself with everything you need & know what to expect. Avoiding surprises during a project prevents unnecessary stress.
STEP-BY-STEP INSTRUCTIONS
Prep Project
- Read instructions thoroughly and assemble all supplies & tools
- Remove all packaging, tags, stickers, etc. from supplies
- Select ribbons for main bow (neutral is best here) and seasonal long tails

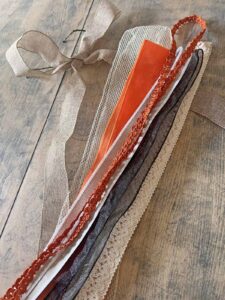
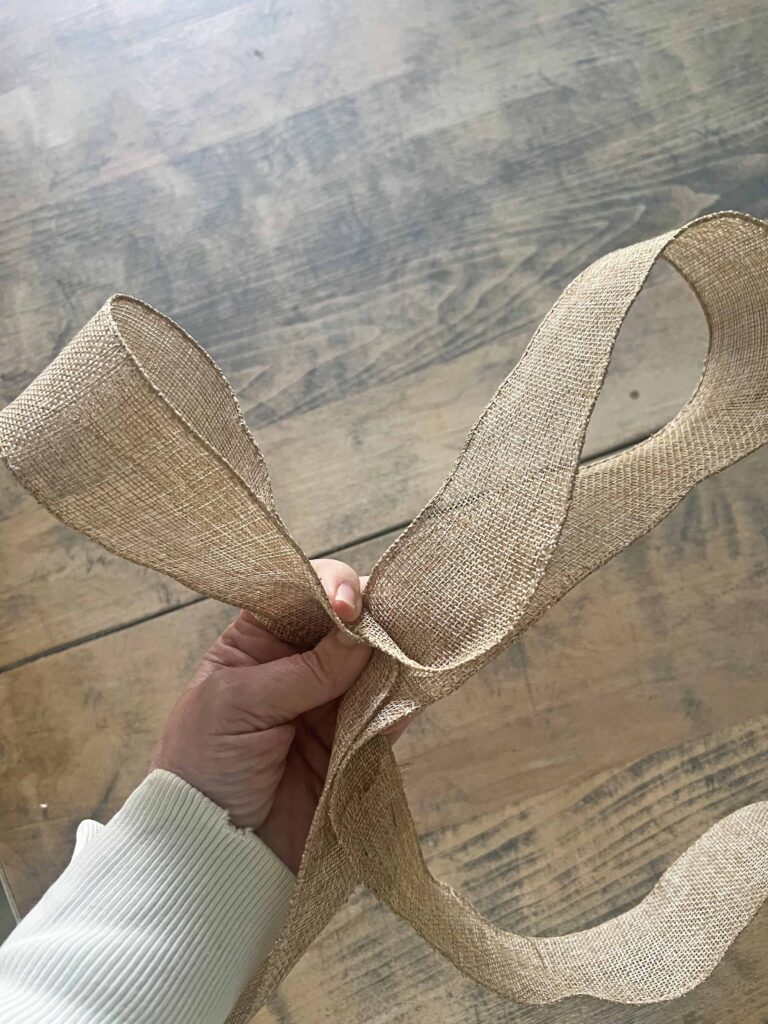
Make Main Base Bow
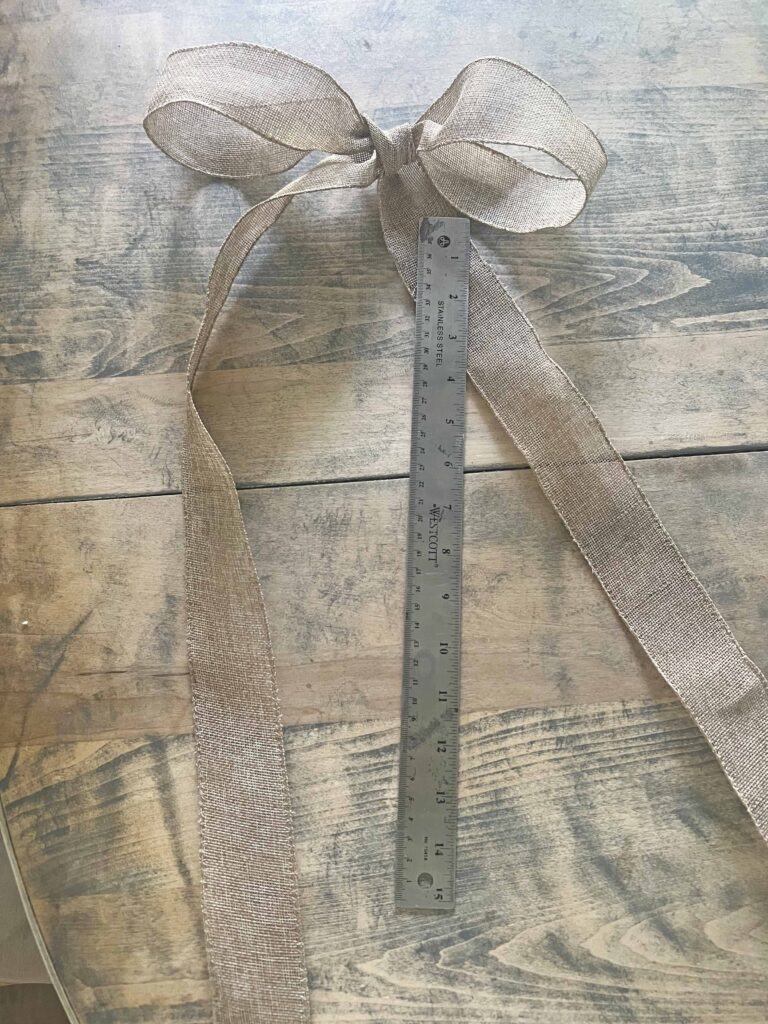
- Cut main ribbon down to size (mine is about 80-inches long)
- Create two loops at the center of the ribbon and knot together
- Pull and tuck loops and tails until you have the proper size & composition of the bow and tighten knot
Create Long Tails
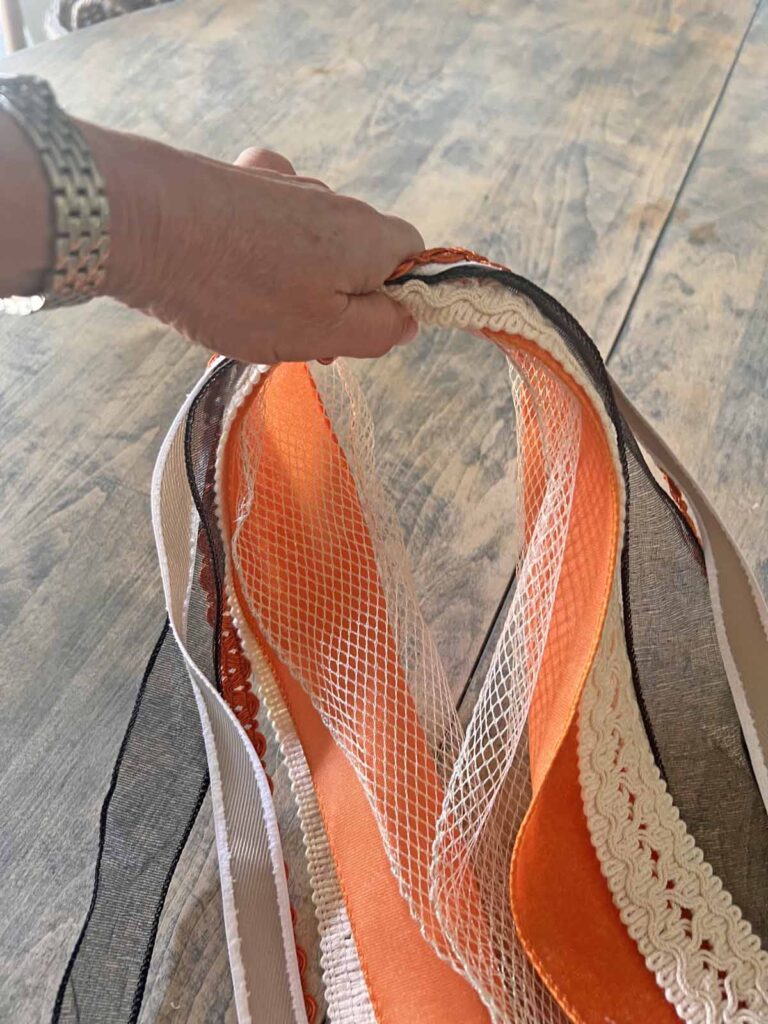
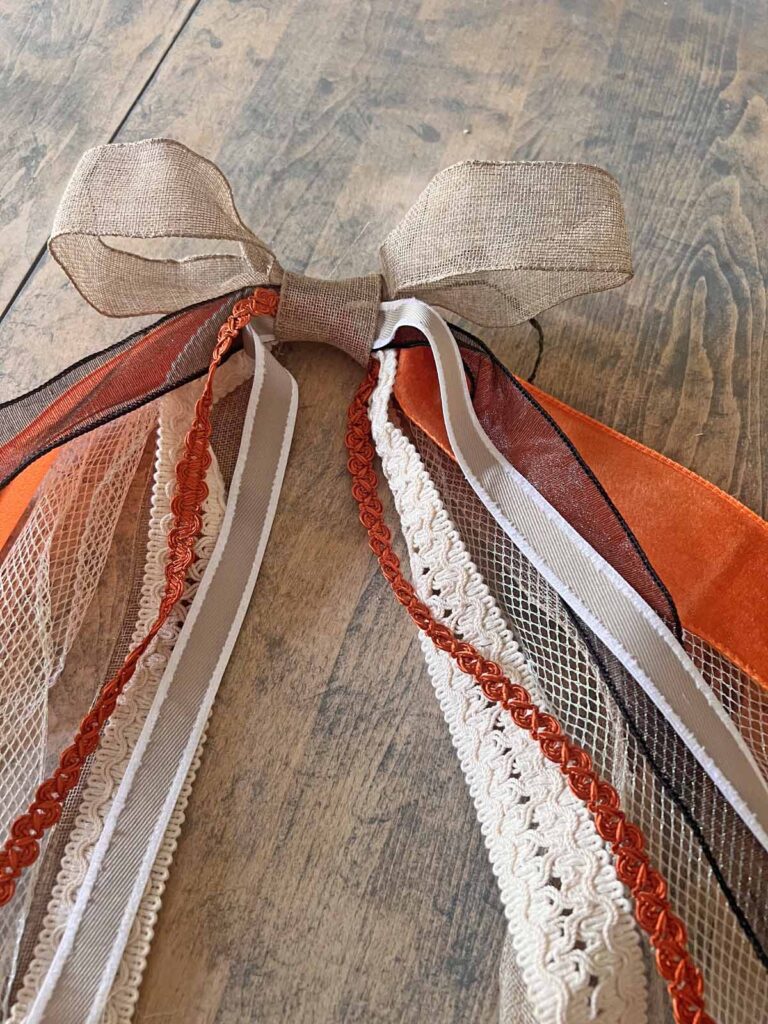
- Assemble long tail ribbons cut to similar lengths (mine are around 48 inches long- give & take)
- Layer ribbons on top of each other with wider selections in the back and gradually stacking thinner ribbons on top
- Tie ribbons together in the middle with floral wire or twine
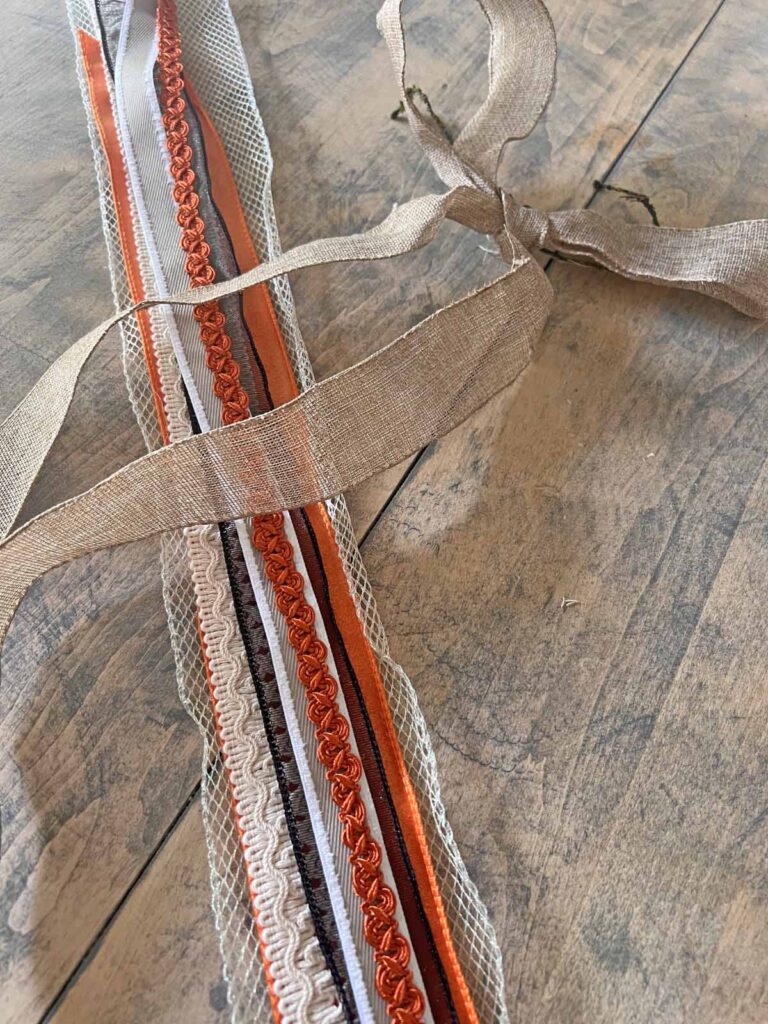
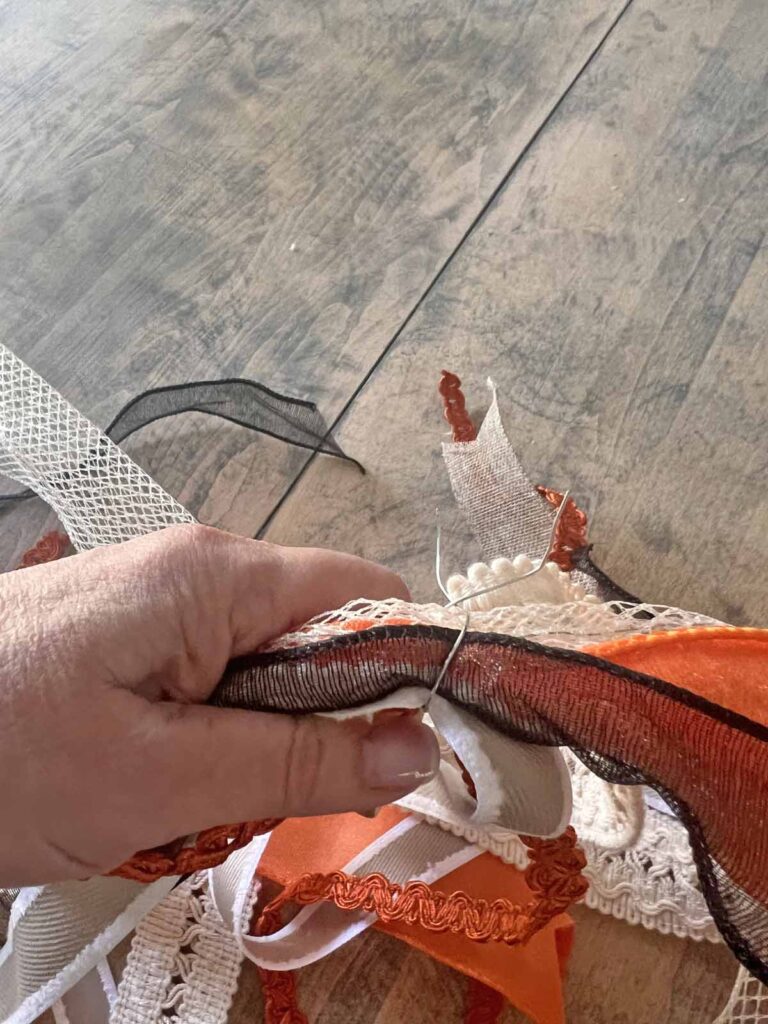
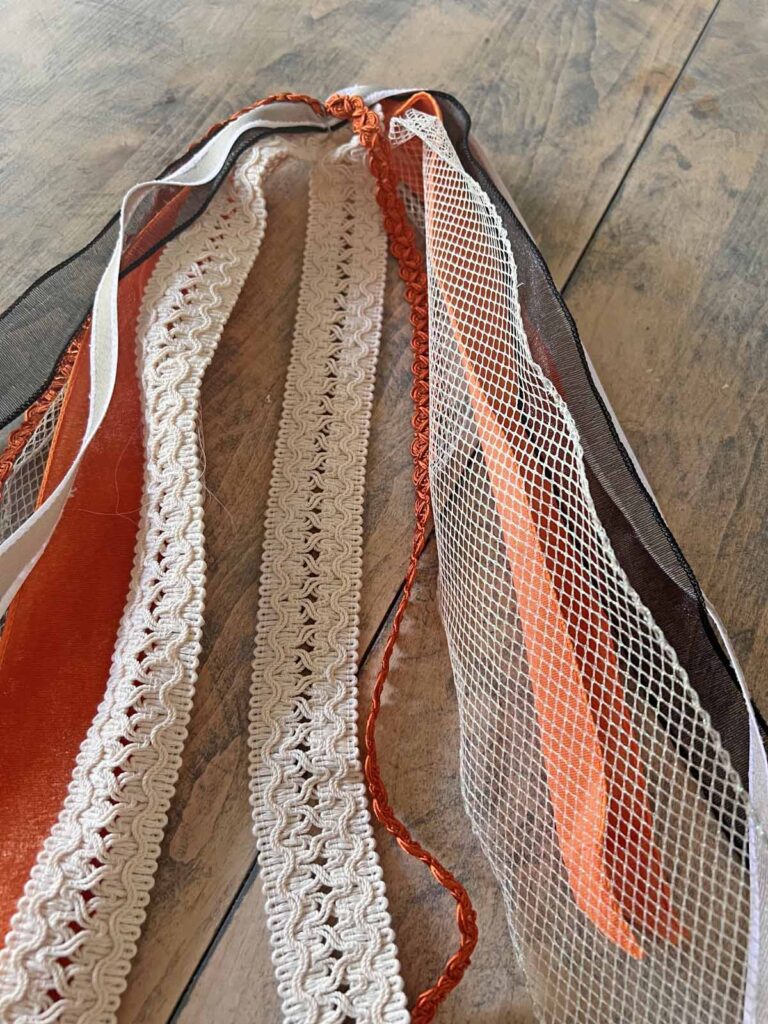
Assemble Entire Bow Together
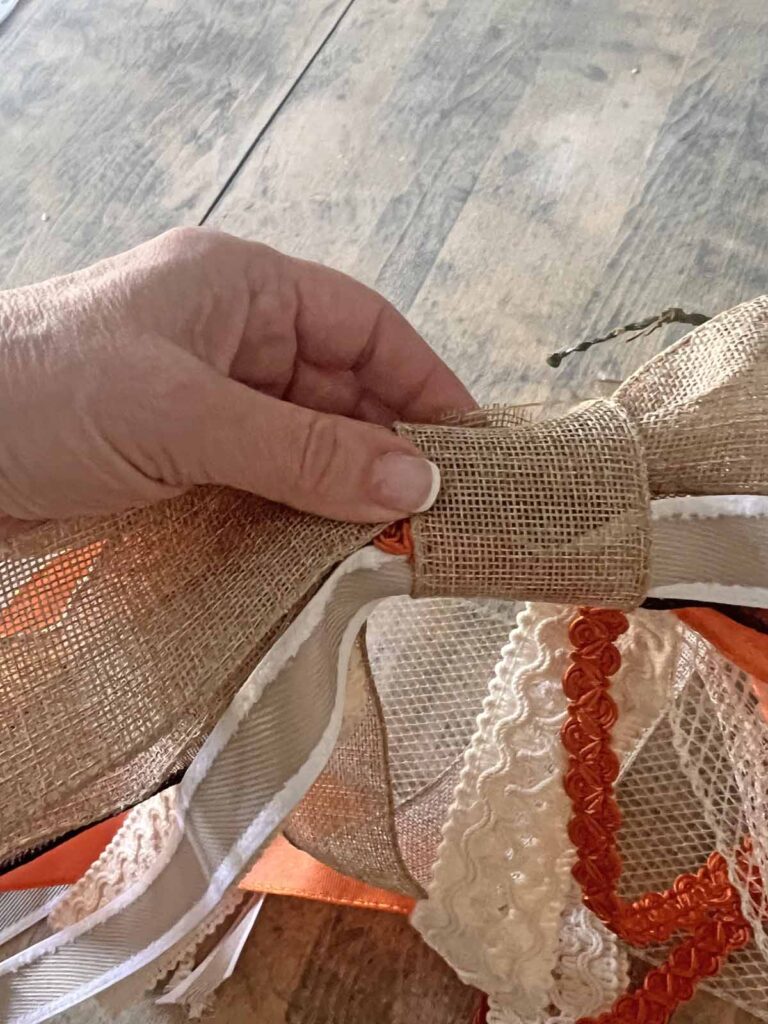
- Layer middle section of stacked ribbons folded in half on top of bow knot
- Cut a short piece of ribbon which can wrap around entire center knot with stacked ribbons
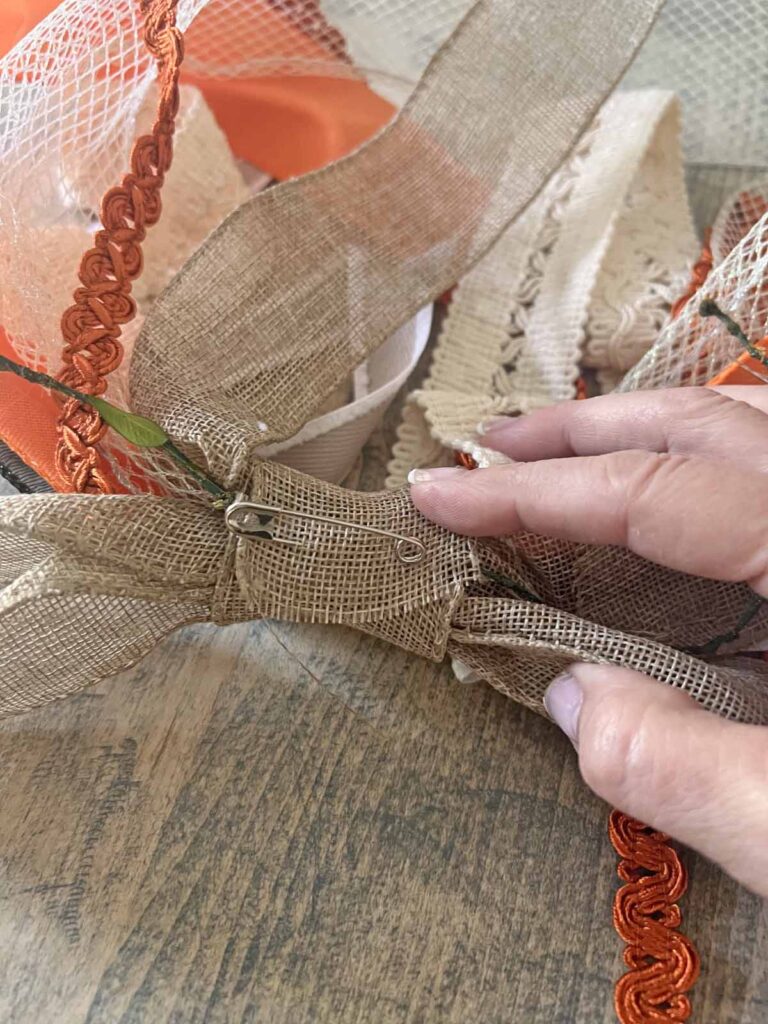
- Wrap short middle ribbon section around center of bow attaching with safety pin on the back of bow (hiding all the mechanics)
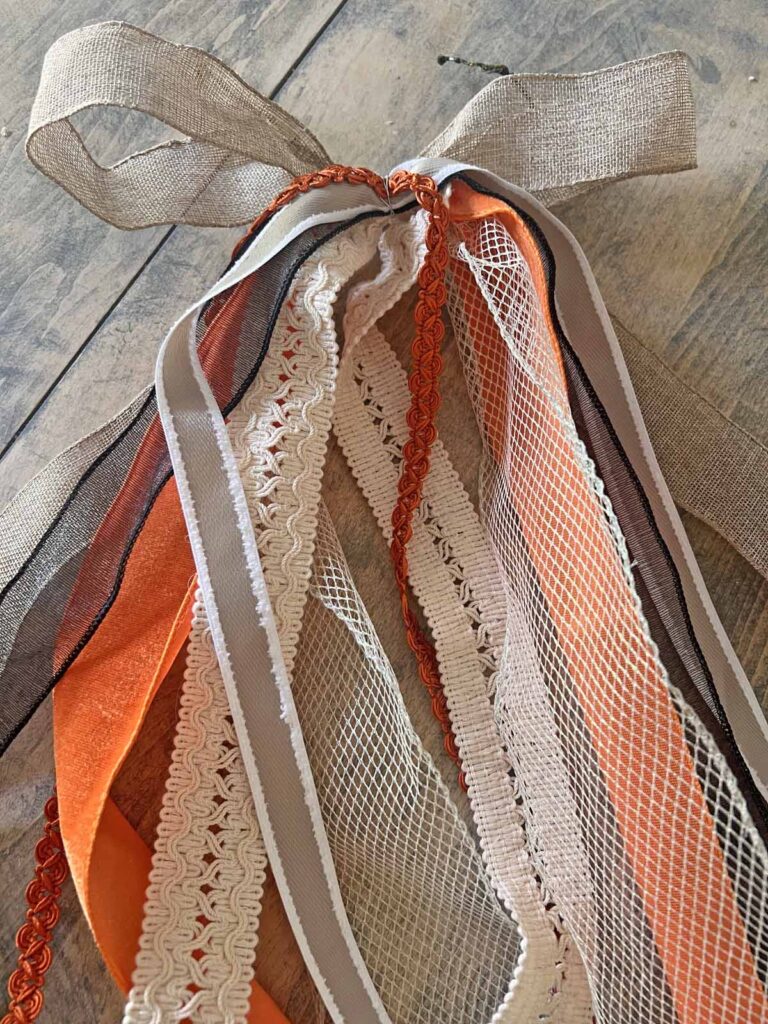
Attach Bow to Wreath
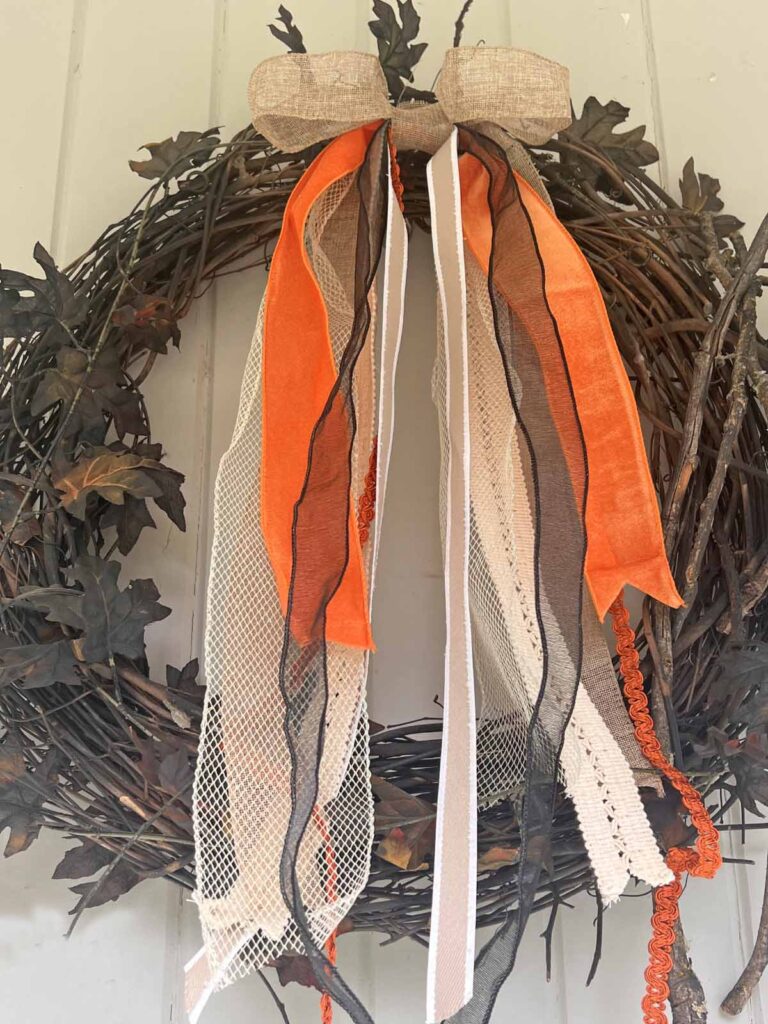
- Using wire attach the bow to wreath
- Voila! Hang your wreath and enjoy all the Halloween classy vibes!
MJ Insider Decor Tip
A charming bow like this is an easy way to jazz up an otherwise plain wreath, swag or door hanger. The best part? It can easily be changed out for every season and holiday. Don’t reinvent the wheel every time, rather create decor formulas you can use time and time again.
Learn how to make this easy, oversized Halloween grapevine wreath here:
Tips & Recommendations to Keep In Mind
Versatility for the Win
Since I want to use and reuse this bow hack for other holidays and occasions, I chose a neutral color for the main bow. This allows the existing themed tails to be removed easily and different tails added for the next holiday. And here we are.
Ribbon Sources
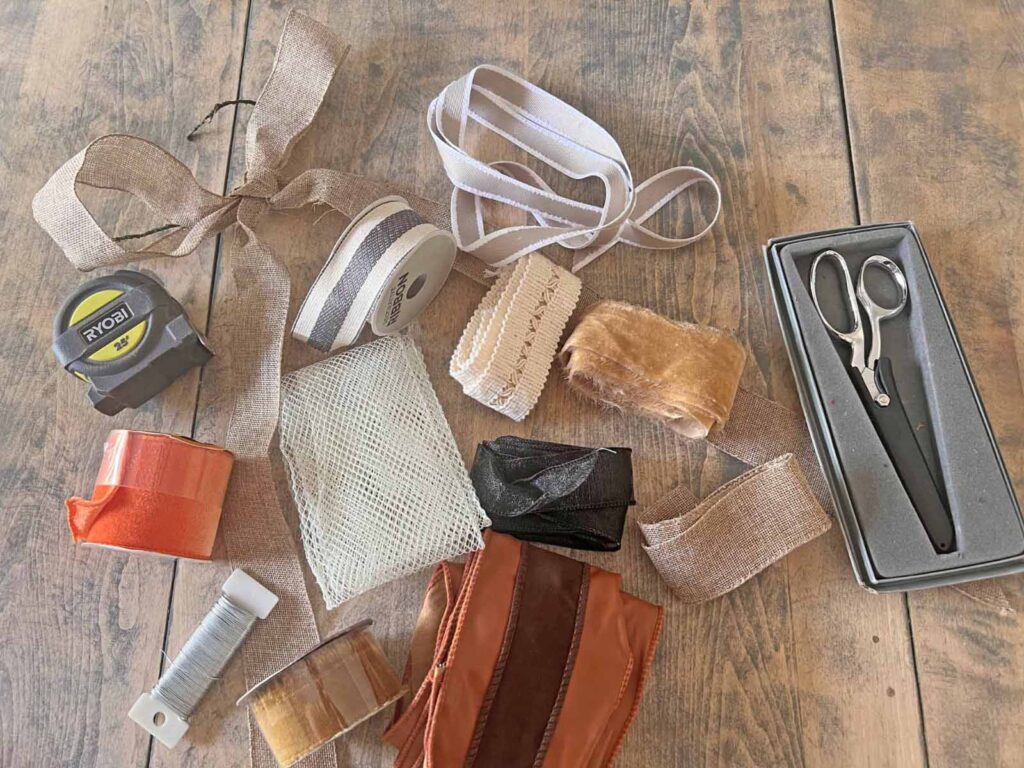
Lavish and spendy ribbons are not necessary to create a fabulous bow. Many of the ribbons and trims I used on this project I found at the Dollar Tree. I always look at the craft section at thrift stores too, plus garage and estate sales are also a great resource. Big craft stores like Hobby Lobby, Michaels, etc. also run discounted sales regularly so be on the look out for those. The other ribbons I used here were all in my craft stash so I didn’t buy anything deliberately for this project. Several of these ribbons I have used and reused for previous projects. Always shop your home first and try to use what you have.
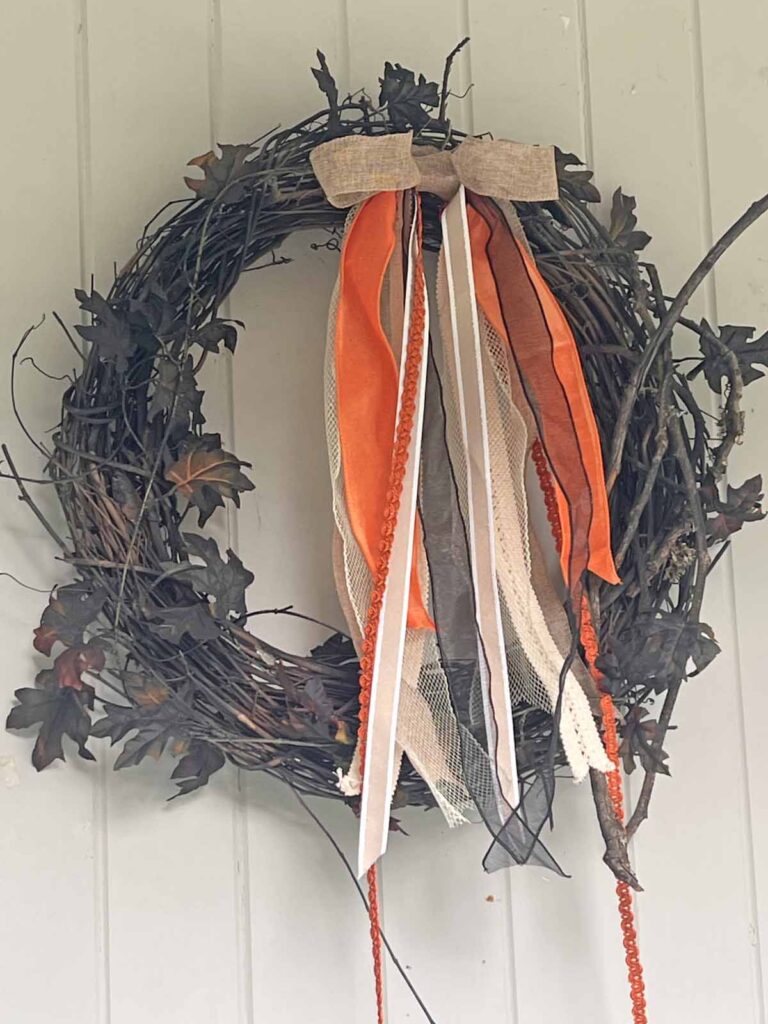
Movement & Interest
I recommend using ribbons of different widths, varied patterns and mixed textures. This will add more interest and depth to your finished piece. Using trims as a ribbon option adds a touch of whimsy and gives movement to the ribbon tails.
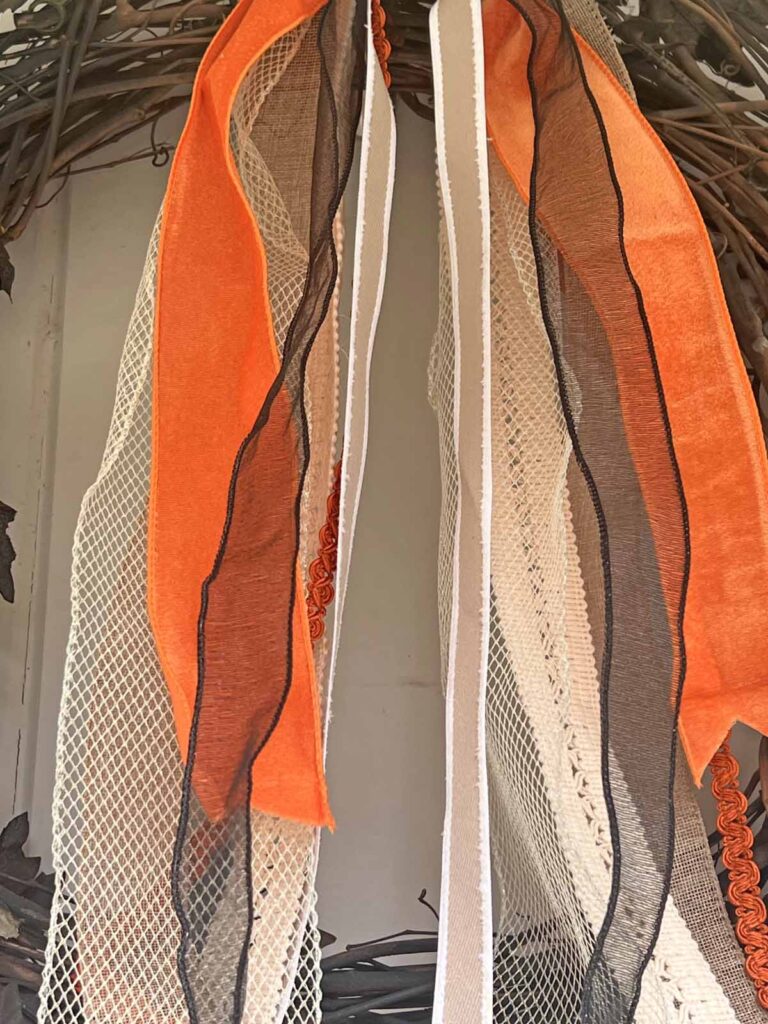
Pinned with Purpose
The safety pin on the back makes it easy to add and remove the long tails without damaging the ribbons, which can then be used again on another project or saved for next year. Repurposing seasonal crafting supplies is always a good idea whenever possible.
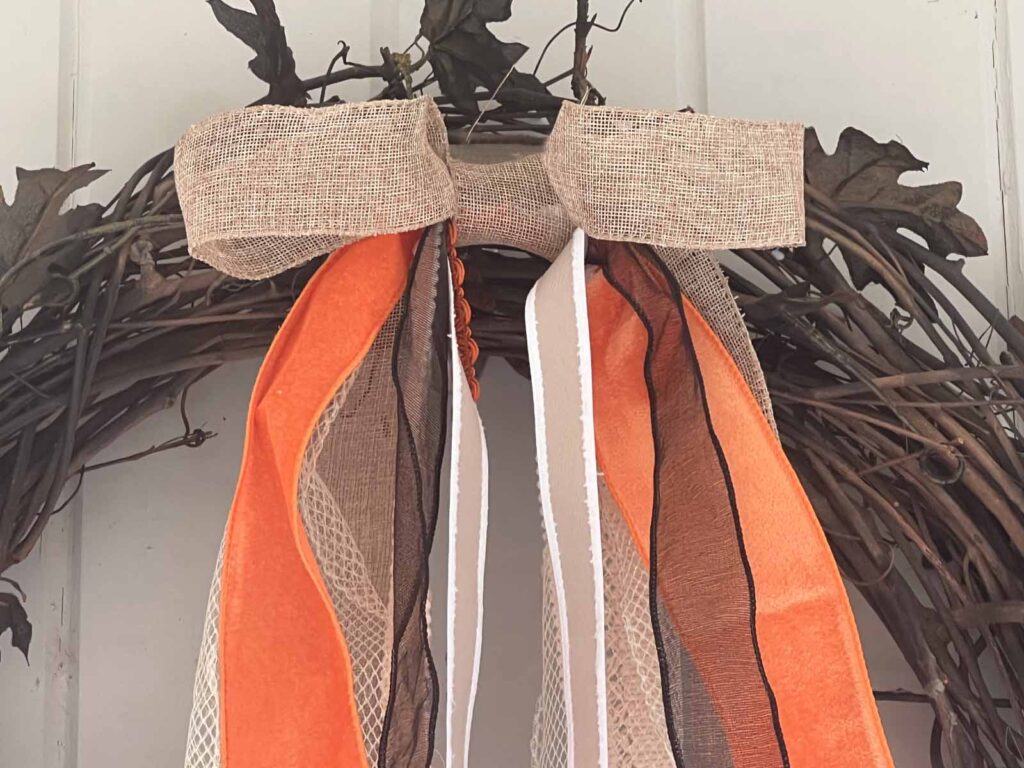
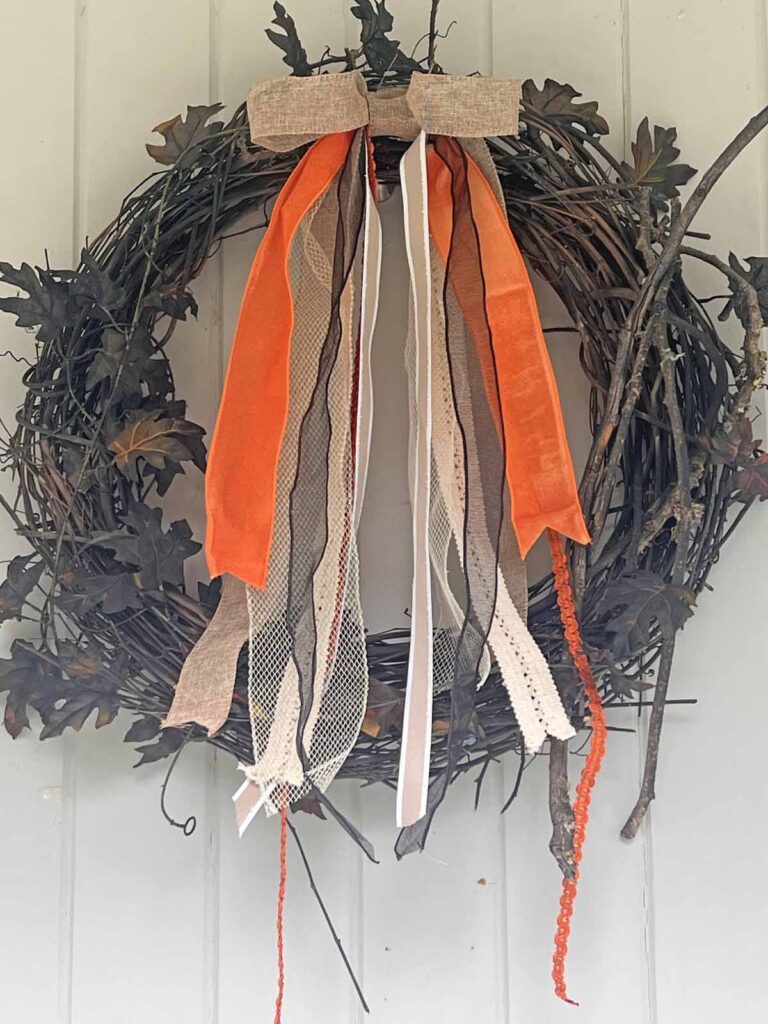
Beyond a Wreath
The long tailed bow jazzes up any wreath but you can also use it in so many different ways. Hang it on a mirror to add seasonal decor to any room or hang it on a coat rack or peg in your entryway to greet guests with seasonal intention.

Grab a copy of my free
Vintage Home
Decor Guide
This guide provides 10 easy ideas to add timeless charm to your home with a free PDF full of images and inspiration.
We are always striving to master the art of joie de vivre around here. If you enjoy the good life and want a reflection of this in your home, please consider joining the Masterpiece community. Sign up you won’t miss any new content, receiving all new posts directly into your in-box.

Closing Thoughts ~ Charming Bow for Halloween
I hope you enjoyed this easy bow tutorial and hack. It can be used for so many different seasons and holidays. Plus it can also be adapted to any decor style depending on the ribbons you use. Make it yours! Do you think you’ll give it a go? Let me know in the comments.
This is my first real Halloween decor project, and I have so many projects planned and scheduled for the season. Stay tuned. Thanks for dropping by today and can’t wait to see you next time.
Au Revoir!


Q & A – Halloween Long Tailed Bow
Q1. How do you attach a long-tailed bow to a wreath?
A1. Bows can be attached with any twisting mechanism to wrap around the wreath. Great choices include floral wire, pipe cleaners or twist ties. Regardless of which option you choose, a good tip is to use a color that matches the wreath to make it blend and become invisible.
Q2. How do you cut the ends?
A2. Professional-looking bows use a dovetail or angled cut. To dovetail: fold the ribbon end in half lengthwise, and cut at a 45-degree angle starting from the folded edge going out toward the tips.
Q3. What is the best ribbon type for a long-tailed bow?
A3. Unlike other bows, long-tailed bows can use any type of ribbon. Wire edged ribbons are not necessary for a long-tailed bow. Focus on variety of color, pattern, sizes and textures too create depth and dimension.
Shop the Halloween Long Tail Bow Look
- Natural burlap wire edged ribbon
- 2 Inch Velvet Ribbon Orange
- Black Sheer Organza Ribbon 1-1/2 Inch Chiffon
- Lace ribbon crochet cotton lace trim vintage lace trim
- Orange Gimp Braid Trim
- Fabric scissors
- Floral wire
- 20 Inch Grapevine Wreaths Vine Branch
- Halloween Wreath Bow, Large 23.6″ Door Bow Decoration

Don’t forget to Pin It and save for later. You never know when inspiration will strike!
For more inspiration follow me on Pinterest.

Most Recent Posts

On Halloween you get to become anything that you want to be.”
Ava Dellaira