


We all know burlap has been trending f.o.r.e.v.e.r now and I really like to marry it with natural elements so why not plants & flowers? Come see how to create some unique and fabulous containers for your plants in this burlap container gardening DIY.
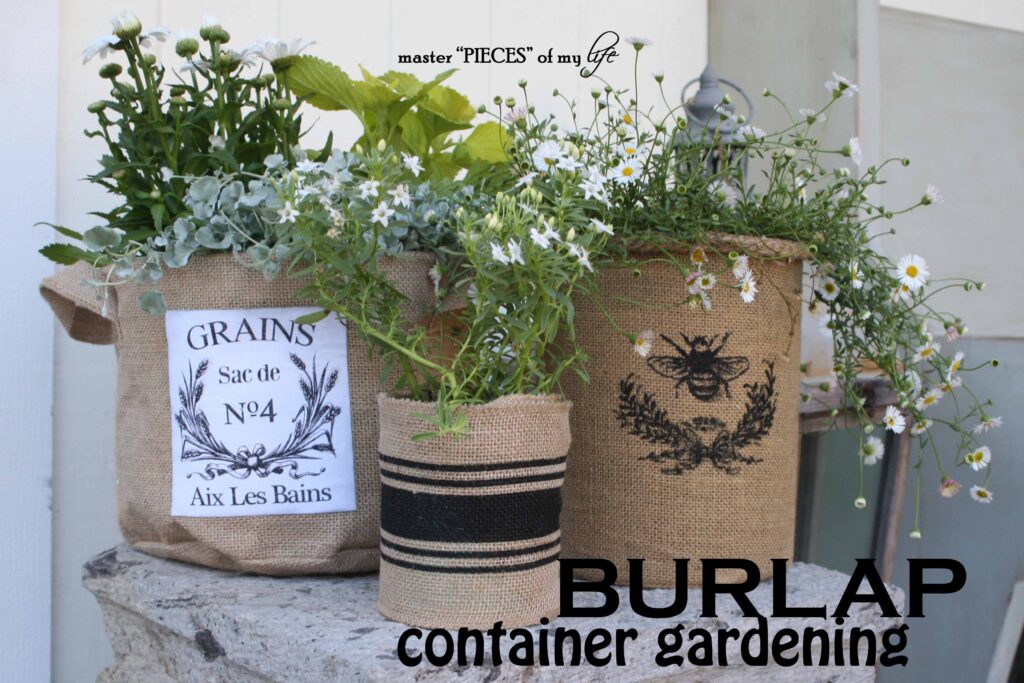
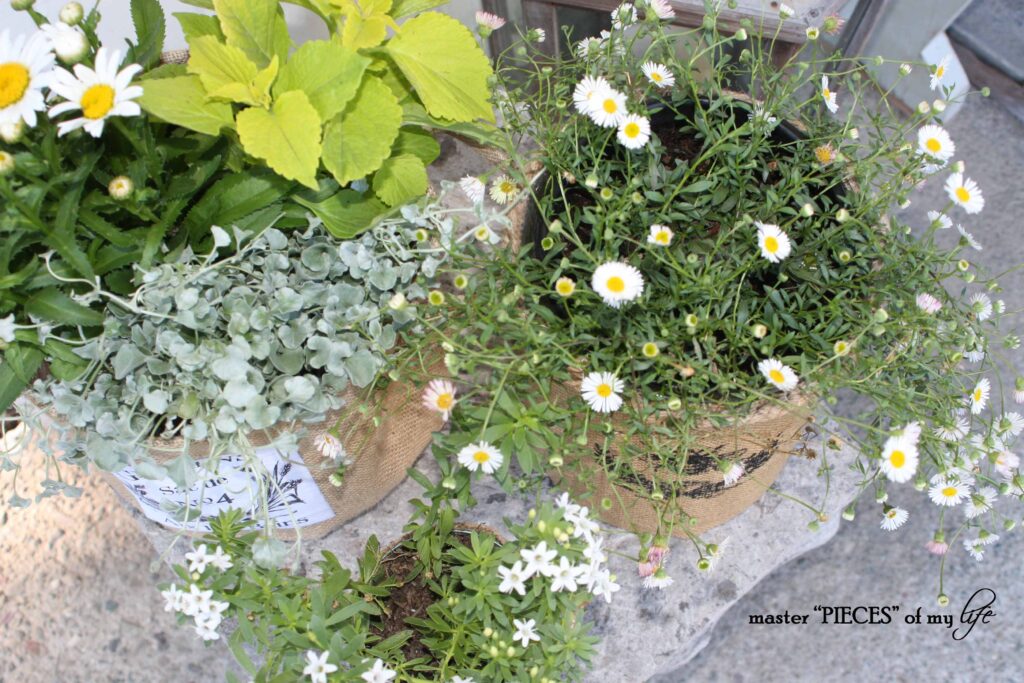
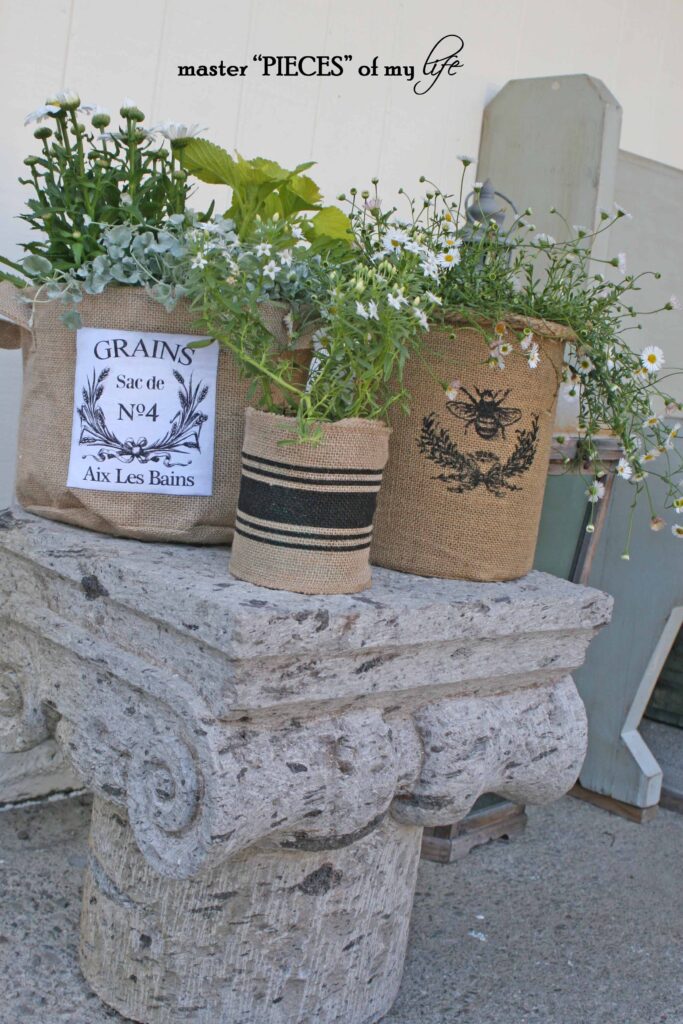
I created this little planter vignette for the front of our house, using different burlap containers. None of these containers are necessarily intended for gardening nor did I buy them with gardening in mind. Regardless, I love how they turned out.
My aunt & uncle are coming to visit from Uruguay tomorrow. They have been coming every year around the same time of year now for awhile, and they spend about two months in the states. Although they don’t stay with us, we entertain them at our home a bunch, so I’m trying to make things prettier and more welcoming. You now how that is.
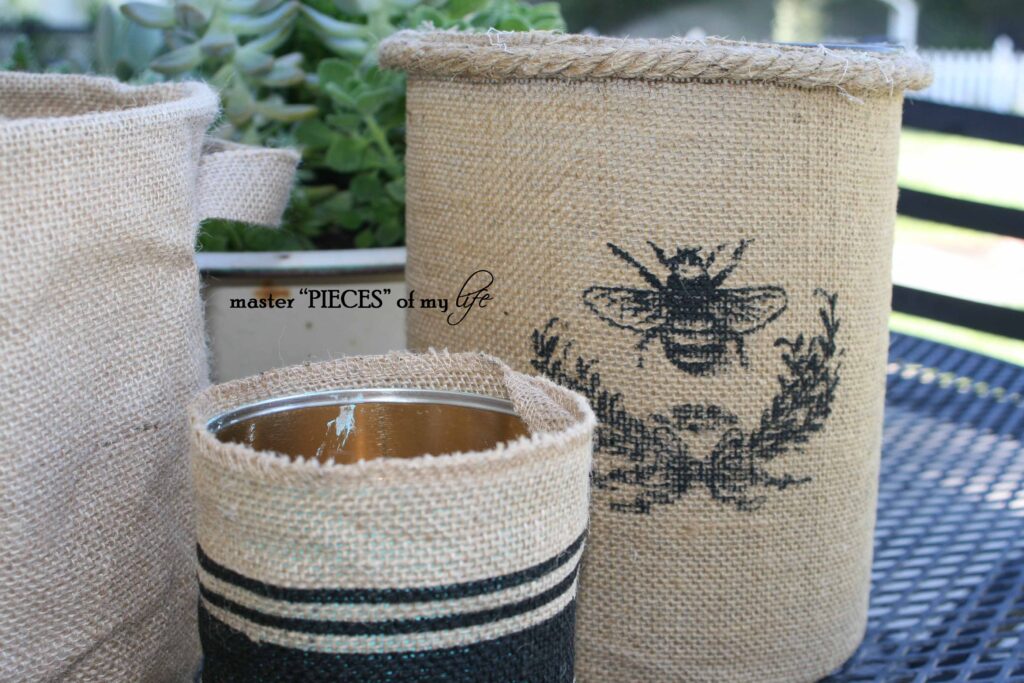
The Burlap Bee Vase
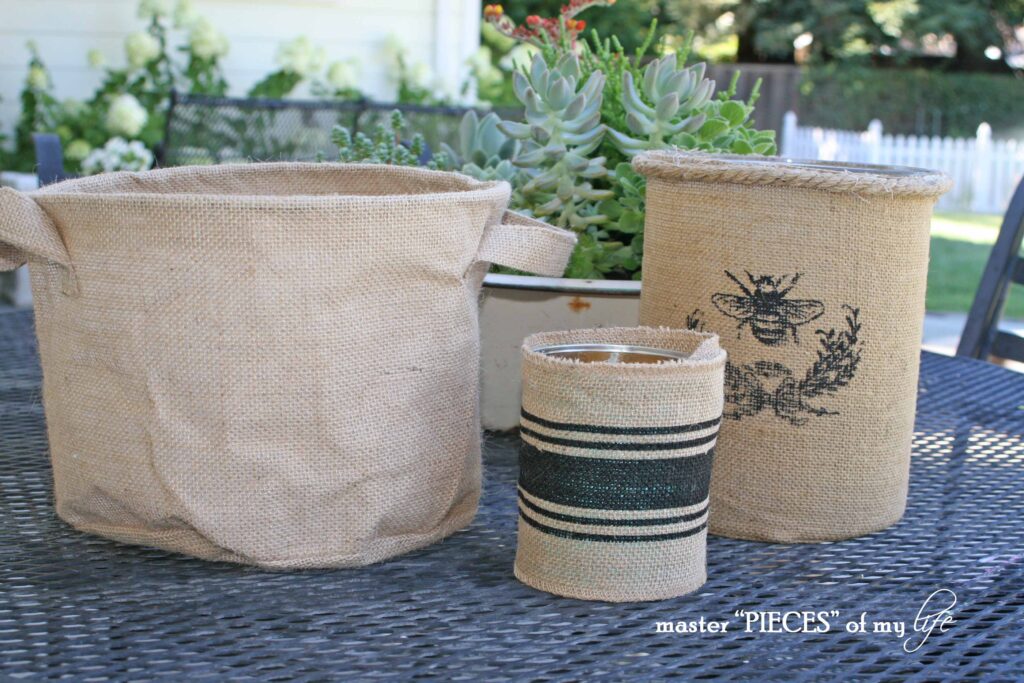
Anyway, back to the containers. I’ve had the bee bucket for a few years now. It has a glass insert, and it has been used in many ways, including as a wine bucket, or a decorative vase with pine cones, ornaments, and seashells, or a magazine caddy in the family room.

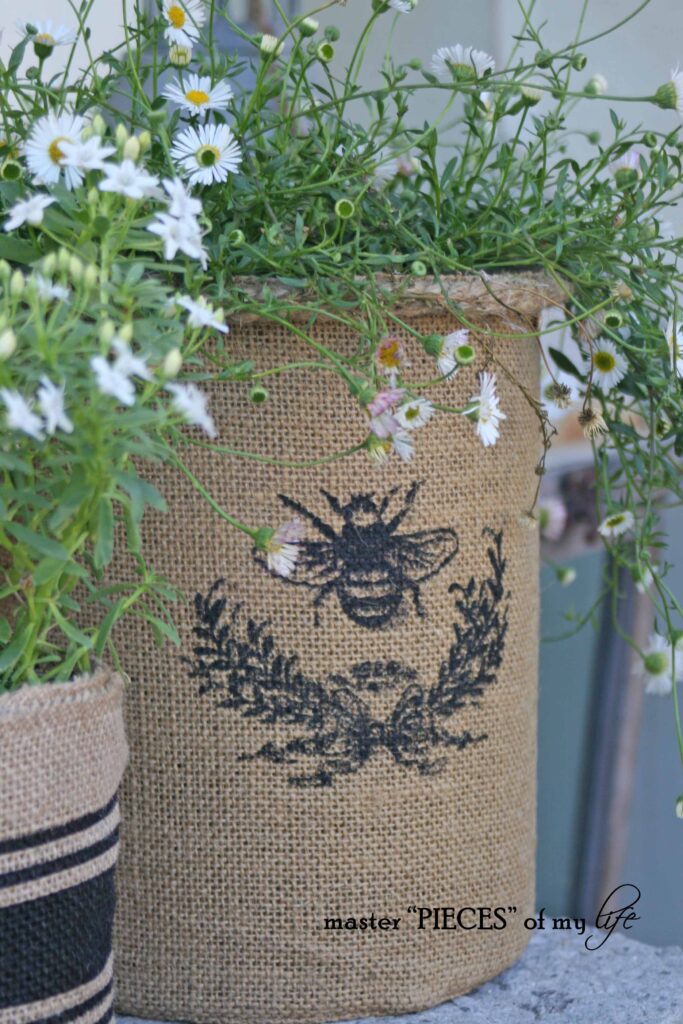
The size and shape of it reminded me of the gallon containers at the garden center so into a cache pot it became. Super easy. I didn’t want to necessarily plant in it because it would be messier to clean up, since I do plan to use it again for other purposes.
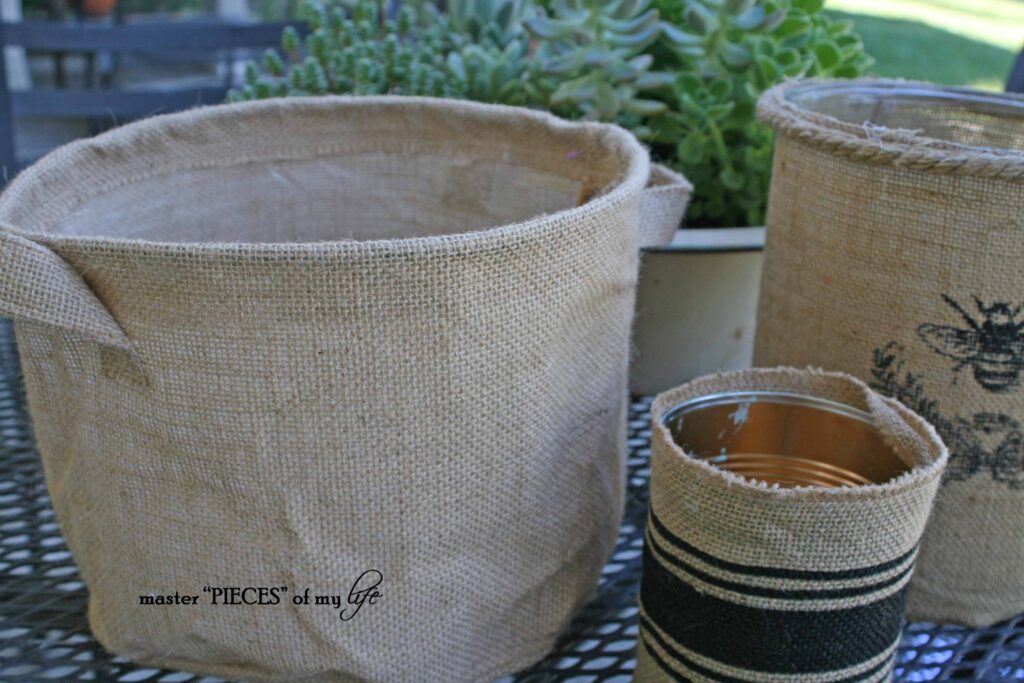
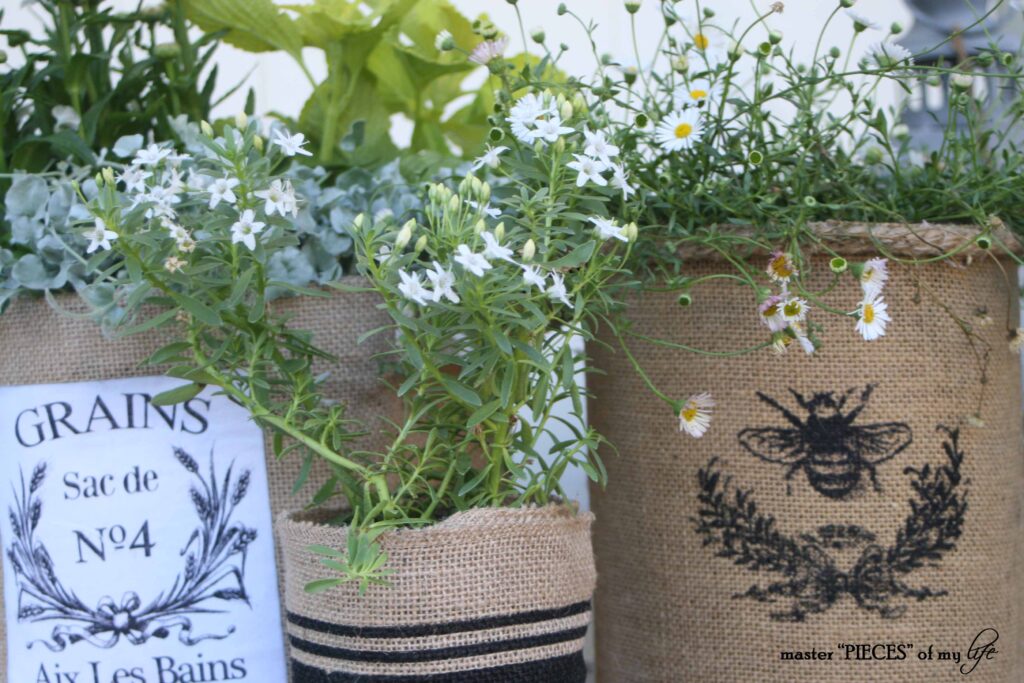
The Burlap Sac
The burlap sac I picked up at Target in the $ bin area awhile ago. Although it wasn’t $1, it was a $3 item, I still thought it was a good deal. I didn’t know for what I was going to use it but as I put it in my cart I wanted to grab a whole bunch, but I couldn’t justify it since I didn’t have an exact purpose. Now I wish I had.
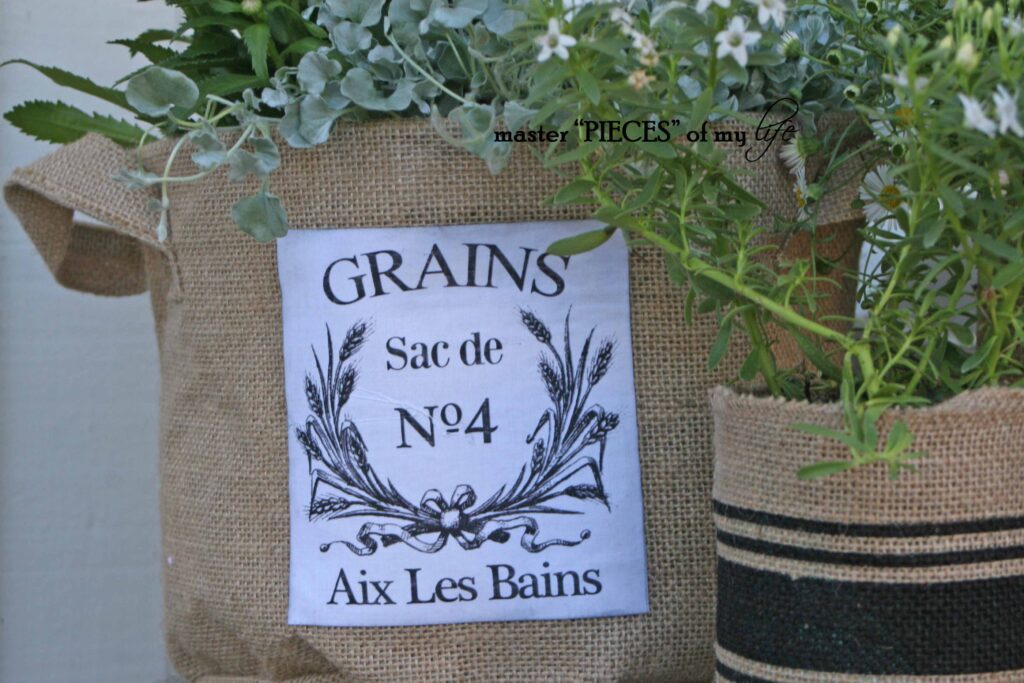
I added the “GRAINS” graphic from The Graphics Fairy using print & iron fabric sheets I picked up at Joann’s. It’s so flipping cute, right? I planted my flowers and plants into a plastic grower pot that I just slipped into the burlap sac. The sac has a plastic liner by the way. I know, I know. I should have bought more. How cute would this be with a small christmas tree around the holidays? Sigh.
The Burlap Aluminum Can

Anyway, last but not least is the little guy, which is just a used aluminum can covered in burlap ribbon, purchased at Michael’s. Once again, a super easy project.
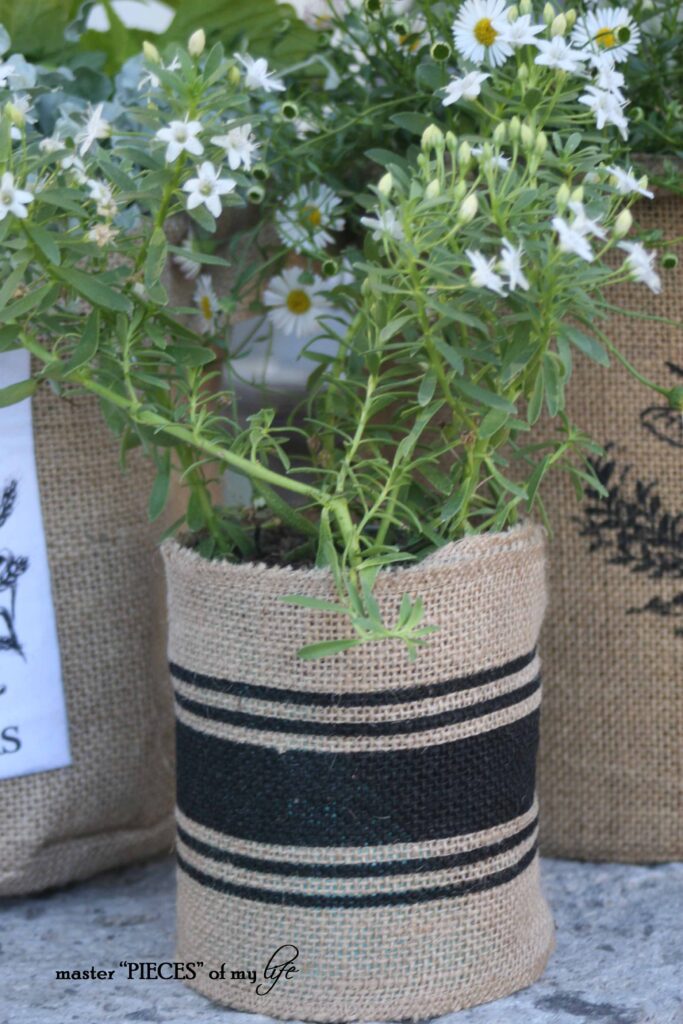
So, the can, instead of landing in the recycle bin, it was lathered with spray adhesive and the burlap ribbon. Easy peasy lemon squeezy.
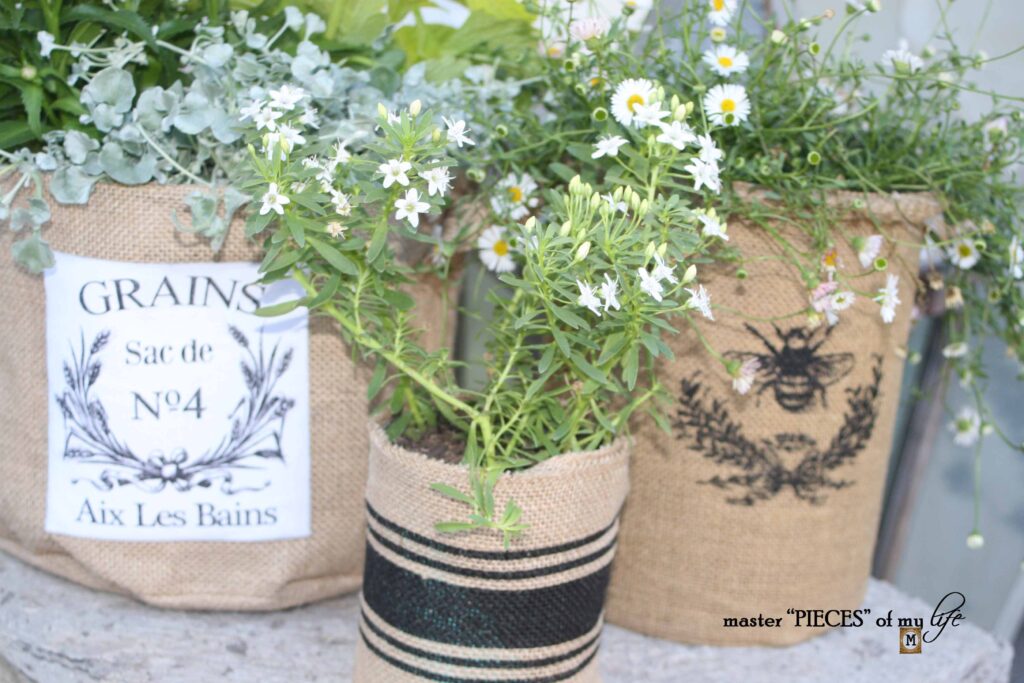
I love the combination of burlap with greenery and flowers. I love the welcoming vignette it has created.
My aunt and uncle will be here soon, and I cannot wait to see them again. I hope everyone is getting a chance to visit with family & friends this summer. It’s so nice to entertain and spend time together outside.
Although this is an older post from my archives, I recently shared this post {container gardening ideas & inspiration}, in case you missed it.
If you don’t want to miss out on any of the upcoming projects you can subscribe to receive all my new posts to your in-box.
“Happy Summer Living!
sharing @ between naps on the porch
Save