


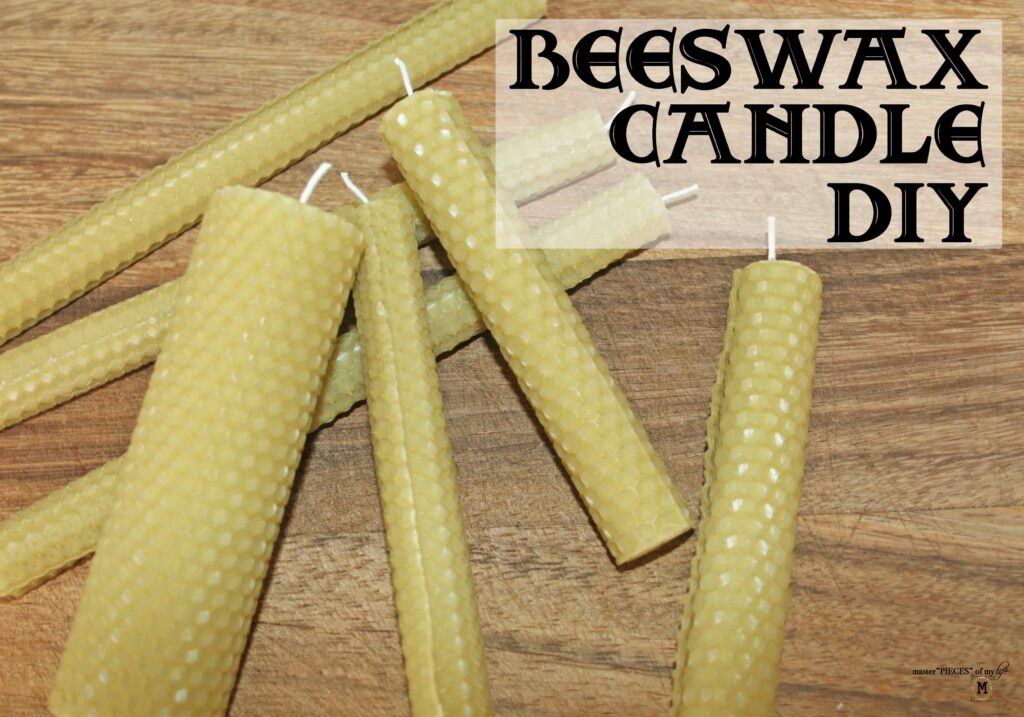
I love the look of beeswax candles, but they tend to be a bit pricey. Until I found a beeswax candle making kit that made making these beeswax candles super easy, fairly inexpensive and pretty satisfying. Let me share this beeswax candle DIY and you might want to make some yourself.
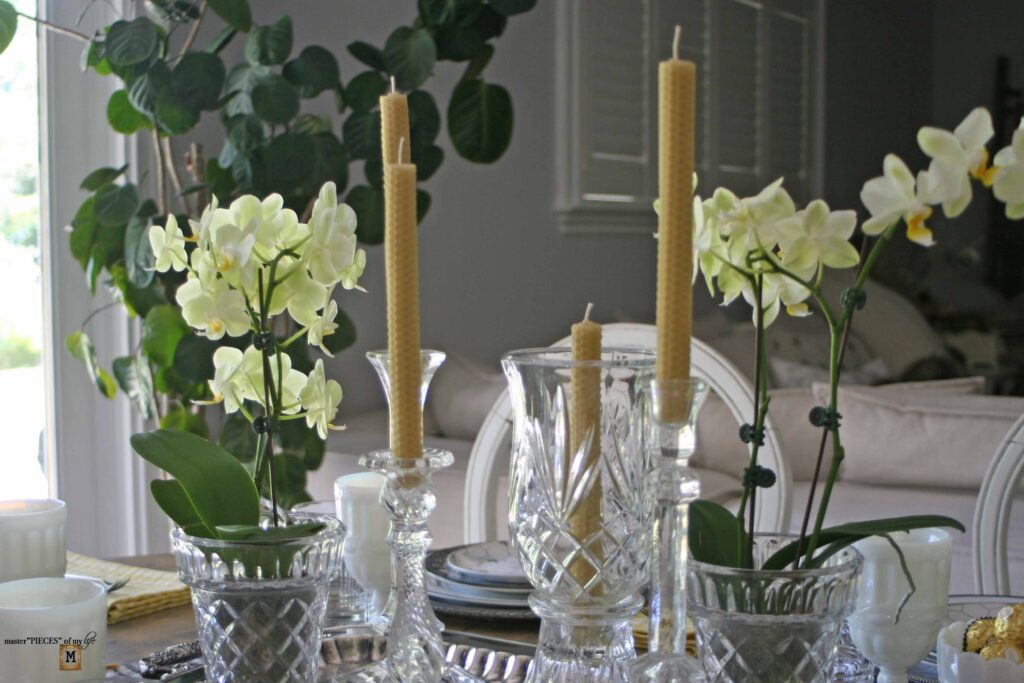
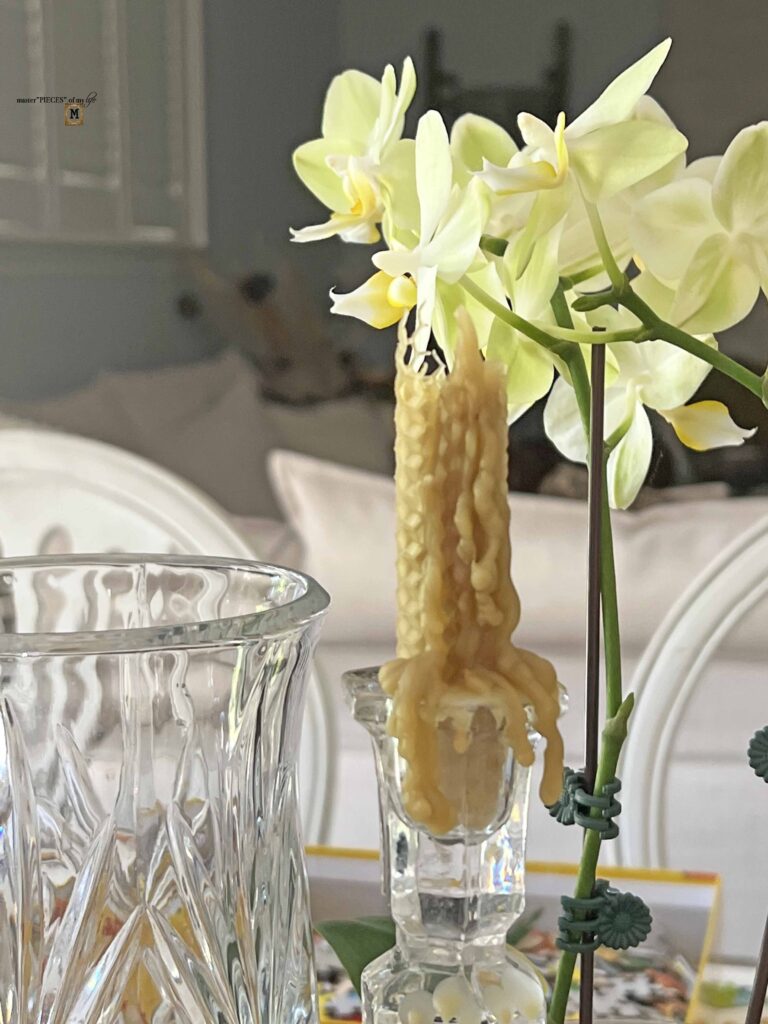
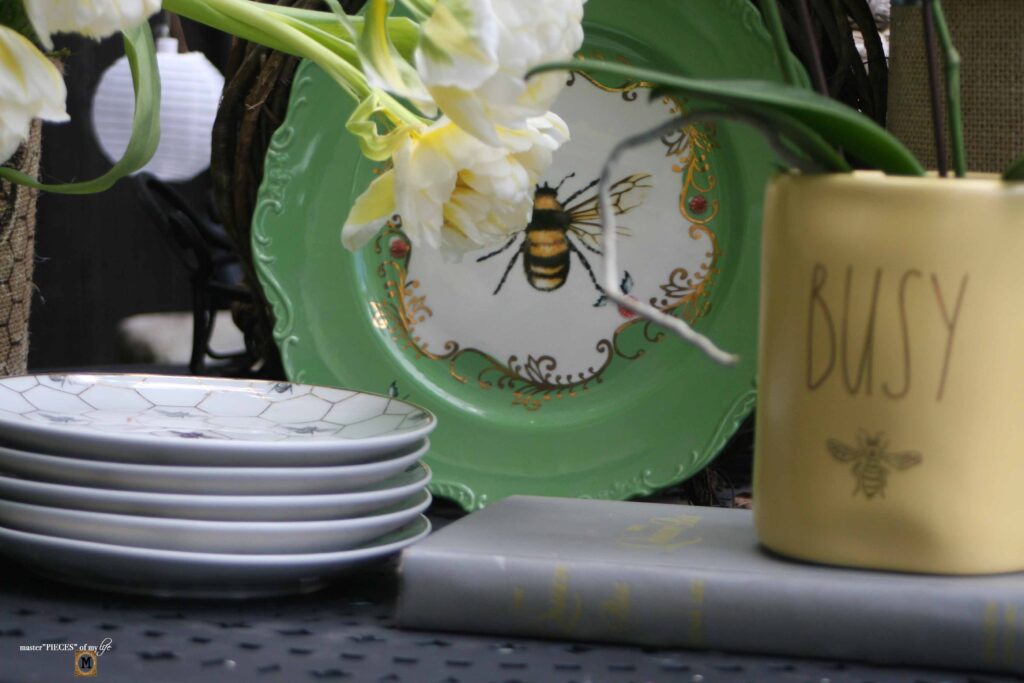
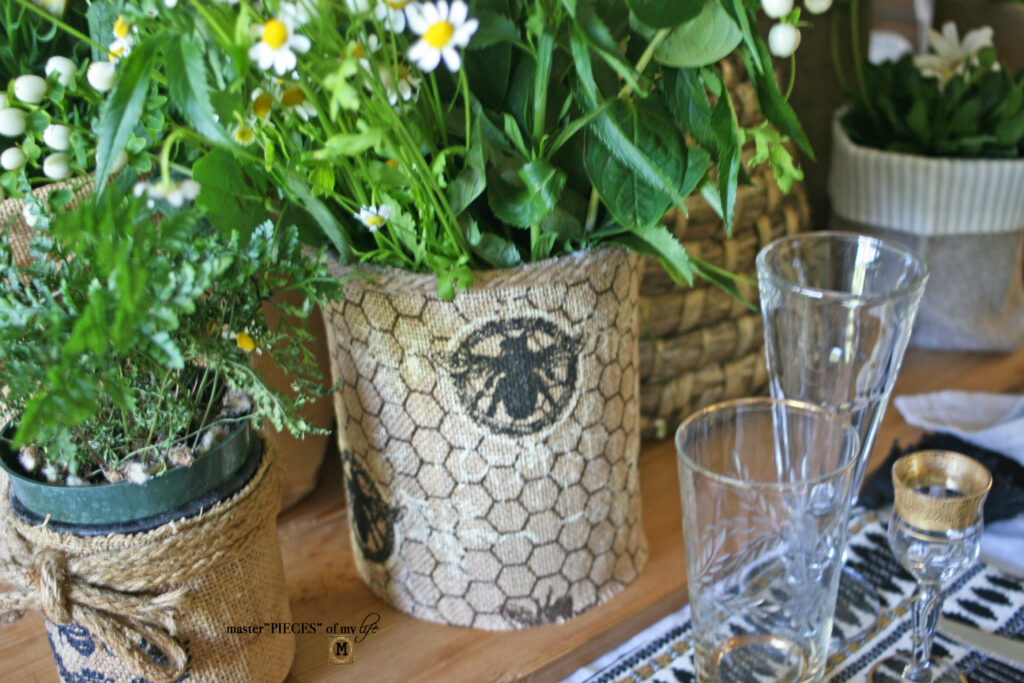
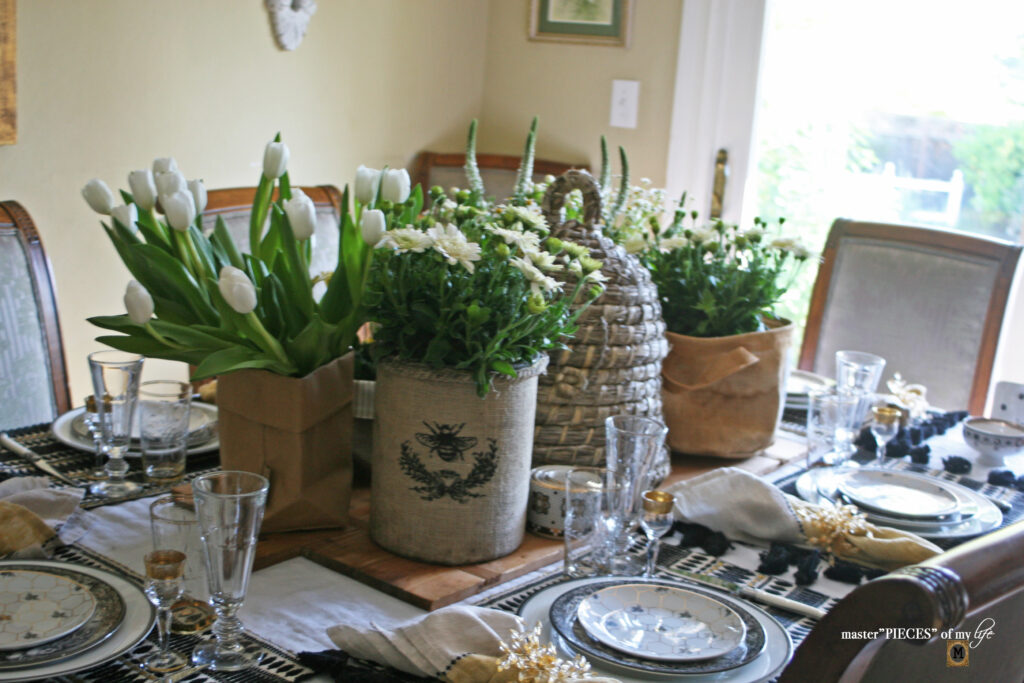
I stumbled upon a kit on-line to make beeswax candles when I was researching honey bee and honeycomb topics for this post {bee theme tablescape}. I recently shared these beeswax candles in this post {an orchid and beeswax candle DIY tablescape}.

*Affiliate links included for your convenience.
All About the Beeswax Making Kit
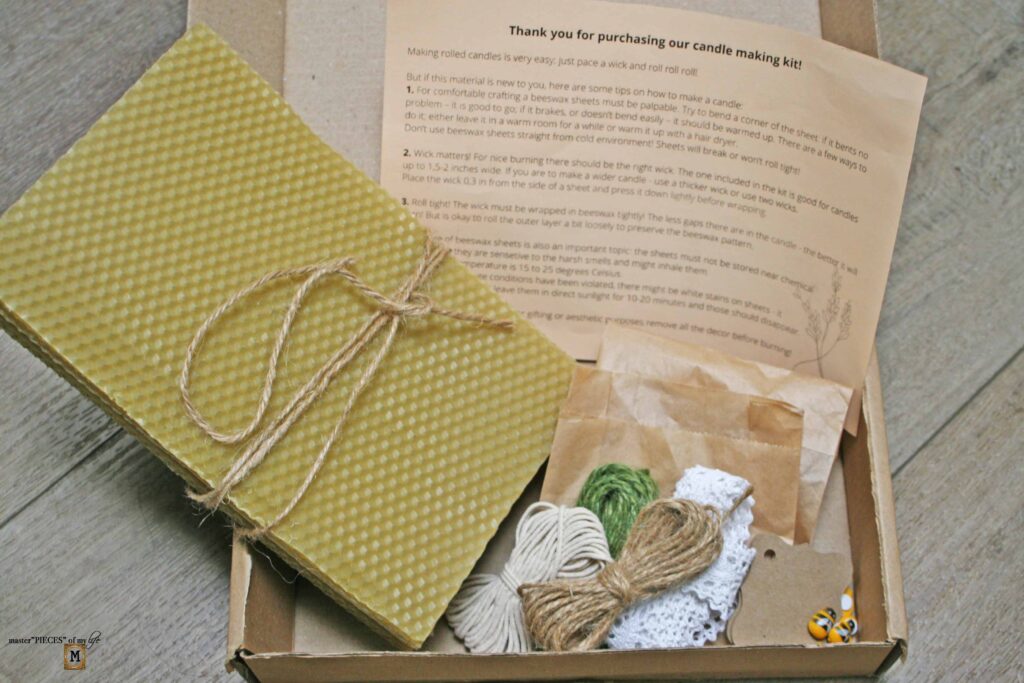
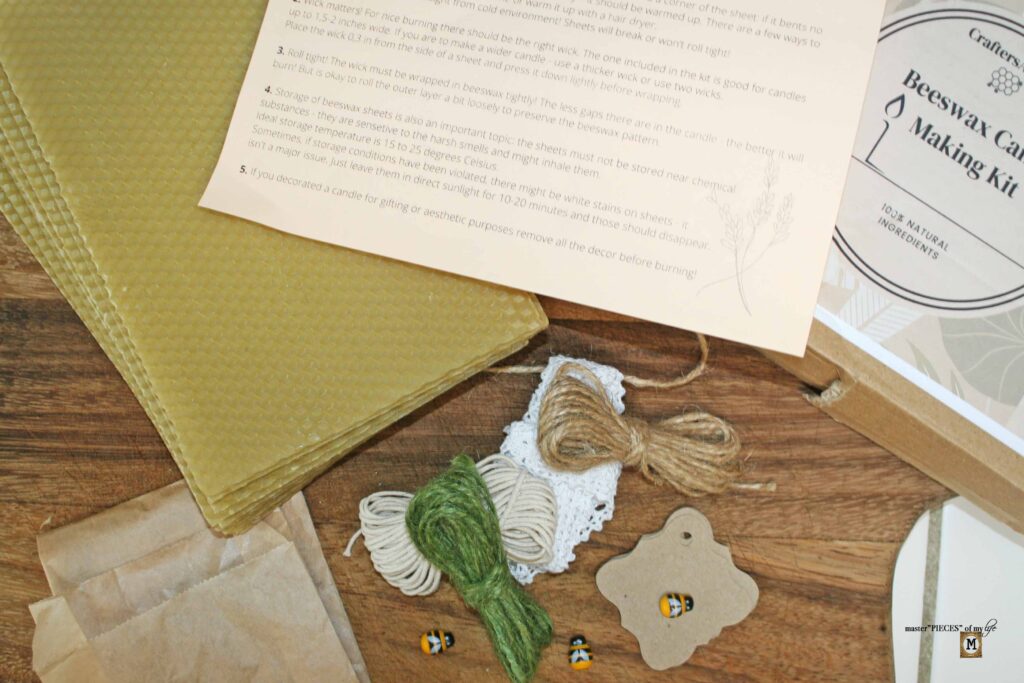
This is the kit I used, which I thought was a great quality and a good value.
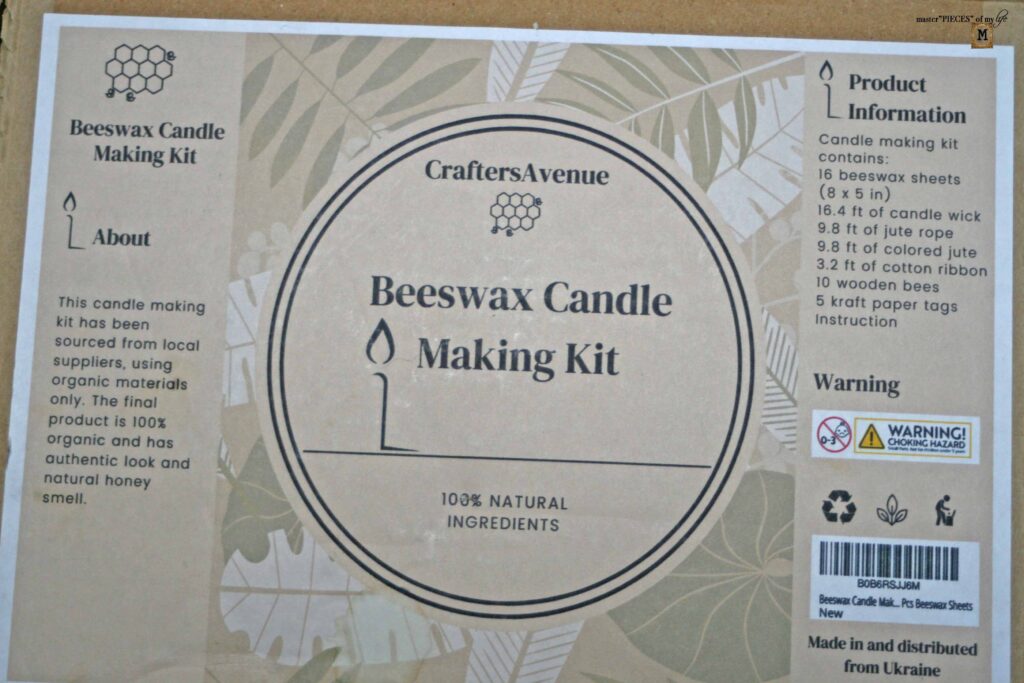
Kit includes:
- 16 beeswax sheets 5 x 8
- candle wick
- green & natural twine
- cotton lace ribbon
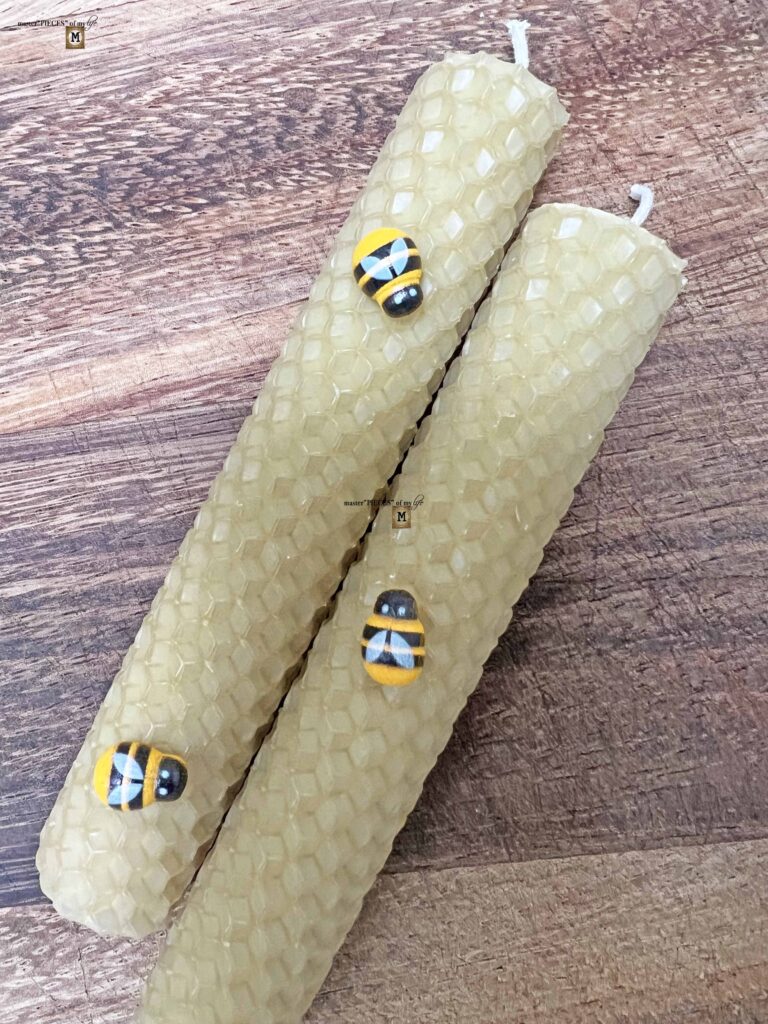
- mini wooden bees
- gifts tags
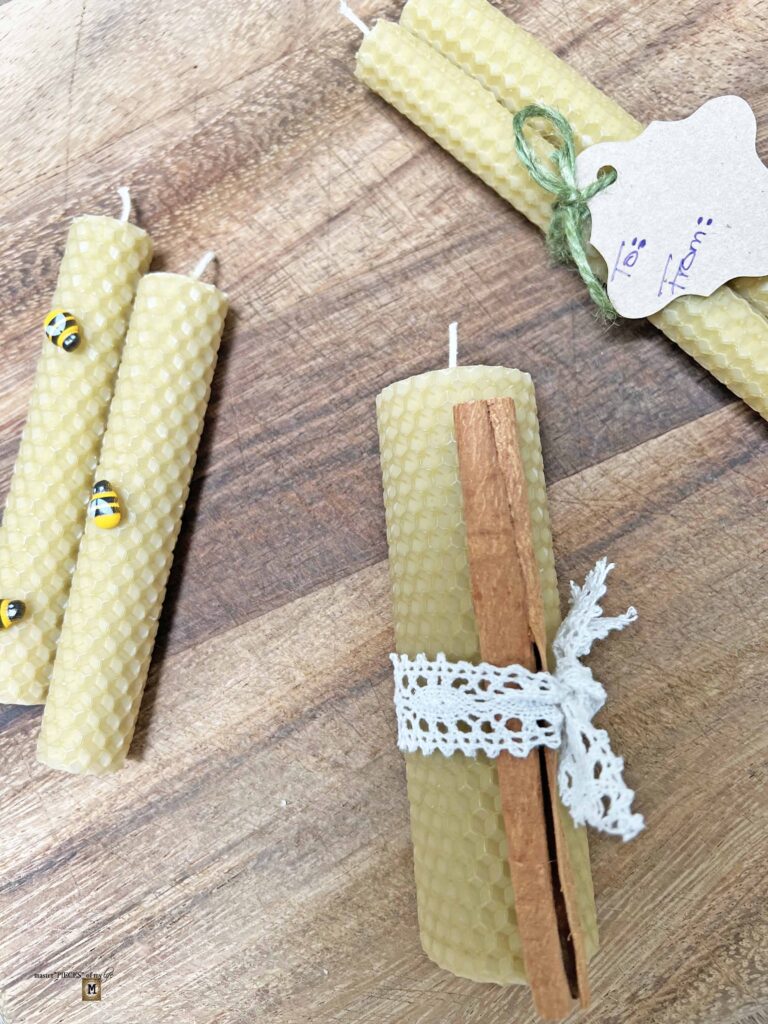
The first two items, are the only things you really need to make the candles. They are fairly simple to make, just by rolling the beeswax sheets.
The rest of the items are purely decorative, available to embellish the candles, especially since they make great gifts. Keep in mind, you should not burn the candles with the embellishments for safety reasons. The kit itself would make a great gift for a hostess, a crafty friend or candle burning enthusiast.
The candles do not require melting wax, which makes it a super kid friendly craft. I do have another candle project, which requires melting wax, scheduled to come your way shortly.
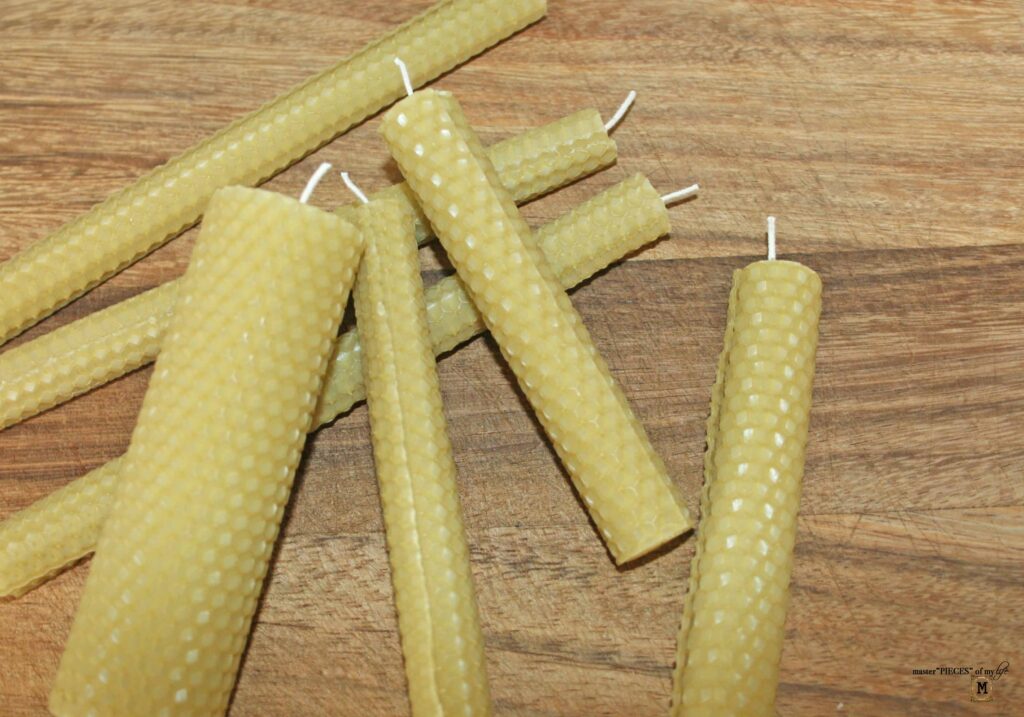
How to Make Beeswax Candles
Whenever I attempt a new craft or DIY project, I am a bit apprehensive before starting, not knowing what to expect. It was no different for this project, but let me tell you it’s super easy and no apprehension is needed, at all!
Instructions for the Beeswax Candle DIY
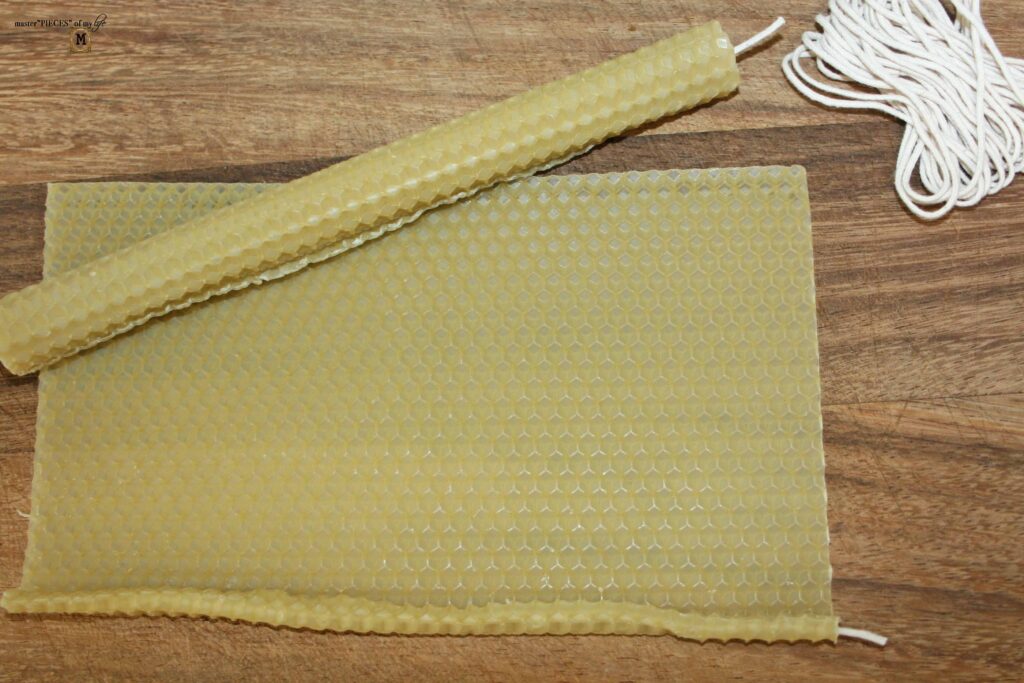
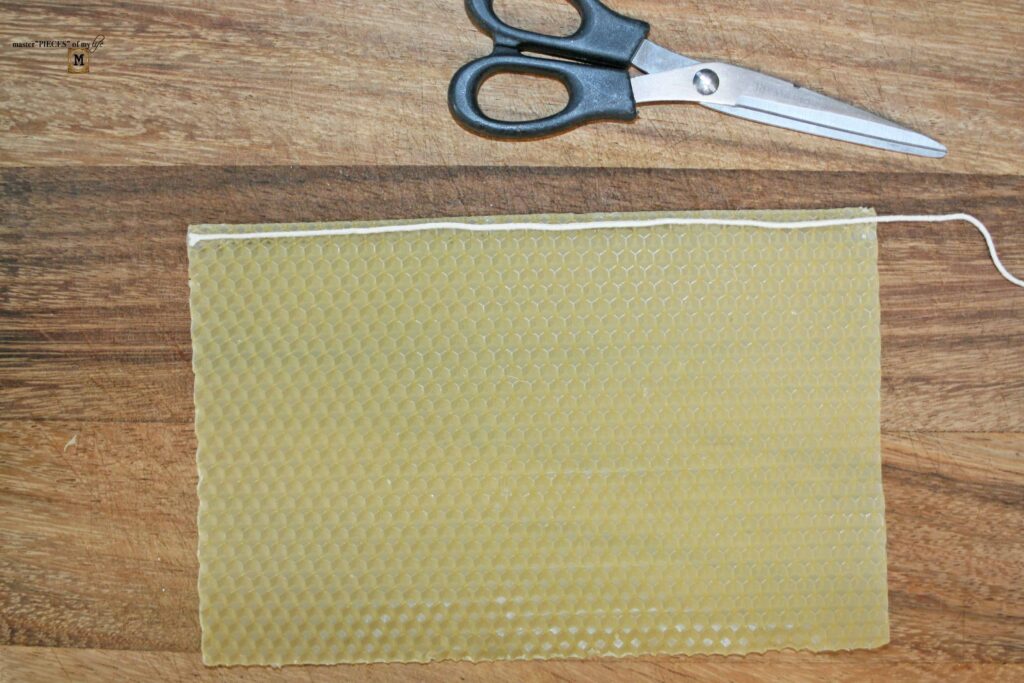
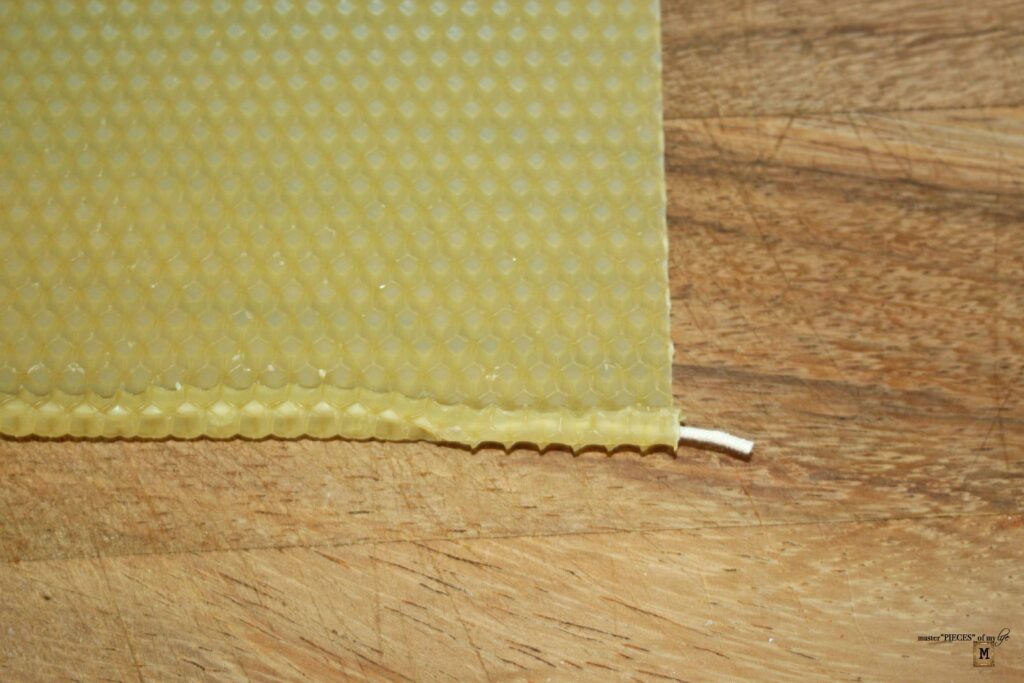
- Cut the wick to the desired length, allowing for an excess tail to light the candle.
- Lay the wick flush against one end of the beeswax sheet.
- Tightly roll the beeswax sheet around the wick.
- The beeswax sheet will stick to itself and keep rolling until the sheet is done. It will remain tightly rolled since the beeswax sticks to itself naturally.
- That’s it! You have your own DIY, custom beeswax candle.
- Light it and enjoy!
Helpful Tips For Making the Beeswax Candles
I allowed for about 1/2-inch excess on the end of the wick, which will start the flame.

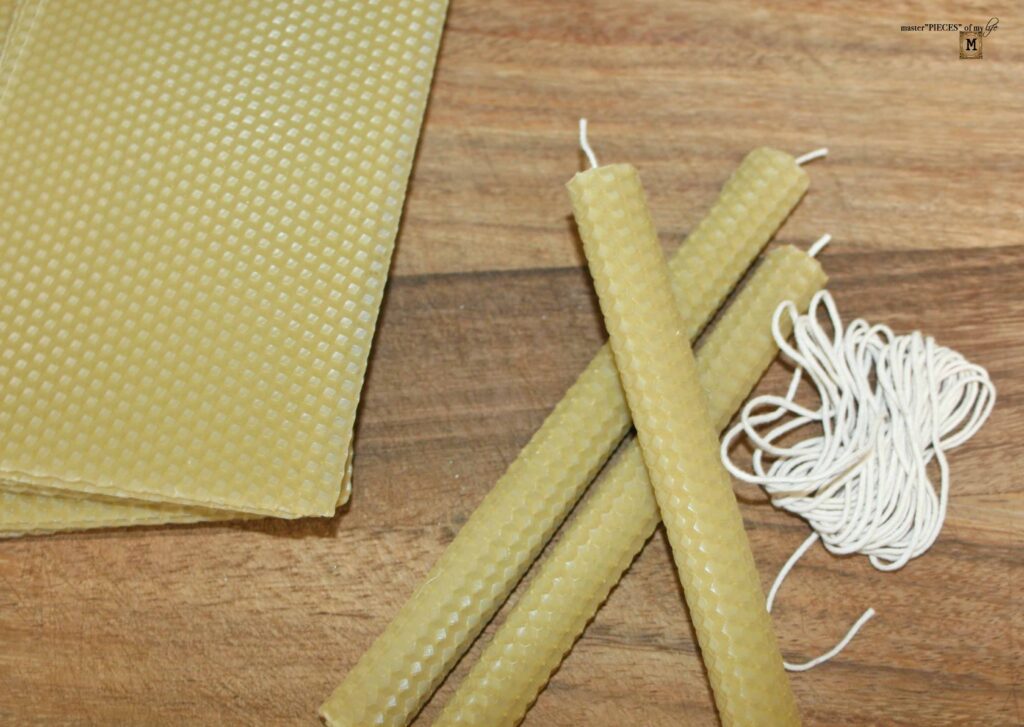
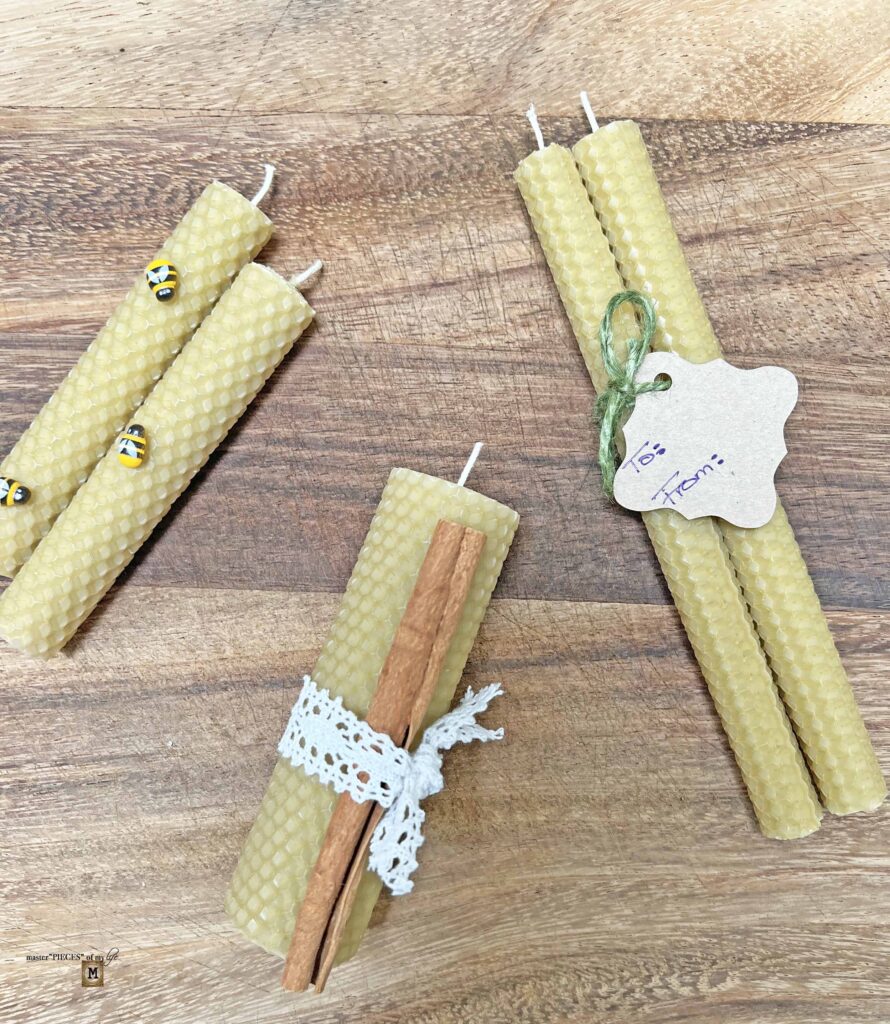
You can roll the candles either horizontally or vertically, allowing for different candle heights. Also you can use more than one sheet when rolling a candle, allowing for a wider candle; simply add another sheet when you finish rolling the first one and roll until you finish the second or third one.


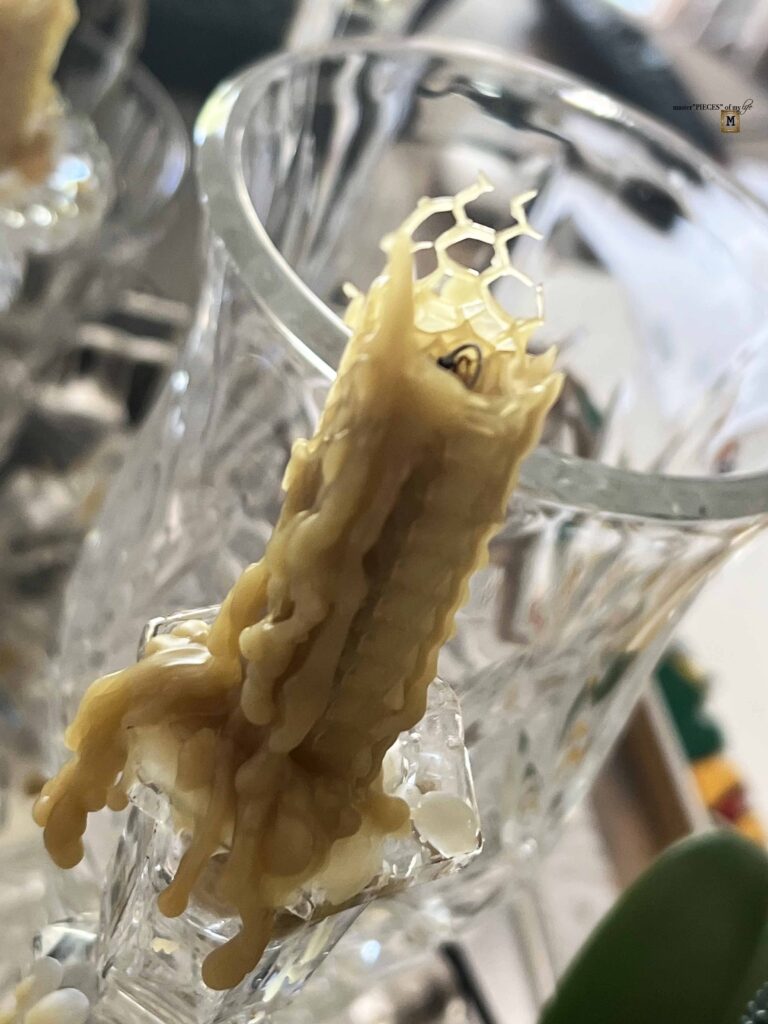
Be advised the candles are not dripless, but the wax pools nicely if you like that look, which I do.

All the instructions and details to make the candles come with the kit, which is really fool proof.
Reviewing the Beeswax Candle Kit
I love these candles, and I will be making more. Not only will I finish this kit, but I’ll be ordering more beeswax sheets and wick string for future candles.
Although this was a perfect starter kit for me, I think next time I will only order the candle making supplies. I don’t necessarily need twine, or ribbon, or tags since I’m a crafter and already have those type of items in my regular stash.
I do find the little wooden bees adorable and I will use them again and again. So I’m happy is started with this kit to get my feet wet. We will be seeing more beeswax candle projects around here in the future.
How about you? Do you want to give this a try? I highly recommend it. I found it extremely satisfy to complete, using these candles in our own home. Another reason to love bees!

Get the Beeswax Candle Look
The Beeswax Candle Kit I Used For This Post
Another Beeswax Candle Making Kit
A Fun Beeswax Candle Making Kit for Kids
Green Glass Taper Candle Holders {great for St. Patrick’s Day, Spring & Easter}
Pretty Matches to Light Your Candles
*These affiliate links mean I receive a small commission if you make a purchase using these links.?As an Amazon Associate I earn from qualifying purchases, which helps me run this blog.
More Honey Bee Goodness
If you love the queen bee as much as I do, you will enjoy these posts.

“There is a candle in your heart, ready to be kindled.”
Rumi