


Hello friends! How is the new year treating you? This time of year I tend to turn my thoughts to my houseplants. When all the holiday glitz and glam is put away our homes become peaceful and calm sanctuaries. It’s the perfect time for house plant maintenance. With that in mind I created this cute wire cloche DIY using a Dollar Tree garbage can.


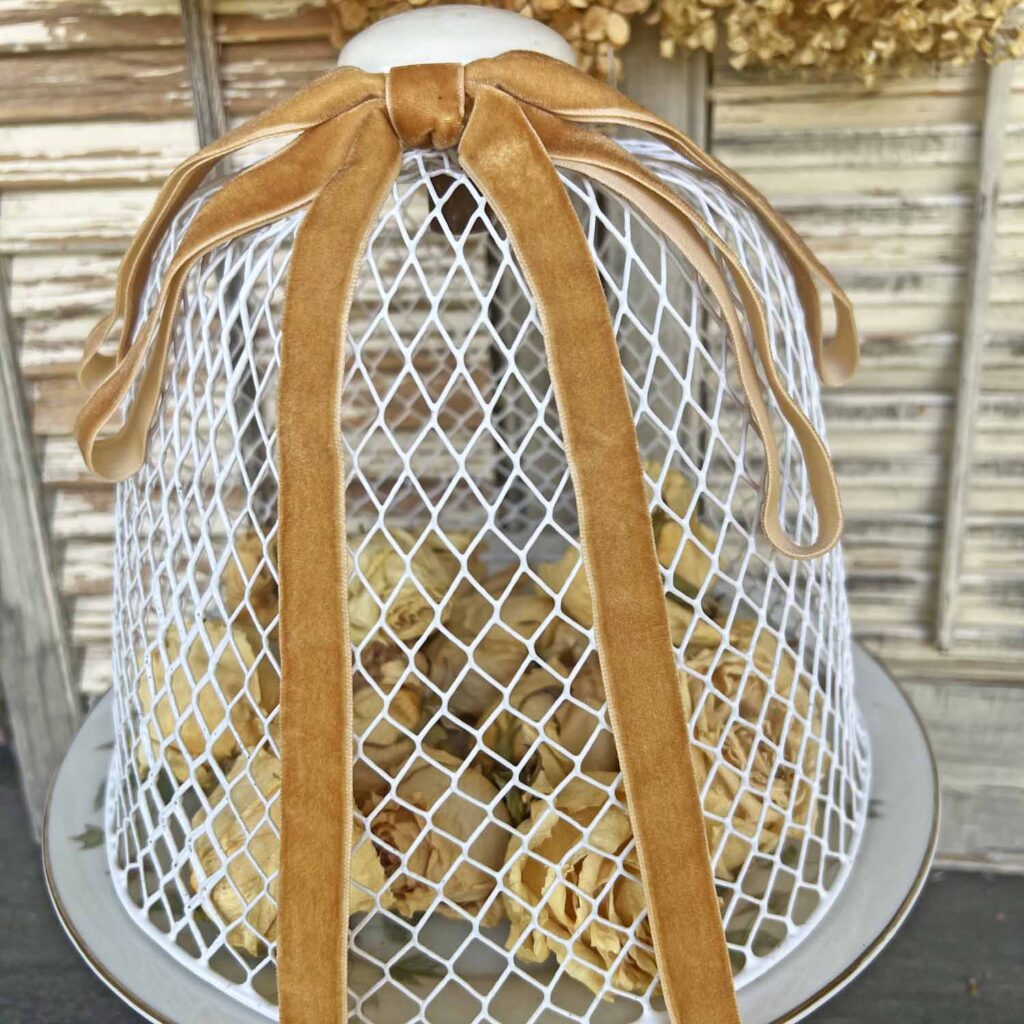
The wire cloche is not only great for displaying houseplants but also for decor vignettes. The wire cloche can also be used when entertaining outdoors as protection from pesky visitors. Plus personally I think it looks great just sitting pretty on a shelf all by itself with a fashionable ribbon.
*Affiliate links might be included for your convenience. These affiliate links mean a small commission is earned if you make a purchase using these links at no extra cost to you. As an Amazon Associate qualifying purchases support this website. For more information: Full Disclosure Policy.
Inspiration for the Dollar Tree Garbage Can Transformation into a Wire Cloche
I love all types of cloches and although I have quite a few glass varieties and some wicker garden ones, I do not have any wire cloches. Another crafter inspired me to create a cloche from a simple wire garbage can from the Dollar Tree. It’s a brilliant idea! I made mine a little bit differently, but I can’t take any credit for the original idea. It’s genius, and easy, plus affordable. It’s the perfect crafting trifecta. Come on in and let me show you how you can make one too.
I have always wanted to create a wire cloche from chicken wire, but this is much easier, starting with a basic form already. I still have ambitions to tackle the chicken wire project, but I will be doing it later in the year towards spring as I’m working on container gardening outside. If you don’t want to miss any of the new, upcoming content from Master”pieces” of my Life, simply sign-up below to receive all new posts directly you our in-box.
How To Create a Wire Cloche from a Dollar Tree Garbage Can
Supplies
- Wire Garbage Can
- Floral Wire
- Knob or Finial
- Ribbon (optional)
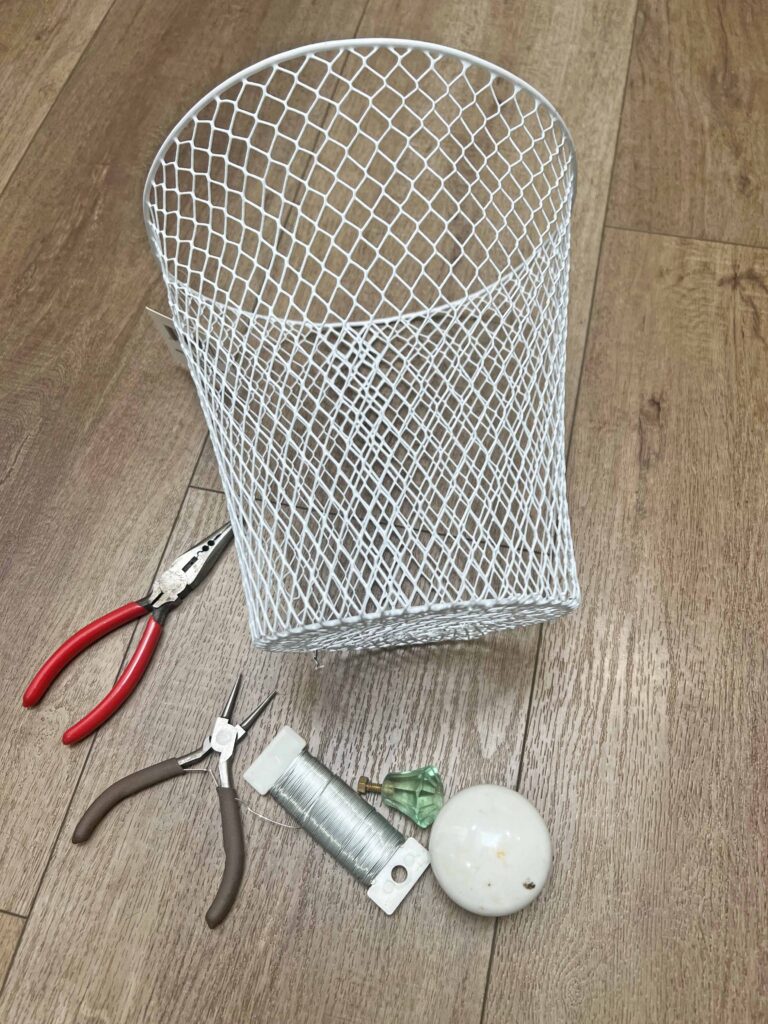
Tools
- Wire Cutters or Strong Scissors
- Needle Nose Pliers
Crafting Pro Tip: As I recommend with all my projects, read all the instructions through once and then re-read everything again. This way, you are familiar with everything you need and know what to expect.
Instructions
- Read instructions thoroughly and assemble all supplies & tools
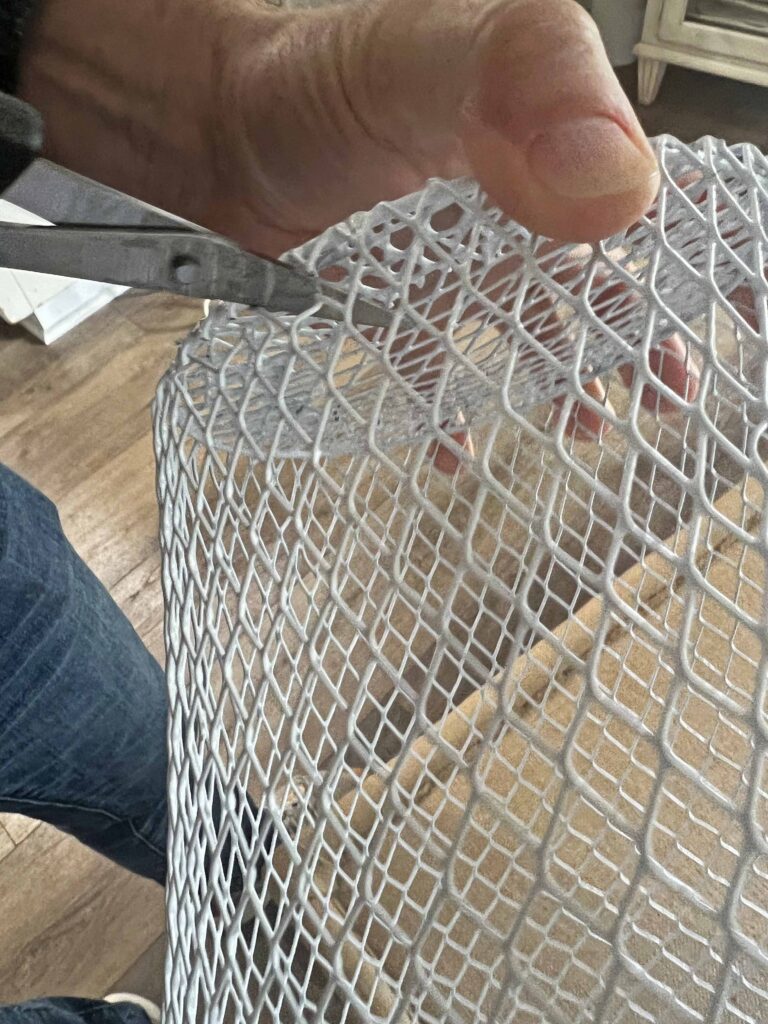
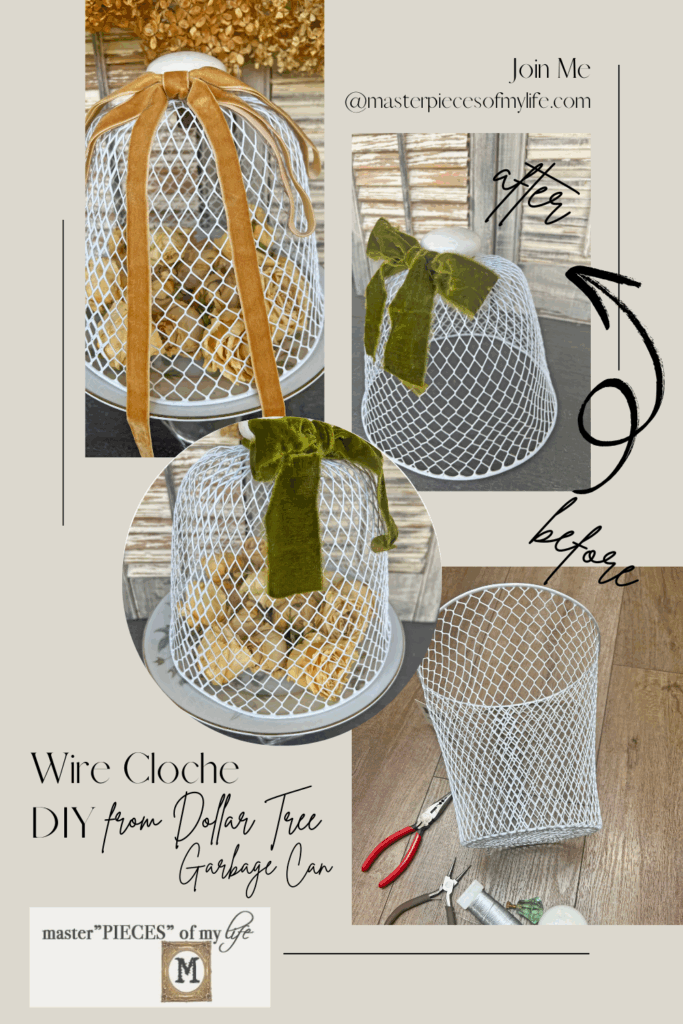
- Snip off the bottom of the garbage can using scissors or wire cutters
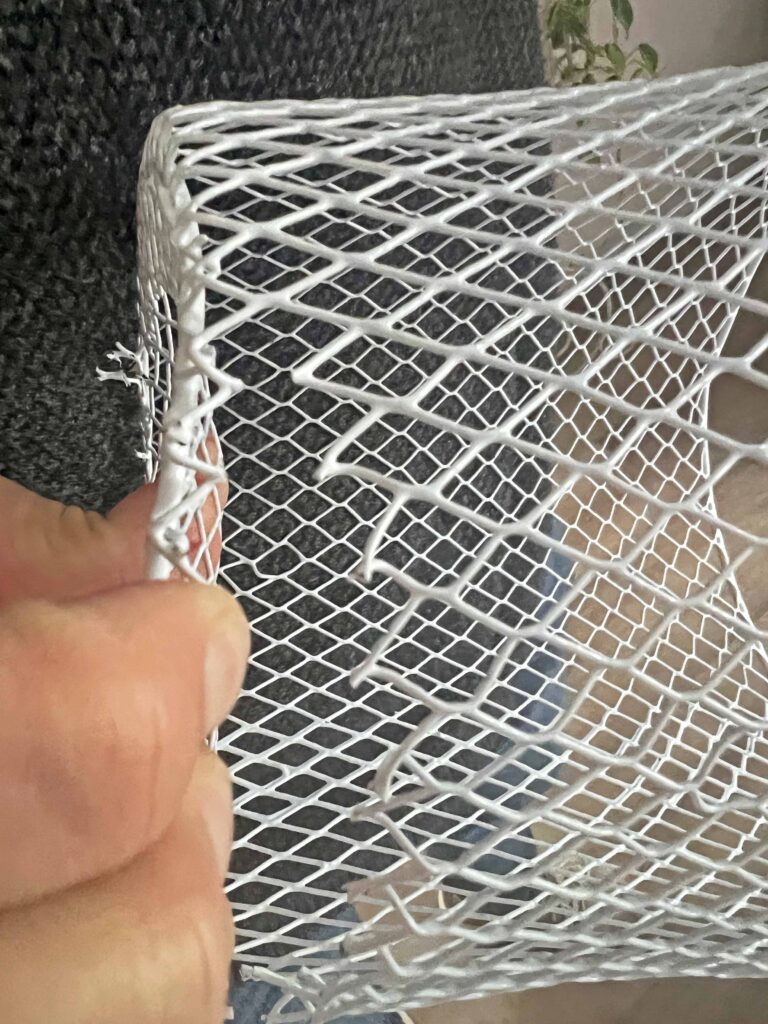
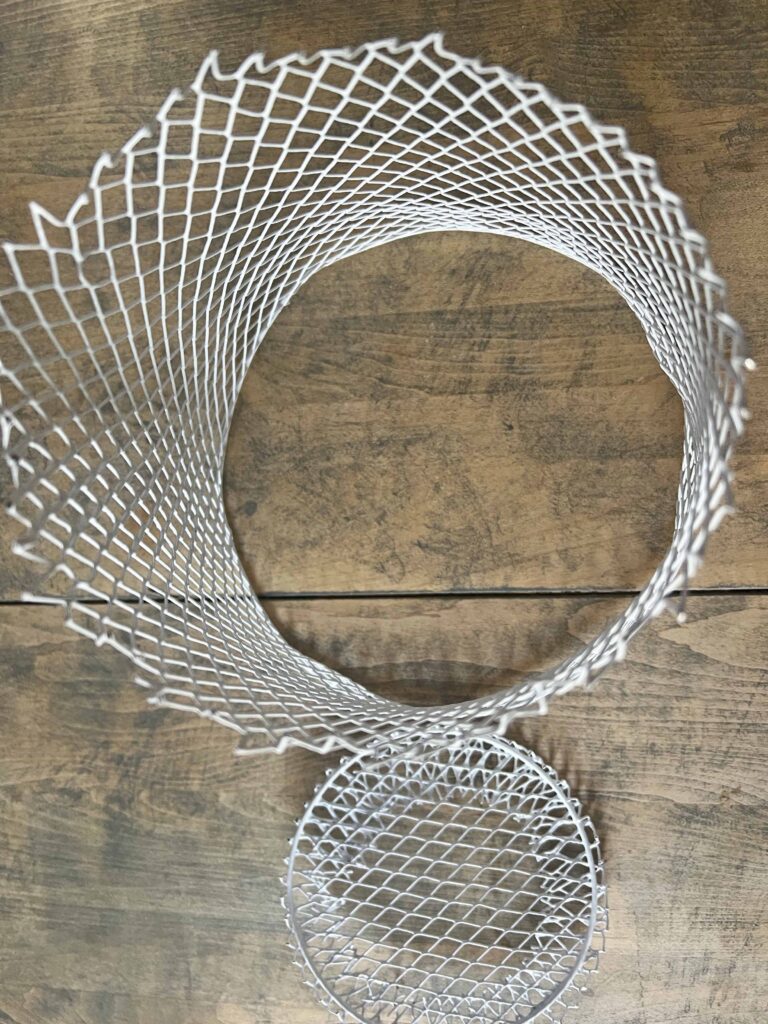
- Weave floral wire around basket going in and out of each full opening at the edge of where you snipped off the bottom


- Once wire goes all the way around the basket, use pliers to start pulling both ends to close opening of basket
- Use you hands too squeeze basket into cloche form as you are pulling on wire, alternating both techniques
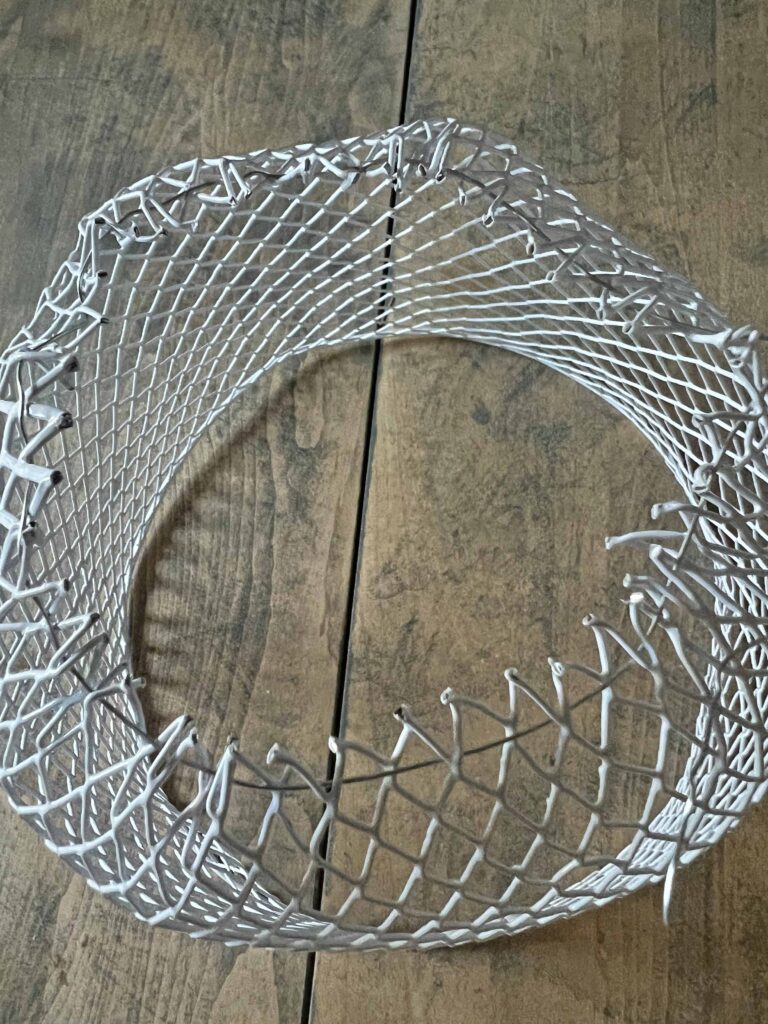

- Continue to close the basket until it comes together
- Tuck wire ends into the basket, and tie ends of floral wire together, snipping off excess

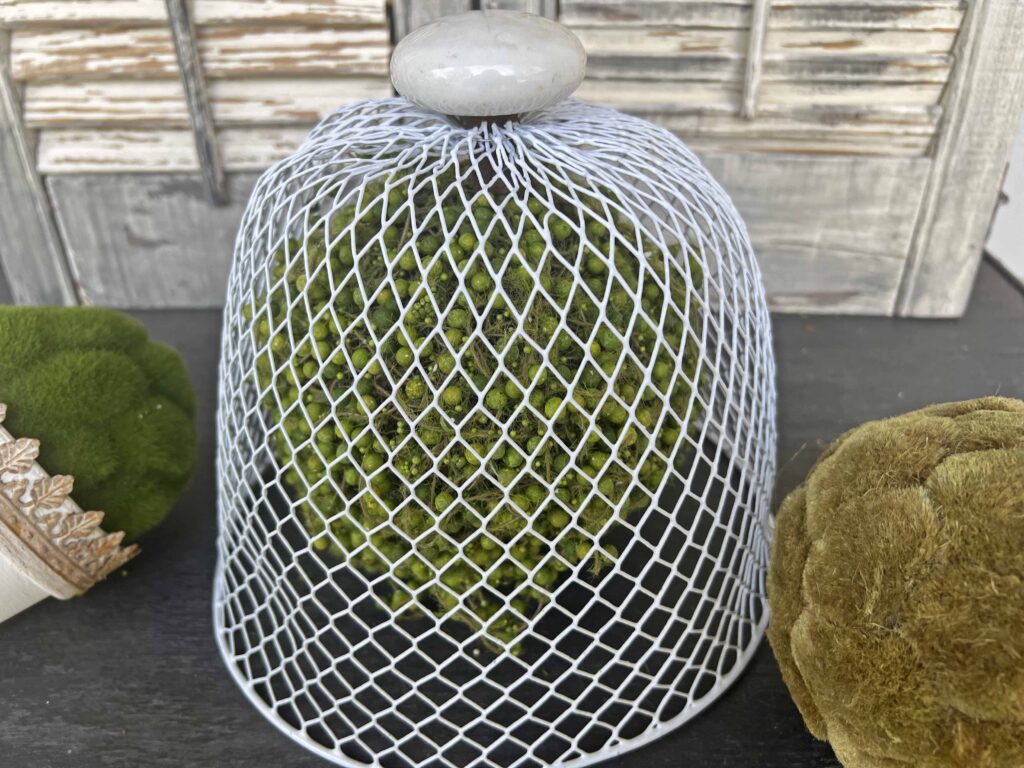
- Insert knob or finial inside hole at top of wire cloche

- If desired tie ribbon around knob
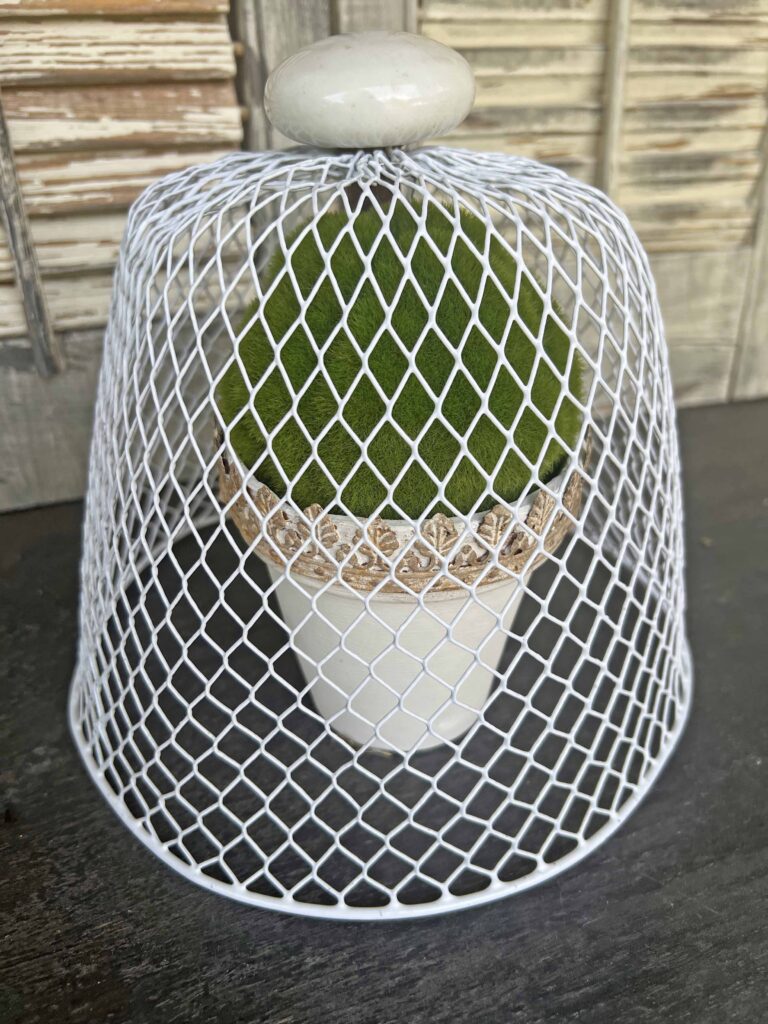
- Voila! Insert a plant or decor inside cloche and enjoy your new creation

Warning: The enclosed project consists of using sharp instruments and | or tools. Please proceed with caution, use protective gear if necessary and maintain personal discretion and responsability at your own risk.
Tips & Tricks
Be patient as you work around the wire basket to close the top. It takes a bit of manipulation, but it’s not necessarily hard. It just takes time and patience. I am not the most patient person around, and I was able to manage without frustration. Just remember to alternate between pulling the wire ends with the pliers and squeezing the top with your hands and it comes together easily…eventually.
Also my husband helped me snip off the bottom with scissors. I was not strong enough, but wire cutters would make this process much easier. Mr. M was able to do it easily with regular scissors, but I do not have the hand strength. Keep this in mind when you are deciding which tool to use.
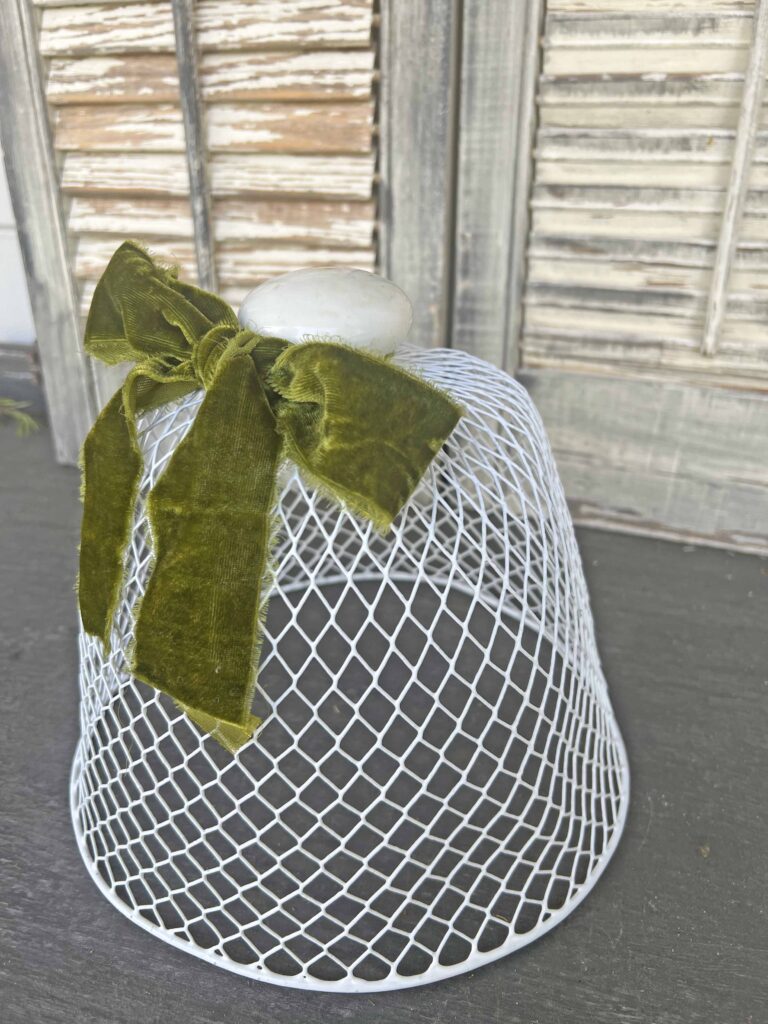
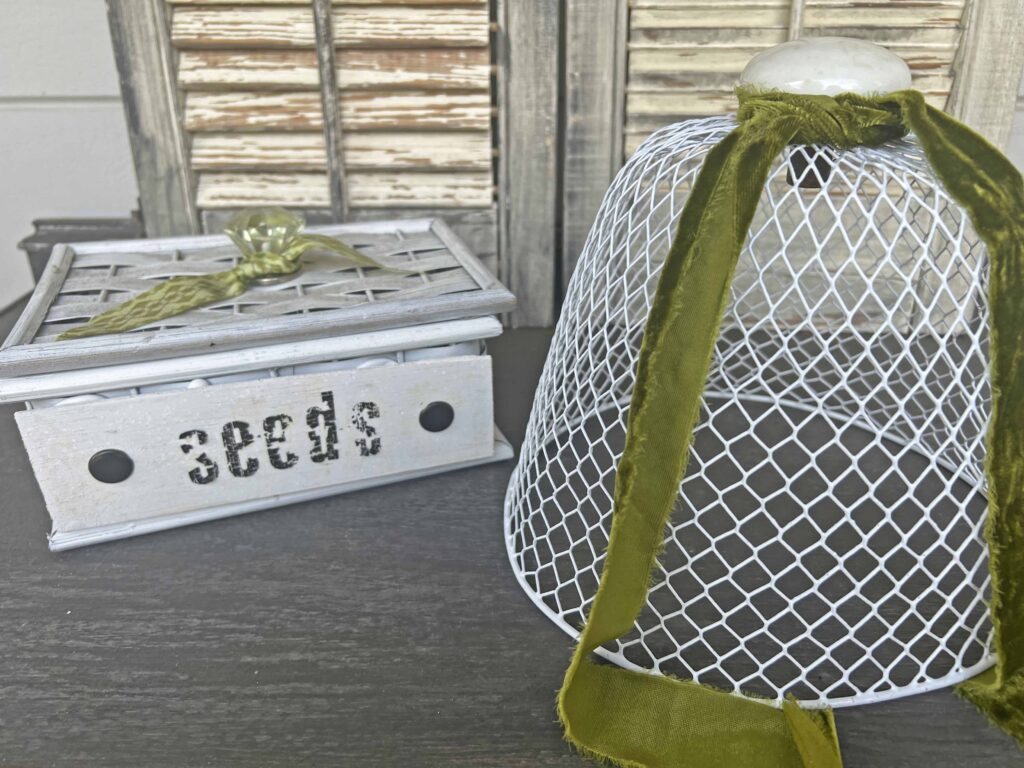
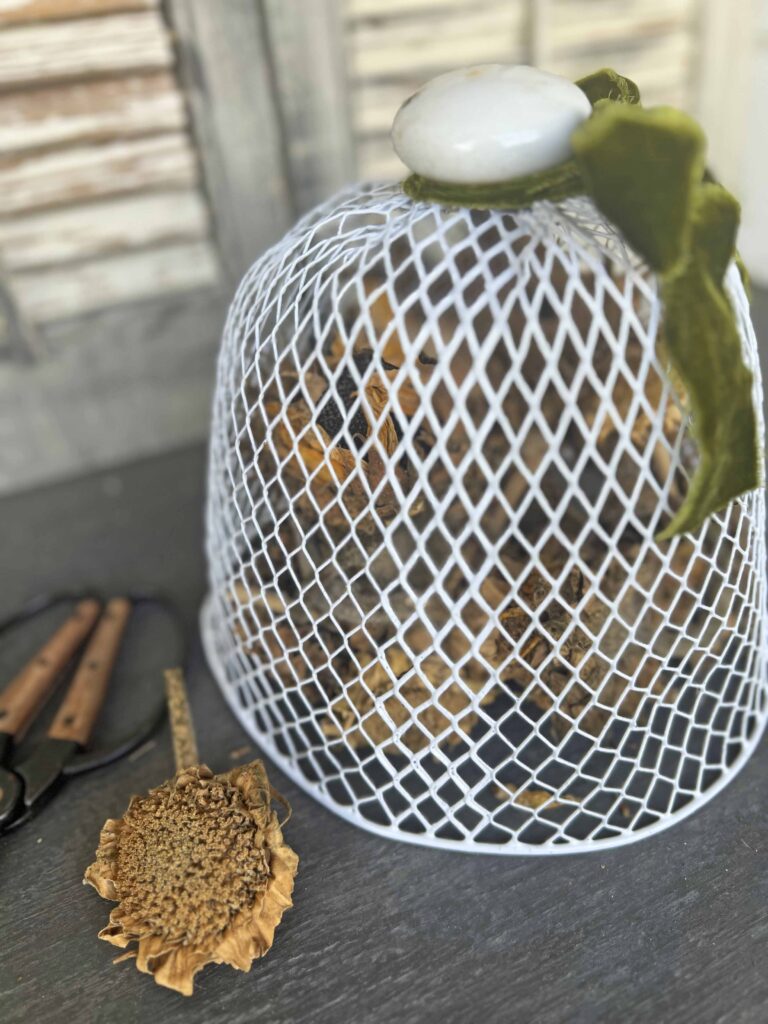
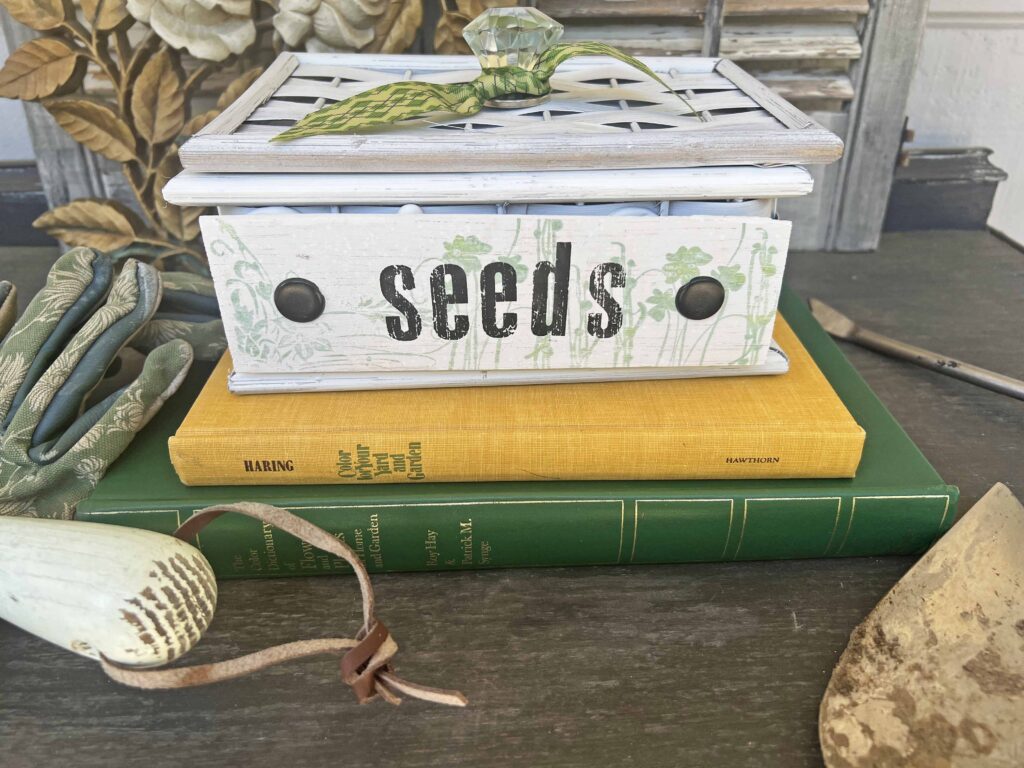
I used a vintage porcelain door knob as my cloche topper since I had one in my stash of crafting hardware. You could also use a knob or finial to finish off your wire cloche. I have found glass knobs at the Dollar Tree in the past so you could look there while picking up your wire garbage can. You can see how I used the DT glass knob here {Thrifted Basket Seed Box DIY}.
The porcelain door knob I used actually fits snugly in the hole which did not require any glue or additional hardware to secure it. I can lift the cloche securely using the knob alone. Keep in mind you might need additional mechanisms to attach your piece depending on the finishing detail you choose. Personally, I love the vintage vibes the porcelain knob provides. Choose a finishing piece that speaks to your personal style. Make it yours!
Closing Thoughts
This new wire cloche fits perfectly into my home aesthetic, and I have so many ideas on how to use it. I hope this inspires you to create a similar piece. For a few dollars and an hour of your time, you really can’t beat it. Let me know what you think in the comment section. I love to hear from you.
I hope the new year is treating everyone well. With a new beginning come high aspirations. I have high hopes, both personally and on the blog. I will share as much as I can here, always striving for joie de vivre around our homes. Until next time friends!


Shopping the Wire Cloche Look
- White Wire Garbage Can
- Black Wire Garbage Can
- Wire Cutters
- Heavy Duty Scissors
- Floral Wire
- Porcelain Knob
- Olive Green Velvet Ribbon
- Gold Velvet Bows


More Related Posts


Most Recent Posts

Crafting is the art of turning ordinary objects into extraordinary things.”
Unknown