


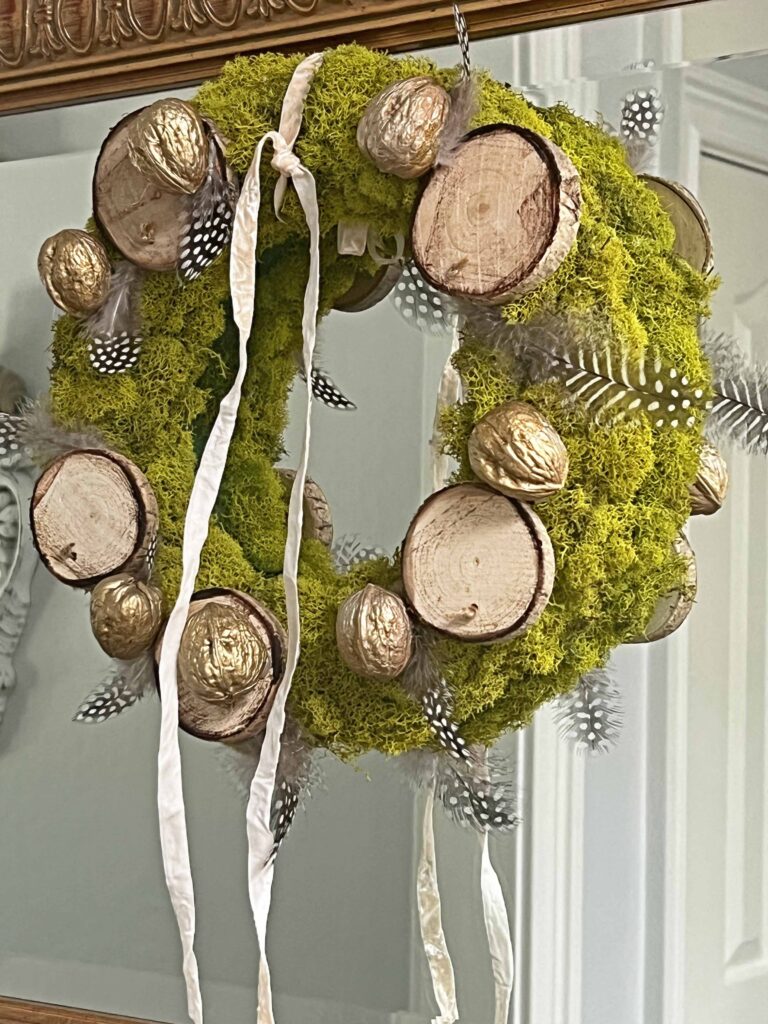
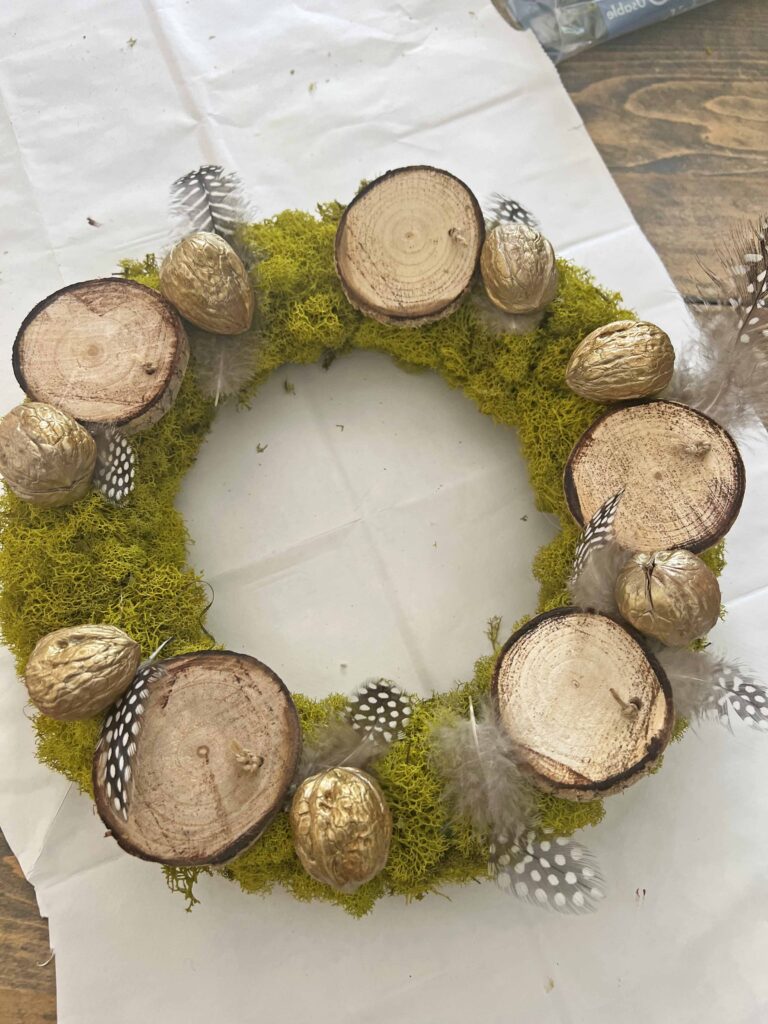
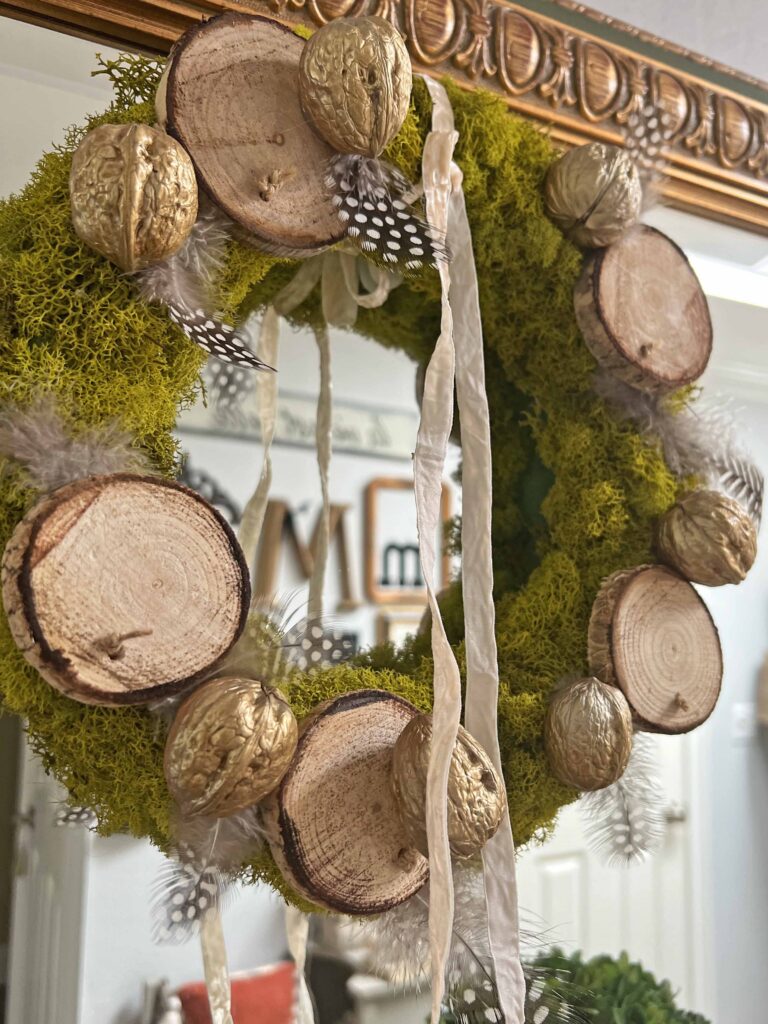
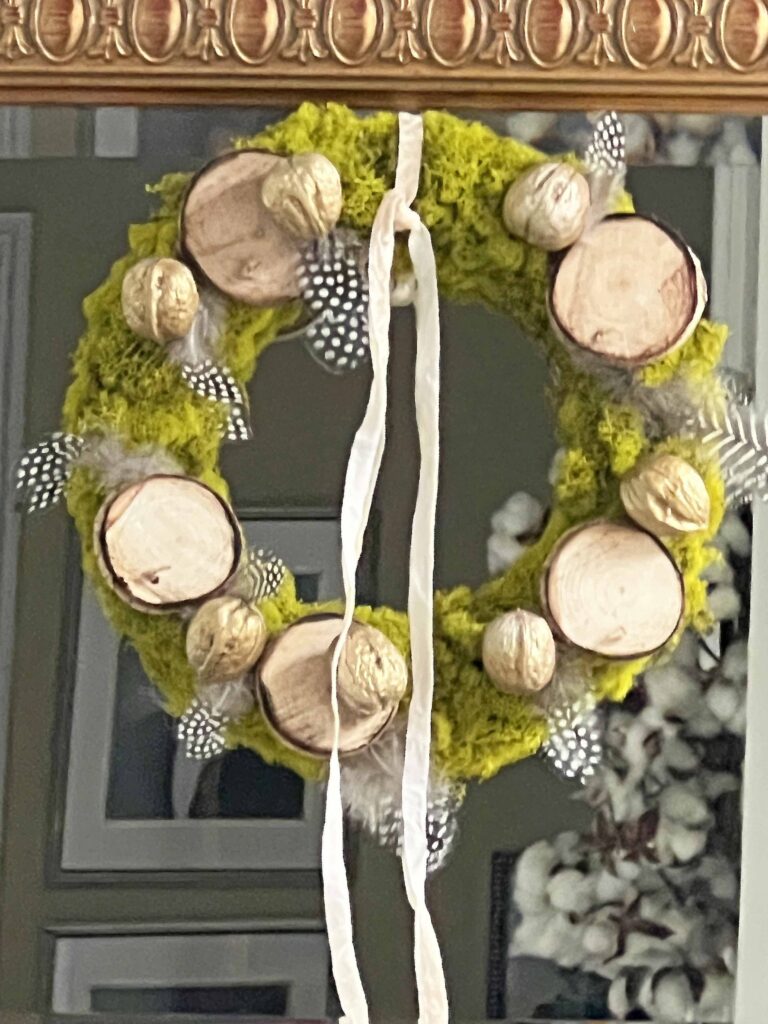
Moss layered with wood slices, walnuts and feathers creates a beautifully organic and rustic wreath. I am so glad you are here today since I am sharing how easy it is to make this moss wreath DIY with organic touches.

Nature inspired decor lends itself to many different aesthetics, which can be integrated into many interior spaces. The tutorial is fairly easy with some fantastic organic layers. This rustic wreath decor piece is great for any time of year.


*Affiliate links might be included for your convenience. These affiliate links mean a small commission is earned if you make a purchase using these links at no extra cost to you. As an Amazon Associate qualifying purchases support this website. For more information: Full Disclosure Policy.
How To Make Your Own Moss Wreath with Organic Touches
A 10-inch foam wreath form is easily transformed to a nature inspired masterpiece with some organic elements. Follow along and you can easily make this at home for yourself. I shared links to the natural elements I used or very similar, but also feel free to use any organic elements you wish. Make it yours!
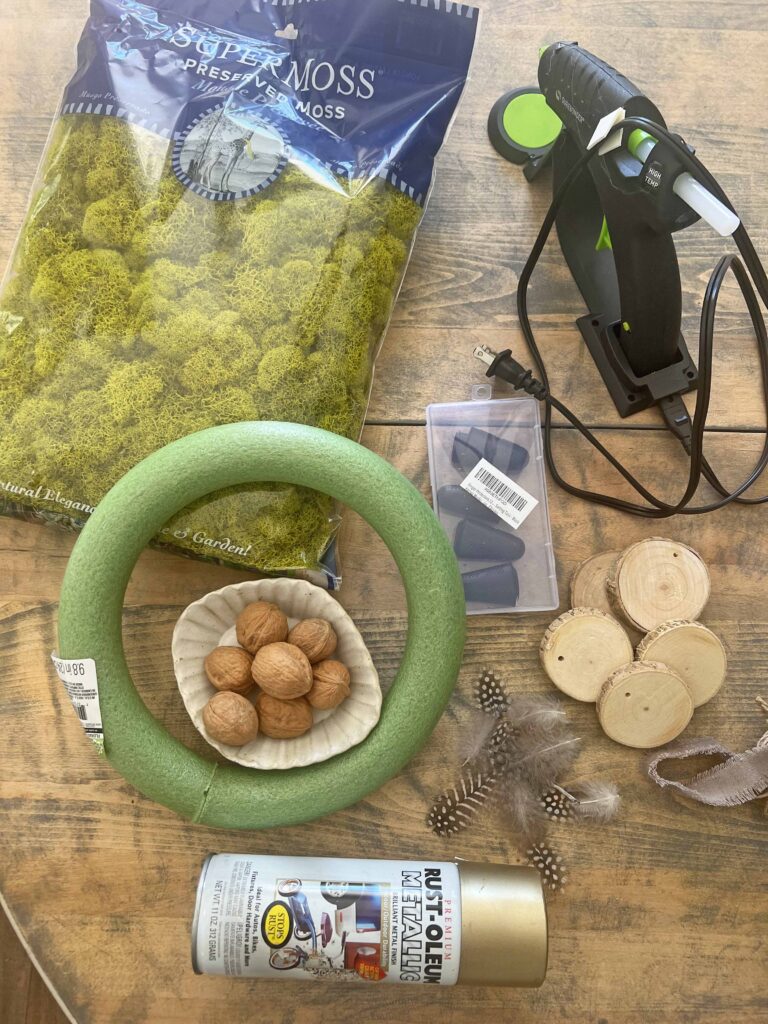
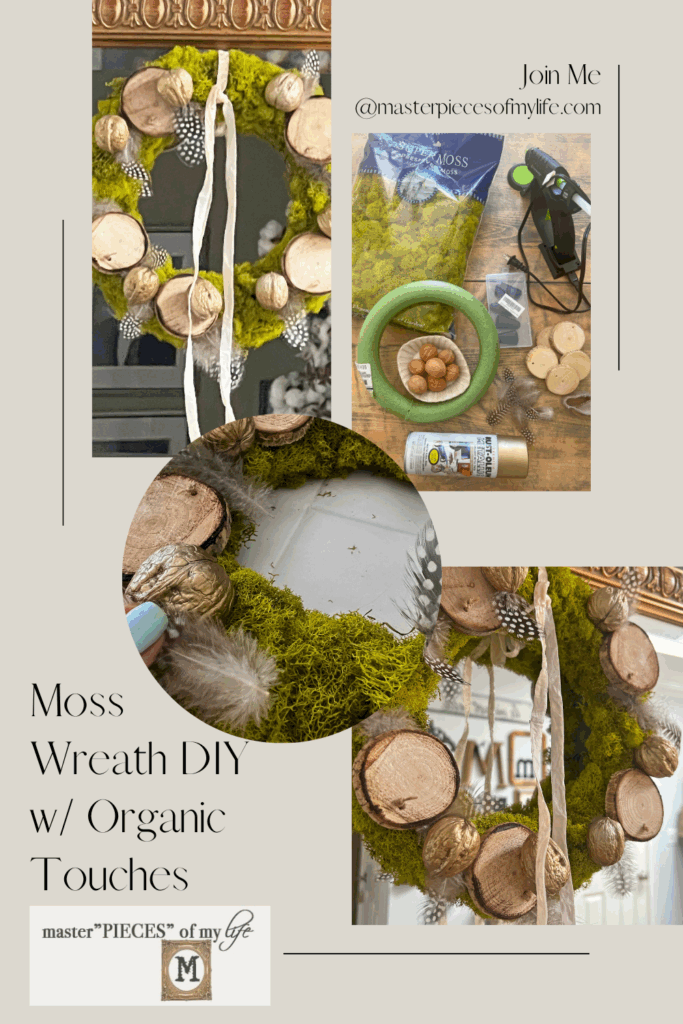
Supplies
- 10-in foam wreath form
- Reindeer Moss
- 5 wood slices (approximately 2-inches)
- Brown ink pad
- 7 walnuts
- Gold spray paint
- 9 feathers
- Ribbon or twine
Tools
Instructions
- Assemble all your supplies and tools
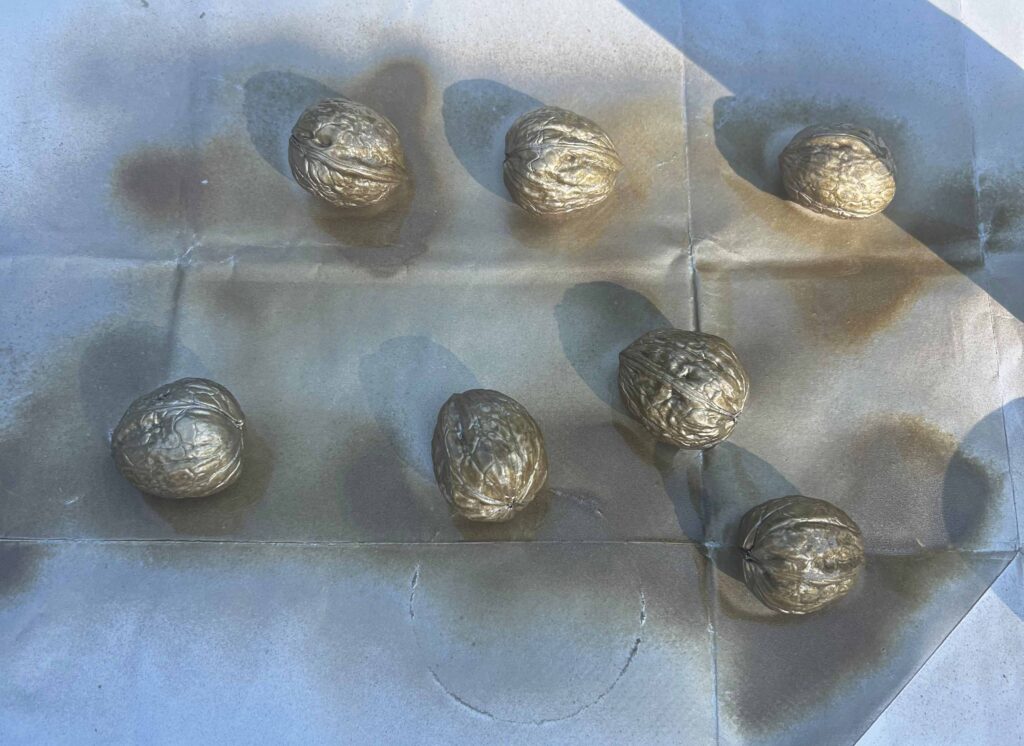
- Spray walnuts with gold spray paint, covering all sides

- While the walnuts dry fully, plug in glue gun
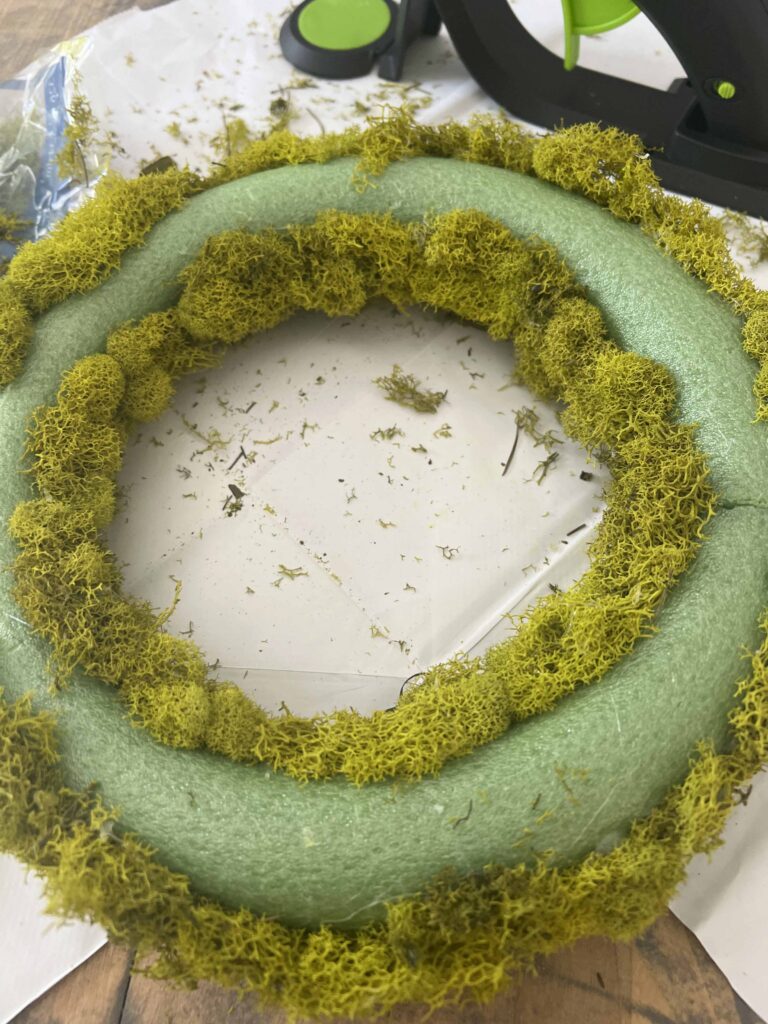
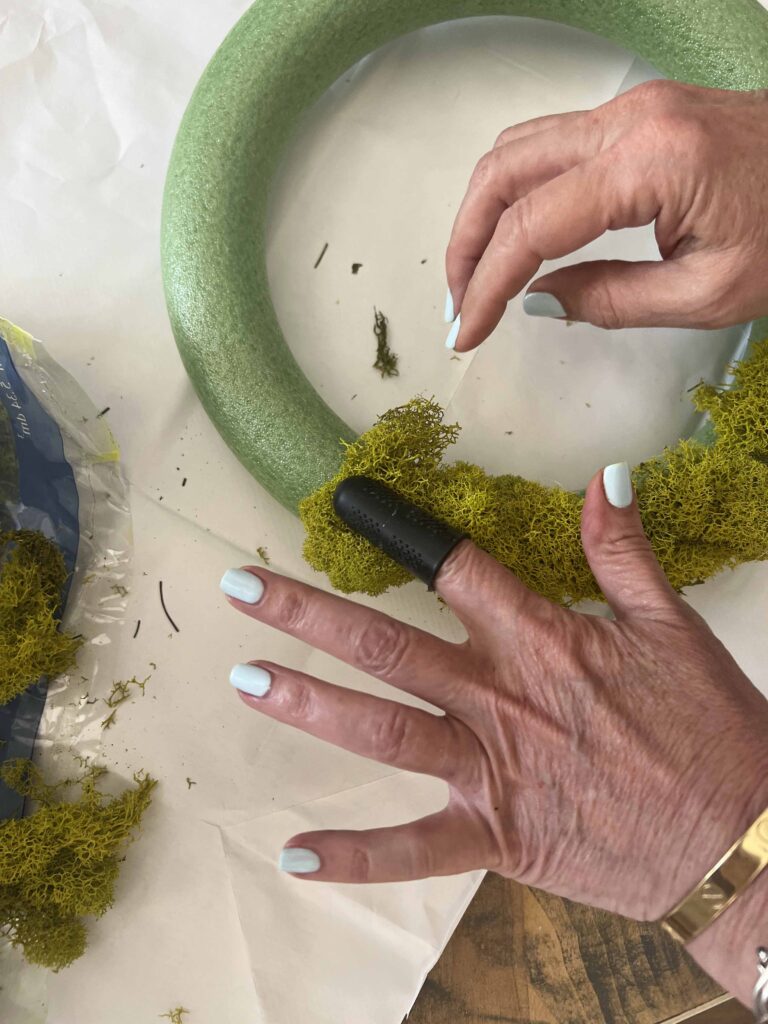
- Once glue gun is hot, apply glue in small section of wreath form and press reindeer moss into glue to adhere securely
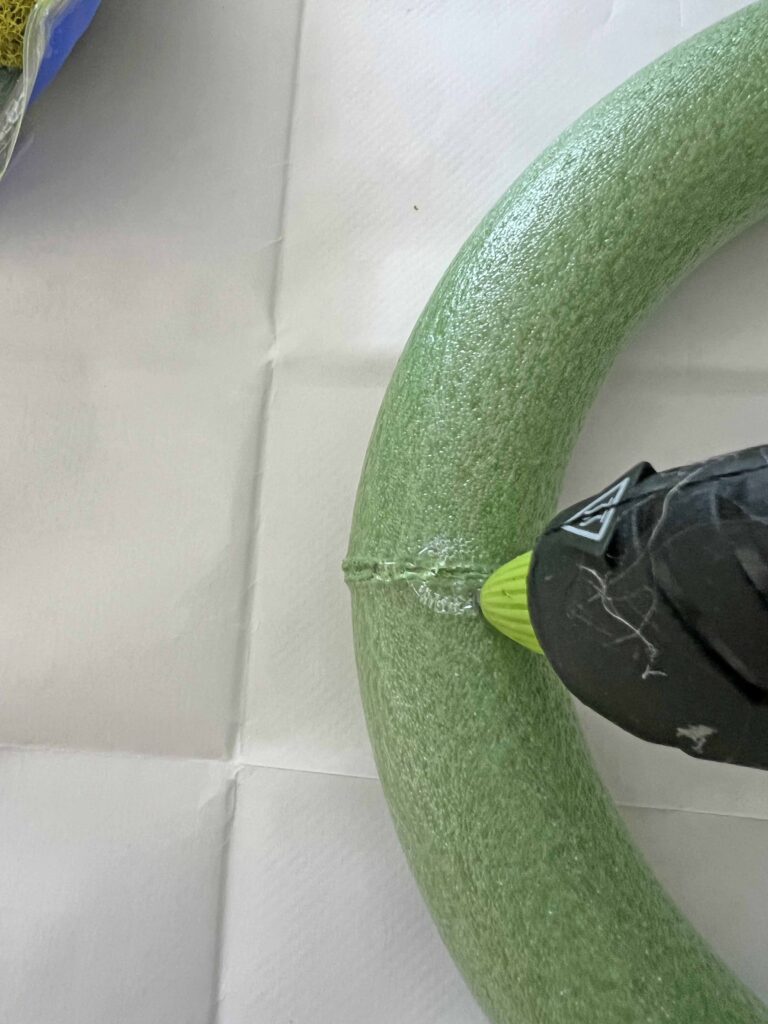
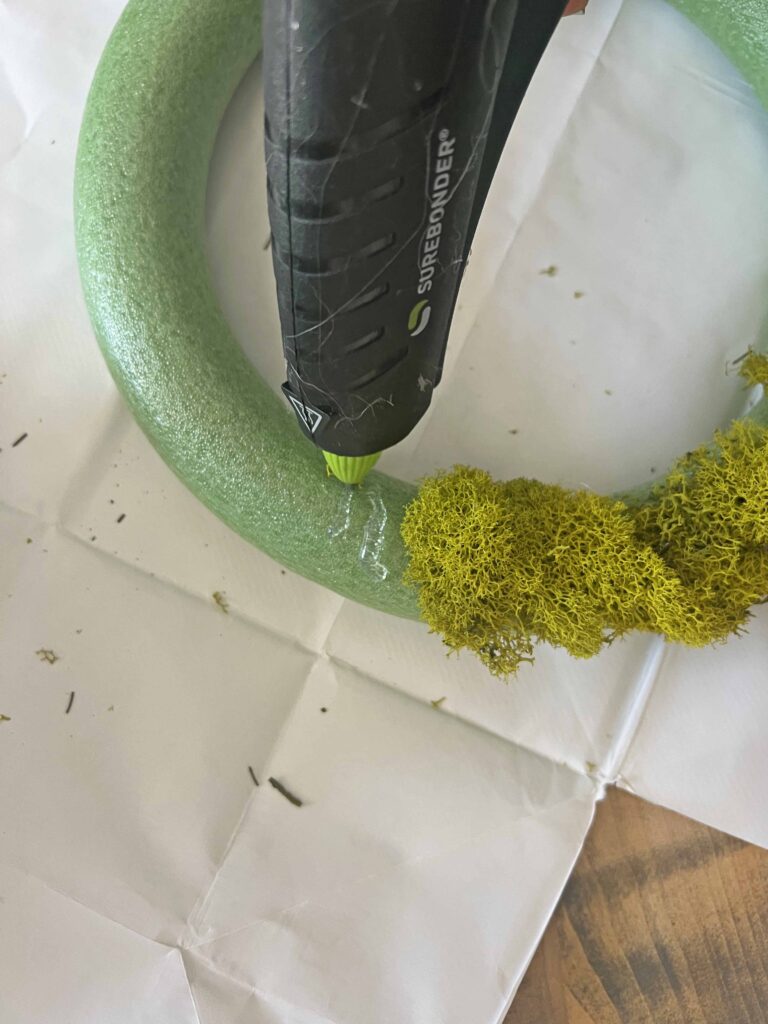
- Add more moss, working around the entire wreath form
- Apply enough moss to cover the front, outside edge and inside edge of the wreath form
- Inspect wreath and add more reindeer moss in any bald or sparse spots until there is full moss coverage on entire wreath form

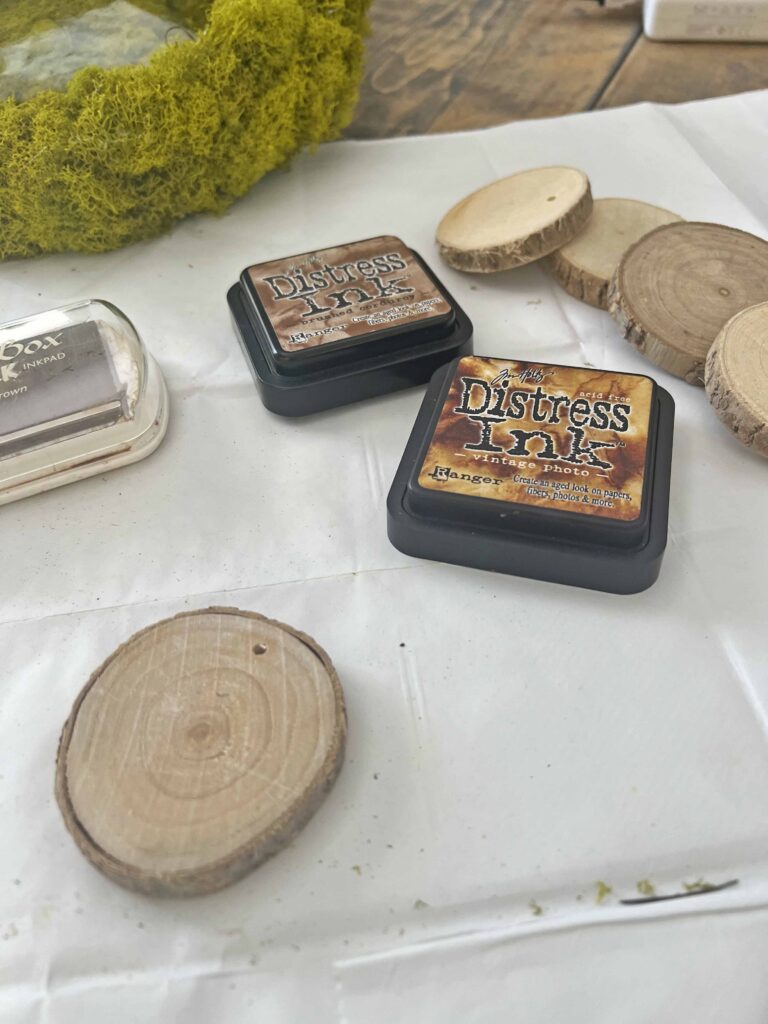
- Using a brown ink pad distress wood slices by rubbing the edges a bit and the interior
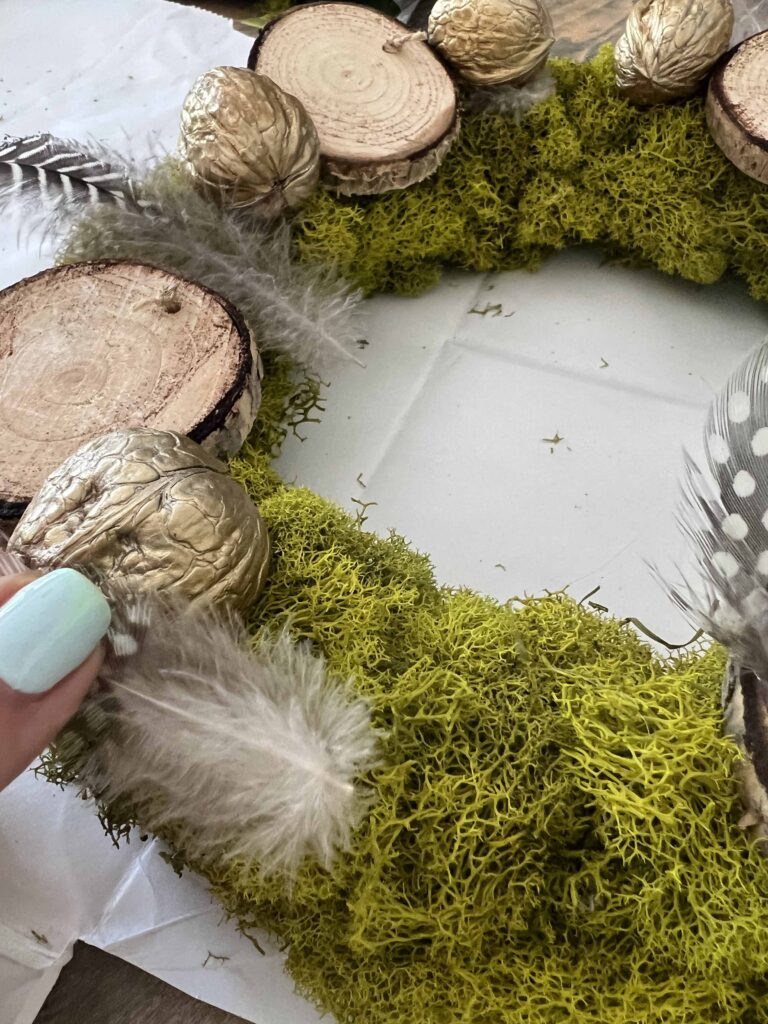
- Place wood slices in desired positions on wreath
- Then place walnuts and feathers around wood slices
- Once you have the desired composition of all the organic elements adhere to wreath using hot glue gun
- Allow wreath to fully set and cure
- Add a ribbon to hang if desired
- Viola! you have a new moss wreath DIY with organic touches
Tips & Tricks on the Moss Wreath DIY
The back of the wreath does not have to be covered in moss but make sure both the inside and the outside are fully covered since you will be able to see the sides when the wreath is displayed. I chose to use reindeer moss for the chartreuse color and the fluffy texture, but any moss of your liking can be used.
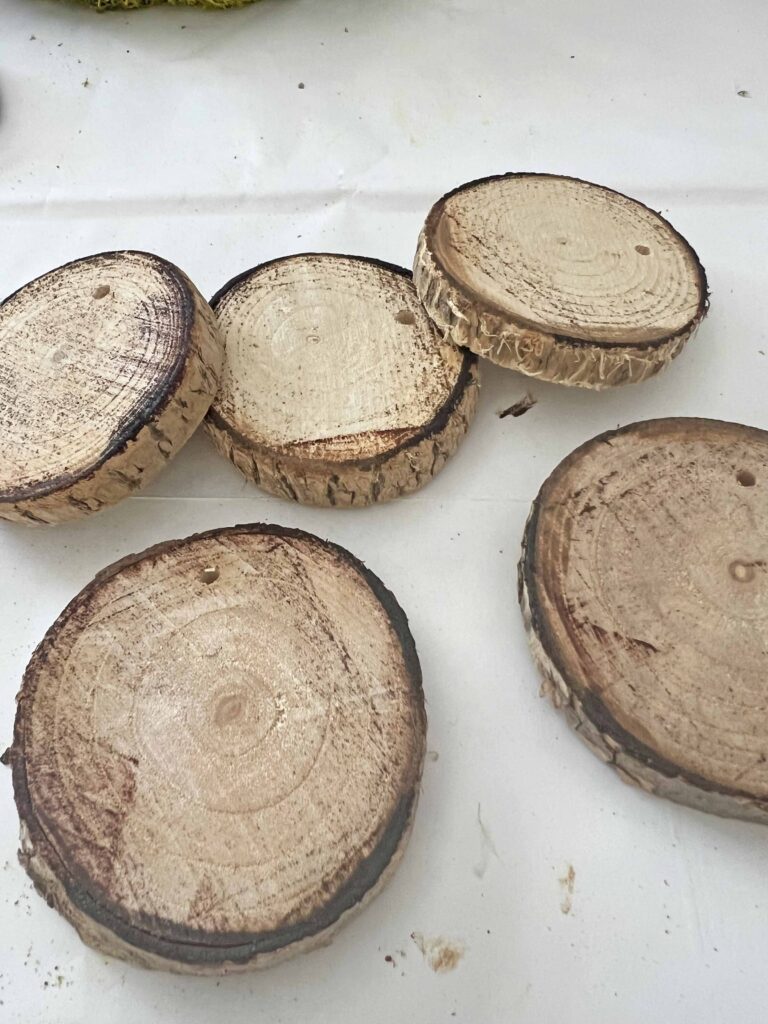
The inking treatment on the wood slices provides a distressed and weathered look, but you can skip this step if you prefer a cleaner look. Also ink pads can easily be substituted by dark wax, acrylic paints (sparingly) or other antiquating mediums. I would not recommend buying an ink pad simply for this particular project, but it’s a great technique if you’re a stamper. You can see the difference below, from the top pieces to the bottom ones. It’s a subtle difference, but adds a bit more dimension.
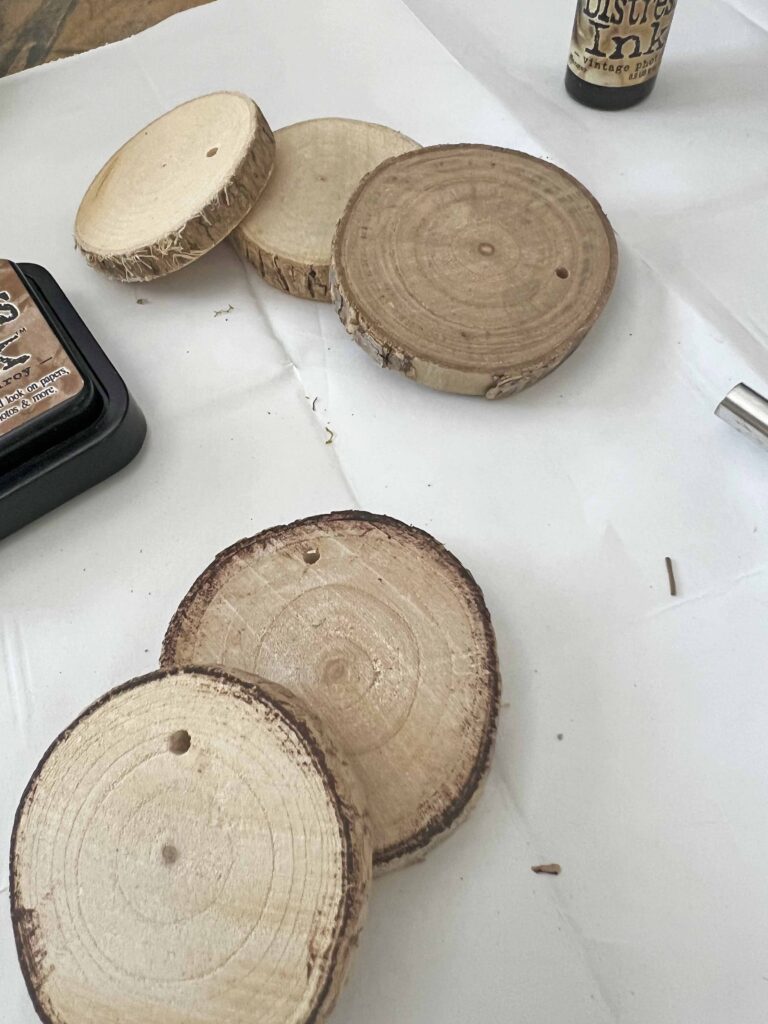
My wood slices also have a pre-drilled hole and came with twine so I added knots. I did not want floating holes without a purpose so the knot just adds another simple detail and adds more texture, covering the holes. If the slices you use do not have holes, you don’t have to worry about this.
I’ve said it before and I’ll say it again, be careful when you handle a hot glue gun. I highly recommend investing in silicone finger protectors, especially when you’re using a material like moss, which is highly porous. It’s made a huge difference for my DIY projects. I linked the ones I bought for your convince. I also linked very similar supplies above if you want to create your own wreath masterpiece.
Closing Thoughts on the Moss Wreath DIY with Organic Touches
I am looking forward to integrating this wreath into all the seasonal stylings coming up this time of year. The piece is a great stand alone piece but it will look fabulous with holiday decor. The elements are neutral enough to lend themselves to marry with different seasonal decor. You will see it again soon with some early Fall decor.
Since the wreath is only 10-inches wide it can be used in many ways. It can hang on a door or mirror, or it also can sit on a shelf or a cabinet. You can also use it as a candle ring or as coffee table decor on a stack of books.
It’s that “in between” time of year. I have some end of summer projects coming your way plus I have early Fall inspiration scheduled as well. If you have anything in particular you would like to see, I would love to hear. Please let me know in the comments or send me an e-mail. Thank you for being here, it’s my pleasure to share with you.


More Related Posts

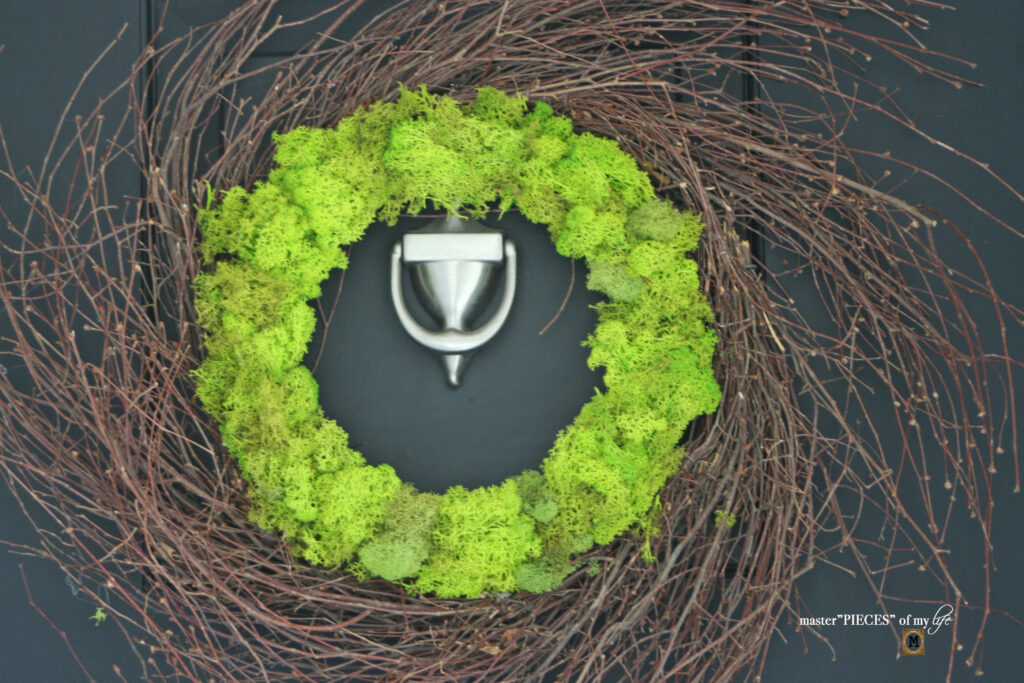
Reindeer Moss Wreath DIY
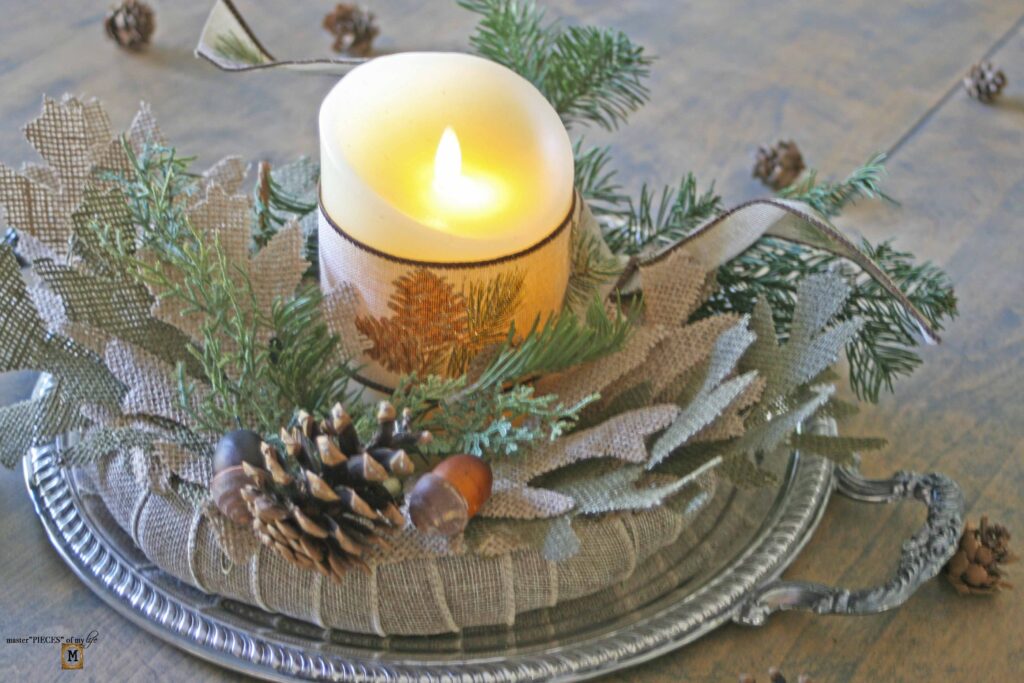
How to Make a Holiday Candle Ring from a Burlap Leaf Wreath
Most Recent Posts
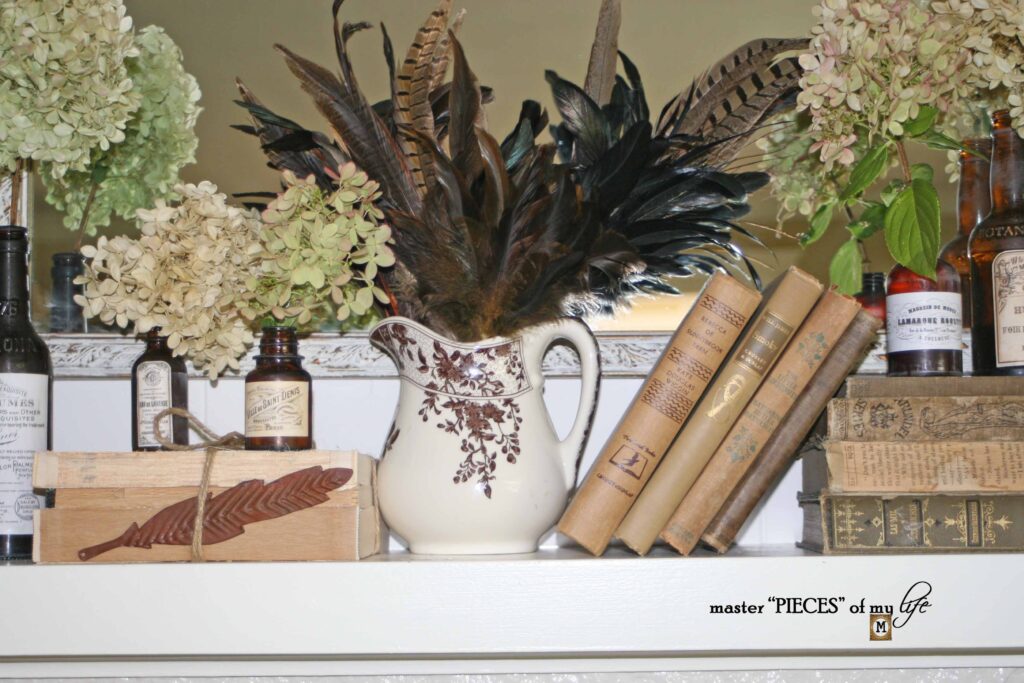
6 Rustic Fall Mantel Decor Ideas
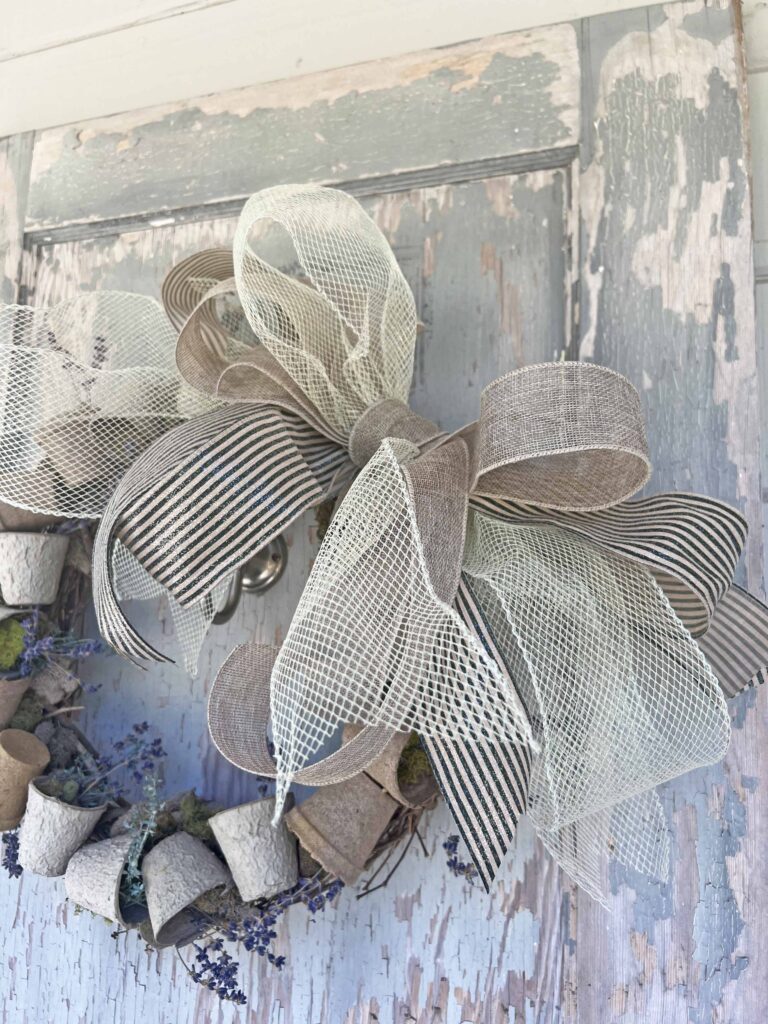
Bow Tutorial – Create a Ribbon Masterpiece
The richness I achieve comes from nature, the source of my
Claude Monet
inspiration.”