


Do you have beautiful candles with wonderful scents, but they have now burned down to the bottom and now they are all empty and sad and done? Now what? I’m here to help you refill those beautiful and expensive candle receptacles and bring them back to life…again and again.

I have a few candle containers that are super special and so pretty, which made me sad to not have them as beautiful scented candles anymore. Until…I was lucky to find a solution so I can refill all these beauties again and again. It’s a pretty simple and straight forward process, but I needed that “aha” moment to figure it out. Come on in and let me share how you can bring all your beautiful candles back to life.
*Affiliate links might be included for your convenience. These affiliate links mean a small commission is earned if you make a purchase using these links at no extra cost to you. As an Amazon Associate qualifying purchases support this website. For more information: Full Disclosure Policy.
Why Refill Candle Containers?
There are many great reasons to refill spent candles, enjoying the wonderful scents and fabulous containers over and over again. Although it’s not rocket science, I am so glad I figured out how to do this. I hope it helps you reuse all your pretty candle containers as well, or if you already do this, I hope a small tip or trick helps you out in your process.
Economical
In a nutshell, it’s a great way to get the best bang for your buck on all the pretty and expensive candles. You get to keep your boujie candle at a fraction of the cost. Some pretty candles can be pretty pricey and it’s largely due to the beautiful containers. I have some fabulous wood and mercury glass containers, which I absolutely love. Some were gifted to me and some I bought myself, but they are all precious to me. It’s wonderful to keep enjoying these pieces without having to pay the full amount all over again.
Environmental
It goes without saying, to reuse something, anything, is always good for our planet. By refilling these used containers rather than tossing them, keeps them out of the landfill, which is always a good thing. Even if you don’t feel comfortable handling hot wax and refilling the candle container, think of a new purpose for said vessels. You can use them as caddies for craft supplies, or bathroom necessities or kitchen utensils or many other options. Refilling them with wax is optimal in my book.
Satisfying
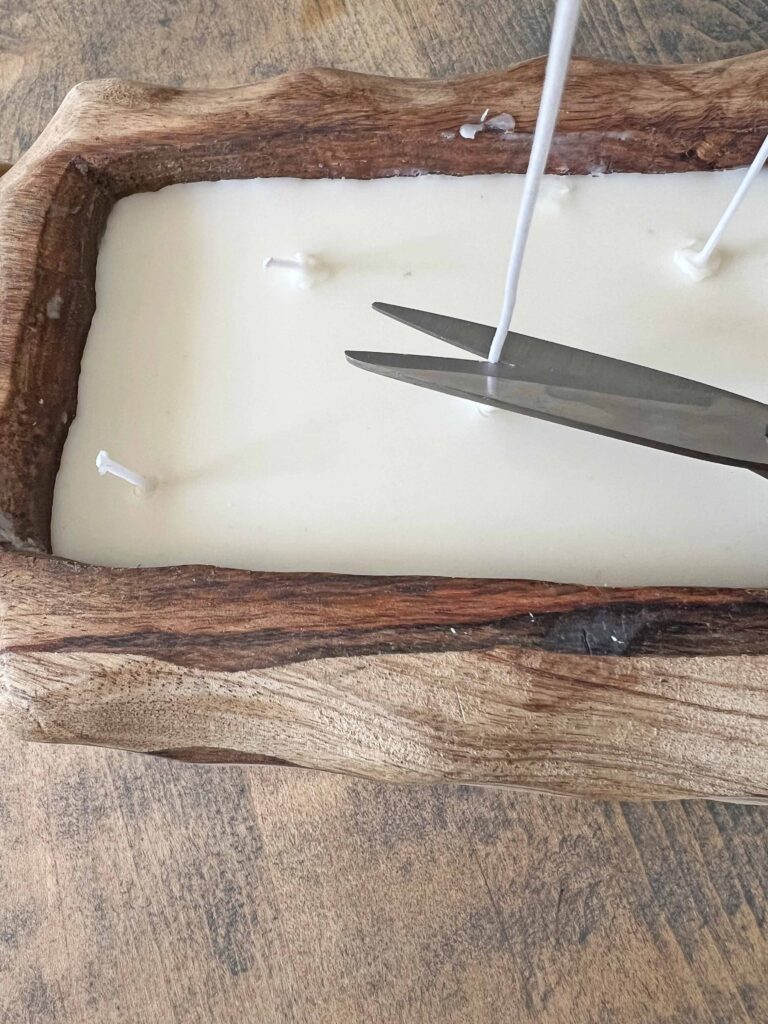
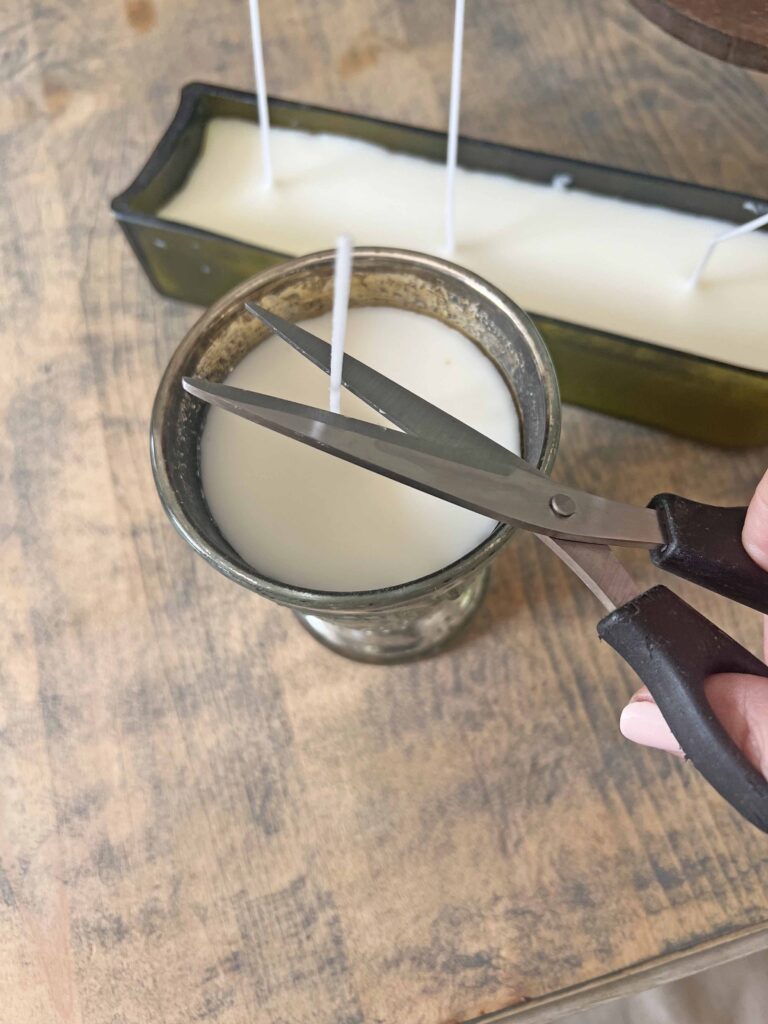
Trust me when I tell you it’s extremely gratifying to refill these candles time after time. My favorite step of the process is cutting the wick to the appropriate length once the wax has firmed up and the candle is looking all pretty again. It looks fabulous, and smells divine and ready to be burned for many hours once again. It’s so satisfying.
Sustainable
This is a such a great resource to keep reusing your lux candles over and over again. It’s an easy process and far less expensive than rebuying new candles. We have been doing this for a few years and all these candles keep making us happy throughout the house season after season.
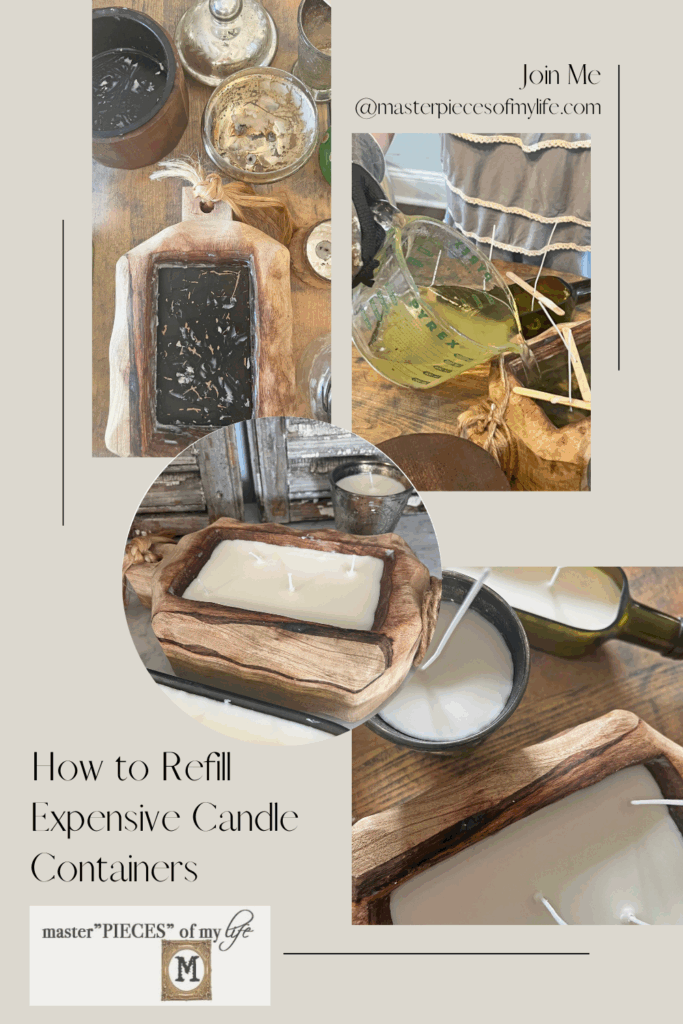
How to Refill Expensive Candle Containers?
Crafting Pro Tip: As I recommend with all my recipes, read all the instructions through once and then re-read everything again. This way you are familiar with everything you need and know what to expect.
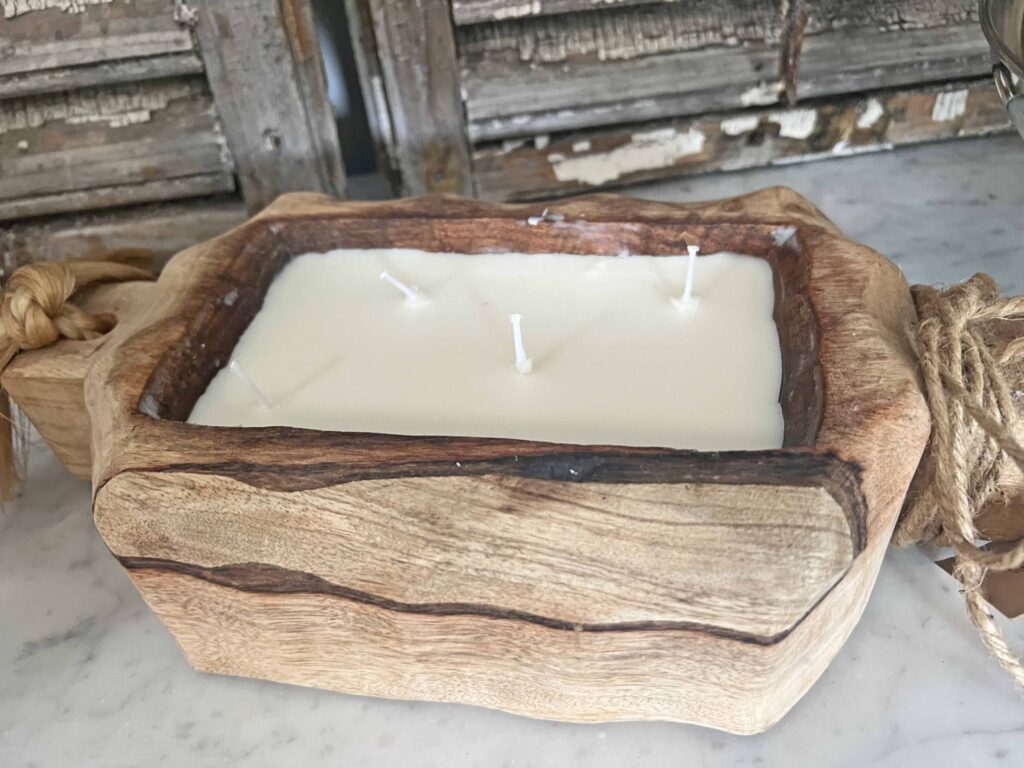
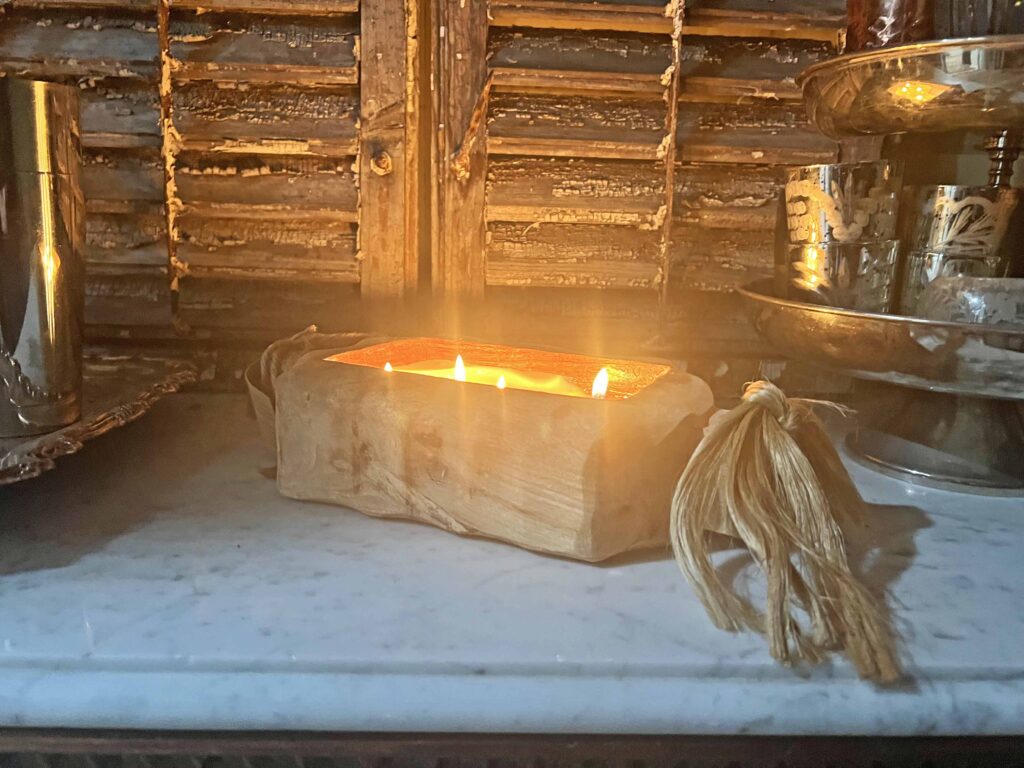
I discovered the process when my favorite Himalayan Trading Post Driftwood trough candle was done burning for the first time. Miss Masterpiece had presented me with this wonderful candle as a gift, and I wanted to keep it going forever. When I found out they had a wax refill kit it was game on! Now I can keep it going forever. Insert happy dance here.

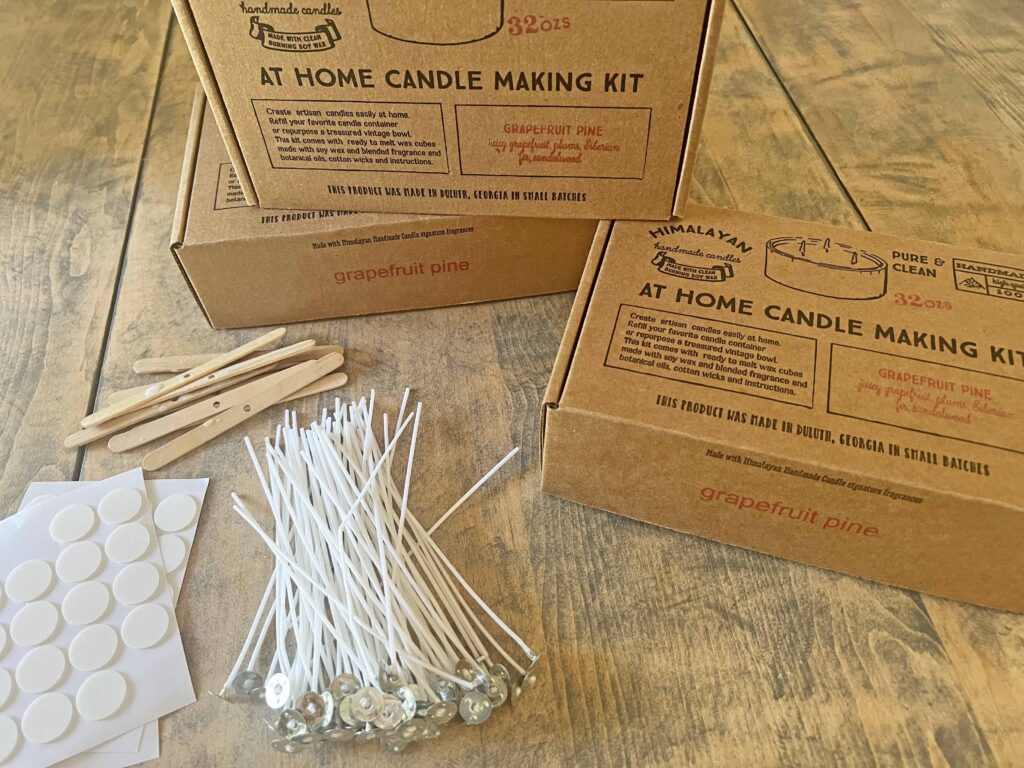
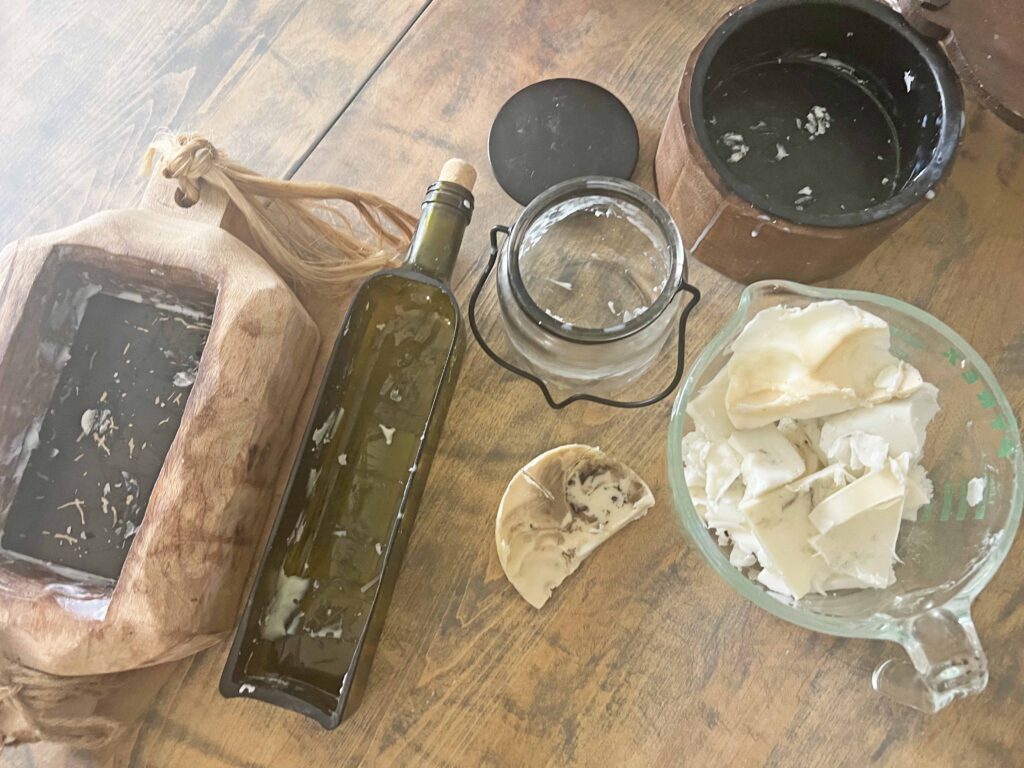
Supplies
- Spent candle container
- Candle wax in desired scent
- Candle wicks with wick stickers
- Wick holders
Tools
- Pyrex or microwaveable bowl
- Oven mitt
- Scissors
Instructions
Warning: This tutorial includes the handling of hot wax. Please proceed with caution, be careful, and use all the appropriate protection and equipment.
- Assemble all supplies and tools
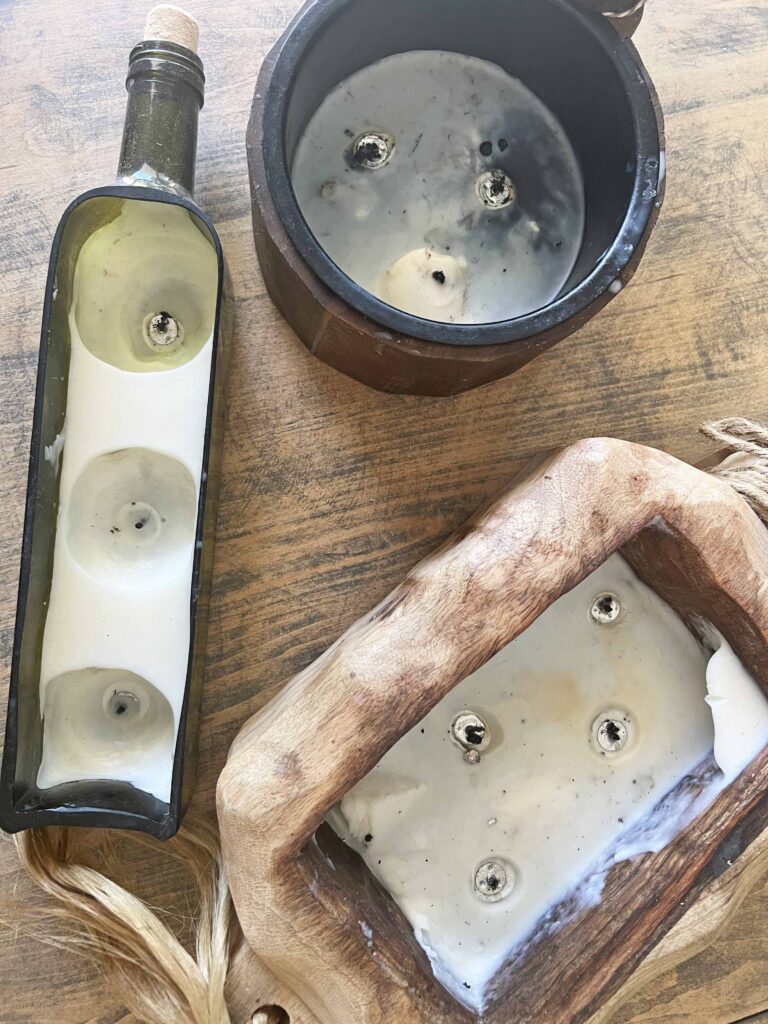
- Empty any left over wax from spent container, leaving it as clean as possible
- Salvage any usable old wax from spent container

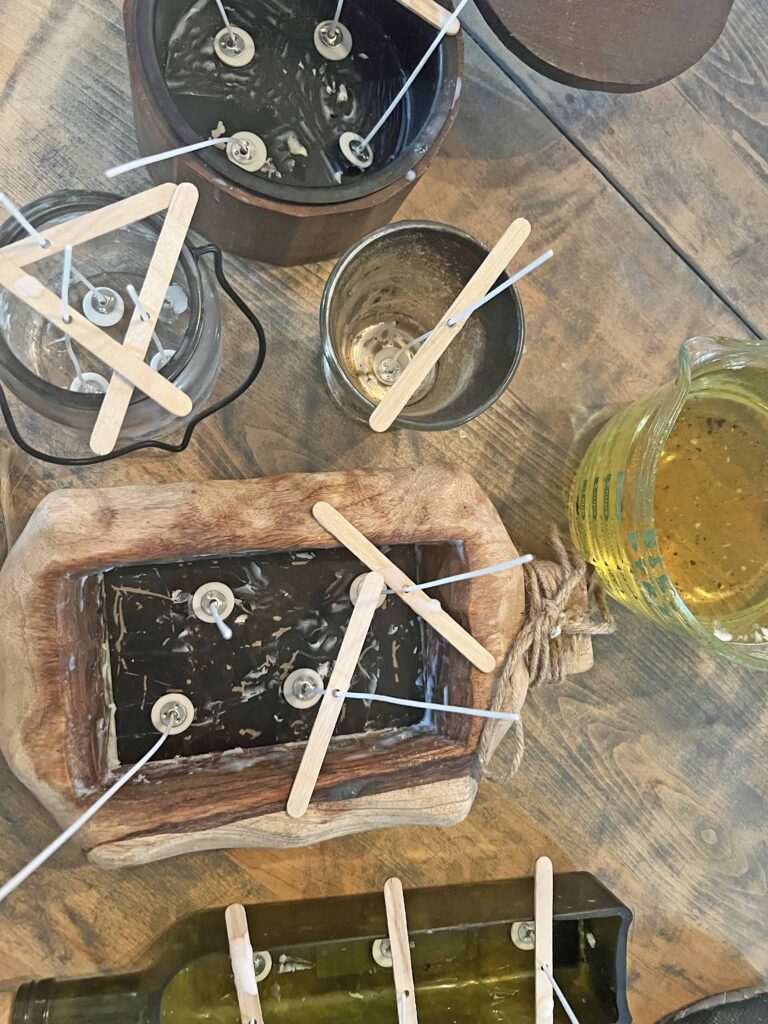
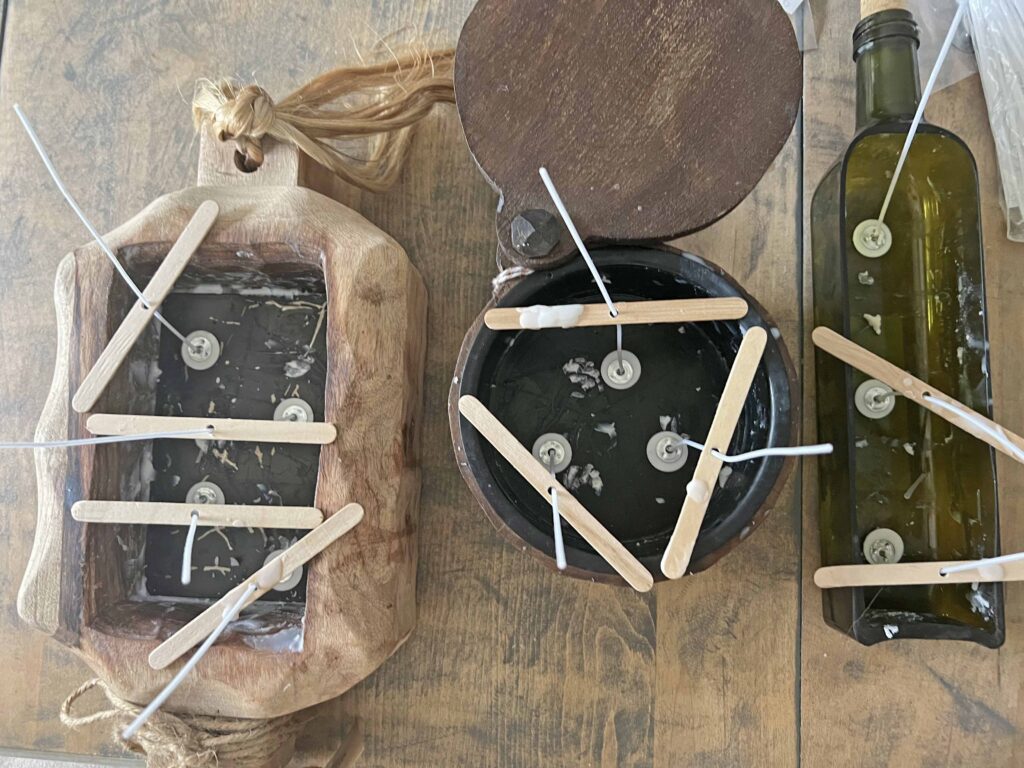
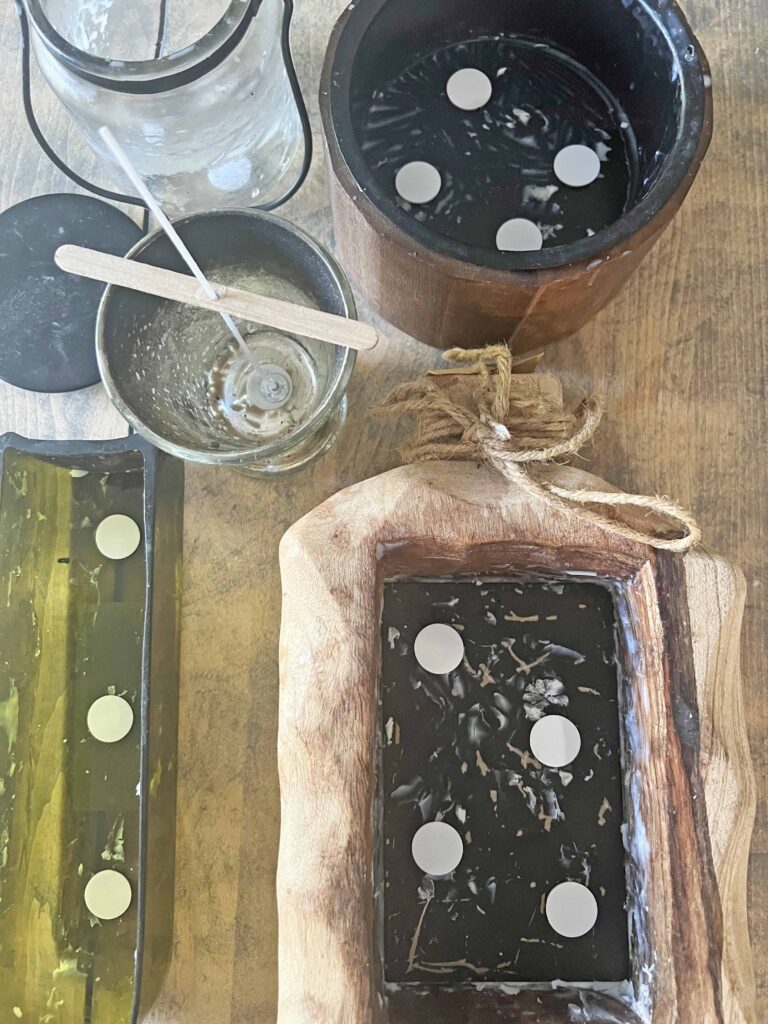
- Adhere wick stickers in bottom of candle container at desired wick positions
- Attach wicks on top of stickers
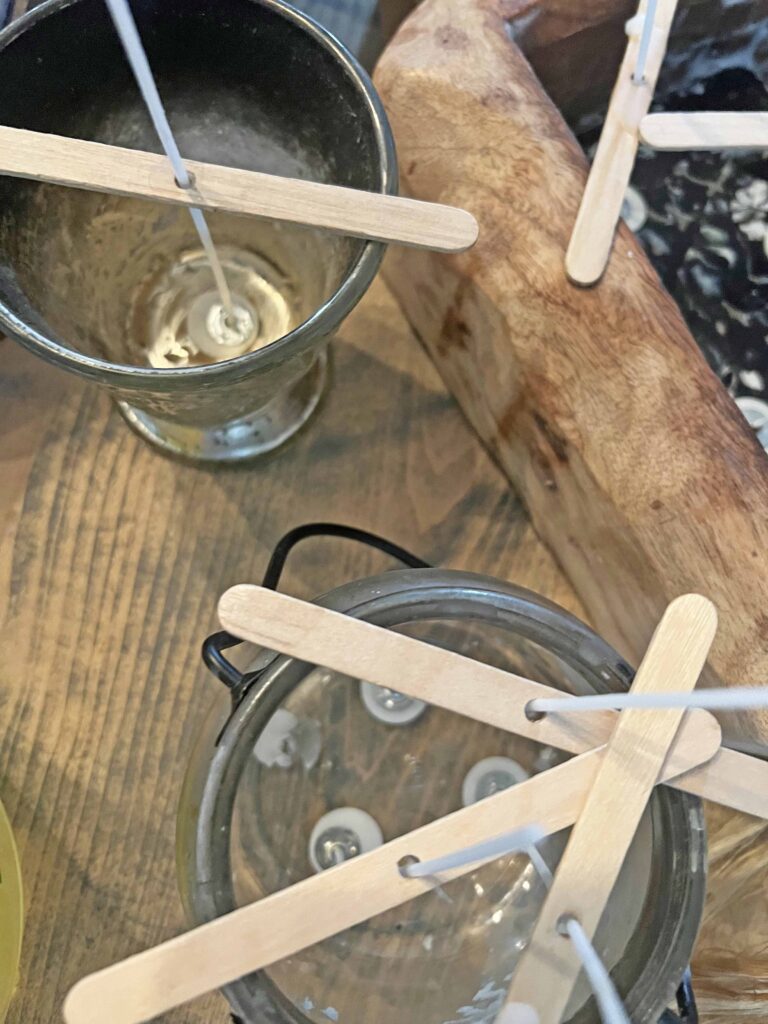
- Set wick holder through wicks to hold them in desired position
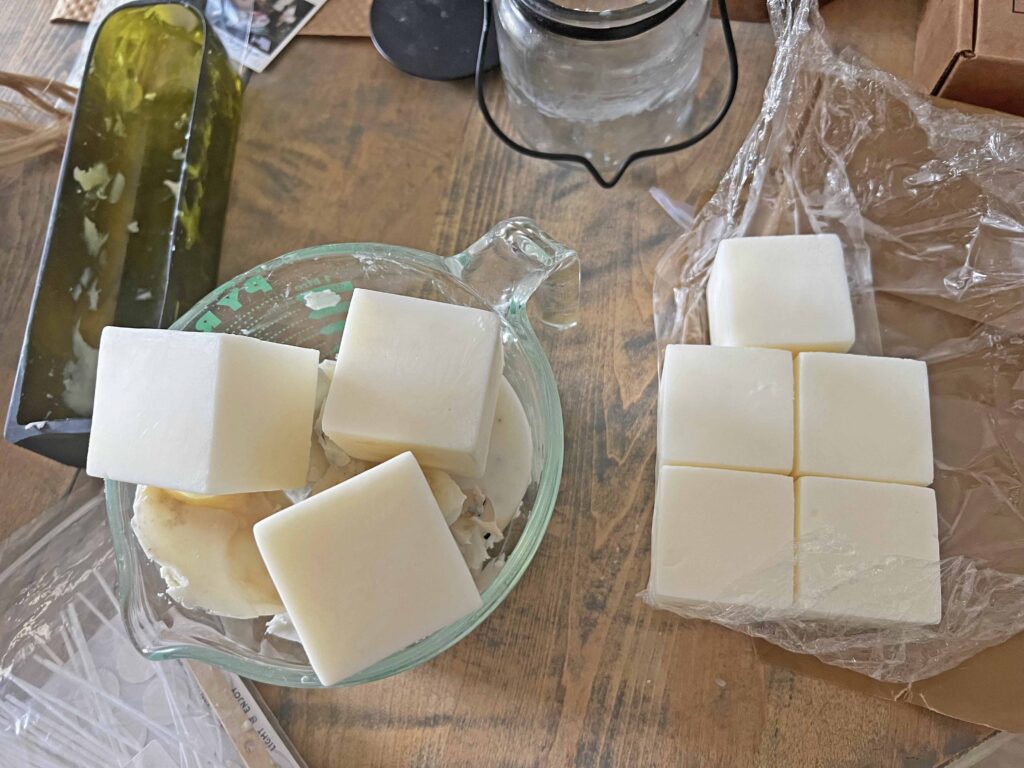
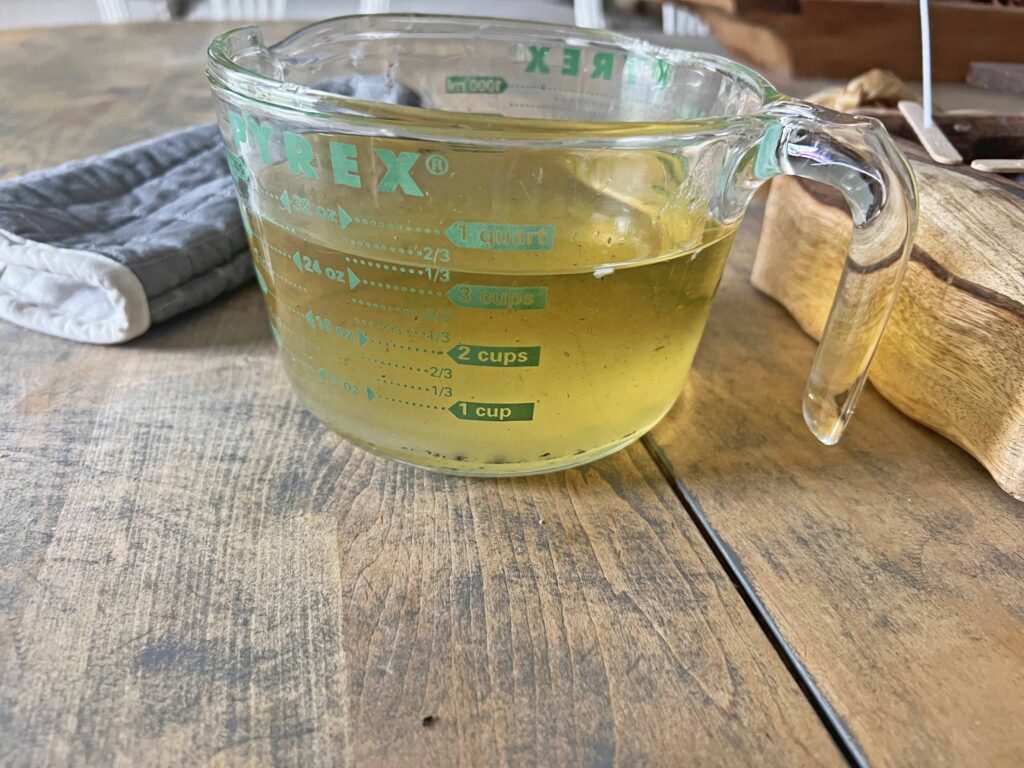
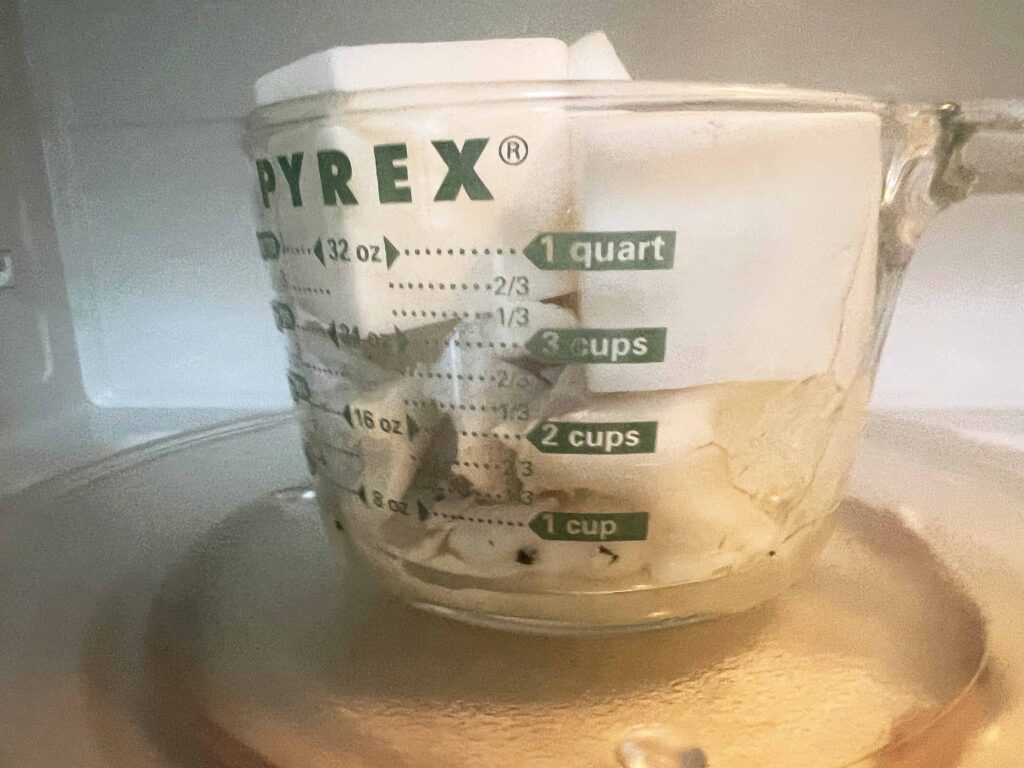
- Fill pyrex container with unmelted wax, including salvaged old wax and new wax
- Microwave pyrex with wax in 1 minute increments until fully melted, resulting in a clear liquid
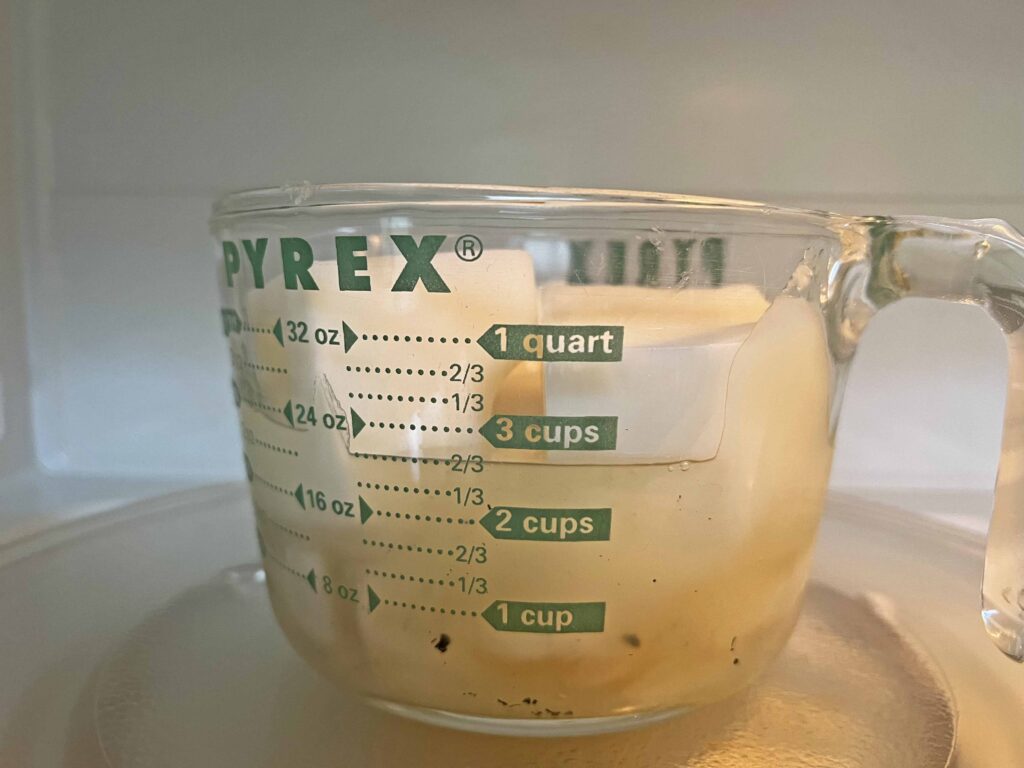
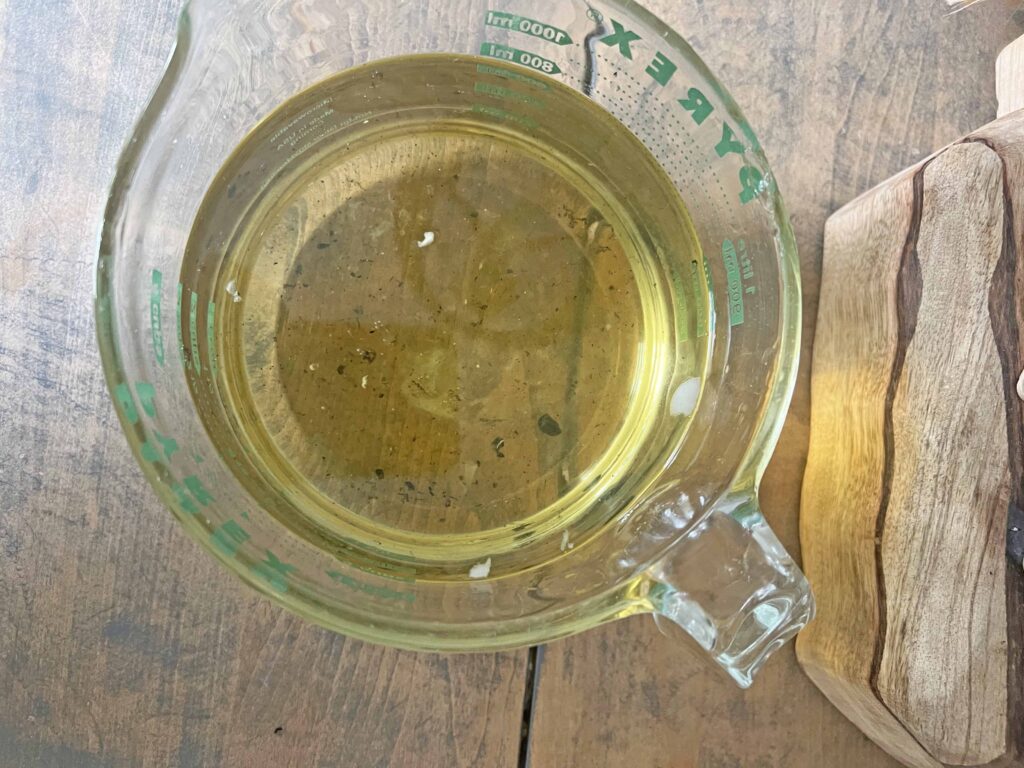
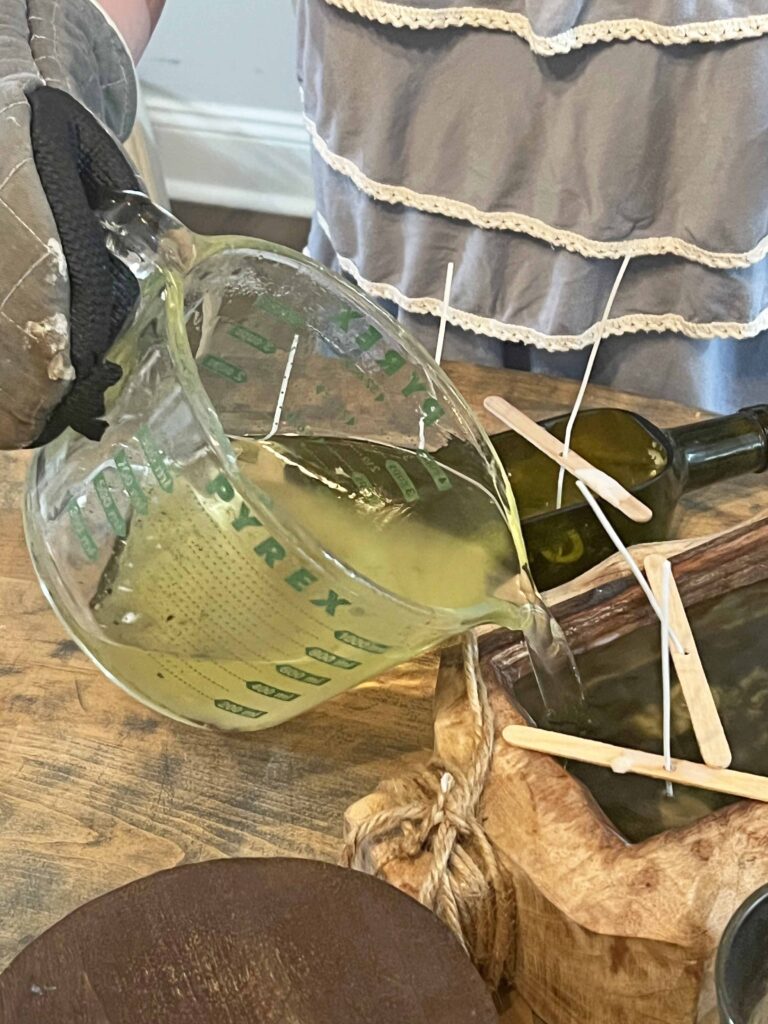
- Remove pyrex from microwave, using an oven mitt, and allow melted wax to sit until it becomes opaque
- Once liquid wax becomes opaque, pour into candle container slowly and carefully
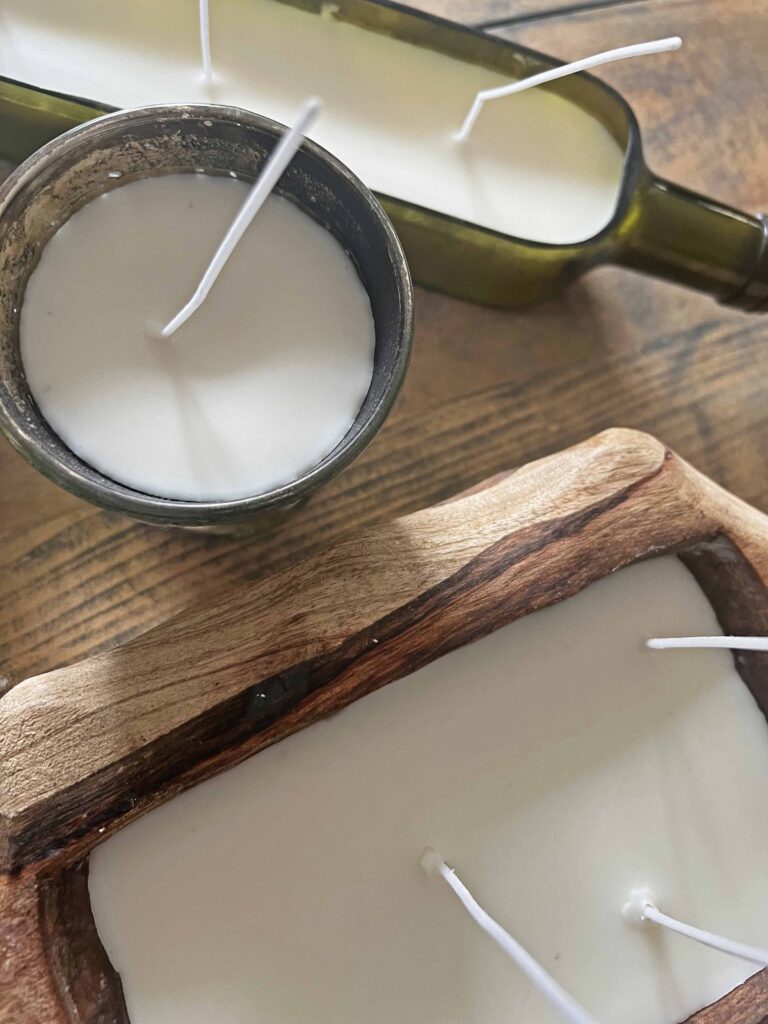
- Let candle container sit and wax firm up overnight
- Once wax is set and firm, trim wick to about 1/4-inch
- Light your candle and enjoy the sweet scent
Warning: Do not leave a burning open flame candle unattended. Do not burn open flame candles near children and or pets.
Tips & Tricks for Refilling Candle Containers
The old wax can sometimes be a bit tricky to dig out, depending on the type of wax. The Himalayan Trading Post candles I prefer and which started this whole process is a very soft wax. The Himalayan wax is extremely easy to remove, allowing to salvage any big chunks to reuse. A butter knife works well for removing wax and most wick stickers. If a candle is giving you a hard time, stick it in the freezer. When the wax freezes, it’s easier to remove.
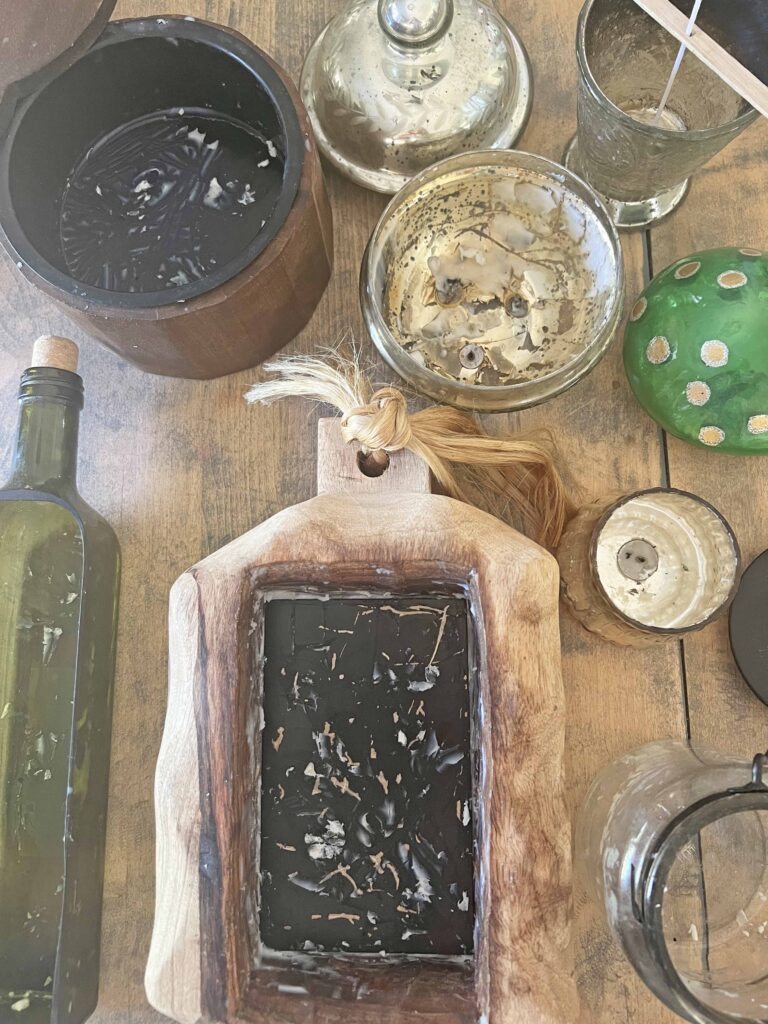
You will notice dark, smoky marks on the salvaged wax. Do not worry about this since once it’s mixed in with the new wax, melted, poured and firmed up, the dark spots are not apparent. Also when you are removing the old wax from a spent container if you have dark smoky spots or old melted wax on the sides it’s not necessary to clean this all out. The new hot liquid wax will melt everything and firm up all around this during the process, allowing for a beautiful new, clean candle.
Adding more wicks, depending on the size of the container, also helps the candle to burn better and use more of the wax. So for example if I have a 3 wick candle, I will probably use 4 wicks when I refill it. Also, one of the wick packages I bought included the wick holders, and they were a game changer! Initially I used chop sticks or a butter knife to hold the wicks in place, but invariably they would moved. The wick holders are key to the process!
The wax I use comes in blocks, but wax also comes in flake and in pellet form. I believe it all melts in pretty much the same fashion. I prefer soy wax, which is a natural product from soybeans. Also a microwave melt wax is preferable for simplicity purposes. Always read all the specific instructions on the package of your particular wax. Keep in mind the wax doesn’t need to be scented. You can buy unscented wax and add fragrance oils to your preference if you want a particular aroma.
When you burn your candle for the first time allow it to burn long enough for the melted wax to reach the edges of the container. This will assure that the candle will burn evenly in subsequent uses, optimizing the wax usage. You don’t want the candle to burn vertically tunneling down, making a hole down to the bottom of the container and leaving the wax on the sides unused. Instead the candle should burn horizontally using all the wax fully to the edges.
Closing Thoughts on Refilling Expensive Candle Containers
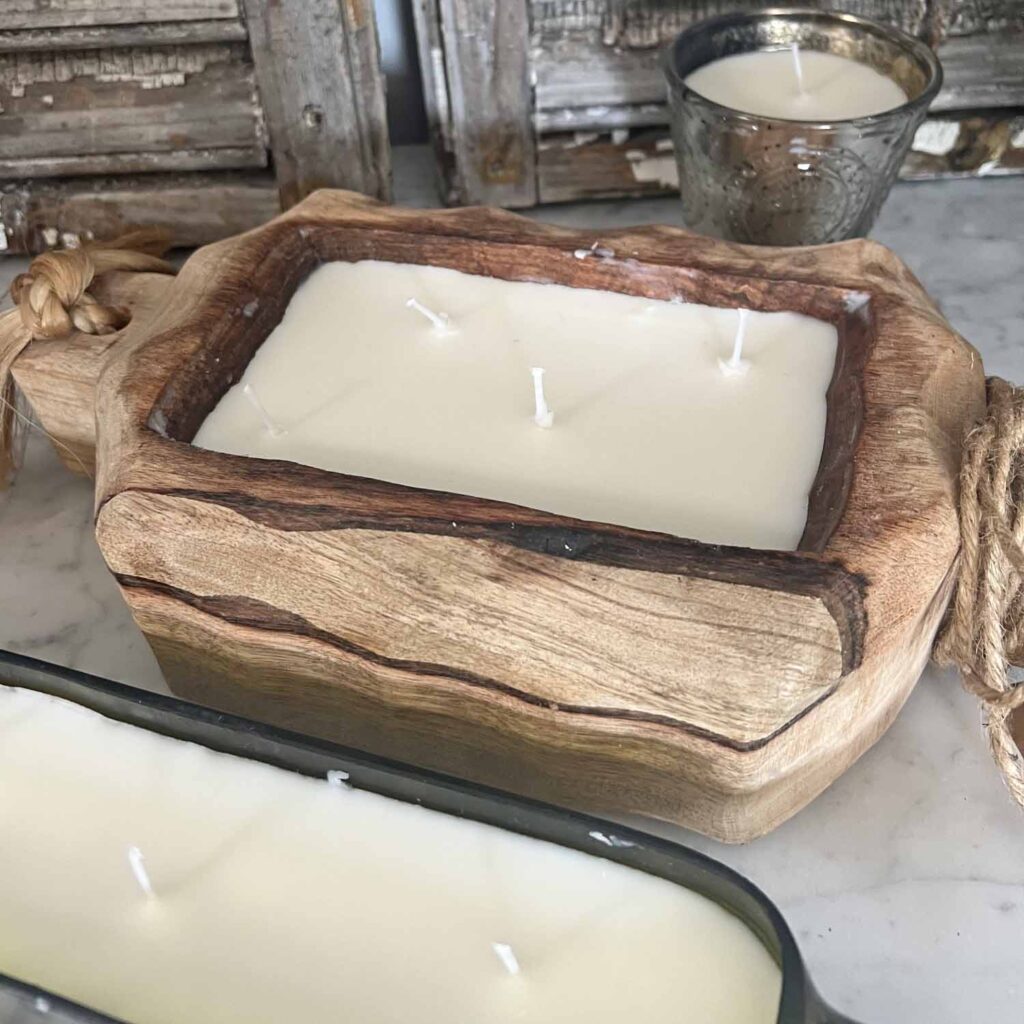
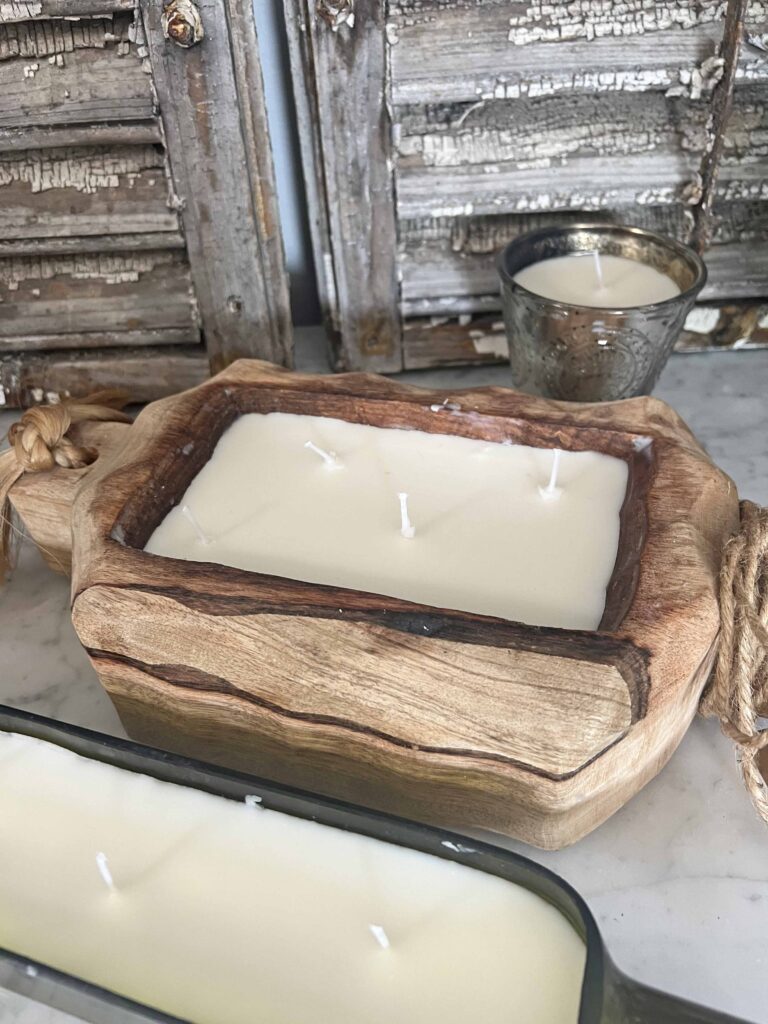
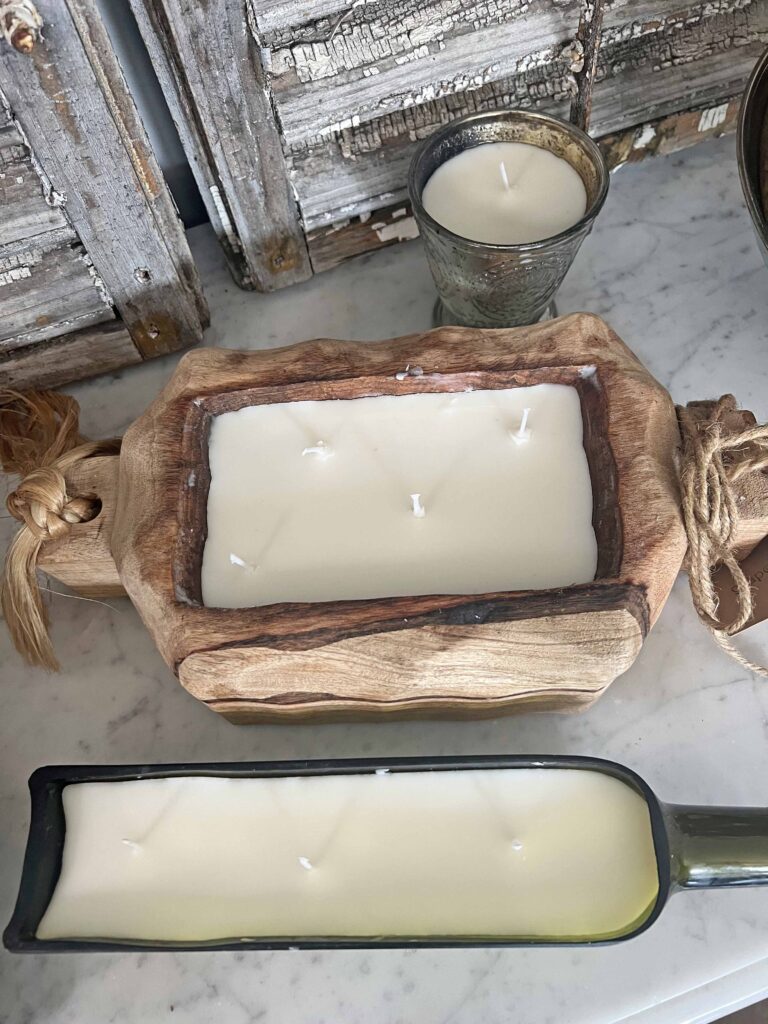
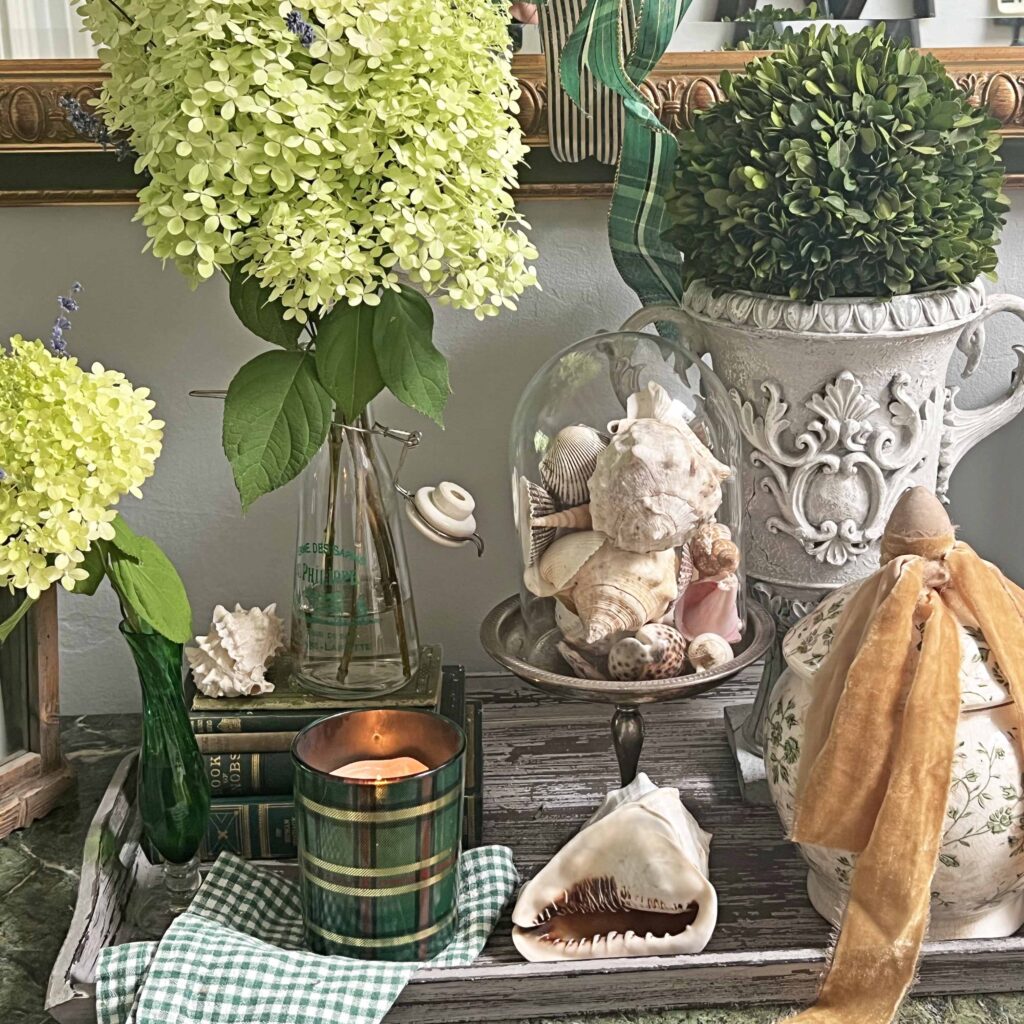
Some of my larger pieces, the driftwood tray and the wooden spice pot, are originally Himalayan Trading Post candles with my favorite scent of Grapefruit Pine. It’s the perfect scent for the holidays without being too holiday-ee. I actually use it all year long. Since Himalayan Trading Post sells wax refill kits, it started this madness. Now I use it to refill any container whether it originally came with that scent or not. I also like the Sunlight in the Forest, Sugared Lemon and Woodland Mist by Himalayan Trading Post. There are many other great scents as well.
As summer winds down and the days get shorter, candles are on repeat around here. We burn candles all year long, but we use them the most during the holiday season. It’s nice to know that once they burn down, I can easily refill them to keep the pretty glow and wonderful scent going through the entire holiday season and through the long winter months. I love the magic candles create.


Shop the Container Candle Look
- Himalayan Candle Grapefruit Pine Refill Kit
- Himalayan Candle Sunlight in the Forest Refill Kit
- Candle Wick Kit
- Handmade Driftwood Candle – Grapefruit Pine Scent
- Tree Bark Candle – Sugared Lemon Scent
- Tranquility Candle Bowl – Grapefruit Pine
- Hinged Lid Wooden Spice Pot – Grapefruit Pine


More Related Posts

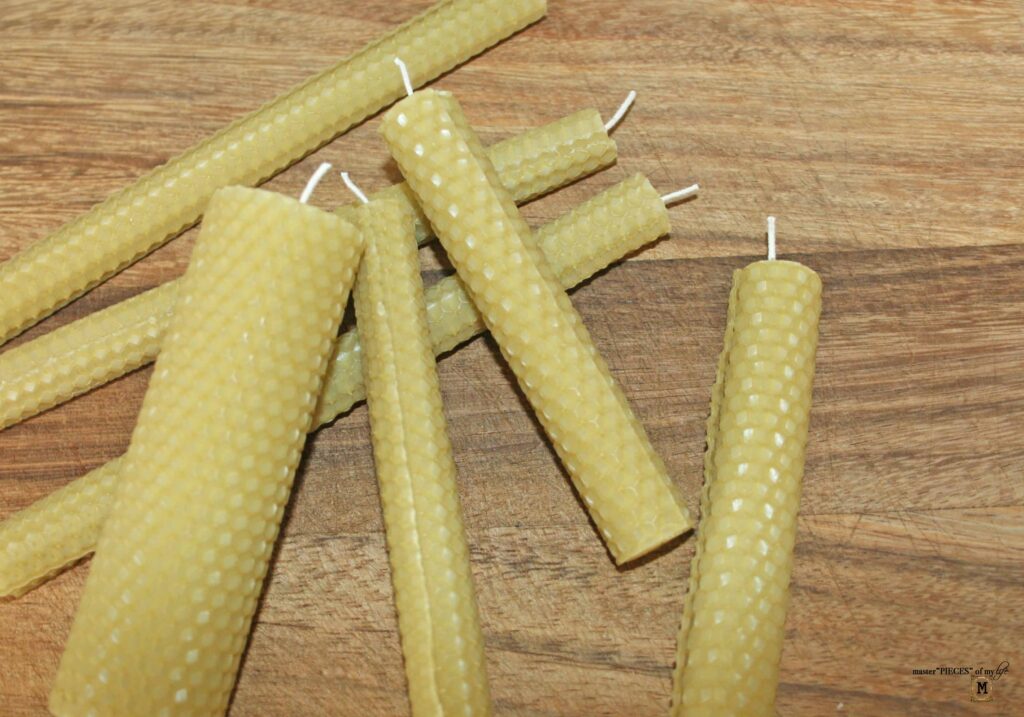
Beeswax Candle DIY
A beeswax candle making kit makes these beeswax candles super easy, fairly inexpensive and pretty satisfying.


Faux Candle Taper Tip
A faux candle tip used to jazz up some battery operated tapers to look less fake and more realistic.
Most Recent Posts
Elegantly Rustic Ornament DIY
This elegantly rustic ornament DIY with pearl details has all the pretty vintage vibes.
Summer Foyer Styling w/ Thrifted Finds
Thrift shopping is a great way to add unique pieces to your decor w/o spending a fortune.
There are two ways of spreading light: to be the candle or the mirror that reflects it.”
Edith Wharton