


Are you ready for Christmas? I have a super easy craft for you today which is not only easy, but fast and super affordable. A plain Jane Christmas stocking is easily transformed with Dollar tree supplies into a trend forward piece. Join me as I show you how to up-cycle a Christmas stocking with a few simple Dollar Tree materials.

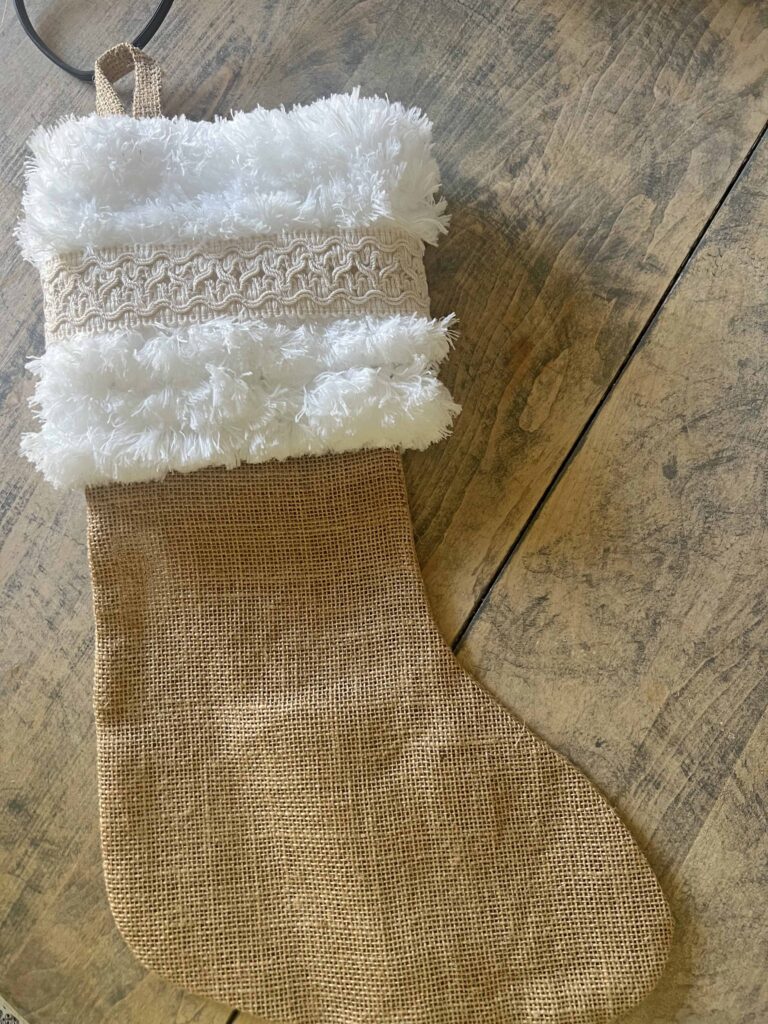
The plain burlap Christmas stocking glow-up doesn’t require any sewing and looks like a million bucks worthy of Pottery Barn or Anthropologie. This stocking goes from drab to fab in a few simple steps.

*Affiliate links might be included for your convenience. These affiliate links mean a small commission is earned if you make a purchase using these links at no extra cost to you. As an Amazon Associate qualifying purchases support this website. For more information: Full Disclosure Policy.
Inspiration for the Christmas Stocking Up-cycle
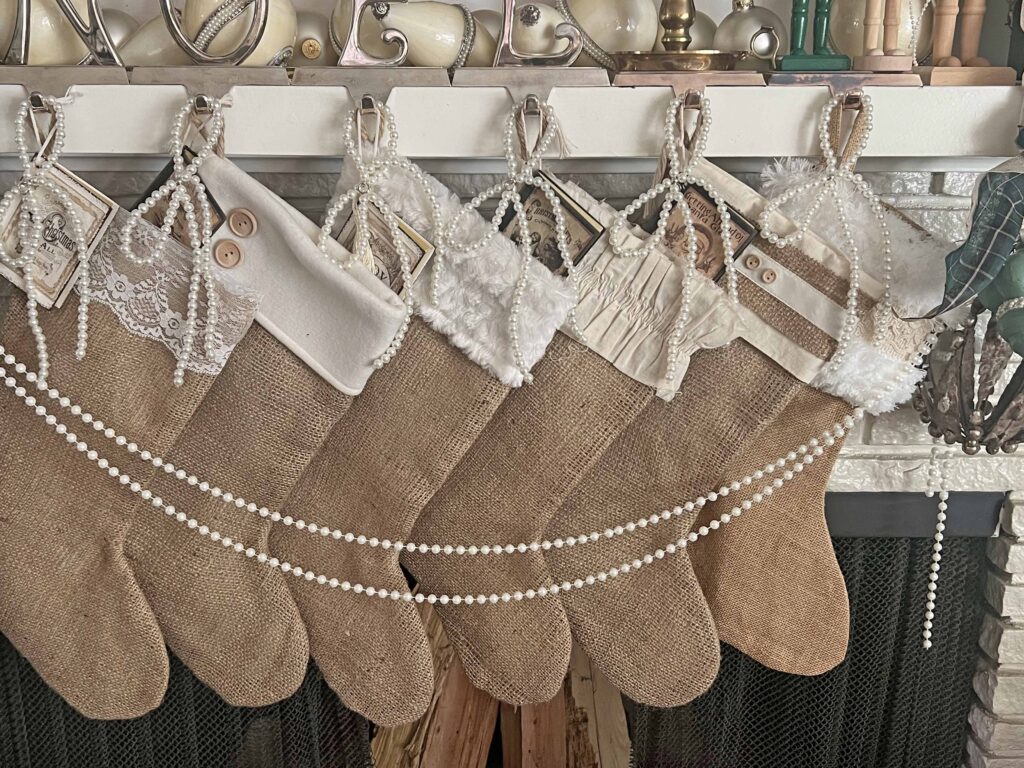
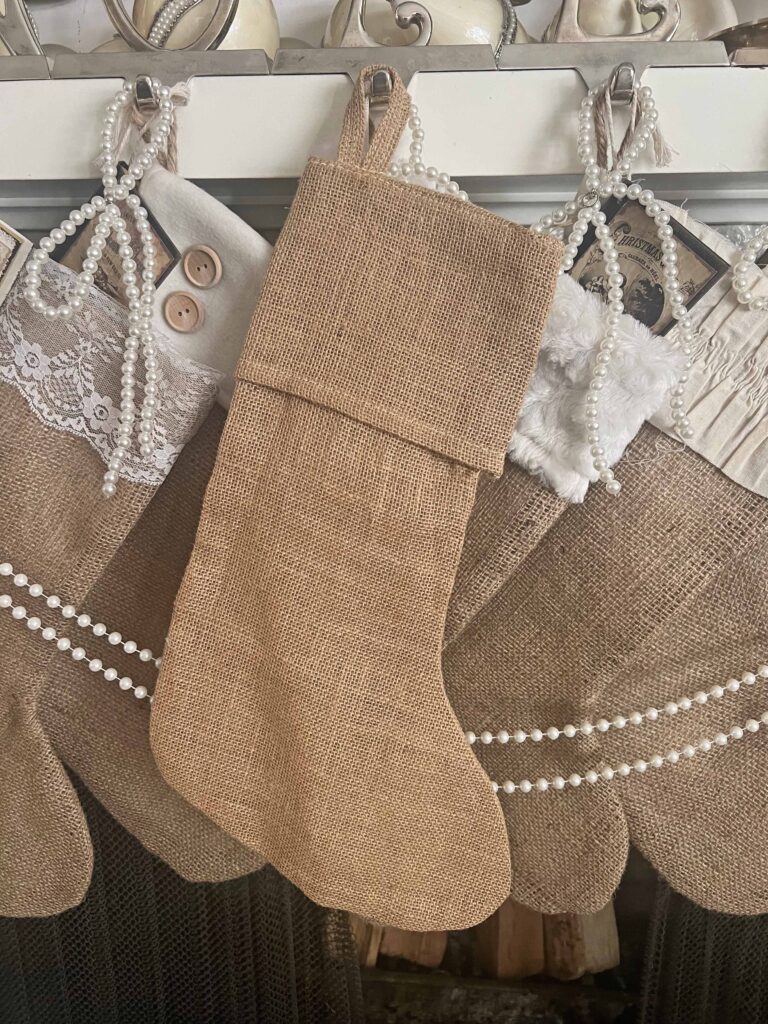
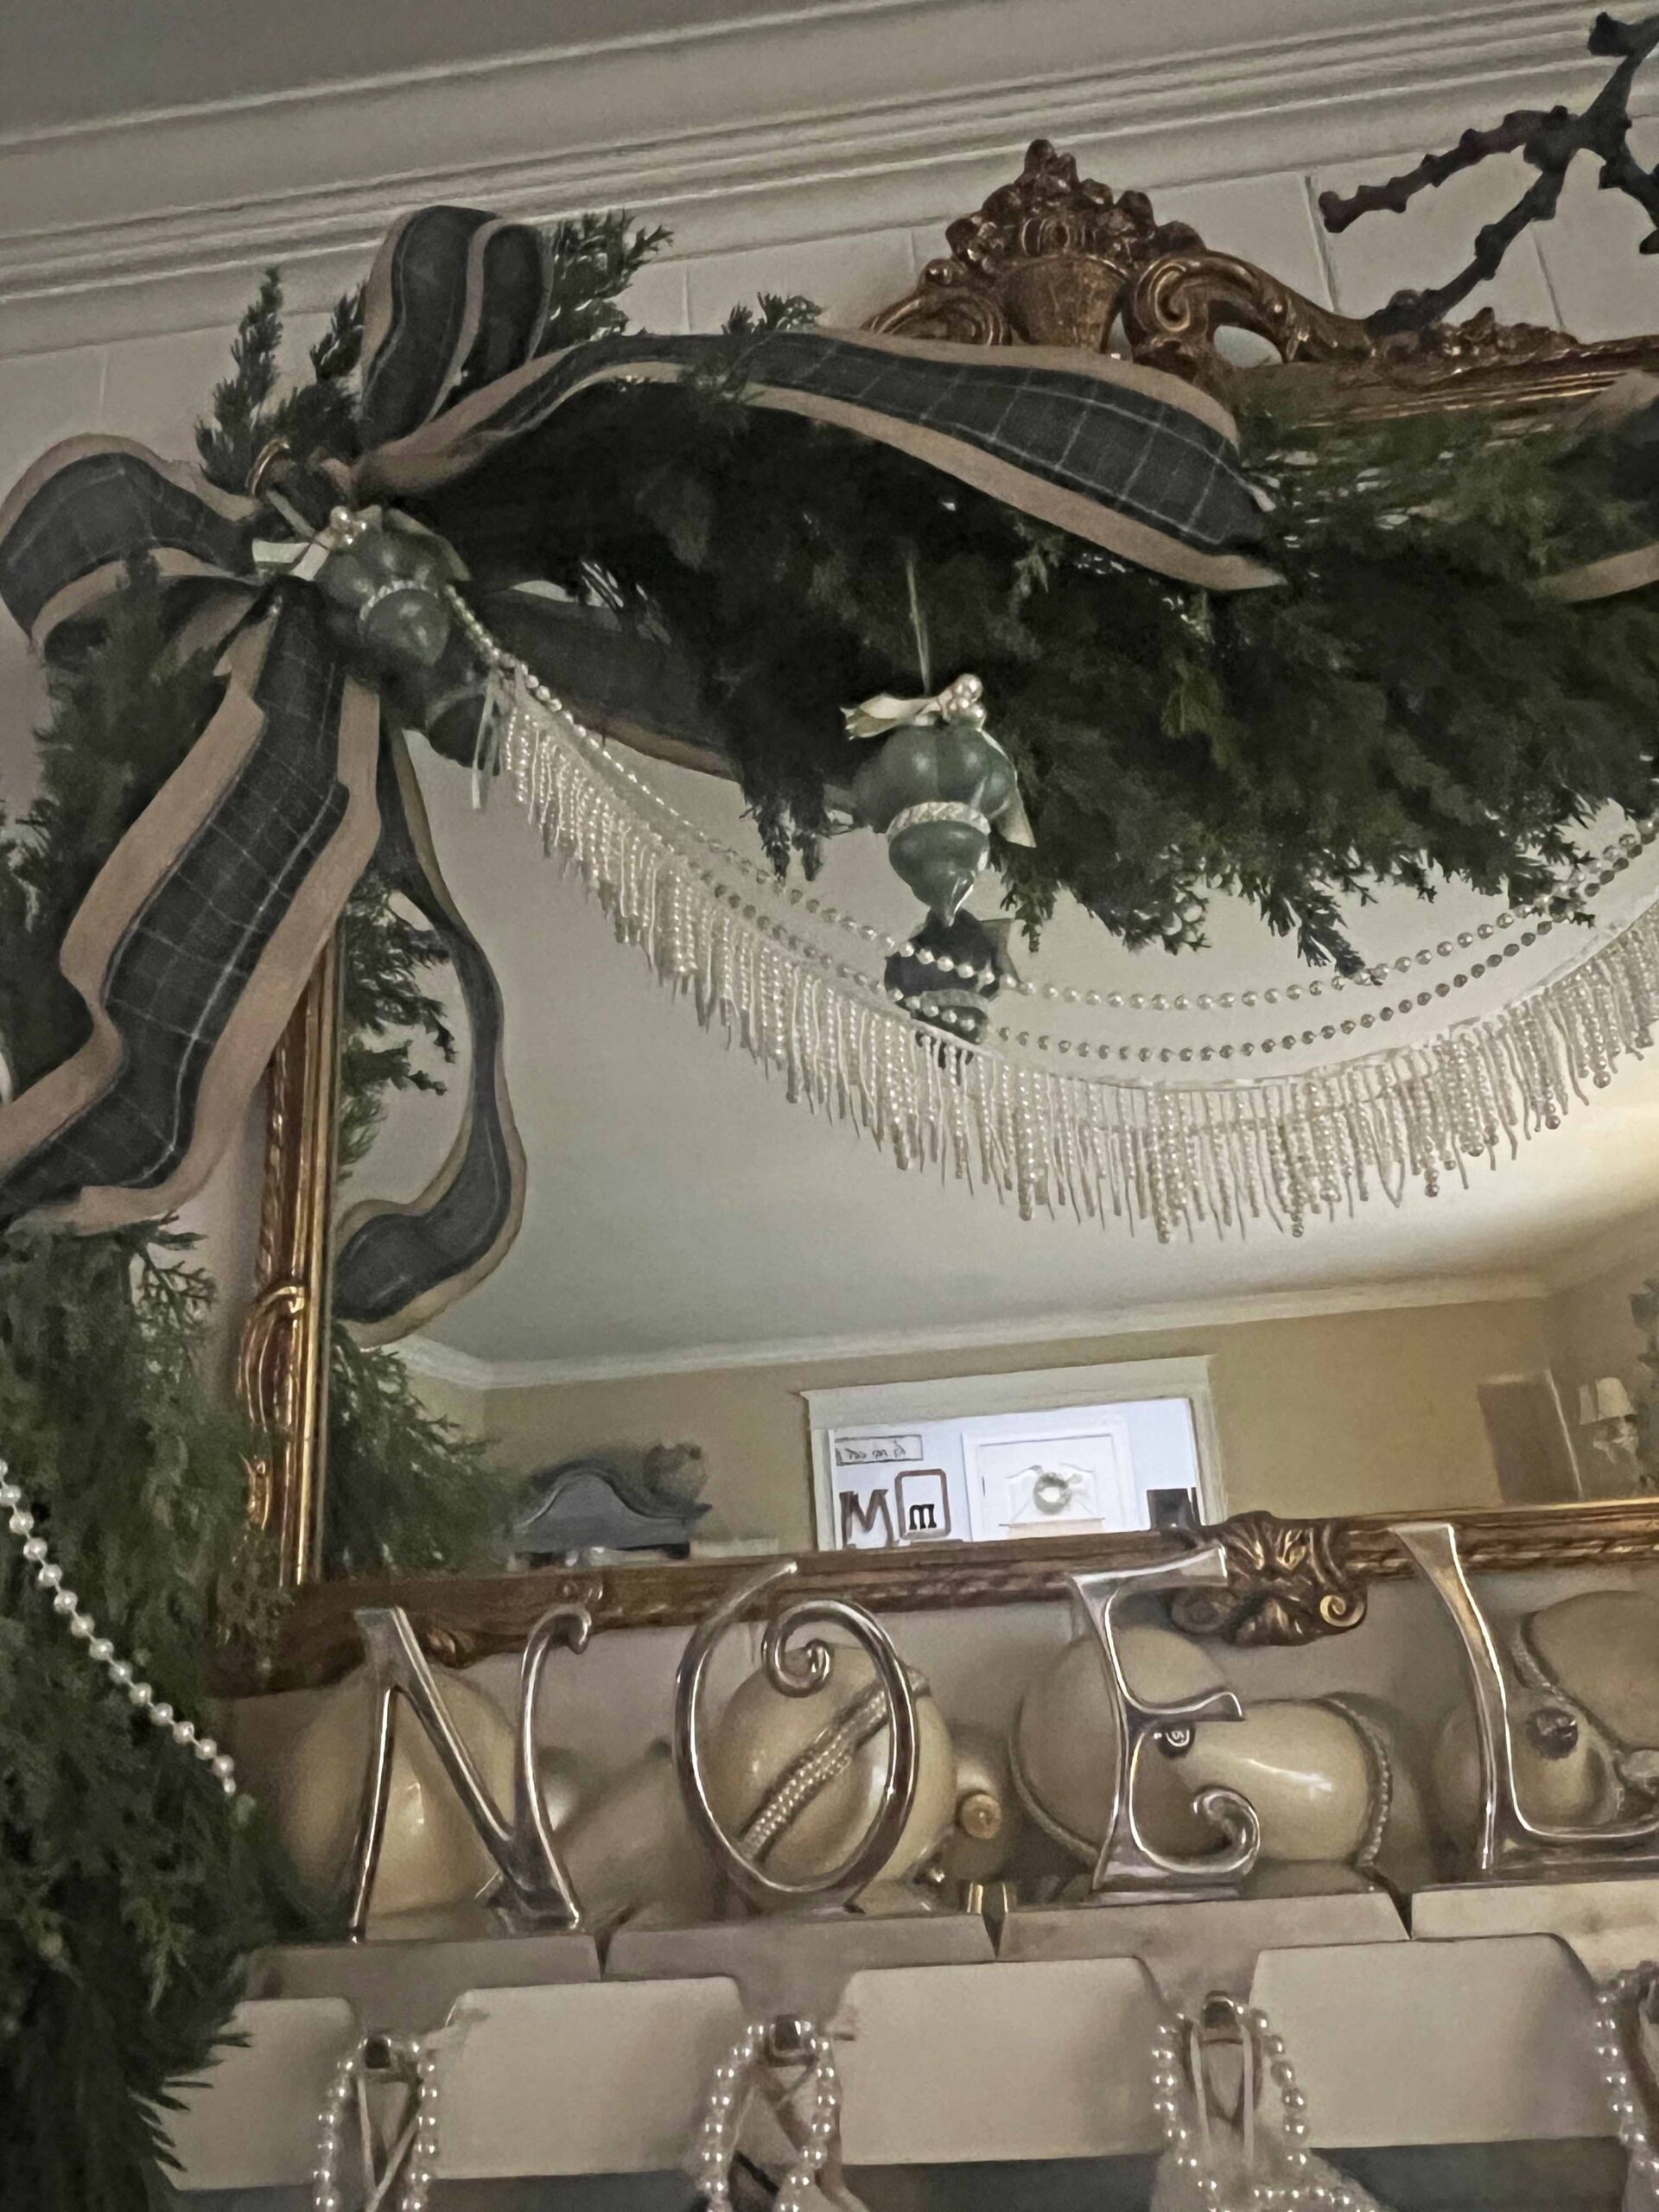
We have a set of burlap stockings with different white and cream details. I bought these years ago for each member of the family, but and this is a big BUT, there isn’t one for the furry family member. We don’t forget Misty altogether, but her stocking is just plain and boring, which seems a bit mismatched with the other pretty stockings. I’ve had the microfiber cloth from DT sitting in my craft stash for awhile, and I just had that “aha” moment when I created the plaid and pearl mantel-scape for the season last week. And here we are.

How to Up-cycle a Plain Stocking with Dollar Tree Supplies
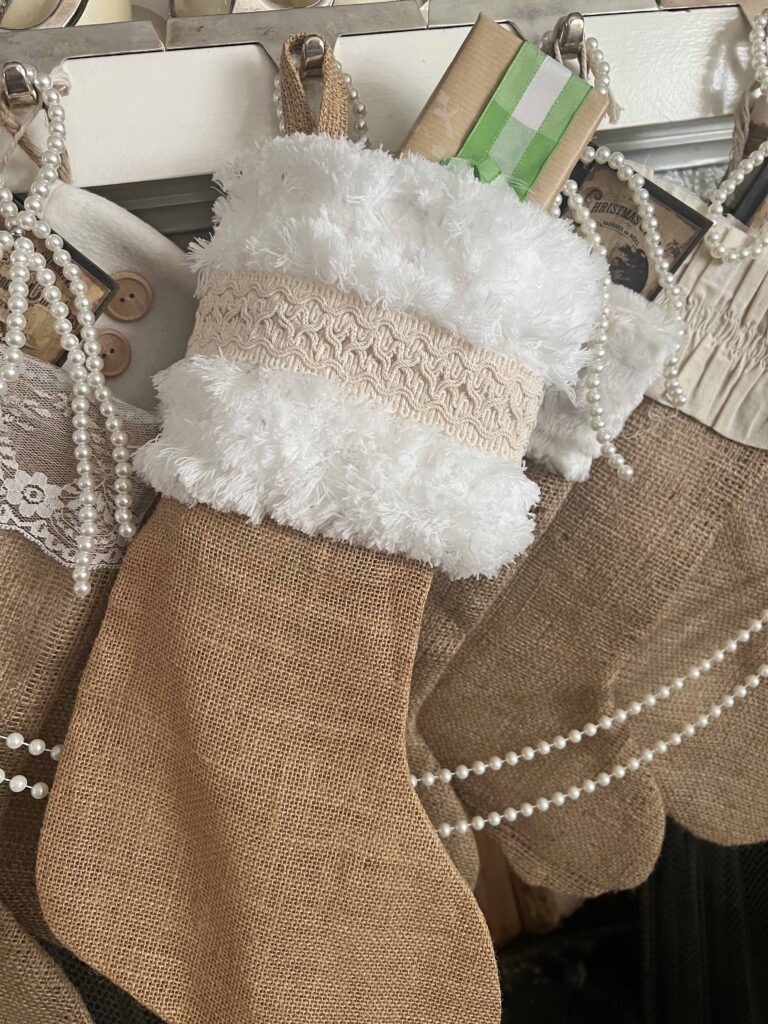
This simple glow-up gives the stocking all the pizzazz it needs to blend in with the other family Christmas stockings. When I created the mantel design last week, the plain burlap stocking bugged me, which I am sure went unnoticed by most. It is at the end of the row of stockings so it only peeks out slightly. Now it pokes out with all the fluffy and charming style of the other pieces.
Supplies
- Plain burlap stocking
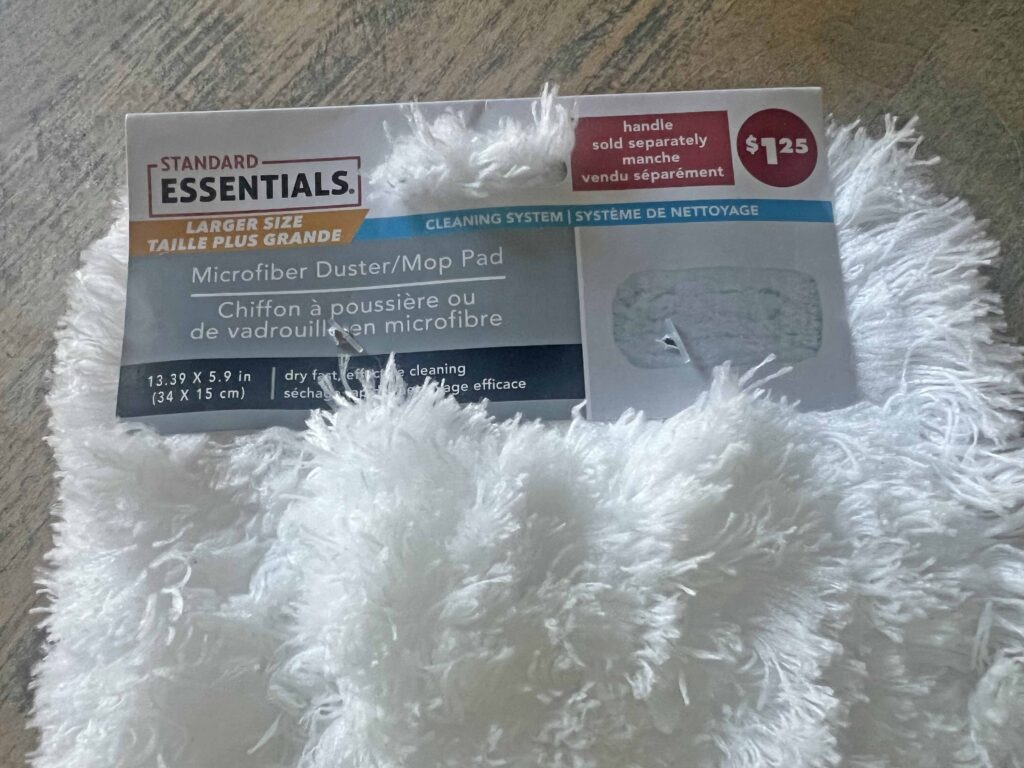
- DT microfiber duster | mop pad
- Ivory lace ribbon
- Glue gun glue sticks

Tools
- Scissors
- Hot glue gun
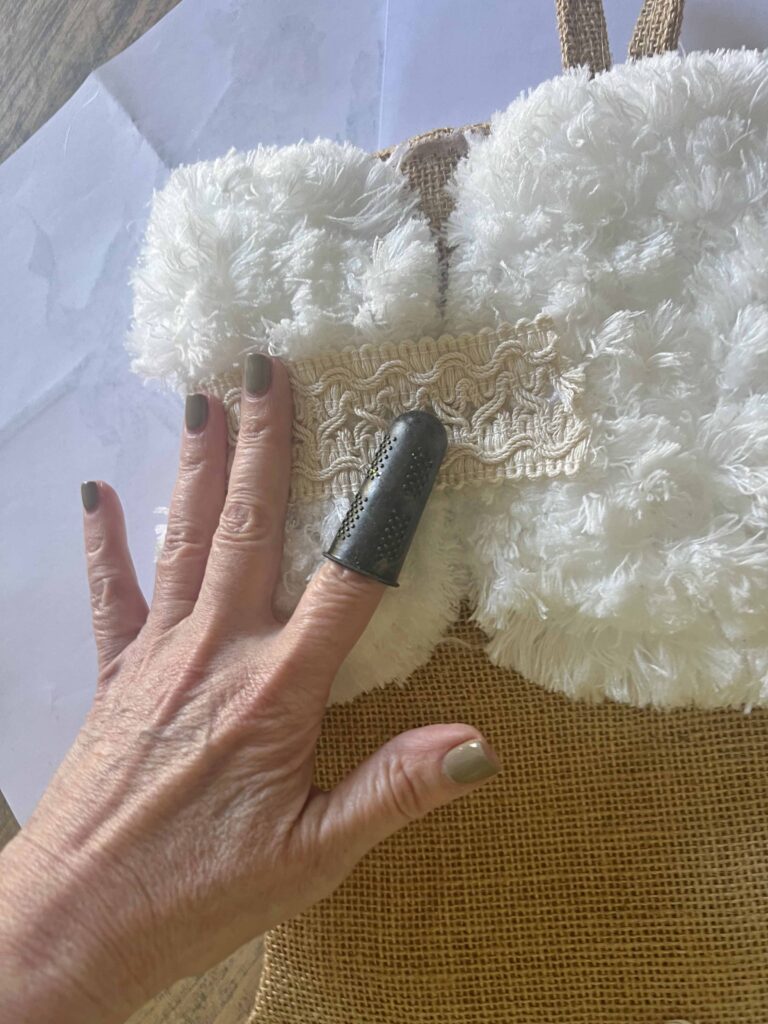
- Silicone finger tip protectors
Crafting Pro Tip: Read all the instructions through once and then re-read everything again. This way, you are familiar with everything you need and know what to expect.
Instructions
- Read instructions thoroughly and assemble all supplies & tools
- Remove all packaging and tags from supplies
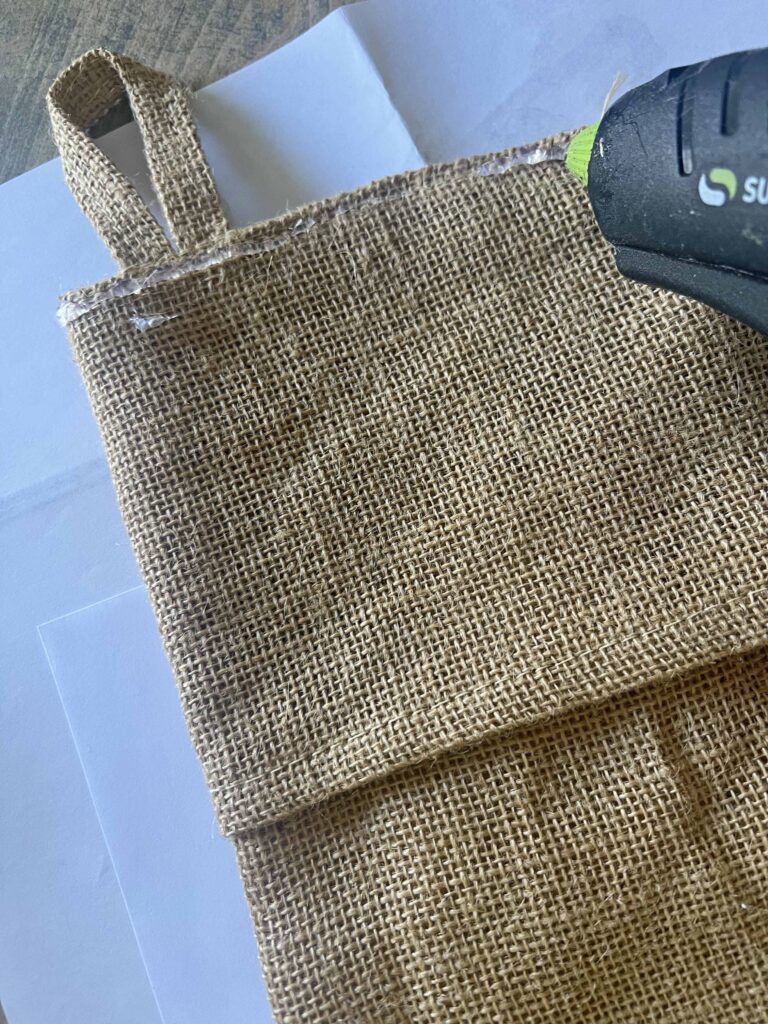
- Plug in glue gun to warm up
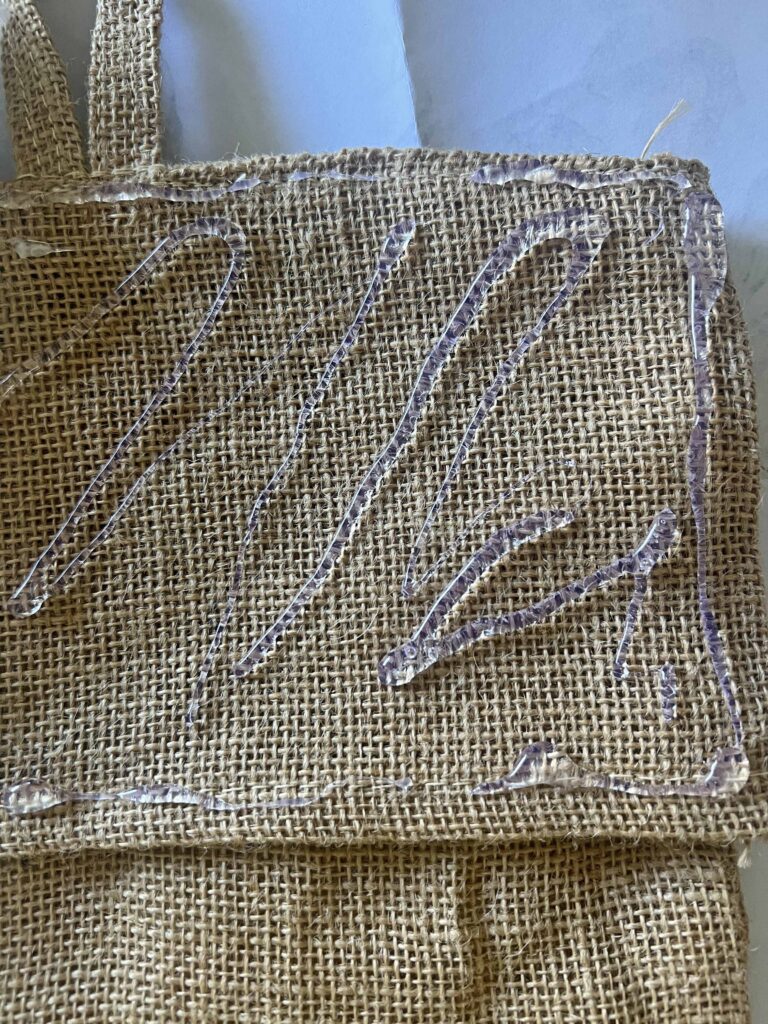
- Apply a liberal amount of hot glue around the front of the stocking cuff, I applied a line of glue around entire edge and then zig zagged in the middle for full coverage
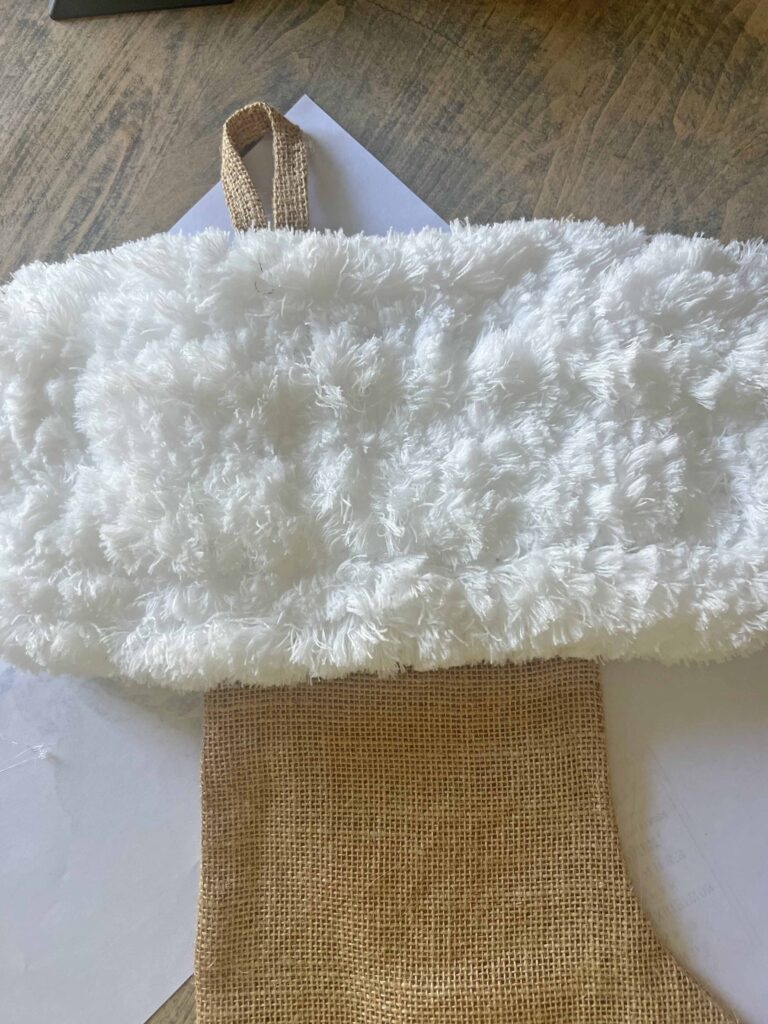
- Apply microfiber cloth centered on cuff to adhere to hot glue
- Press gently to secure bond
- Turn stocking over
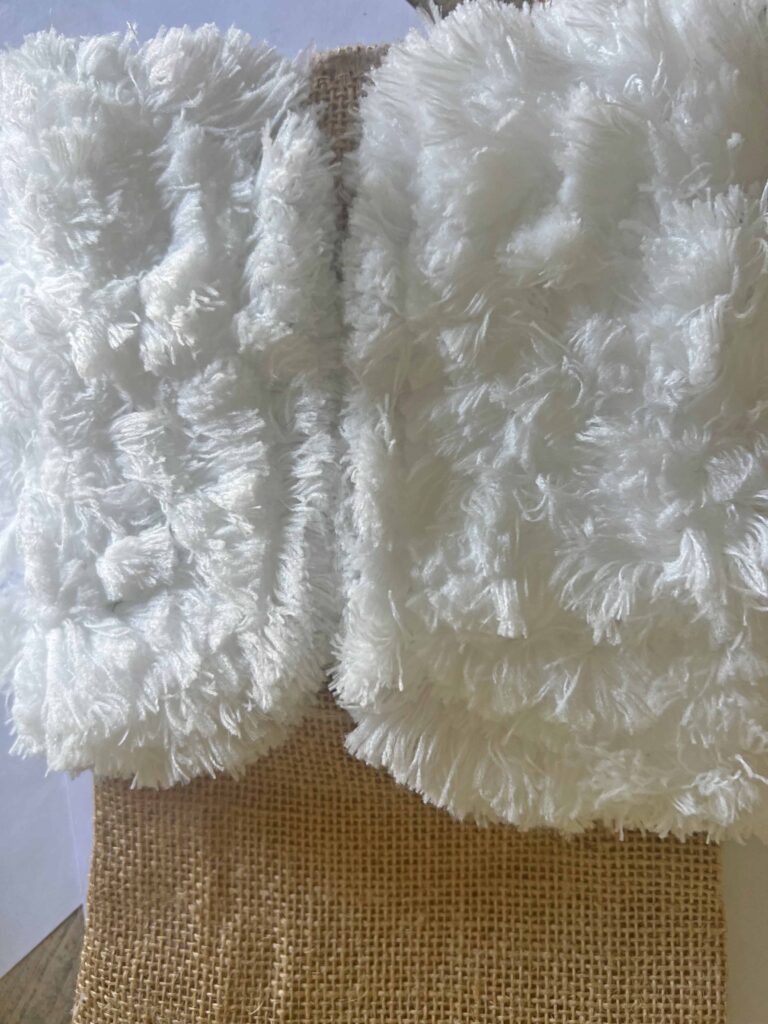
- Apply hot glue around back of cuff, and fold microfiber cloth over meeting in the middle
- Press gently to secure bond

- Turn stocking over back to frontside
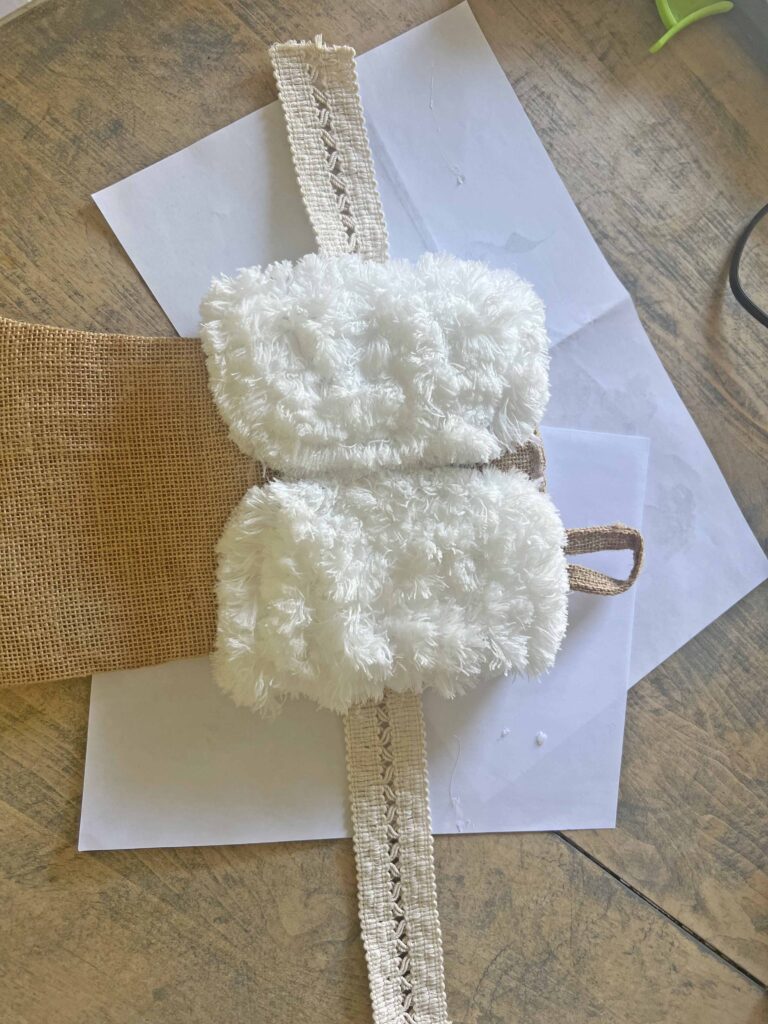
- Apply glue in the center section of the back of ribbon about the width of stocking cuff, adding a line of glue on edges

- Apply ribbon against microfiber cloth in desired location and press gently to secure bond
- Turn stocking over and add glue to each side of ribbon folding into cuff, overlapping in the middle

- Voila! Enjoy your new plush up-cycled Christmas stocking
Tips & Recommendations to Keep In Mind
Furry Microfiber Cloth
The microfiber cloth has the perfect texture to create the plush furry effect. The length was exact to wrap around the stocking cuff meeting flush in the back. This was simply by luck and not by design. I have also included a furry trim in the shopping section below for your convenience since stockings can come in different sizes.
Lace Ribbon Trim
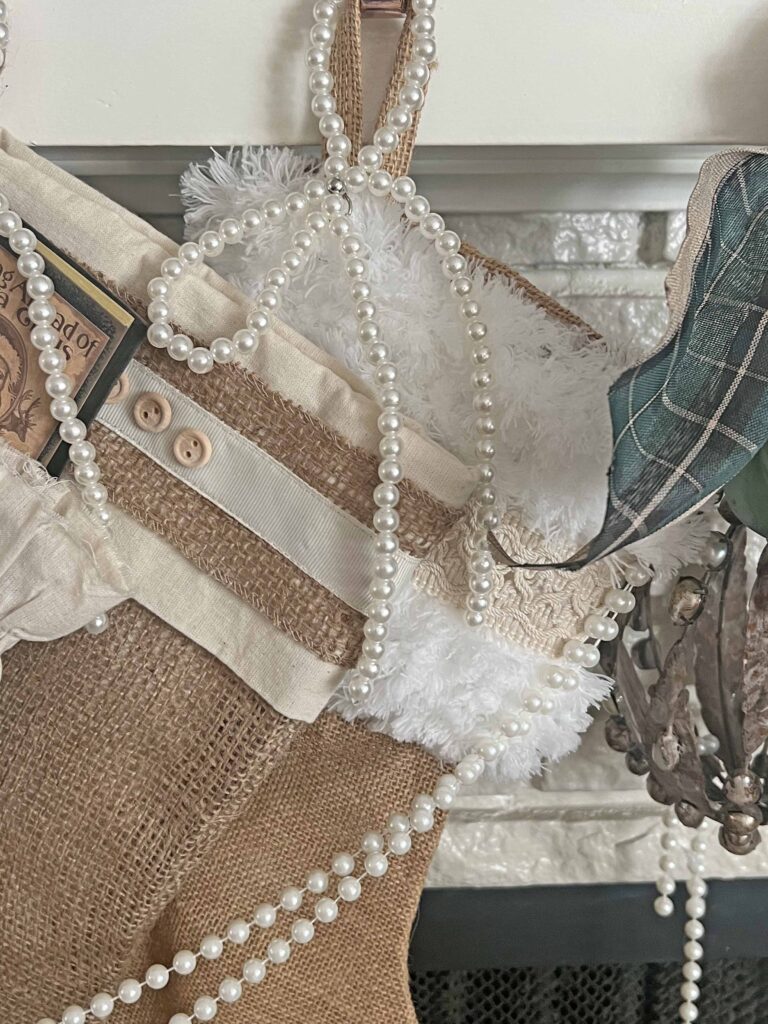
I selected a cream colored lace ribbon, which coordinates with the other stockings. The ribbon gives macrame vibes with a touch of boho. Hello Anthropologie, I see you. You can add ribbons which coordinate with your decor or add accents like buttons, jingle bells, etc. Feel free to adapt it to your decor aesthetic. Make it yours.

Matching Multiples
I only created one stocking because that’s all I needed, but you could create a whole collection if you are just starting to curate your Christmas decor or if you are looking to change things up. Packs of plain stockings are fairly inexpensive and with a few accents you can give them fabulous glow-ups and make them super special.
Craft Warning: Please proceed with caution when handling a hot glue gun. Silicone finger protectors are highly recommended. Maintain personal discretion and responsibility at your own risk.
More decorating, crafting and entertaining content is scheduled for the season. If you don’t want to miss any new content, you might enjoy following along. Sign up below and receive all new posts directly into your in-box. We would love to welcome you to the Masterpiece community.
Closing Thoughts
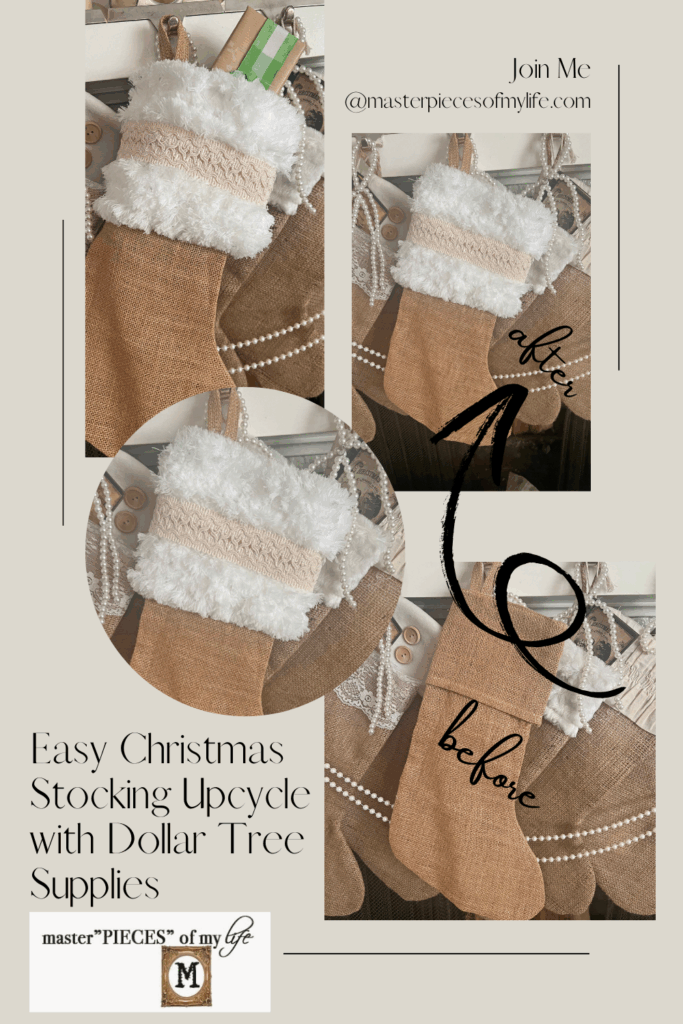
I hope this inspires your own DIY decor. It goes to show you do not have to spend a fortune to achieve a lux and lush look for your seasonal decor. Homespun pieces always add touch of cozy and warmth to interiors. For funnsies you can see below the transformation from the plain & boring to pretty & festive.
Thanks for dropping by today and can’t wait to see you next time. Au revoir!


Shopping the Look
- Pack of 6 – Natural Burlap Christmas Stocking 16 inch
- Natural Burlap Christmas Stocking 24 inch
- 2pcs Faux Fur Fabric for Decor, White Fuzzy Craft Fur Self-Stick Back for DIY Craft Decoration
- Lace Ribbon Beige Cotton Lace Trim Vintage Decorative Ribbon Fabric
- Vintage Lace Trim Beige Cotton Lace Ribbon Scalloped Lace Edge
- Craft Scissors
- Glue Gun
- Silicone Finger Protectors
- Surebonder All Purpose Mini-Size Hot Glue Sticks for Crafts


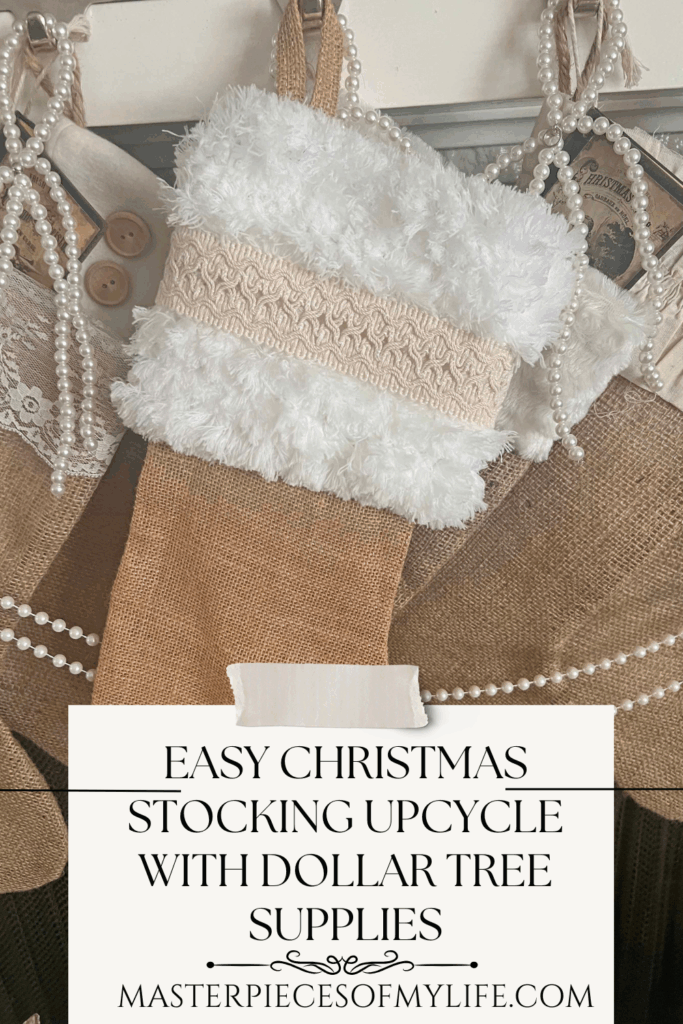
Don’t forget to Pin It and save for later. You never know when inspiration will strike!
More Related Posts


Most Recent Posts

And the stockings were hung by the chimney with care, In hopes that St. Nicholas soon would be there.”
Clement Clarke Moore’s poem, “Twas the Night Before Christmas”