Air-Clay Shamrock Charm DIY for St. Patrick’s Day
Hi there! Today I am sharing another St. Patrick’s day decor idea. Using air-clay you can create this shamrock charm DIY to inject some St. Patrick’s day festive vibes into your decor with a subtle touch.
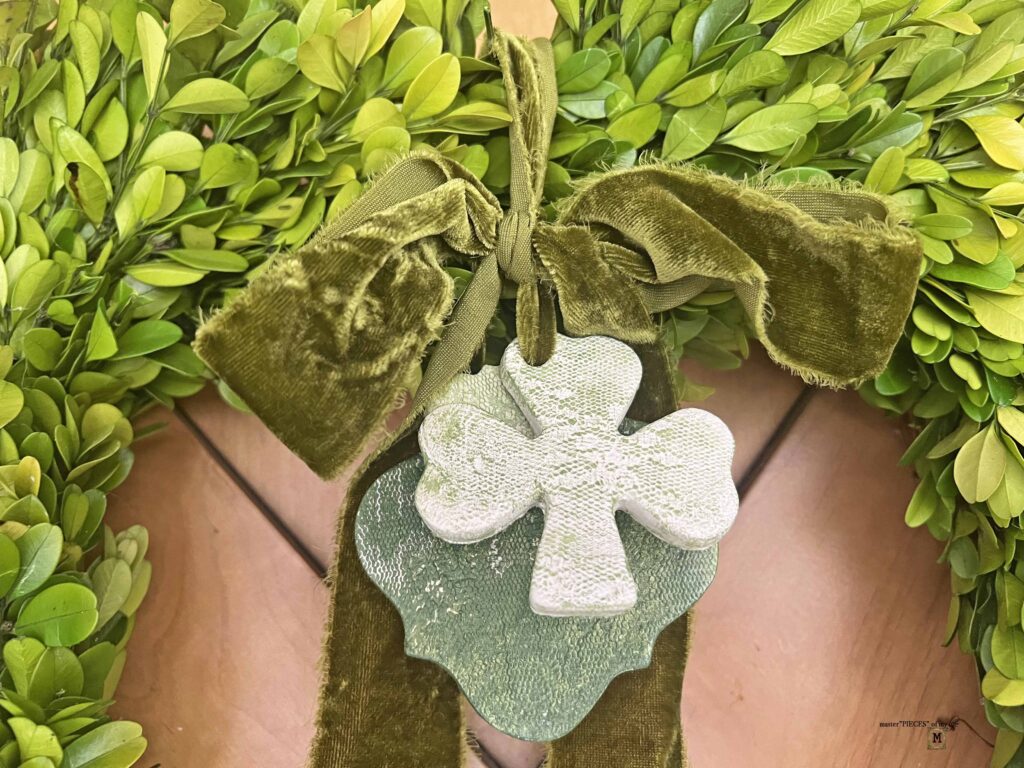
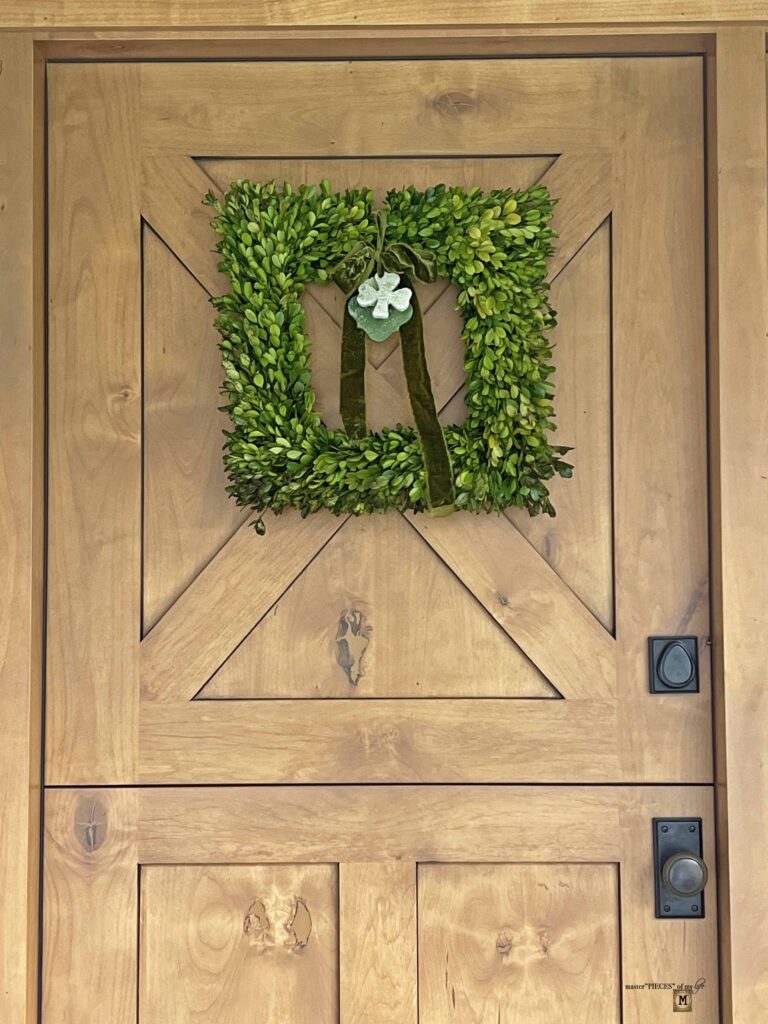
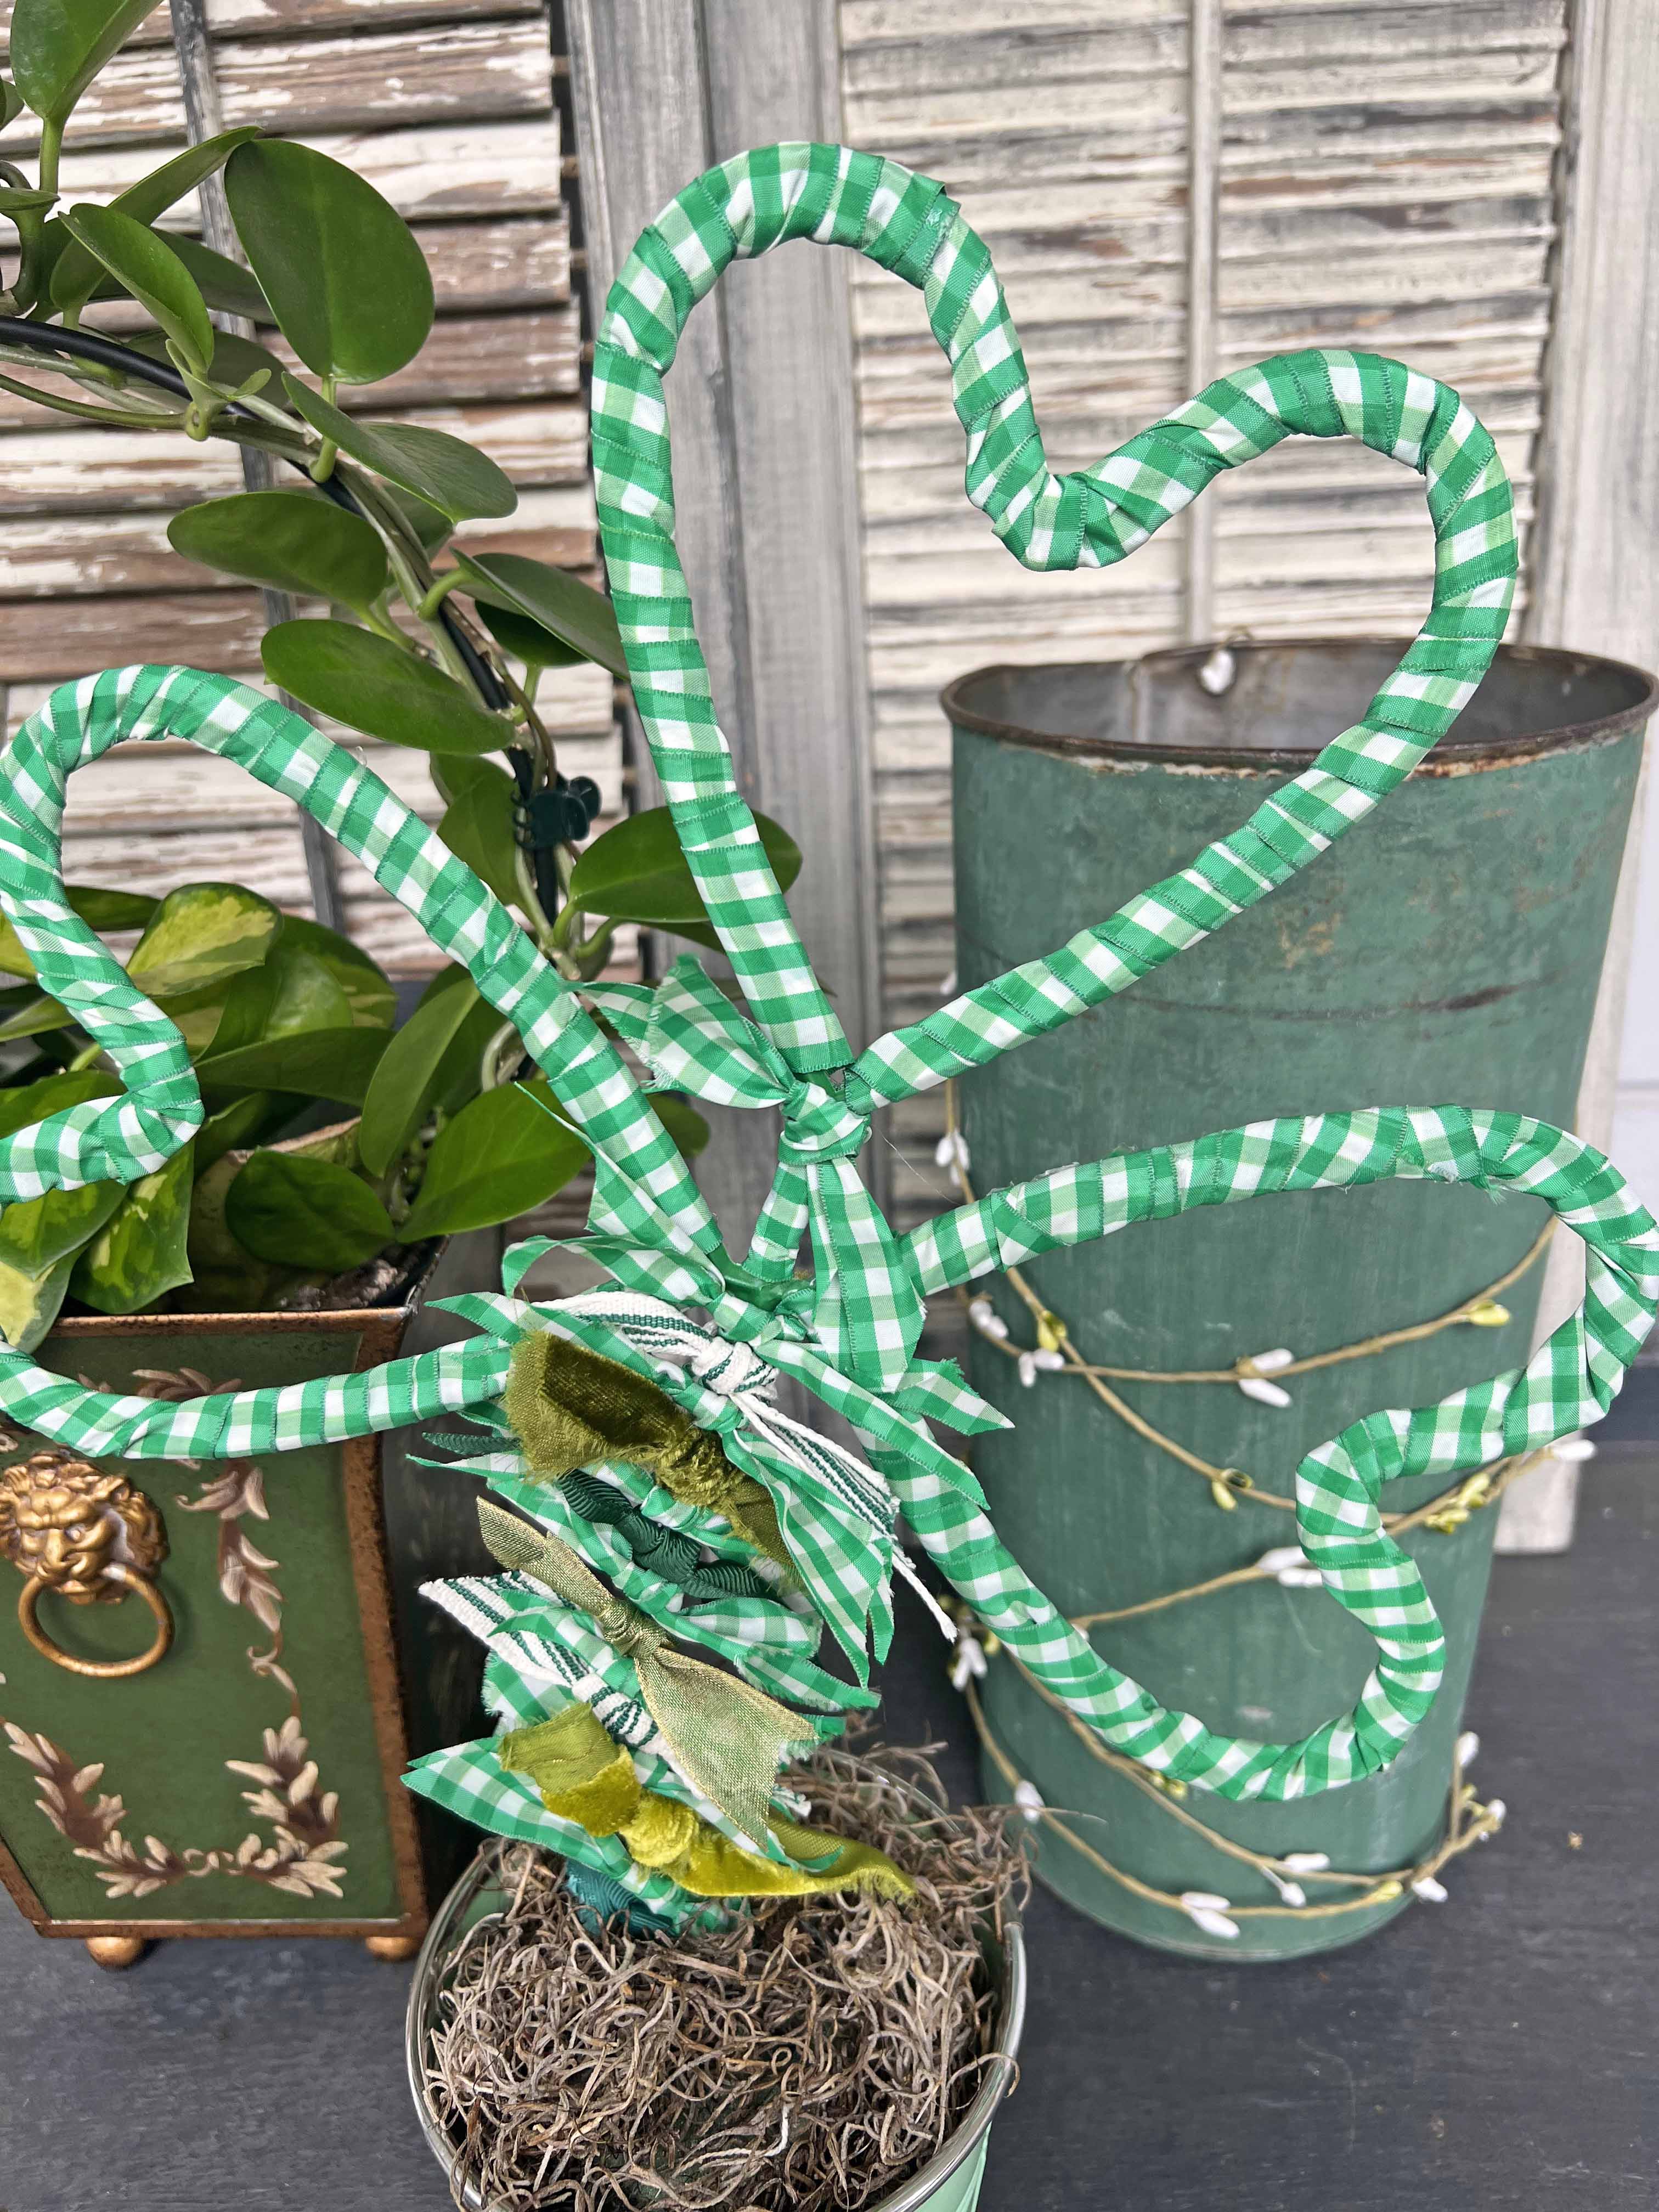
I’m using the air clay shamrock charm as an accent for my front door wreath, to give off some festive St. Patty’s Day vibes, but you can use it in so many different ways around your home. I have a few ideas to share with you, but use it as you wish!

*Affiliate links might be included for your convenience. These affiliate links mean a small commission is earned if you make a purchase using these links at no extra cost to you. As an Amazon Associate qualifying purchases support this website. For more information: Full Disclosure Policy.
The Inspiration Behind the Air-Clay Shamrock DIY Charm
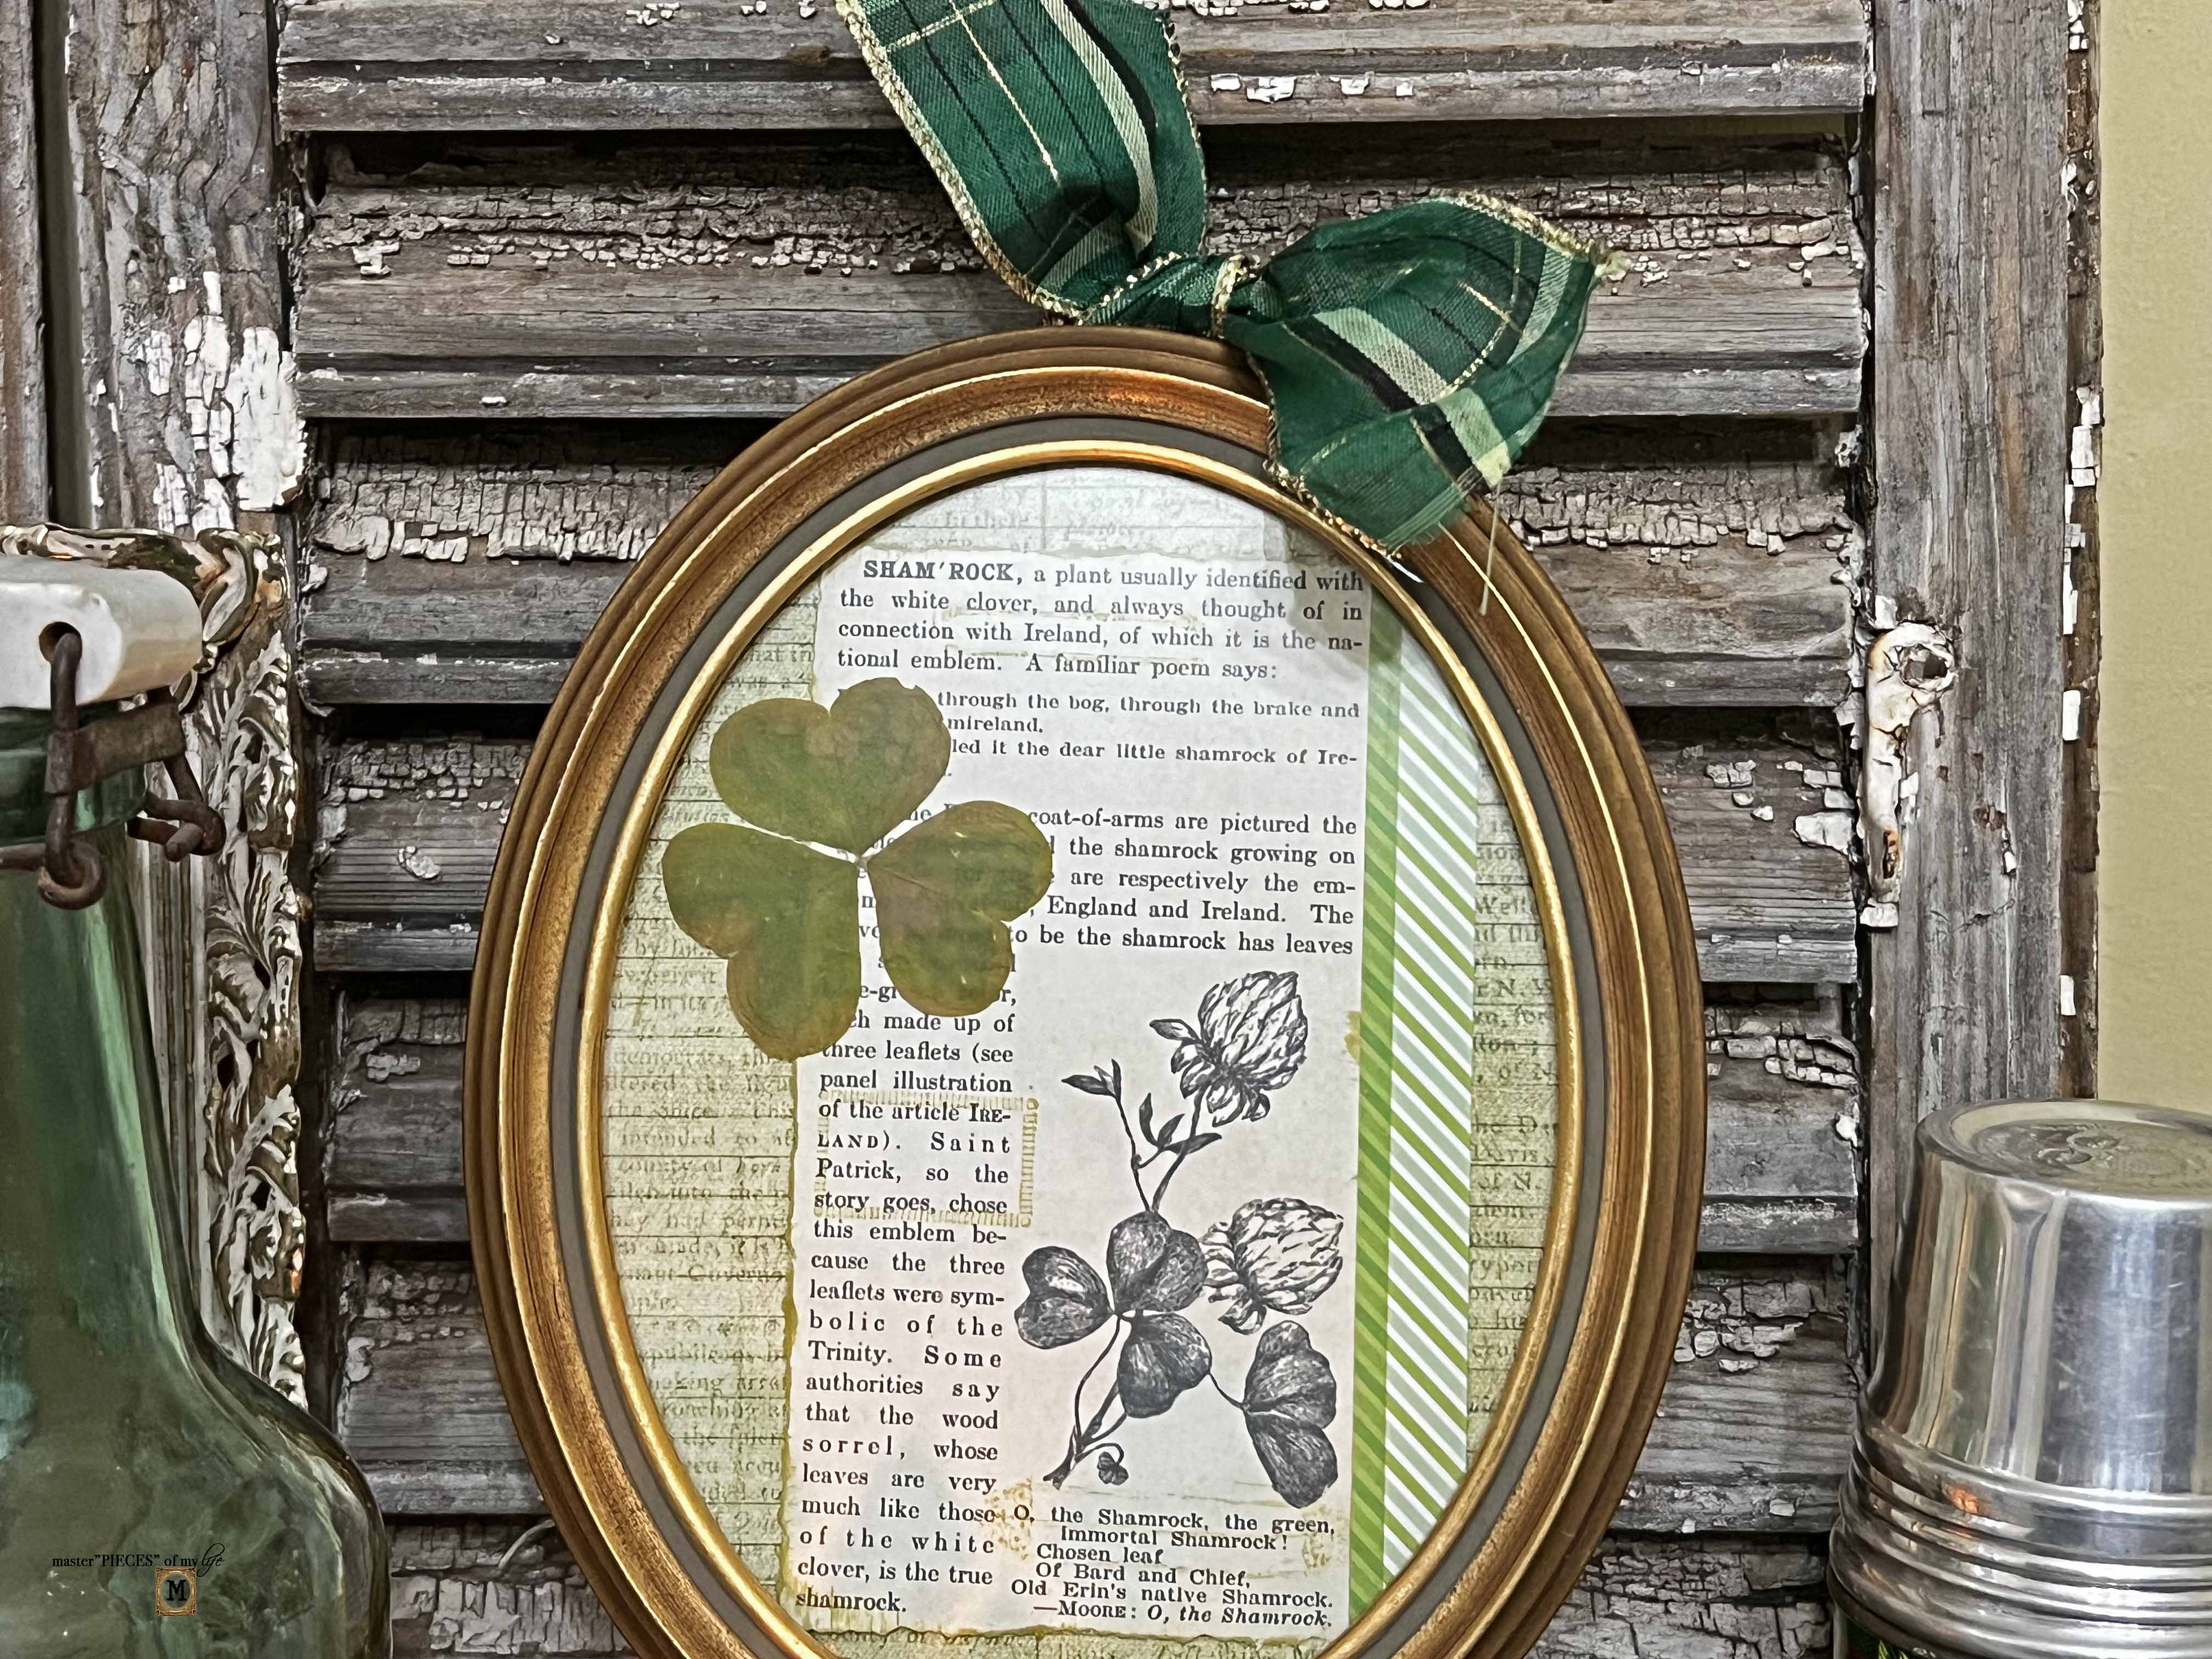
This St. Patrick’s Day season I have been obsessed with shamrocks for whatever reason. You can see the craft I created the other day with a thrifted frame here {how to use thrift store frames for seasonal decor – St.Patrick’s Day framed artwork & more}.
Today the shamrock love continues with this air-clay shamrock DIY charm. I’ve been seeing so many air-clay projects over the last few months, I had to jump on the bandwagon and it did not disappoint. This is a baby step and you will be seeing more air-clay projects in the future.
Air clay is a natural clay which air-dries to a hard solid, without any baking or firing required. It’s easy to use, easy to clean up and easy on the senses, meaning it’s non toxic. A great medium to use with kids and novice crafters.
How to Make Air-Clay Shamrock DIY Charm
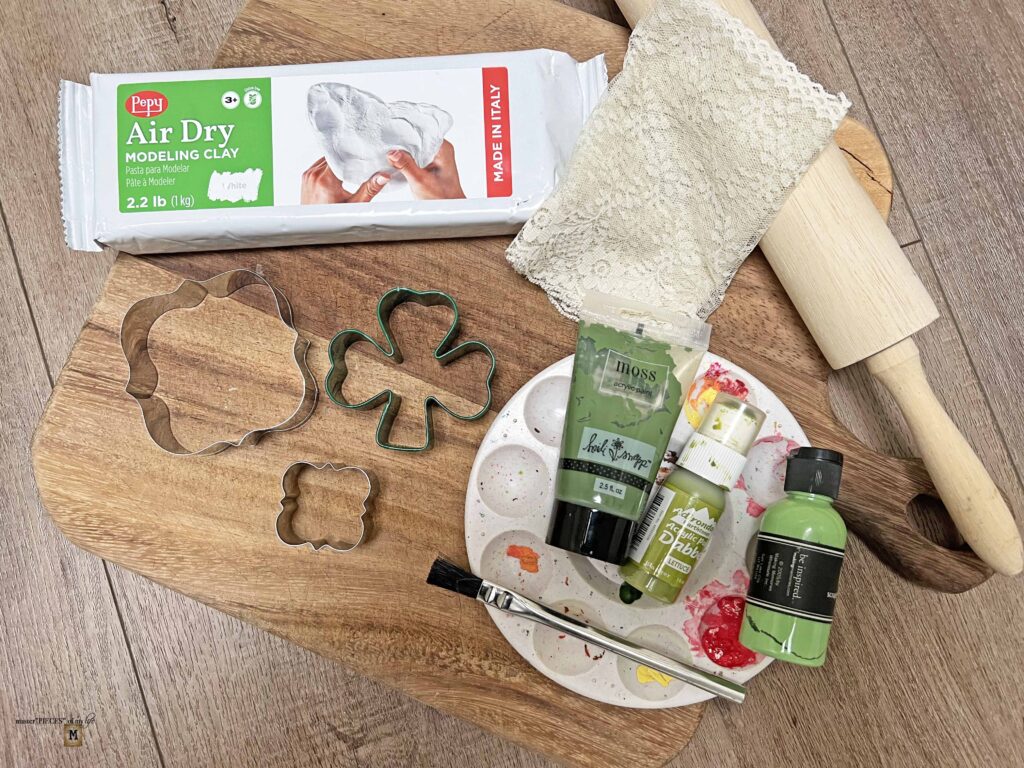
Supplies
- Air clay
- Rolling Pin
- Lace fabric
- Shamrock cookie cutter
- Plaque cookie cutters
- Green acrylic paint
- Crafting paint brush
- Crafting paint palette {optional}
- Clear sealing spray
- Ribbon
Directions
- Assemble all your supplies
- Cut about 1-inch section of your air clay block
- Seal the rest in a air tight ziplock bag
- Massage the 1-inch piece of air clay into a ball and start to flatten out
- Then using rolling pin, start rolling out clay (I used the same technique I use with pastry dough)


- When clay is about 1/4-inch thick, lay the piece of lace on top of clay
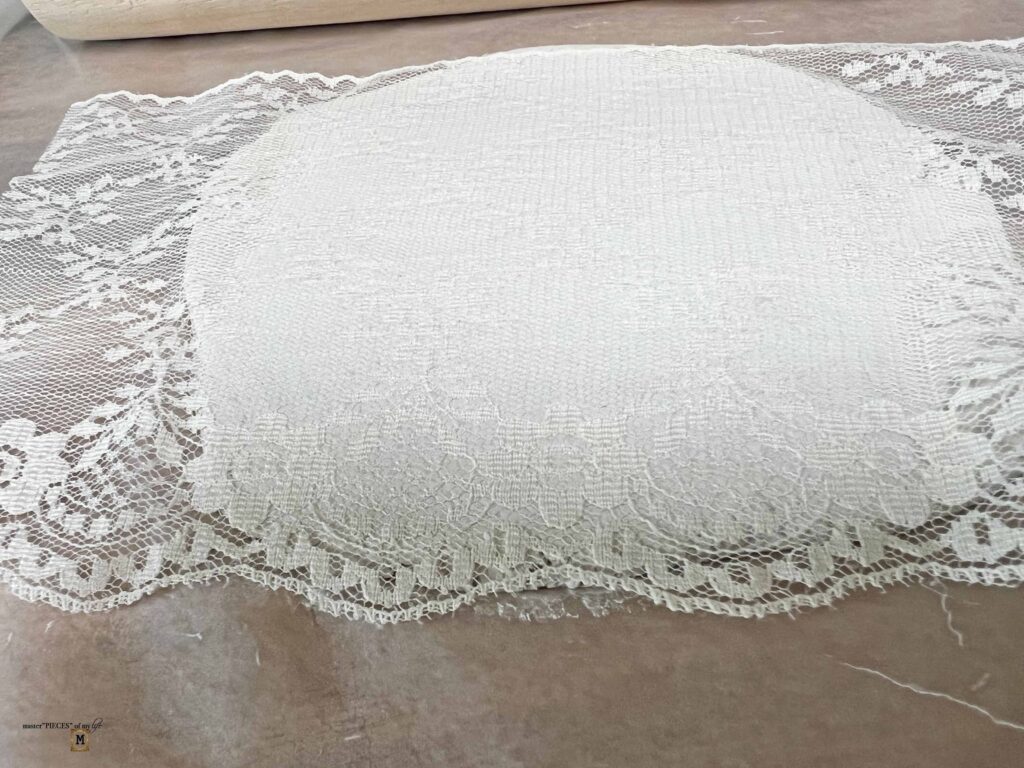
- Then roll again imprinting lace pattern onto clay
- Remove the lace and use cookie cutters to cut shapes
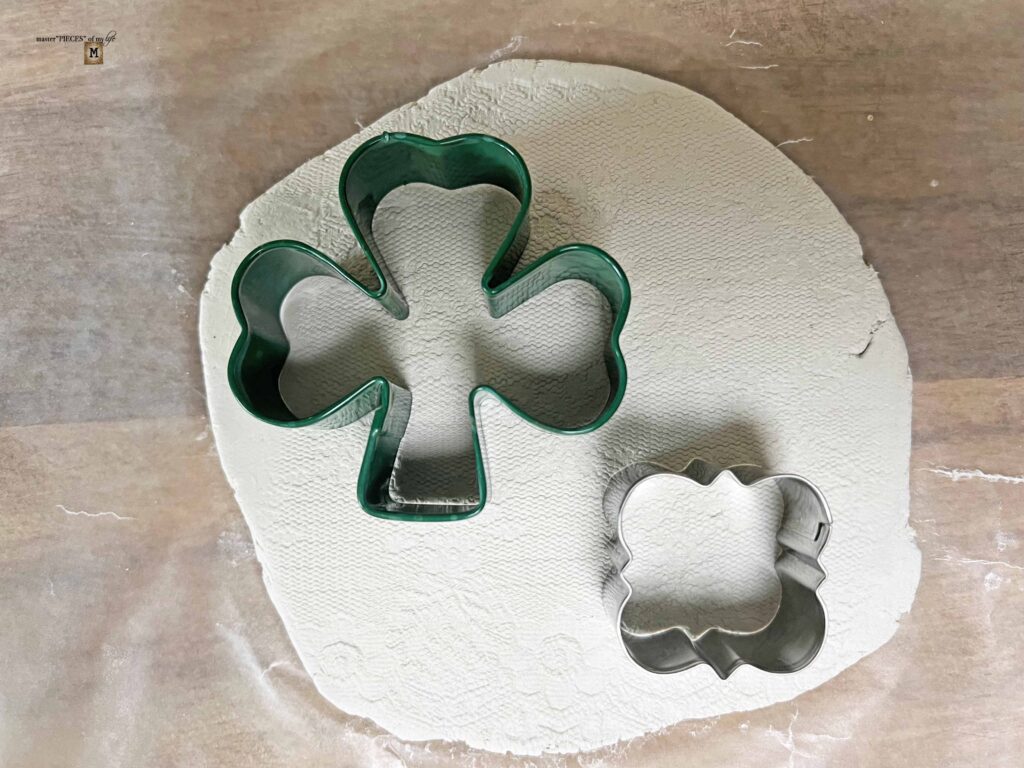
- Use a straw to create a hole in desired corners of cut shapes

- Set aside and let air dry for at least 48 hours

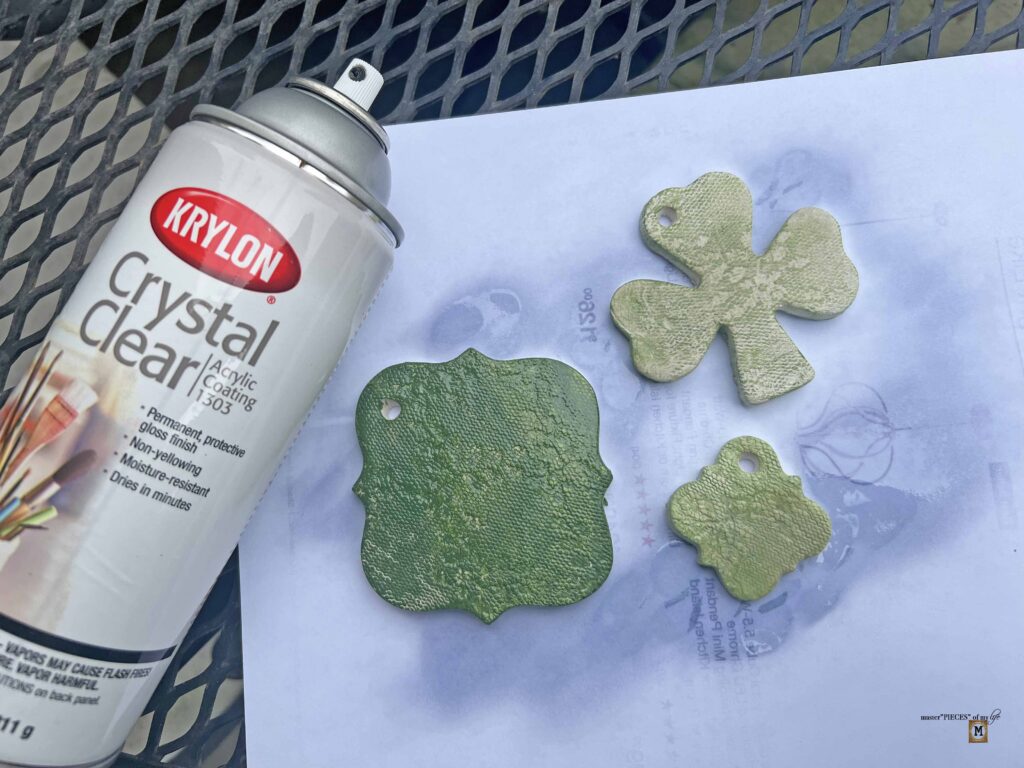
- Using acrylic paint, color clay pieces as desired; I used the same green paint and water to create 3 differing shades of green

- Set aside again and let paint dry for a few hours
- When paint is dry, spray with sealant to protect the clay pieces and set aside until sealant coat is dry (this should be applied outdoors or in a very well ventilated space)
- Once dry, thread ribbon thru holes, decorate & enjoy
Uses for the Air-Clay Shamrock DIY Charm
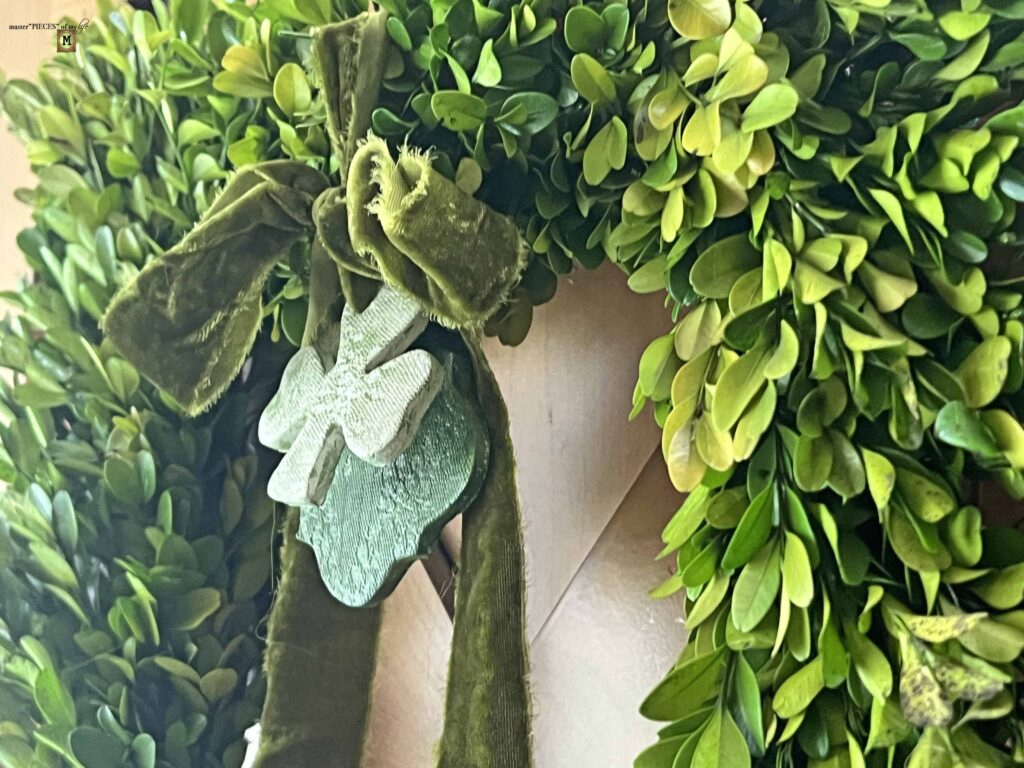
Wreath accent
The air clay shamrock charm is a subtle touch on the wreath as a nod to the upcoming holiday on our front door.
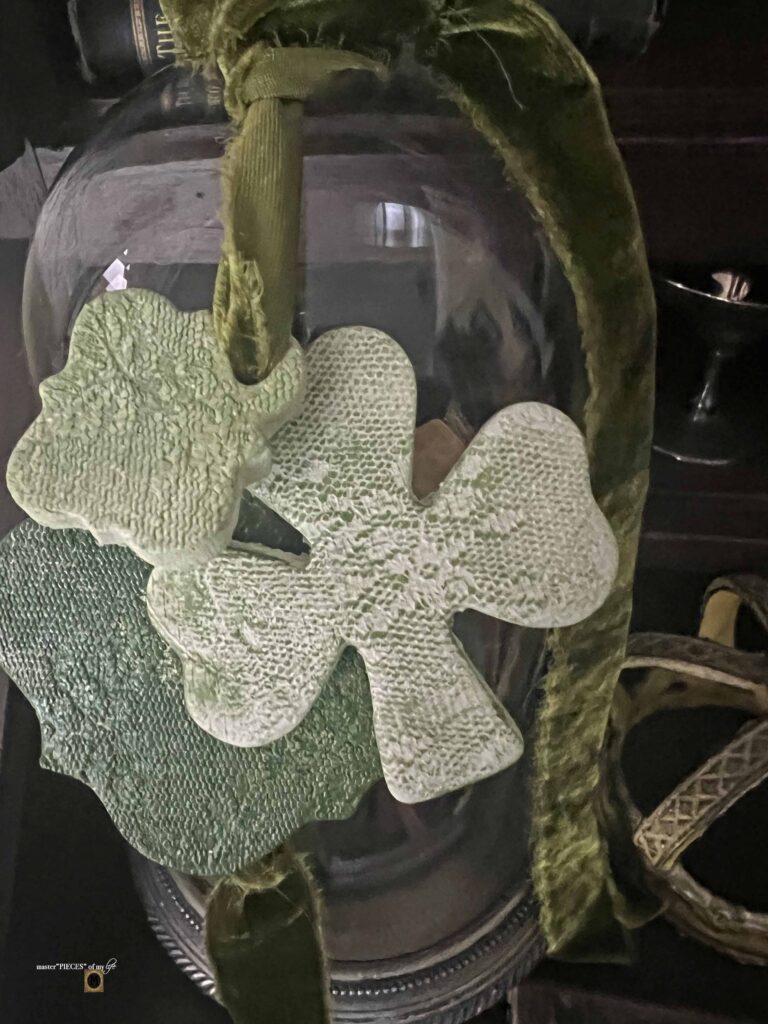
Cloche hanger
I love hanging accents off of knobs, and it adds another layer to a cloche vignette.
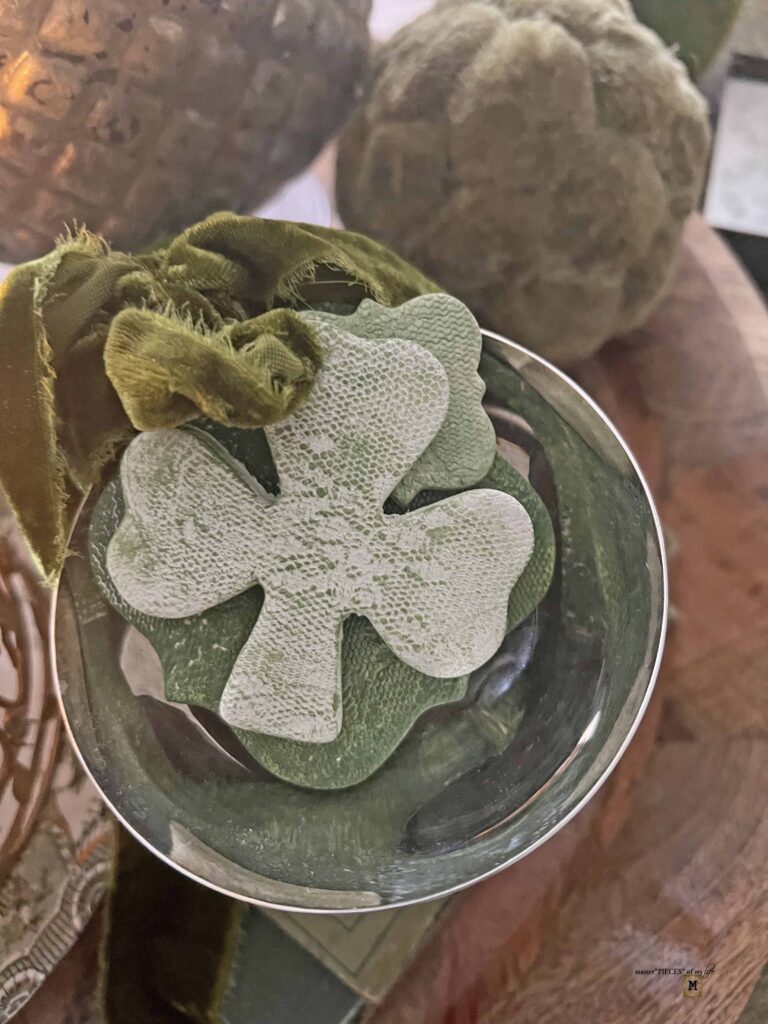
Bowl filler
Tossing a few baubles into a bowl is one of the easiest ways to add decor accents on any table, shelf, etc.

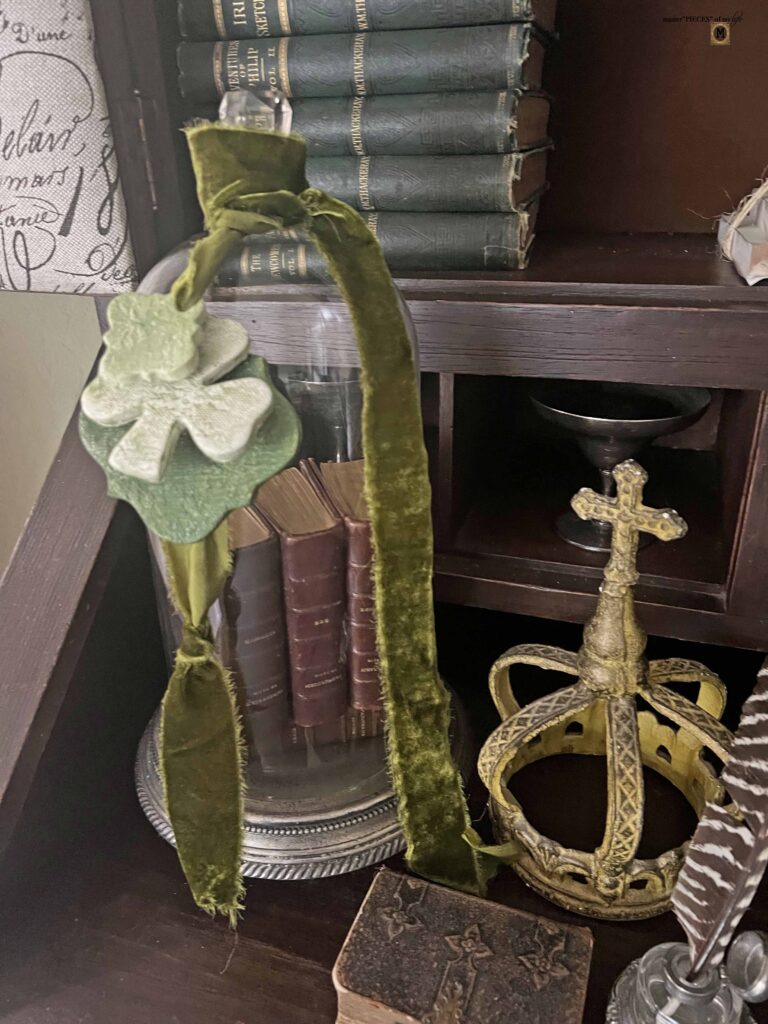
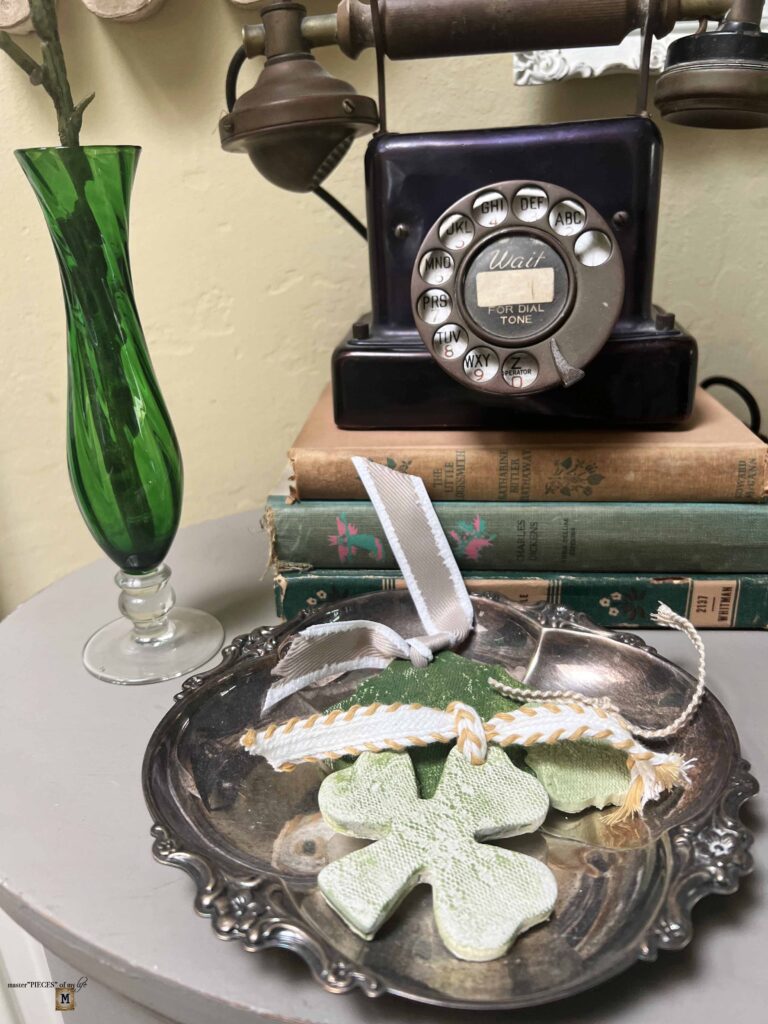
Book charm
Decorating with vintage books is a favorite around here. Adding a charm to accent a book stack adds a little extra something.

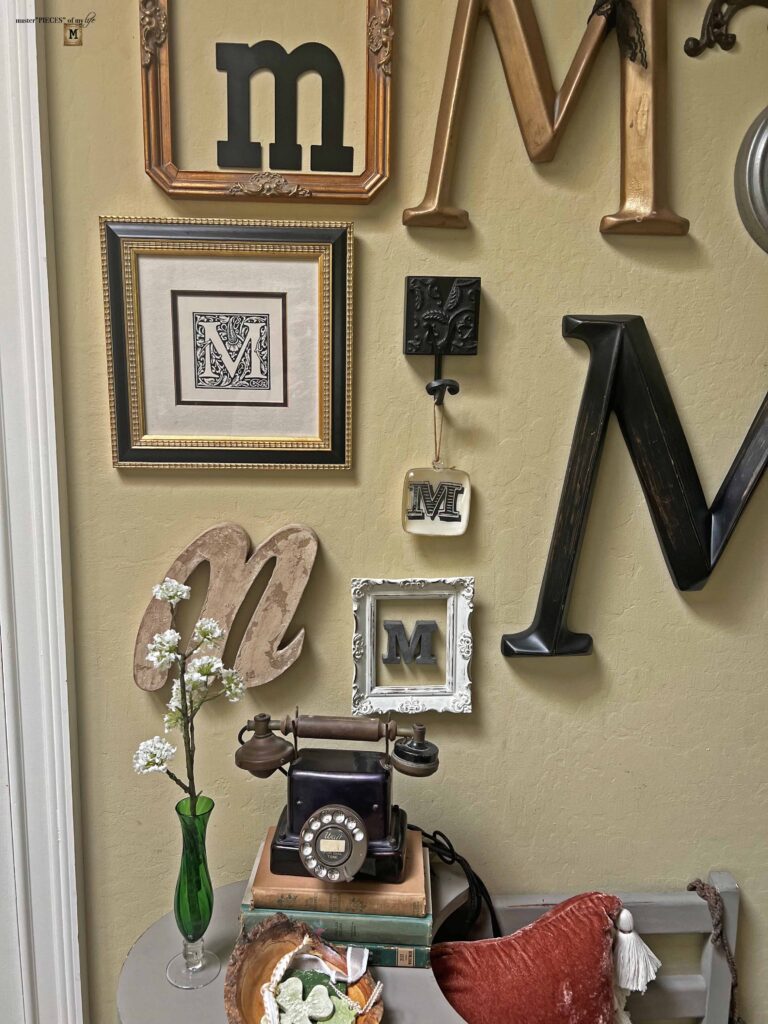
Decor trinket
Adding little seasonal details around the house is always fun and festive.

Thoughts & Tips in Making the Air-Clay Shamrock DIY Charm
If you do not celebrate or decorate for the St. Patrick’s day Holiday, you can adapt this project to another theme using different cookie cutter shapes and paint colors.
The air clay was super easy to work with, and I am looking forward to using it again in future projects. Based on some of the research I did before using the air clay, I moistened my hands slightly before handling the clay. It is also recommended to add a little bit of water to the cay if it stiffens up. I did not have to do that this time around, but it’s good to know for future projects.
If you haven’t rolled pastry dough before, this is my rolling technique. I roll over the piece of clay a few times, rolling from the center outwards in all directions; pick up the clay and rotate it or even flip it over while it’s small enough to handle. Roll a few more times and do it again. Keep doing this until you reach the desired thickness. I also used a piece of wax paper to roll my piece of clay on, to prevent over-sticking to any surface.
The piece of clay I rolled to cut my first shapes only fit two of the cookie cutters. So I simply rolled up the left over pieces of clay and rolled it out again to 1/4-inch thickness, cutting out the third cookie cutter shape. This is similar to how you make cut out cookies.
My package of air-clay recommends 24-48 hours of drying time. I let mine dry 48 hours plus. I suggest letting it dry as long as you can to make sure it’s 100% firmed up. Then also make sure to allow the paint to dry as well, even though the clay is pretty porous and soaks up the paint quickly. This project, although easy, is all about patience. It’s not a one afternoon and done thing, but it is extremely gratifying.

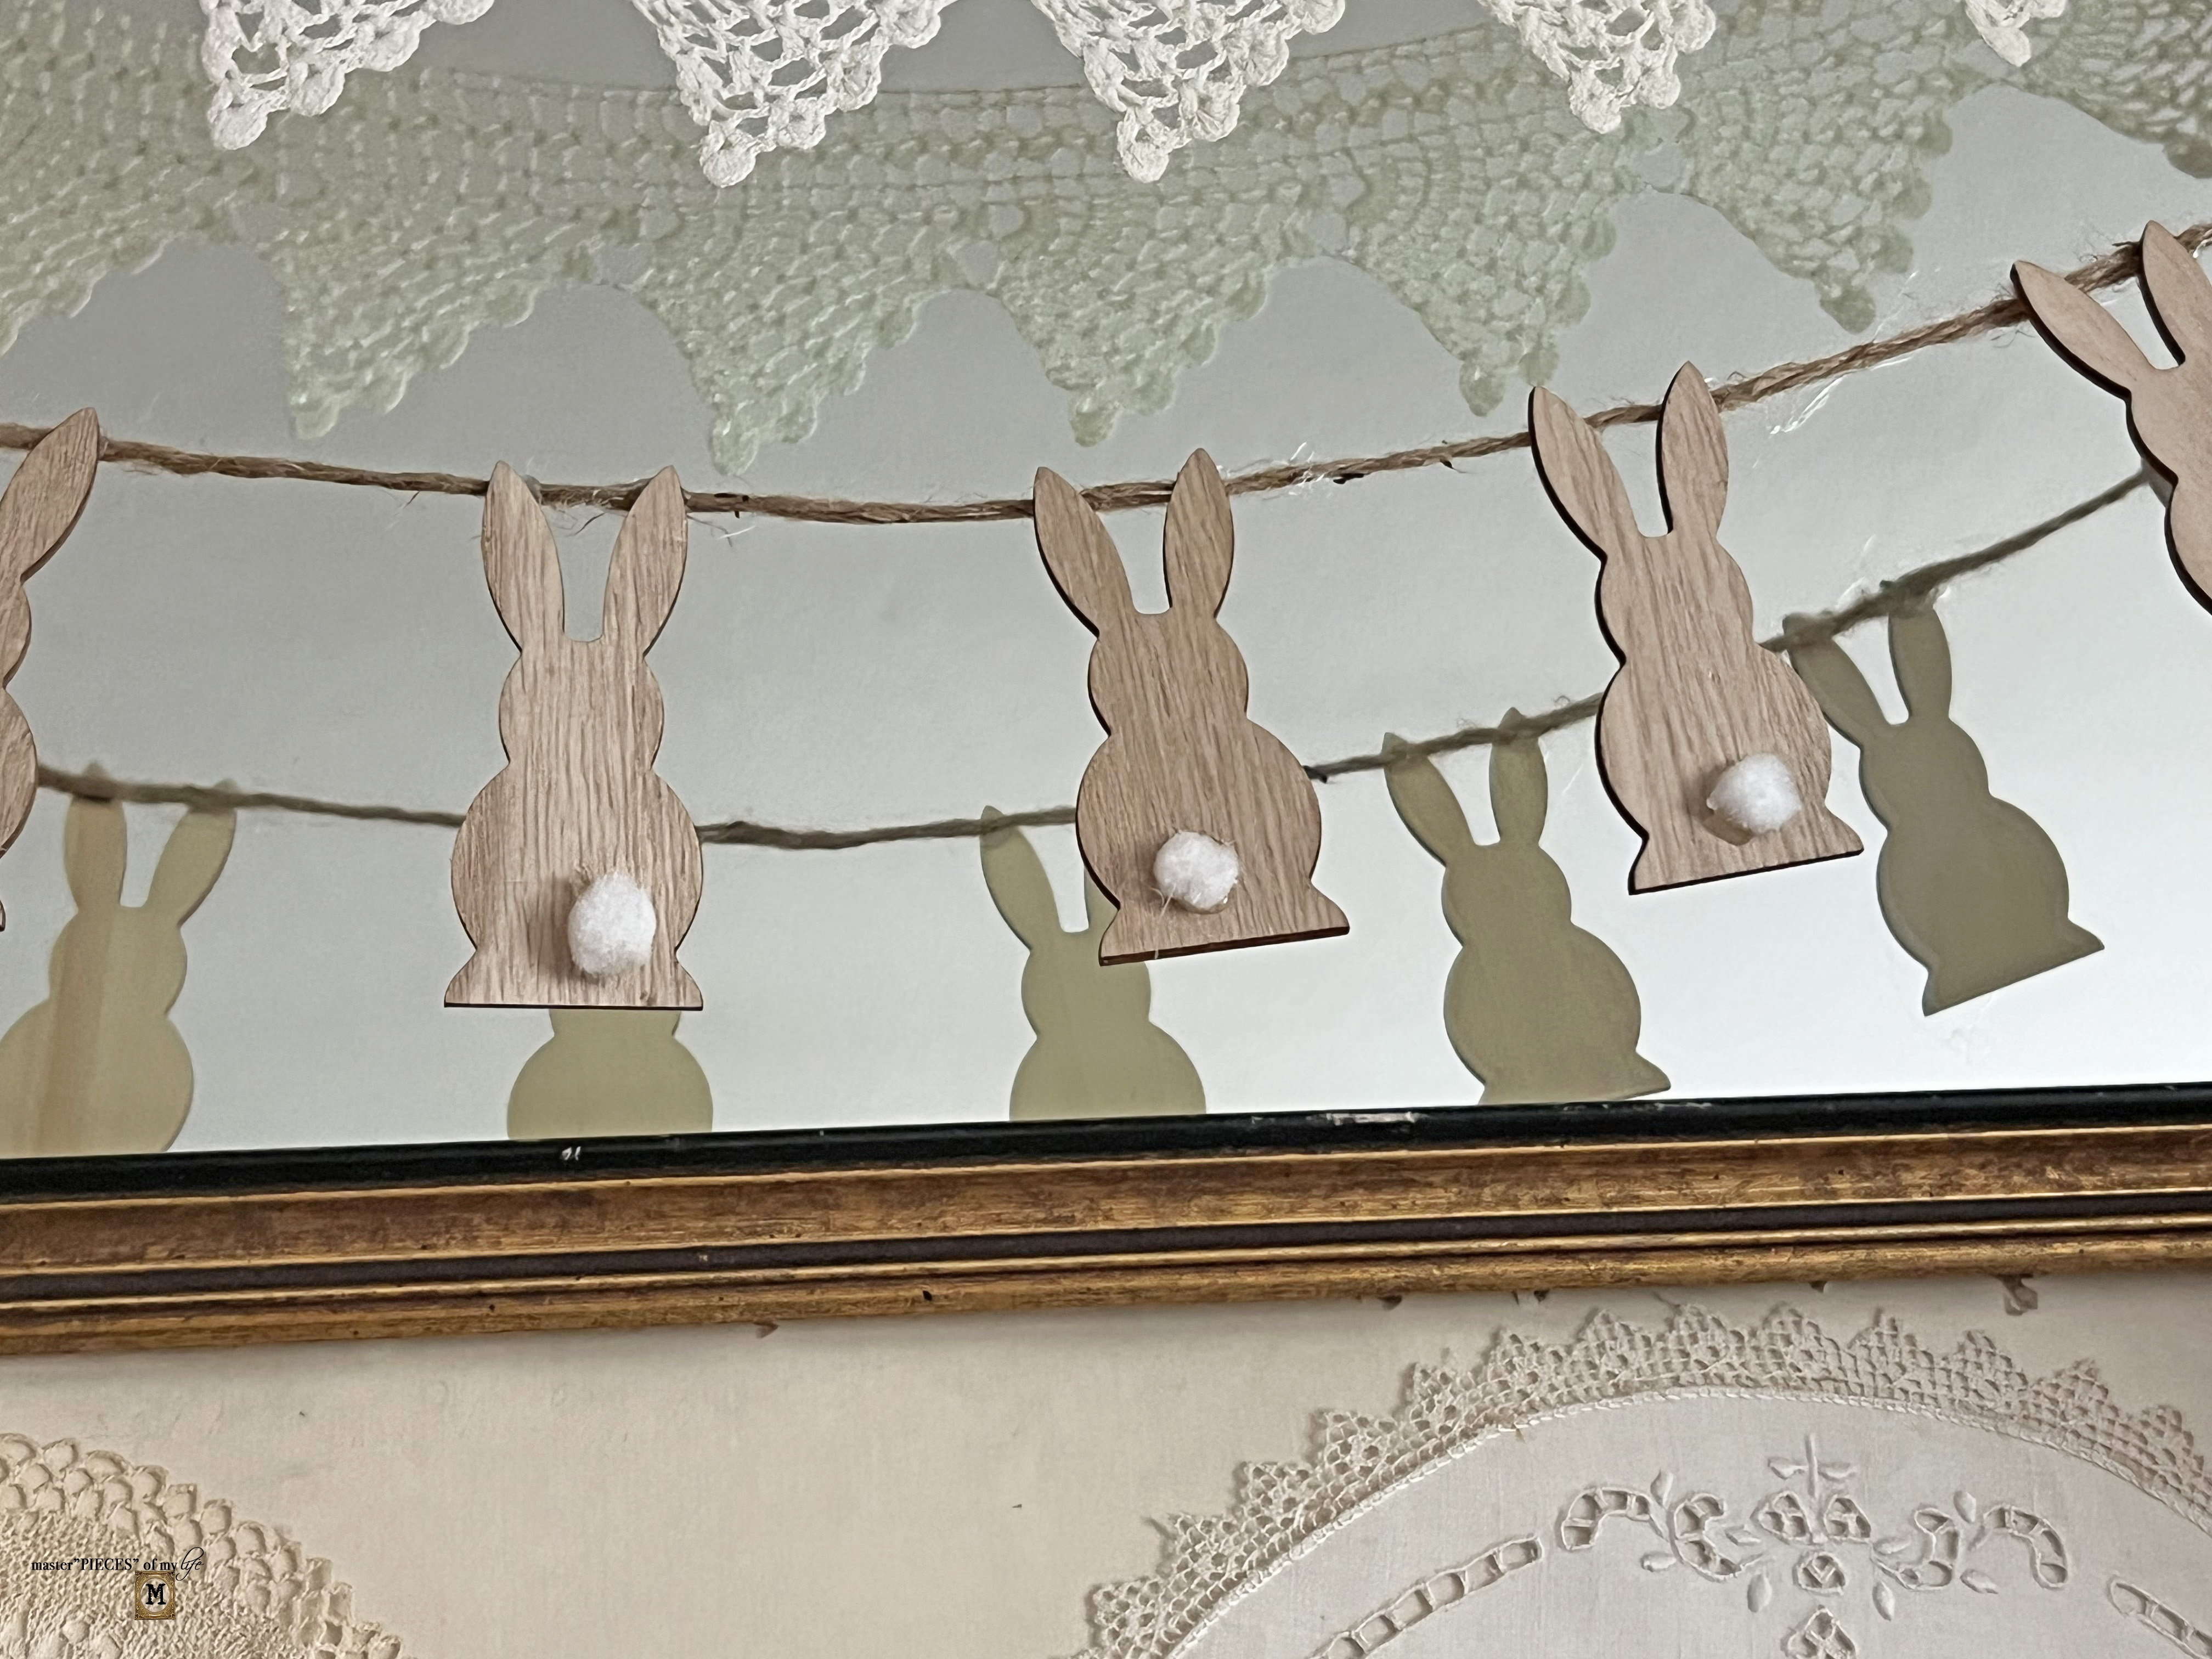
I have another DIY coming your way tomorrow. This one is Easter inspired. I can’t wait to share! See you tomorrow. Au Revoir!

More Related Posts
Most Recent Posts

“A good friend is like a four-leaf clover, hard to find and lucky to have.”
Irish Proverb
I think I missed the part about how you used the lace fabric. Very nice project. Thanks for sharing.
Hi Debbie! It’s the last step when you are rolling out the clay before you use the cookie cutters. There’s a picture that shows you since I’m a visual person. HTH. Thanks for visiting. XO- MJ
I got it the second time around, sorry. I guess my sister is right. She says that I never read all the instructions!
This is super duper cute! Love the soft shades of green that you used, your ribbon, and the boxwood wreath!
Thanks so much!! I’m so happy you like it. XO- MJ
These turned out so great! I love how you added the lace to give them texture! Thanks for all the tips on how to display these adorable charms! Pinning now!!
Thanks so much Donna! The air clay bug is a thing- so many ideas & so little time. lol. XO- MJ
Mary Jo,
Oh these shamrocks are so pretty. Great Tutorial. Congratulations, you are being featured on TFT. https://www.eclecticredbarn.com/2024/03/shamrocks-and-leprechauns-on-tft.html
Hugs,
Bev