


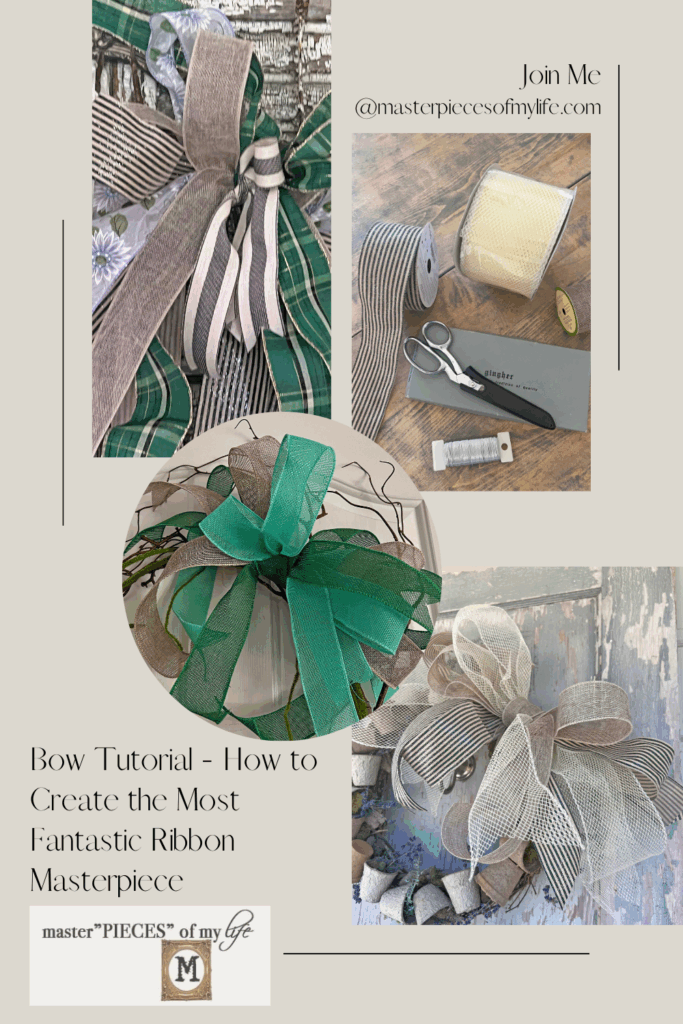
Do you love an amazing focal point bow? Who doesn’t? I’m here today to show you how to create the most fantastic bow from pretty ribbons to accent any wreath, door, mail box and so much more. Bows add the perfect finishing touch to so many decor appointments. Come on in and let me share with you how I learned to make a fool proof bow every.single.time with this bow tutorial.

I learned this technique from John Mark from John Mark Enterprises. Although my bows are not as fantastic as the ones created by John Mark, I follow his tutelage to create mine. John owns a floral business in Germantown, Tennessee, and everything he touches turns to gold. He’s one to follow and it’s how I learned this fantastic bow tutorial.

*Affiliate links might be included for your convenience. These affiliate links mean a small commission is earned if you make a purchase using these links at no extra cost to you. As an Amazon Associate qualifying purchases support this website. For more information: Full Disclosure Policy.
The Inspiration Behind the Fantastic Bow Tutorial Method
I found John Mark last holiday season on my Instagram feed. He created the most amazing Holiday bows for mailboxes which immediately stopped my scroll. I instantly started following him. I was inspired by all the holiday stylings he created for mailboxes, mantels and more. If I lived anywhere near Germantown, TN, I would be in trouble. I would visit his establishment frequently, languishing in all the floral home interior goodness!
Anyway, somewhere along the line I started paying attention to his bow tutorials. I believe he showcases a bow every week now with the extensive line of ribbons he carries in his store. My first bow creation following John’s method was for the Wispy mushroom wreath DIY I created earlier this year. I used three different burlap ribbons from the Dollar Tree, which shows how you don’t have to spend lavish amounts on ribbon to create the look.

The Bow Tutorial Basics
John uses five to seven different ribbons for his bows. To say the least they are Statement Bows. I use 3 to 5 ribbons for my bows, and I am perfectly happy with that. The important thing to note is that the method is the same regardless of the number of different ribbons you use.

For each ribbon you use, you want to include a tail plus two loops. Layer this sequence for each ribbon until you’ve used all the different pattern varieties. Sometimes you can add one of the same beginning ribbon at the end if you want to showcase that particular pattern. It might sound confusing, but it’s actually a simple step by step sequence. Let me share what I know and what I’ve learned.
How to Create a Ribbon Masterpiece with this Bow Tutorial
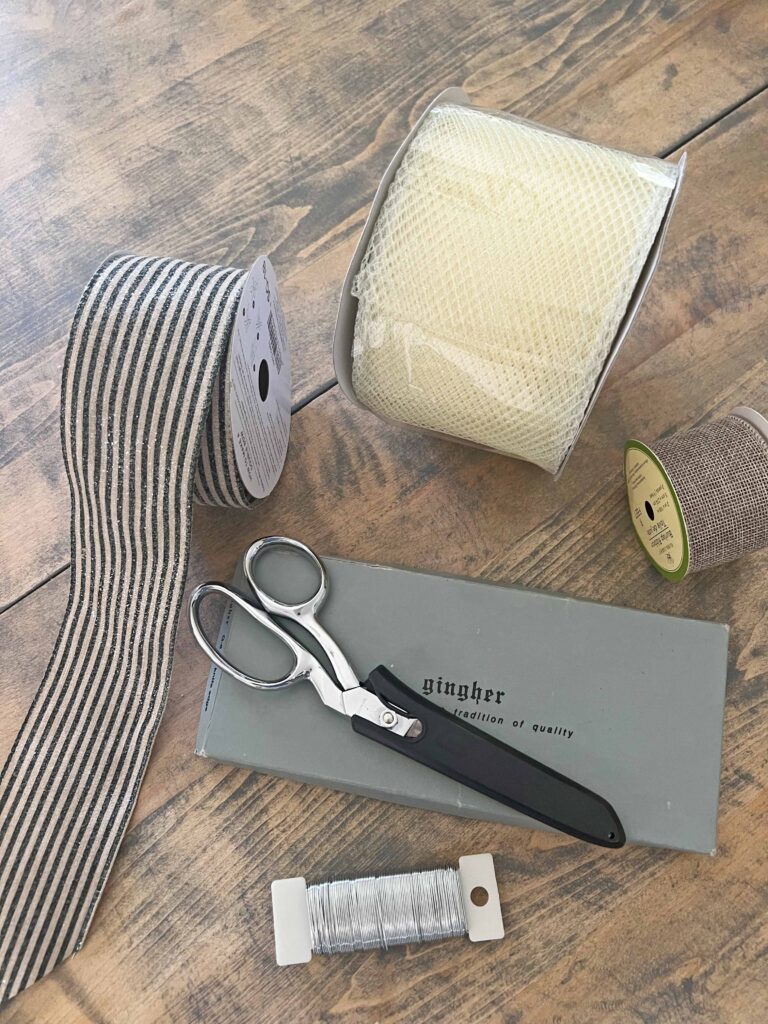
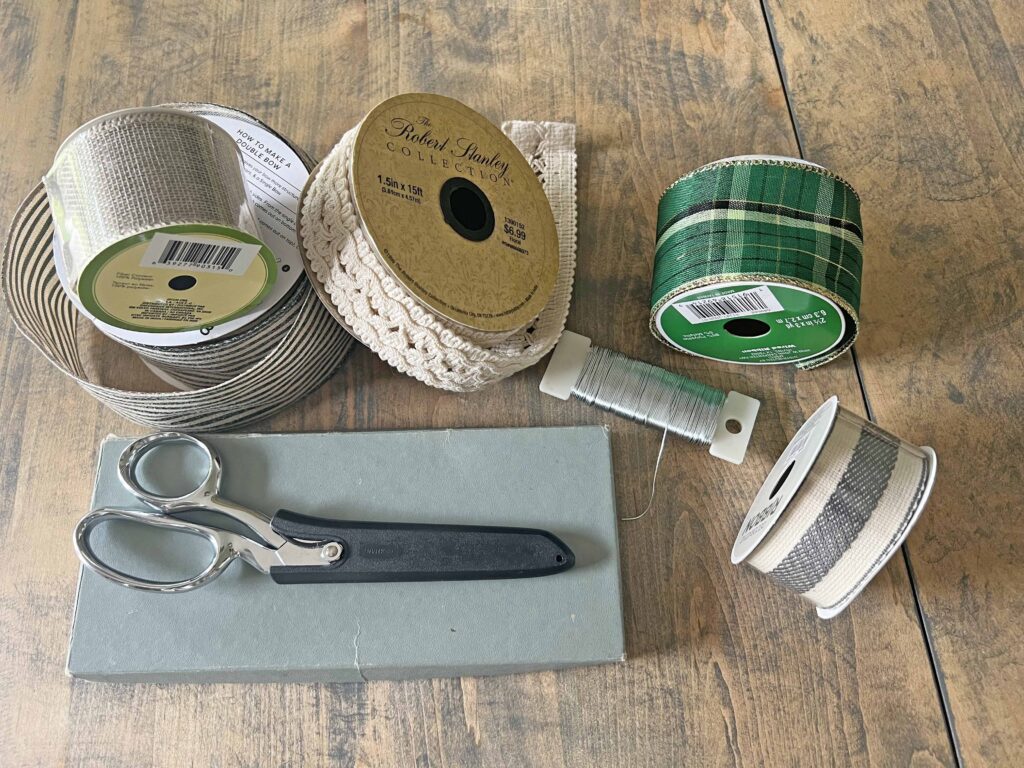
Supplies
- Ribbons (at least 3 different patterns)
- Fabric Scissors
- Floral Wire
Instructions
- Assemble all your supplies
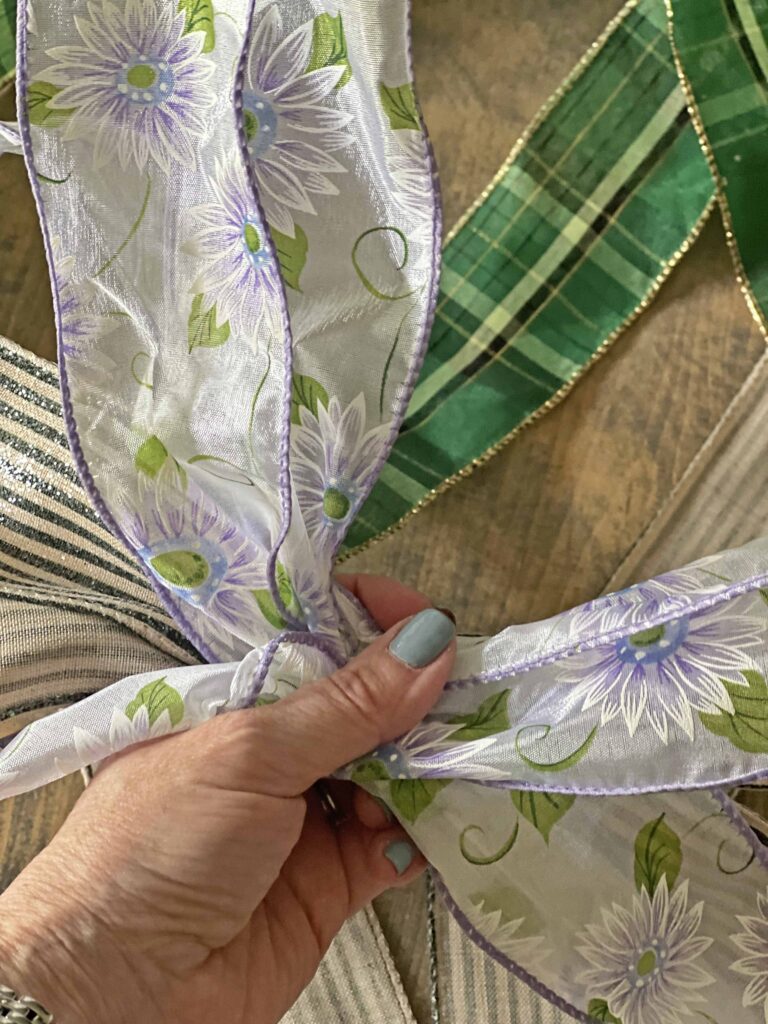
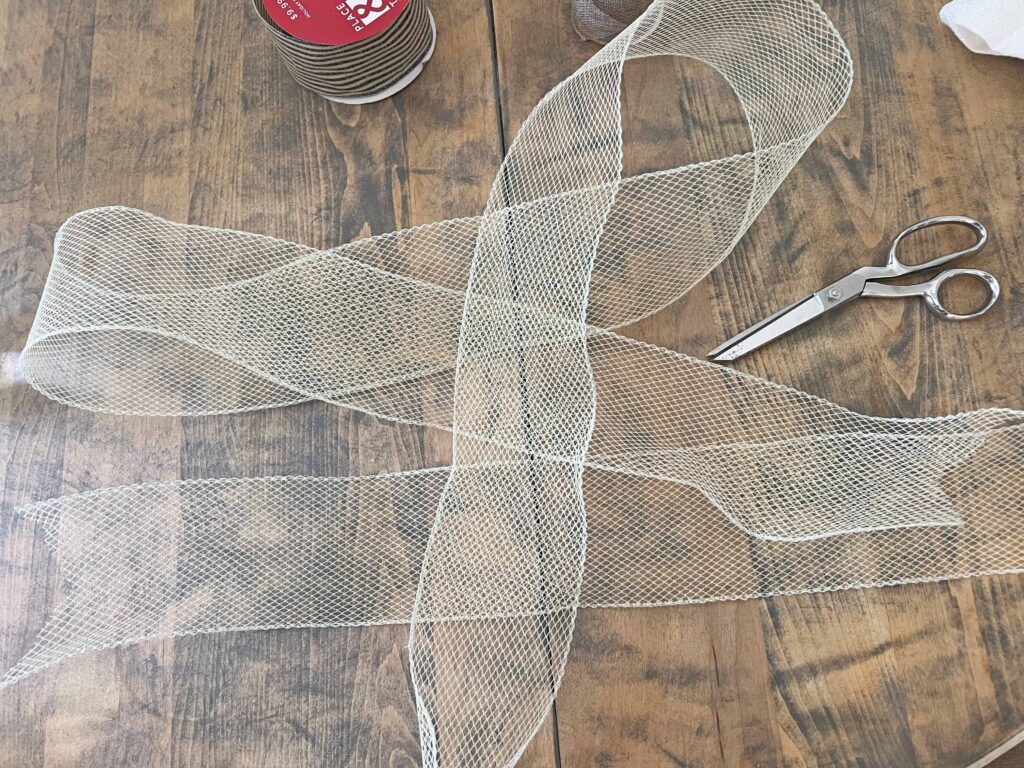
- Starting with the widest and boldest ribbon, cut a tail and a two loop ribbon strand, dovetailing all the ends

- Cut a tail and a two loop strand for all the ribbon patterns
- Lay out all your ribbon varieties in the order you want them layered on your bow, usually widest to skinniest
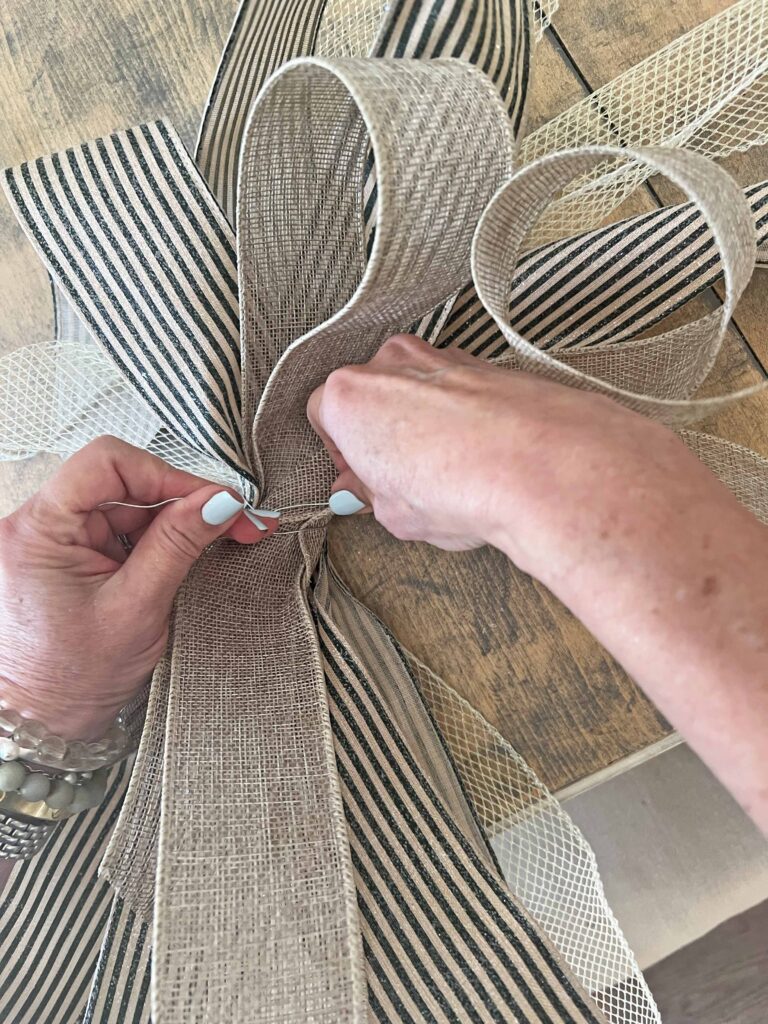
- Starting with the widest ribbon, hold the tail between your thumb and index finger (this is the back of the bow)
- On top of the tail, add the double loops of the same ribbon criss crossing through your fingers
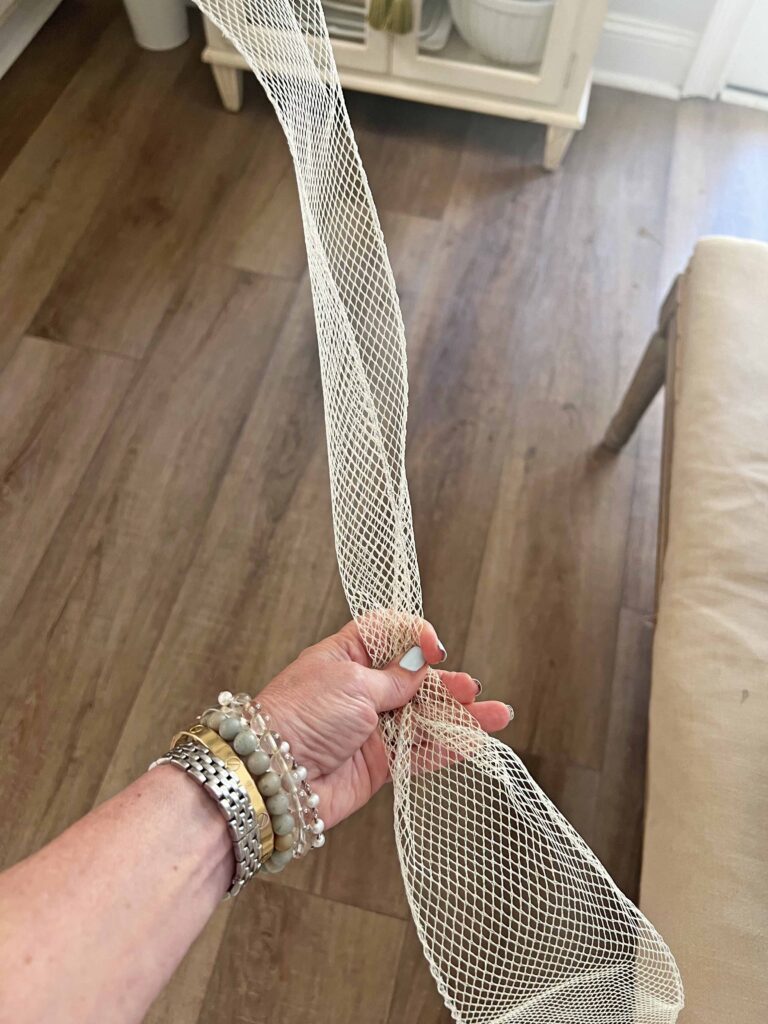
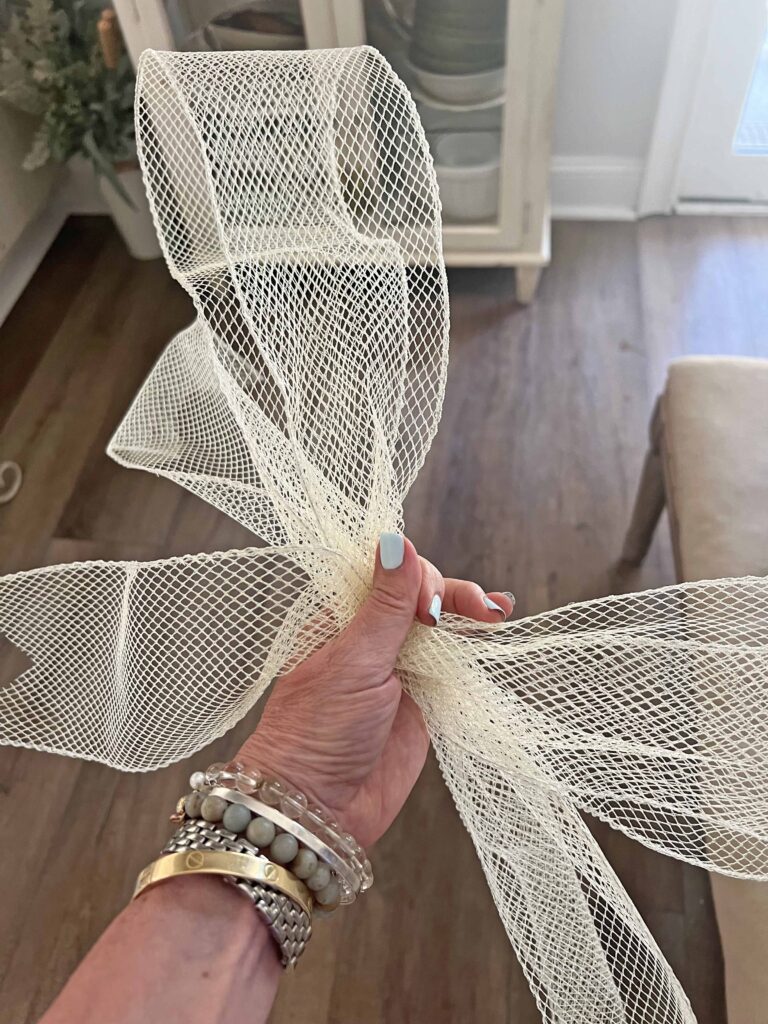
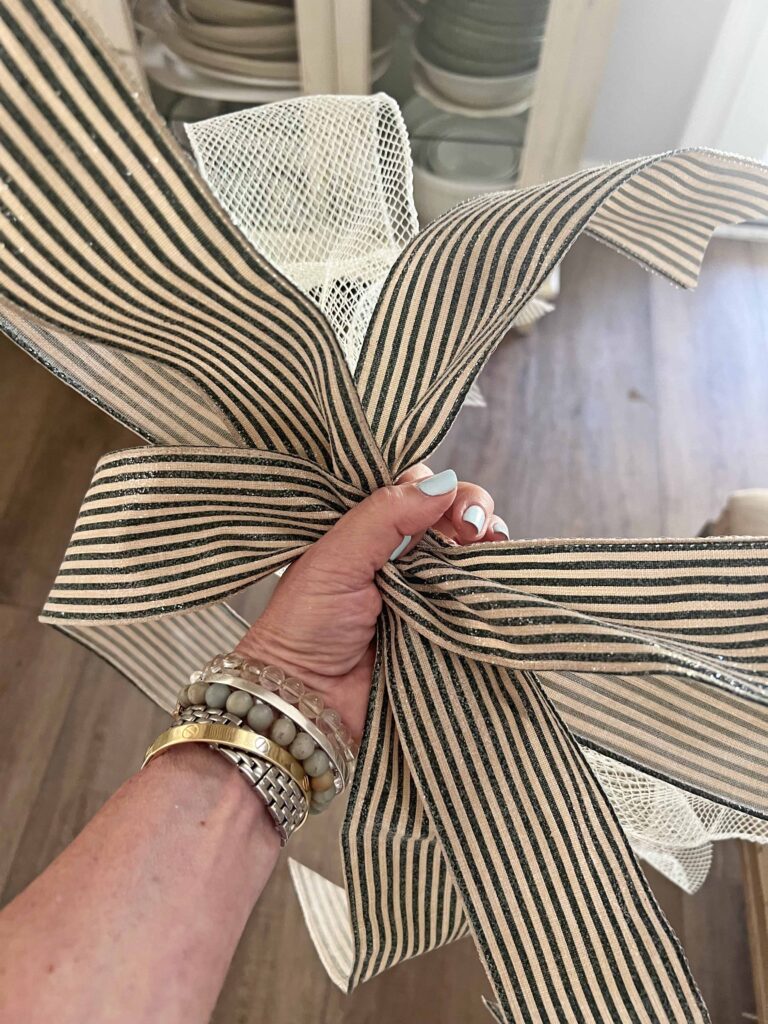
- Then do the same layering for each different pattern of ribbon
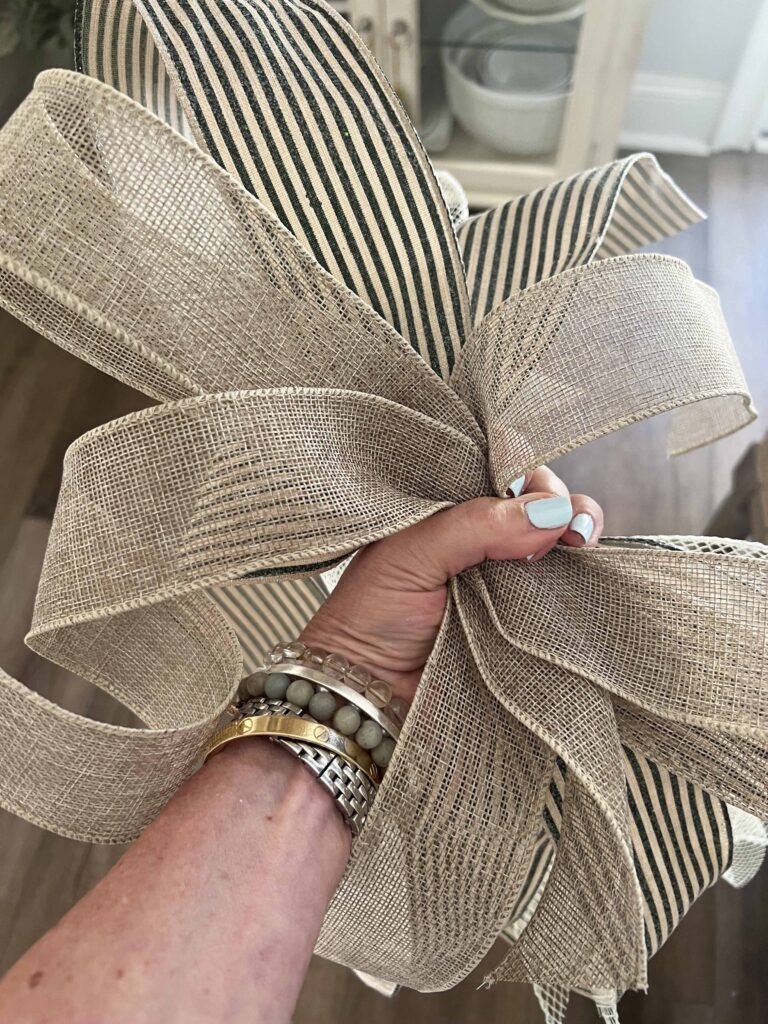
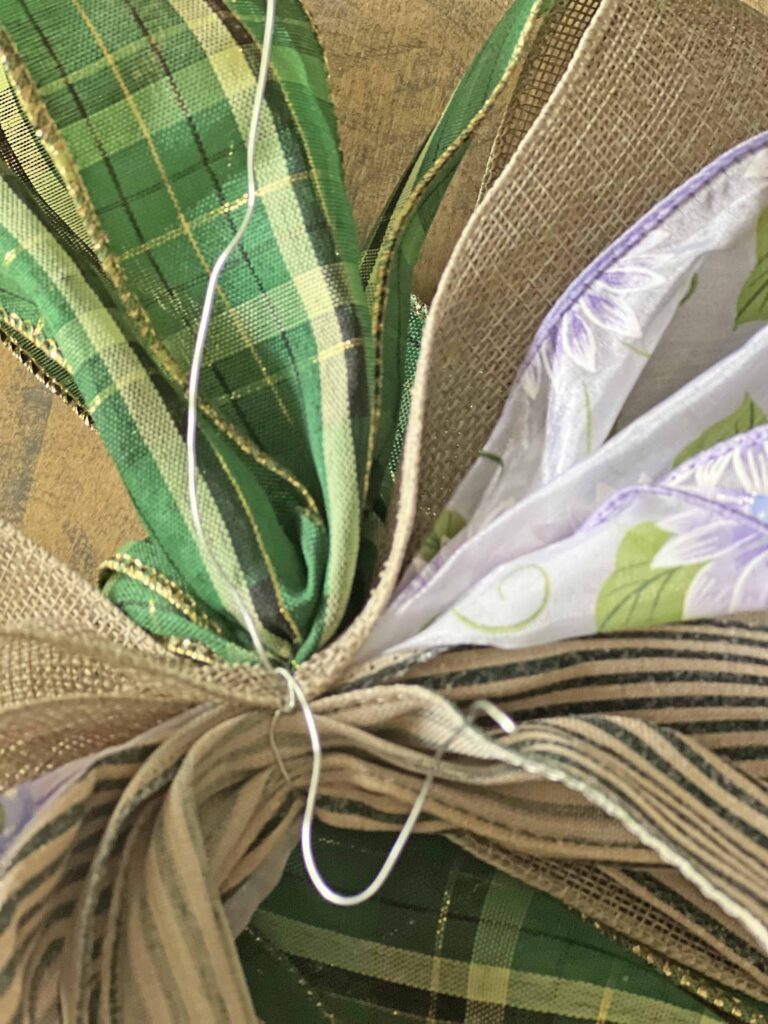
- Once done layering the ribbons, use a piece of floral wire in the center of where all the ribbons intersect (where your fingers are holding the ribbon)
- Wrap the floral wire around all the ribbons and twist to secure all the ribbons together
- Leave tails on the floral wire to attach to desired location
Tips and Tricks for the Bow Tutorial
I cut all my ribbon pieces first and lay them out before I start assembling the bow in my hand. John just forms the bow in his hand and cuts the ribbon as he goes, adding each ribbon type in his hand until he has them all. I am not that skilled or practiced. He makes it look so easy but my hand can only handle so much. Here’s a link to one of John’s latest bow tutorials. While you’re there I would give him a follow. He is truly inspirational and super sweet.
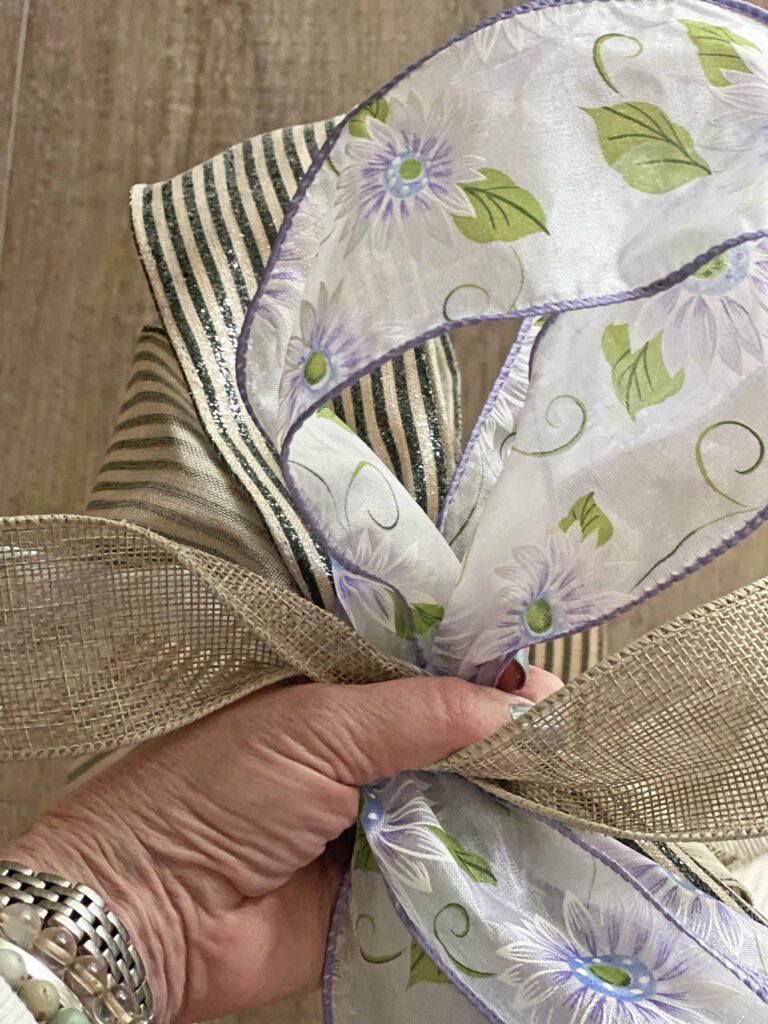
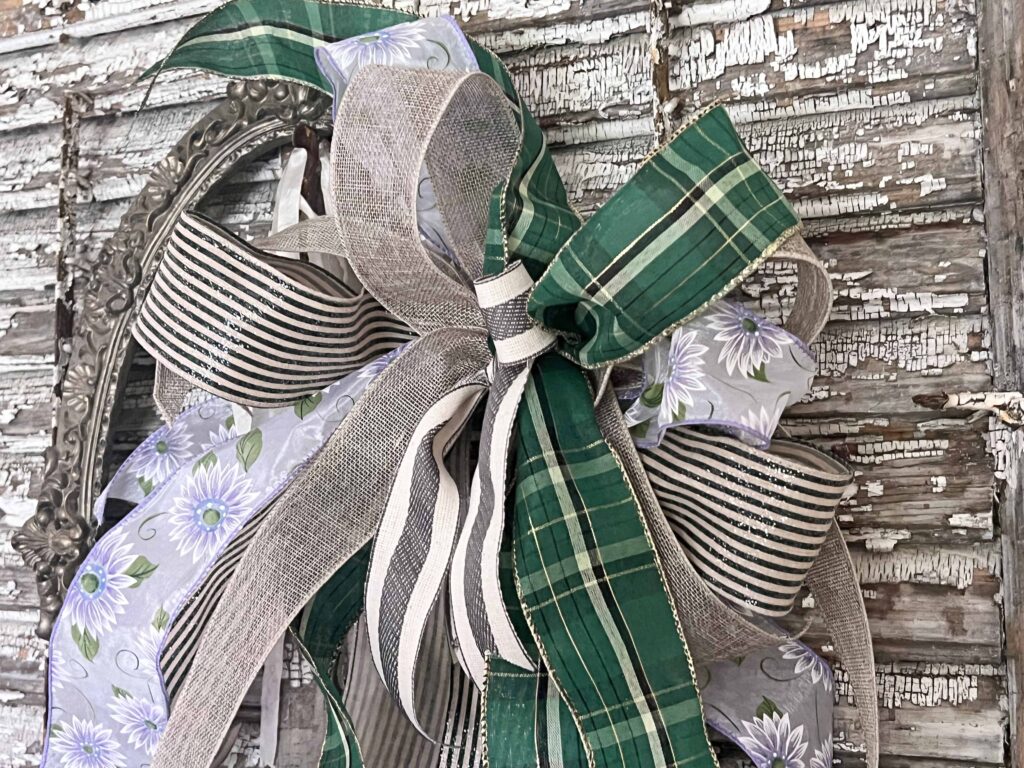
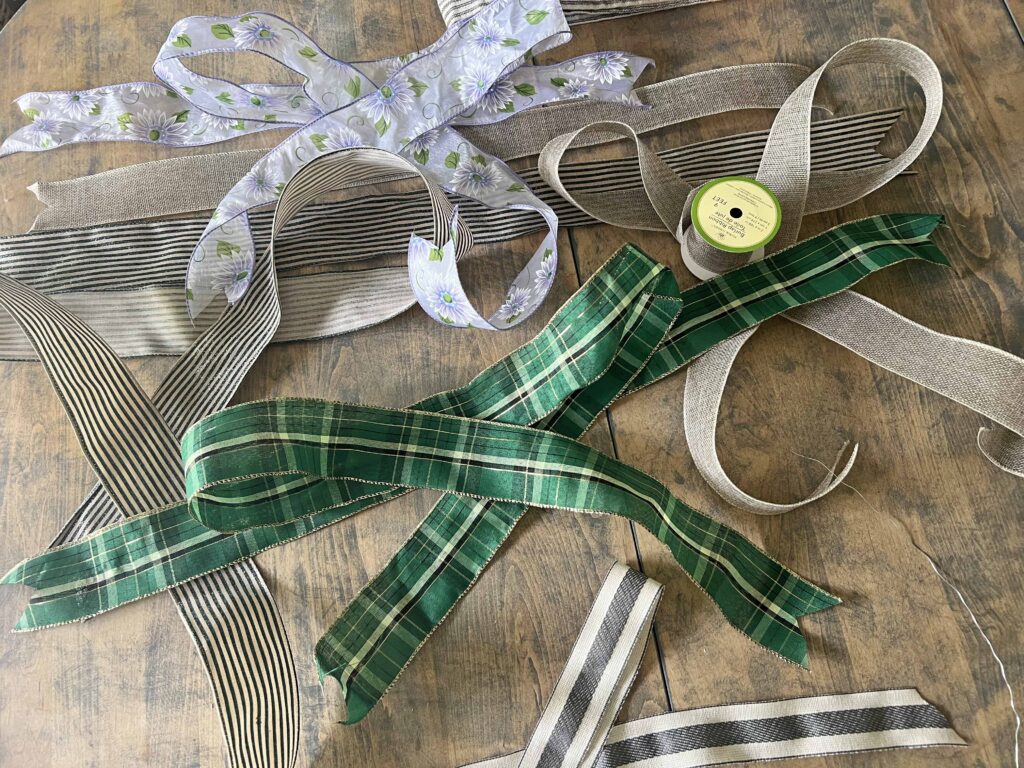
This bow technique really lends itself best to wired edged ribbon. It holds its form better and the loops can be manipulated once everything is tied together. The wire edges can be bent and jujed just so. I tried using some non-wired ribbon and it just flopped, literally and figuratively. The two smaller cream based ribbons below are the non-wire edged pieces. I made the one with the black stripe work, but replaced the lacy boho ribbon with a white daisy ribbon I had in my stash.
That being said, although the black & creamed striped ribbon in the middle below is one of those non wired types, I made it work. I just knotted it in the middle to make it stay since I wanted an odd number of patterns. Since I like rustic decor, it doesn’t bother me that it’s a bit wonky. I had to pivot when the non-wired ribbons did not cooperate, but I am still satisfied. I’ve used this bow a few times and you will see it again.
Ribbon Masterpieces Around Here
Simple Burlap Bow
As I mentioned above, I created my first bow, using John’s instagram tutorial as a guide, for the wispy mushroom wreath DIY. I was pleasantly surprised how easy it was and how great it looked with minimal effort.

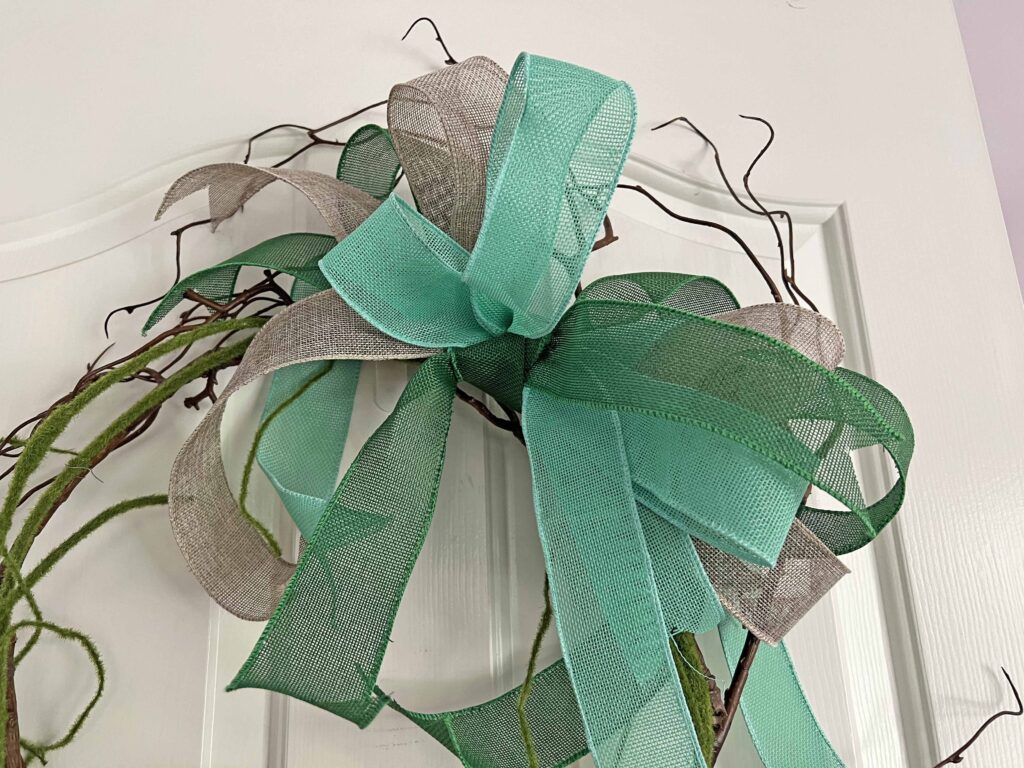
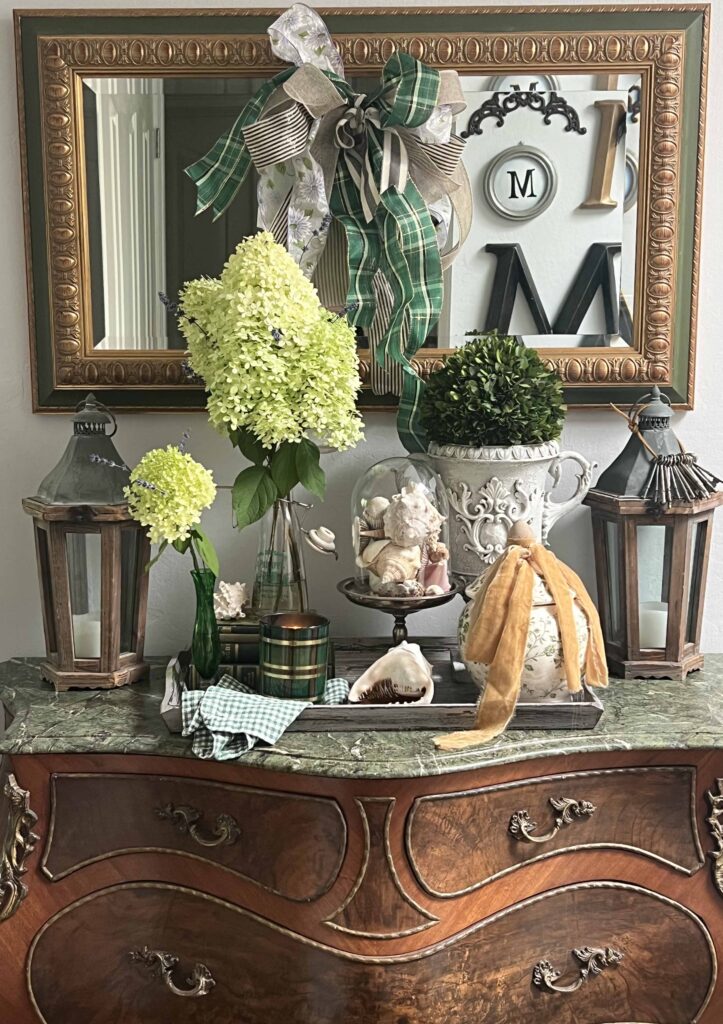
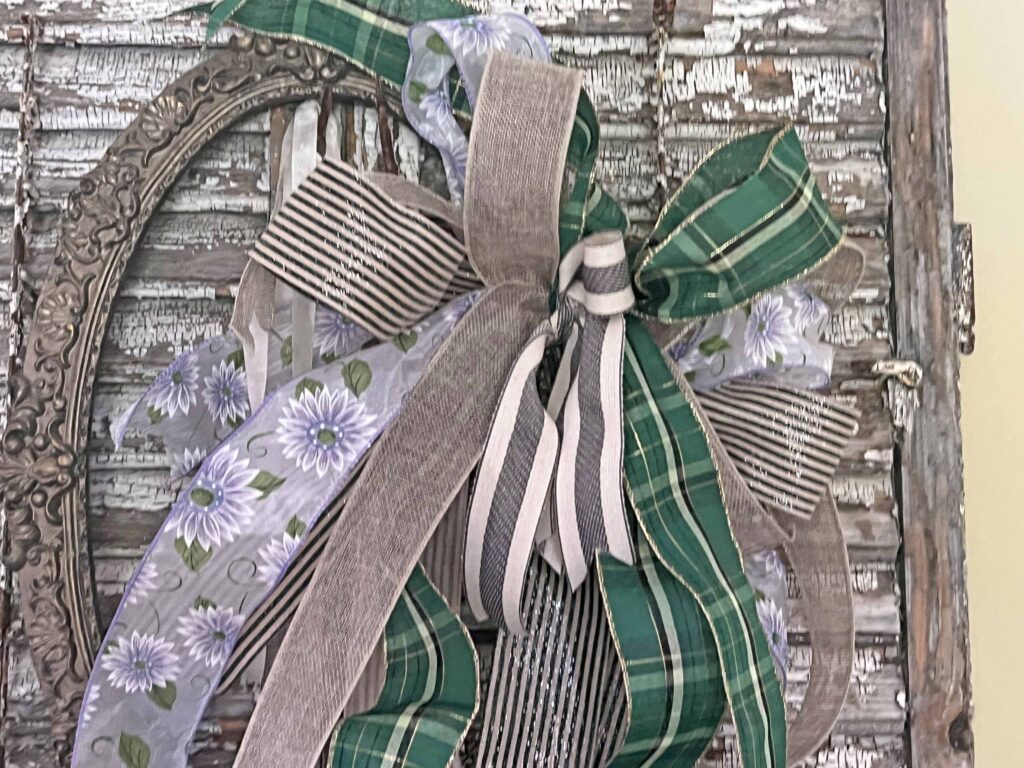
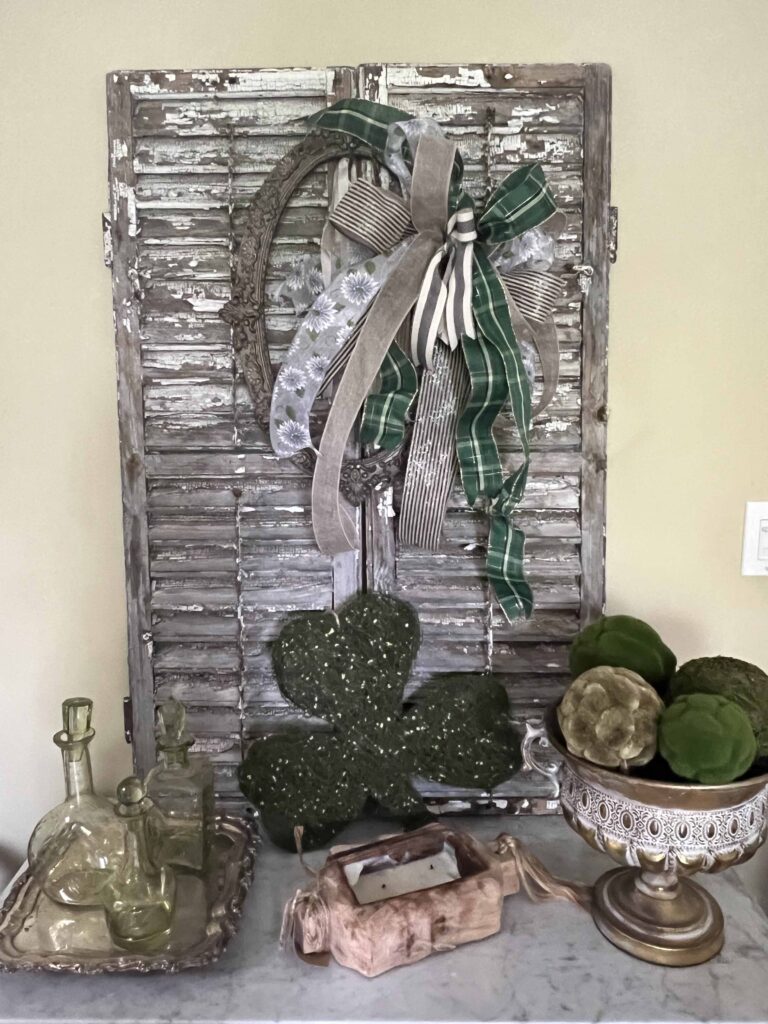
Eclectic Bow
The next bow I created was for a St. Patrick’s day styling. I used a couple more ribbons for this one, and I learned a few new things along the way as mentioned above. Practical experience is the best way to learn in my opinion.
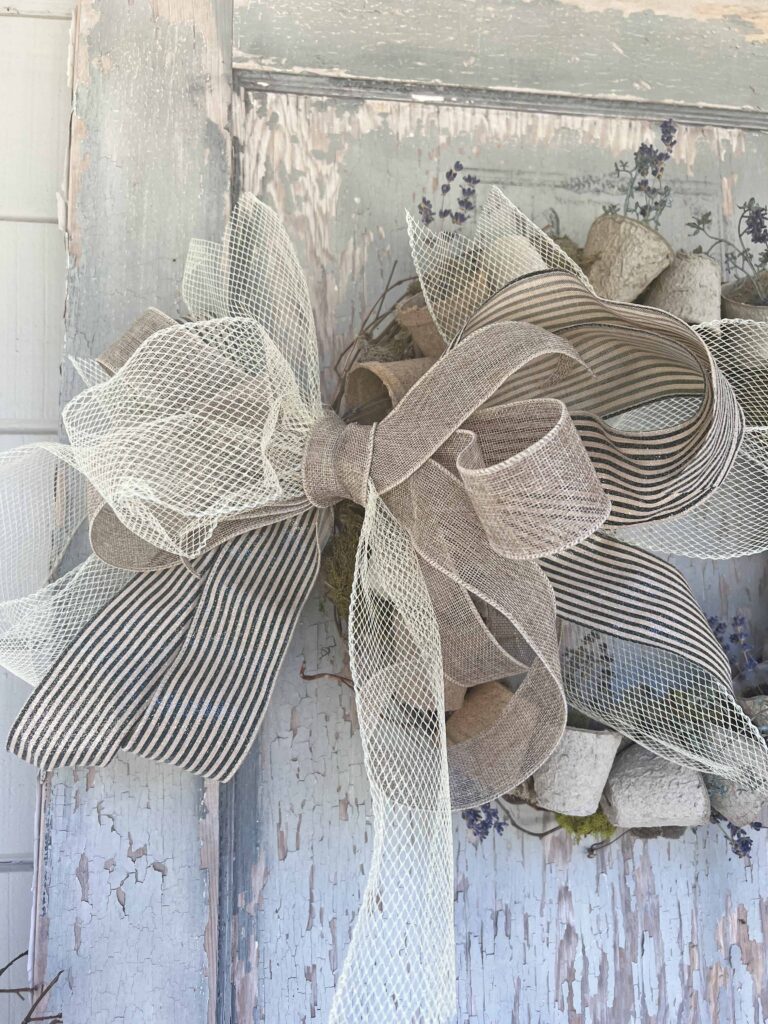
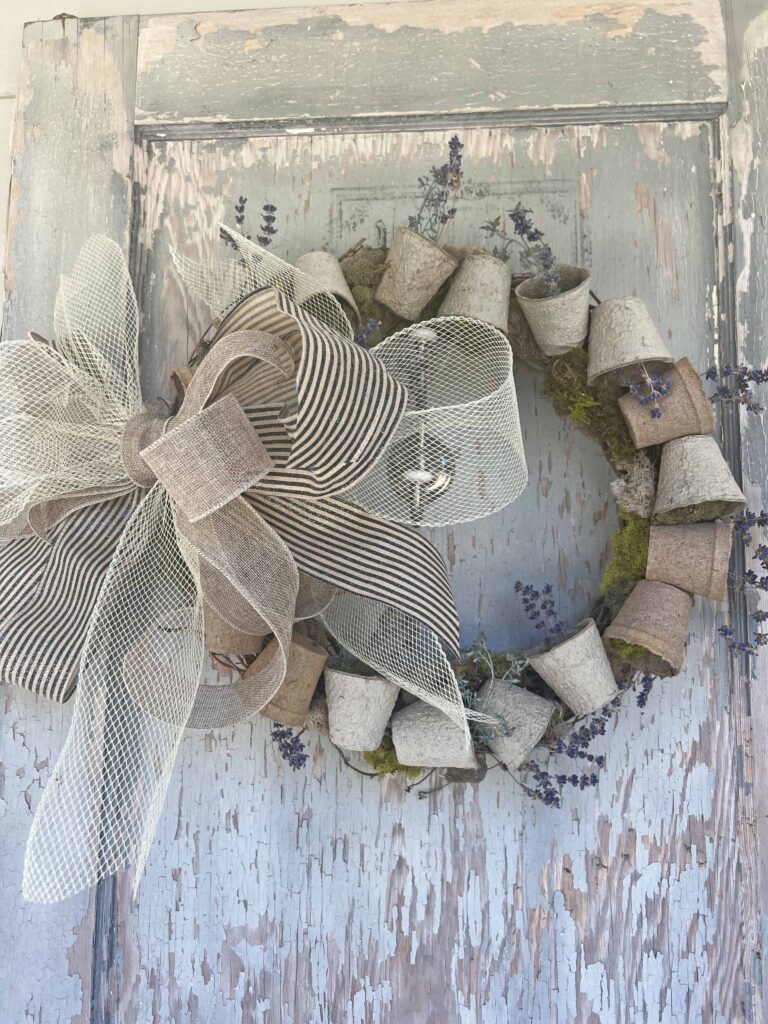
Neutral Summer Bow
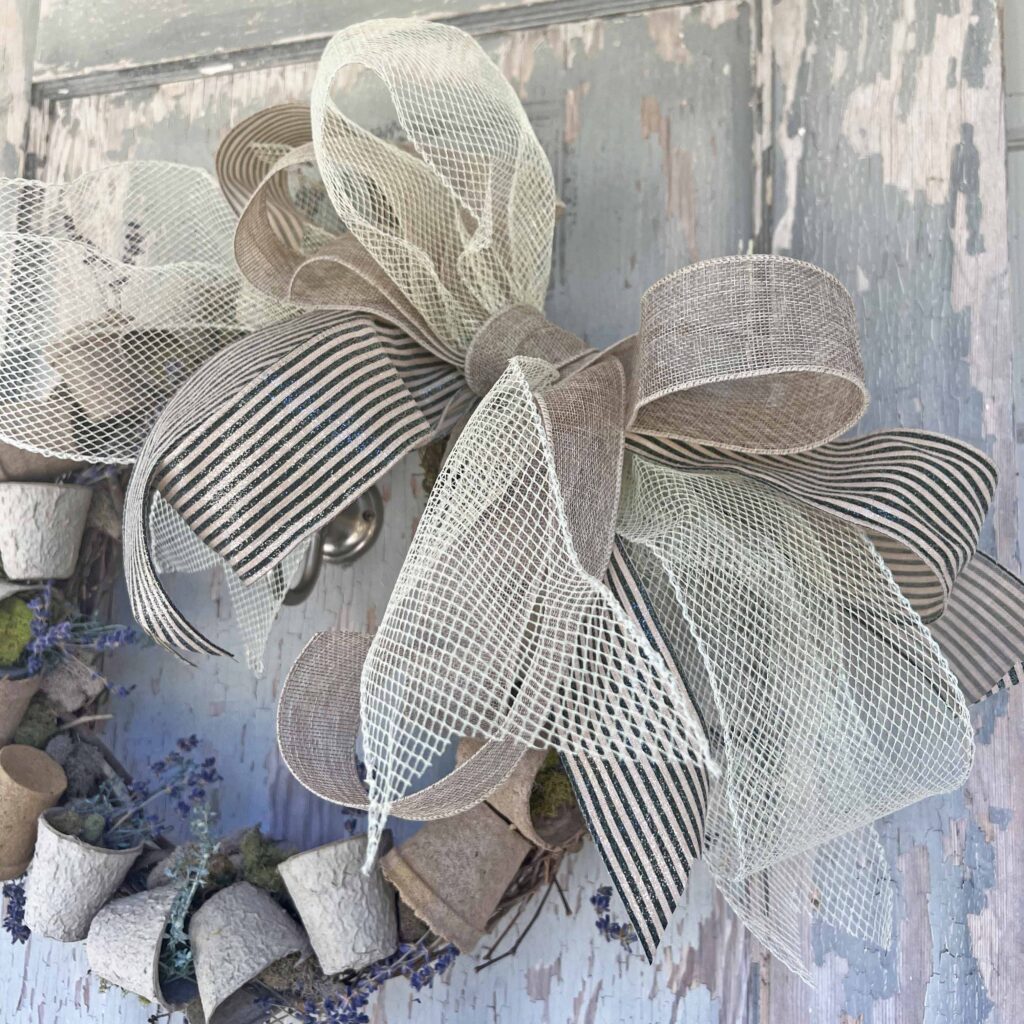
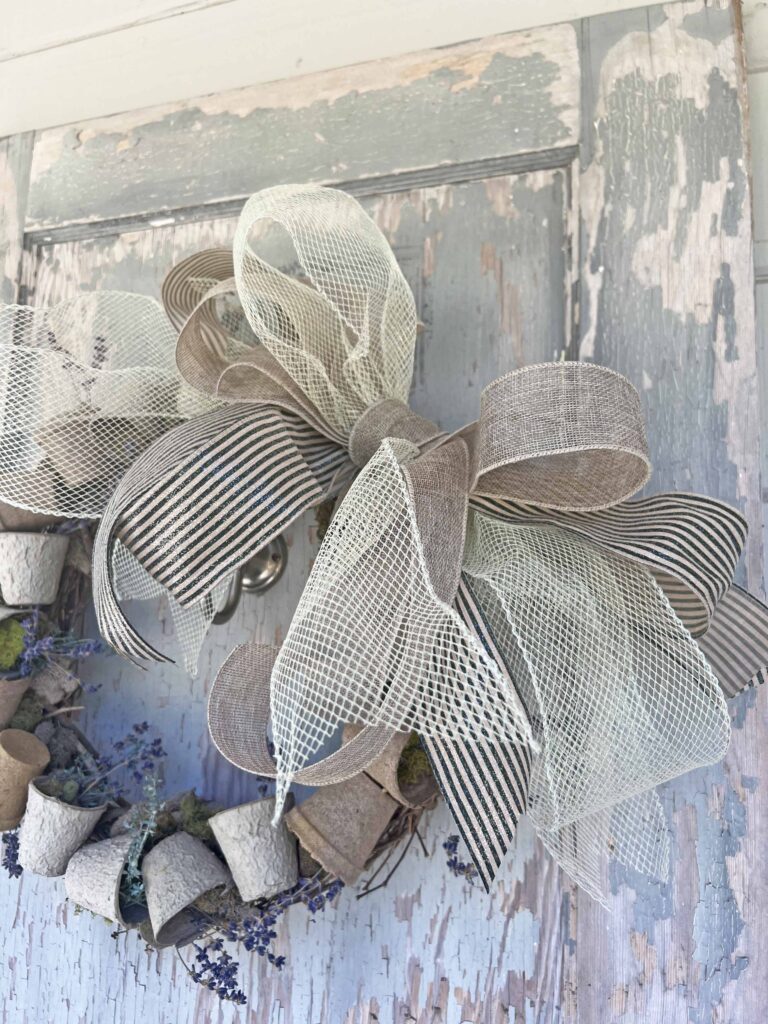
The last bow I created was for this refurbished grower pot wreath. I love how it turned out, and I love the new vibes it provides to the newly revived wreath. I will be sharing an outdoor vignette soon sharing more details about the wreath and the entire styling.
Closing Thoughts about the Bow Tutorial
Lavish and spendy ribbons are not necessary to create these fabulous bows. Like I mentioned earlier, for the first bow I created I used 3 burlap ribbons from the Dollar Tree. The bow cost less than $5 dollars. When I realized how the method is very user friendly, it motivated me to create more bows. And I will be making many more in the future. I actually already have an idea for fall and Christmas.
For the second bow I assembled, I used ribbons I had on hand in my craft stash. Originally I had a very monochromatic color scheme planned with the pop of the green plaid planned for the St. Patrick’s day styling. As I explained above, I had to pivot with my non-wired ribbon choice and injected the daisy ribbon since I had it in my ribbon box and had wire edges. Originally, I wasn’t crazy about the color choice, but I decided to channel John Mark since he always uses wild color and pattern combinations, which work beautifully. It might not be what I originally envisioned, but I love how the bow turned out. .
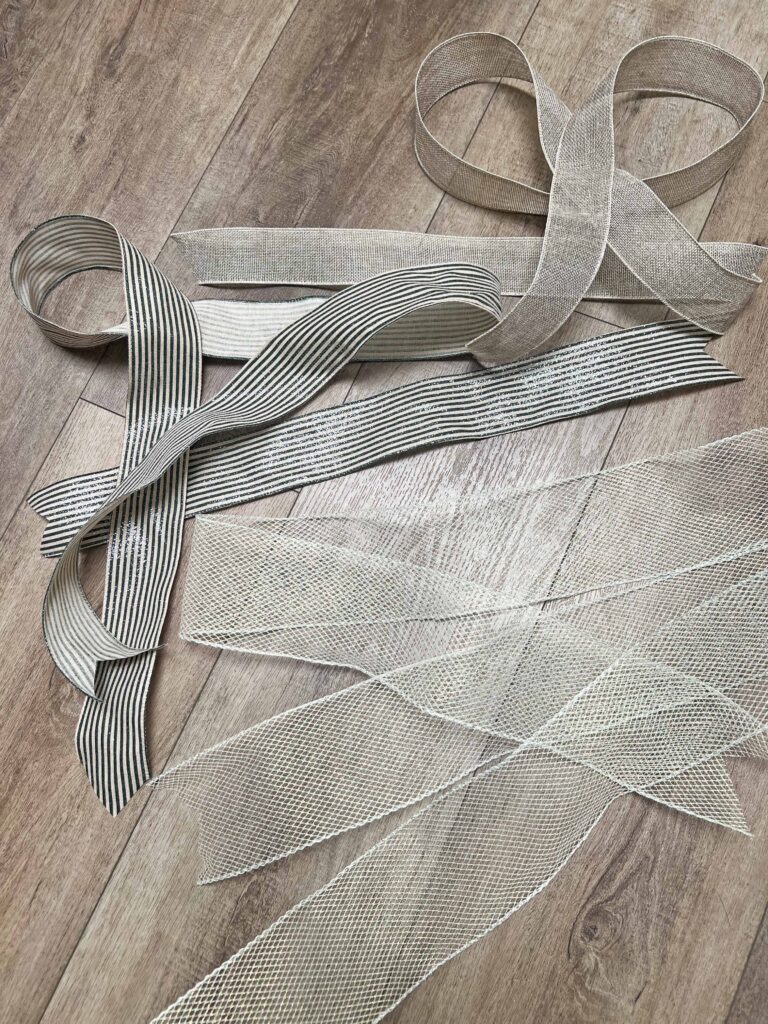
The latest bow uses three ribbon patterns. The shiny mesh ribbon was a thrift store find. The entire 4-inchx25-yard spool was $2. I love that the ribbon is mesh so you can see through it and it has a sheen to it. It has a ton of texture. The striped ribbon is from Hobby Lobby, which I had in my stash from a previous project and purchased at 40% off. The smallest ribbon, the plain burlap, is from the Dollar Tree which I always have in my craft stash and I use all the time.
I recommend using ribbons of different widths, varied patterns and mixed textures. This will add more interest and depth to your finished piece. Although my first piece is all the same sized burlap ribbon, the different shades draw you in, providing movement with the different layers.
I never considered myself a big “bow” girl. I tend to like a pretty knot with a drape-y ribbon, but I think I have been converted. Hopefully this article has inspired you to create a bow for your own decor. Trust me when I tell you it’s a simple process with fabulous results. Give it a go, and if you do, please share. Thanks for stopping by!


Shopping for the Bow Tutorial
- Natural burlap wire edged ribbon
- Black burlap wire edged ribbon
- Black striped wire edged ribbon
- Another black striped wire edged ribbon
- Green tartan wire edged ribbon
- Daisy wire edged ribbon
- Fabric Scissors
- Floral Wire


More Related Posts

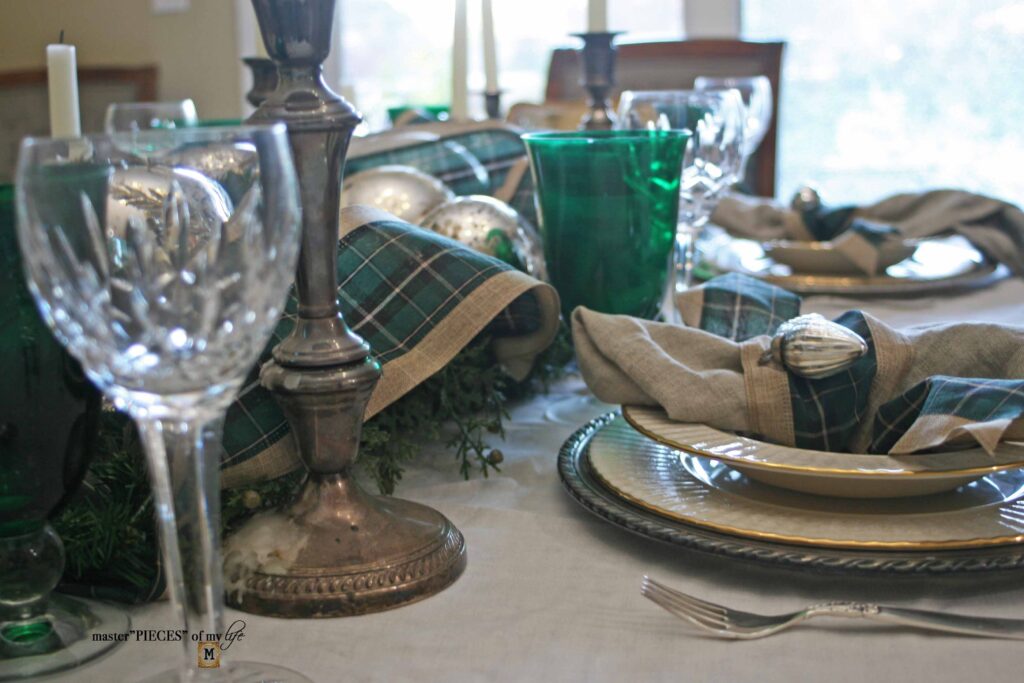
A Plaid Holiday Table
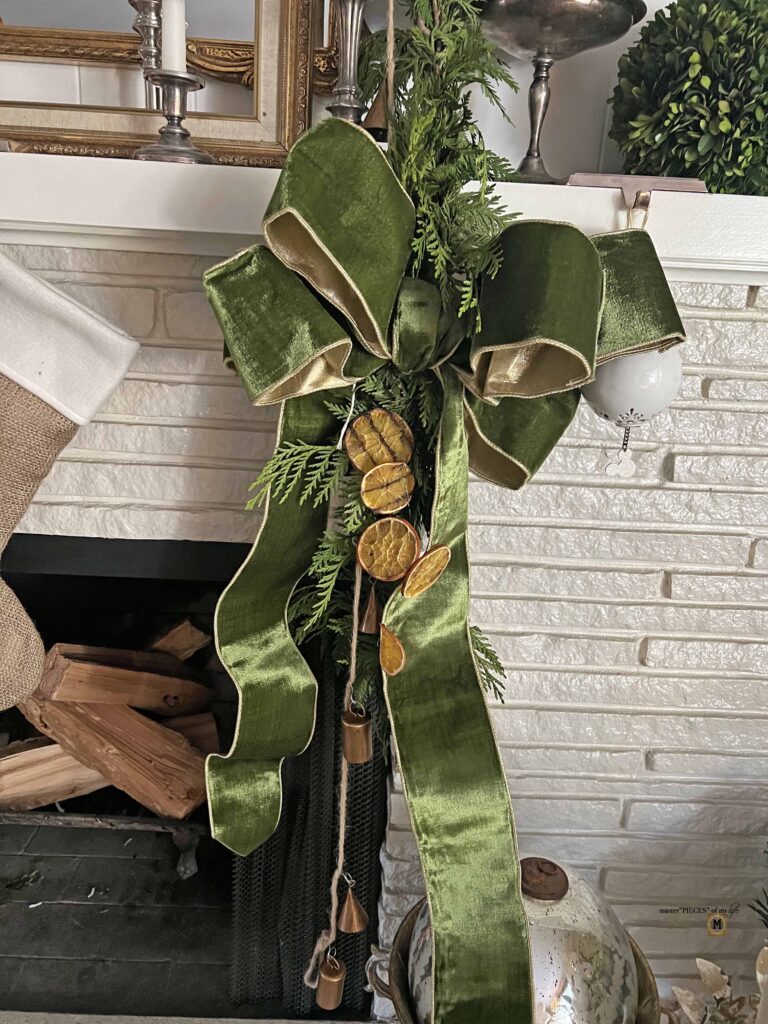
A Christmas Mantel with Organic & Velvety Touches
Most Recent Posts
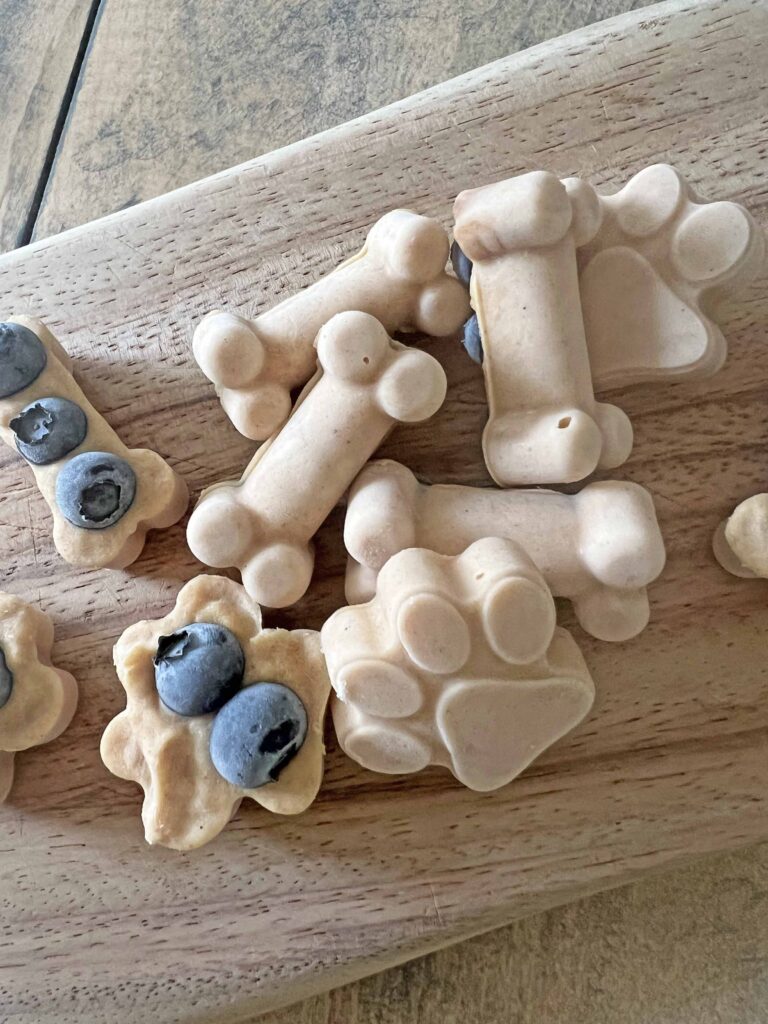
Easy, Homemade, No-Bake Dog Treat Recipe

21 Fall Craft & DIY Home Decor Projects
Great things are done by a series of small things brought together.”
Vincent Van Gogh